UEFI and Software
When it comes to software Asus has always delivered so there weren’t any surprises when testing the Crossblade ranger. It comes with the same AI Suite 3 that all of their modern boards have. Let’s take a quick look.
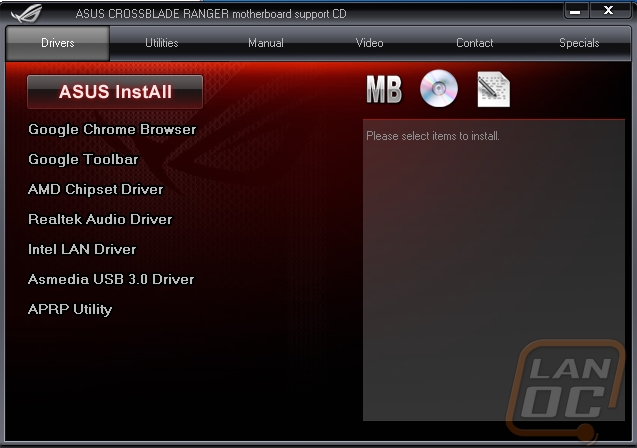
When getting started, loading up the included disc will bring up the Asus InstaAll option that will quickly install all of your needed drivers. The other option is to go through and install what you need one at a time.
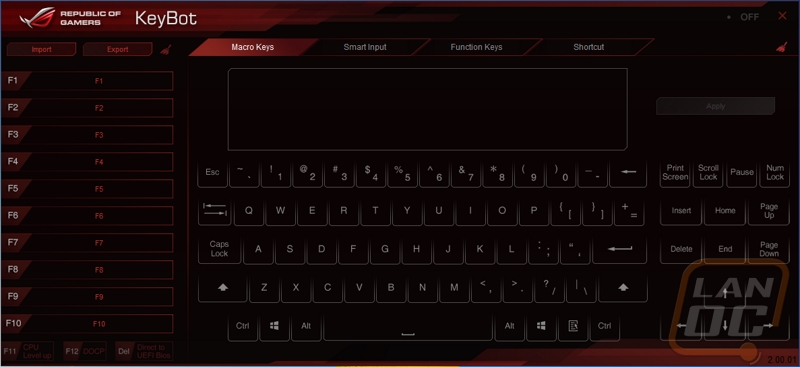
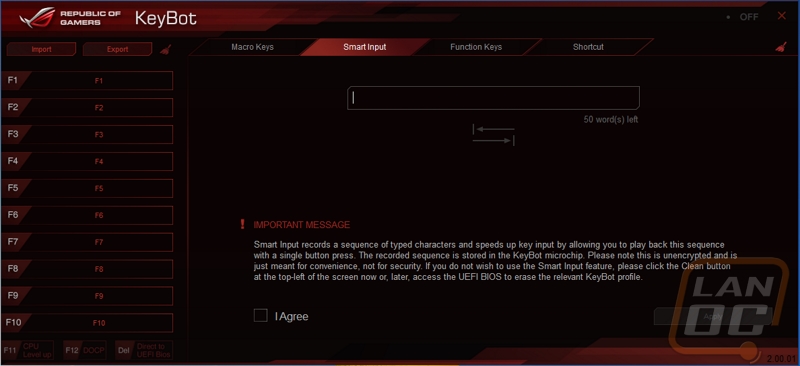
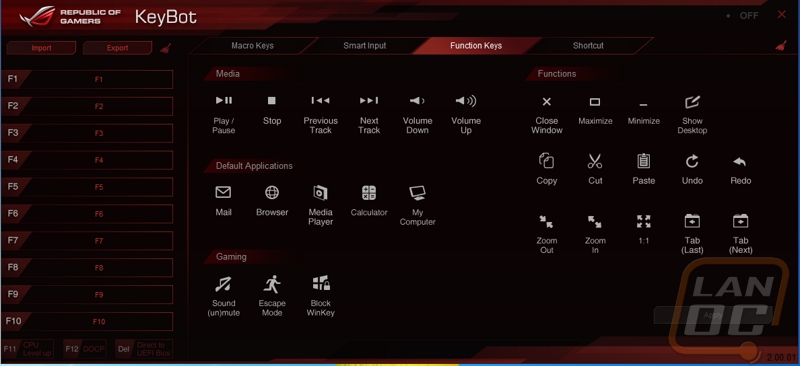
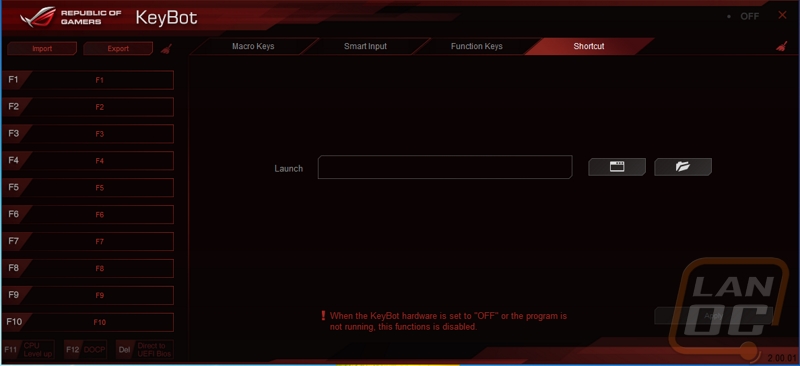
With everything installed the first thing I took a look at was KeyBot, a fairly new program from Asus. Here you can program your normal keyboard to run macros and have other hotkeys. As someone who prefers a clean keyboard without all of the extra macro keys, it is nice to still have the option should I need it.
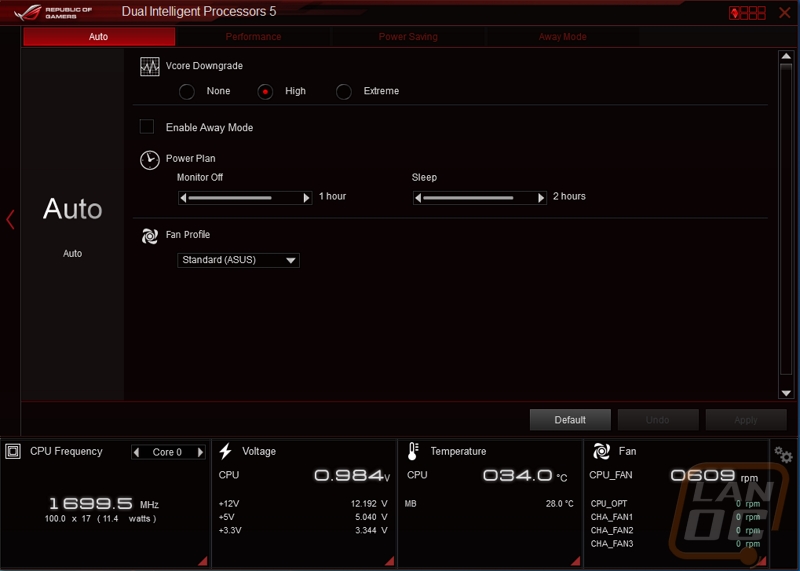
When you open up AI Suite 3 you land on a general home page. What I like about this home page though is that they still let you see a lot of what is going on in every section. From here we can click on any of the sections. Down at the bottom on every page is a quick look at the CPU speed, voltages, temperatures, and fan speeds.
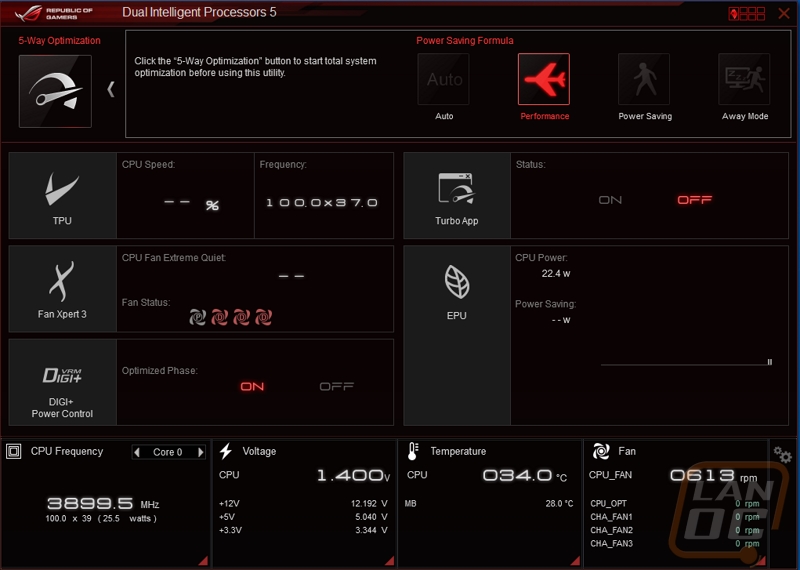
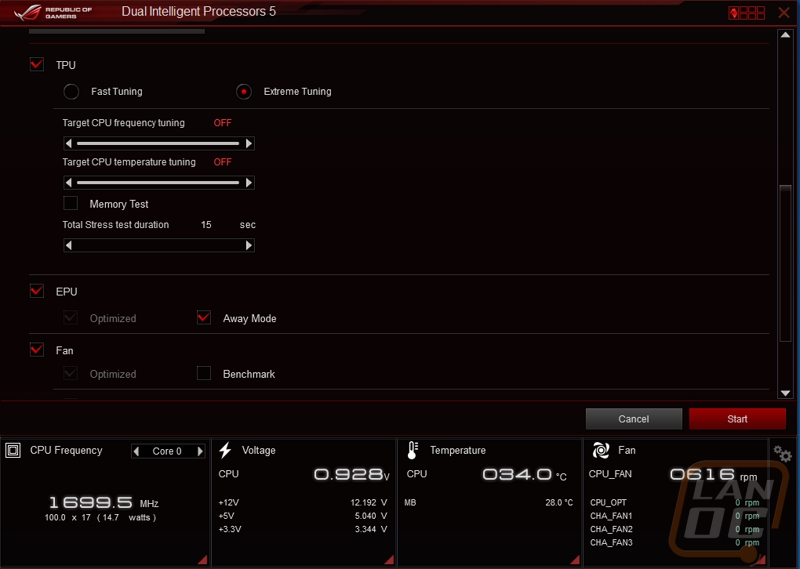
In AI Suite you can tweak voltages and clock speeds just like in the bios, only this is easier to work with and you don’t have to reboot. The other option is to let Asus do it for you. They make it as easy as one click, but in the second picture below you can also see that they let you dig in and adjust how you would like the testing in between overclocks to run to make sure it fits how you plan on using the PC.

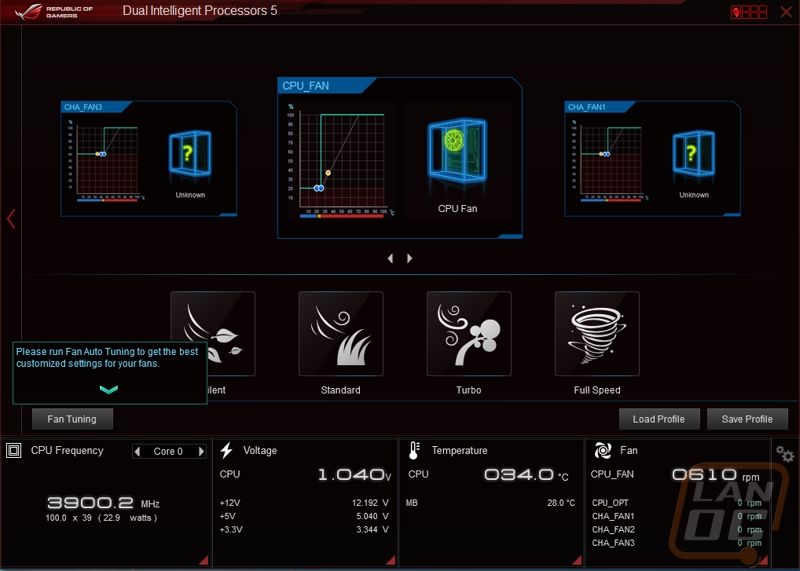
I like that you can quickly flip between different fan speed modes if you would like or you can also select a specific fan and set the fan profile yourself.
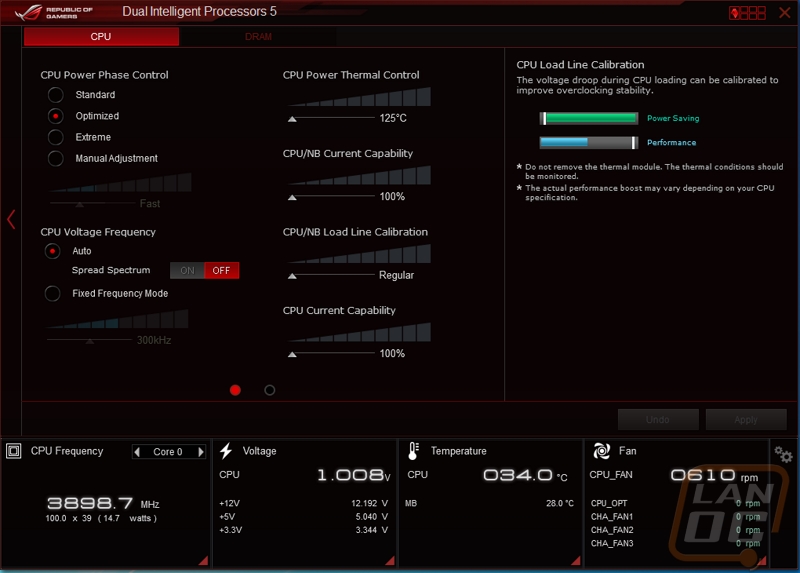
We get full access to the DIGI+II power as well.
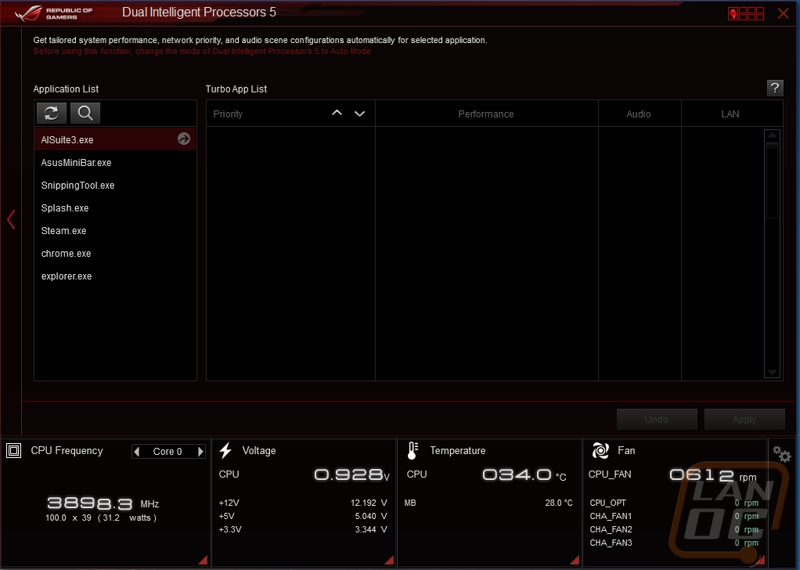
The turbo app page lets you select specific programs to get priority when it comes to both network traffic and also CPU performance.
You can set up optional power saving settings that will lower your voltages and fan profiles when your PC isn’t in use.
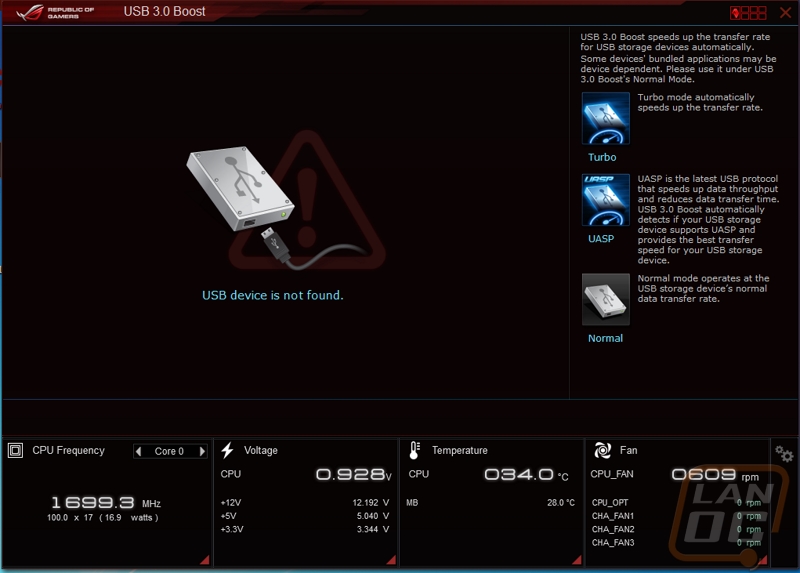
Up in the top right corner there is a small button. That button opens up a whole page of other options. The most notable is the USB 3.0 boost page where you can turn the speed up on some USB 3.0 devices and also the AI Charger+ page that lets you charge your iPhone faster.
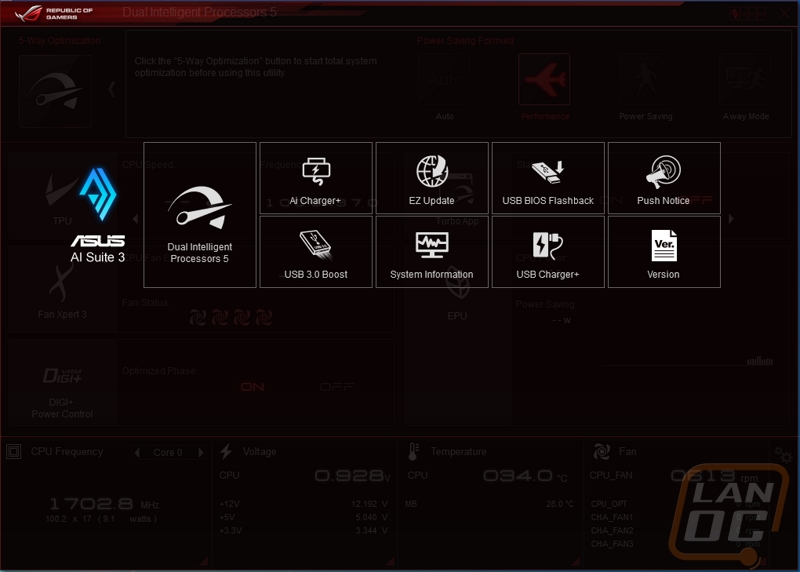
When not open AI Suite can also run a small menu down in the bottom right corner of your screen that gives you quick access to AI Suite options.

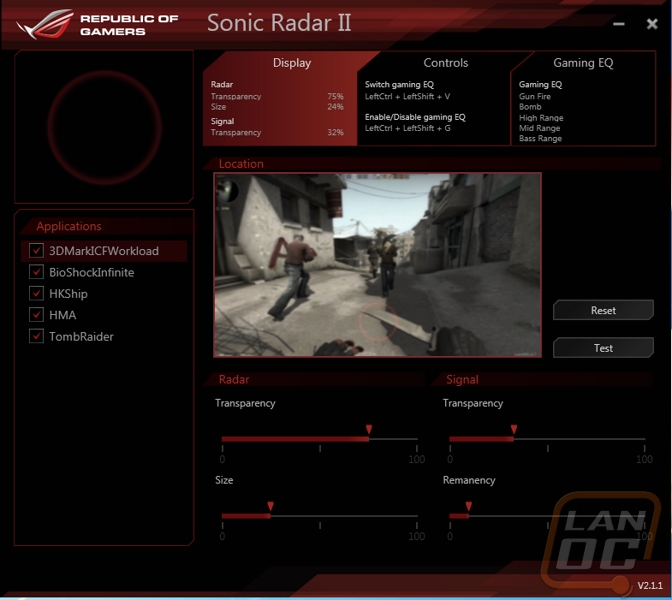
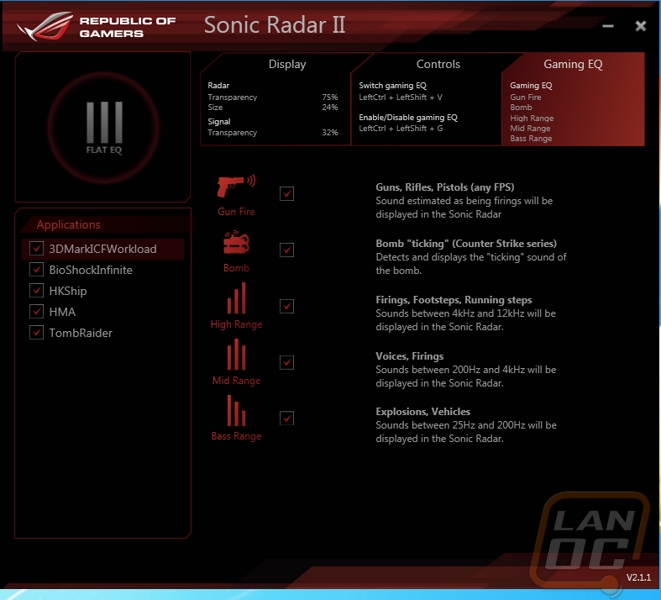
Asus also includes their Sonic Radar II program. Here you can use a little cheat that will actually show an indicator on the screen in any game you select that will show the direction the sound is coming from. They let you select the sound ranges that you want it to put on the radar, they even break it down by bomb ticking sounds, gunshots, and even footsteps.
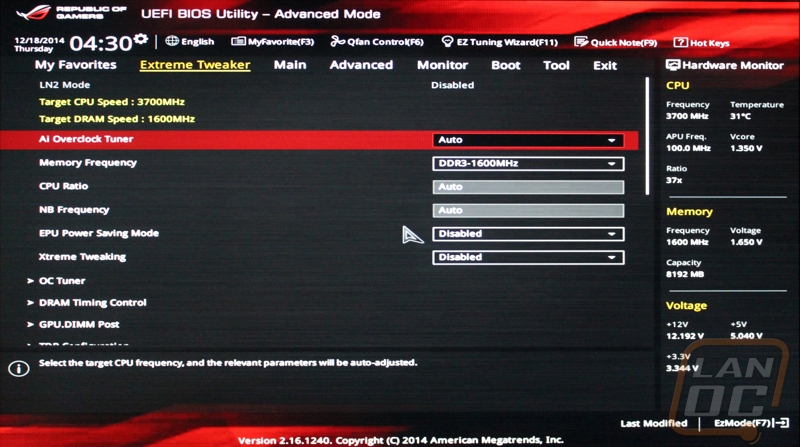
The BIOS for the Crossblade Ranger is UEFI and fully supports both keyboard and/or mouse use. That means you can navigate using your mouse or go old school by just using your keyboard. Being an ROG board, when you boot things up you go right to the extreme tweaker page were we can get right into overclocking. Other Asus boards will normally boot into the EZ-Mode, ROG boards have the same mode but the expectation is that if you are getting an ROG board you know a little more about your PC. Over on the right side of this and all pages we have a listing of current CPU and ram settings, temperatures, and voltages. When you mouse over any of the settings throughout the BIOS this area will also show a short explanation of the setting you are about to change.
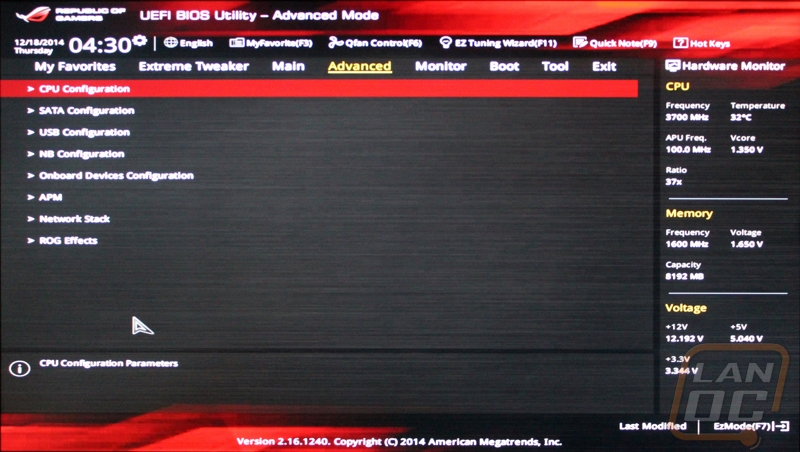
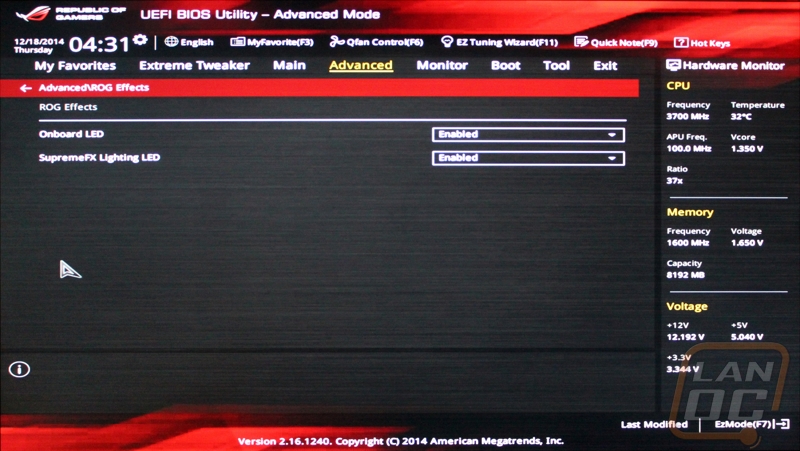
The Advanced tab has all of your normal BIOS options relating to USB, SATA, onboard devices, and the CPU. It also has an option that is less seen called ROG Effects. Here you can turn the lighting off on the SupremeFX audio card and the other onboard LEDs.
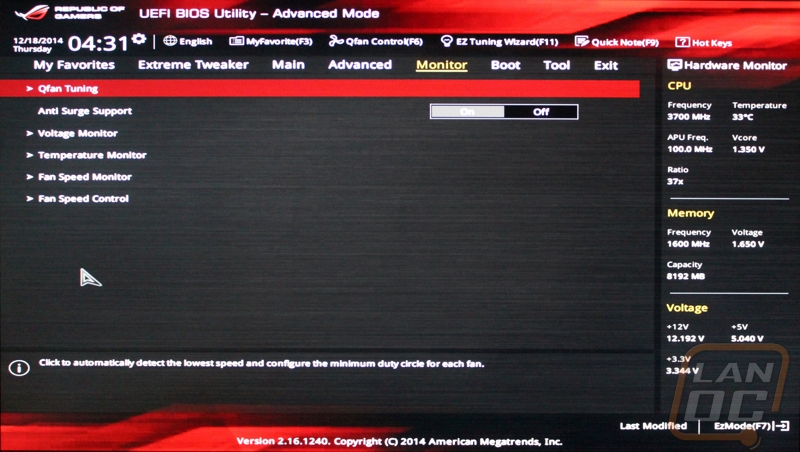
The monitor tab is broken down by a few sections. Here you can monitor motherboard voltages, temperatures, and fan speeds.
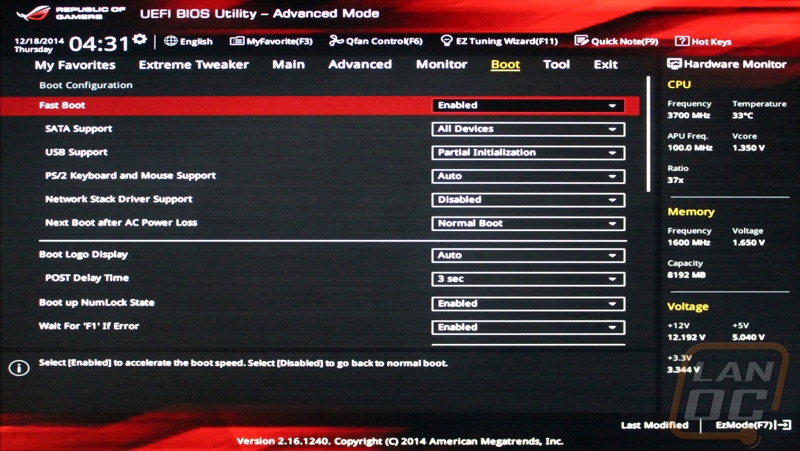
The boot tab has all of your boot options from turning the boot logo on or off to USB, network, and SATA support.
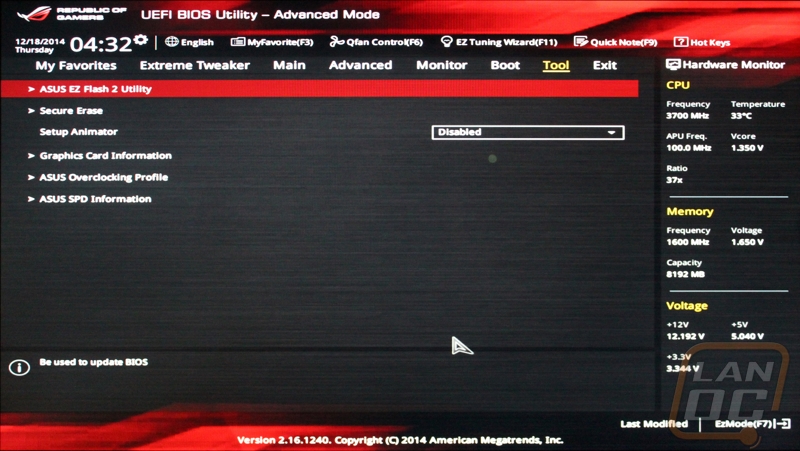
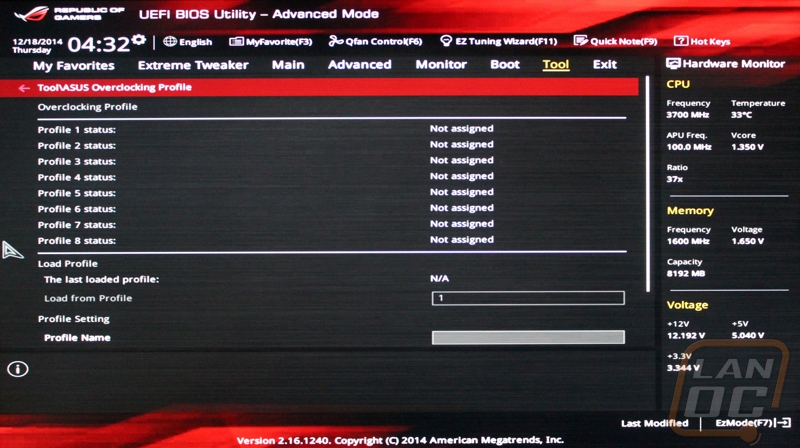
The took page is kind of a catch all for everything else. Here we can flash to the latest BIOS, secure erase your drives, look at your GPU information and also save or load overclocking profiles. You can save up to 8 profiles. This is good if you overclock using multiple cooling options or if you want to save a verified overclock while you work on an unstable one.
Up top along the top on every page are two important options. The first is the EZ Tuning Wizard that overclocks a step at a time while testing your PC just like the windows based AI Suite 3 does. The second is the Qfan Control page where you can set each hooked up fans ramp up profile.

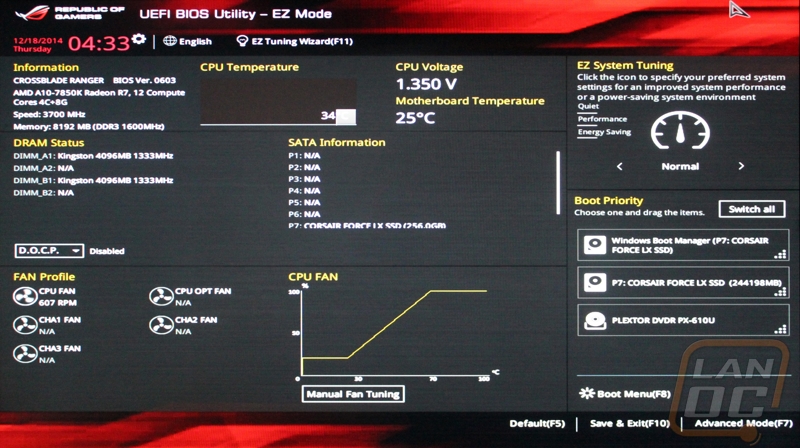
Last we can still get into the EZ-Mode by clicking down in the bottom right corner. Here we have a more general look at your settings with quick drag boot settings as well.