Board Layout
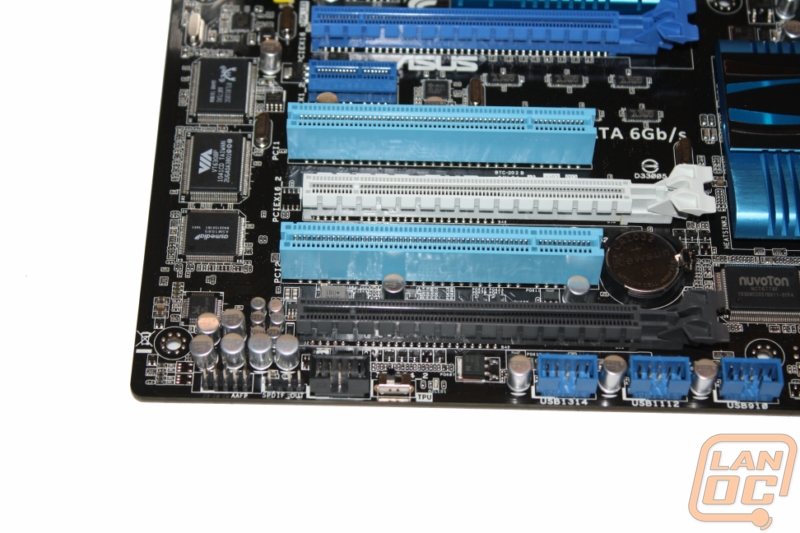
The EVO is a full ATX motherboard with a whole selection of different PCI slots to work with, but as with most of the other P67 motherboards bandwidth is limited making for a few weird exceptions. Here is a breakdown of the PCI slot locations.

On the chart above there are a few slots with multiple speeds, the lack of overall bandwidth is where those number come into play. When running in SLI both of the PCI express x16 slots will run at x8 each. If you are running just a single card you will get a full x16 out of the individual card. Where it gets tricky is the grey PCI express x16 slot at the bottom. This slot shares bandwidth with the eSATA connections, one of the USB 3.0 ports, and both of the PCI Express x1 slots. When trying to run this at the x4 speed its rated at you will see problems with one if not all of the items listed. This could be a bad situation if you needed or wanted a third card and couldn’t figure out why now one of your USB 3.0 ports stops working.
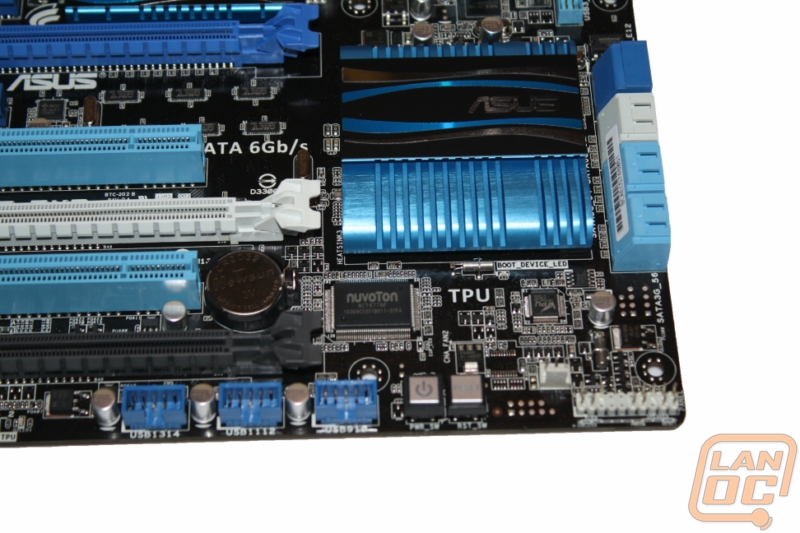
Down under the PCI slots you can find the SPDIF, Firewire, and three USB 2.0 connections. Along with all of the USB 2.0 connections you also have a small switch with the label TPU next to it. The TPU switch is for the Turbo Processor, an on the board way to quickly overclock your CPU. I will cover it a little more in our overclocking section later in the review.
Next to the three USB 2.0 headers you have power and reset buttons, a fan header, and the front panel header. The power and reset buttons are easy to access if needed. It’s not always really needed but when running tests on an open air test bench they are a blessing.
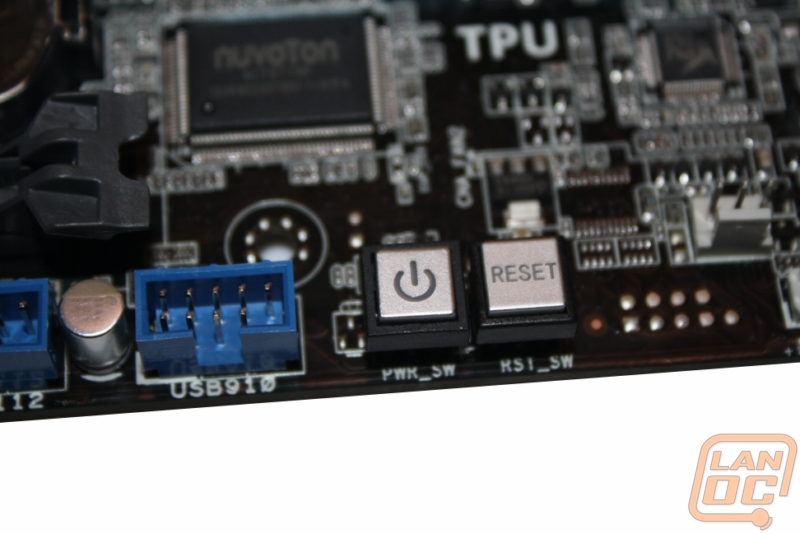
The front panel header was also surprisingly easy to deal with. Rather than pack each of the connections in next to each other making it impossible to access unless you have baby hands. They spaced each of the connections out making this the easiest front panel header I have ever worked with!
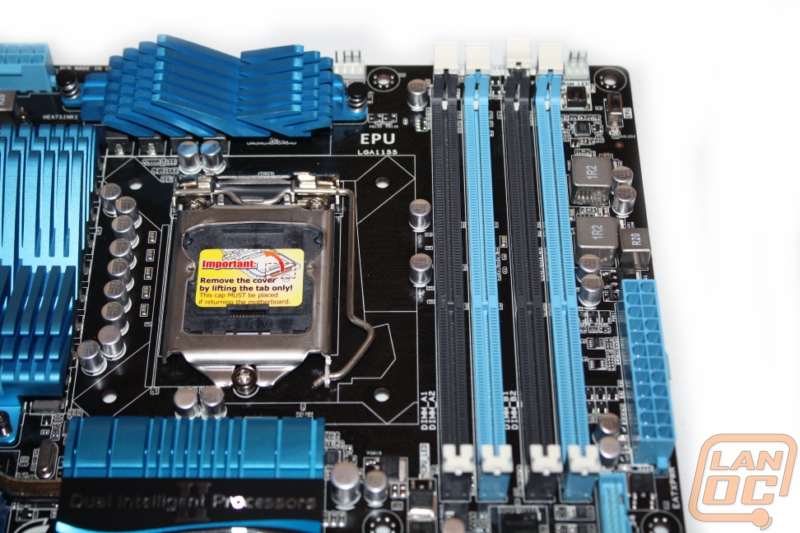
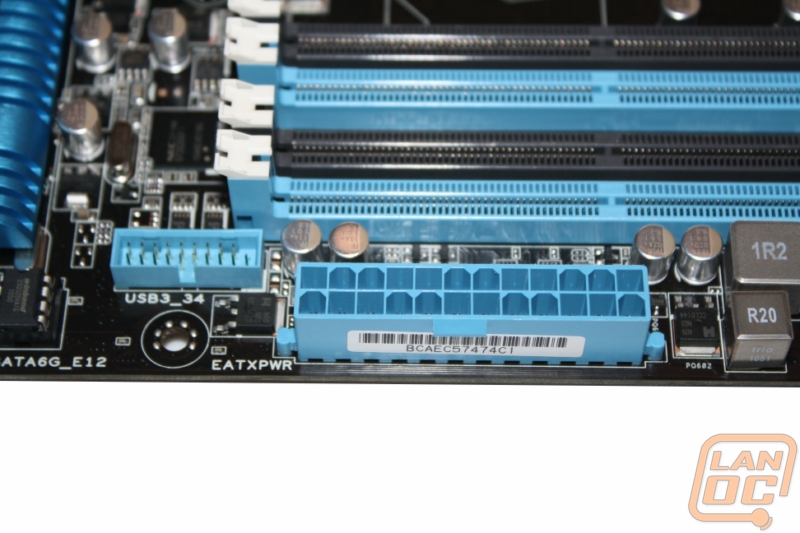
Up top you have four blue and black DDR3 slots. To make things a little easier ASUS used clips on the top only making swapping out ram a little easier in confined spaces. Up top you have multiple fan plugs on the off chance you need them.
Next to the ram slots you have your 24pin power connection along with another USB 3.0 port
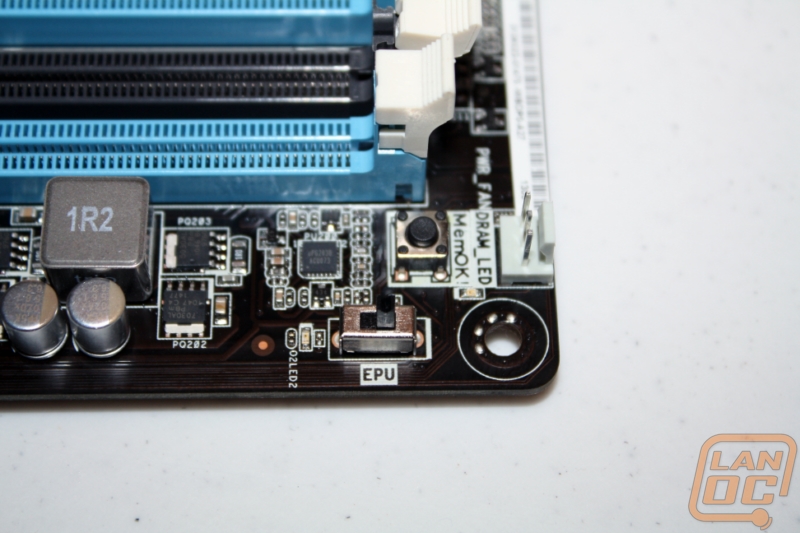
Also on the top right you also have the MemOK button. If you haven’t seen it before, this is a wonderful feature. If you have a memory incompatibility the light will light up. You press and hold the button and it will test and set the ram to a setting that will allow you to boot. The EPU switch next too it is a manual switch for power saving, although important, we are gamers I doubt we will be putting it too much use.
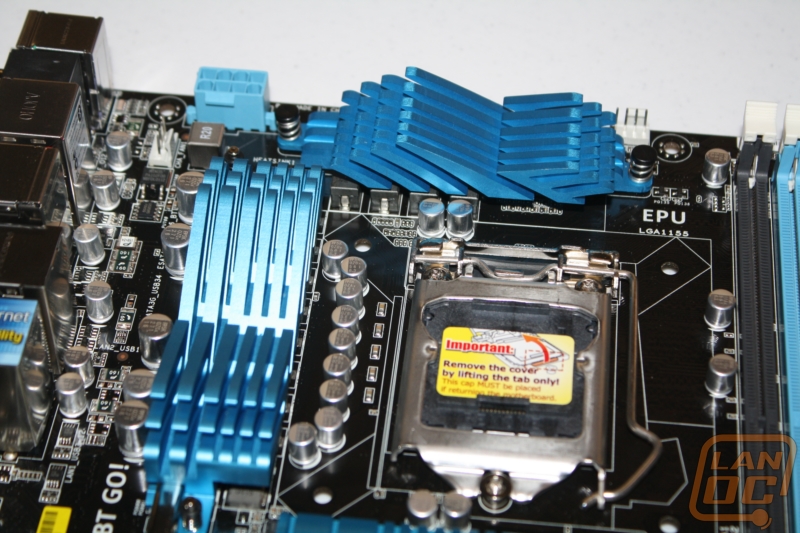
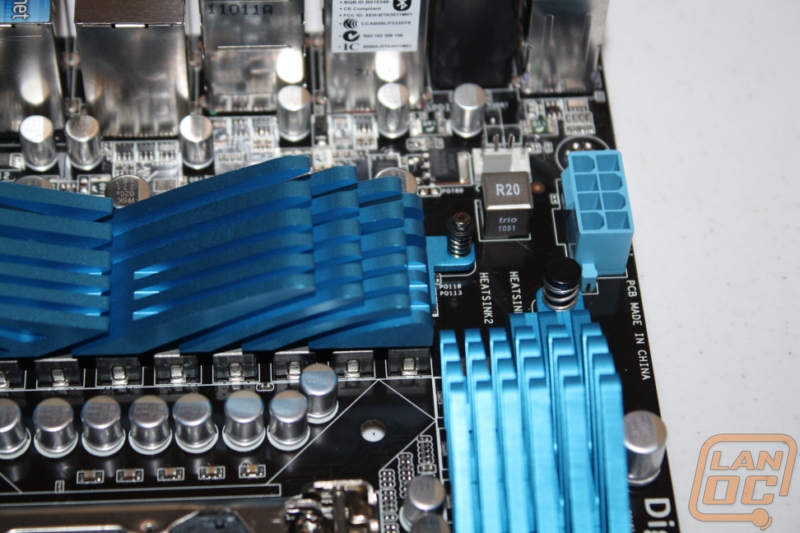
Behind the rear I/O panel you have another 4 pin fan connection and this is also where you can find the 8pin CPU power connection.
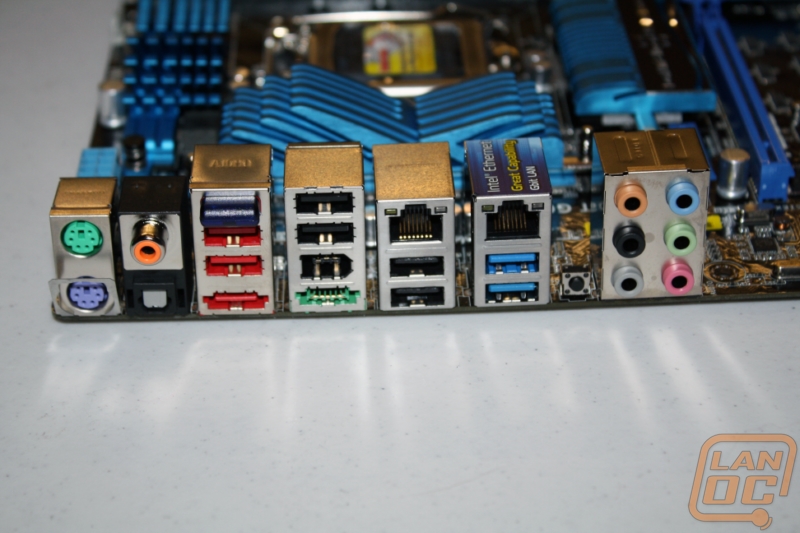
For the EVO Asus really packed the rear I/O panel with features. You receive two legacy PS2 ports, digital and optical audio connections, and on the far right you have the typical 6 port audio in/out. In the middle you have a whole collection of USB ports, four black USB 2.0 ports, and two blue USB 3.0 ports. Two red USB 2.0 ports that have extra power, and below them a combination USB 2.0 and powered eSATA connection. That’s not all though, you have a second eSATA port, firewire, two 10/100/1000 ethernet connections (one being Intel ethernet as you can see the sticker on it), and a Bluetooth dongle. With 24 different ports on the rear I/O panel I seriously doubt that you will be without what you need with the EVO.
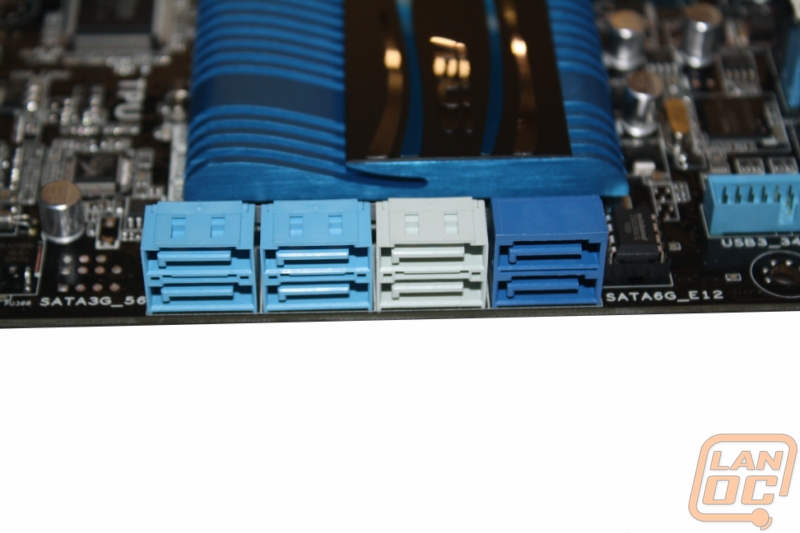
For internal SATA connections you have a total of 8. With three different colors it can be a little confusing, let me help.
-First four on the left (light blue) SATA 2 on Intel chipset
-Two light grey connections SATA 6 on Intel chipset
-Last two on the right (dark blue) are SATA 6 on the Marvell® 9120 controller
In the end you have four SATA2 and four SATA6, it should be enough for anything you need.
 About what?