Board Layout
Down on the bottom of the GD90 you have a firewire connection along with power and reset buttons. Next too those buttons you have an even larger button for MSI’s OC Genie.
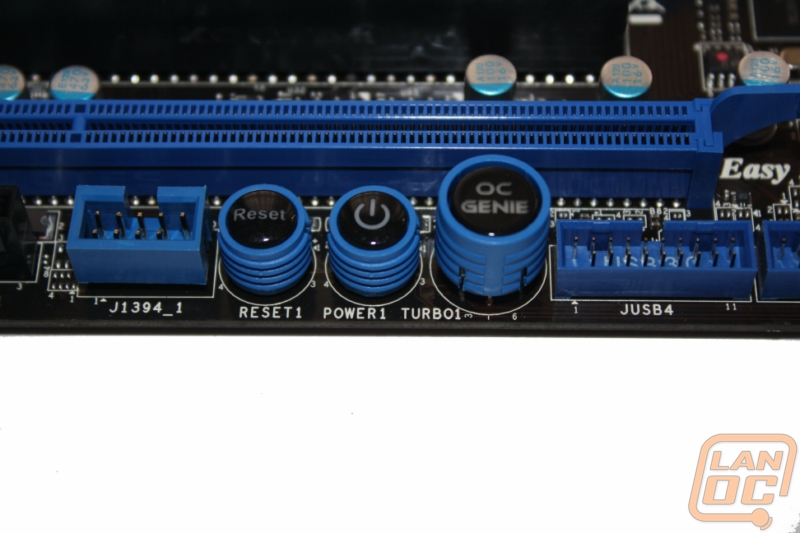
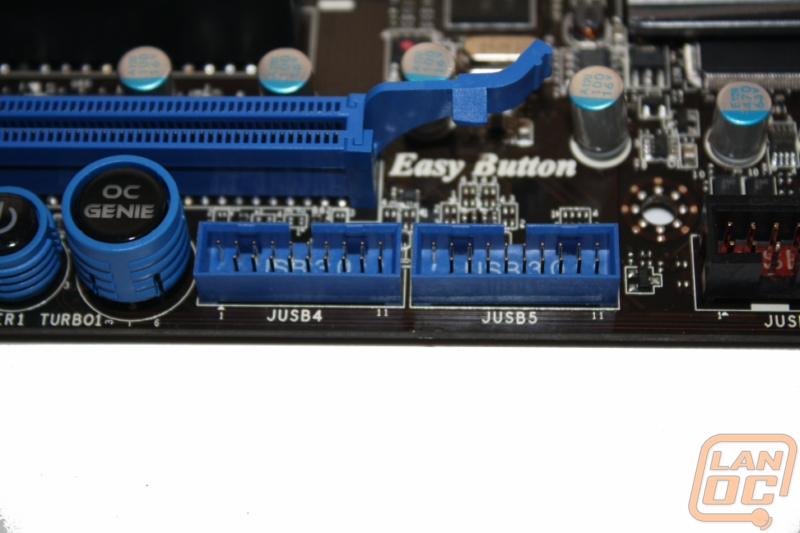
Next to the OC Genie button they have also included two internal USB 3.0 connections.
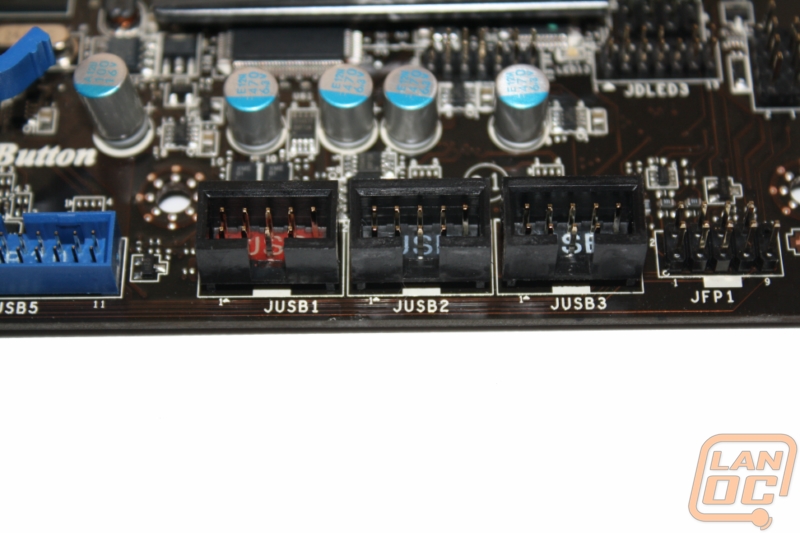
For USB 2.0 you get three internal headers. The red labeled header on the left is a “super charger” port that can help charge your ipod or iphone quicker.
The front panel audio header is in the bottom left corner of the motherboard, an easy location to wire up without having a wiring mess strung overtop of your motherboard like some motherboards.
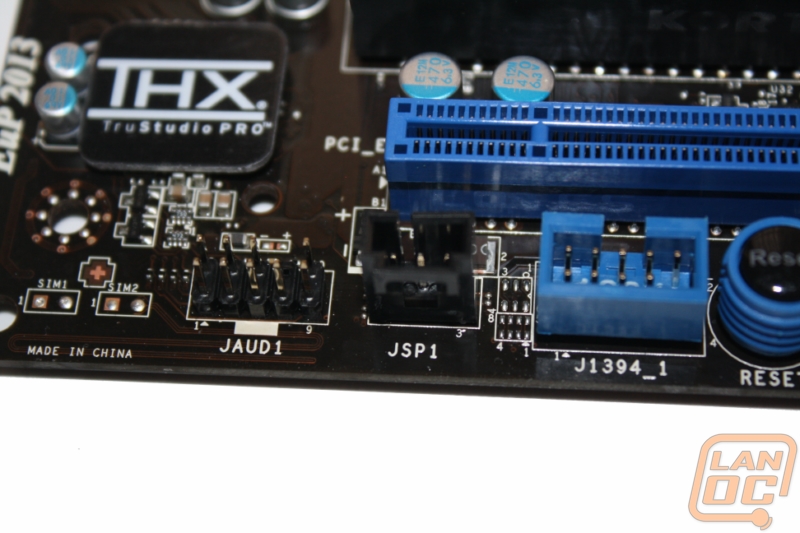
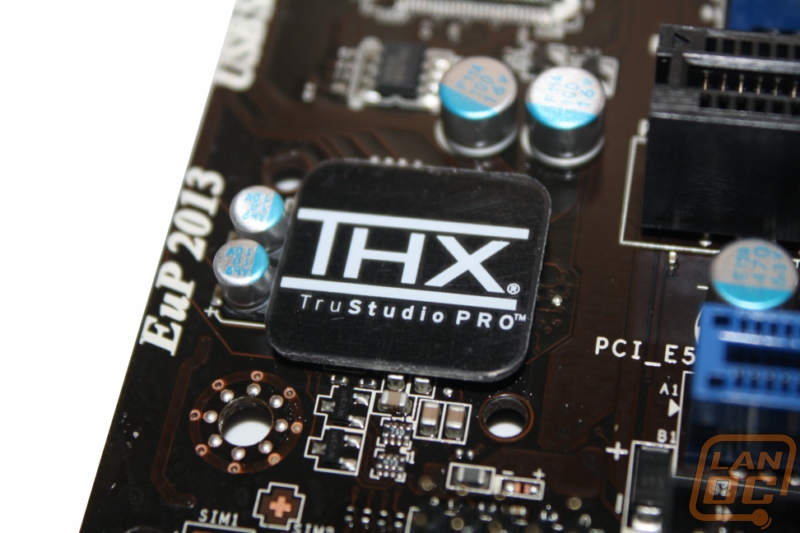
The onboard Realtek® ALC892 chipset is covered up by a small THX TruStudio PRO emblem. It’s located between the PCI slot covers and the last PCI Express slot, putting it close to the audio header in the bottom left corner.
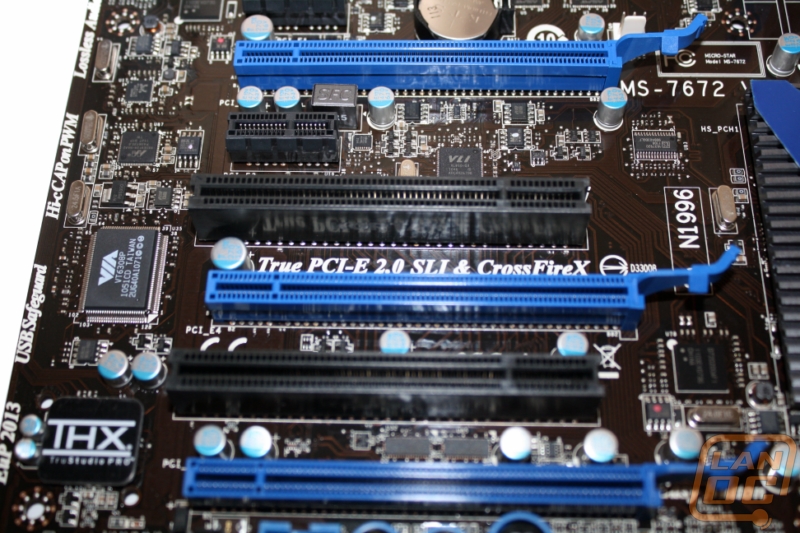
The PCI slot situation on the GD80 is a little tricky. At first glance you have two PCI Express x1 lots, Two legacy PCI slots, and three PCI Express x16 slots. To Start, even though the board has two PCI Express x1 slots per the specifications you can only use one or the other, if you try to use them both it will default back to the top slot. The PCI Express x16 slots are equally interesting. When running just the top slot you get x16, when running the top two you are limited to x8 on each. Where it gets really tricky, if you use the last spot you (PCI_E5) you will see x4 on it but due to a limitation with the chipset you will lose 2 eSATA ports, 2 onboard front USB 3.0 connectors, 2 PCI slots and 1 USB 3.0 rear IO port (the top USB 3.0 port at the side of audio jacks). In the end it almost seems pointless to have the third x16 slot if this is the case, as with the second x1 slot.
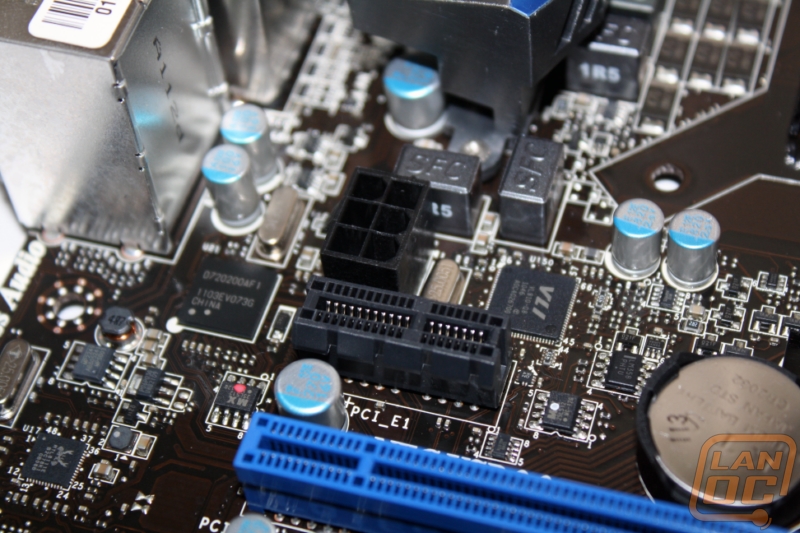
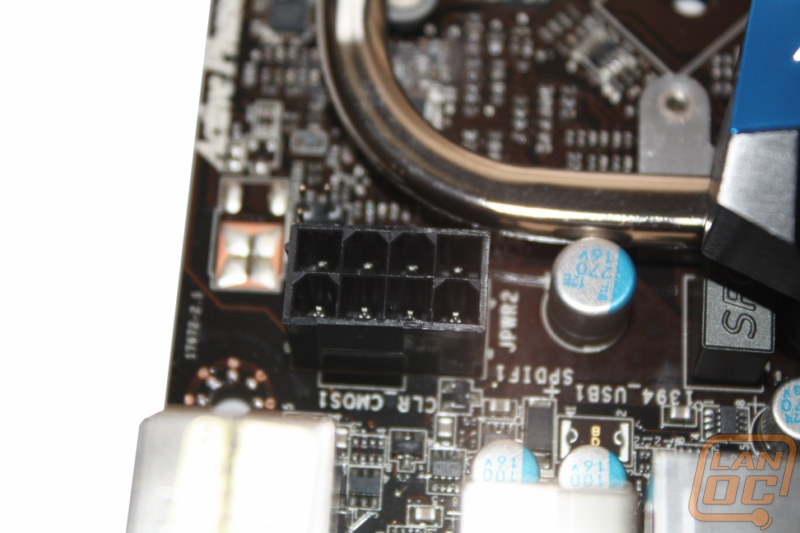
Oddly enough to give you extra juice for overclocking your video cards MSI pulls power from a 6pin connector just above the PCI slots. The use of an extra connector like this isn’t unheard of, but using a 6pin is an odd choice. If you are planning on running SLI on this board you will need to make sure you have enough 6/8 pin power connections for your cards and also an extra for the motherboard. I would have rather seen a Molex or a second 8pin CPU power be used as they are more common. Having said that our 850watt power supply had the extra connections needed, most high wattage PSU’s should suffice.
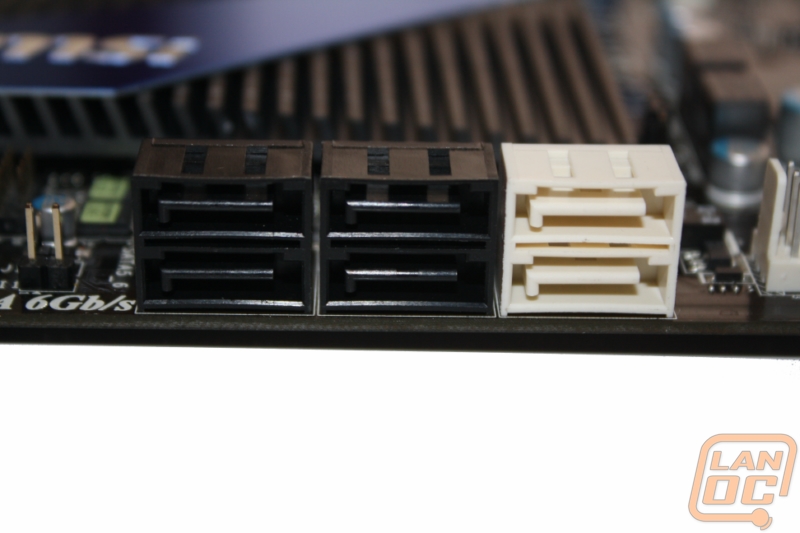
A total of 6 SATA connections internally with two being SATA 6 should hold off most people. If you are looking for more than six you are going to be stuck using an add on card. I would personally like to see at least 8 on a mid to high end motherboard. I don’t use that many anymore, but before moving all of my storage off to servers I would use 8 to 9 SATA connections between two disc drives and multiple hard drives. I would rather lose one of the two eSATA connections and have more internally if that was the case.
For anyone looking to keep a close eye on all of your voltages MSI provides a nice place to check them one by one with a multi-meter. They even include nice leads in the accessory pack to make it even easier.

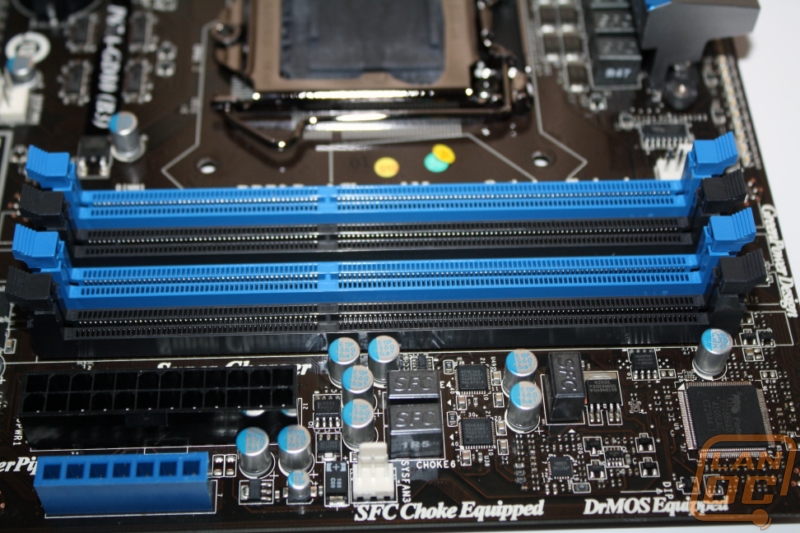
Next to the 24 pin power connection you have four DDR3 slots in blue and black.
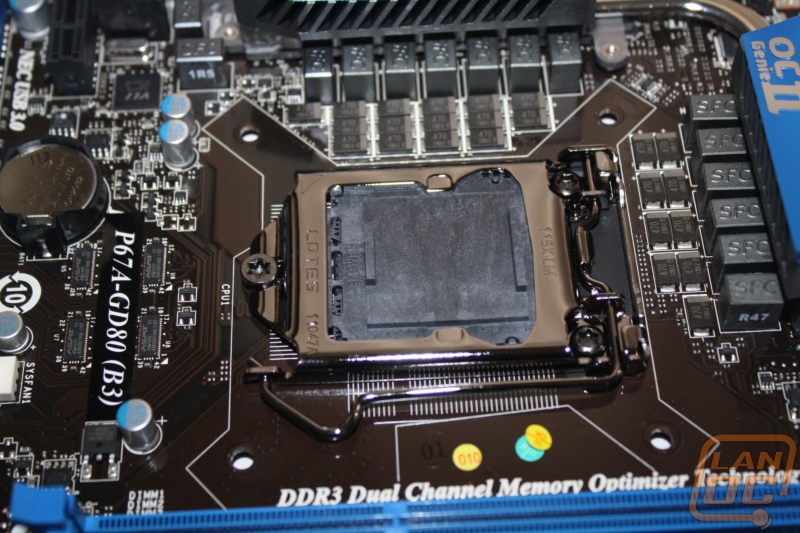
The GD80 uses a Lotes made CPU hold down
Just behind the rear I/O panel and tucked up next to the heatpipes is a single 8pin CPU power
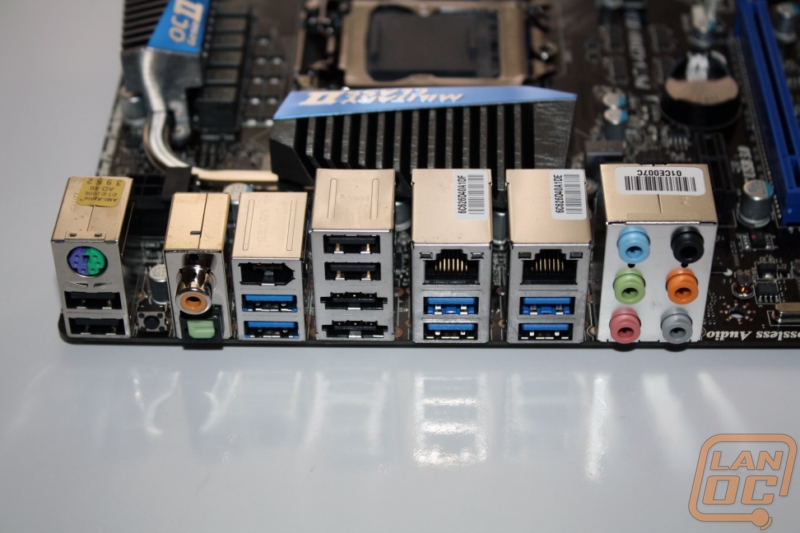
The rear I/O panel is PACKED with features. You have six USB 3.0 posts, six USB 2.0 ports two do double duty as eSATA ports, two 10/100/1000 ethernet ports, a firewire port, digital and optical audio ports, a ps2 port, and a six port audio panel! Try to stay all of that 10 times really fast.