Photos and Features
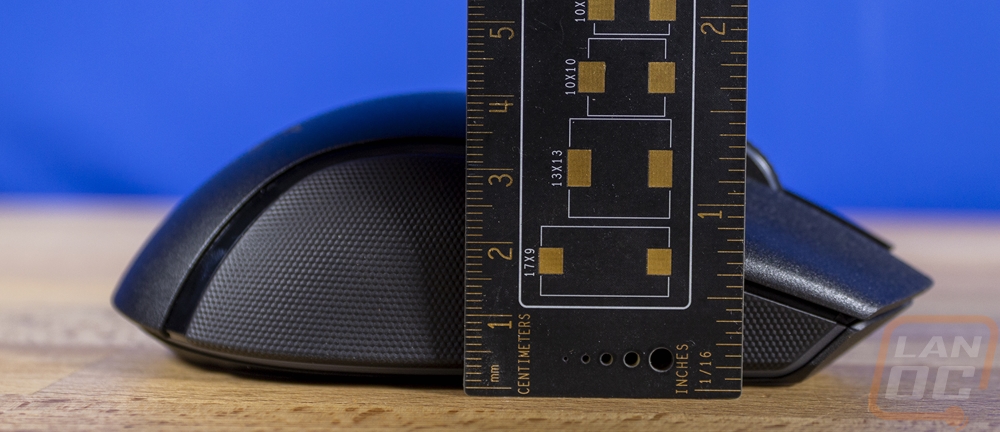
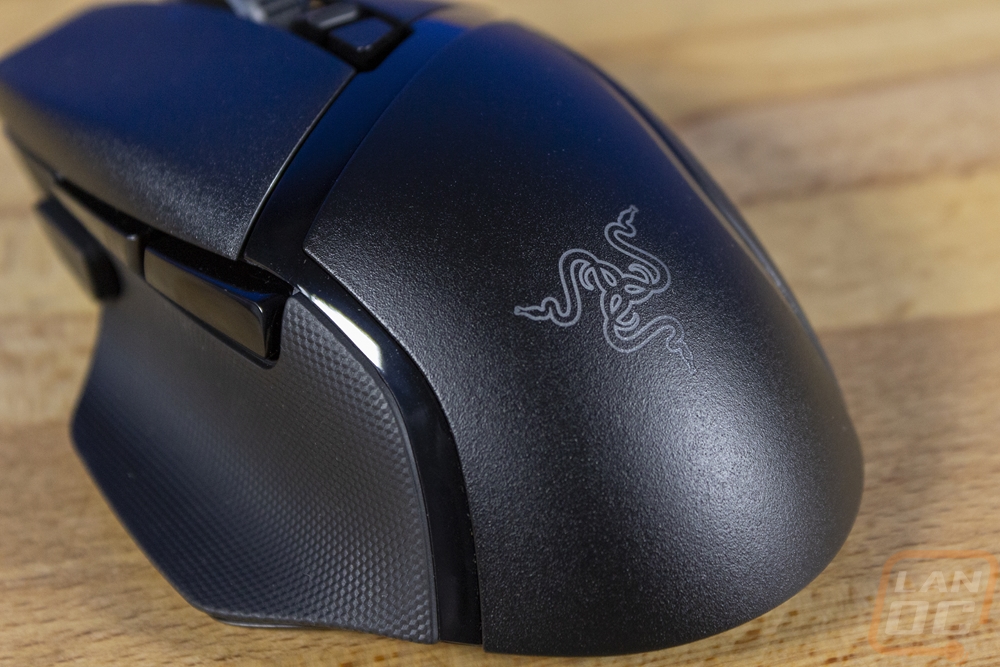
The Basilisk V3 Pro is about as far away as you can go from what I’ve seen from the last few Razer mice. In some mouse enthusiast communities people like to make jokes about the G502 from Logitech being heavy but the truth is, the G502 for a long time was the most popular mouse being sold, it may still be even and with that, it isn’t a surprise at all that Razer has a mouse with a similar focus. The Basilisk V3 Pro or the Basilisk shape in general is angular and a large mouse which has a focus on features and lighting which are what a lot of mainstream customers are looking for when buying. The Basilisk V3 Pro is 130 mm long and 75.4 mm wide and 42.5 mm tall. It has an ergonomic focused shape which means it is specific to right-hand use which can be especially seen with the large wing on the left side that kicks out under your thumb. The angular shape is very visible at the ends of the triggers which stick out and like the G502 Razer uses a mix of glossy and textured finishes to define areas like in between the triggers and the palm area.
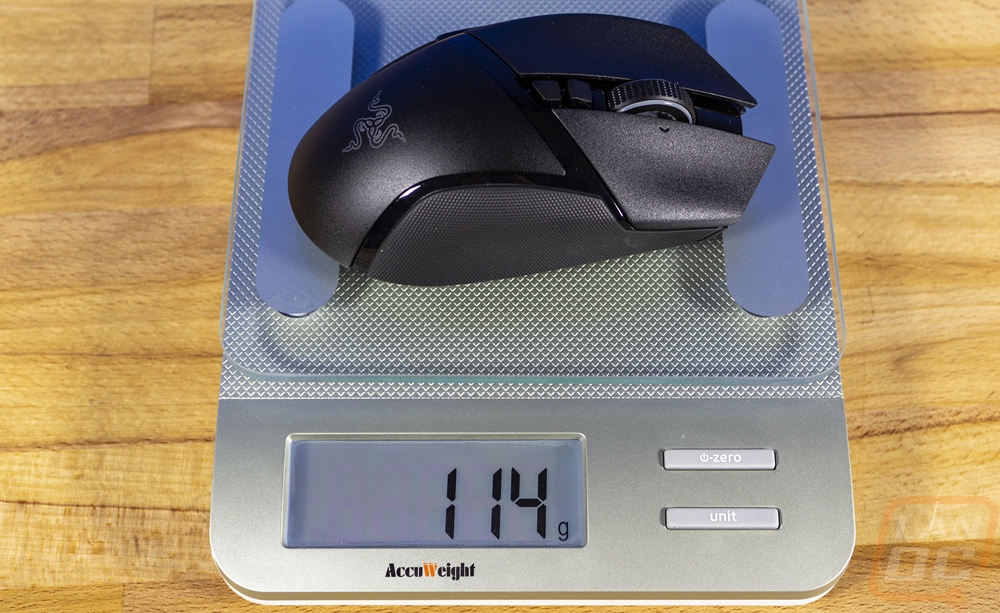
With weight not being a focus, the weight of the Basilisk V3 Pro is rated at 112 grams but on our scale, it was 2 grams more at 114 grams. That is twice as much as some of today’s lightweight mice, but keep in mind that some people prefer to have more weight. The G502 wireless has the same 114-gram weight so if you were thinking of switching between them and you like that shape/weight it should be very similar for you.
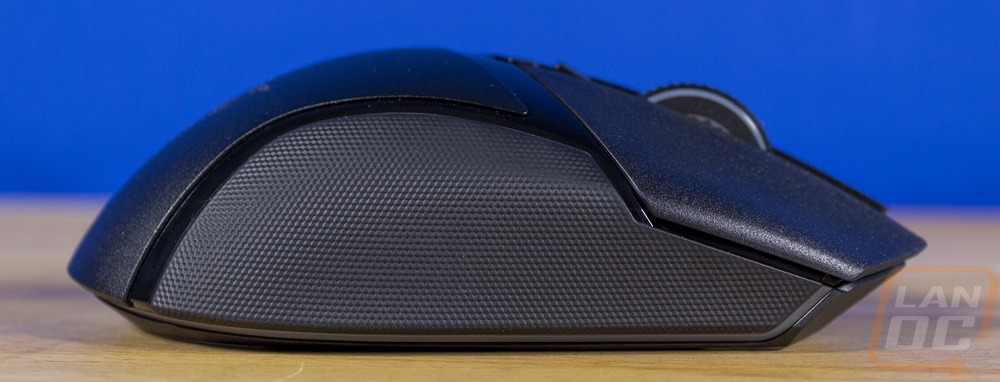
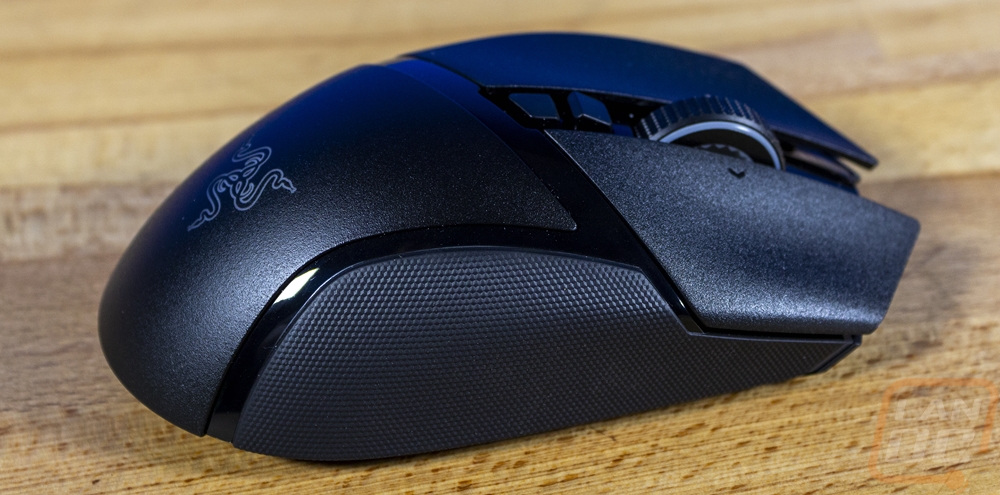
A lot of the Basilisk V3 Pro has a slightly textured plastic but on the right side of the mouse, the entire section has a dimpled rubber finish for even more grip. This side view if you ignore the triggers sticking out looks a lot like a Sensei/Viper/Superlight shape which includes a slightly curved lip that helps with grip.
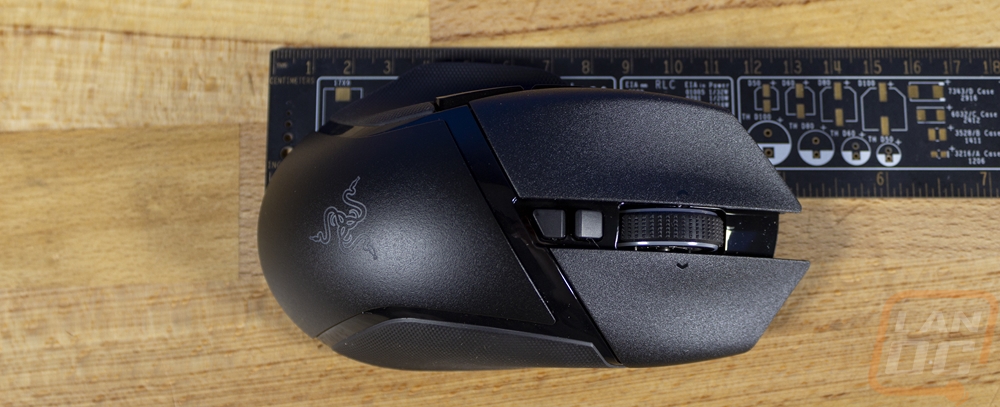
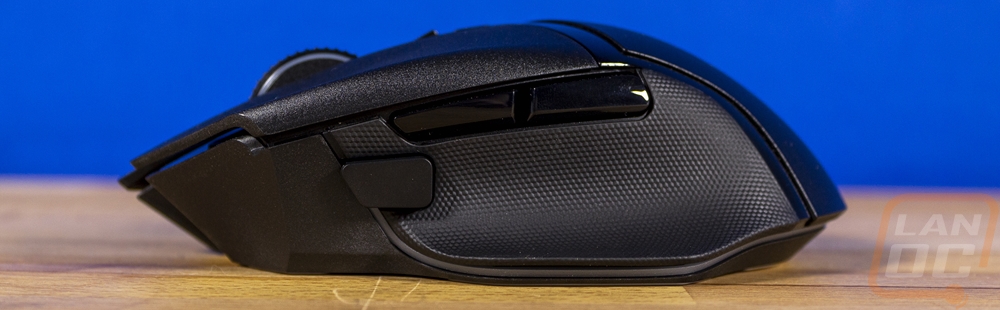
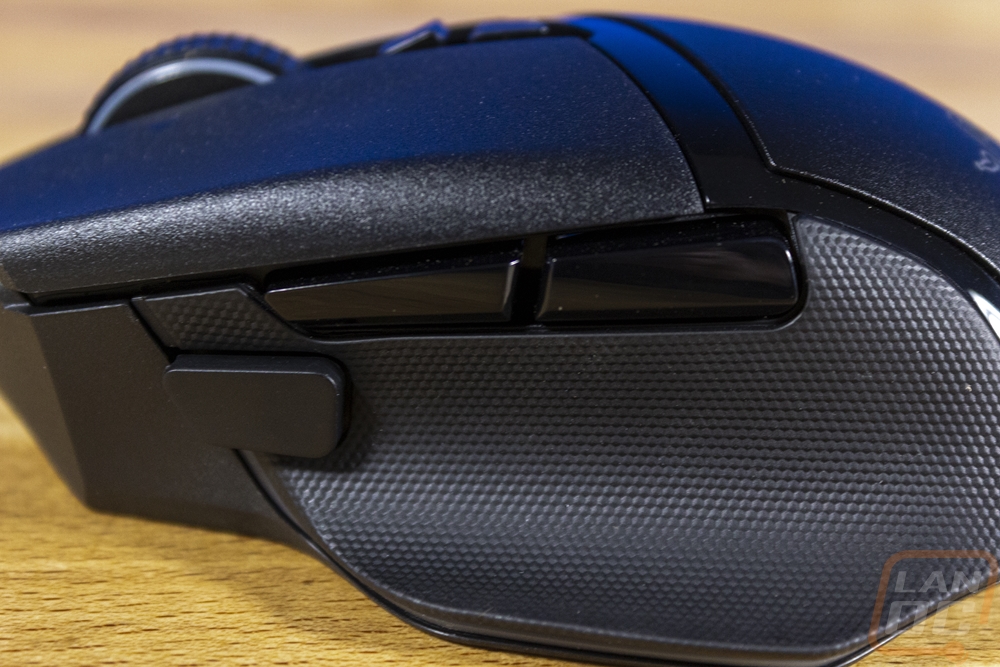
The left side also has a similar rubber section but this side does have more going on. For starters, you have a large wing that hangs out below your thumb area to keep your thumb from rubbing on your mouse pad. This side view also gives a peak at the addressable RGB lighting underglows that wrap around the Basilisk V3 Pro as well. The left side has your two standard thumb buttons and a third button in the front. The first sticks out away from the mouse slightly almost like a trigger but this is a single button. By default this button is a DPI shift button to slow down your DPI for aiming, I don’t understand why it looks so out of place though with it having a different finish than the two glossy buttons and with how it sticks out.
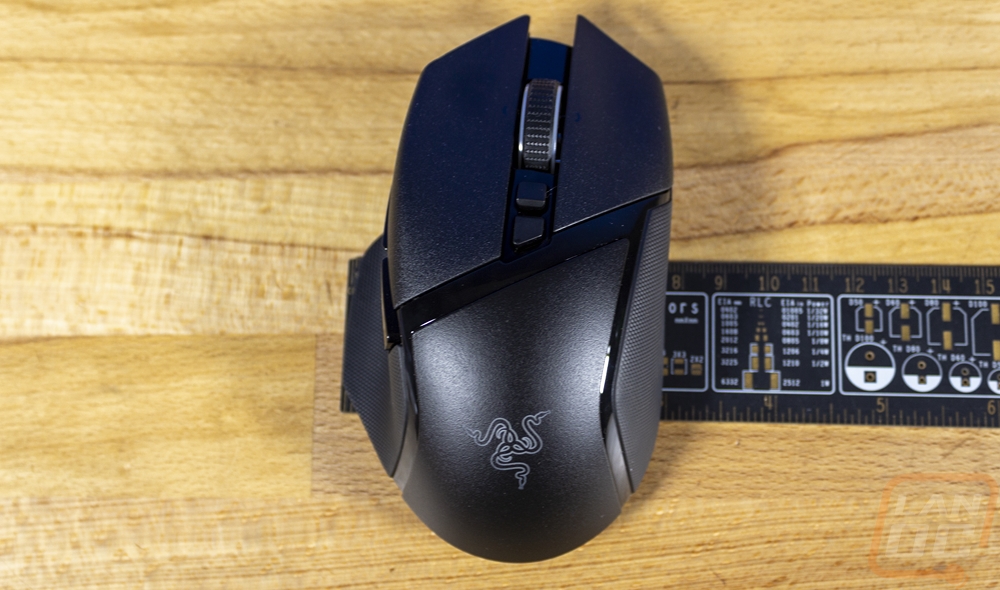
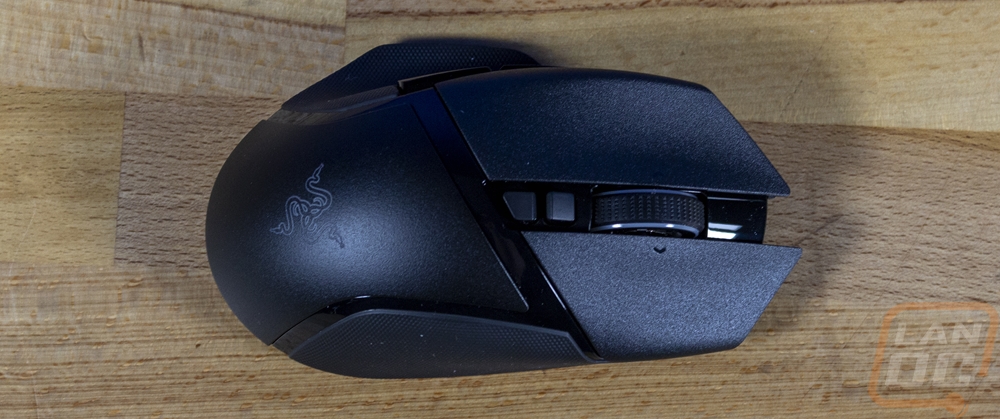
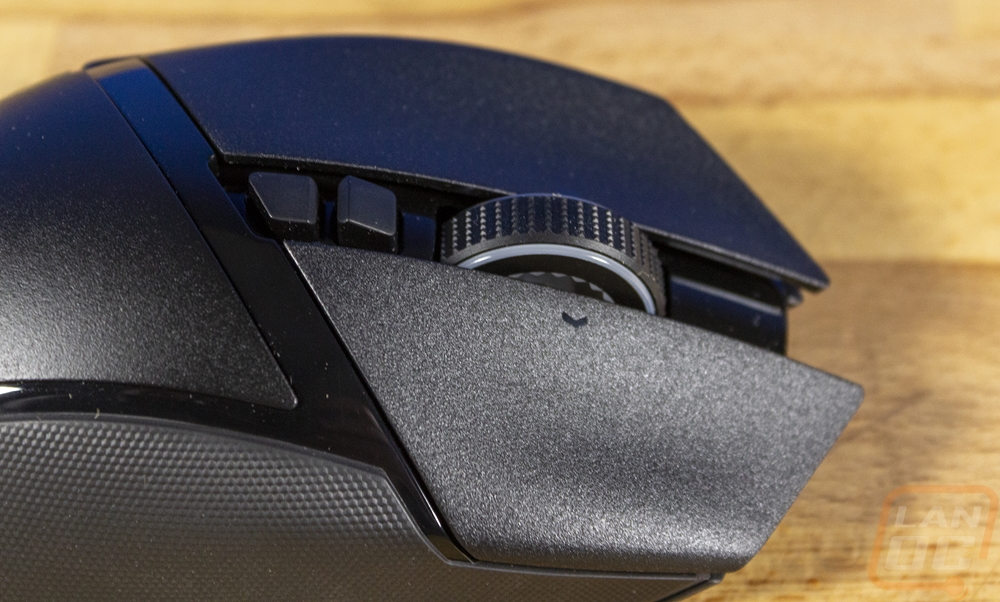
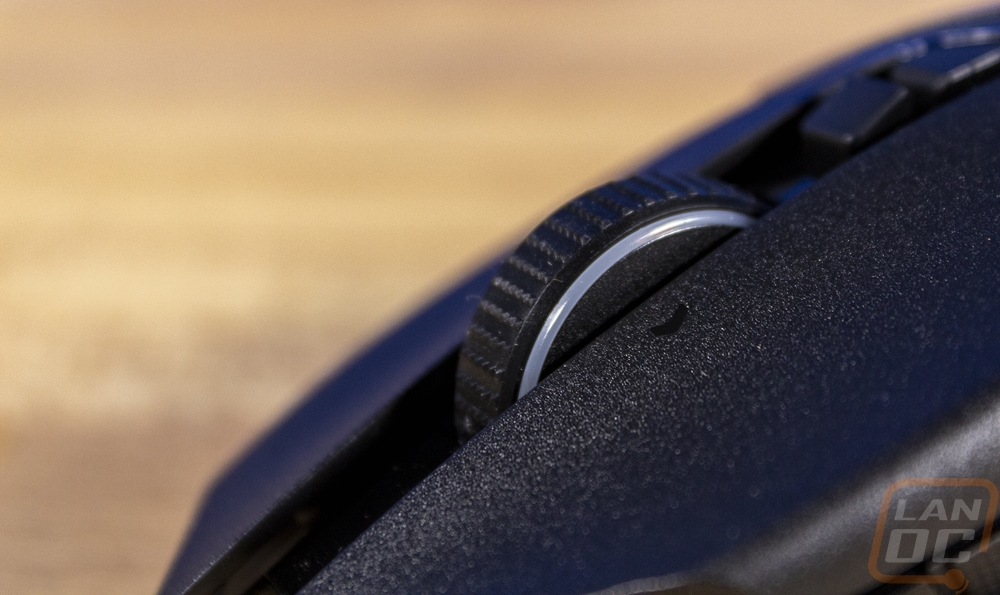
The top-down view shows the curved shape of the base mouse before you include the side wing. The back of the mouse in the palm area has the Razer three-headed snake logo which is backlit and then the scroll wheel is also lit up with rings on each side. You have the two main triggers which use Razer's new Gen 3 optical switches and then the Basilisk V3 Pro has a lot of its customizable buttons all near the scroll wheel. There are two behind the wheel with the front one by default set to shift the scroll wheel between free-spinning mode and a standard clicky scroll. Then the scroll wheel itself unlike on other Razer mice has side-to-side buttons which they indicate with the small arrows to the sides as well as the normal switch when you press down on the scroll wheel.
The back view shows just how much that wing sticks out but it also does a good job of showing that the shape of the Basilisk V3 Pro does have a large curved in area in the thumb area which along with the lip on the right side is great for anyone who picks their mouse up. The Basilisk V3 Pro is tall but for being ergonomic doesn’t have too much tilt on the top shape like the Deathadder. We can also see that underglow lighting that wraps around here.

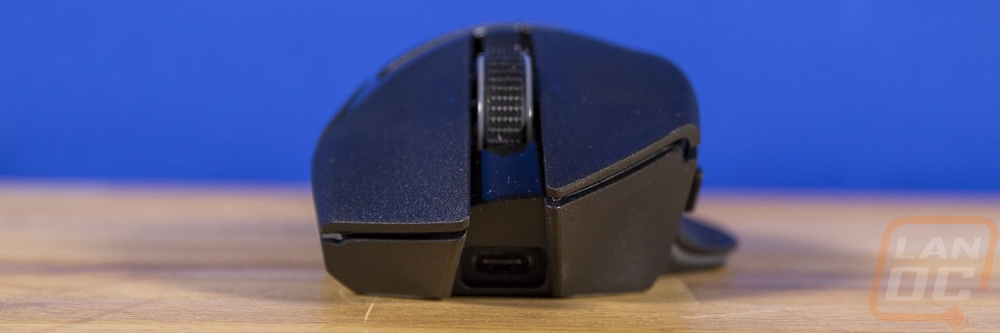
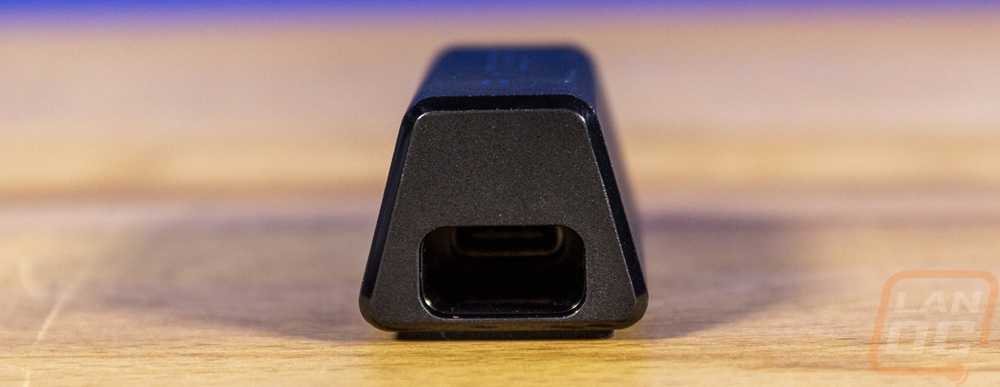
The front of the Basilisk V3 Pro sticks out a lot with the center area of both triggers sticking out much farther than the rest of the mouse. This creates a little cavern area in the center where they have the USB Type-C plug tucked away. We can also see that the left trigger is significantly higher up than the right trigger which is interesting considering the palm area at the top doesn’t have that same tilt.
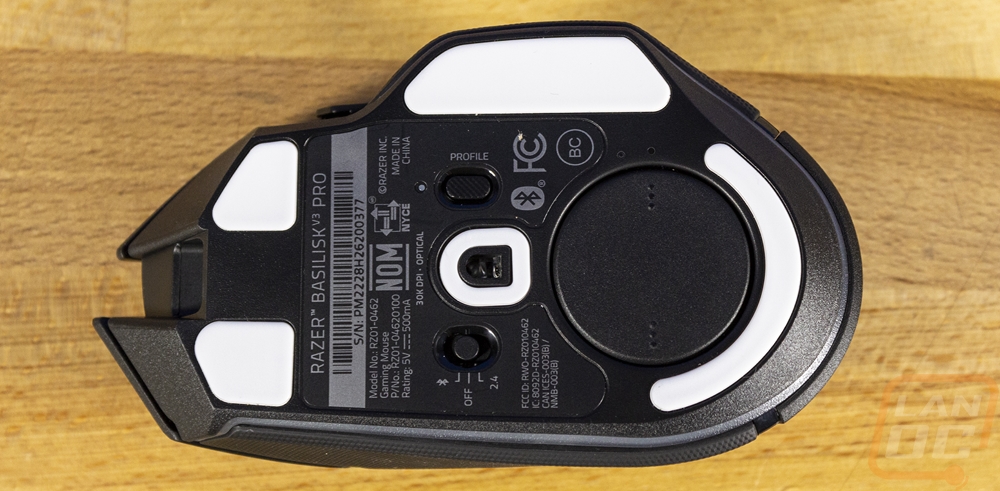
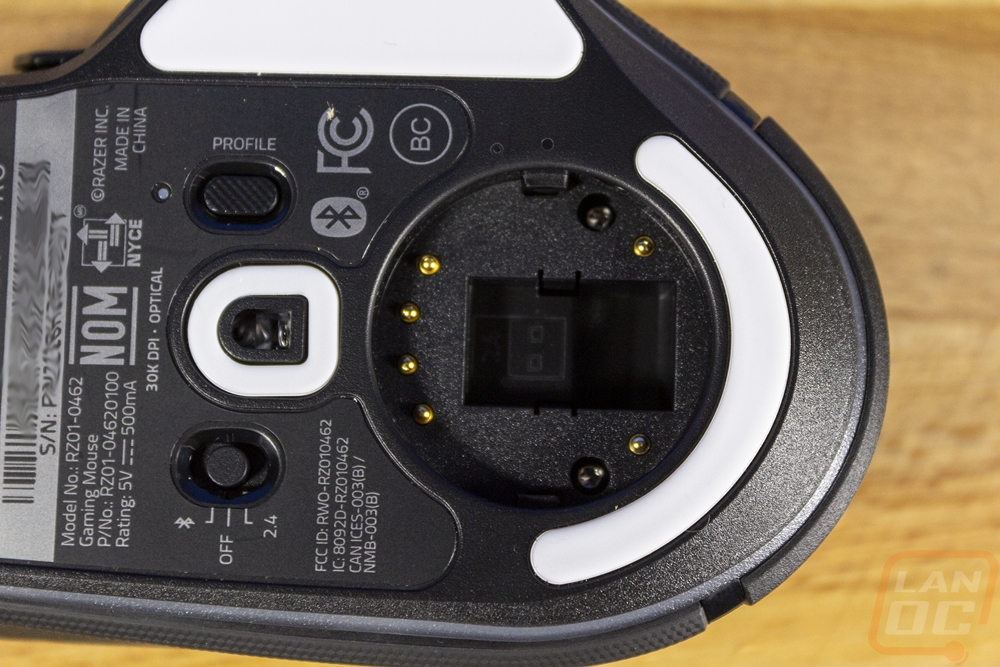
The bottom of the Basilisk V3 Pro shows that extra width as well, you can see the thumb wing area which has a huge glider covering that entire area. The bottom of course has an information sticker that has the model name and your serial number. They include the manufacture location and certifications logos for the FCC and Bluetooth. Then there are two buttons. The large one is the profile button, you can flip between the 5 stored profiles using this, there is also a pinhole LED just above that lets you know things are powered up. On the left side of the sensor, there is a three-way switch, this is how you turn the Basilisk V3 Pro off or you can pick between Bluetooth and 2.4 wireless modes. You can use this to switch between two different PCs or from your PC to your laptop for example. At the back, unlike the Deathadder and Viper, there is a big round cap that you can twist to remove. This is the filler for the wireless charging/charging dock. It can also house your wireless dongle if you need for transportation. There are six contact pads here in total to work with the adapter included with the Mouse Dock Pro. For gliders, the Basilisk V3 Pro has standard gliders not PTFE like the Deathadder and Viper which I have to assume is because of this not being an enthusiast-focused product and PTFE wearing faster. The sensor has a glider around it to keep that distance the same which is nice and in addition to the larger one under the wing, there is one at the back and two up front. Speaking of the sensor, the Basilisk V3 Pro has the same 30k Focus Pro optical sensor that the Deathadder and Viper have which is based on the PAW3950.
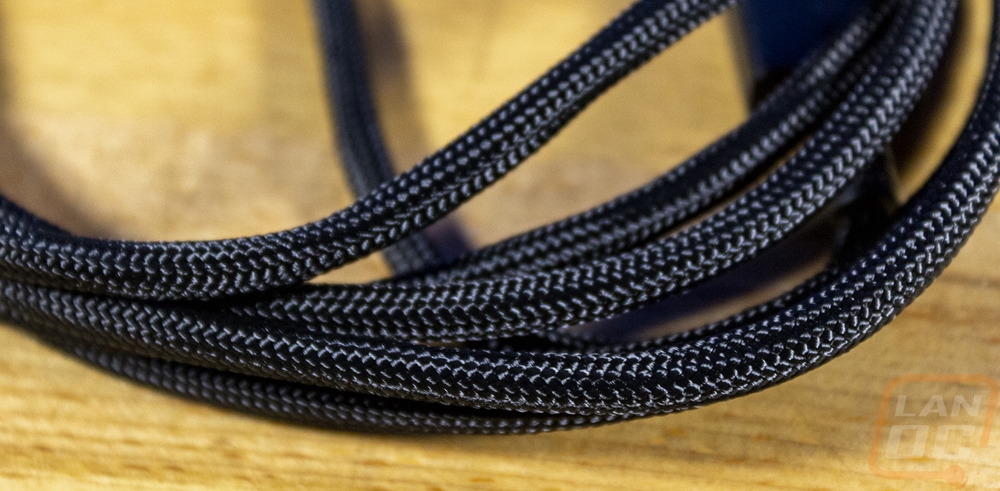
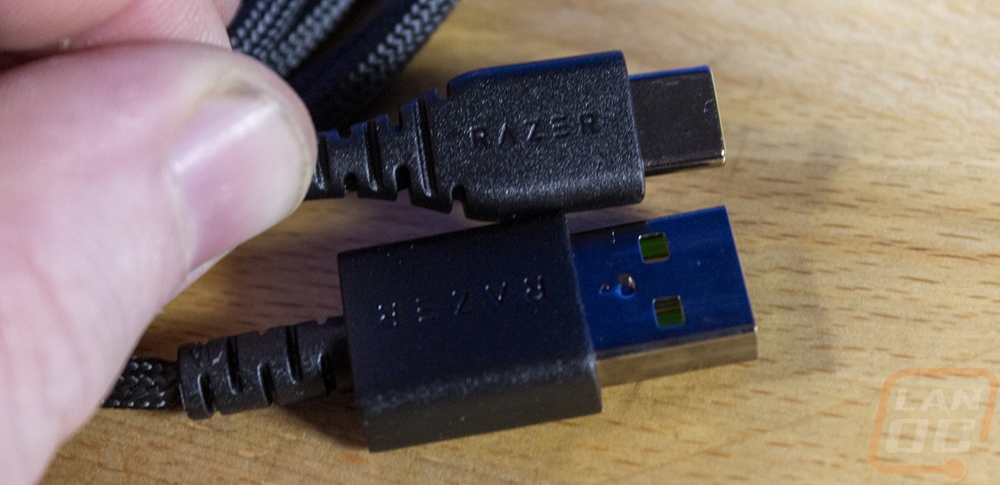
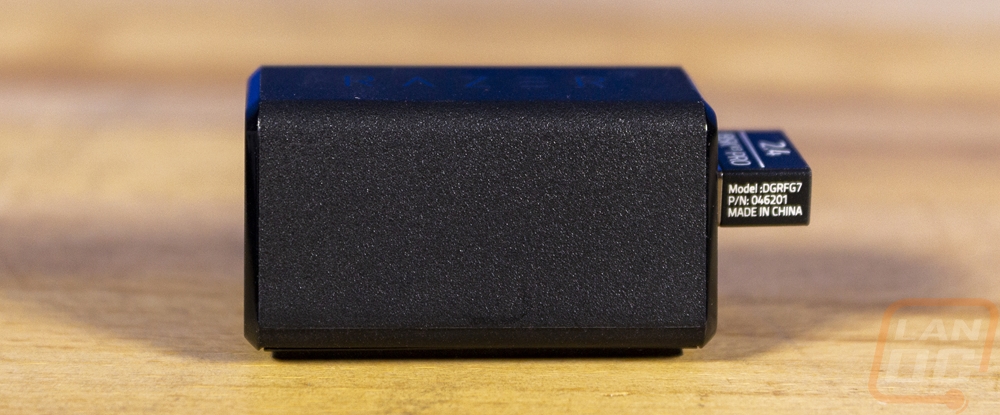
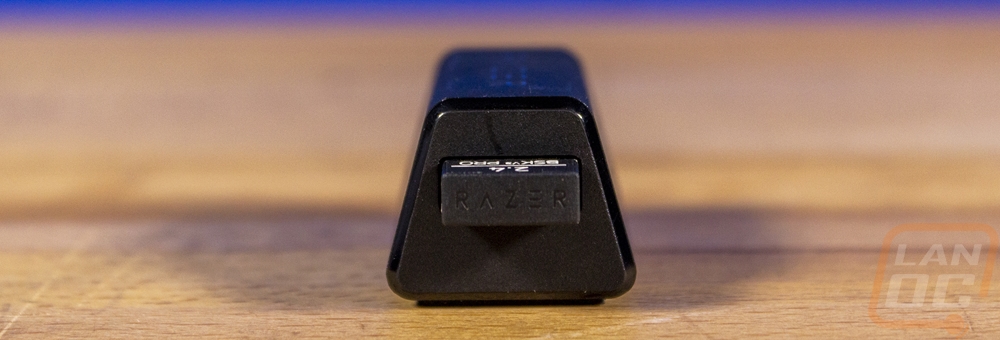
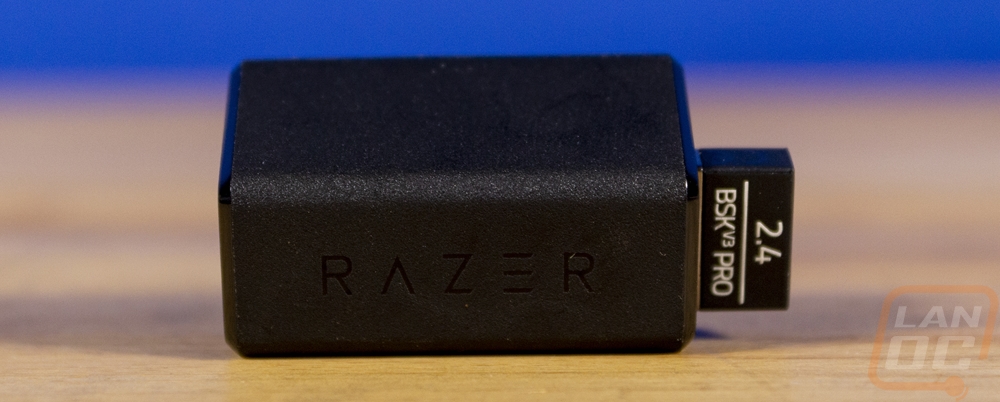
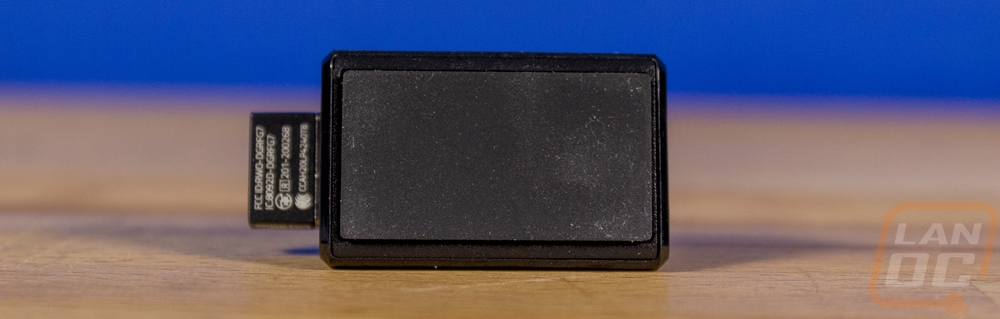
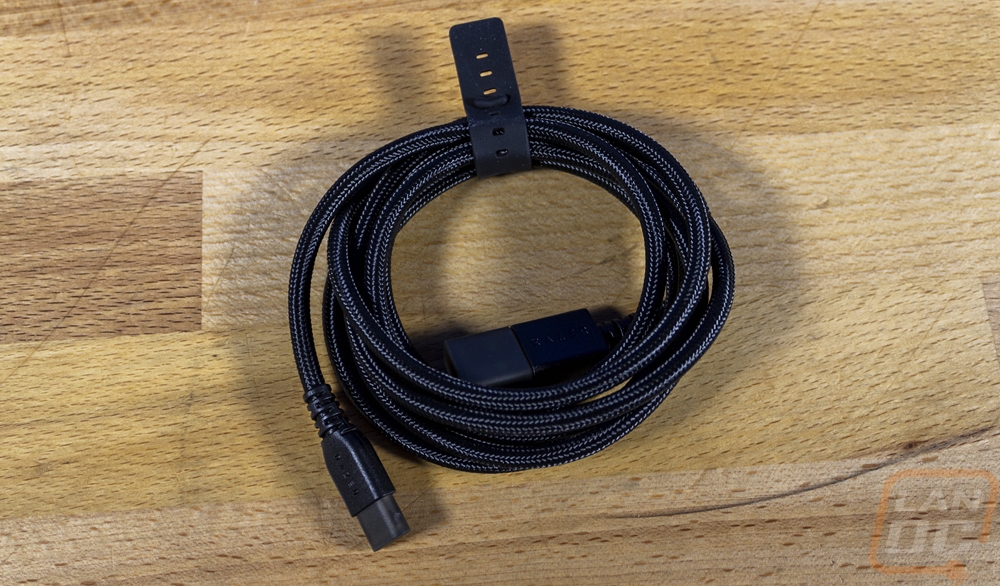
The Basilisk V3 Pro, like with the Deathadder V3 pro and Viper V2 Pro that I recently reviewed comes with a sleeved cable which you can use to charge the mouse or run as a wired mouse if you have any wireless issues. This cable has Type-C on the mouse end and Type-A on the PC end and it is surprisingly flexible, especially for having sleeving on it. You also get an A-frame shaped adapter that has a Type-C input on one end and Type-A on the other. This lets you plug the cable in and have the included wireless dongle up on your desk for a better connection. The dongle by the way isn’t much larger than the Type-A connection itself which is great if you want to use the Basilisk V3 Pro with a laptop and keep that plugged in.

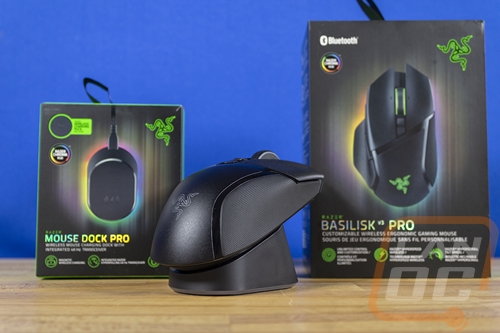
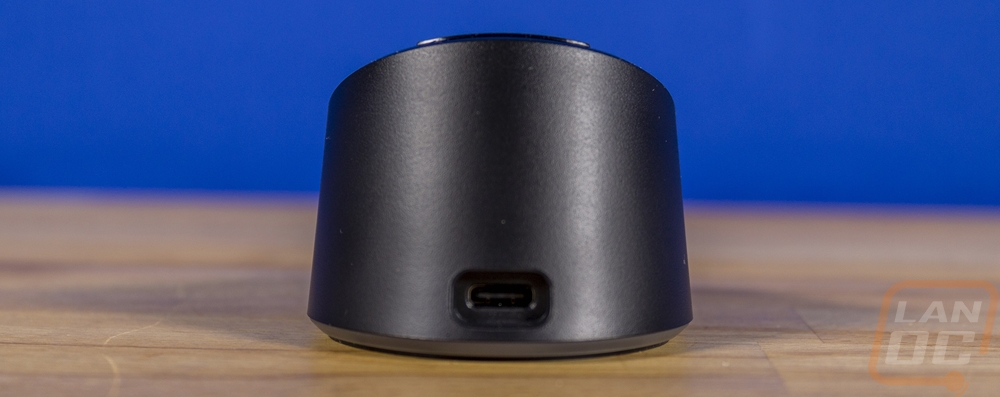
While it is sold as its own product, Razer did send over the Mouse Dock Pro along with the Basilisk V3 Pro for testing so I did want to check it out as well. This is a different design from their first dock which worked with mice like the Deathadder V2 Pro, Naga Pro, Viper Ultimate, and the Basilisk Ultimate. That design had a squared-off shape and it had a USB plug inside for you to plug in the dongle. The new design is its own dock altogether and has a rounded shape now. The old design used two spring-loaded contact points that would stick up into the mouse and hold it into place whereas this new design is magnetic. The Mouse Dock Pro does have a USB Type-C connection at the back just like all of Razers mice and the included dongle adapter as well.
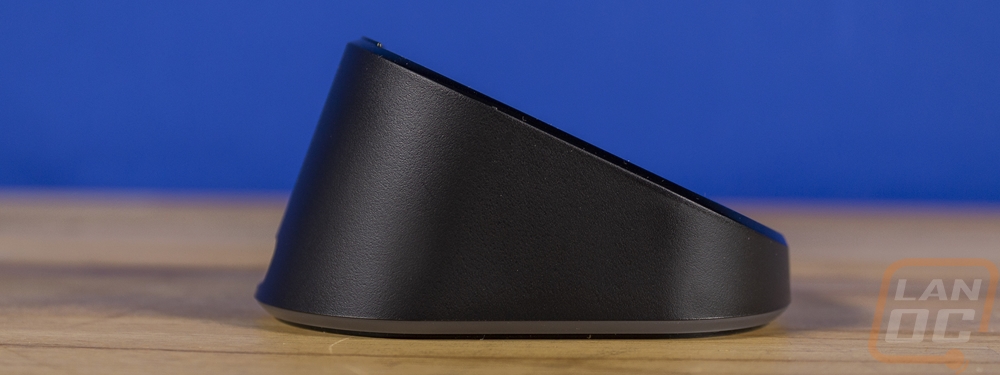

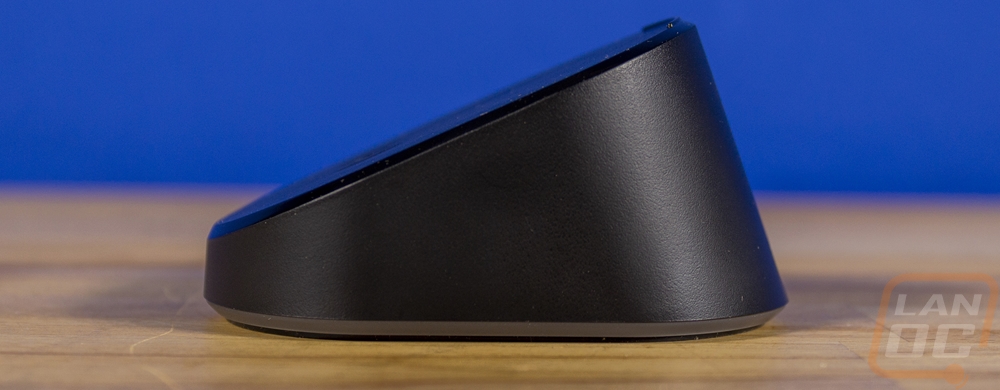
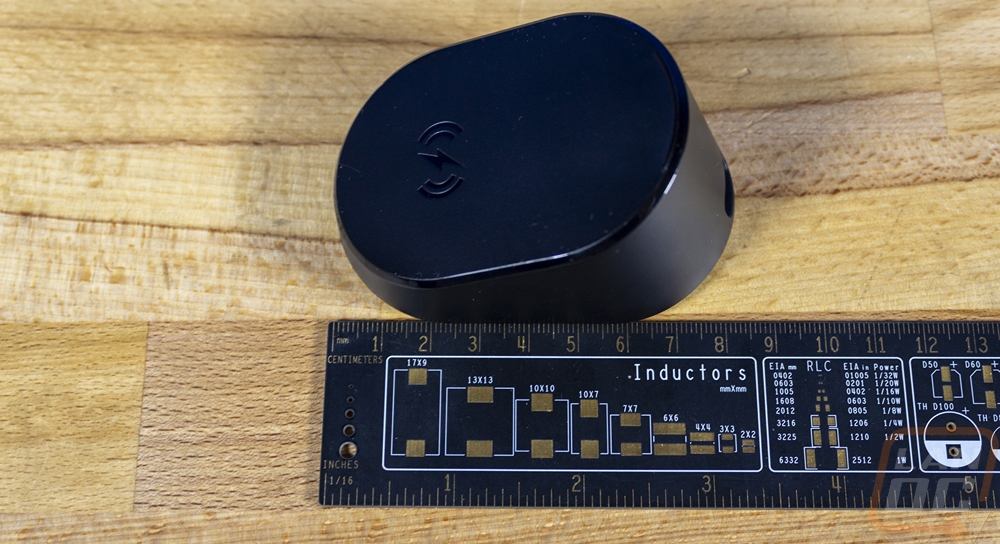
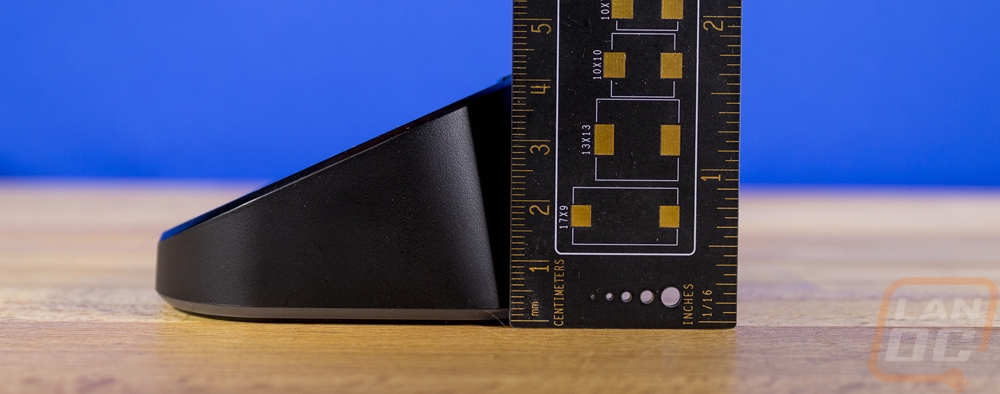
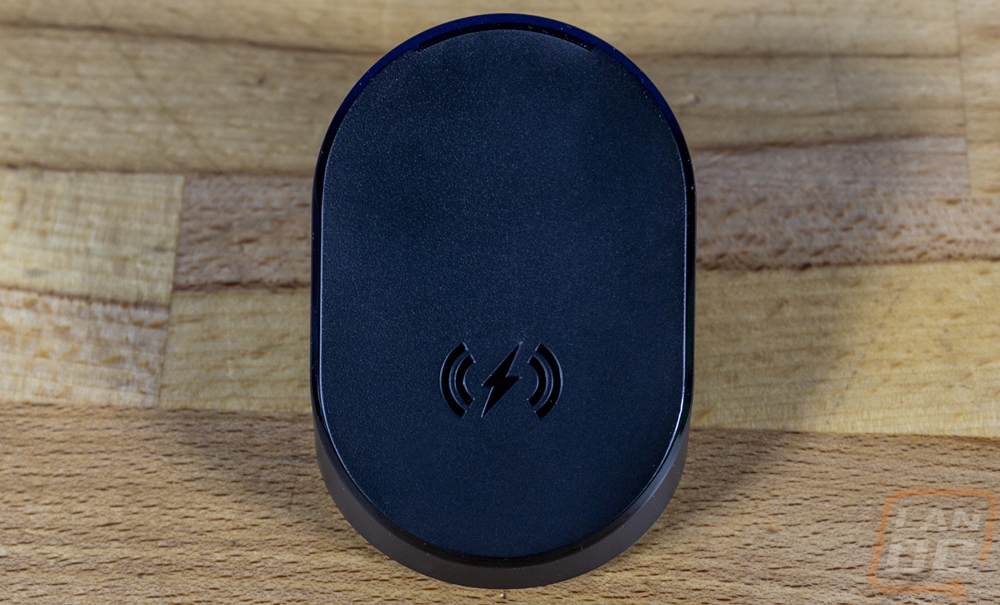
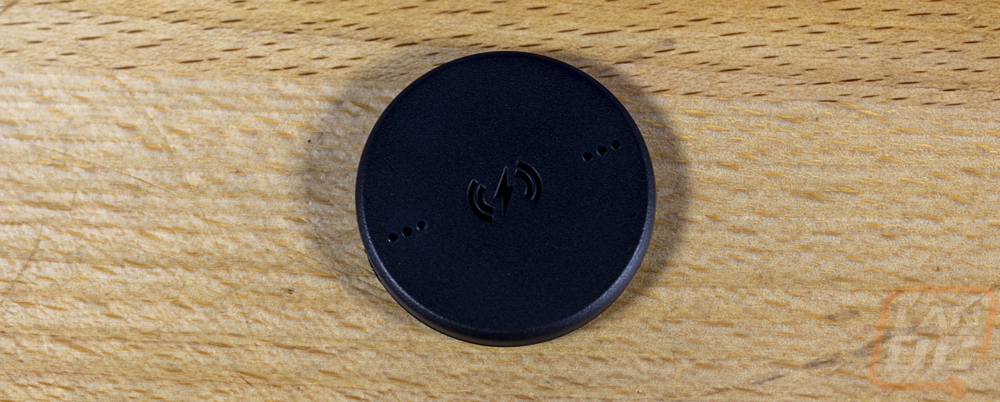
The Mouse Dock Pro uses Qi for charging and up on top you can see the standard symbol for that which is a lightning bolt with the wireless circle lines on the sides. With Qi support, it does mean that it will work with other Qi supported devices though the angle of the dock could prevent that from happening if the device doesn’t support hanging from the magnet or is too heavy or the shape is too long.
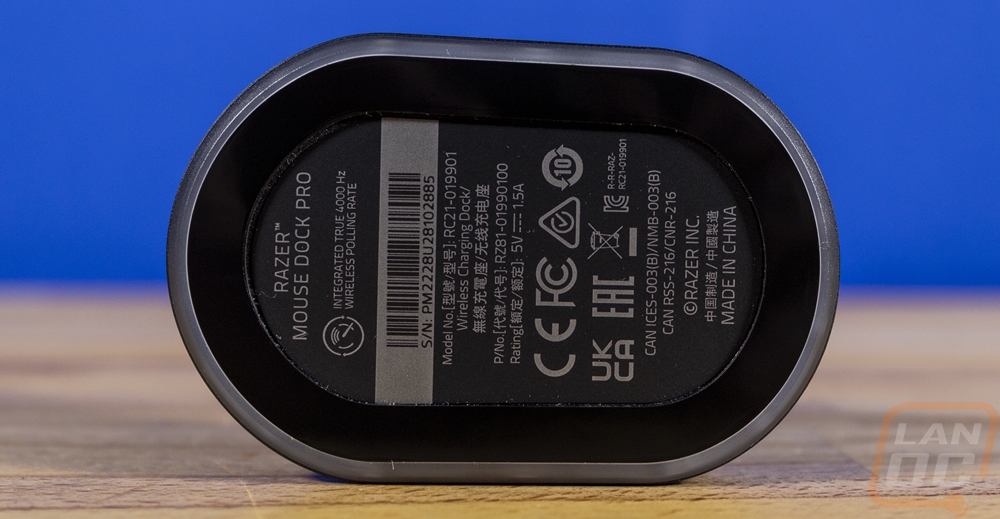
The bottom of the Mouse Dock Pro has all of the information printed on the bottom up and out of view including all of the certification logos and your serial number. The bottom comes with a sticker over the rubber foot that goes around the outside, be sure not to take that off until you are ready to use it and have cleaned off your desk. This rubber grip is extremely grippy.
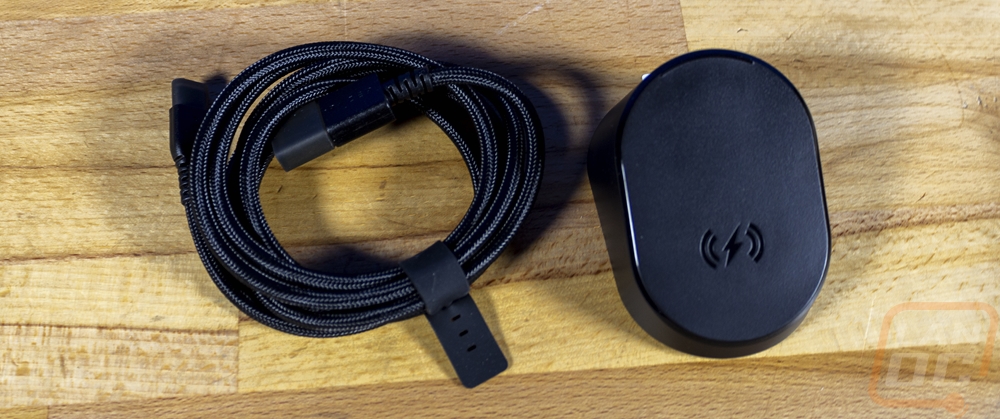
The dock comes with a black-sleeved cable, this is the same cable that comes with all of the Razer mice which is flexible not that you should be moving this around. The cable has a Type-C connection on one end and Type-A on the other and if you already have your supported mouse hooked up you can keep this tucked away as a spare and just use the cable you have been using.
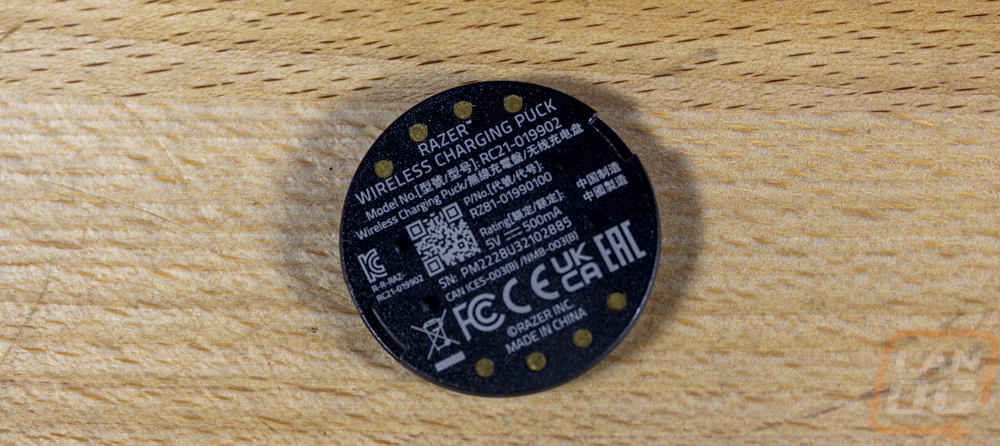
Then to get power to the Basilisk V3 pro the dock also comes with this magnetic disk. It installs into the bottom of the mouse. This looks the same as Logitech’s PowerPlay design only this uses Qi charging not their own proprietary setup so if you only have this disk you should be able to charge it on another Qi charger. Logitech uses magnets to stay in the mouse where this one twists to lock. The back again has all of the info printed on it and you can see the eight contact pin locations as well at the top and bottom edges.
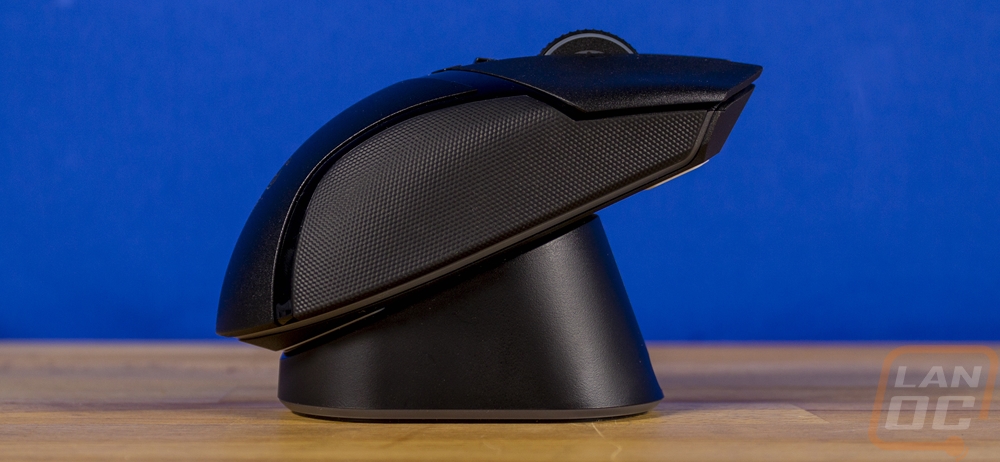
Here is a look at the Basilisk V3 Pro when docked on the Mouse Dock Pro as well. The magnetic connection holds it up off of your desk and angled.
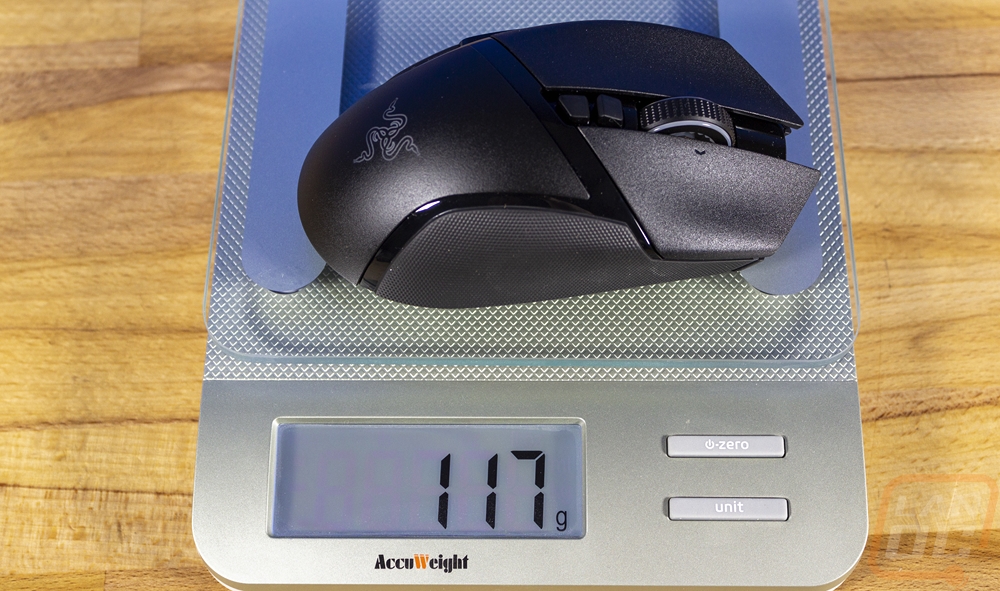
I did also get the Basilisk V3 Pro back on the scale with the charging puck installed to see what the weight difference was. It went from 114 grams to 117 grams.