Photos and Features
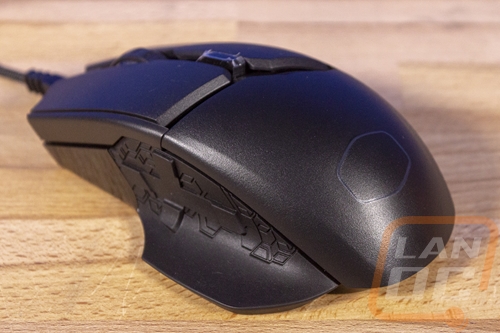
The PBT plastic finish on the MM830 is the same textured finish that the previous MasterMouse mice introduced used. I took a look at the MM520 and MM530 back in 2017 HERE. PBT is the same plastic that good keyboard keycaps use and that is because it holds up very well to wear so that nice texture will hold up for a while. The MM830 has a slightly different look that takes some of the styling from Cooler Master cases. You can see what I’m talking about in the thumb area, this same layout is used on Masterbox Q300L. With the thumb wing and a built-in OLED screen, the M830 is a little on the heavy side. Cooler Master has it listed as 122 grams in a world where some companies are going with honeycomb shells to cut down on mouse weight so if weight is a concern you aren’t going to be a big fan of the MM830.
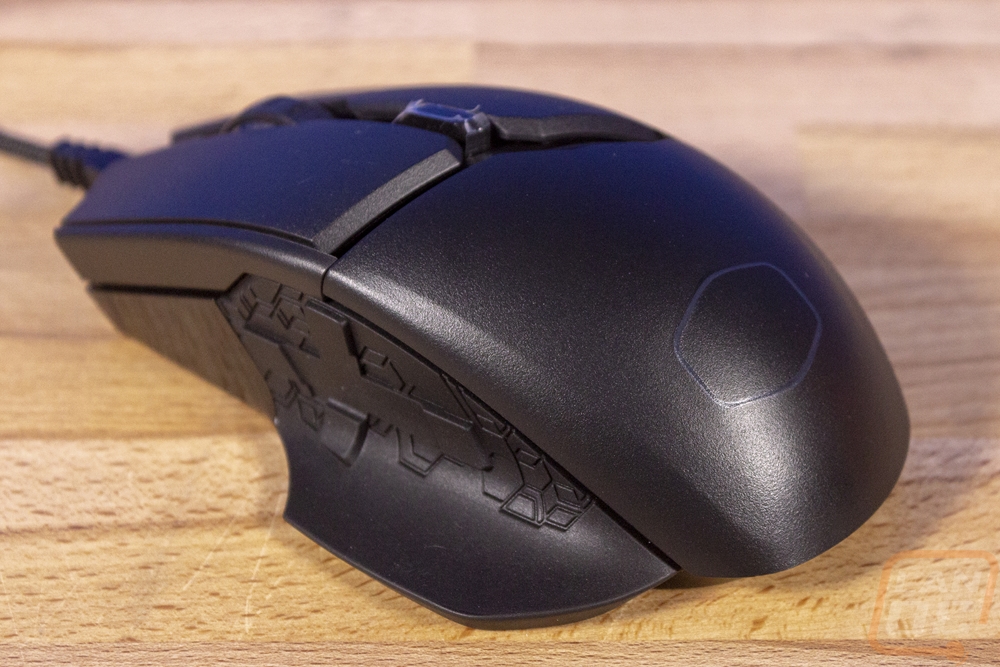
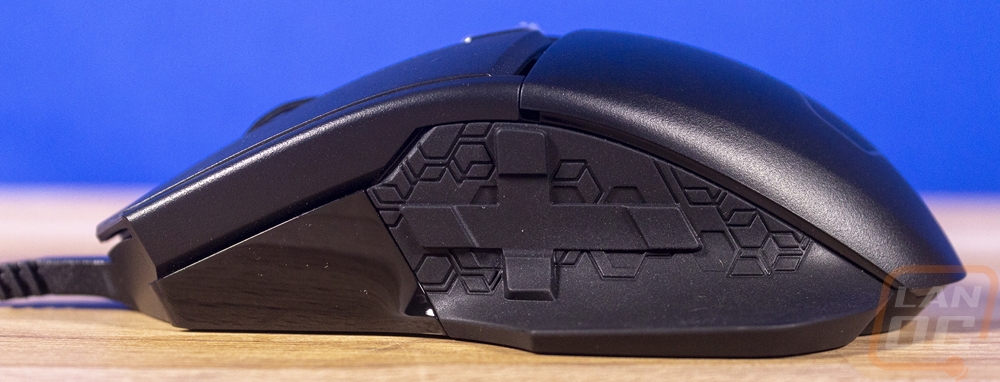
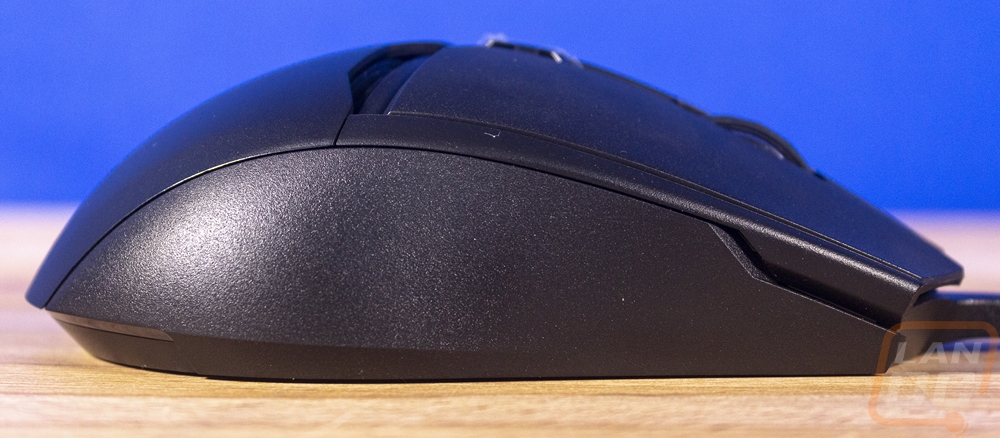
Here is a better look at the side profile of the MM830. The left wing sticks out on the bottom of the mouse for your thumb to sit on and the D-Frame design on the side of the mouse is the big focus on this mouse. This doubles up on the normal two side buttons you get to allow extra binds in MMOs. The plus shape helps prevent accidental clicks. The back button is set back farther to allow for different thumb lengths and it gives you a small area where you can keep your thumb if you lift your mouse up like I do. Also on this side, Cooler Master added an OLED screen, it is the glossy finished area up front. This isn’t the first mouse with a screen in it, SteelSeries has especially given this a go with a few different mice. The only good use of this was the original Sensei where you could use the screen to change the mouse settings without any software. But we will have to see what Cooler Master does with it this time. The right side of the mouse is the complete opposite of the left, there is nothing at all going on over on that side. I was happy to see they kept the rubber finish just to the left side to cover up the buttons. The right side is PBT with a texture just like the top of the mouse.
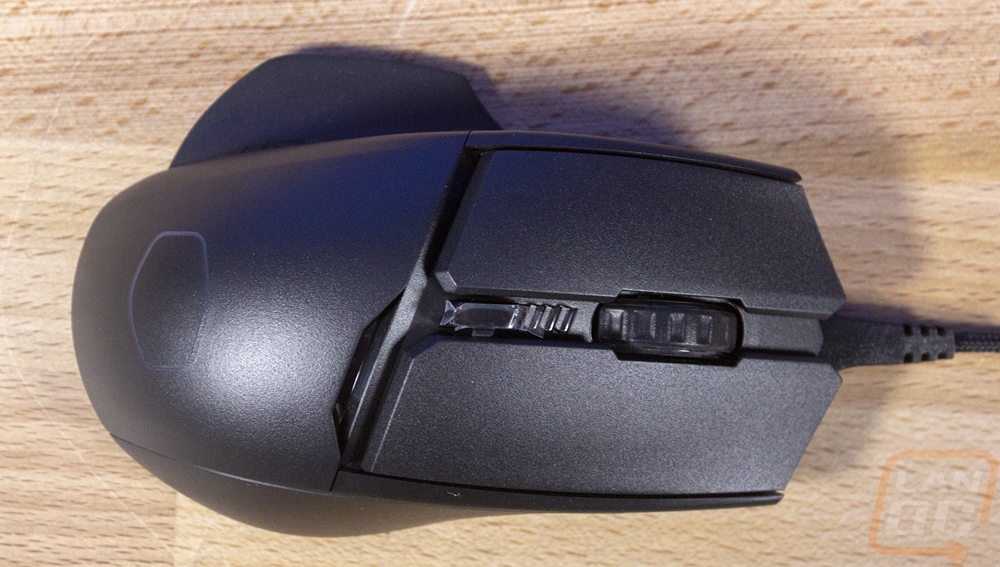
Our top-down looks helps to get a better look at the actual shape of the MM830. If you ignore the wing on the left it reminds me a lot of the old CM Sentinel mice. It is an ergonomic design and is specific to right-handed users. Up on top, the two triggers have a large defined gap between them and the base, very similar to what SteelSeries did with their mice as well as Logitech with the G520. Between them, there is a DPI switching button and three LEDs to show which of the four DPI settings you are on. Then the scroll wheel has a transparent center for RGB lighting and a rubber grip around the ring.
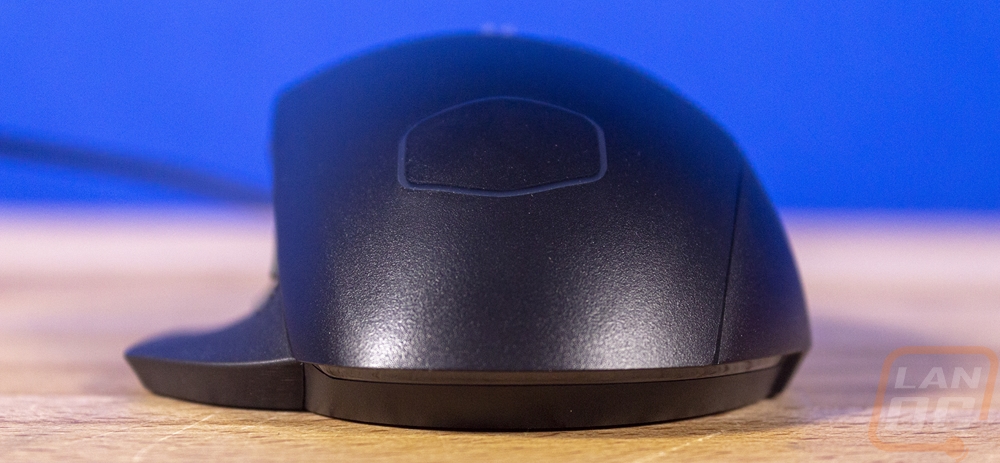
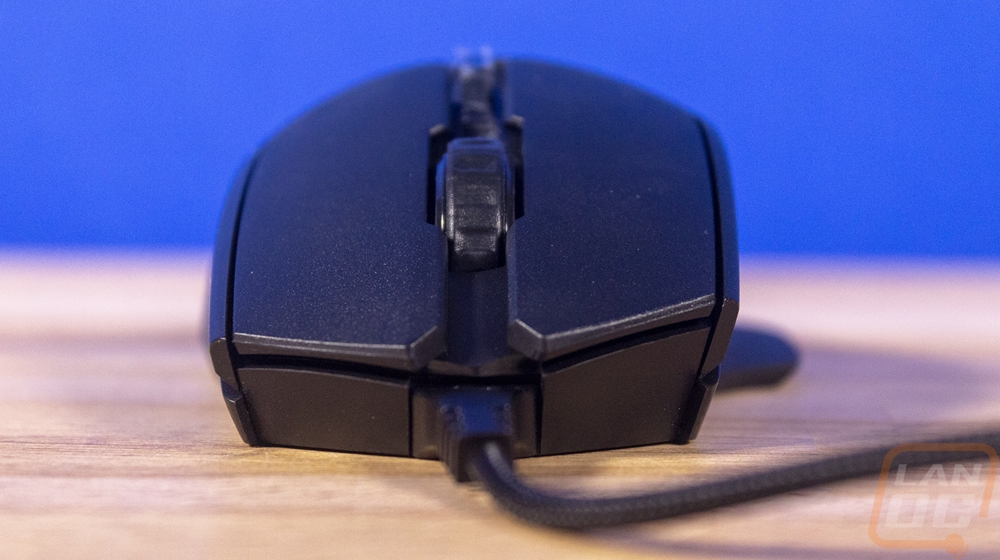
In the back under your palm, the MM830 does have the same outlined Cooler Master logo shape lit up. I still like this a lot more than a full lit logo, those who know the CM logo will know the shape but it isn’t pushing full on branding in your face with lighting which I always hate. There is also another LED light up under the back of the mouse. This back view helps give us a better look at that wing on the left side. We can also see how the shape leans a little to the right.
Cooler Master was careful to keep anything and everything away from those triggers, they don’t have any potential areas where they could have catching issues like Logitech has had recently. The triggers are also extremely thick as you can see. Under them, they went with 20 million click Omron switches which most people like their defined clicks.
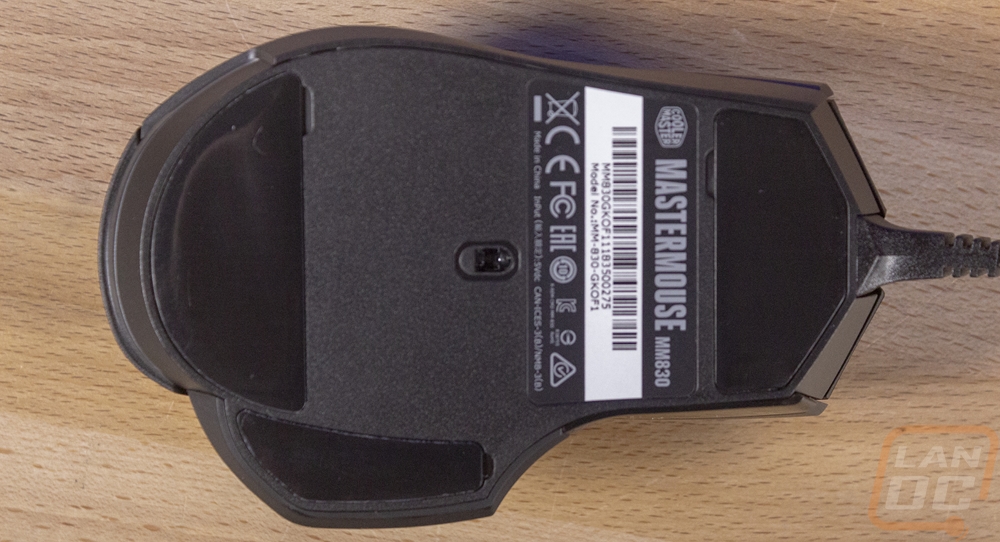
The bottom of the MM830, like Cooler Masters last few mice, has large gliders that take up a lot of space on the bottom. The front and back gliders are the largest, but the wing also has one as well which is good because your thumb pressure there may press down some. The bottom sticker has all of the normal certifications as well as the model name. The serial number is here as well along with a barcode for the serial number as well. Then above that, you have the Cooler Master branding as well as the MasterMouse name and model in the same font CM uses on their packaging. I was surprised to not see a glider ring around the sensor here on the bottom, hopefully, the other lager gliders give enough support. But on the plus side, not having gliders there lessens the chance to have dust and hairs suck around the sensor. Speaking of the sensor, the MM830 uses the Avago PMW3360 optical sensor this is the same sensor that the MM520 and MM530 use except they have this one cranked up to support up to 24,000 DPI. The tracking speed is the same 250 ips so performance really hasn’t changed and no one needs that high of a DPI, it's just a marketing point to put on the box I guess. That isn’t to say this isn’t a good sensor because the PMW3360 and variations on the same sensor dominate the market and is considered a flawless sensor.
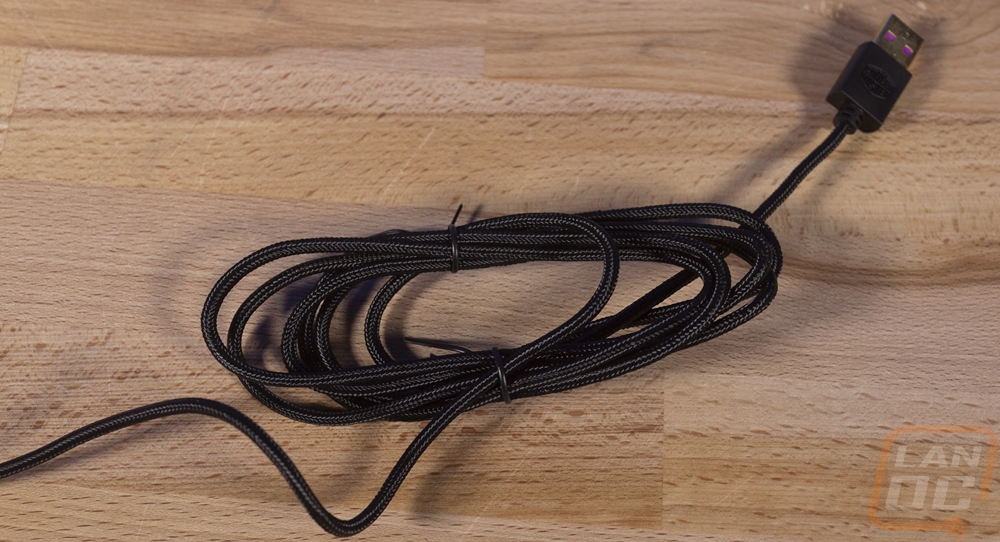
Last but not least, the MM830’s cord is 1.8 meters long which is just a touch under 6 feet long. The cord is sleeved in a black paracord. The cord under the sleeving is flexible, even with the sleeving you can bend the cord around easily. I still prefer no sleeving at all with a flexible cord, but this isn’t too bad. At the end the USB connection is Cooler Master specific with its purple plastic inside the end and the large squared off plug design with the Cooler Master logo on it, you should be able to figure out which cord is your mouse when looking at everything on the back of your PC.