Photos and Features
So Cooler Masters previous setups like this used to be called a combo but now they have used the “Master” branding with Masterset to show that you get a full set. So what you are actually getting is a mouse that shares the same shape as the MM520 or the old spawn mouse and then a full sized Mem-chanical keyboard. What that means is this isn’t a standard mechanical keyboard but it does aim to feel similar and it is compatible with keycaps like a mechanical would be. Neither the keyboard or the mouse are sold on their own so this is a relatively unique setup specifically for people looking to get a decent deal on both a keyboard and a mouse.
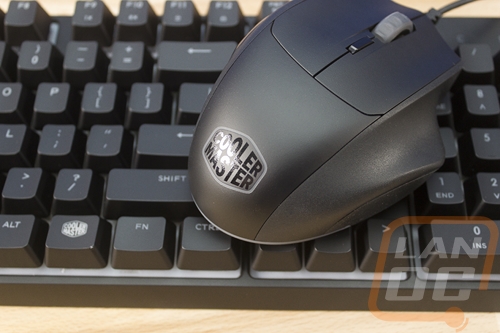
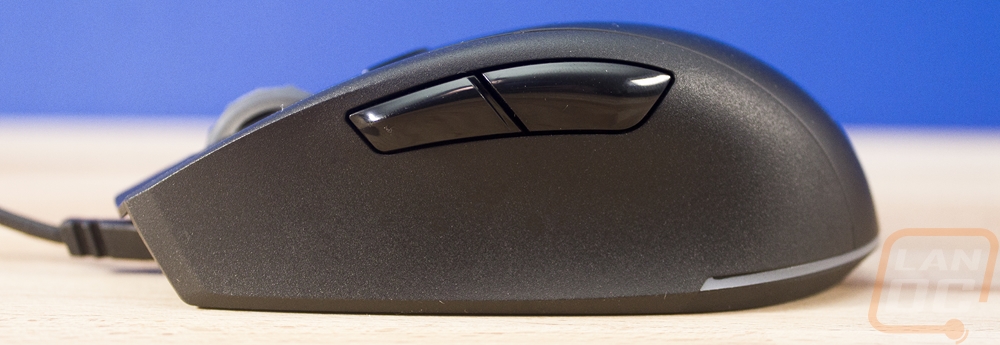
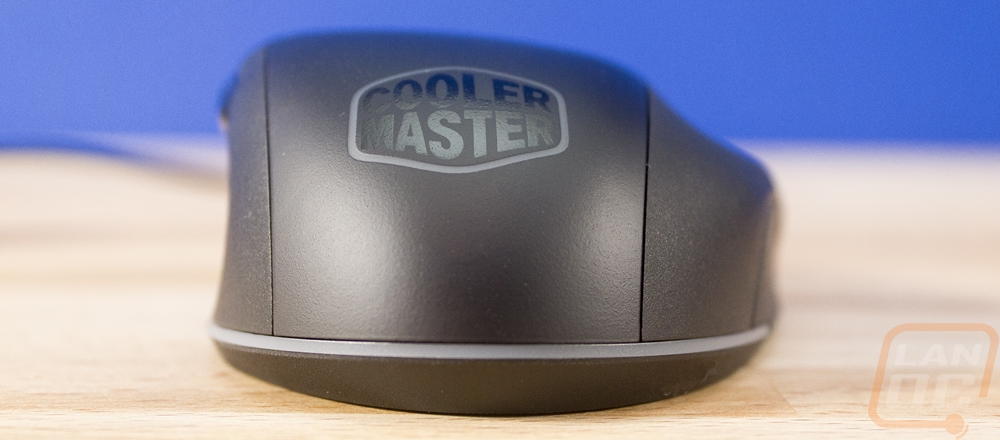
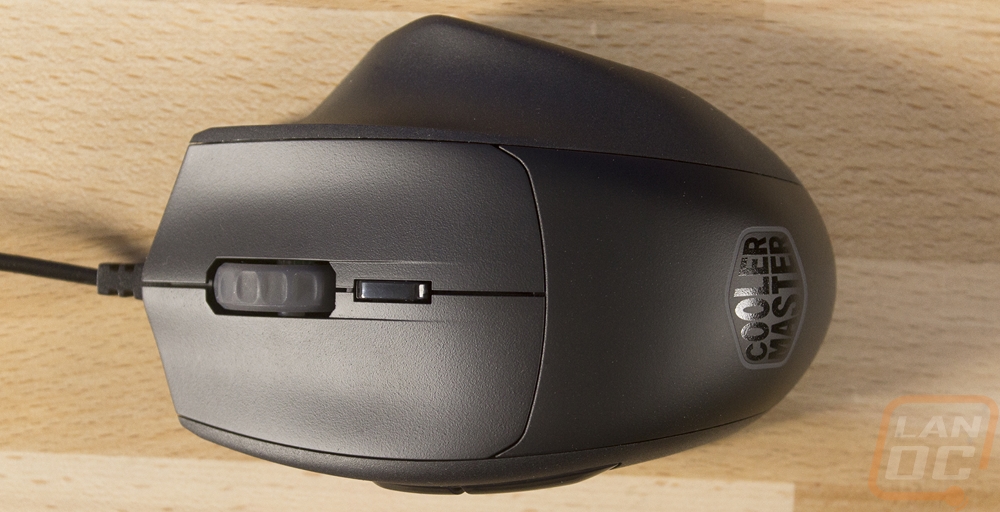
So like I said the MS120 Mouse does have the same shape as the MM520, in fact from the outside I really didn’t spot any huge differences. The spawn like shape gives this a short length that is great with claw and palm grips and a wide stance with the additional finger groove on the right side. Speaking of the right side though, there is a small rubber grip but it doesn’t have the honeycomb shape that I didn’t like with the MM520. The led bar does still wrap around the back and you get that weird half lit half painted Cooler Master logo up under your palm. The left side of the mouse has two large side buttons that are set back a little so the front button should be easy to reach even for people with short thumbs.
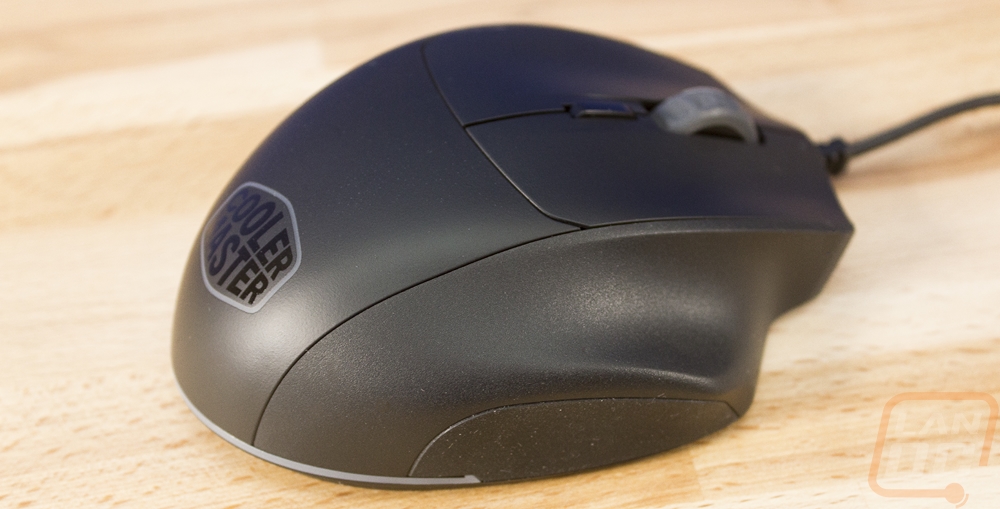
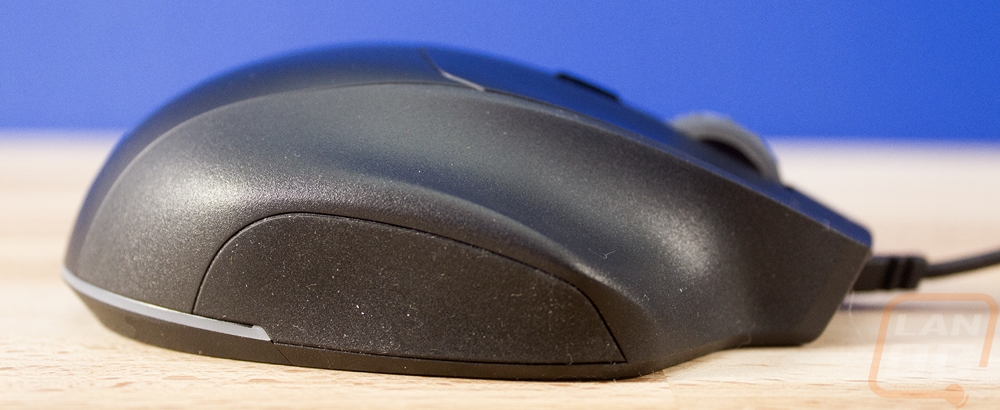
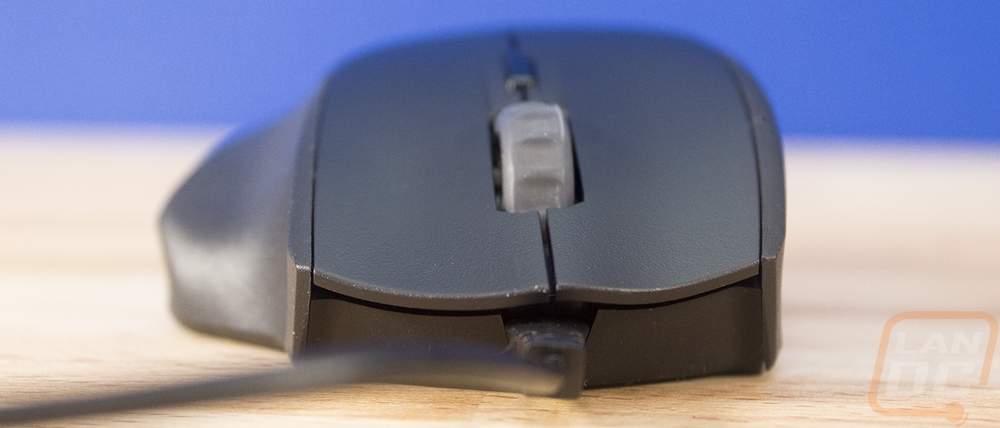
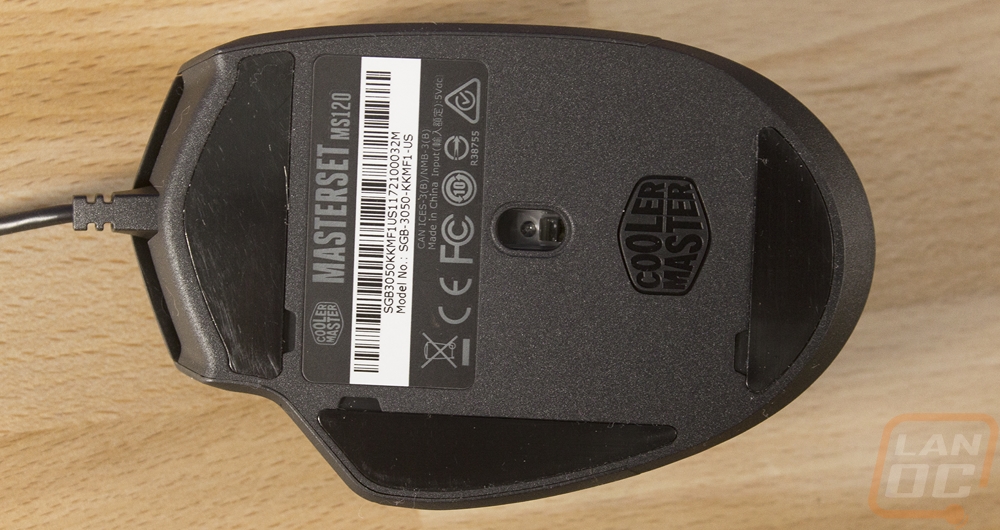
For the two triggers, they did split them from the rest of the top of the mouse and just like the MM520, there is a DPI button behind the scroll wheel. Even the scroll wheel has the same shape with some backlighting. The trigger switches are Omron 10 million click switches like the MM520. They are solid switches but there are higher count models available for a little more durability. Then on the bottom, there are three gliders with small divots to allow for easier replacement. With the exception of a few small changes, it is really only the sensor that has changed. Cooler Master went with a 3050 optical sensor. With just four levels of DPI settings, you can’t expect to be able to get your perfect DPI but this really isn’t a flawless sensor so fine tuning things is only going to get you so far.
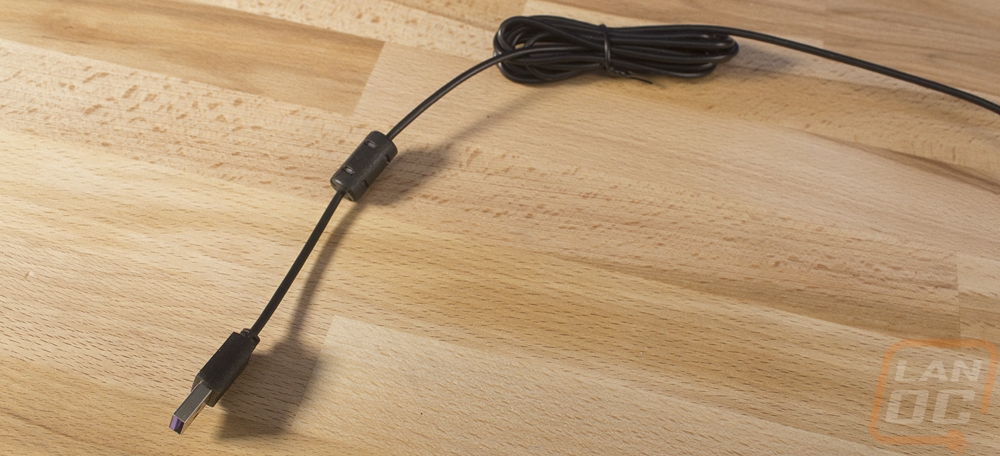
The cord is rubber and flexible like the MM520 and long enough to reach a PC off to the side of your desk.
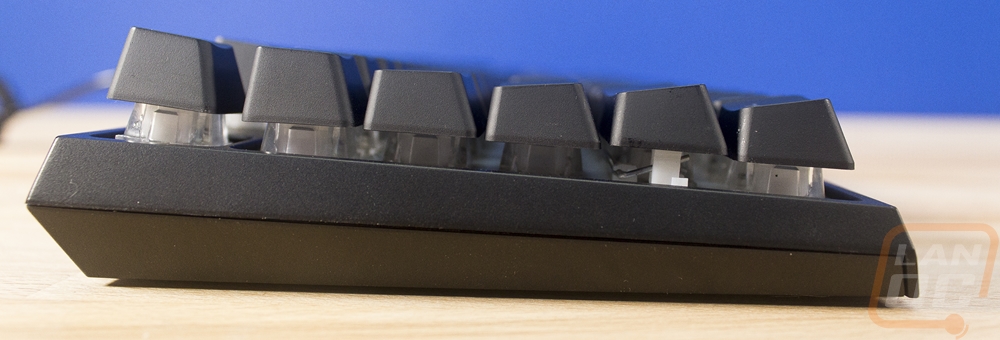
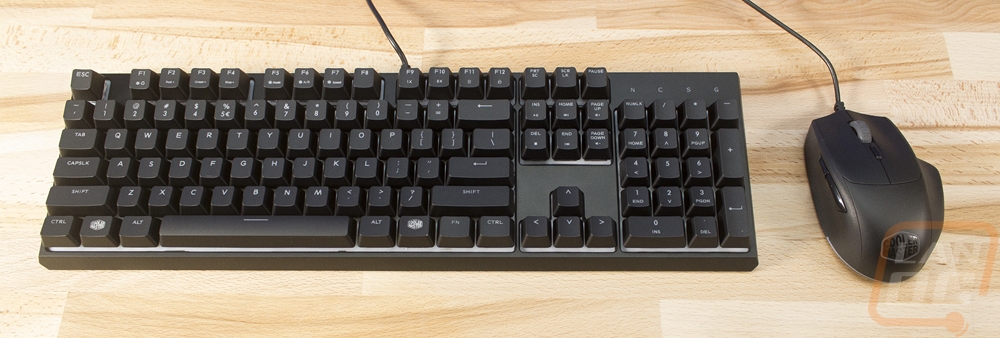
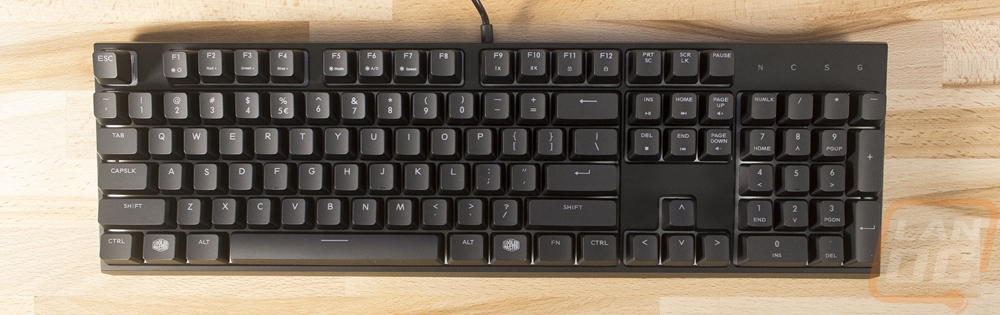
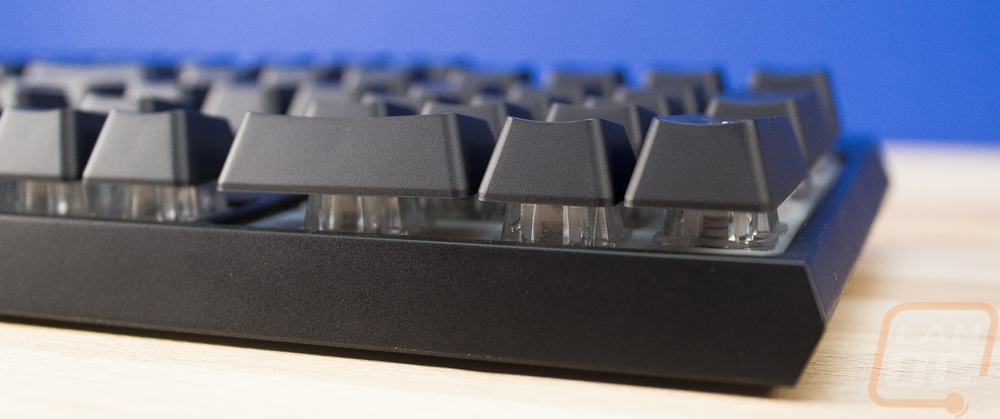
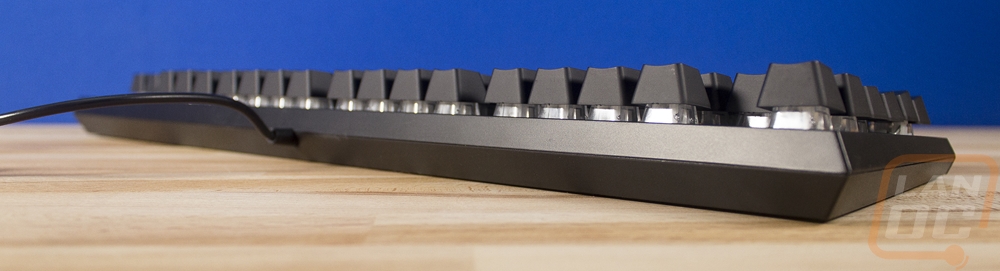
Then the other half of this bundle is the MS120 Keyboard. From the top down point of view, it does have a few things going for it. For one it is a traditional full keyboard layout. This means you get a full number pad, F keys, direction pad, and then, of course, your main keys. The bottom row is standard also, this is important with the Cherry MX keycap compatibility, you can run a full aftermarket keyset. Actually, from the top down look, this looks a lot like the Masterkey Pro, but when we tilt to the side a little we can see that the bezel around the keyboard doesn’t wrap up around the keycaps at all. You can see the white backing and the mem-chanical switches even from a high angle.
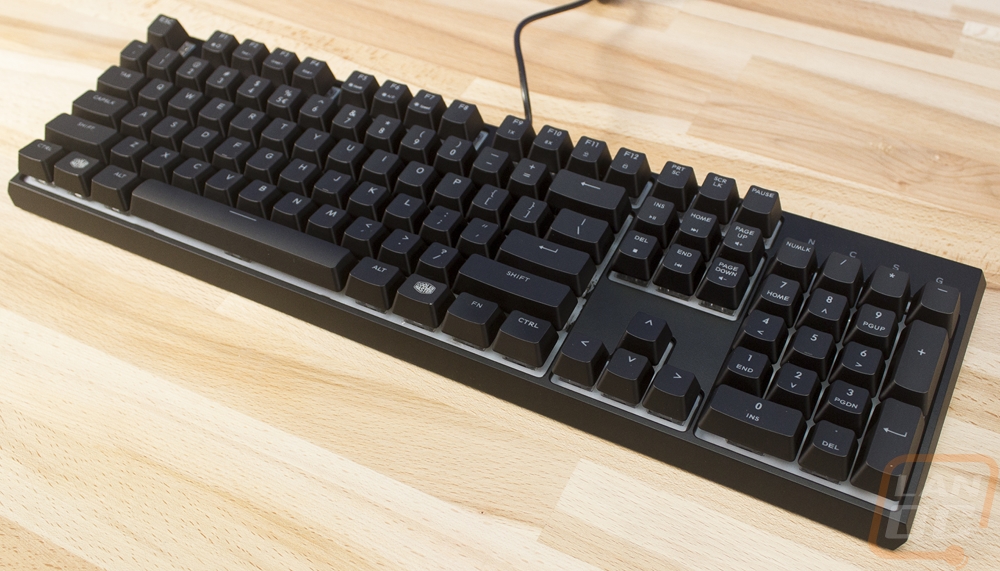
Around the outside edge of the board, there aren’t any additional connections and you don’t get a detachable cord. This is a much simpler design that Cooler Masters other keyboards.
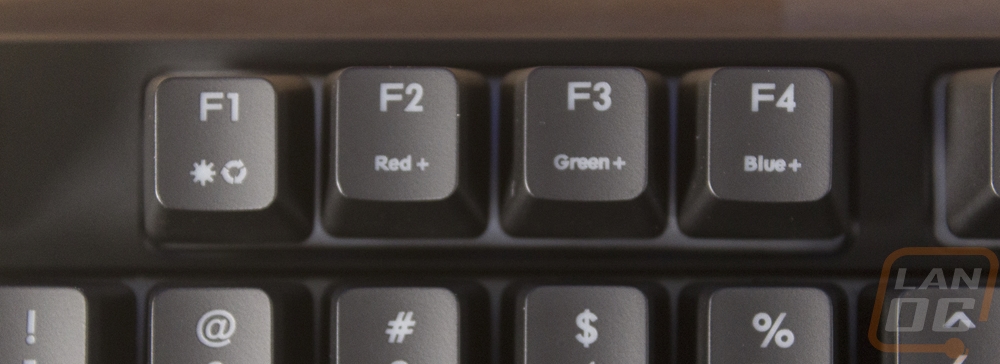
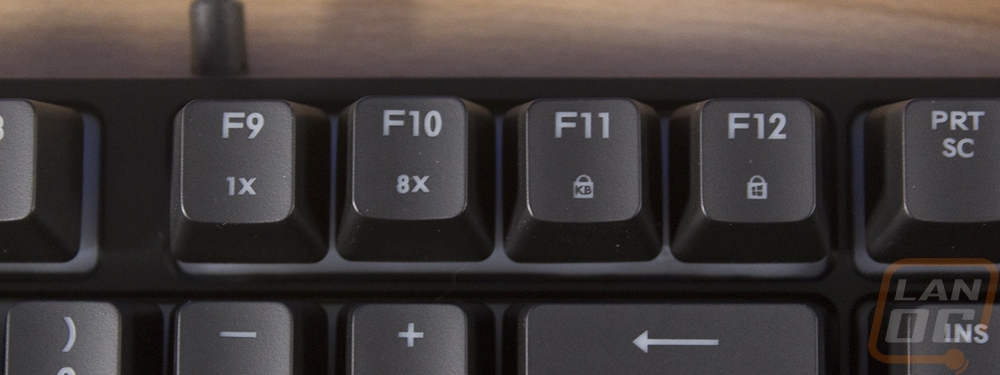
I love that even on this keyboard Cooler Master didn’t go crazy with a “gamer” focused font for the legends. You get a nice traditional font that is easy to read and not too big or small. The number row has the second functions above the numbers and for the function layer stuff on the F keys the labels are also backlit but under the keys.

Like the more expensive keyboards, the F key and the keys above the direction pad both have function layer actions. The first 4 F keys actually are just like the Masterkey Pro where you can program your RGB lighting without software using the red, green, and blue keys to set the brightness of each color. You can change lighting modes and speeds as well. Then above the direction pad are a few easy to reach media keys in the function layer. These are close enough to the Fn key that you can actually do them one handed. That weird pointed F1 key looks odd in these photos but I was able to move it in person to not be cross eyed with the others.

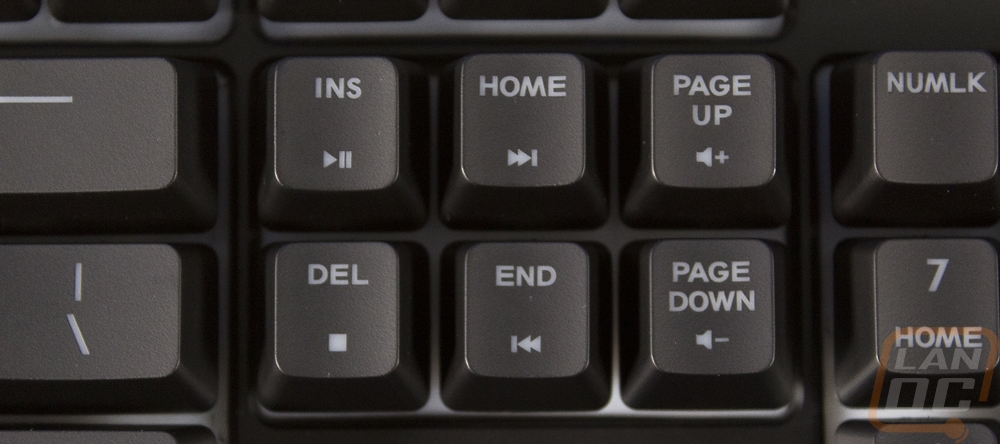
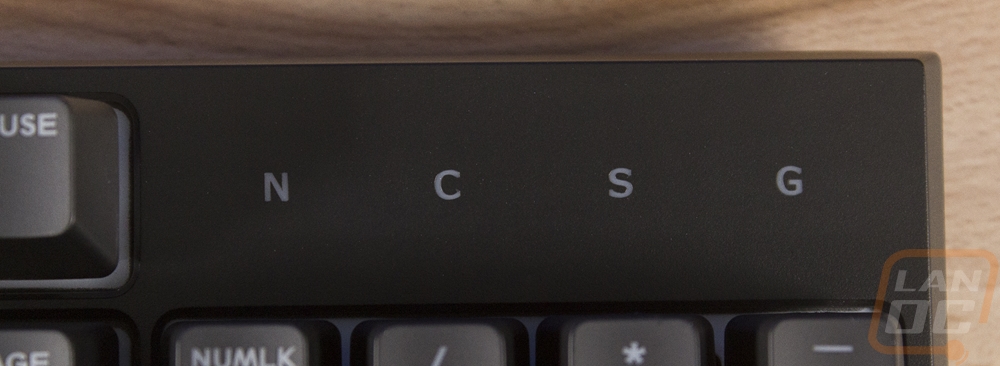
Up above the number pad, the normal lock indicators are all there with corresponding letters for each LED. The G over on the right is a little different though, this shows when you have gaming mode turned on, locking the windows key.
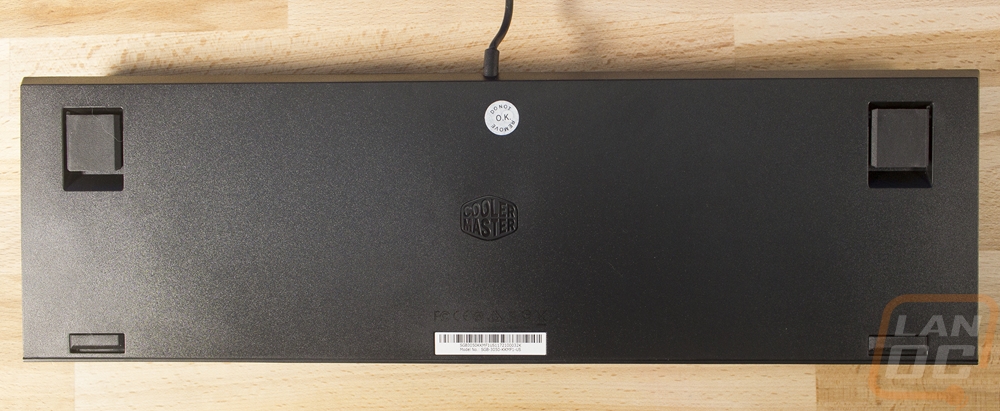
When you flip things over it is again really simple. The two back feet that flip out have full rubber pads on them when in the flat position. This keeps them from having to use extra rubber feet next to the flip outs. Then there are just two smaller feet along the bottom edge. The Cooler Master logo is embossed into the center and there is just a small sticker with your serial number down at the bottom. There is also a strip of certifications above the sticker on the plastic.
This cord is a little thicker than the mouse cord, but it also has a rubber finish and no frills. It is about 6 feet long and like the mouse, the USB connection does have the Cooler Master logo on it as well as purple plastic inside of the connection to make it easy to spot your peripherals around the back of your PC.

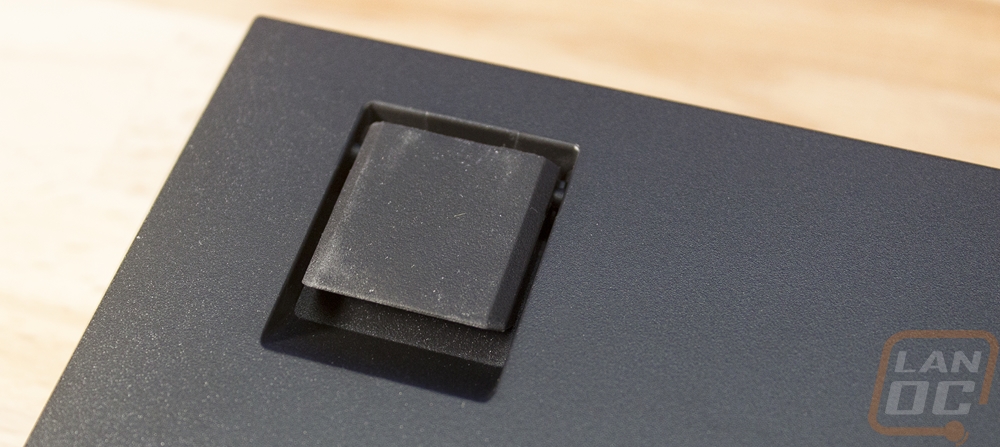
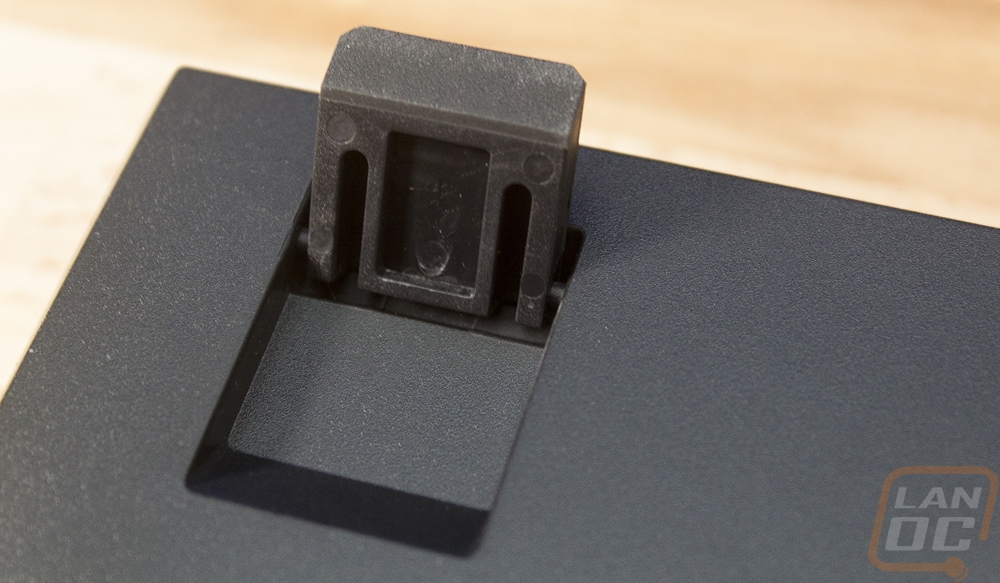
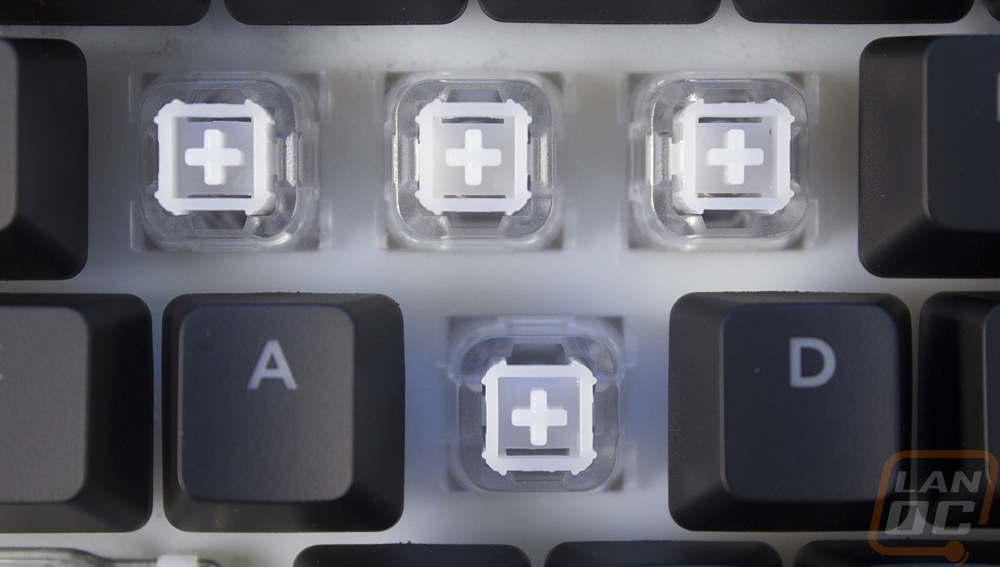
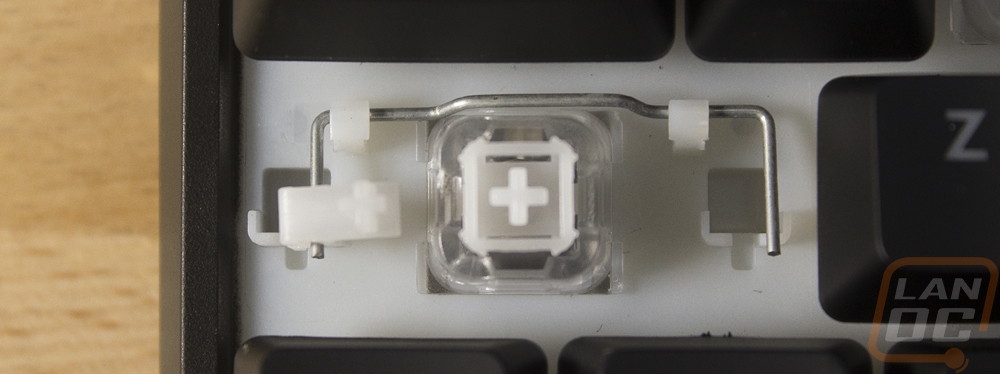
So the biggest area where this keyboard stands out is with its switch setup. With the keycaps pulled off it is clear that this is not a standard Cherry MX keyswitch setup or any sort of knockoff as well. Cooler Master calls this their mem-chanical switch design but the simple way to explain these is that they are a basic membrane setup with housings and stems that help it support Cherry MX stems. That is the plus sign part of the switch. What that means is this keyboard will work with all of the keycap kits designed for mechanical keyboards even though it is not mechanical. The design also gives you the tactile bump and click of a mechanical switch as well, but it doesn’t have as long of a lifespan and by design membrane setups have to be pushed all the way to the bottom for actuation where a mechanical actuates in the downstroke. For the wider keys like the shift key, they also have a stabilizer setup with MX stems on them. They are similar to Costar stabilizers in a way but are unique. Each key on the keyboard also has individual RGB lighting, glowing up through the clean housing and the semi-transparent stem.
Because of the unique switches, Cooler Master was able to use their standard mechanical keycaps. They have a cherry MX stem of course. These are ABS based translucent caps that have been painted black on the top and then the legends were laser etched. This is the basic setup for a backlit keyboard, but you can upgrade these later to a nicer set if they ever wear. Being painted that will eventually wear off and show more light through. The keycaps aren’t especially thick but are the standard setup. That’s all you can ask for on a keyboard like this. From the side profile, we can see that these are a standard OEM profile as well, meaning they do angle up on the bottom four rows and down on the top two giving the profile a curve.