Photos and Features
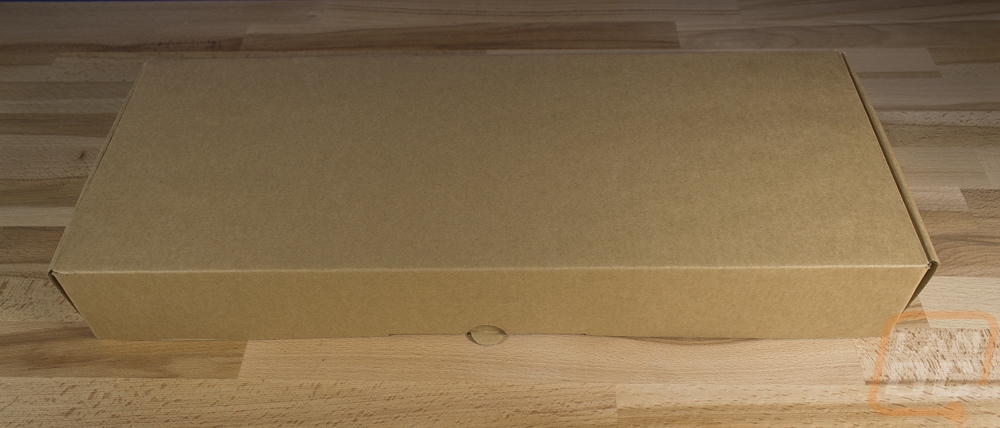
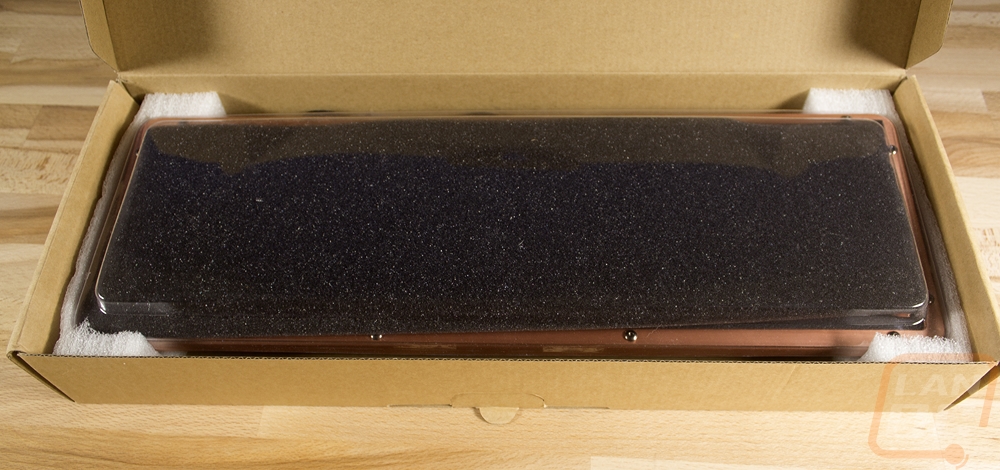
So I didn’t go with a packaging section this time around. This isn’t a retail sample so the box that came in doesn’t really tell us how it will be at that point. So the board was just in a plain brown box. Inside was the keyboard with a plastic cover over the top and under that cover was a layer of foam. I had a few keys pop out in shipping as well but judging from the foam in the cover they did expect this and are most likely already working on a fix.
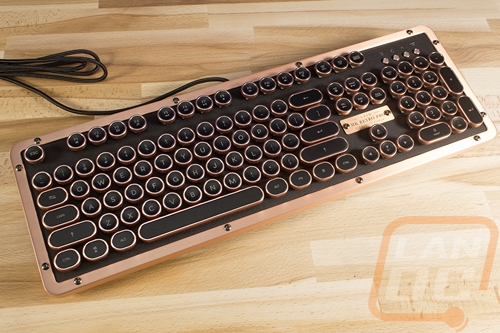
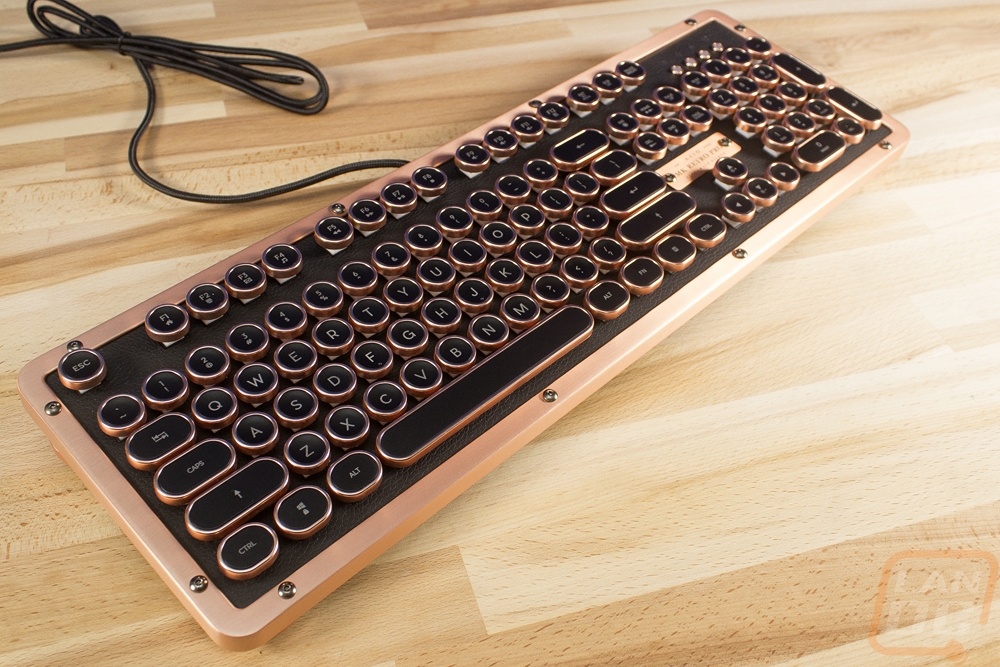
So even after seeing photos of this keyboard when speaking with Azio about it, getting the board in and out of the packaging. It is stunning, especially the copper trim. They have designs with three different combinations. One with black leather and black trim, one with black leather and copper trim, then the last with white leather and copper trim. Talk about hard to pick, all three look amazing but the two copper trimmed models really stand out. Most keyboards have flat black or maybe gloss black, Azio has been known to use a little chrome from time to time in their other models but copper is extremely unique.
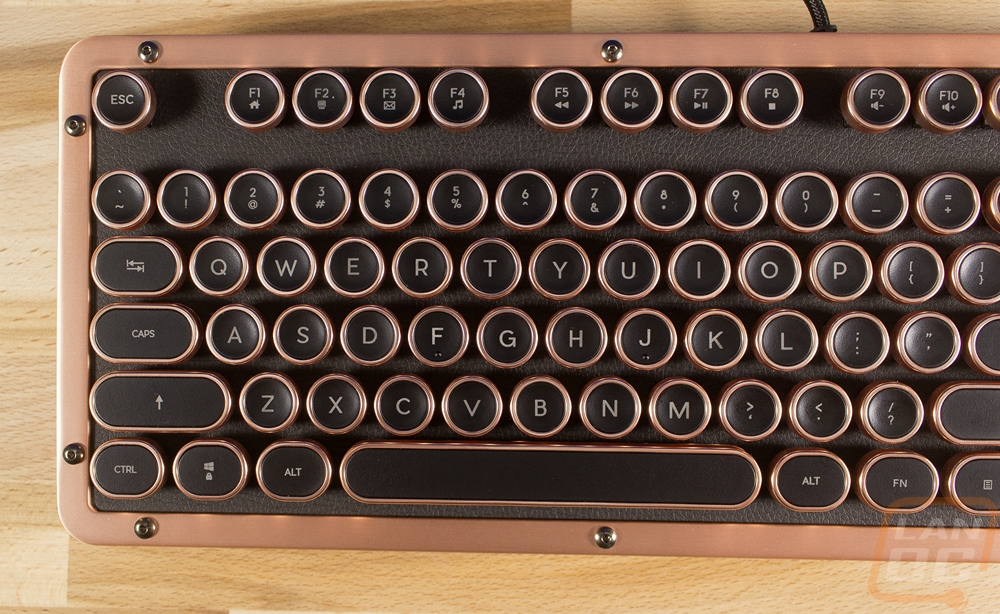
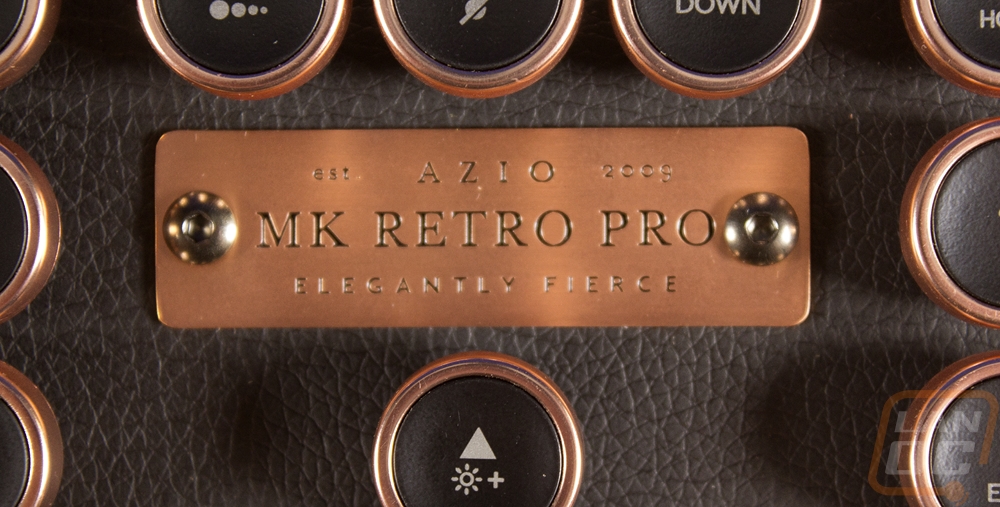
The Retro Classic has a real metal ring going all the way around with dark finished button head screws holding it in place. With the original MK Retro from Azio that ring was all plastic with a chrome finish, while it looked good it didn’t have the same feel in hand. They went with a similar keycap design only with a copper finish around each key and this model has leather under the keycaps were the MK Retro had a glossy finish. Well officially our sample has a fake leather but I’m told the finished product is going to have actual leather. To top it all off there is a copper nameplate attached as well. With this, you can see the original name they were going to go with before changing it to the Retro Classic after sending out our sample. Remember as well, this is a prototype, not a production model.
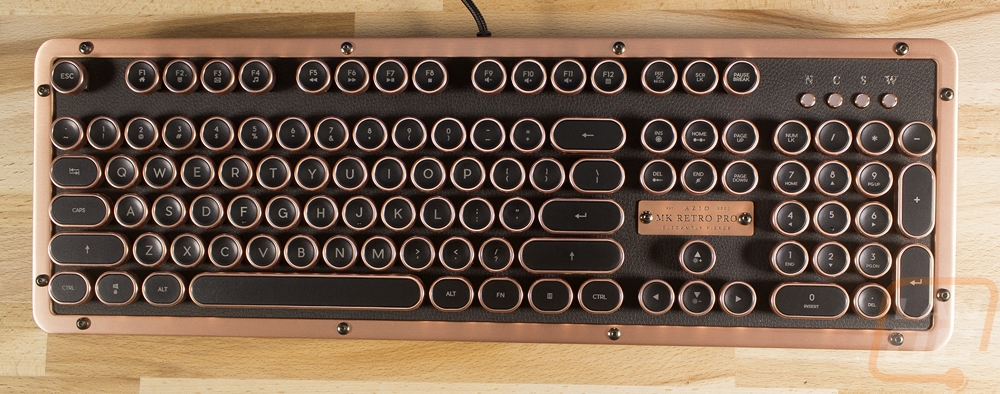
The actual layout is a traditional full keyboard layout with a number pad, proper spacing around the direction pad and below the F keys up top. The key layout is also standard with 1.25u keys on the bottom row. The keycaps though are very unique with a flat profile and a round shape. The alpha keys have the same large font of the MK Retro but I like that they went smaller for the ctrl and alt keys and they dropped the font all together on things like shift and enter for symbols.
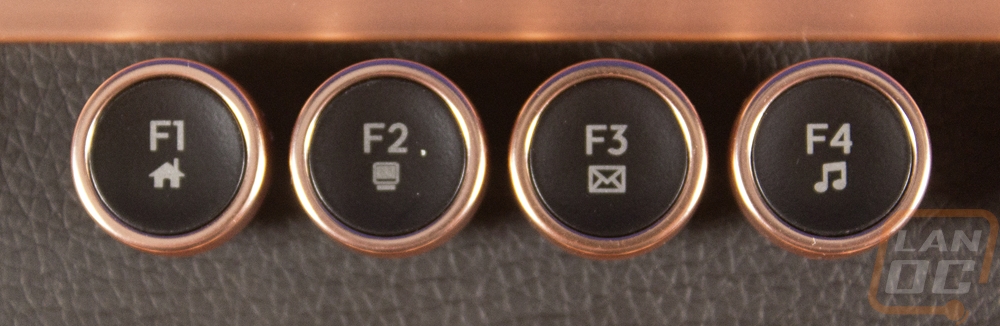
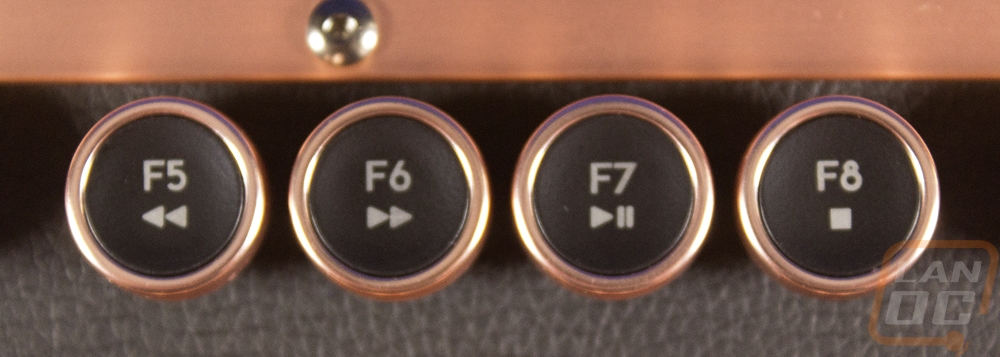
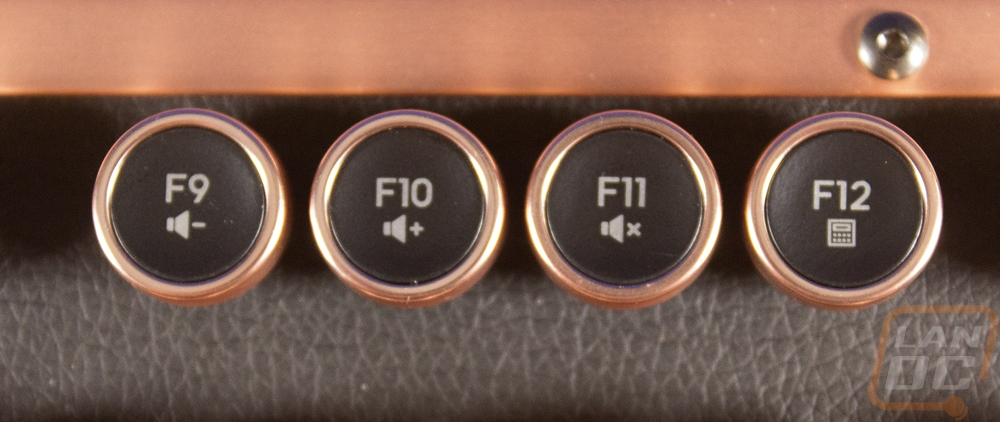
Up on the top row, they packed the top row with function layer functionality. The early keys have things like home, music, and email. There are also media action keys to flip through songs and play and pause everything. Then you also have volume keys from F9 to F11. The F12 key seems a little out of place but might be my favorite key of all, it opens up your calculator. You can also turn N key rollover on and off with the print screen button. This is important because some BIOS don’t support NKRO so you switch to a 6 key rollover mode to avoid that conflict when needed.
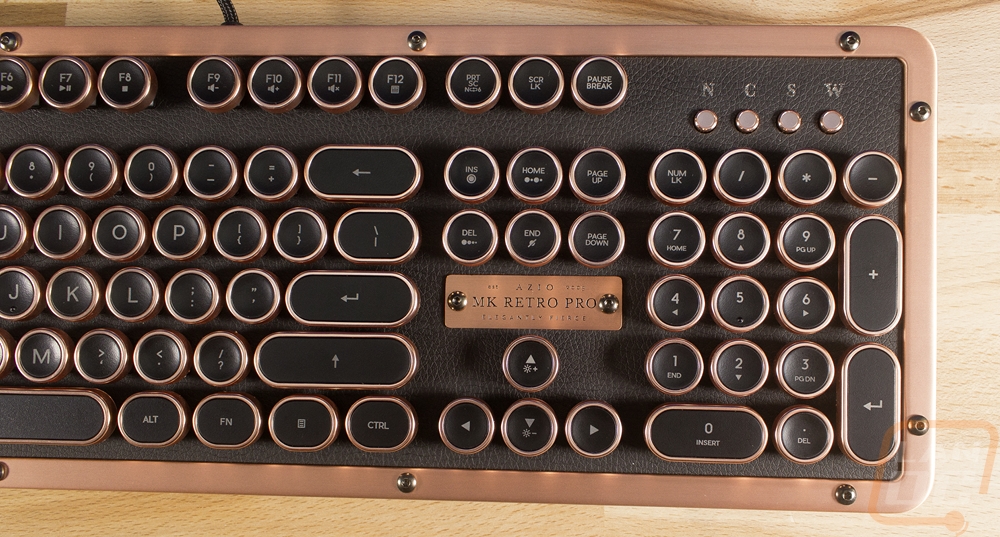
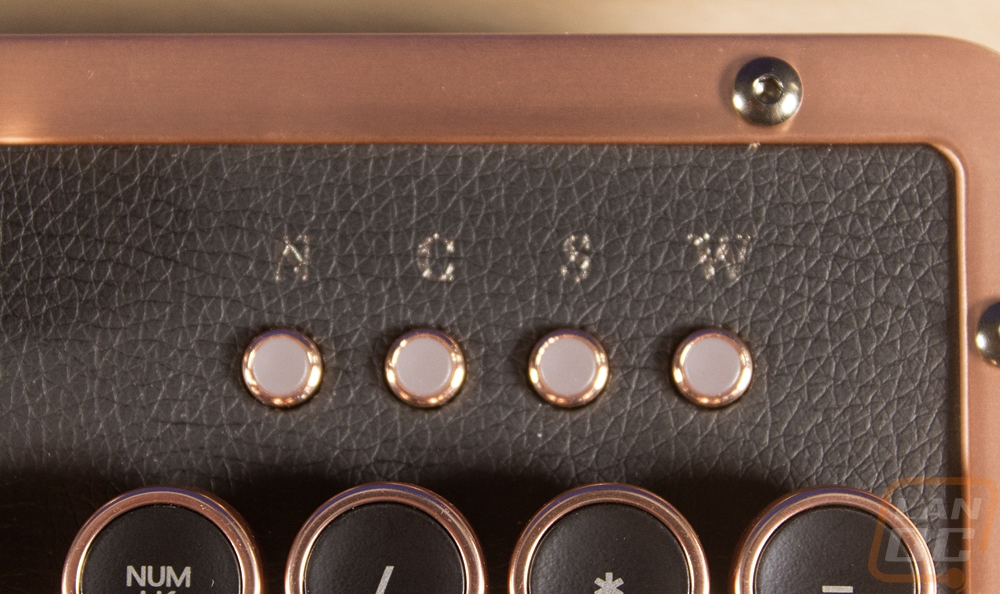
Above the number pad are status indicators. These are the same design as on the MK Retro as well but honestly, they look a lot better on the leather than they did with a glossy background. The first three are your normal Number Pad, Caps Lock, and Scroll Lock. The last light shows you when you have the window key lock turned on for those who need to lock that when gaming. The labels are stamped on to the leather but I do wonder if a copper plate with the labels might be better. These are hard to see.
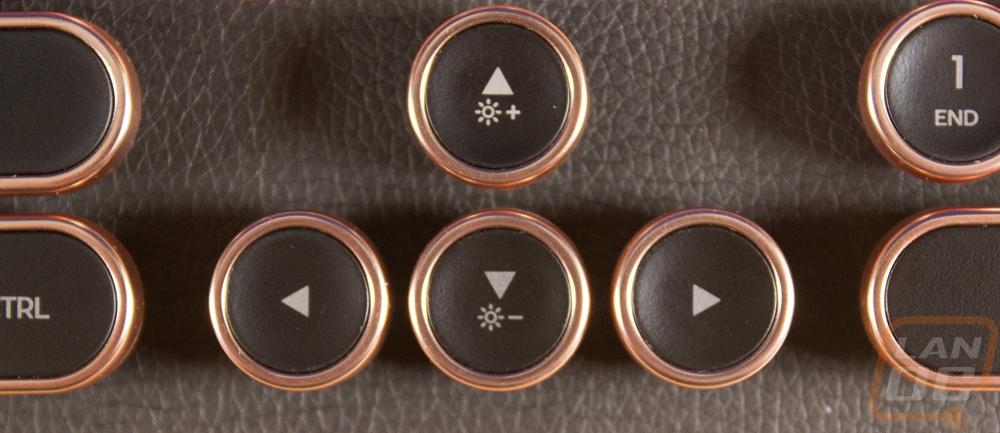
So here is the etched copper nameplate. Of course, it has the wrong name on it right now, but I love this touch. It is begging for a 1-1000 limited edition etching given how high-end everything looks. Just below it is the direction pad where AZIO slipped in another function layer here. The up and down buttons control the backlighting brightness. Up at the home button, you can also turn on a breathing effect or turn the backlighting off entirely.
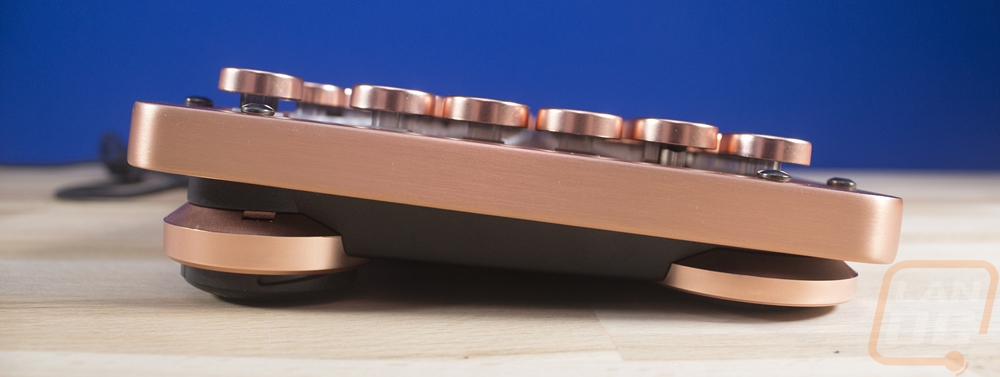
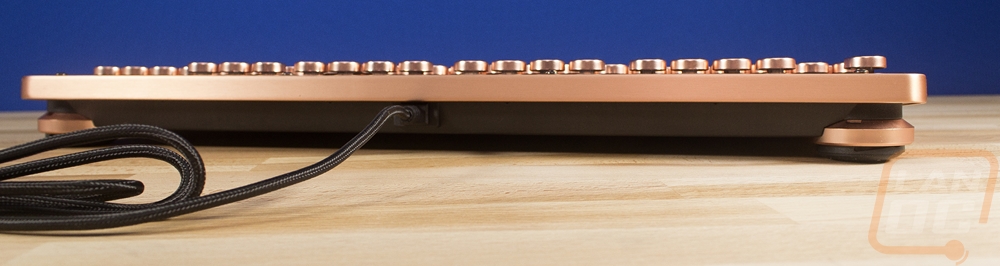
Working around the side and back profile of the Retro Classic. The metal ring around the keyboard does wrap down the sides 3/8 of an inch then from there you can see a touch of plastic up under it. The large chrome feet from the MK Retro are back but with a nice copper finish to match everything else. Around on the back, there aren’t any hidden USB plugs but you do have the USB cable. Given the rest of the board, I would prefer a detachable cable though.
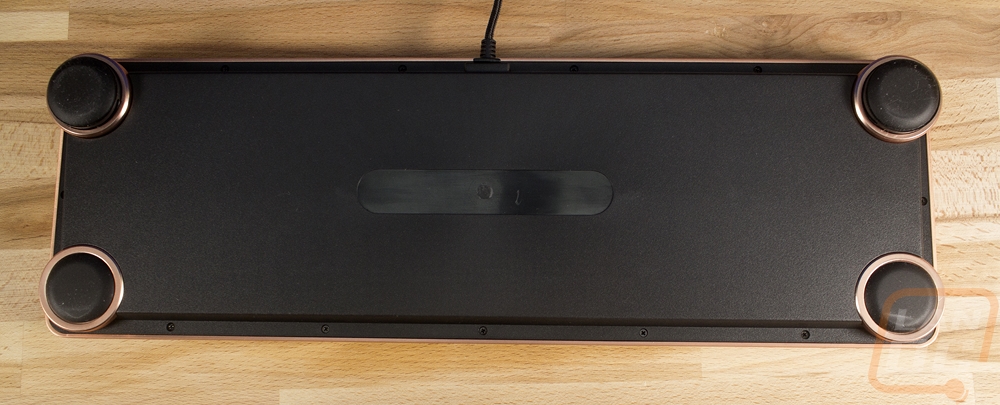
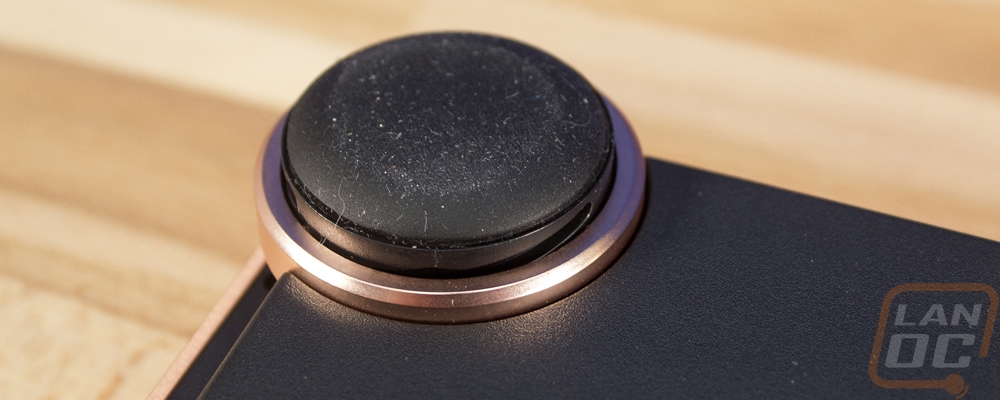
Up under everything with this being a prototype board, there isn’t a sticker with all of the certifications but you can see where it would normally go. We have those huge rubber feet on all four corners for grip and the two rear feet adjust as well. Spinning the copper ring raises the feet up about a ¼ of an inch.
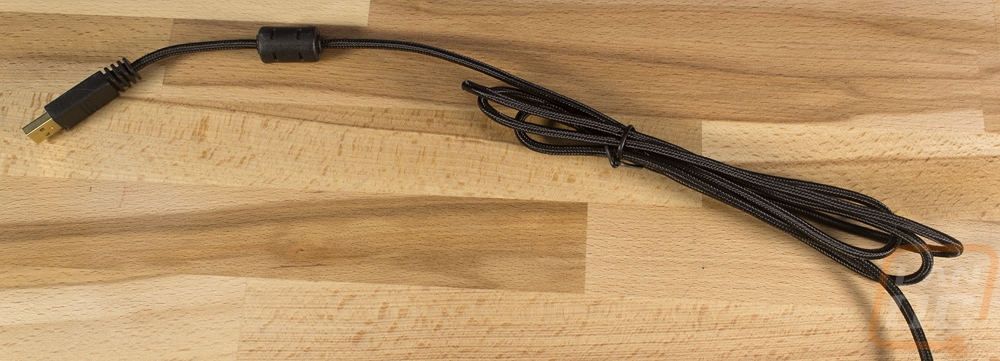
For the cord, the Retro Classic has a standard sleeved USB cable. Nothing different than on any other board really. Like I mentioned before, a detachable cord would be nice to give the option to run a custom sleeving or replace the cord if it gets damaged but this will do the job.
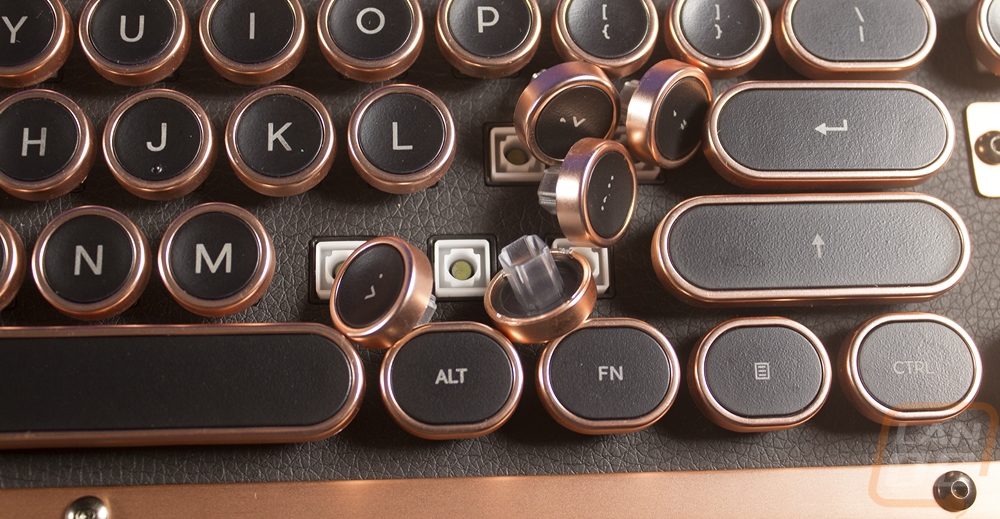
For the switches, AZIO did something completely different. I was really expecting the Retro Classic to just have standard Cherry MX or Cherry MX knockoffs only with backlighting. But to get the lighting they needed for the large legends on the center of the unique keycaps they worked with Kailh for a center mounted switch. AZIO said these were custom and I think the design is though I do know that Kailh had the center mounted LED design a few years ago, it’s the way the keycaps attach that is new I think. These are a clicky style switch with a light touch, much like an MX Blue only with the LED mounted in the middle. I also love that the leather finish on the backplate does right up to or even under the switches for a very clean finish.
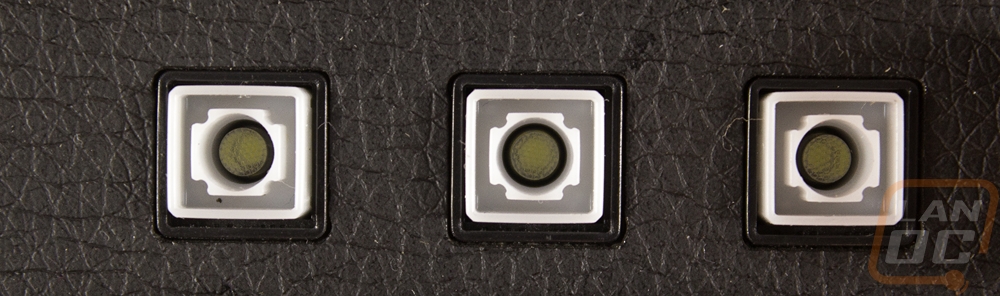
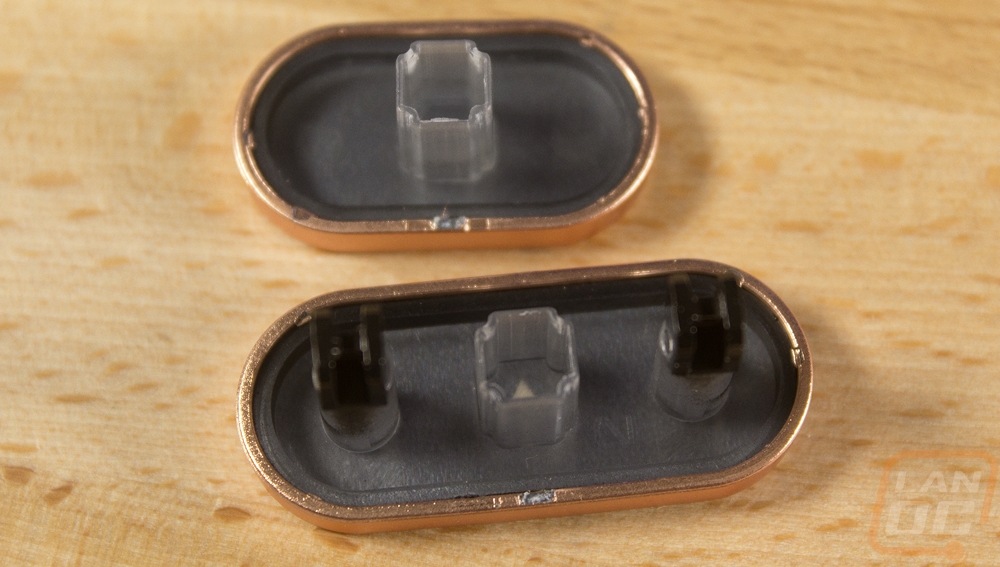
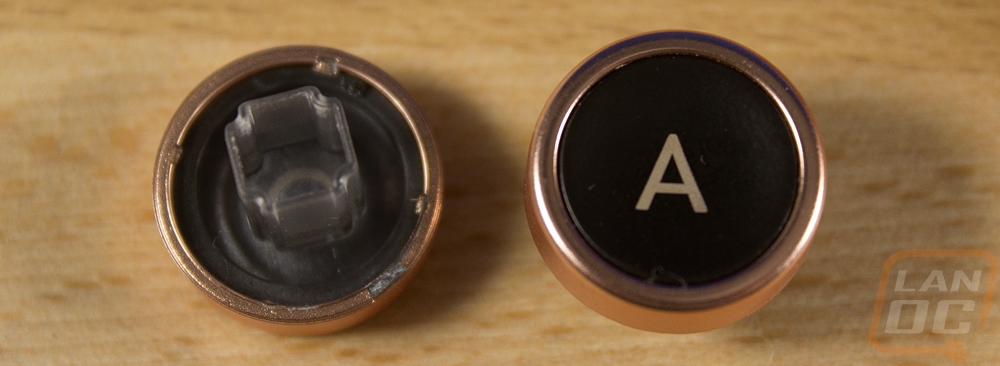
The rest of the innovation was with the keycaps. So AZIO made keycaps similar to this for the MK Retro and they even sold some individually on Massdrop but these are completely new. They have a plastic ring around the outside that is finished in Copper, then in the middle, they used clear plastic and painted the tops to etch the legends on. Normally keycaps like this would use a translucent white but with the clear plastic the lighting can be brighter and it helps the lighting get to every area without dim spots. The stem design is hollow up the middle tunneling most of that light to the legend as well. For the longer keycaps, they used a unique stabilization style that stays in the keycap like a Costar but doesn’t have an external wire that would look bad with the exposed design. They snap into place with the stabilizer bar under the backplate like a Cherry Stabilizer.