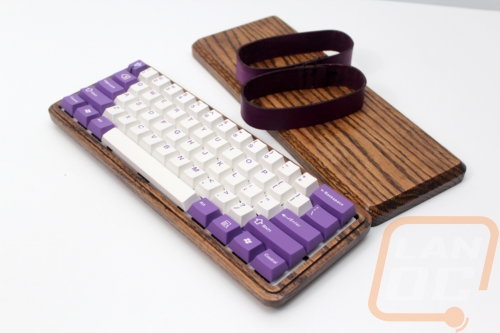
For the last year to year and a half I’ve been running a tiny 60% keyboard with my LAN rigs to help cut down on how much I carry to and from events and also to open up more space on the small table space you get at events. Its worked so well that I wanted to swap my wife’s keyboard to a 60% as well. To prevent damage to the keyboard in transport I tossed around the idea of getting a sleeve to put it in but then I came across the Oaken 60% keyboard case from Datamancer. The case replaces the case on my wife’s Poker 2 with a custom machined wooden case and it has a matching second half that encloses the entire keyboard for transport. After taking it to a few events over the past few months I wanted to talk a little about the case and its pros and cons. So check it out.
Product Name: Datamancer Oaken 60% Keyboard Case
Review Sample Provided by: Datamancer
Written by: Wes
Pictures by: Wes
| Specifications | |
| Keyboard Compatibility | 60% keyboards that have the exact same screw mounting, dip switch, and usb port layout as the Vortex Pok3r/Poker 2. Not compatible with keycaps taller than the stock pok3r keycaps as well. |
| Material | Hardwood (not specified) |
| Stain Options | Red Mahogany Dark Walnut Gunstock Unstained |
| Strap Options | Red Brown Black Blue Green Purple |
| Includes |
Top and bottom case Two leather straps (additional straps available at an additional charge) |
| Model Number | 60KbCase |
Packaging, Photos, and Features
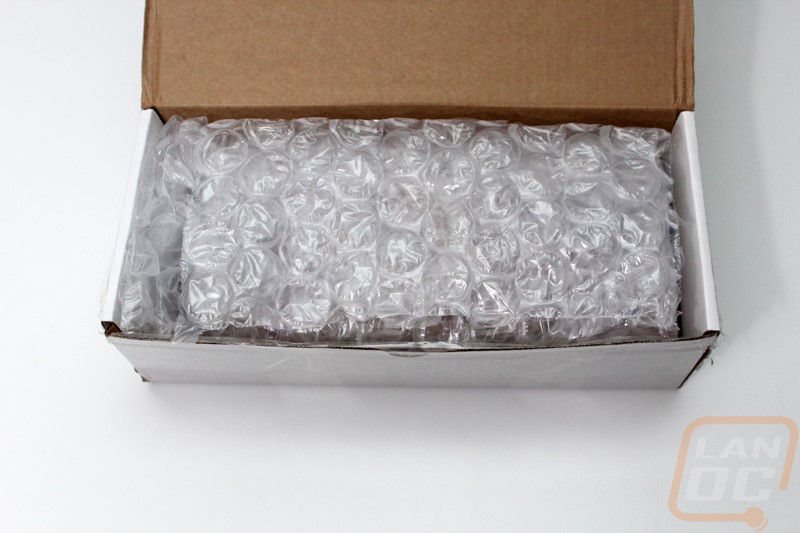
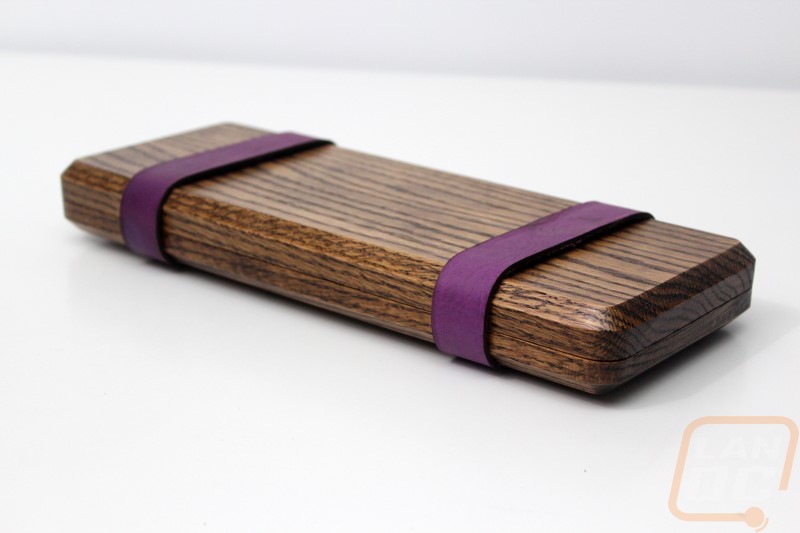
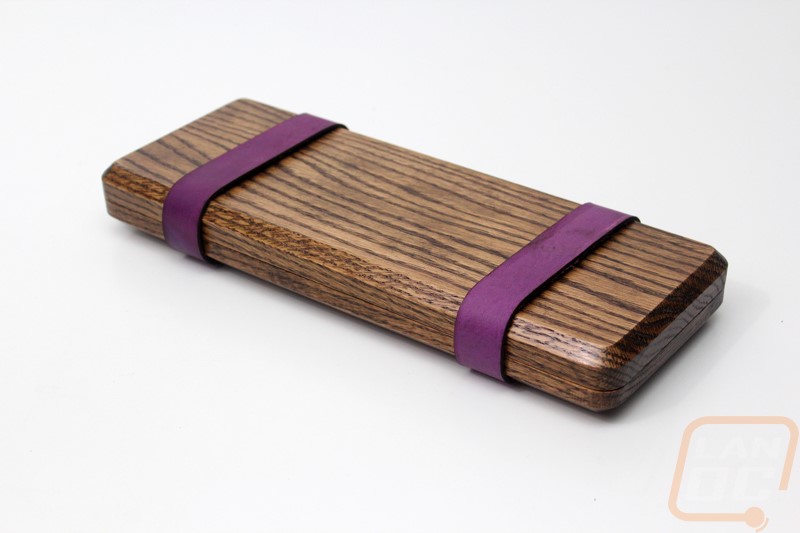
The Oaken case is a completely custom case so of course it’s not going to come in fully done up packaging. The case ships in a plane white box that is just slightly wider than a 60% keyboard and inside it comes wrapped up in bubble wrap to keep everything safe. The case itself ships with two halves combined with the leather straps holding everything together. No surprises here.
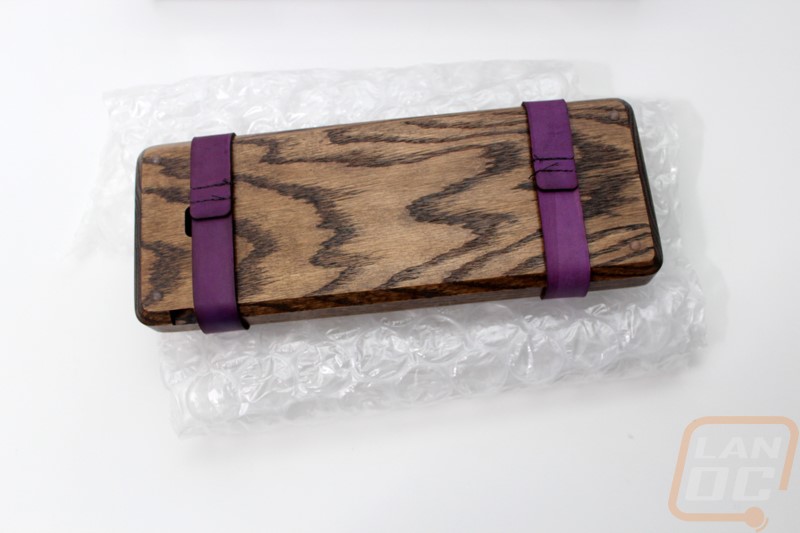
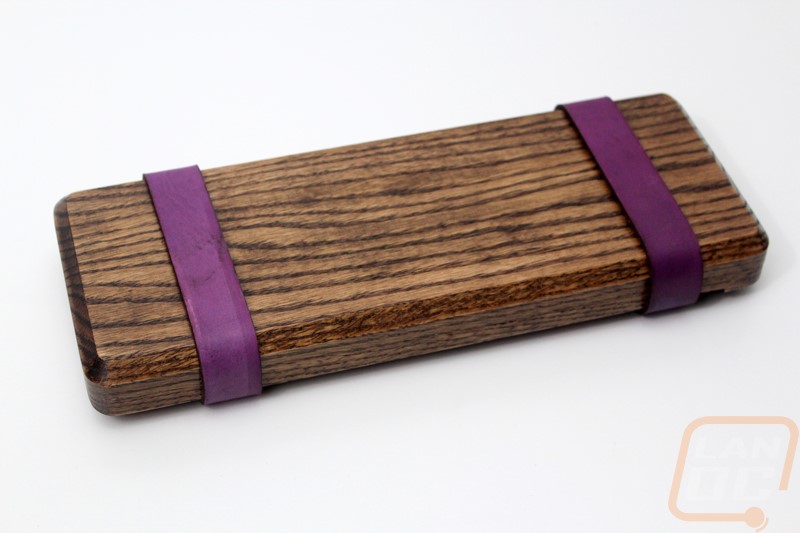
The Oaken as shipped is basically what you can expect the entire setup to look like once you get the keyboard in it as well. Take the picture below for example, I took this with nothing inside, but you wouldn’t be able to tell the difference from this shot compared to one later with our Poker 2 in it. The Oaken is available in four different finishes Red Mahogany, Dark Walnut, Gunstock, and Unstained as well. Our sample is Red Mahogany finish.
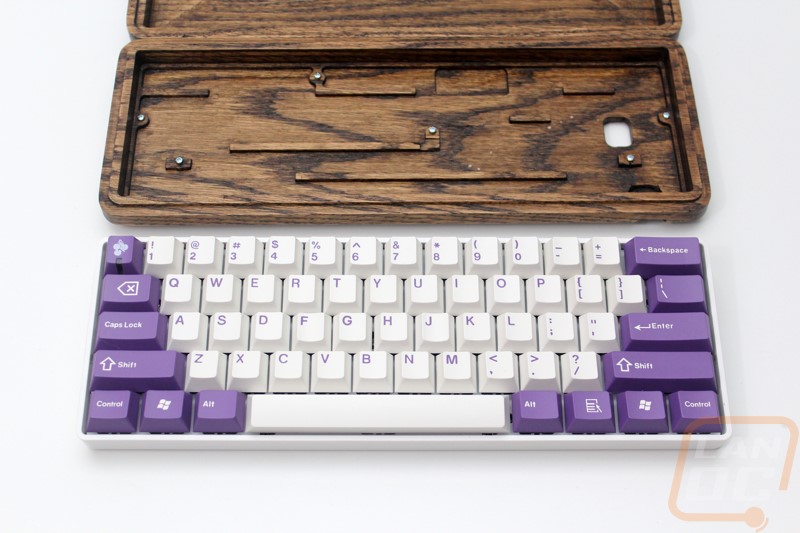
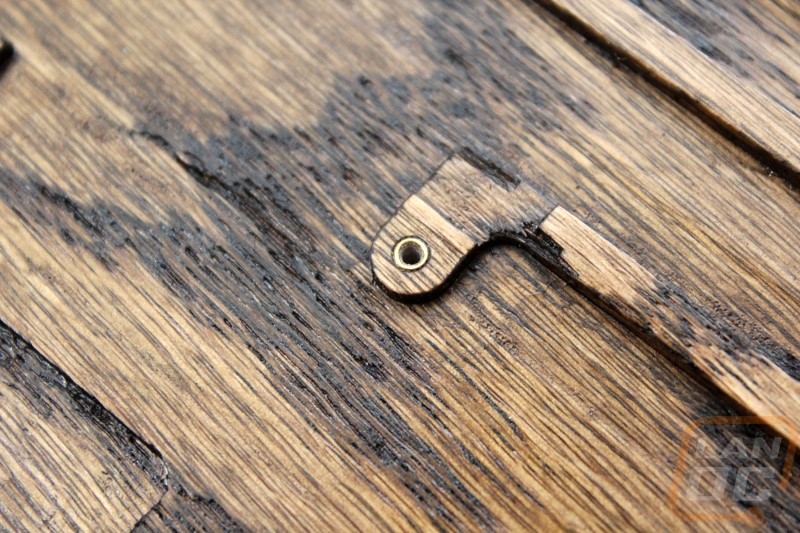
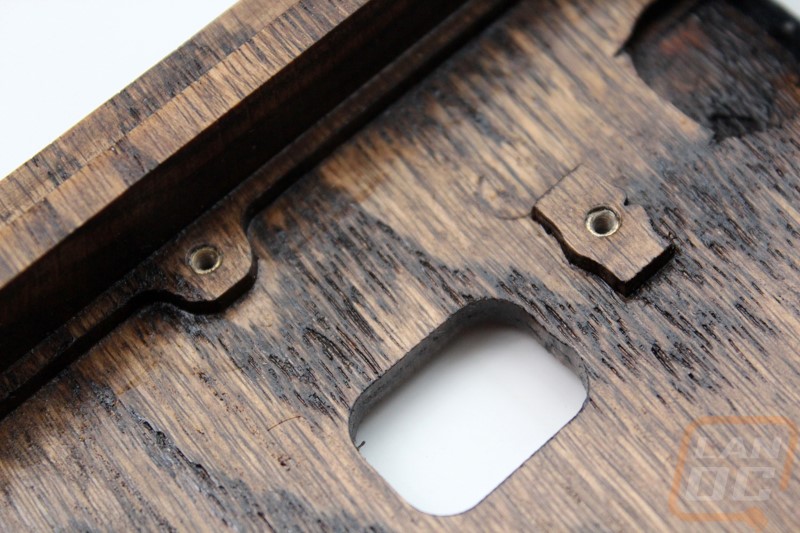
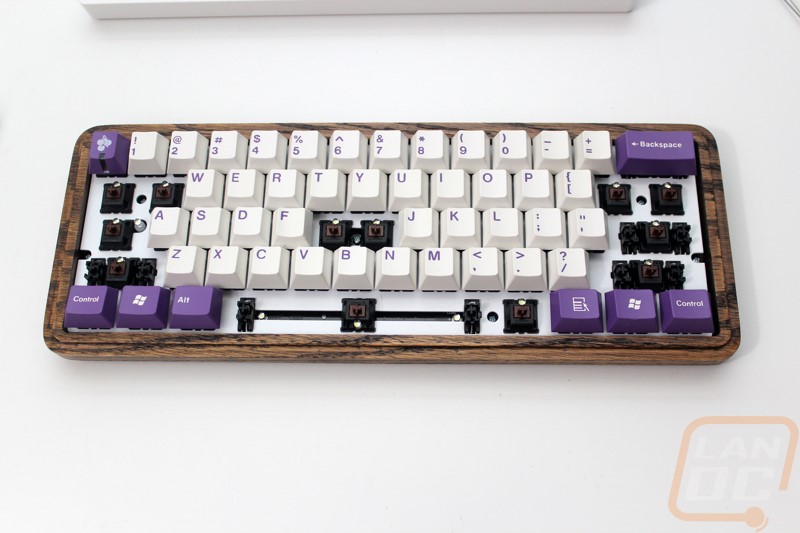
The two halves of the case are similar but once you open everything up you can see a whole variety of differences. Both halves are CNCed but the top half, being the lid, lacks all of the distinguishing marks of the bottom half. The bottom has two holes cut into it, one for the USB port on the back edge and the window in the bottom that gives access to the dip switches on the Poker models or the header plug on the Infinity 60%. The bottom has all of the same support structure that we have seen on other custom cases like the acrylic and aluminum cases. Then there are the six mounting holes. Datamancer ships the Oaken with screws in each hole so there isn’t a need for any loose hardware
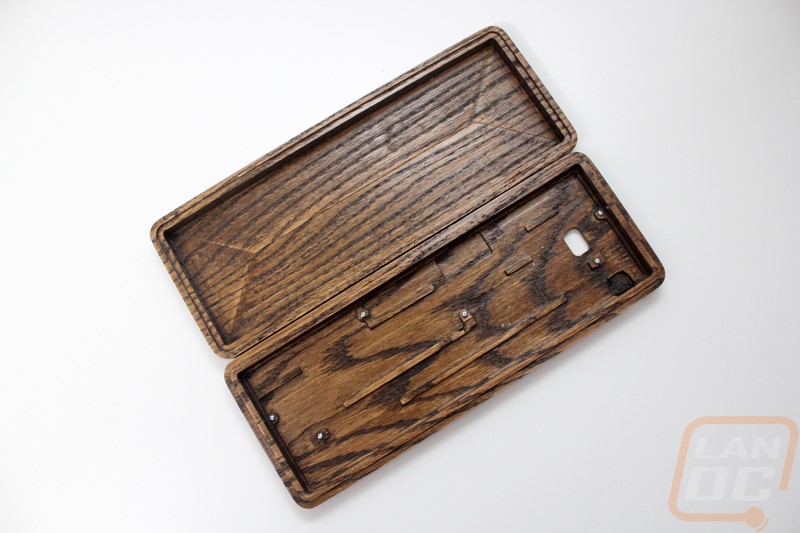
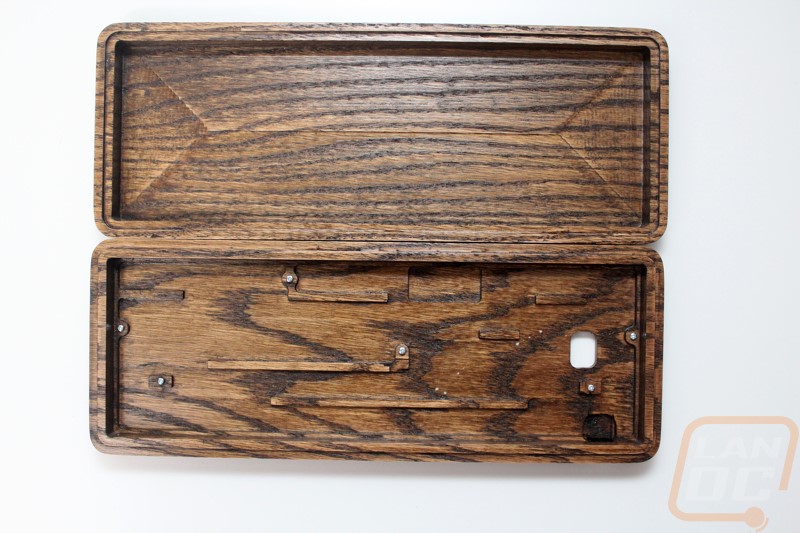
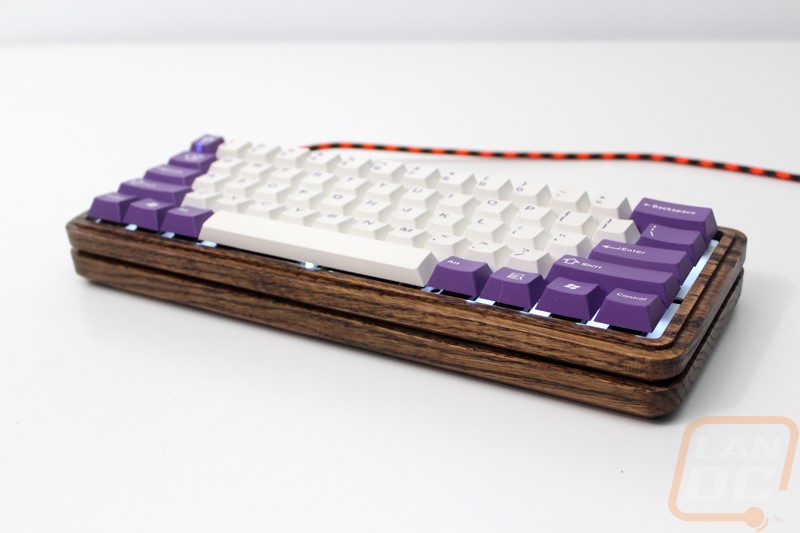
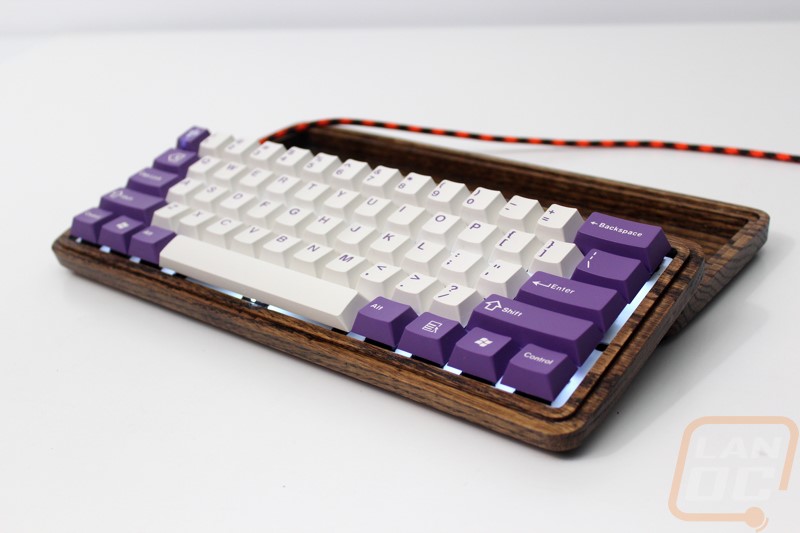
Although I won’t be going over the installation of the poker 2 into the Oaken until the next section, here we have everything put together. The wood case is noticeably wider than the original Poker 2 case, the original was plastic and was extremely thin around the edges. In order to give the wood case a little more strength the bezel needs to be thicker and this also gave them room to put a raised notch in the bezel so that when you install the top it locks into place.
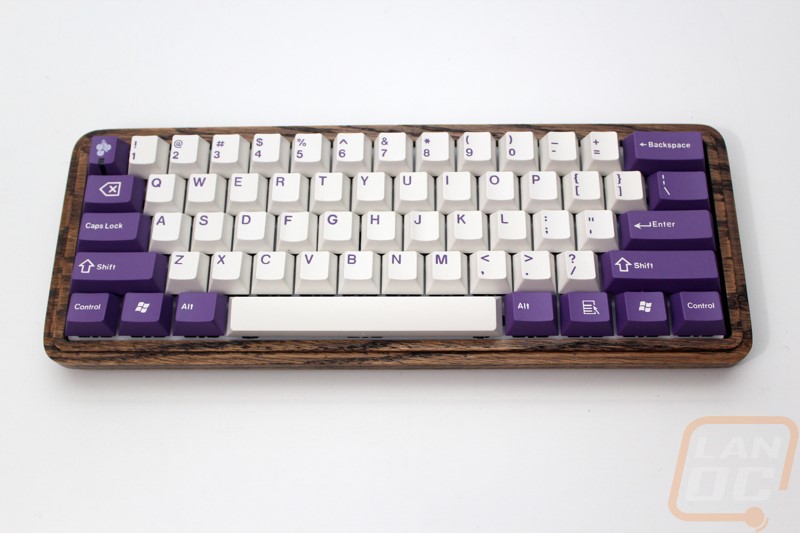
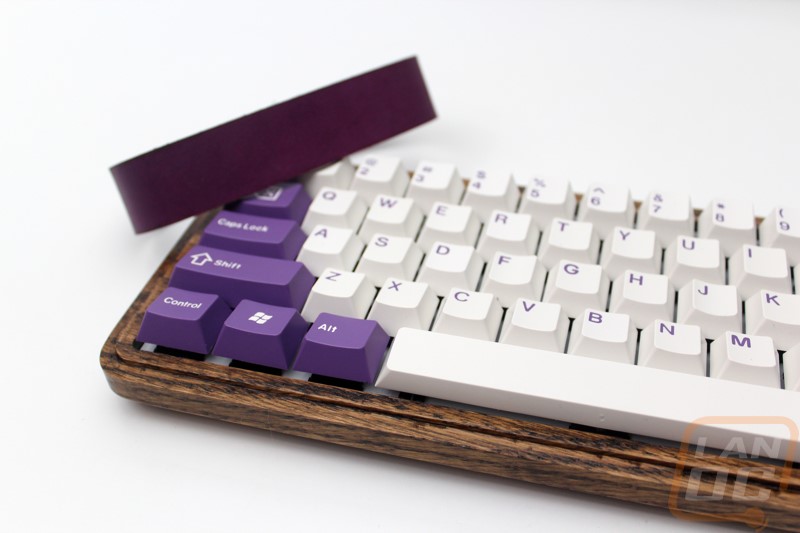
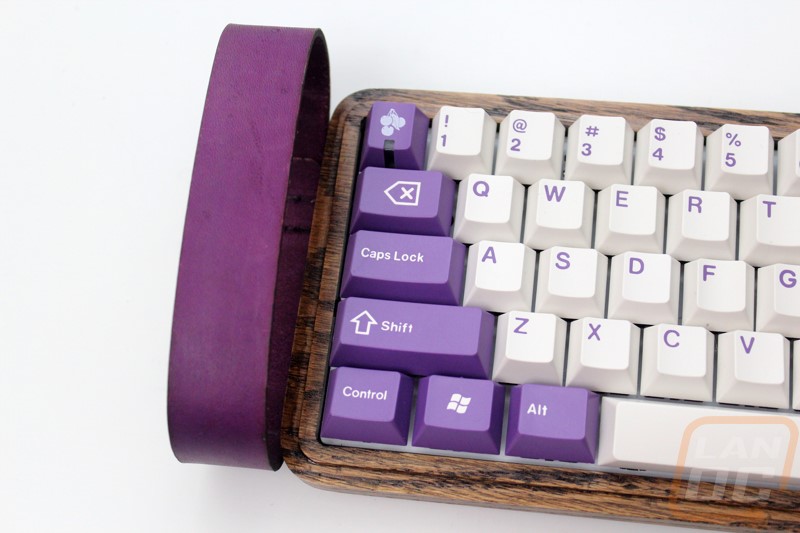
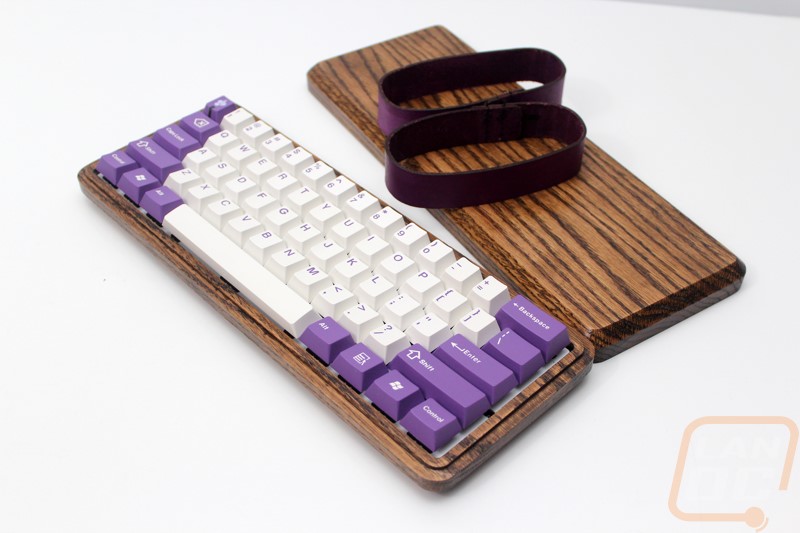
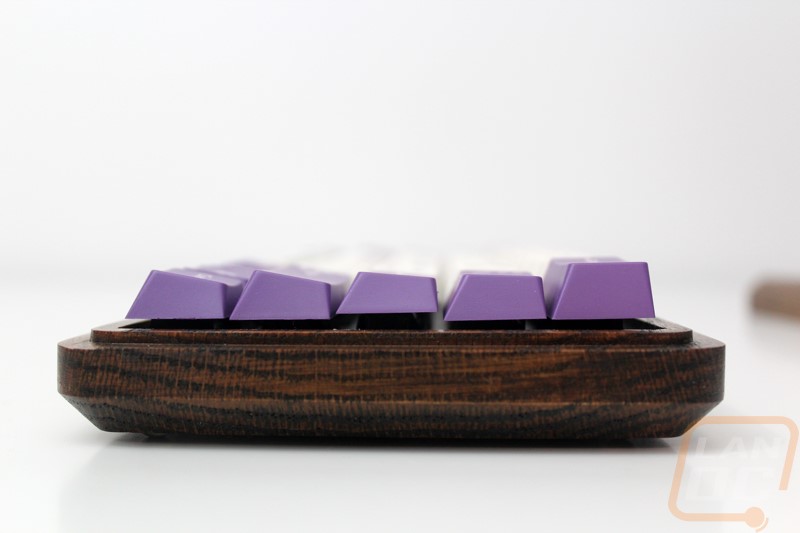
For the two included leather straps you can select from six different colors, Red, Brown, Black, Blue, Green, and Purple. For our sample they sent it with purple straps, because of that I dug out the JTK Debut keyset that I hadn’t used for this keyboard. The purple of our keyset is a lighter purple, but even so they do go together very well with the purple straps. It’s no surprise that the purple finish has a very steampunk feel given Datamancer’s history as well.
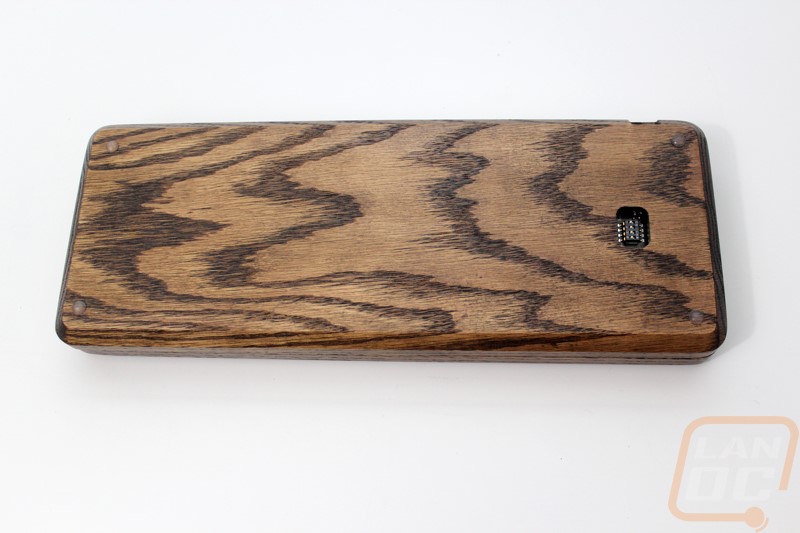
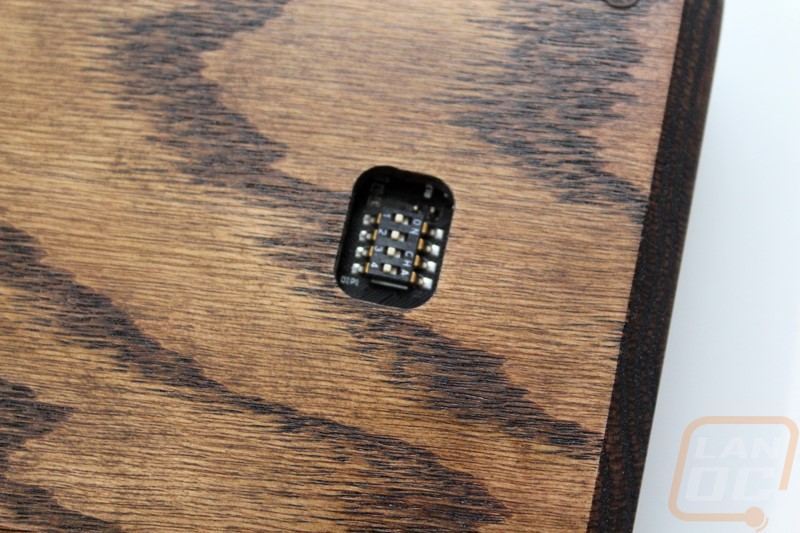
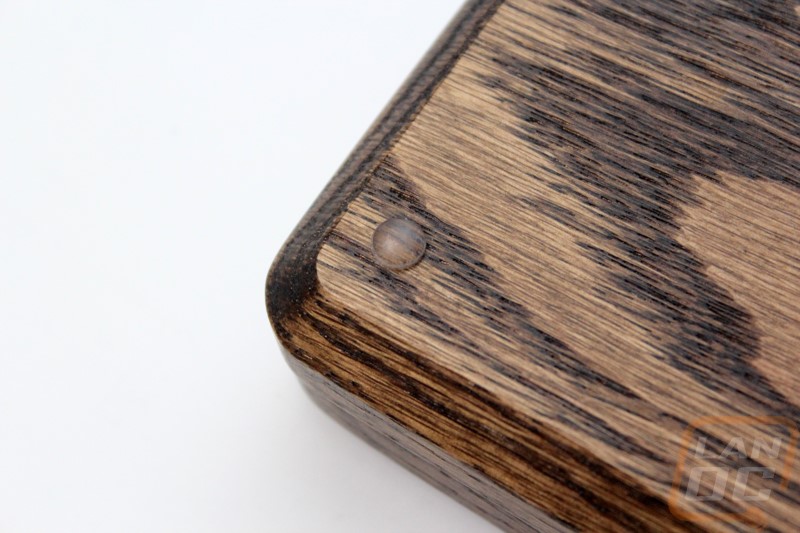
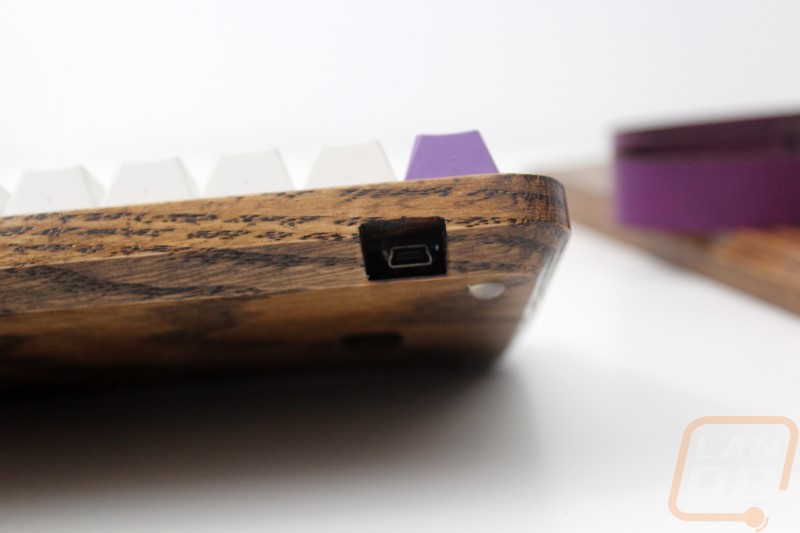
The bottom half of the shells design is very simple from the outside. Like I mentioned previously they did include two holes one for the USB port on the back edge and then the bottom window to access the dip switches. The dip switch access window is actually a little larger than normal and that helps people like me with fat fingers to get in there and flip the switches. Because of the cases thick bezel I was a little worried about access to the USB port on the Poker 2 PCB but they did make sure that hole is big enough to fit the large plastic portion of some of the custom USB cables. I actually ordered a custom cable from Mimic Cable to match this build as well and they have move to a smaller housing. I tested the new cable, an old cable with the large plastic housing, and the stock Poker 2 cable without any issues on all three. Being a custom case there isn’t much going on with the rest of the bottom. There isn’t a need for a large sticker with warranty information or regulatory logos, so Datamancer kept it clean. I do think the case would look sharp with a metal plate on the bottom or even the top though. For feet the case uses four small stick on rubber dimples just like the feet we used on our Infinity 60% build. I would much rather have the extremely wide rubber feet from the stock Poker 2 case, but I know these small feet will get the job done as well.
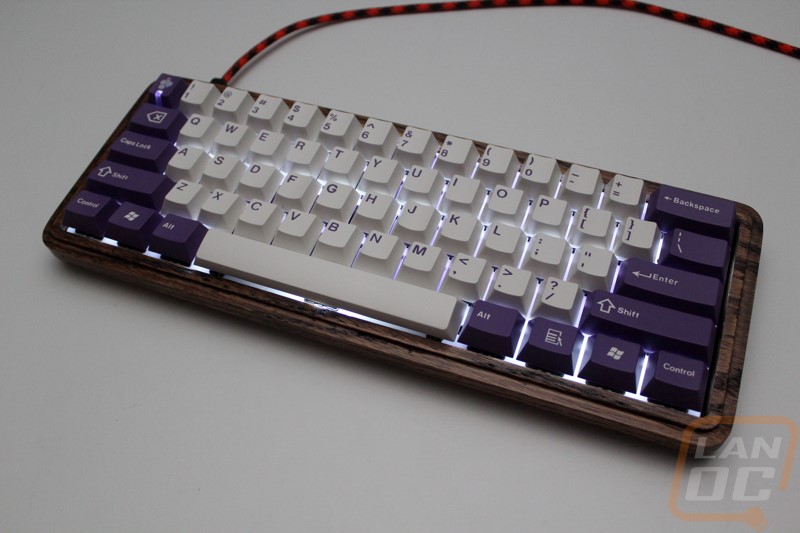
While I think the purple JTK keycaps that we used on this build look amazing, even a set of stick Poker keycaps would look really good with the Oaken case.
Installation and Performance
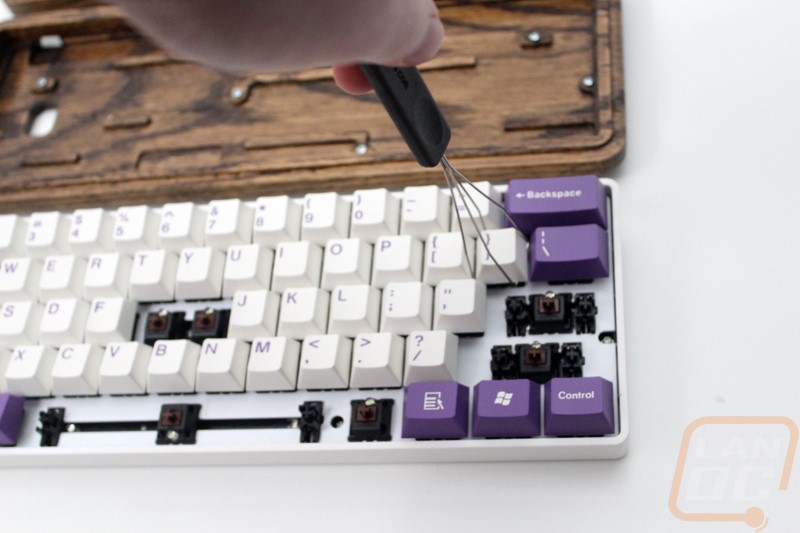
Before I could test out the Oaken 60% case I did have to get it installed. For this setup we went with a Vortex Poker 2 but you can use this case with a few different 60% keyboards as long as they have the standard Poker screw layout, a good example would be the Massdrop Infinity 60% boards or any of the Poker lineup. Before I jumped into everything I did get out my smaller screwdriver set. The screws used on both the Oaken and the Poker 2 are smaller than my standard screwdriver. I used a set I picked up at Walmart but a good example of what to look for would be something like this kit on Amazon for less than $10. You will also need a keycap puller, I suggest a wire design as the plastic pullers can sometimes scratch up your keycaps. Something like THIS will get the job done if you don’t have one.
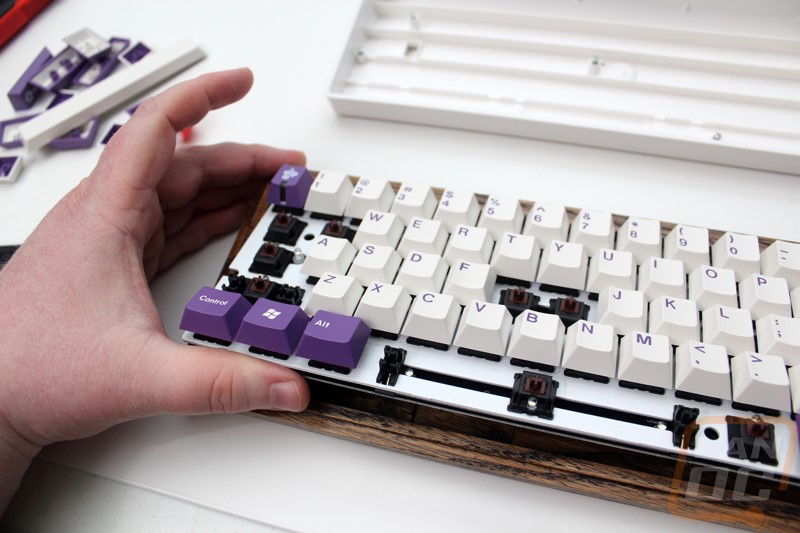
So to get started I pulled the keycaps that covered up the case screws. You will need to remove the G and H keys from the middle, the spacebar and the right ALT key, your enter key and the right shift, Tab and the Q key, and Caps Lock and the left shift. This gives us access to the six case screws. It’s really important you get the prefect screwdriver bit here because it should fit the screw tight enough that you can pull it out. You will be okay if you drop a screw but they are small and getting the screw in between the backplate and the PCB is a major pain that I went through. So a good fitting screwdriver and even better if it is magnetized.
With the 6 screws removed we can just lift the PCB/Backplate/switches out from the case. From there we can actually see the differences between the Oaken base and the cheap plastic base of the Poker 2. The Poker 2 case is thinner and angled from front to back. They both have supports but the supports on the plastic case are taller, especially towards the back.
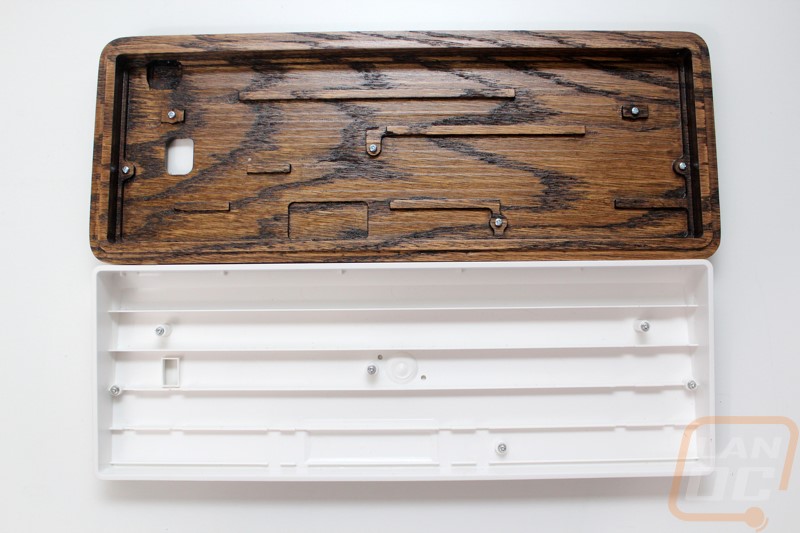
The plastic case uses self-starting screws but the Oaken comes with machine threaded screws. This is because each screw mount has a metal sleeving in it to give the best grip. This is good because the self-starting screws are really easy to strip out, I striped a few on the acrylic cases I used on the Infinity. I imagine if I had to screw them into wood I would be lucky to have two screws holding everything together.
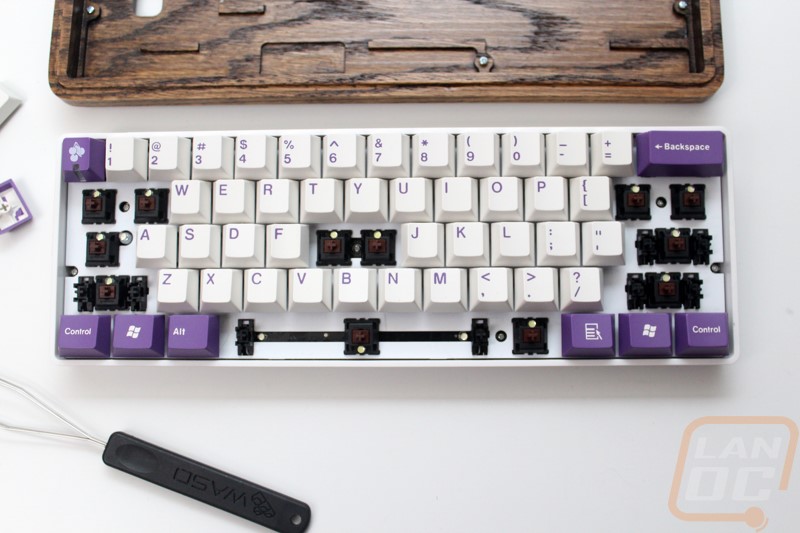
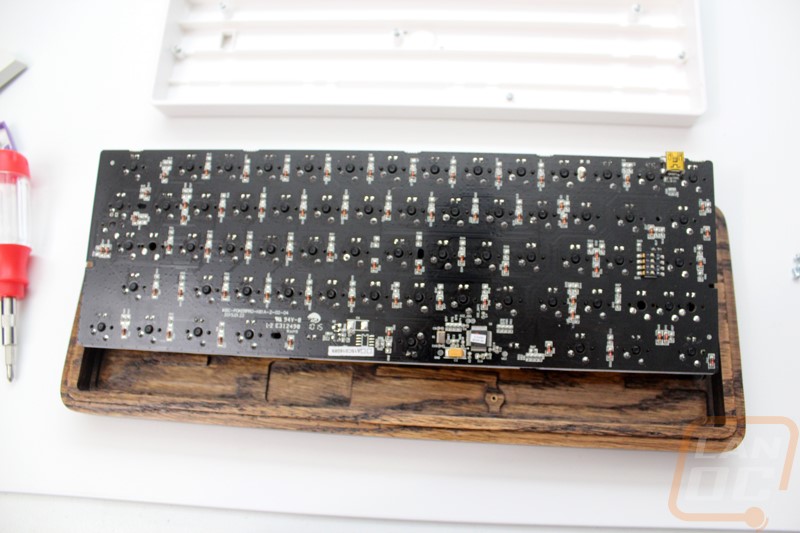
Before I put the keyboard into the Oaken case I did snap a shot of the back of the Poker 2’s PCB just so you guys know what to expect when digging in. The PCB is good looking with its black finish. The USB port sticks out past the back edge of the PCB so when you install it into the case be sure to slide the USB port edge in first.
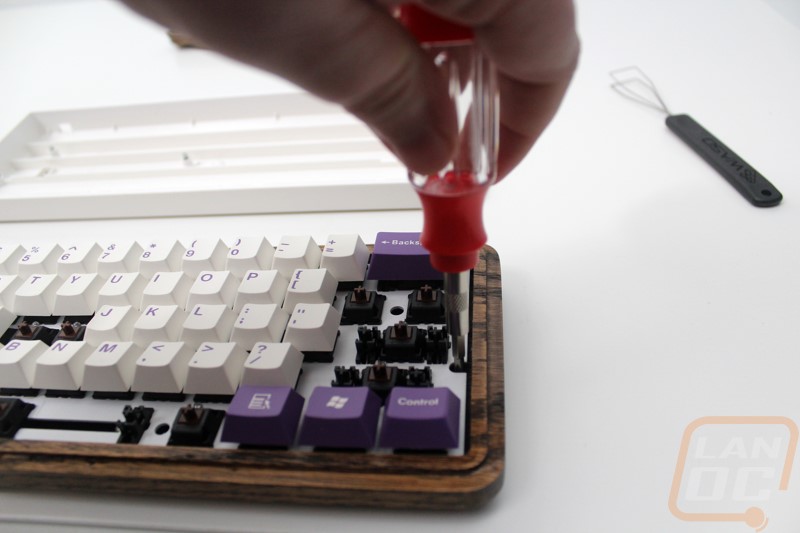
Once you slide the keyboard into the Oaken case it really is as simple as installing the six included screws. For me I ran into an issue where twice I dropped the middle screw into the hole and it got wedged in between the PCB and the backplate. When this happens you have to start all over, pull it all out, and then work the screw out like a game of Plinko.
I took the shot below to show the gap under the keycaps where the stock Poker 2 case went up a little higher. But the enter key wasn’t pushed down all the way and now all I can see when I look at the picture is how that one key isn’t seated correctly.
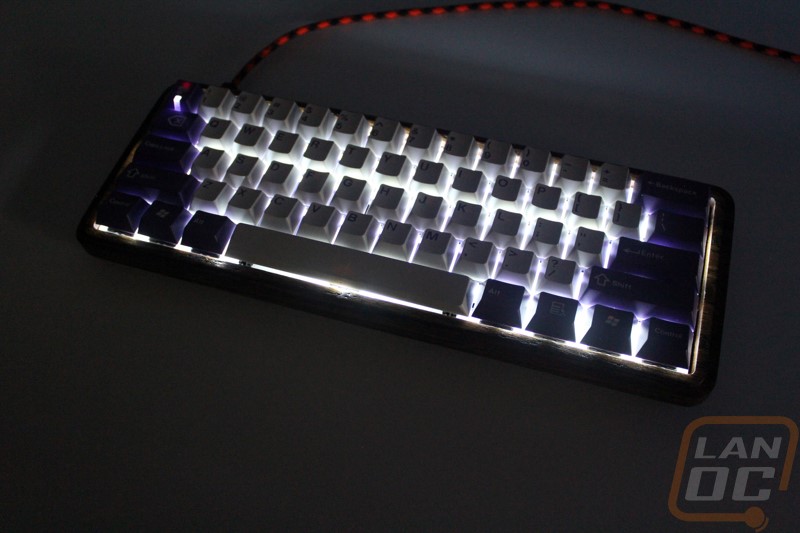
So with everything installed I jumped into testing. In my case this was packing our PCs up and taking them to a few events. Specifically, we went to Gamers for Giving 2016 and then our own even the next week LanOC v18. At both events the Oaken case got a lot of attention. People loved the wood finish as well as the idea of the clamshell case to keep everything safe. There was a shot adjustment period with my wife adjusting to using a 60% keyboard for the first time but It wasn’t an issue for very long. Our Poker 2 has white backlighting and even with the new keycaps not supporting backlighting it looked good when the lights dimmed.
What piqued my interest though was the versatility of the top half when you are actually using the keyboard. With the Oaken case having a completely flat stance where the original case had a bit of an angle to it my wife really wanted to angle the keyboard up. All you have to do is put the lid under the back half of the keyboard and its perfectly angled. I was worried it wouldn’t stay in place or that it might move around but it didn’t. I think adding a notch into the case bottom would help this even more but it worked well so who am I to complain. If you for some reason need the keyboard to sit higher you can put the lid under it completely. Then there is the third option, the one I liked the most. You can actually use the lid as a nice wooden wrist rest by placing it in front of your keyboard.
Not only did going with a smaller keyboard save space in my wife’s LAN bag and on her desk. But the Oaken case has to be the best looking enclosed case out there. With everything secured with the leather straps I had no worries at all about the keyboard getting damaged let alone getting dust or dirt in under the keys.
Overall and Final Verdict
After using the Oaken at a few events I couldn’t be happier with it. It protected my wife’s keyboard perfectly when traveling to and from LANs. With the clamshell design I doubt I will ever even have to worry about dust and dirt getting up under the keys. It also got a lot of attention, people were drawn to the keyboard because it’s such a unique design. No one else at an event is going to have an all wood keyboard. Getting it setup was simple, you basically just remove a few strategic keycaps and remove the six screws that hold the Poker 2 into its case and then slide it into the Oaken and then install the new screws. The two-piece design does allow you to get creative when using the keyboard as well. You can use the lid to give the keyboard an angle for example. But my favorite is using the lid as a matching wood wrist rest.
Switching to the wood design does mean you lose the thin bezels that give your Poker 2 its simple styling. The Oaken case has thick bezels all the way around for structure and so that the case can lock together when transporting it all. That’s not the elephant in the room though. The only real issue with the Datamancer Oaken 60% case is its price. If you aren’t a keyboard enthusiast you have to be looking at me like I’m completely off my rockers now that you have seen the $189 price tag. Especially when we consider that a stock Poker 2 or Pok3r is going to cost you less. For comparison, some of the other aluminum 60% cases can run up too $139 and we have to remember than the Oaken 60% case is actually giving us two halves. It doesn’t make it sting any less but I can completely see how a custom made CNCed wooden case would hit the pocket book.
So is it worth it? Well for the average user there is no way. But I know that there are going to be a few keyboard enthusiasts who take their 60% keyboard to and from LAN events or to and from work every day. For that person, you aren’t going to find a better way to protect your keyboard. On top of that you will most certainly be doing it in style.