Photos and Features
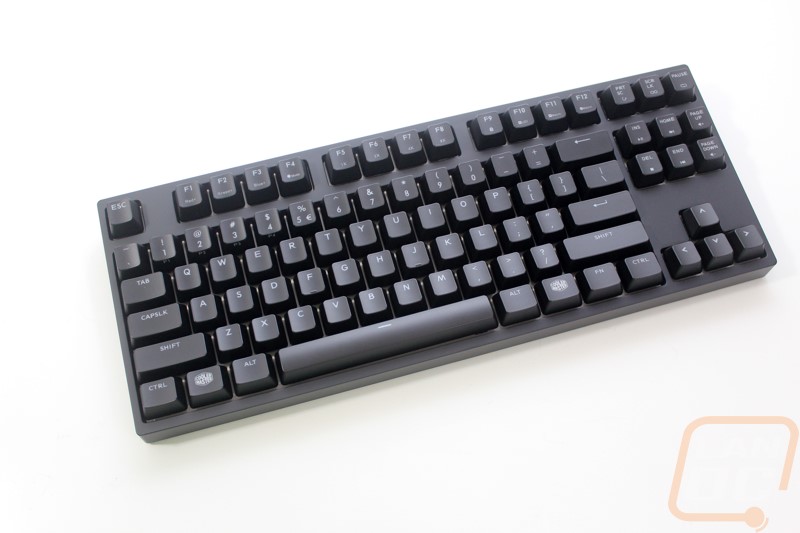
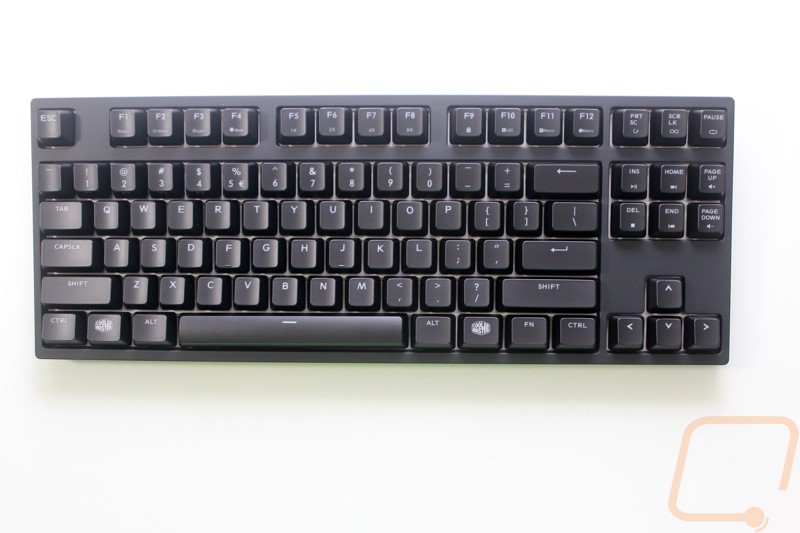
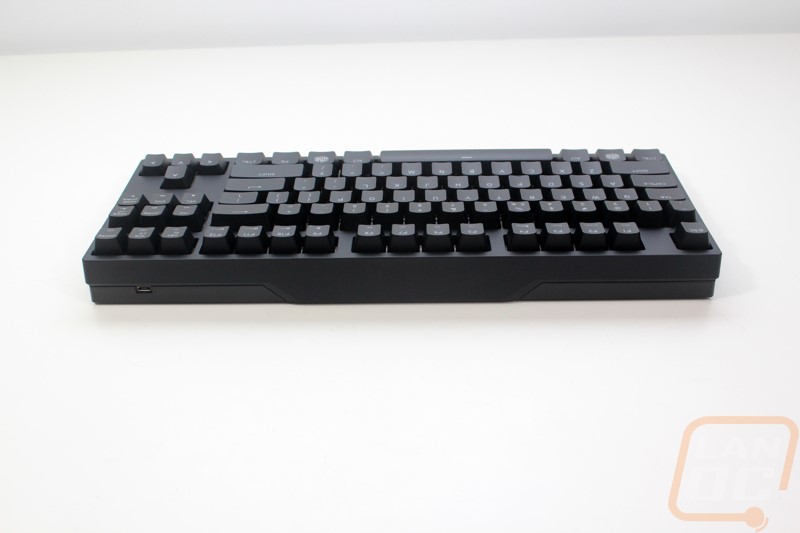
So like I mentioned multiple times already, the Masterkeys Pro S is the smaller version of the Masterkeys Pro L. The S meaning smaller and L for large. What this is really though is a new RGB version of the Quickfire Rapid-I. The Masterkeys branding is just moving the product line in place with Cooler Masters new branding. This means the Pro S is a TKL or TenKeyLess keyboard. This means you get everything except the number pad that can be found on the Pro L. This does make for an interesting situation because the Pro L did have four profile keys above the number pad but I will get into that soon. The Pro S has the same clean look that the Pro L has but with a few changes. Really the design basically stays the same as the Rapid-I. We still have thin bezels around all of the edges so the already small design doesn’t take up any more room than needed. This combined with no branding on the case and a flat black finish makes for a simple timeless design.
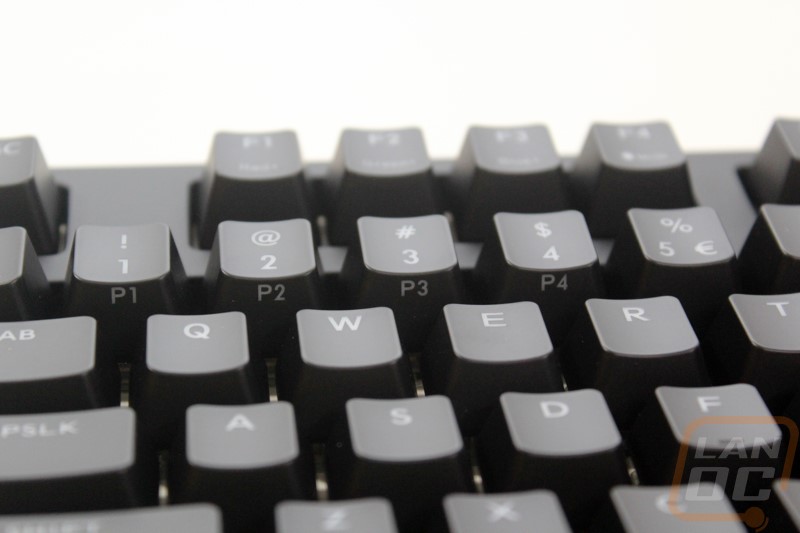
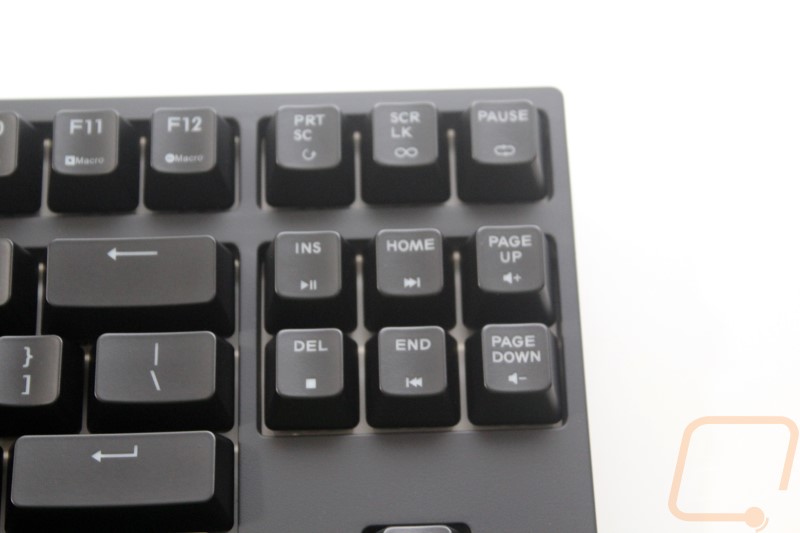
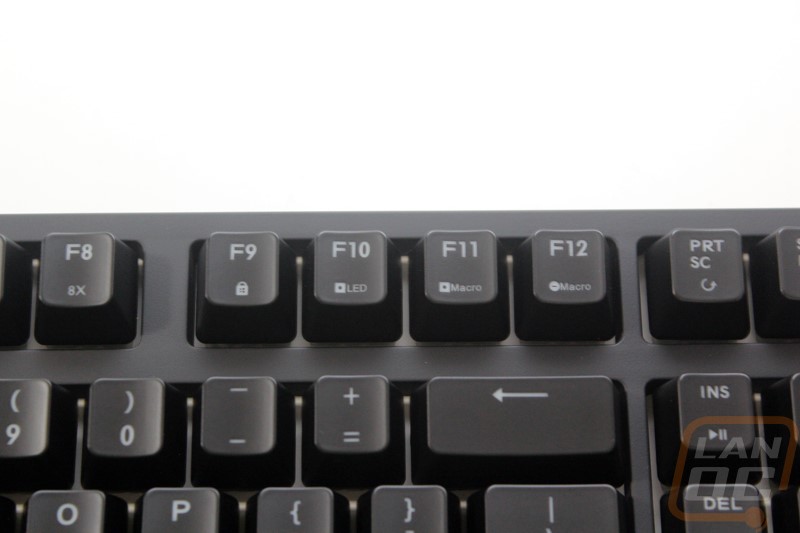
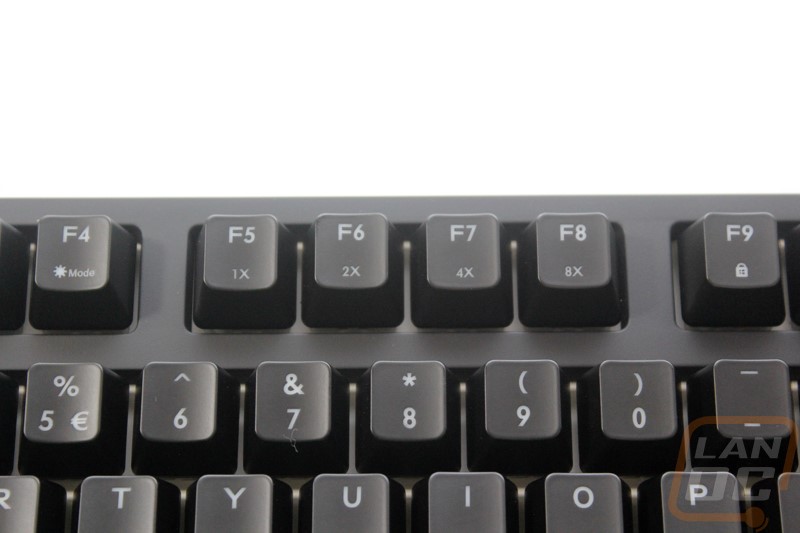
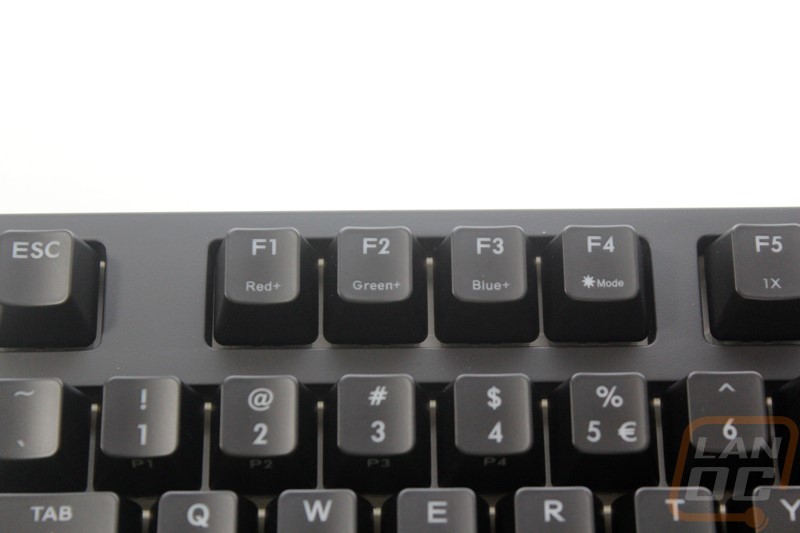
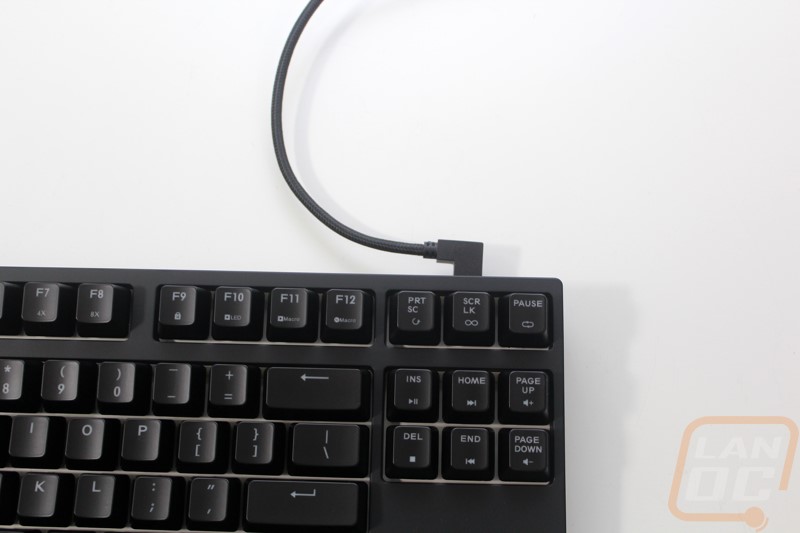
What sets the Pro L and Pro S apart from the competition is that they have integrated all of their controls into the function layer. This means some things like setting up macros and even controlling the RGB lighting on an individual key level can all be done without software if you want too. They do this using the entire F Key row and just about anywhere else they can find. All of the controls in the F Key layer are the same as on the Pro L but what is unique to the Pro S are the four profile keys being moved from above the number pad to the 1,2,3, and 4 keys on the number row. When you hold Fn and press one of those keys it will flip you between different profiles. Like the Pro L the media controls are all in the area of the Page Up and Page Down keys. Just above them in the Print Screen area are the controls for programing macros, including the option to set a macro to loop or even toggle on and off. The F5 to F8 keys are the refresh rate of the keyboard, this basically acts as a rapid fire mode when you turn them on.
Then we have the RGB lighting controls in the F1 to F4 keys. Here when you press Fn each of the three color keys will light up showing you what color they control and you can also see what brightness they are set too. You can use these three keys to set your backlighting to a wide variety of colors using the 10 brightness settings for each color. Then the F4 key flips through the different lighting modes.
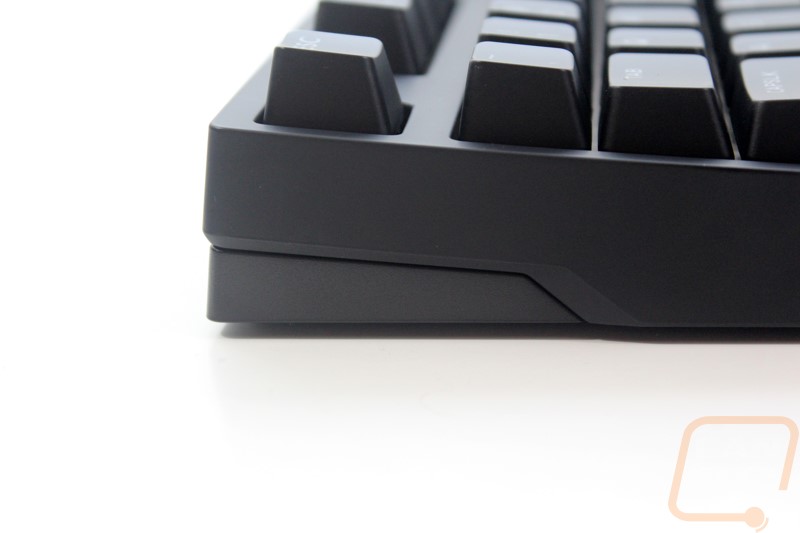
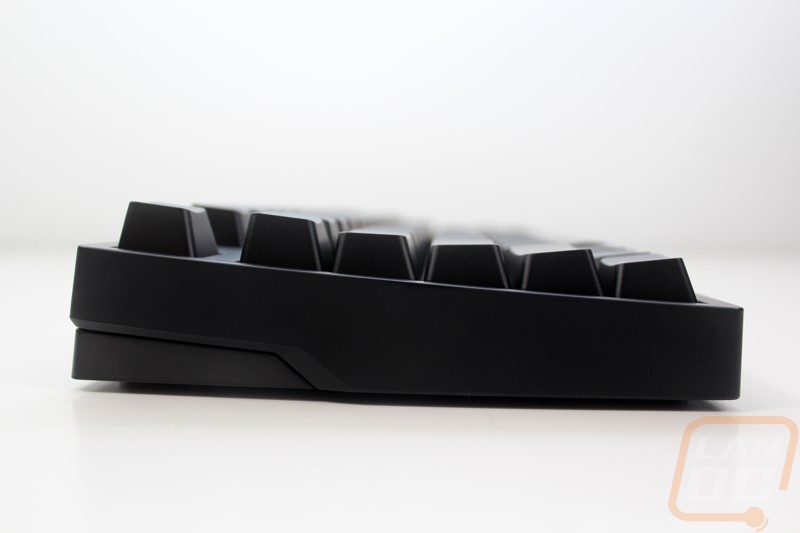
The area that made me realize that the Masterkeys Pro S is based completely on the Rapid-I was the side profile view of the case. The Rapid-I had this unique flare near the back. The Novatouch had it as well but none of the other Cooler Master keyboards has had this design including the Masterkeys Pro L. I’m actually a big fan of it as it adds a touch of style to make the keyboard unique without taking away from the clean look. From the side profile we can also see that the Pro S uses an OEM style keycap profile meaning the top two rows of caps are the same profile and then from there each profile changes to give the overall shape a curve with the fourth row down being the center.
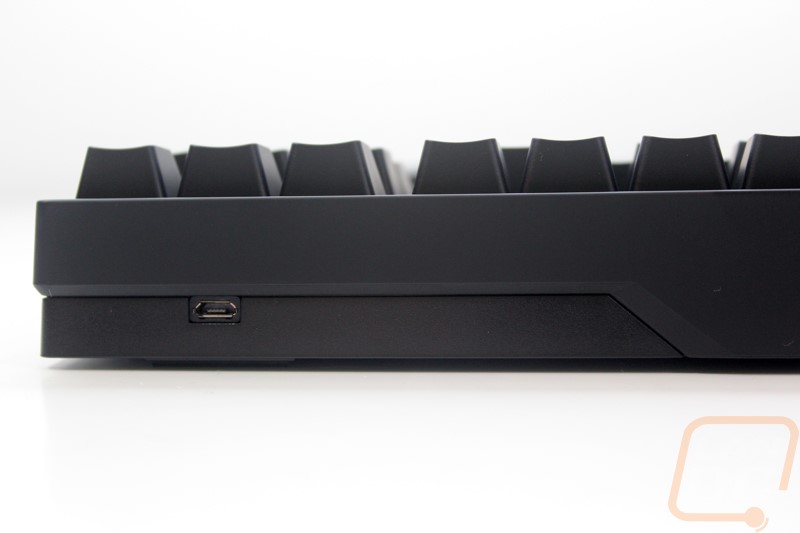
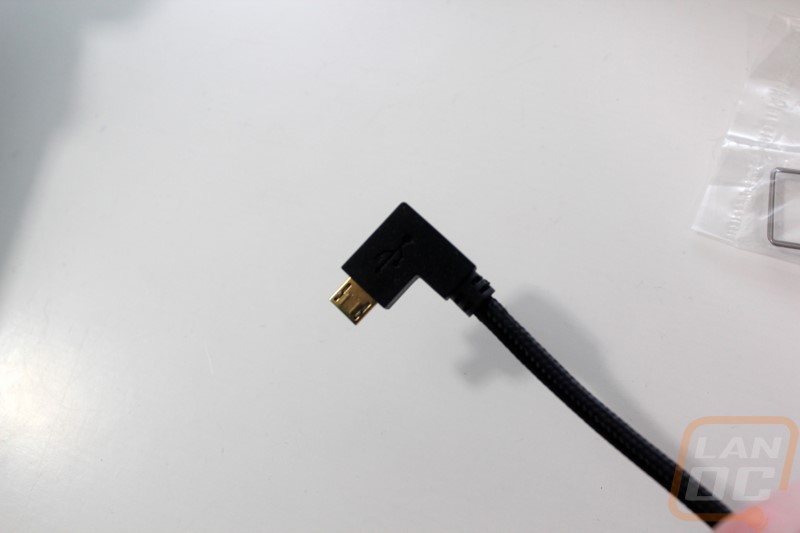
The same styling from the sides carries on around to the back of the Pro S. Also unique to this design is the micro USB connection for the removable cord being on the back of the keyboard. The Pro L has the connection under the keyboard and then it uses tracks to have the cord exit on whatever side works best for you. The Pro S however has the USB connection over on the right side of the keyboard and for me this works well but there is a slight issue. The cord they include with it has a right angled connection and it then turns to the left. In the past Cooler Master told me that this was a design decision to help prevent damage to the connection with having it come out of the back and I can see how it would help. I’m just curious how many people need their cords to go right rather than left. I know its not ideal for my home setup but at LANs (where I would use this) it works for me.
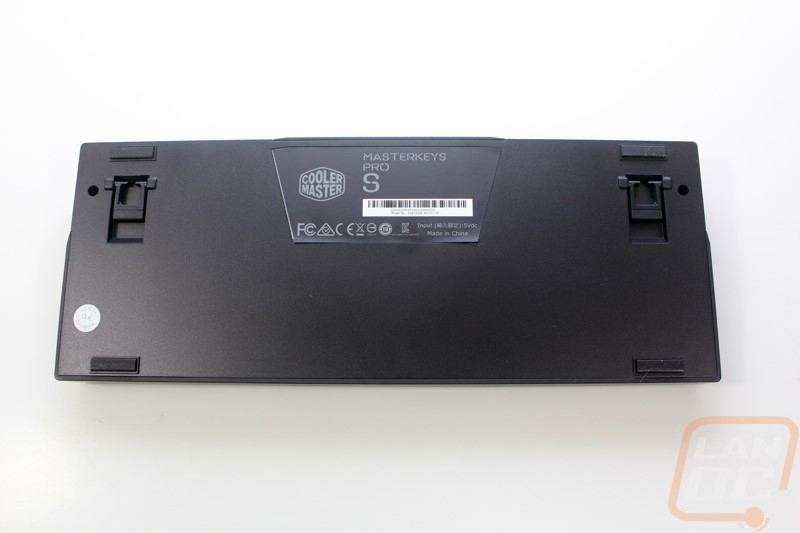
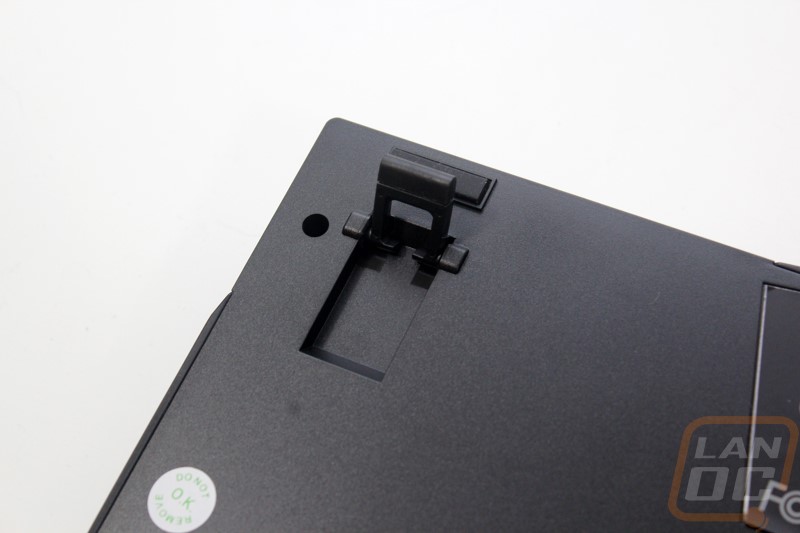
The bottom of the Pro S might be lacking the cord tracks and area to plug in the cord on the bottom like the Pro L but it still manages to have a lot going on. Specifically, the Pro S has a full sized sticker on the bottom with everything on it where the Pro L had most things etched onto the cases cleanly with just a sticker for the serial number. It also had the same one inch wide rubber feet in all four corners. For the flip out feet they also have rubber that covers the entire edge to make sure when you flip out the feet to get a little more angle you aren’t losing any grip to keep the keyboard from moving around. This is especially important as the keyboard gets smaller because there is less weight to keep it in place.
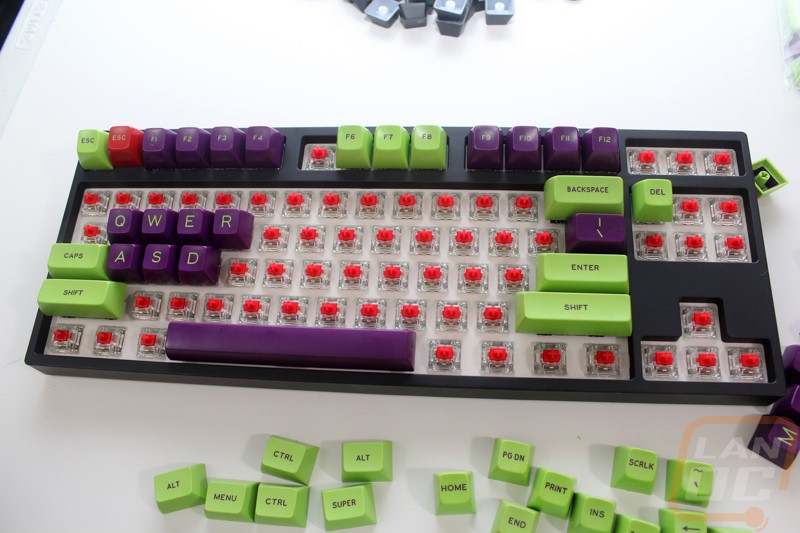
When we dig into the Masterkeys Pro S we can see that it has the same configuration under the keycaps as the Pro L. This means Cherry MX branded switches and in our case Cherry Reds. The switches are the Cherry RGB design so they have a completely transparent casing and they mount the surface mounted LEDs to the PCB below and have them shine up through. This helps them be a little brighter and to also be more uniform. The white painted backplate also helps with the brightness. For stabilizers they used Cherry stabilizers, this design doesn’t have the little clips or metal bars you have to deal with when removing keycaps so they are easier to work with when swapping out caps or cleaning your keyboard. There are a few downsides like they are impossible to grease and they tend to rattle.
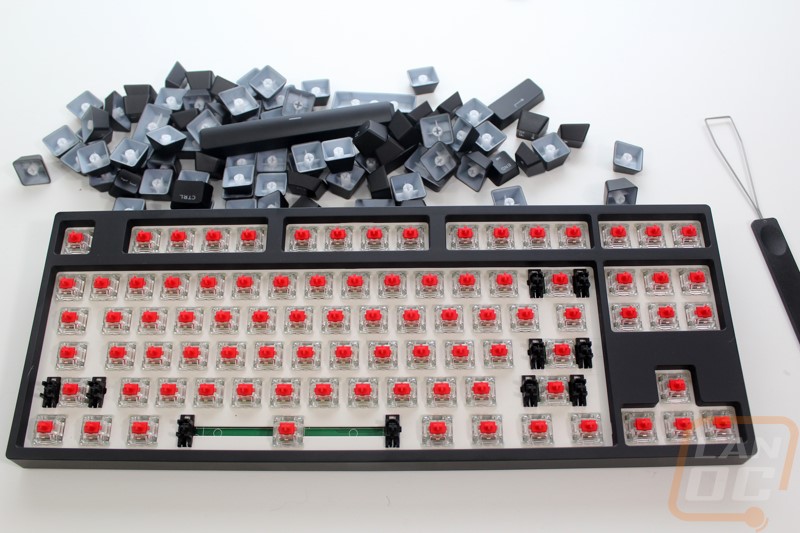


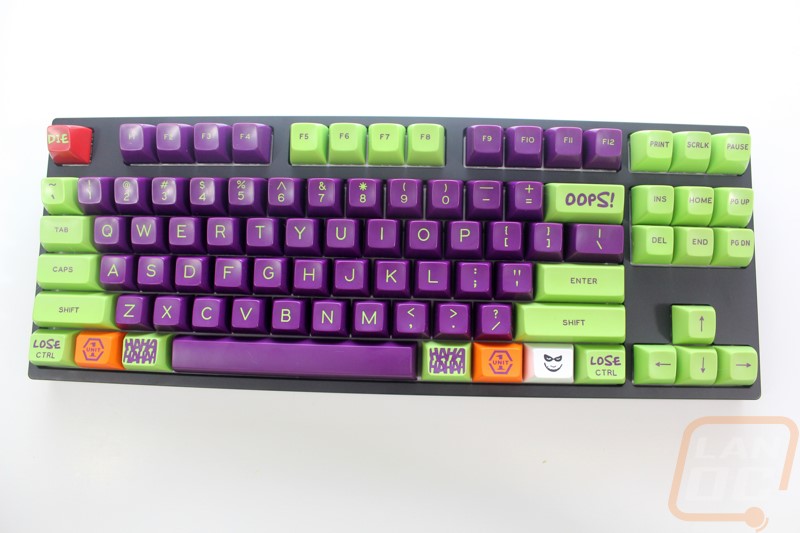
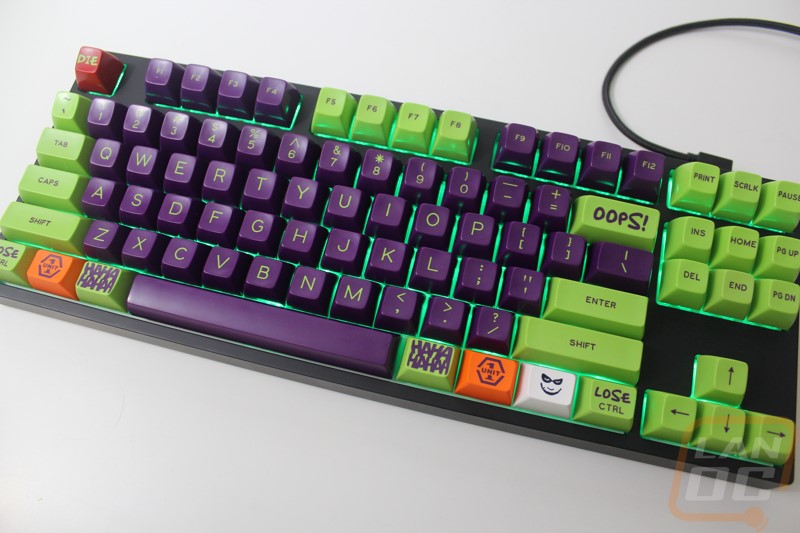
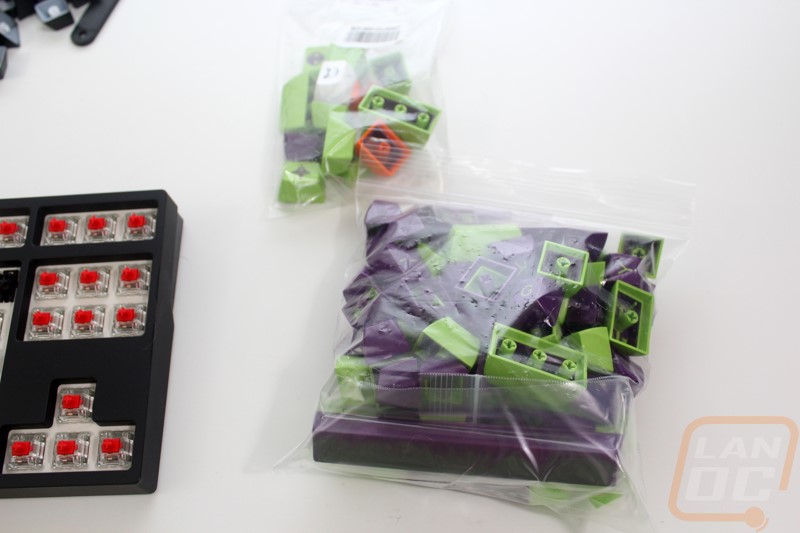
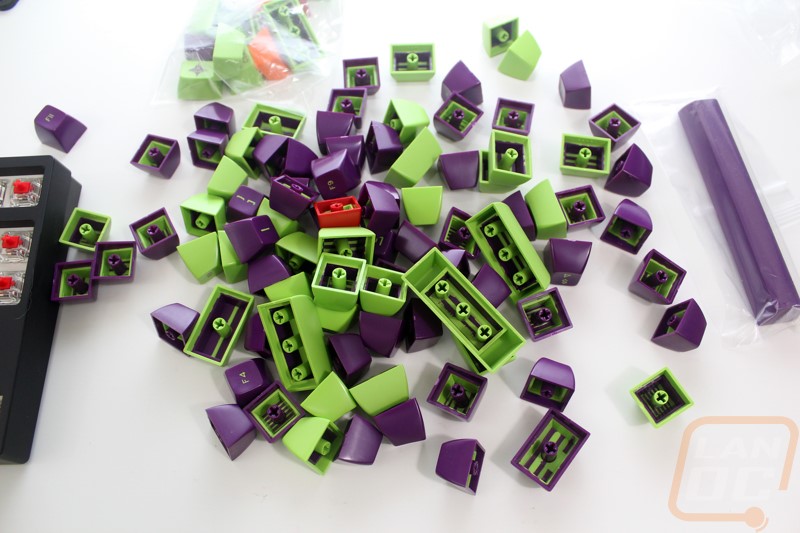
Seeing that mostly the Masterkeys Pro S is just like its bigger bother the Pro L I wanted to do something a little unique with the Pro S. It just so happened that when the Pro S came in a keyset I had ordered a long time ago also came in called Troubled Minds. I ordered it on Massdrop in a group buy. So I figured I would swap the caps on the Pro S to them for my testing. So I pulled all of the stock keycaps off and opened up my new keycaps and started installing them one by one.
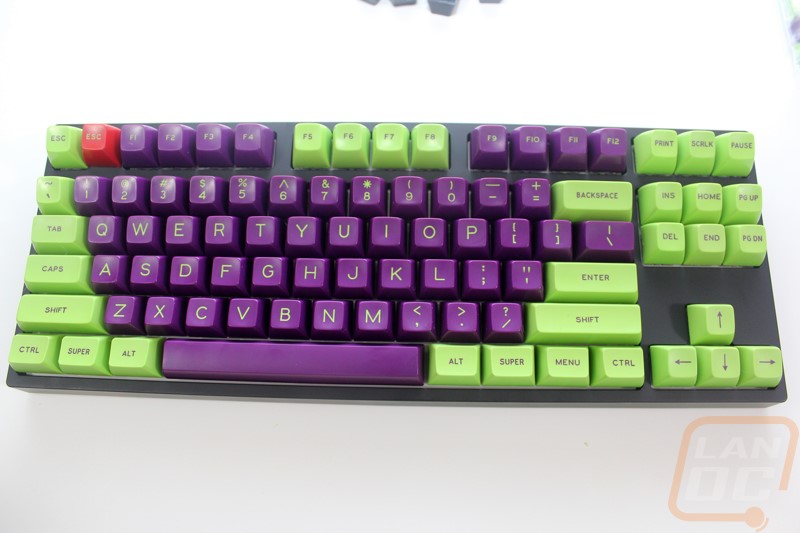
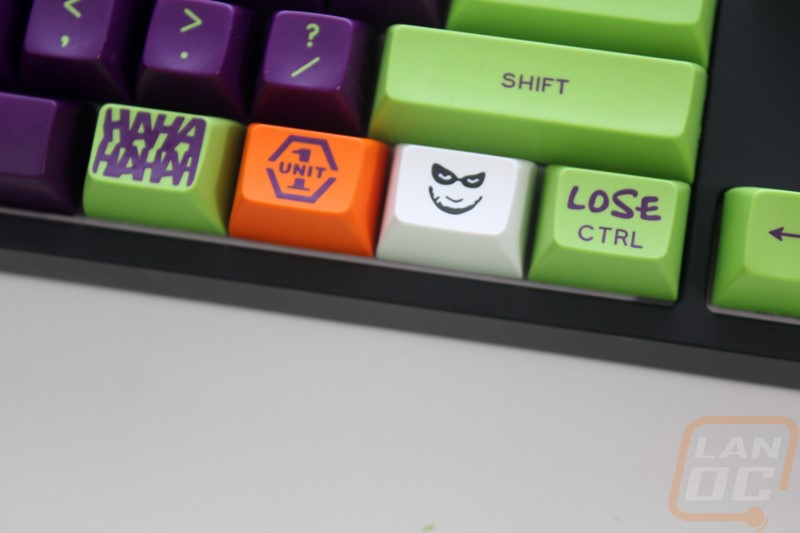
In the end the set looked great on the Pro S but I did get in a second smaller set with a few unique modifiers. To spice things up I swapped a few out like adding the OPPS key in place of backspace. Not only do the legends add a little more to the look but adding in the orange and white caps really topped it all off.