Photos and Features
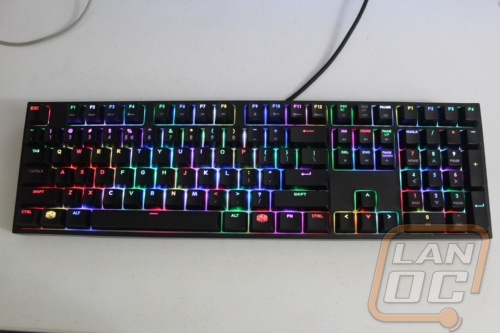
So my initial impression of the MasterKeys Pro L was that almost nothing on the exterior has changed from the Quickfire XTI. Typically, I would consider this to be a bad thing but the XTI and now the MasterKeys Pro L are both amazing looking keyboards because of their simplicity. They have thin bezels all around the outside edge as well as between things like the F keys and the number row. This makes for an efficient layout that doesn’t take up more space on your desk than is needed, something that every other RGB keyboard on the market could learn from Cooler Master. So with the new MasterKeys Pro models Cooler Master has two different models, the L that I am testing today and the S. The L is the full sized keyboard with a full number pad. The S cuts out the number pad in a TKL form just like the Quickfire Rapid-I but they both have full RGB backlighting. The L stands for large where S is small but personally I would rather they keep it simple with the MasterKeys Pro being a full sized board and the MasterKeys Pro TKL being the smaller mode. This also leaves room in the lineup for a 60% board as well, I know someday those are going to finally break into the mainstream (most likely when Cooler Master introduces one).
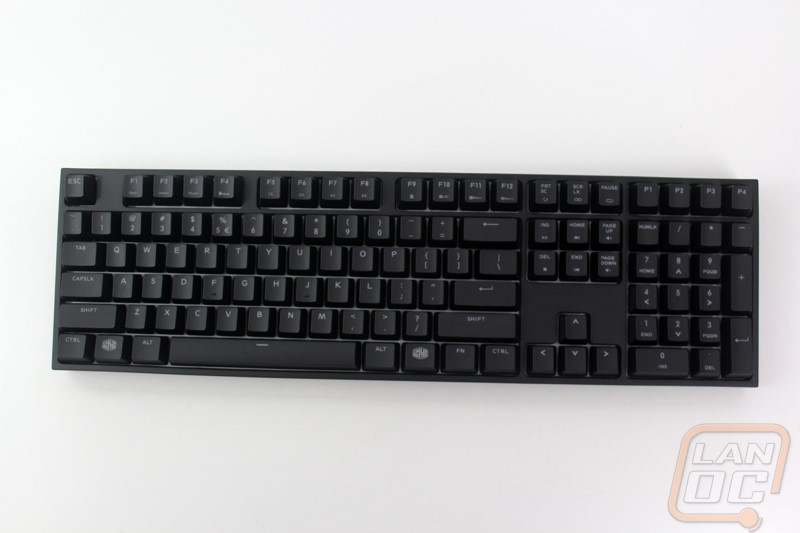
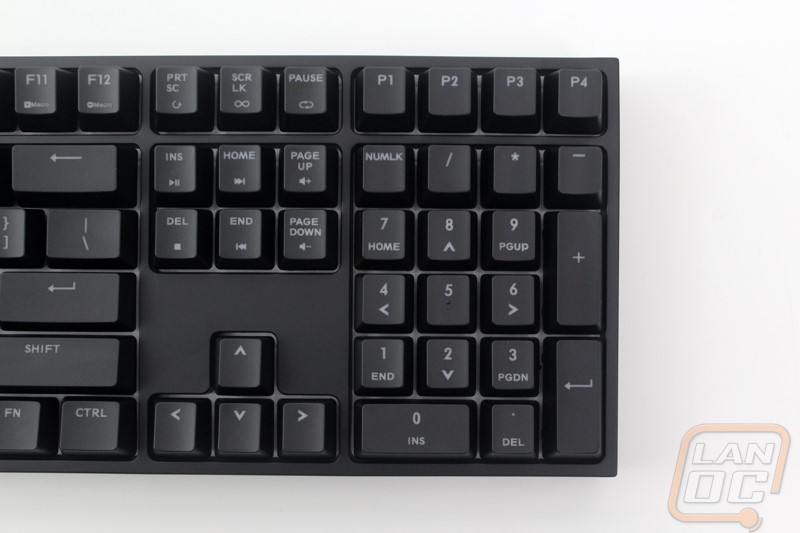
The first thing most people are going to notice other than the RGB lighting are the four profile buttons up in the top right above the number pad. These give you instant access to four different profiles. Each profile can have different macros programed to it as well as give you a way to flip between multiple lighting profiles. There is also a default profile by pressing function and escape that prevents any macro use for when you are working.
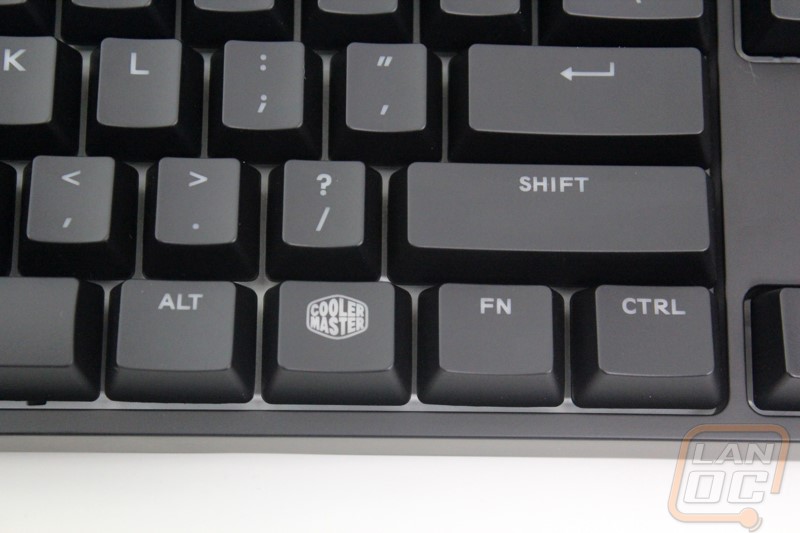
At some point a few years ago Cooler Master made an active decision to drop all visible branding on their keyboards. So while them adding the Cooler Master logo back on the window key might be a small thing I was a little surprised to see it come back, especially with the clean look of their boards without branding being the biggest selling point. It’s not a huge deal but it would have been really cool to maybe have the windows keys that came with the XTI come as extras. Plus, that would also help justify including the nice wired keycap. All of that aside the bottom row on the MasterKeys Pro L has the best feature, a completely standard bottom row. This makes this the only full RGB keyboard available that will support keycaps right out of the box, so people looking to customize your keyboard take notice!
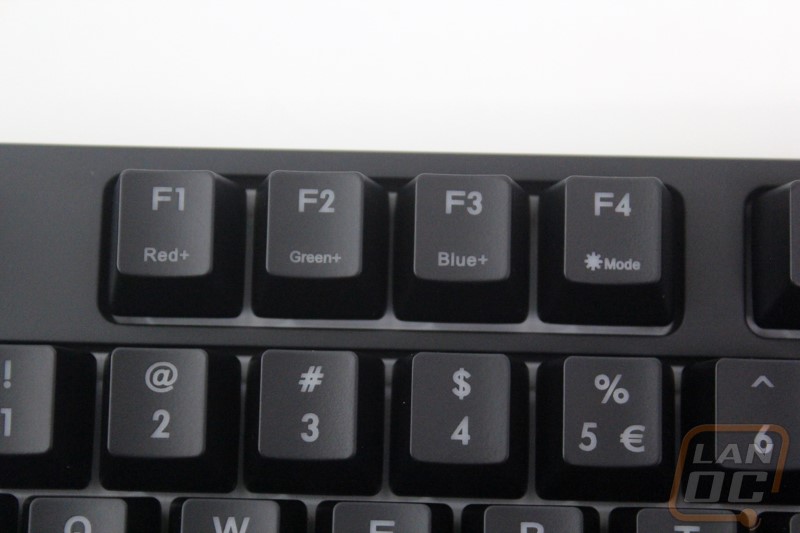
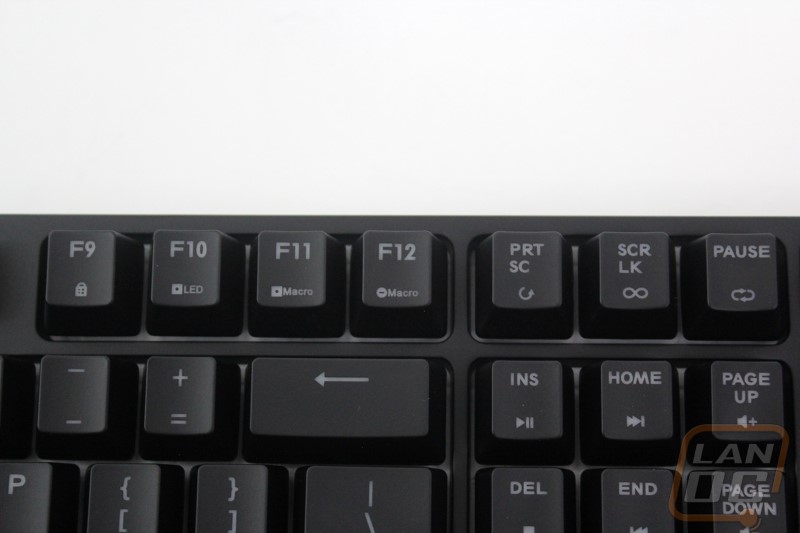
So like the XTI the MasterKeys Pro L doesn’t require software to control any of the lighting although they do now offer it. All of the control is up in the F keys when you are holding the function key. So here you have one button for each of the three colors in RGB (Red, Green, and Blue obviously). Each key controls the brightness of that color in a 10 step range from off to full brightness. You can combine the three colors to give you 120 different color options. The keyboard supports full 16.1 million color RGB with the software, but it’s great to get a slightly more limited number on the fly without software. The fourth button is the mode button, here you can flip through all of the different lighting modes just like the XTI and the Rapid-I.
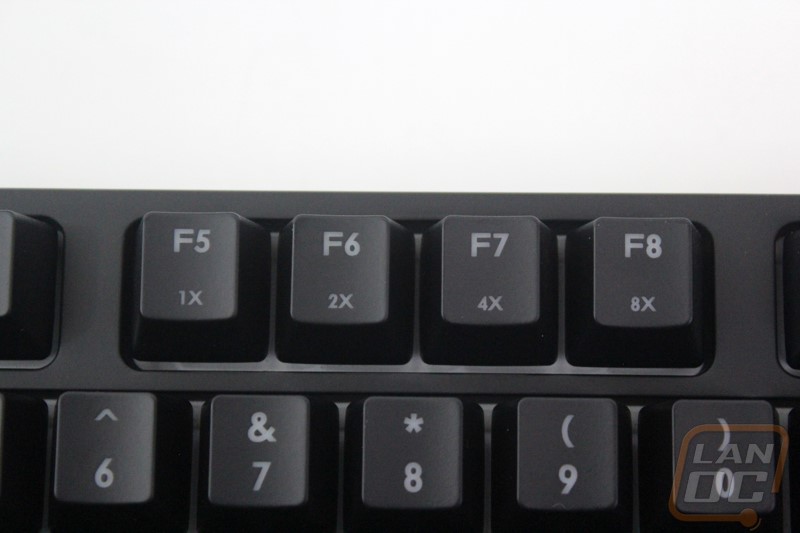
The F5 through F8 keys aren’t going to see as much use. In fact, from previous experience I’ve known multiple people to run into issues here. These options turn on a rapid fire mode and let you pick from multiple speeds. Basically when you hold down a key it will have it flicker or repeat rather than stay down. I’ve seen people bump this and then wonder why when they press tab in a game to see their score that it is bugging out. That said it’s nice to have when you need it.
The last of the F keys and the lock buttons all control the on the fly macro recording and LED lighting. The F10 key is for recording LED backlighting and 11 and 12 are record and delete macros respectively. The other three options let you select how you want the macro to act, you can have it be a single press, toggle on and off, or run in a loop.
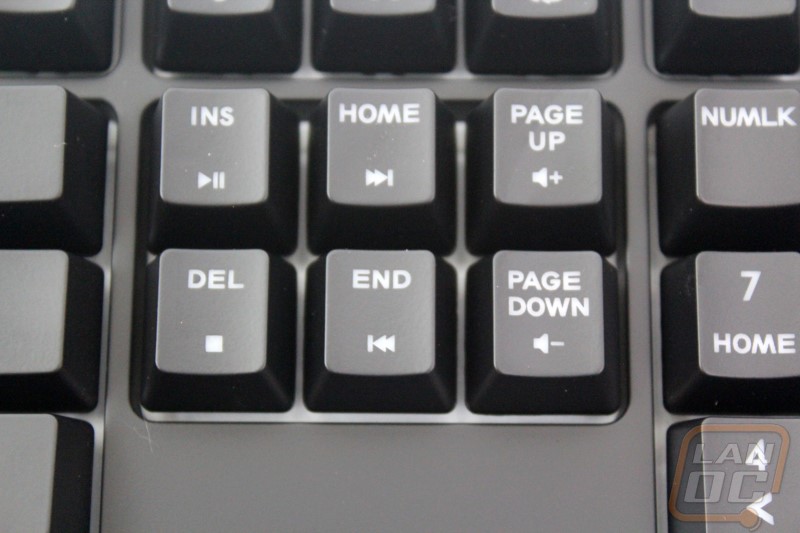
Above the direction pad are all of the media controls. I really like this move as it lets you hold the function button and control your media with one hand.
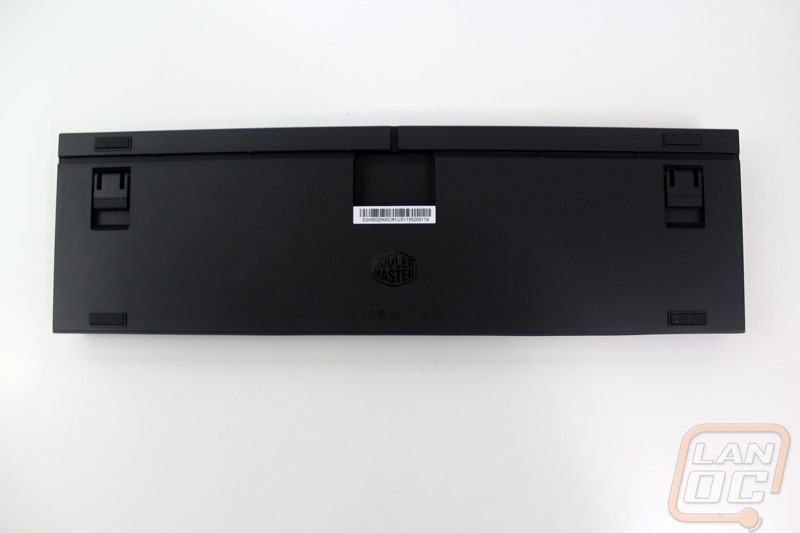
Just like the view from the top, the MasterKeys Pro L keeps things simple with no extra styling. You get a flat black case all the way around. Down along the bottom edge we can see one of the three exit points for the cord.
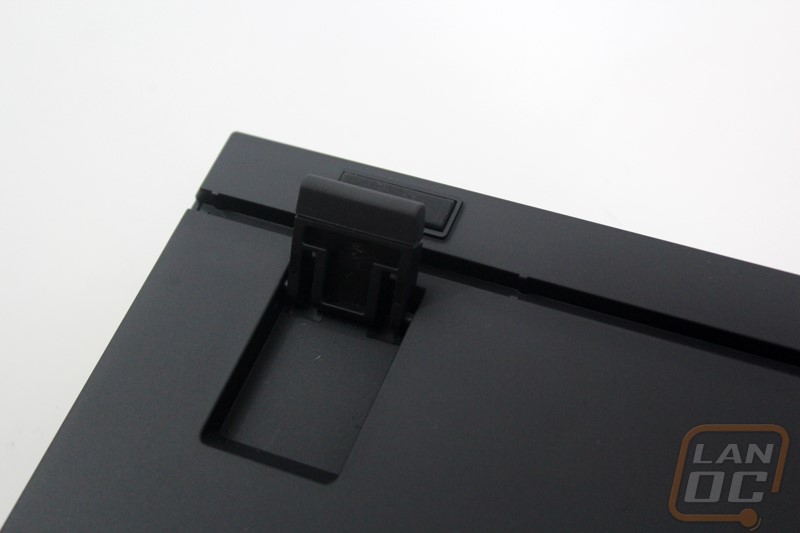
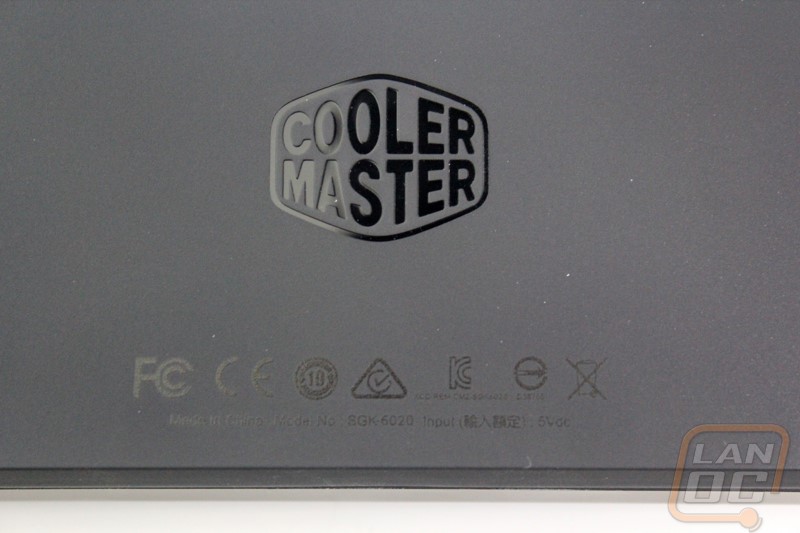
The bottom of the keyboard has the only other Cooler Master logo embossed in it. Below that are all of the required logos. By doing this they kept the sticker size for the serial number down to just as large as it needed be to fit the number and barcode. For feet the bottom has four inch-wide rubber pads as well as two flip out feet with rubber on the ends of the feet, more than enough to keep the keyboard from moving around. Then we have the micro USB connection for the removable cord that plugs into the area carved out on the bottom. There are three cord runs depending on where you need the cord to exit, one on each side and one out the center of the rear.
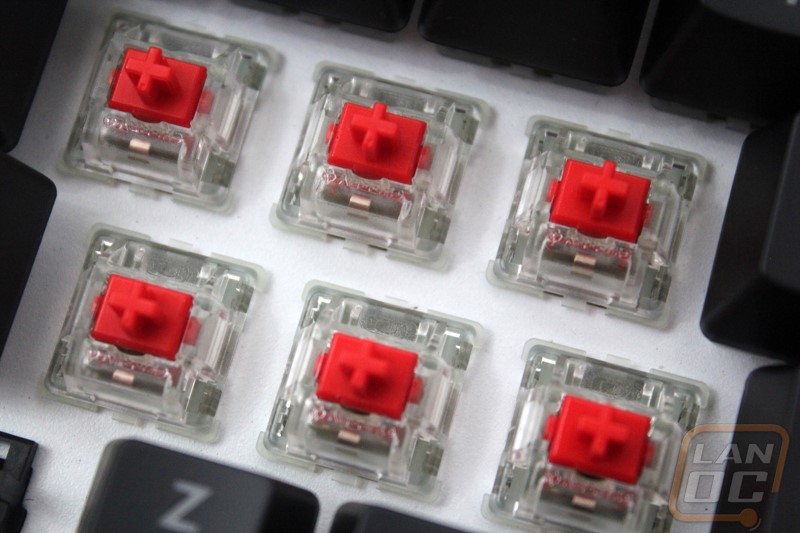
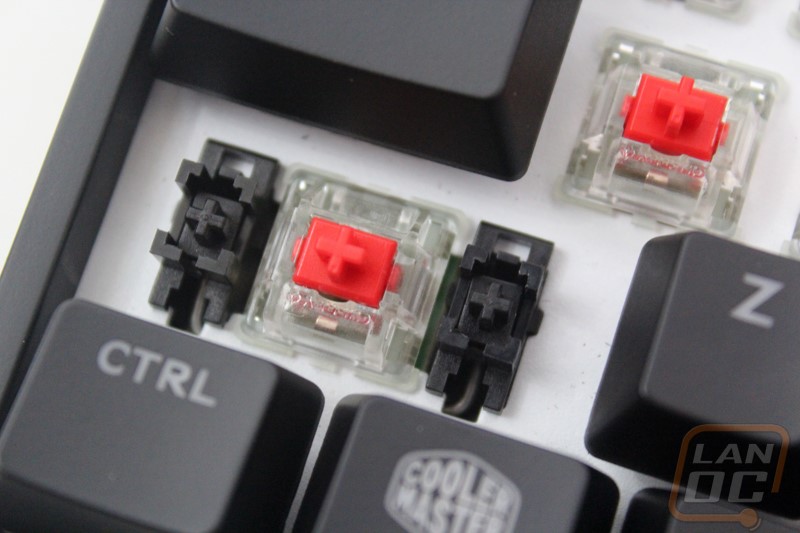
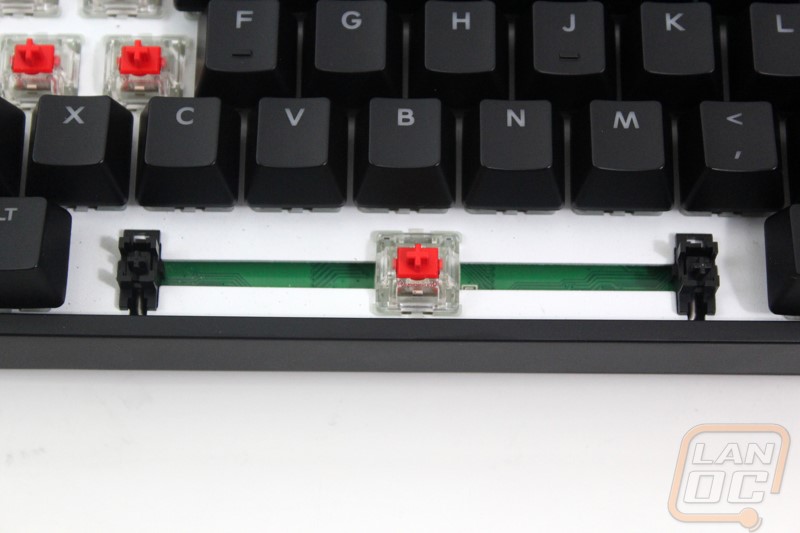
Being an RGB keyboard Cooler Master did have to change things up slightly. RGB LEDS require four pins and the old Cherry MX design only had room for two. Other switch manufactures have just made room for 4-pin LEDs and run the LED up top but Cherry’s design is to go with a transparent casing and run a PCB surface mounted LED that lightings up the entire switch giving a more even lighting. This new design does come with a slightly smaller list of switch types currently. Our sample shipped with linear red switches but they will also have brown and blue switches available to cover one of each type. As someone who prefers clears it would be great to see this get expanded but I can still be happy with a nice set of browns. Then for stabilizers Cooler Master has stuck with Cherry stabilizers, these make removing the keycaps infinitely easier as you don’t have to fight with the clips. They do tend to be a little noisier though so I will have to keep an eye out for that in my testing. Under the spacebar we also get a peak to see that the PCB is green, not that it would matter if it was anything else in this situation.
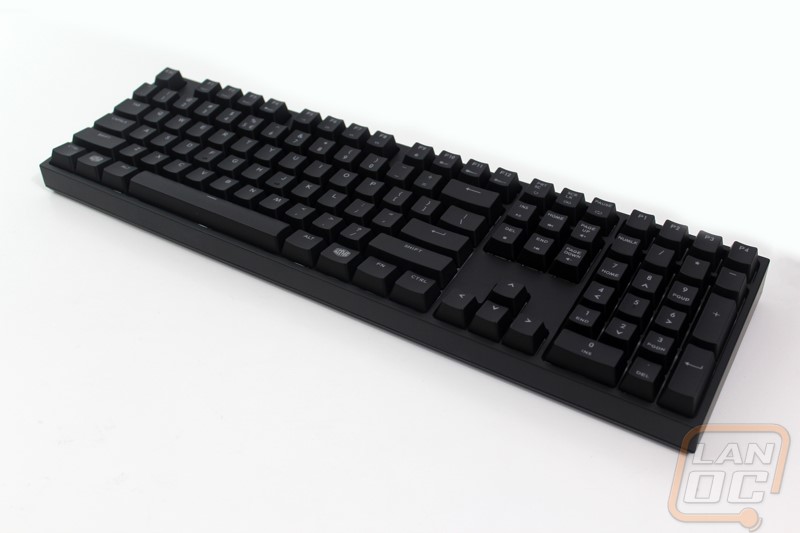
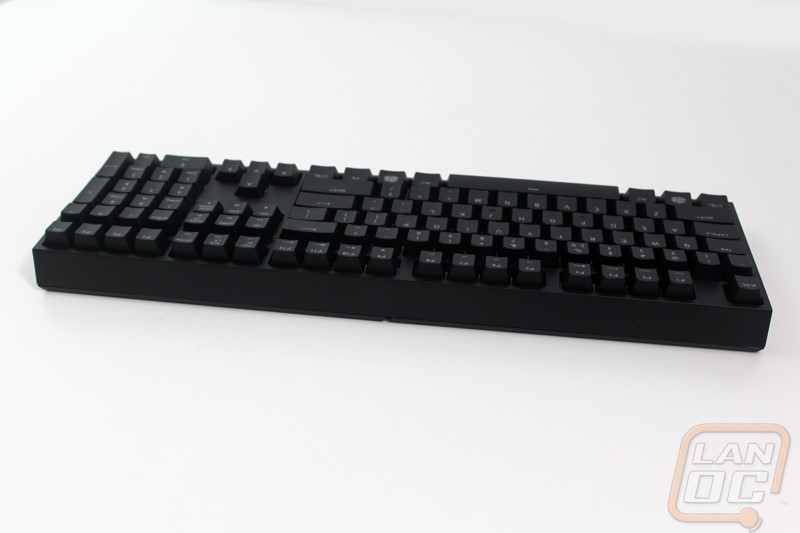
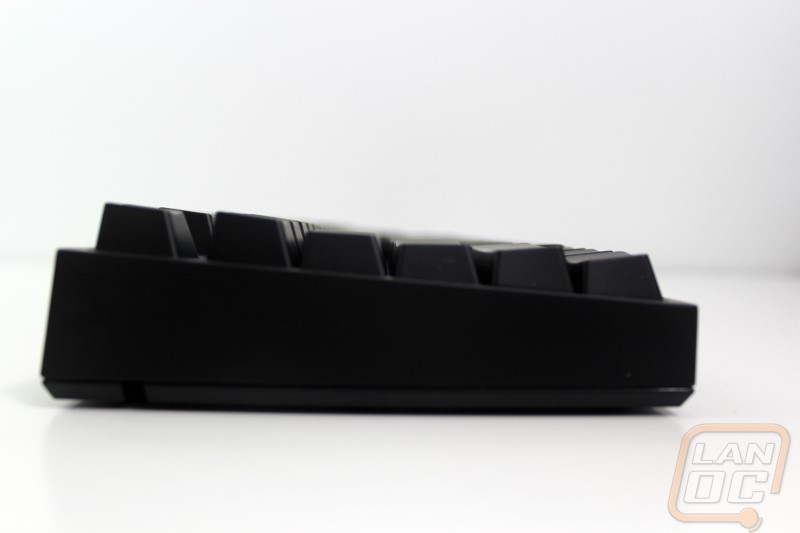
From the side profile we can get a better look at the overall key profile. The MasterKeys Pro L, even without the feet flipped up has a slight angle to the keys and in addition to that you have the OEM key profile of the keycaps that gives the keys a bit of a curve from the top row down to the bottom.
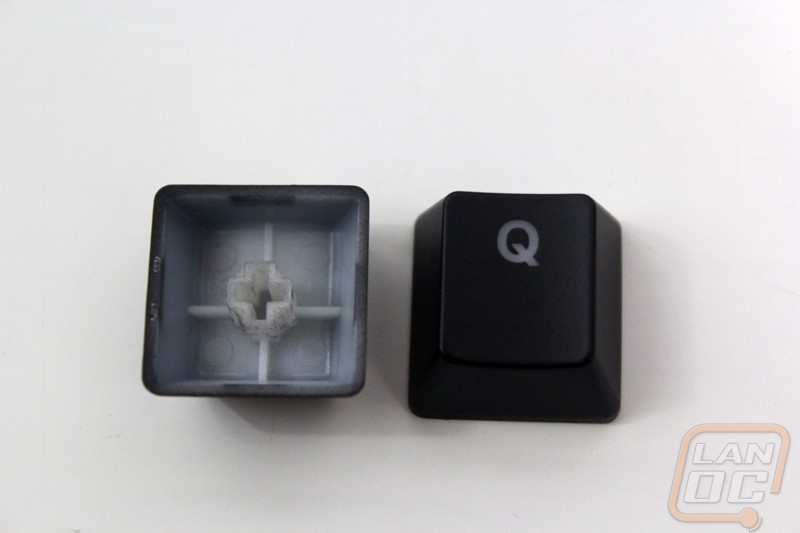
The keycaps are your standard backlit design. They have a white transparent base with a black finish painted on to them and then the legend is lasered off the cap so it is backlit. They aren’t especially thick, but they do get the job done. This design isn’t really made to last forever though and will be the failing point for the keyboard. I didn’t have any wear in my testing but I would expect to see the finish get a little thin on heavely used keys after a few years, long before the switches go bad. Lucky for you though with a standard bottom row you can replace them with just about anything on the market including the PBT backlit caps from Vortex that I have been using on my Code that will hold up for much longer.
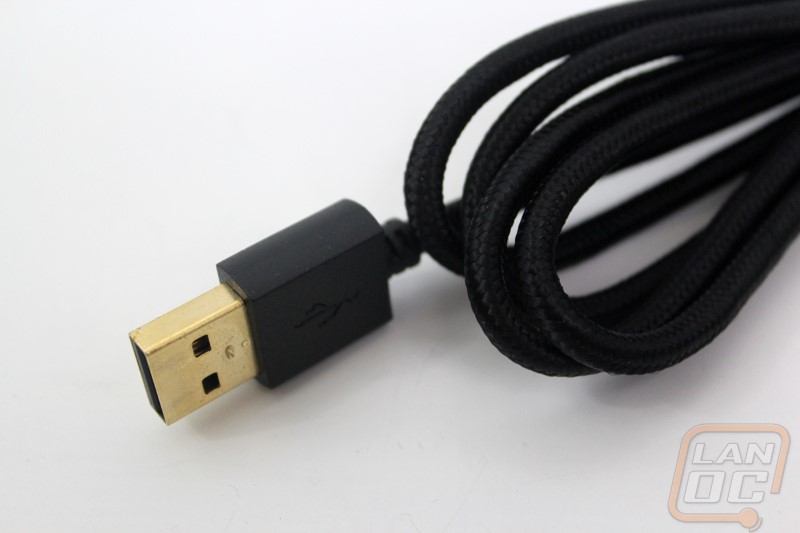
The removable cord for the MasterKeys Pro L is just about the same as previous Cooler Master models. It has the same heavy sleeving and it connects with a micro USB connection. They did change the full USB end though with a new casing that goes better with the clean design. It is smooth, thin, and is rounded on the ends.