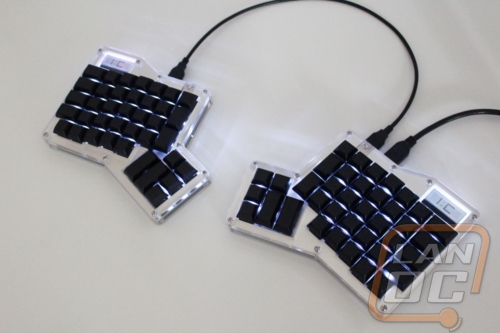
Building your ErgoDox Infinity
If you haven’t figured it out by now, just like the original ErgoDox, the Infinity is a build your own keyboard kit. They include everything you need to get going but you will need to provide your own solder and soldering iron. Unlike the original the Infinity does support backlighting as well but you will have to provide the LEDs as well if you want to go that direction. Input Club has put together a nice set of instructions that lay out everything you will need to do to get the ErgoDox Infinity together. Before you consider picking one up you should check it out, HERE is a link. They do a good job of breaking everything down and even include links to information if you are new to Soldering.
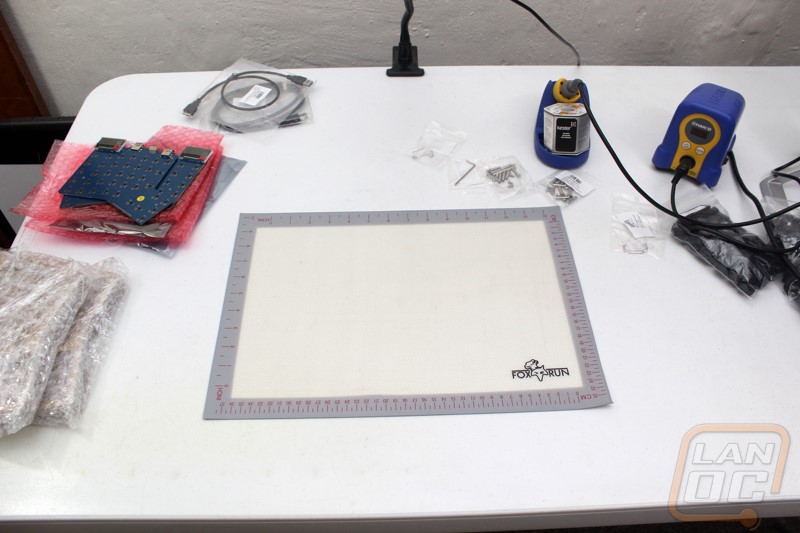
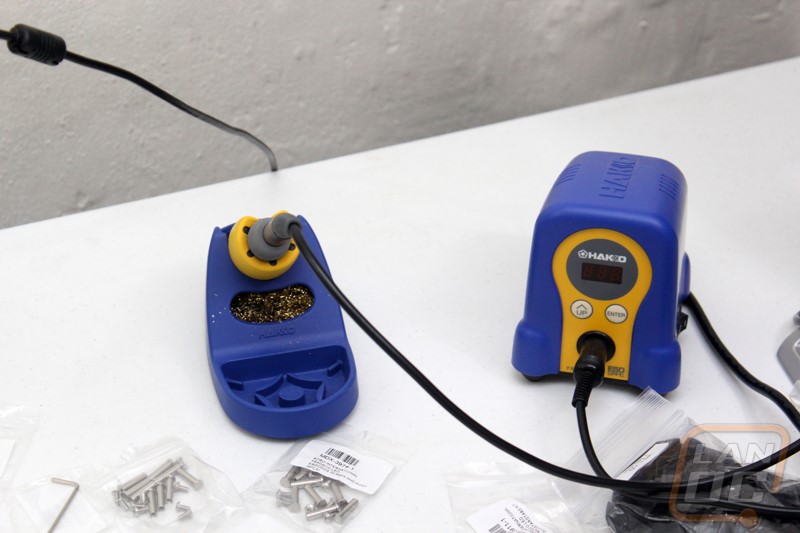
To get the Infinity together I busted out the same Soldering Iron that got me through the original ErgoDox as well as two different 60% Infinity builds, and a Planck. That would be my trusty temperature controlled Hakko Digital FX888D, it is the same iron recommended by Input Club but as long as whatever you have is temperature controlled you should be good. I went with Kester 44 Rosin Core Solder 60/40 .031 for my solder as well. To keep my work space from getting fried I also used a simple silicone baking mat, I used THIS one but any will work. For LEDs you can pick any color you would like, the only thing that is important is the size and shape of the LED. You are looking for a 3mm flangeless LED a miniature 1.8mm LED, or a 5 x 1.5mm square LED. 3mm LEDs are the norm but you have to be very careful to only use a flangeless design or it will give you fitment issues with thick keycaps. For this build I used a 3mm flangeless white LED that I picked up off eBay for less than $9 pee 100. With everything ready I set up my workspace and warmed up my soldering iron.
To keep things simple I time lapsed the build. The location of my camera wasn’t ideal so there are a few times where you can’t really see what I’m doing but all in all I thought it might help. I started off by prepping the case by pulling them out of the plastic wrap. I grabbed the first PCB, backplate, and a few switches. Input Club suggests that you start by putting together the two switches with the stabilizers first before soldering them to make sure the stabilizers lined up. From there I put switches in each corner and solder them in to get everything stabilized. Once in and soldered the plate and PCB are locked in place and you can go to town installing all of the switches then flipping it over and soldering them all. Next I wanted to get all of our white backlighting installed. For the first side I did it in the painfully slow way where I basically slide just a few LEDs in, flip it over and solder them. For the second hand I speed things up considerably by installing them all from the top, bending the leads so they wouldn’t fall out and then soldering them all at once.
With switches and lighting installed it was just down to putting together the acrylic case one piece at a time. Taking the paper off took most of this time and destroyed my finger nails. From there it was just bolting everything together, installing keycaps, and testing everything again. I tested everything at every step along the way but its always good to be sure. Then of course you will see me start in on the second half of the keyboard after finishing the first. In the end It took me about an hour and 45 minutes to get them both built. If I had a better way to take the paper off the acrylic and if I had done the LEDs the correct way on the first half I think it would actually take me about an hour. If you are new to this set aside a little over 2 hours and you should get it done.
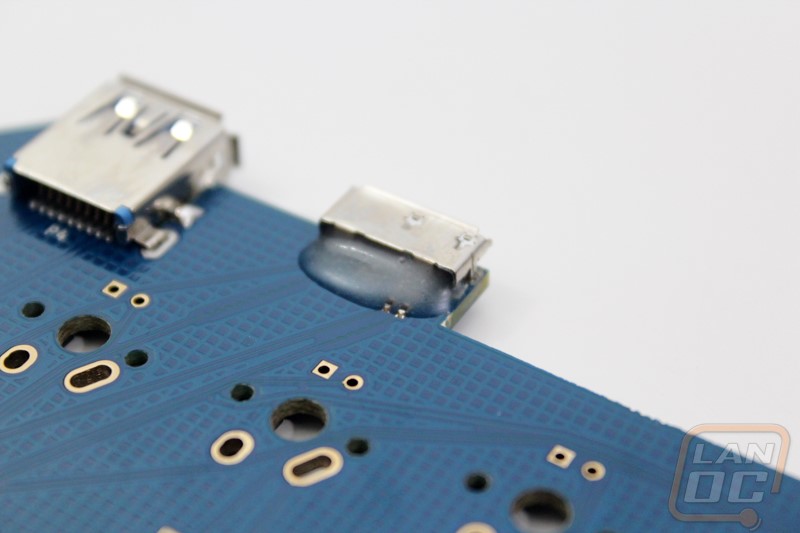
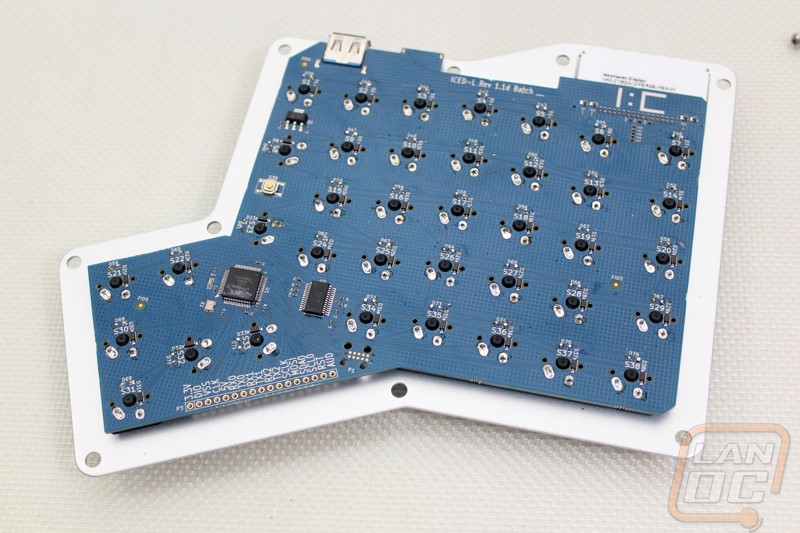
So was building the Infinity any different than building the original ErgoDox? Well the biggest change is that for the Infinity they preinstall the tiny diodes that almost drove me insane last time. Even beyond that the Infinity was a much simpler build and more refined with having the chipset already installed as well as the USB 3 connections. With the original ErgoDox you have to install the Teensy and the clone for the second hand as well as wire up the USB connection. All in all, the Infinity took me less time than the original to build, even with all of my mistakes and with all of the additional time installing the LEDs adds.
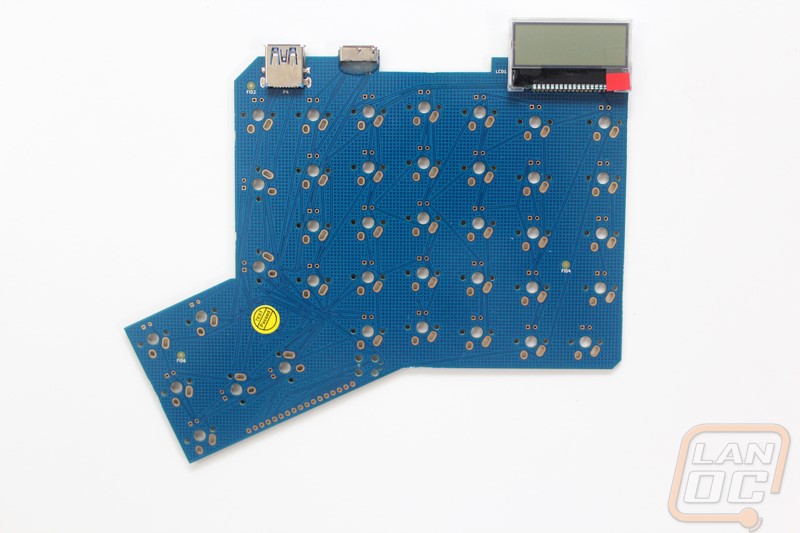
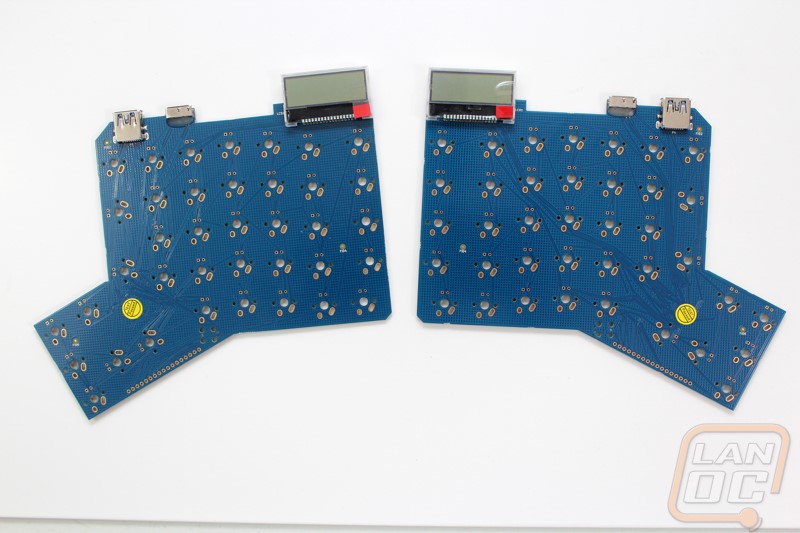
Last but not least I did get a few pictures of the PCBs before the build. The new design looks a lot cleaner due to the PCB not having additional holes for different diode options. Not having a hundred things printed on the PCB hews with that as well but with the old one I did like that they broke everything down with outlines to show you exactly where everything goes. There have been a lot of people who have complained about the trace routing on the new PCBs and I can see where they are coming from as they are kind of all over the place. It’s not as clean of a design but it does make for short traces. Considering the addition of the LED screen and backlighting they were working with a much more complicated design compared to the original ErgoDox.