Photos and Features
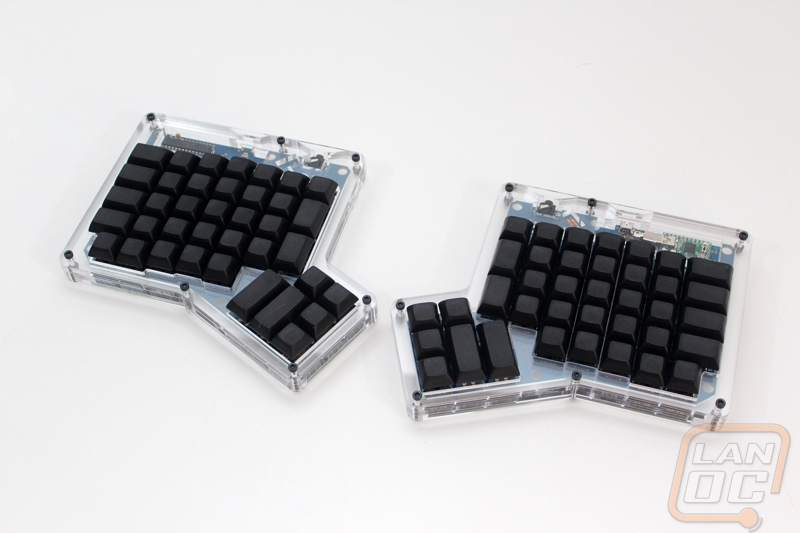
Now that we have the ErgoDox together we can check out the keyboard and see what makes it so special. The most obvious thing you are going to notice is that everything is split up into two pieces and there is basically no resemblance of a standard keyboard. The whole idea behind this madness is to follow the same idea that the old ergonomic keyboards from Microsoft and Logitech but to go a little farther. Where on a standard keyboard the keys are aligned in a row from left to right and then each row is offset slightly so they aren’t over top of each other. The ErgoDox has its rows vertically and then the horizontal rows are arranged in the same what that your fingers sit when you rest your hand. It is an arch shape and when you are using your standard keyboard you actually compensate for this.
They also put all of the keys that you typically move your hands to reach down under your thumb to make your hand movements more efficient. With this in mind, assuming you learn to type on the new layout as effectively as you do on a standard keyboard you should type faster. Then on top of that they split it all up so you can position your arms at whatever width and angle that makes you most comfortable. My wife for example is much smaller than me and she would most likely find it more comfortable to keep the two keyboards close together where due to my additional width it might help me to pull them apart slightly.
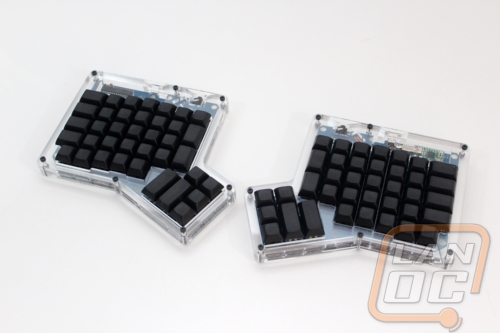
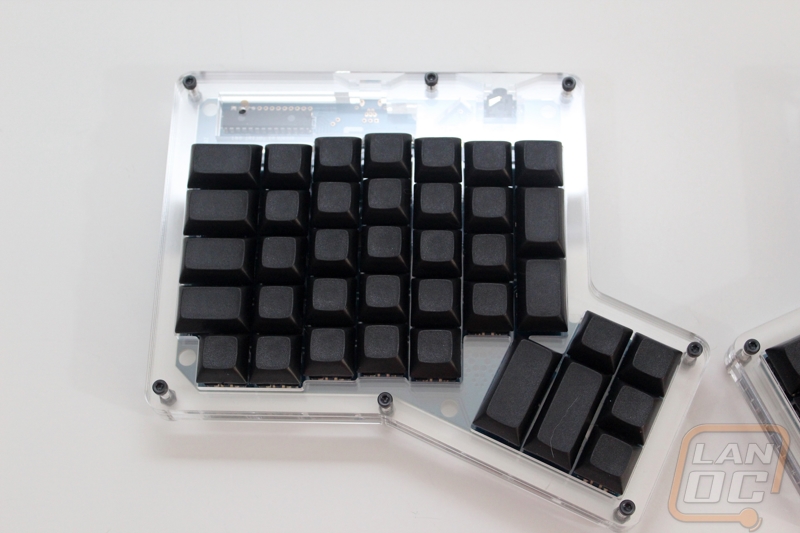
So the key layout is obviously not going to be familiar to anyone used to a traditional keyboard. For starters all of the keycaps are blank because you can upload any key layout you would like. Printing letters or having double shots made would make that customization impossible. I already spoke about the actual key layout but the one thing I didn’t talk about was the use of three different keycap widths. Of the 38 keys on one ErgoDox hand, thirty of them are the standard keycap width (1u). The design does however have a few special longer keys. On the left, you have four 1.5u keys as well as two vertical 1.5u keys over on the right. What is really unique about the ErgoDox is the thumb area. Here you have two 2u keycaps. Sadly, the design for these doesn’t include a stabilizer, on a standard keyboard a 2u would have a stabilizer to keep the key from binding up, hopefully we don’t have that issue.
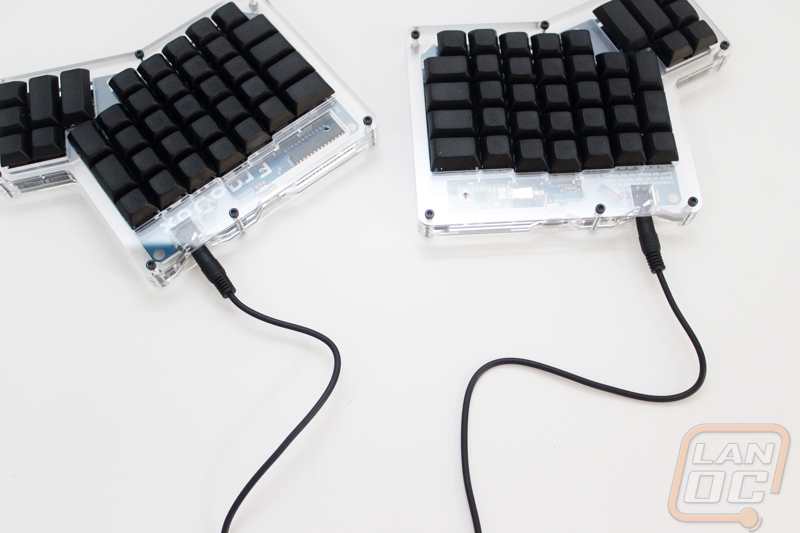
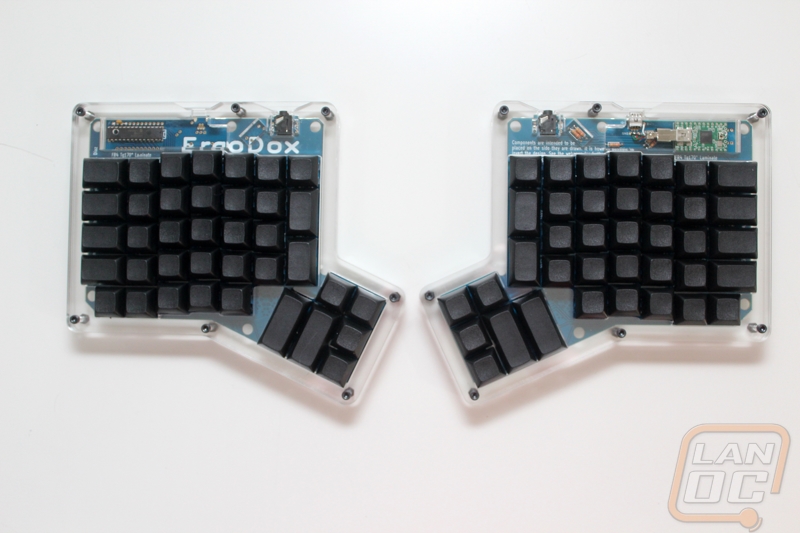
Here we have a nice view through the acrylic casing to see what is going on underneath. I love that from the top we can see the ErgoDox logo printed onto the PCB on the left hand. On the right hand we also have a good look at the Teensy v2 controller. You can’t see it in this photo but Massdrop also designed a small hole in the top panel. This small hole lines up with the Teensy and lets you poke through and hit the rest button. This is important if you are flashing a new firmware or key layout file. Not having to pull everything apart might not seem like much but is a huge time saving feature that was added to the design after feedback.
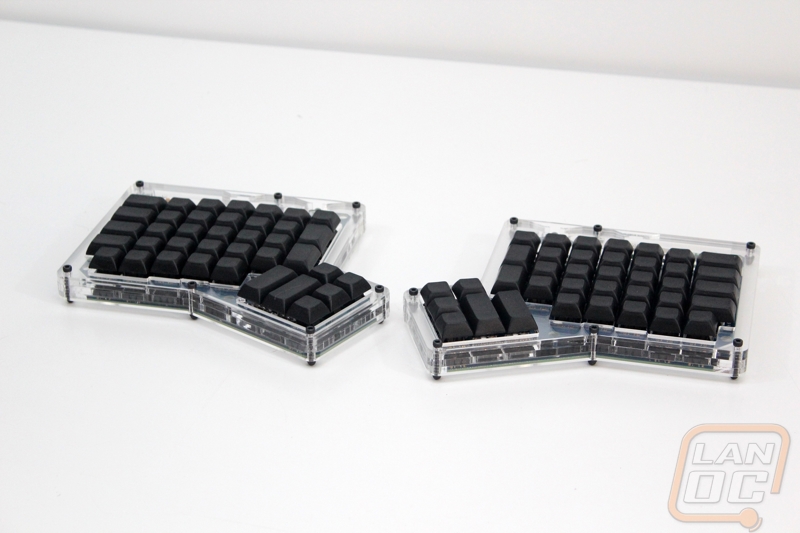
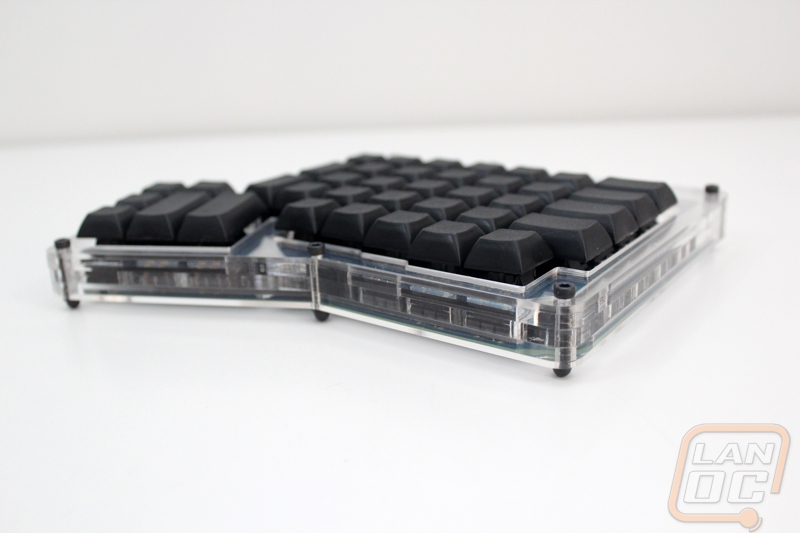
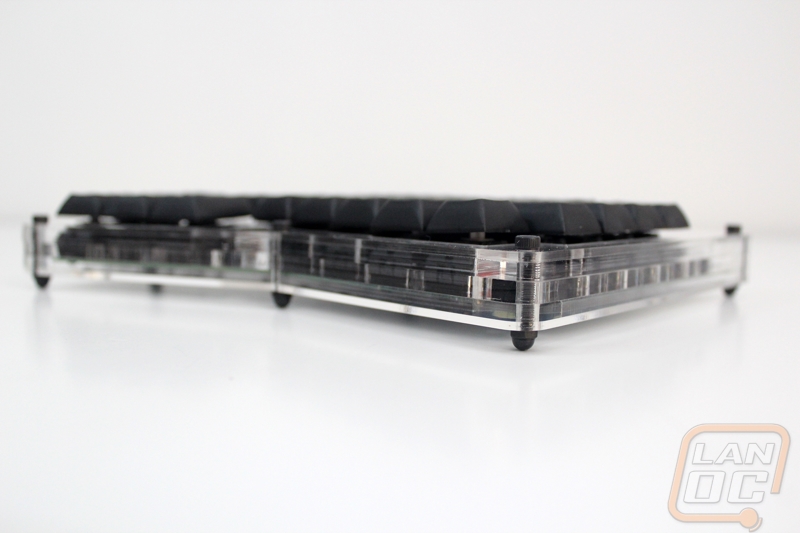
Here is a look at the side profile of the ErgoDox. With our DSA PBT keycaps, the key profile is perfectly flat. The total height of the keyboard from the base layer to the top of the keycaps is exactly one inch, but there is a little under a ¼ inch of space under the ErgoDox as well making it a little taller. In these photos, the keycaps are actually a little gapped from the casing, but I later found out that I had to push down on them a little hard to get them to slide into place. I should point out that that I didn’t have this issue in the past with standard keyboards, but that is most likely related to the variances in key switches than anything else. With the caps pushed down properly, there isn’t a gap between the casing and the keycap.
I mentioned it when we took a look at the top of the ErgoDox, but when you flip them over you can really get a good view of just how good or bad of a job you did putting everything together. This is one of the great things about a full acrylic casing, getting to check out the electronics inside. Sadly, all you really get to see is your soldering job as well as all of the surface mounted diodes. For me this is a reminder that I messed up and had to flip the polarity on the one set, the resoldered diodes don’t look as clean as the others. On the bottom, we can also finally see what actually touches your desk as well. Originally I was a little worried about the acrylic being scratched up but Massdrop includes nice acorn nuts for each of the bolts that hold the casing together. So the nuts double as your feet. This does mean that you don’t have any rubber feet though.

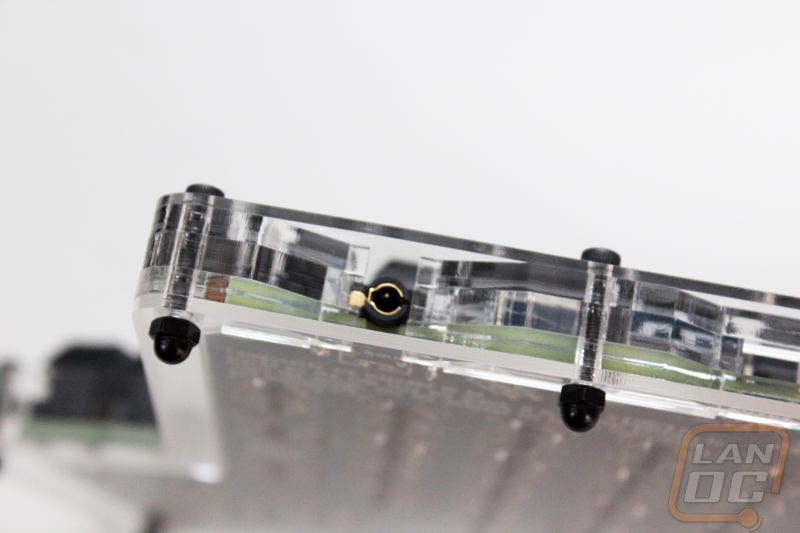
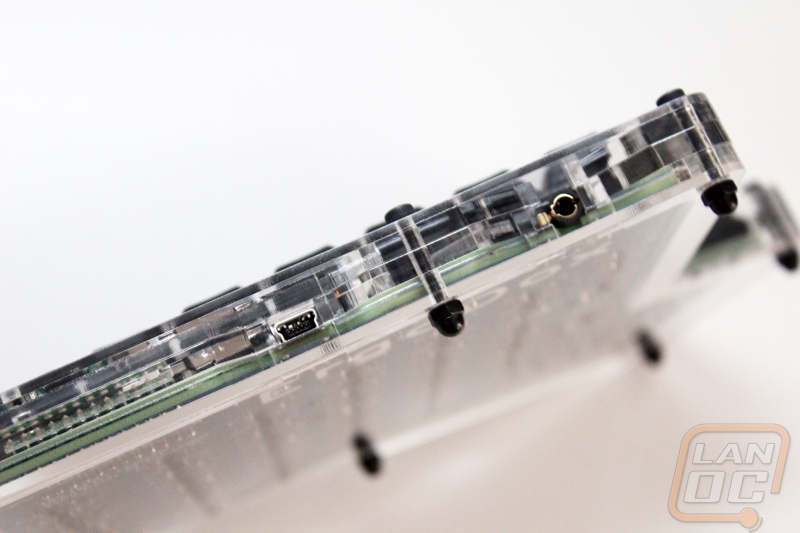
All together, the ErgoDox has three connections you have to worry about. Both halves have a TRRS connection. This is your standard audio jack, but with four poles. The ErgoDox uses this to talk between the keyboards. Not only do you pick up key presses from the left hand over the wire, but it also allows you to do things like using a shift key with your right hand to capitalize letters on your left hand. You do get a cable with the ErgoDox for this, it is just over two feet long. If for some reason you plan on having the two halves farther apart you will need another cable. The third cable connection is the Mini-USB connection on the right half. This is where you are hooking everything up to your PC. The cable that comes with the Massdrop kit is 3 feet and 3 inches long, this is half the length of a standard keyboard cable, unless you have a USB hub or your PC on your desk this could be a big issue. Thankfully it is a standard cable, if you have a PlayStation 3 you most likely have a cable.