Photos and Features
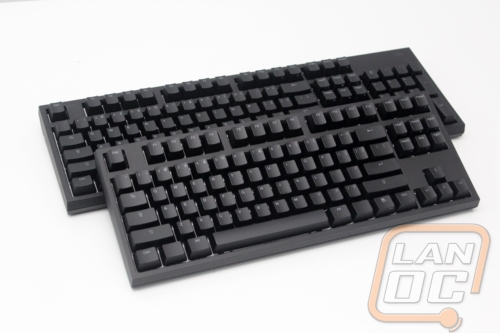
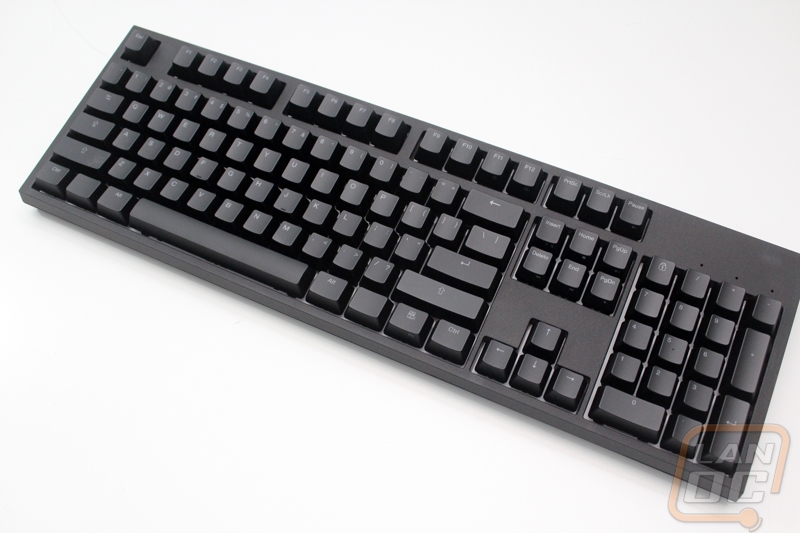
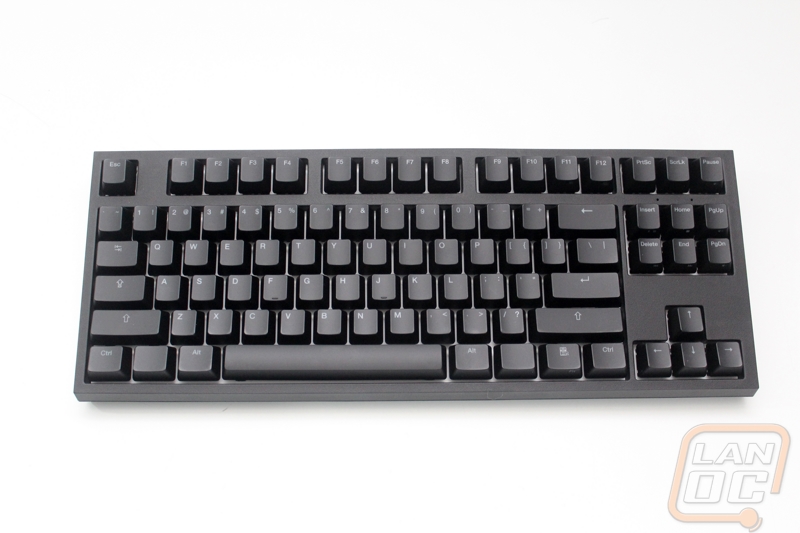
As I eluded to before, the Code keyboards were designed to be clean enthusiast styling keyboards with a basic backlighting. The idea being that a lot of people as they grow up would want a cleaner mechanical keyboard that doesn’t have the gamer styling that most have without sacrificing backlighting. This makes a lot of sense, I have seen a similar trend in PC cases, with manufactures like Corsair and Fractal designing cases that are classy and not flashy. Both keyboard share the same features with the exception of the two different switch styles and the lack of a number pad on the TKL model.
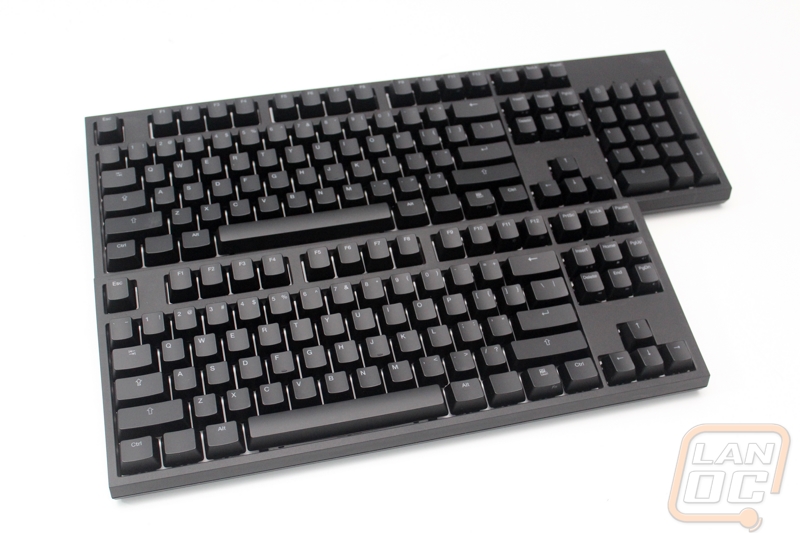
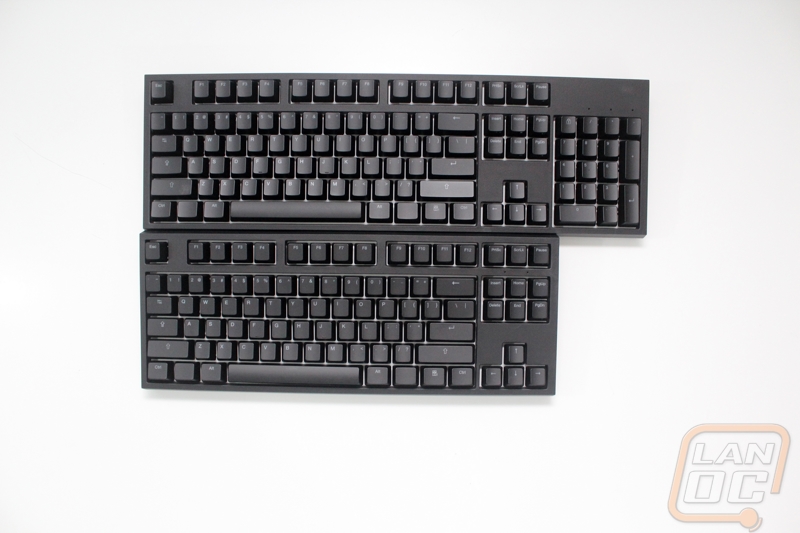
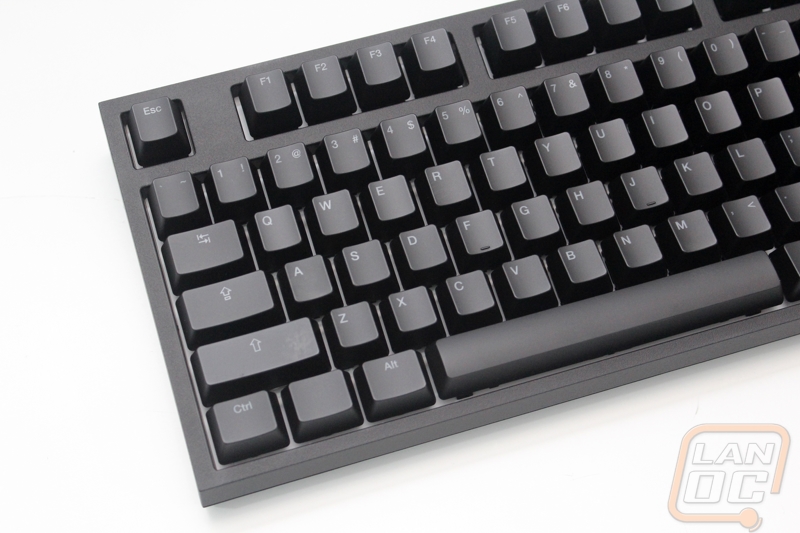
The Code keyboards have a completely standard US ANSI key layout and they aren’t available in an ISO layout for fans of a taller enter key. You do have options to be able to quickly switch to Dvorak, or Colemak key layouts if you prefer those over the standard QWERTY layout. What you will notice right away when taking the whole keyboard in is that the entire thing is blacked out, there isn’t any branding visible. To go a step farther, there aren’t any special macro keys or even large LED indicator lights for scroll lock, caps lock, and the number pad.
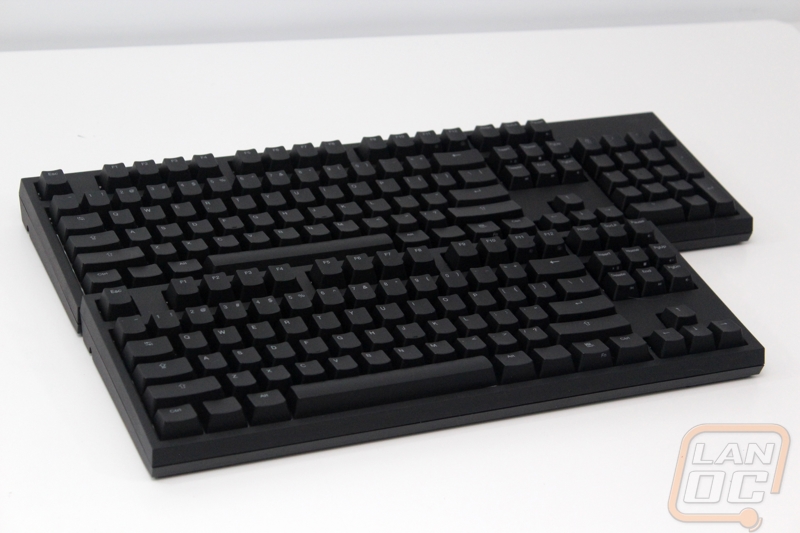
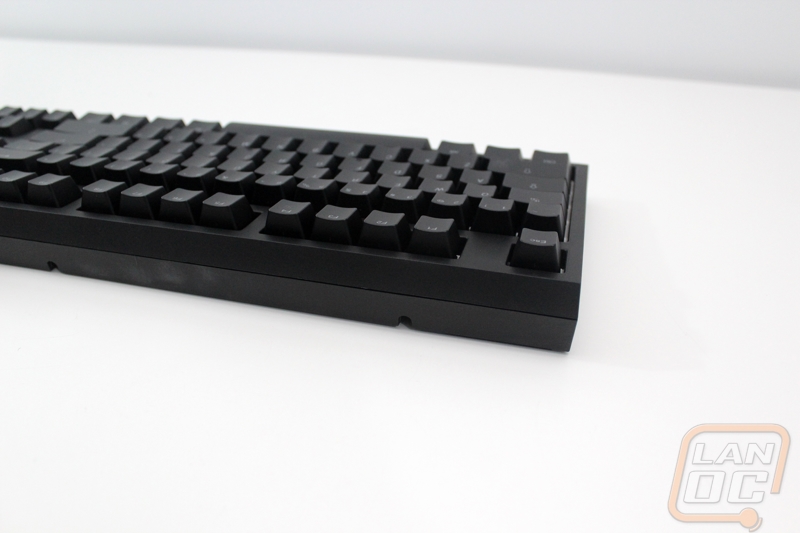
The casing of the Code keyboards is made of ABS and has a rough texture to give it a durable, almost industrial feel. Around on the sides of the keyboards, rather than go up and down, they angled the edges slightly giving a weird shape to the sides that I’m not all that big of a fan of. It just highlighted that the case was split in the middle where a normal full vertical design would have hidden that slightly.
Recently a lot of manufactures have been going with aggressive and sometimes custom fonts that can sometimes be harder to read to push the “gamer” look. For the Code Keyboards they kept things simple with a more traditional Helvetica font on all of the keys. The legends all sit on the top half of the key, slightly out of the way of where you would normally press them. Its also important to note that for the OS key they just left it completely blank. Not only does this look clean, but if you are running linux or even using the Code Keyboard on a Mac you wouldn’t really need a windows key. Frankly with this being the “Code” keyboard there is a larger possibility than normal that its users would be running a non-windows OS.
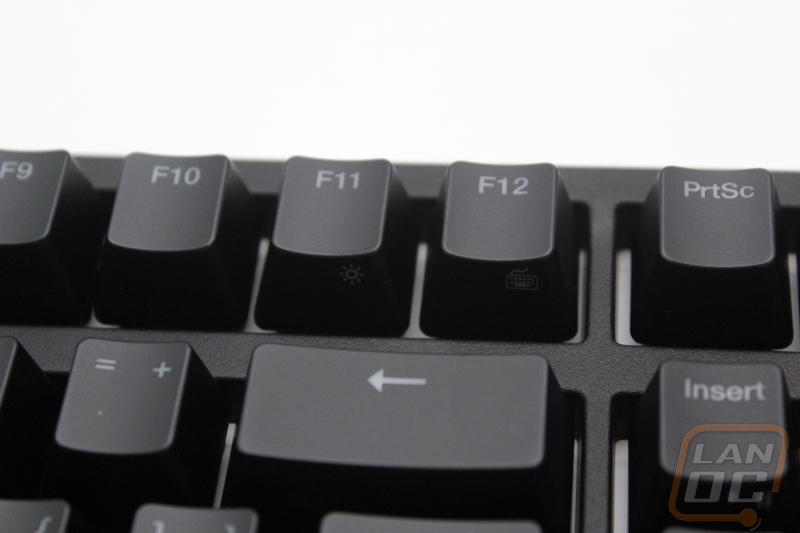
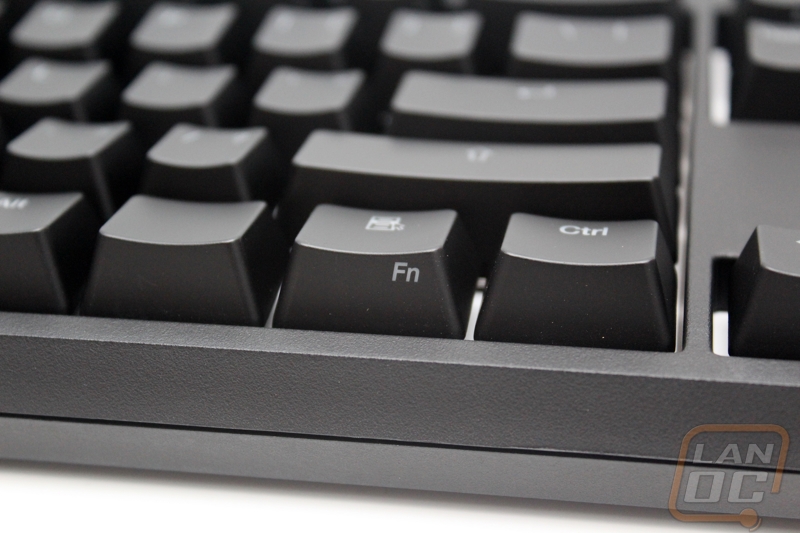
They did slip in additional legends on a few of the keys but they are a little hidden. You have to be sitting at the keyboard to see them because they slipped them into the stealth location. All of the keys with stealth legends only work when combined with the Function key. This is a great way to keep media keys without having them be too in your face. They also considered how you would use the function keys when selecting what keys should have functions added to them. Most keyboards force you to use two hands or bend your hand in unnatural ways to use their function keys, why would you use those when its easier to do most of the functions in your OS. For the Code keyboards you can put your thumb on the function key and reach all of the keys. The media keys are in the area of the delete/insert/home keys. The other thing you use the function keys for is to control the backlighting on the Code Keyboard. You have two buttons, one turns the lighting on and off and the second flips through 6 brightness options.
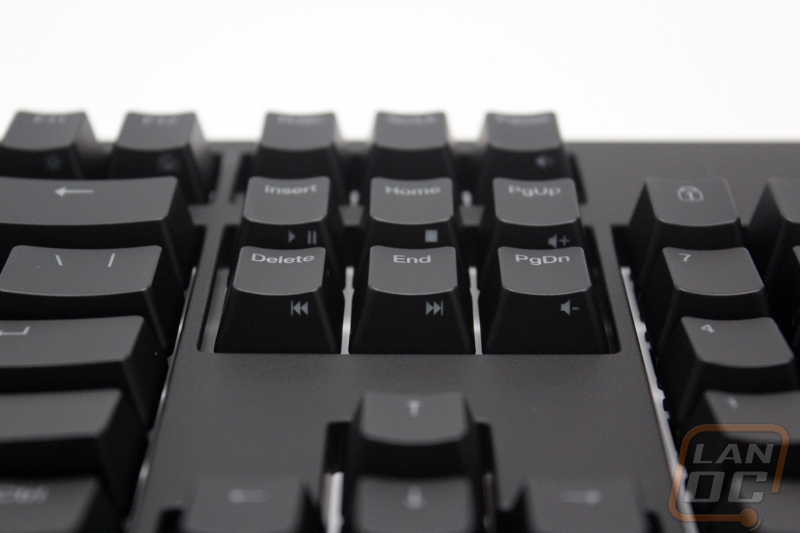
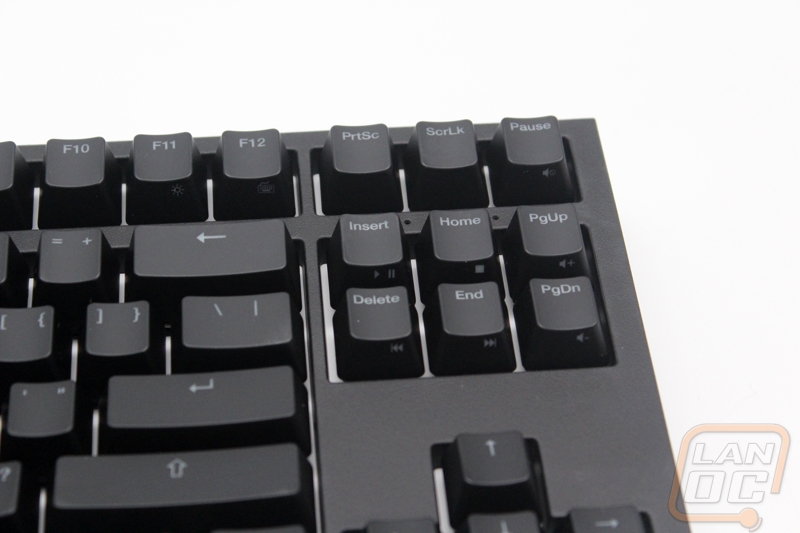
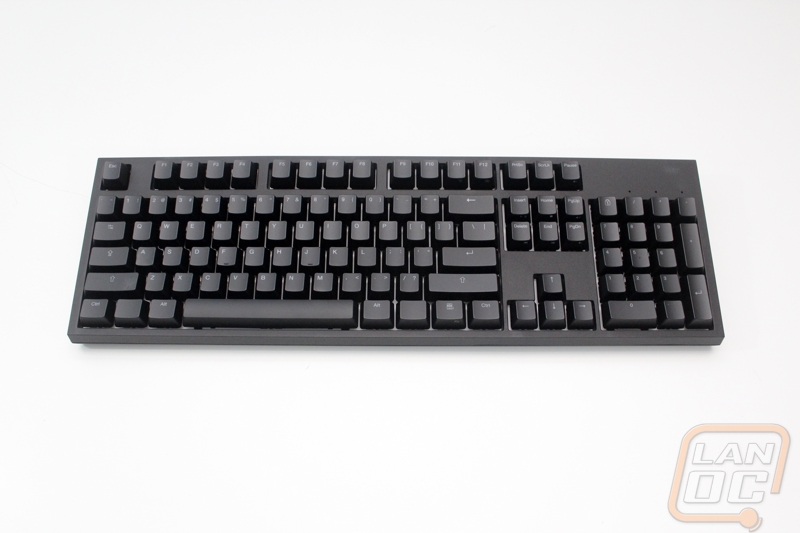
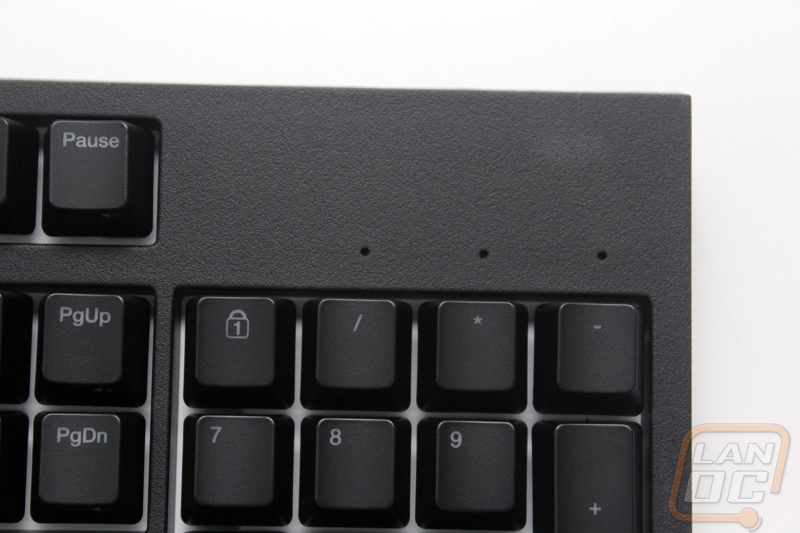
One of the coolest features of the Code Keyboards to me was the use of small 1mm wide holes for the status LEDs. On the full sized keyboard they are just above the number pad. On the TKL model they are slipped in above the Insert, Home, and PgUp keys. The small holes are enough to give you an indicator if you are looking for it, but not in your face, keeping the clean look of the keyboards.
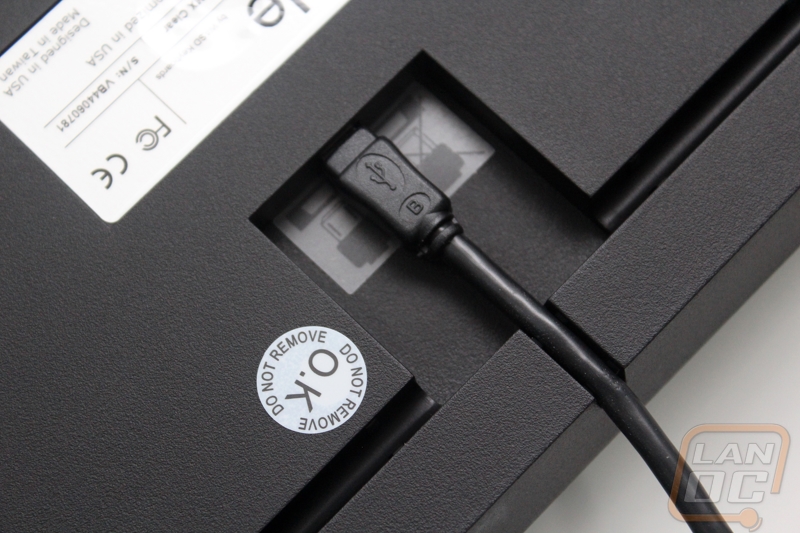
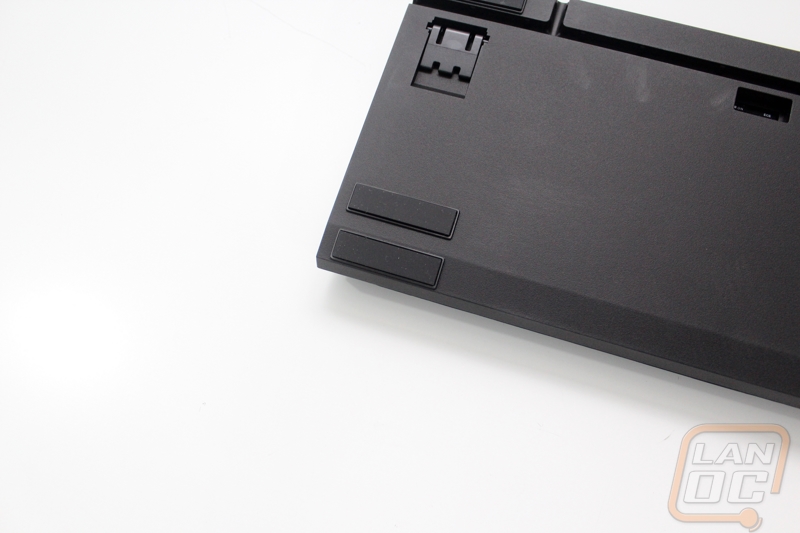
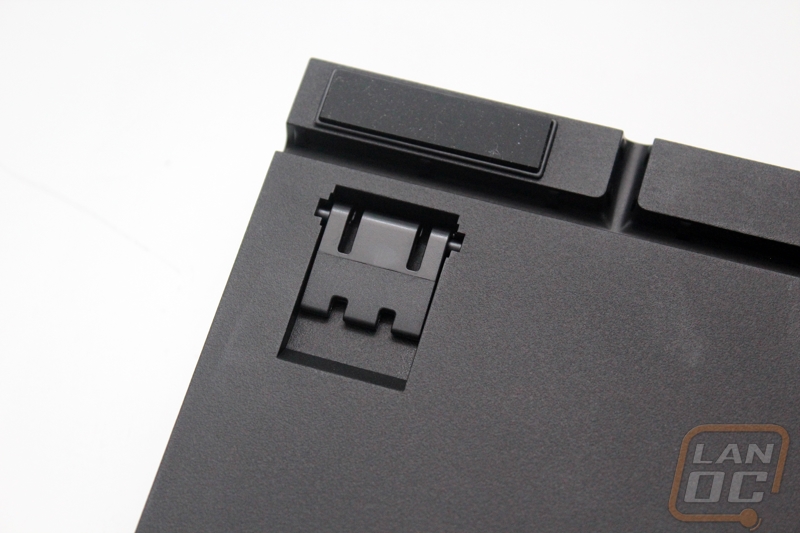
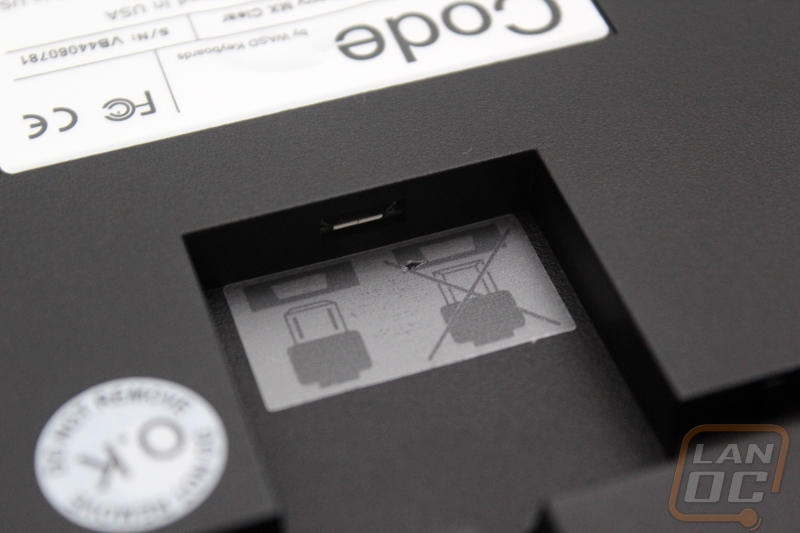
On the flip side of the Code Keyboard we have a few things going on. For starters in the middle there is a single sticker with the Code by WASD Keyboards on it. Here we will also find the serial number, model name, and keyswitch type along with website names. They also slipped in the designed in the USB and Made in Taiwan but there is a second note about the keyboard being designed and customized in the US as well. For feet we have an unusual 6 large rubber feet, three on each side with two of the three on each side down near the front (spacebar end). They did this so that even when you flip the optional legs out you have great traction. Speaking of the flip out legs, both legs has a little rubber on the ends as well.
Just above the middle sticker is a gap where the USB cable plugs into a micro USB plug. From that plug we have channels for the cable to route in five different directions. While I would prefer the USB plug right into the back of the keyboard rather than the bottom, it’s great that they give you so many options for where the cable will exit the keyboard.
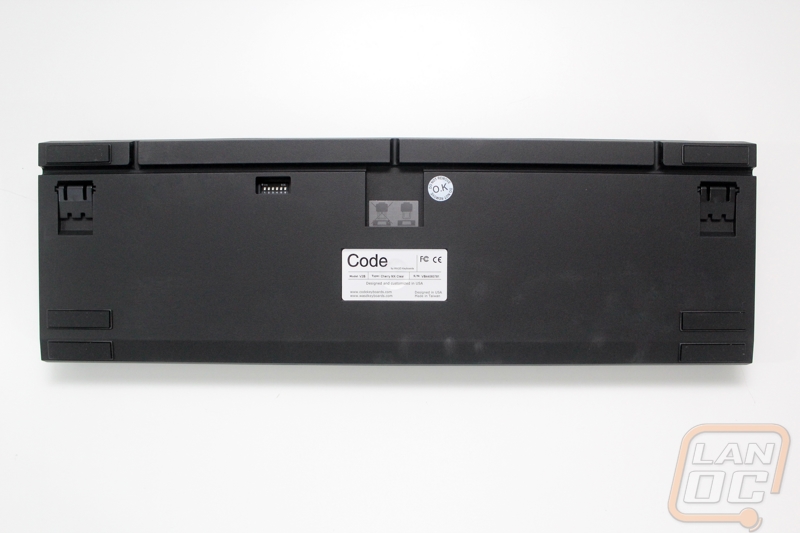

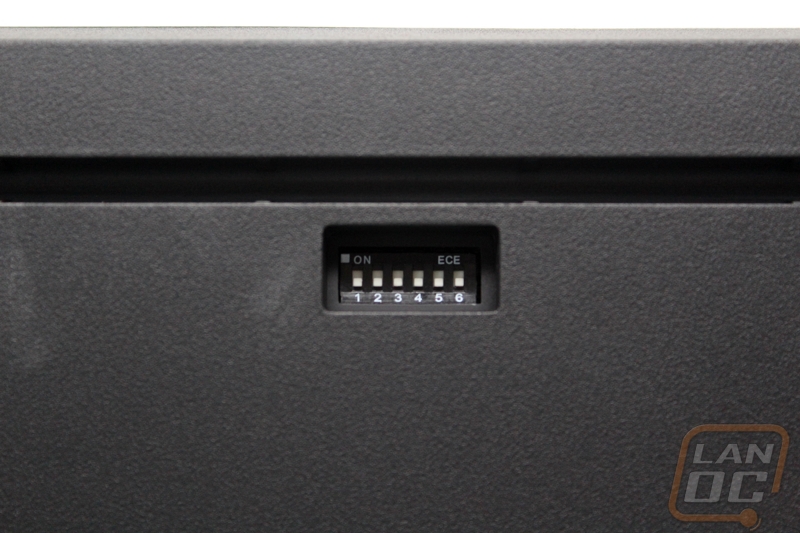
Also on the bottom of the Code Keyboards is a small hole with a set of dip switches. You get 6 switches to be able to change the way the keyboards work without using any software. They include a small paper with instructions on what each switch does. Here is the breakdown. The first two switches let us switch between mac mode, standard QWERTY mode, Dvorak mode, and Colemak mode. From there the third switch will turn the Caps Lock goes away and turns into a second left control key. The forth switch will turn off the scroll lock and turn into an OS key lock. That means if you turn this switch on the scroll lock button will turn off your windows key whenever it is turned on. The fifth key is similar but it just completely turns off the OS key all of the time. The last dip switch turns the menu key into a function key, you will need the function key to be able to set the backlighting and use the media keys.
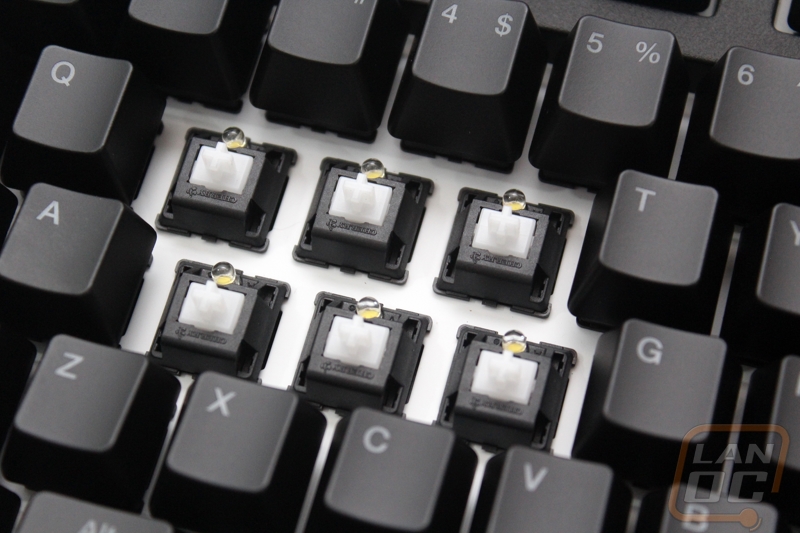
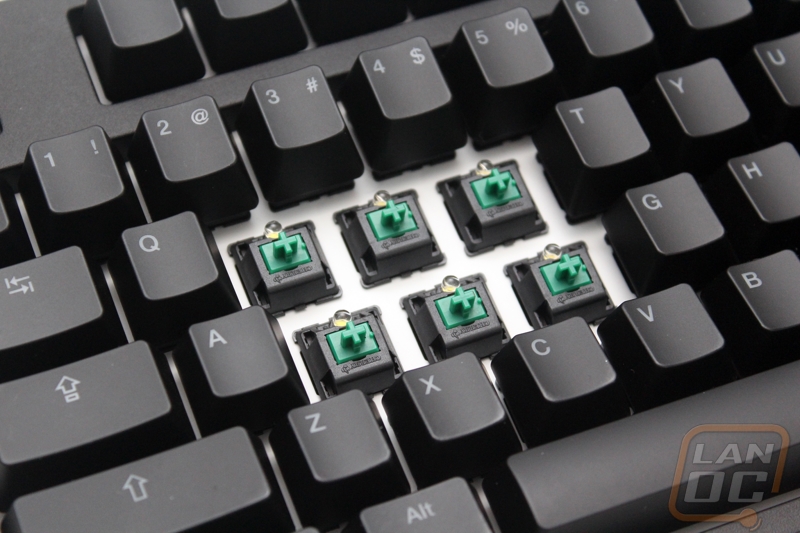
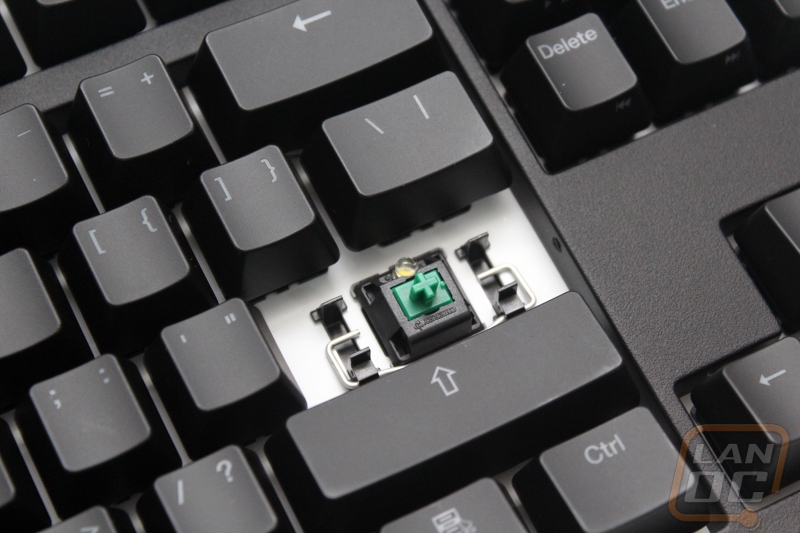
Another one of the big features of the Code keyboards that make them unique is the use of rarer Cherry MX keyswitches. This isn’t the first time that we here at LanOC have seen green or clear switches, but they are still hard to come by. Giving you both options means you have a clicky option as well as a quieter tactile option. Personally, I typically prefer Cherry MX Browns when given the option, so the clears with their slightly higher spring rate (55cN compared to 45cN for browns) and tactile feel is the closest comparable option. The green switches are like blue switches but with a higher spring rate (80cN compared to 50cN). Both keyboards have white LED backlighting as well as a white painted steel backplate. The backplate helps give the keyboard a solid feel and at almost 2 and a half pounds it could also double as a weapon.
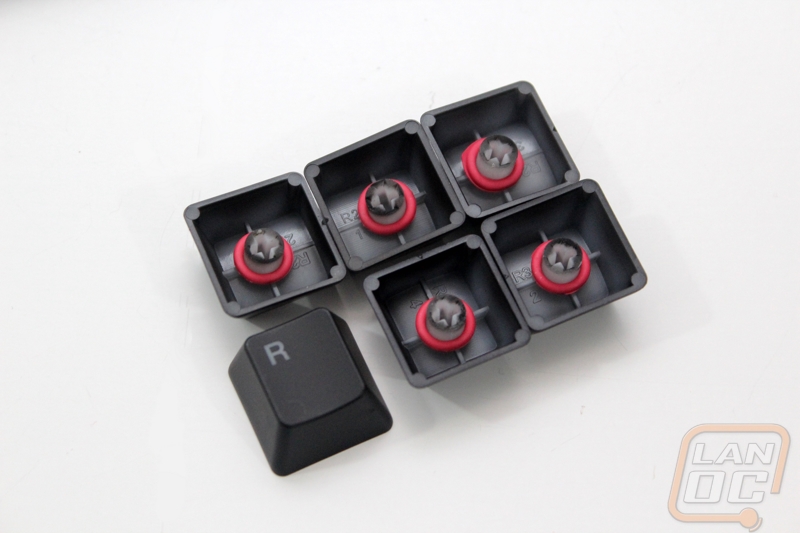
When I pull one of the longer modifier keys off we get a peek at what stabilizers they went with for the Code Keyboards. They went with Costar stabilizers, this means you will have to fight with the metal bar when reinstalling these keys. I personally prefer cherry stabilizers whenever possible, but they are few and far between. These stabilizers were a major pain to reinstall the keycap, WAY more than normal.
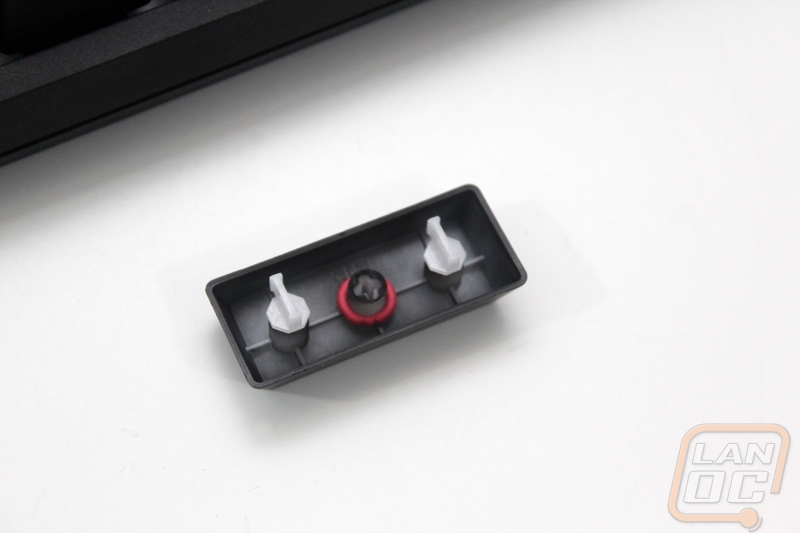
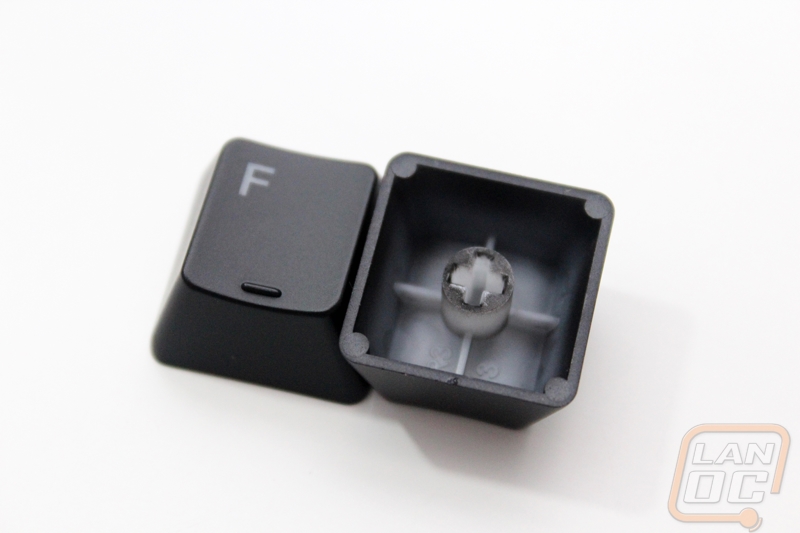
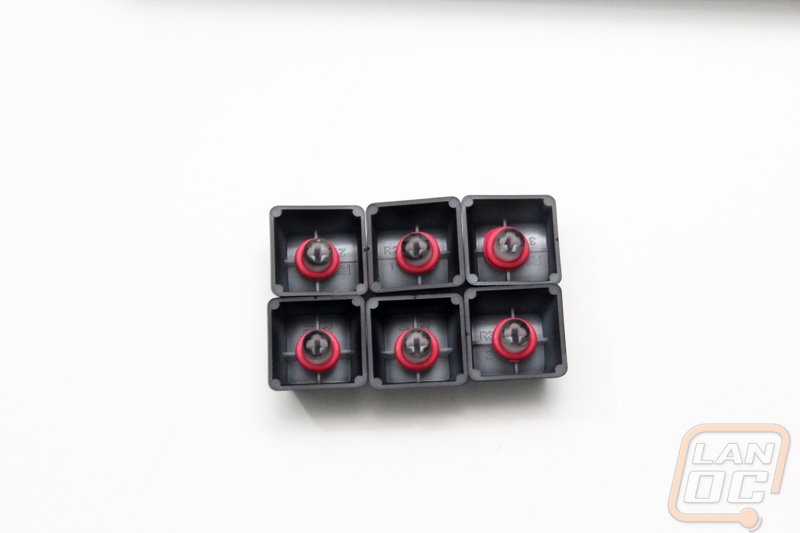
The code keyboards come with a white transparent keycap that is later coated black. This way when the legends are etched the backlighting glows through. The keycaps are made of ABS and in the corners have additional supports. They aren’t extremely thick, but in line with what most keyboards come with. Our TKL with green switches had an additional surprise under the keys. All of the keyboards with green switches are paired with red O-rings on the keycaps to help cut the noise down. I’m a little surprised they didn’t include this with the clear switches as well, softening the landing is always nice.
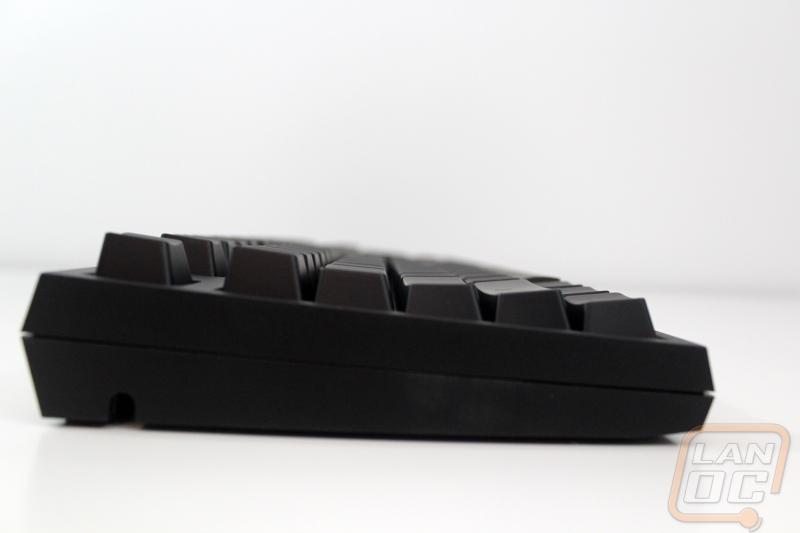
When we take a look from the side we can see that both keyboards have a standard OEM profile on the keycaps.
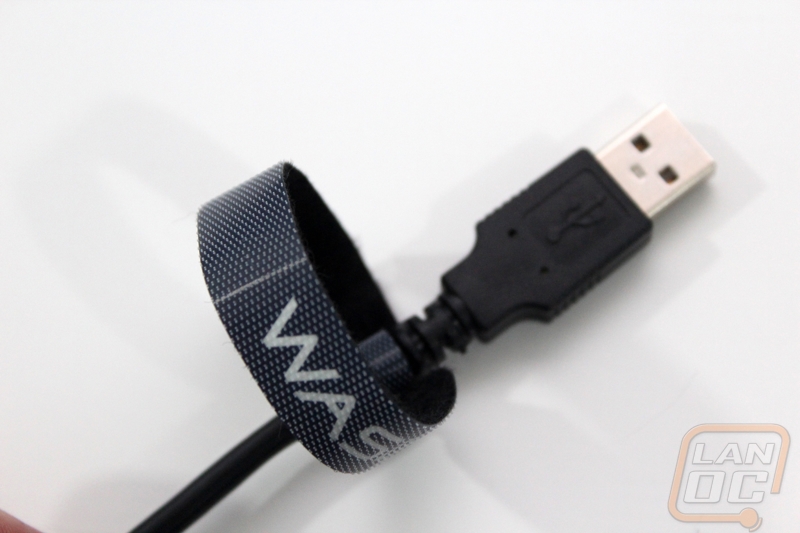
The cord that they include with the Code keyboards is noticeably thicker than most USB cords. The cord has a rubber finish and surprisingly no sleeving, not that it is needed. Where the cord plugs into the micro USB port on the bottom of the keyboards is a little tight. If you are considering replacing the cable with a custom cable you will without a doubt have issues plugging them in because most custom cables are slightly thicker than a standard cord. On the other end of the cord you have a standard male USB connection and they also included a WASD Keyboards branded Velcro cord strap to help you tie the cord up when not in use. Also remember that they included a PS/2 adapter, you will need to use this if you want to take advantage of N-Key Rollover. If you don’t use the adapter you still get 6 key USB rollover. Even better those six keys don’t include Ctrl, Alt, and Shift making it possible to go up to 9 keys.