
Lighting, Software, and Performance
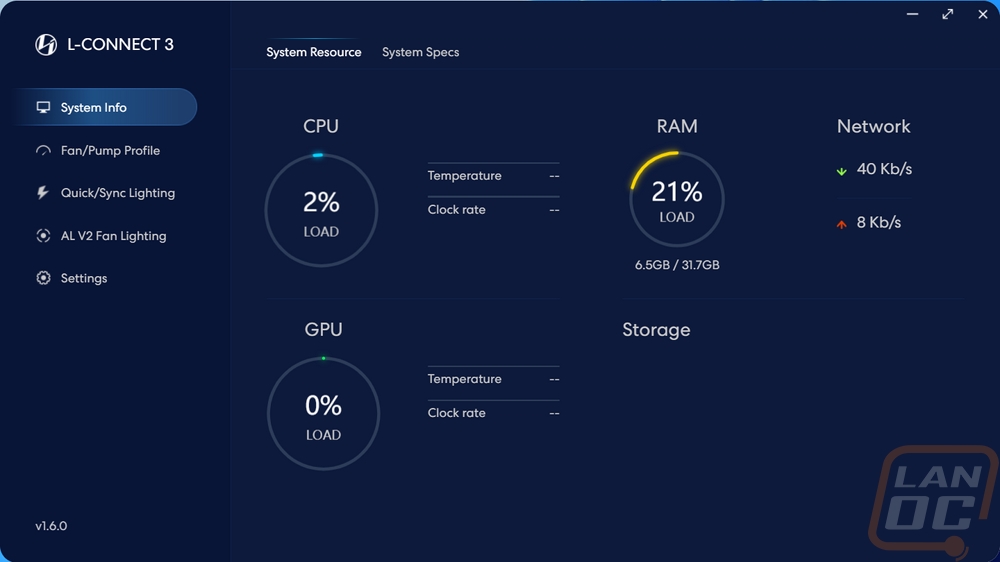
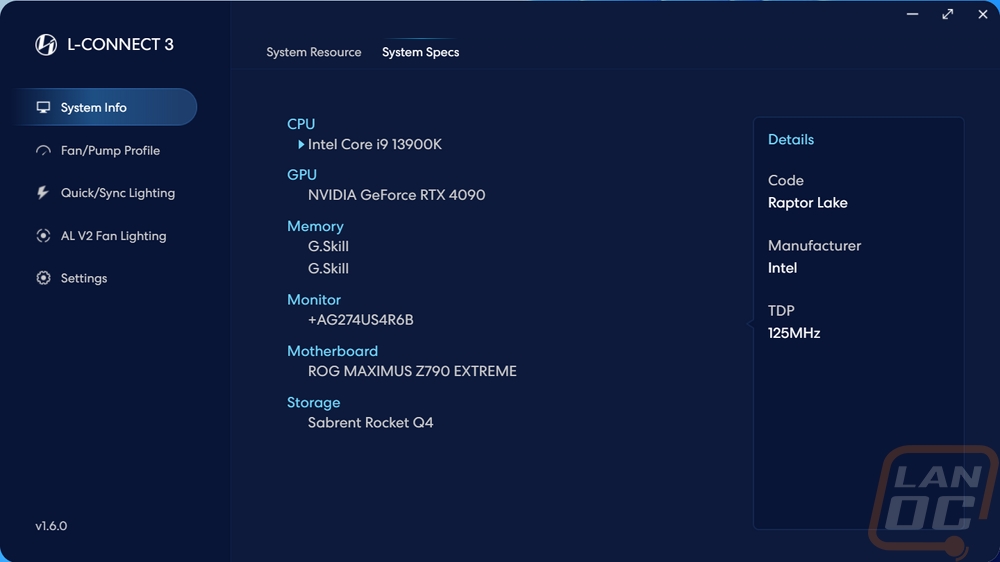
If you have seen the L-Connect software in the past there aren’t going to be many surprises this time around. I loved Lian Li’s software the last few times I reviewed the Uni Fans and I still do now. You start with a system info page that shows your current CPU, GPU, RAM, and network load. They also have a second page that lists all of your components.
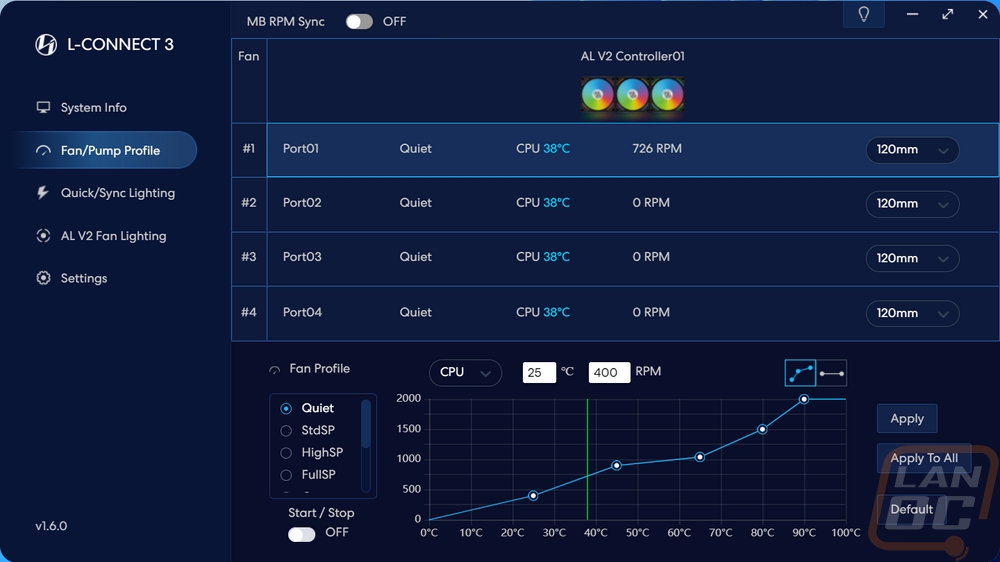
All of the fan speed settings can be found on the second page, the Fan/Pump profile. They have all four of the fan connections listed out 1 through 4 and you can set the fan size and see the current fan profile and RPM in the top half. Then down at the bottom, you have a graph showing the current fan profile where you can make changes and make your own custom profile. There are also default settings on the left and a switch that will turn on the option to start and stop the fans at lower CPU temperatures. You can also turn the profile off and switch to fixed fan speeds as well. Then you can set your new fan profile to a specific port or apply it to all of the system fans.
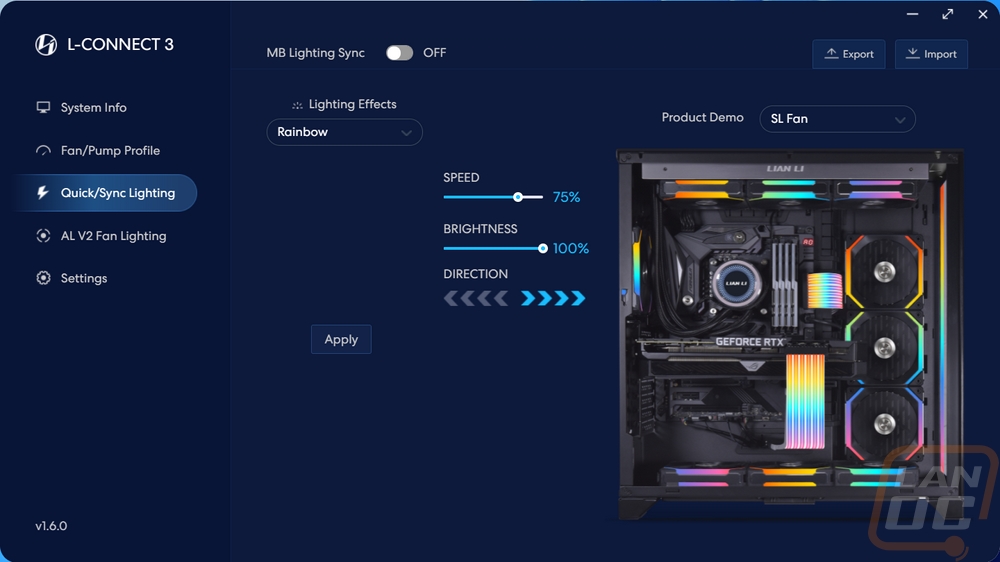
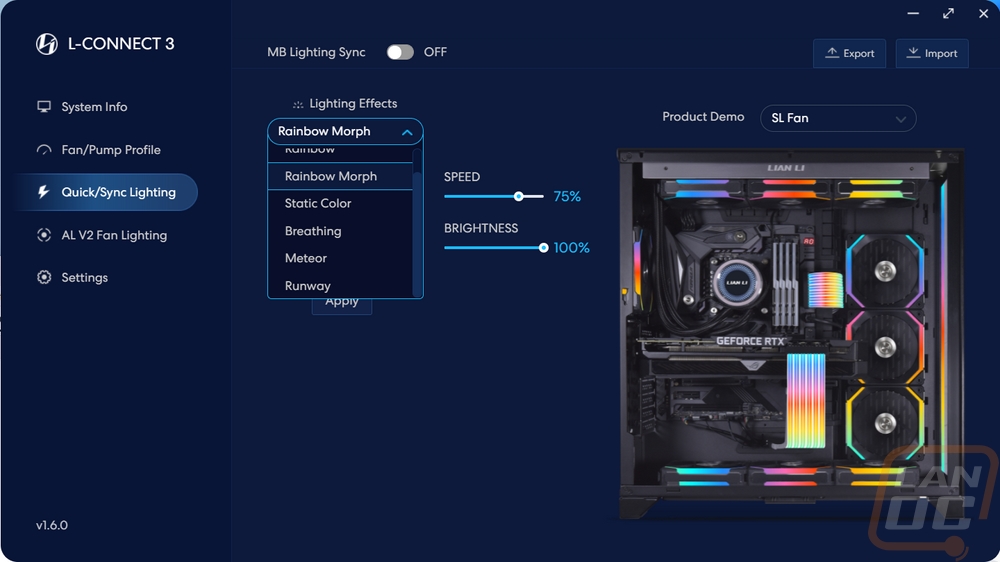
The quick sync lighting page is where you can turn on the motherboard lighting sync if you have that wired up. This is also where you can quickly swap lighting profiles for the entire system however this has a shorter lighting effect list than on the page I will show next. You have the option to change the effect speeds, brightness, and direction here as well.
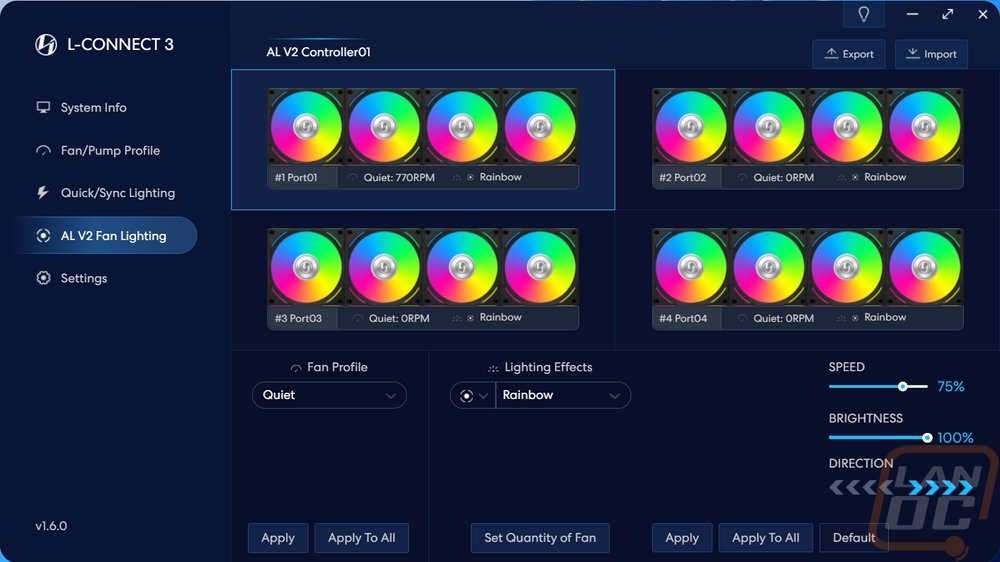
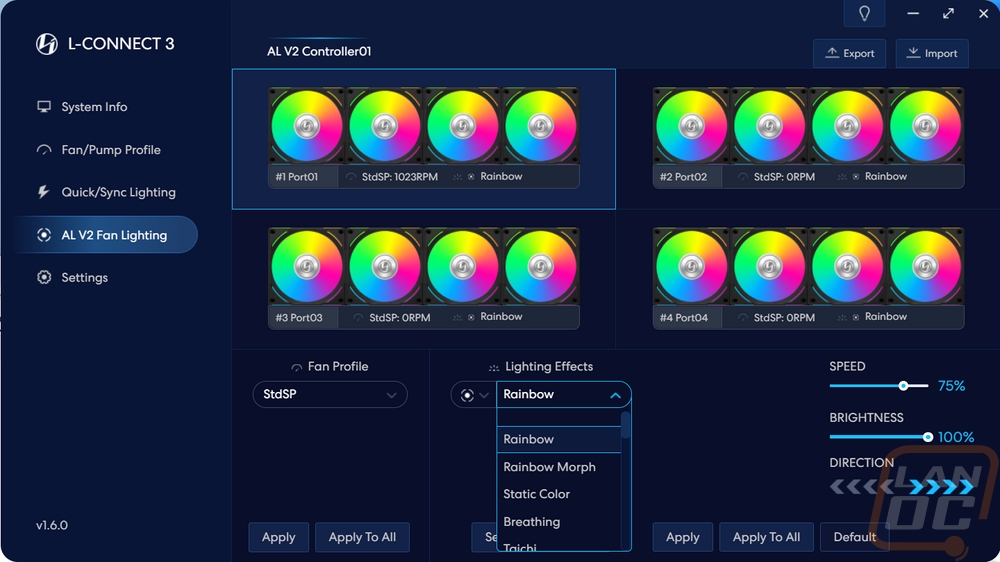
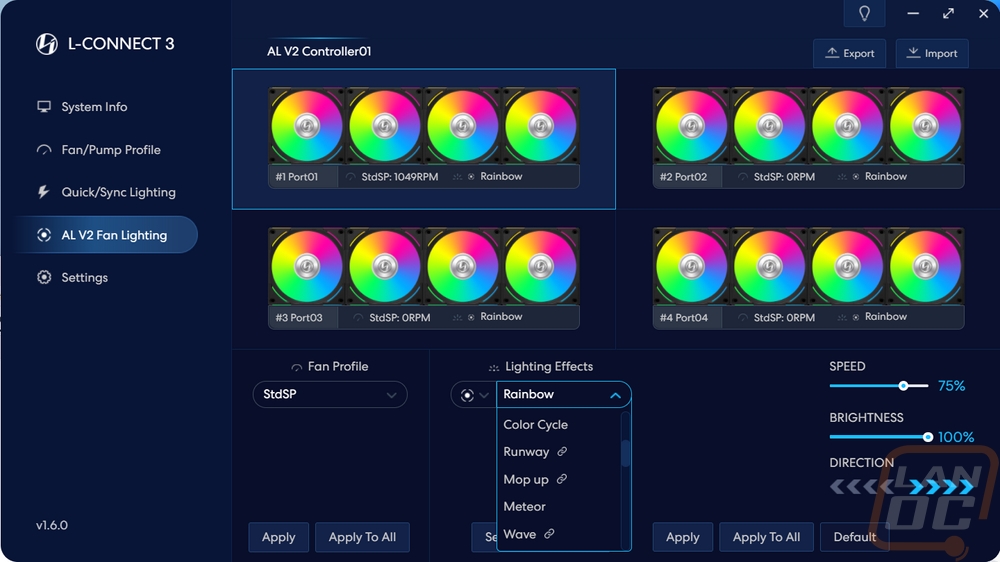
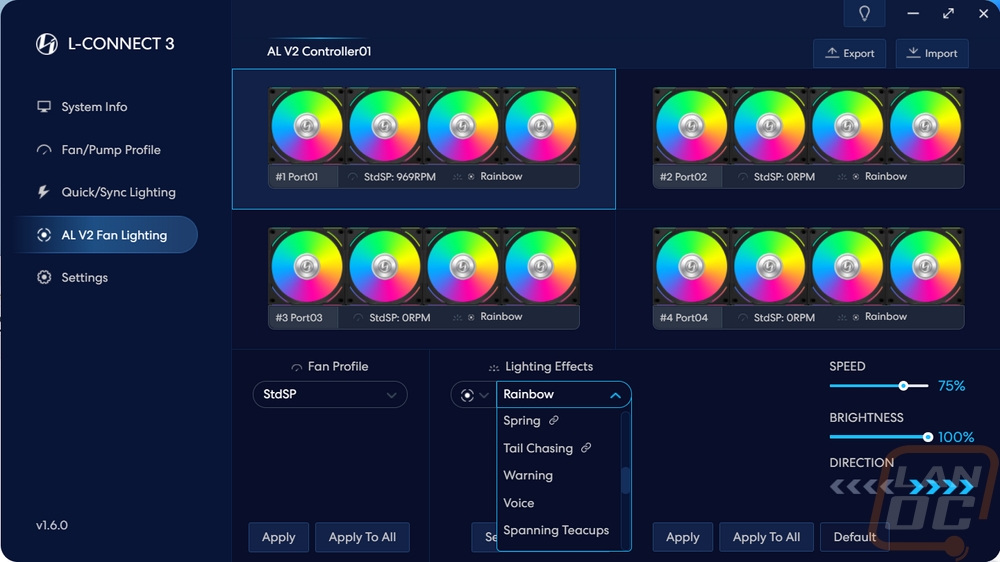
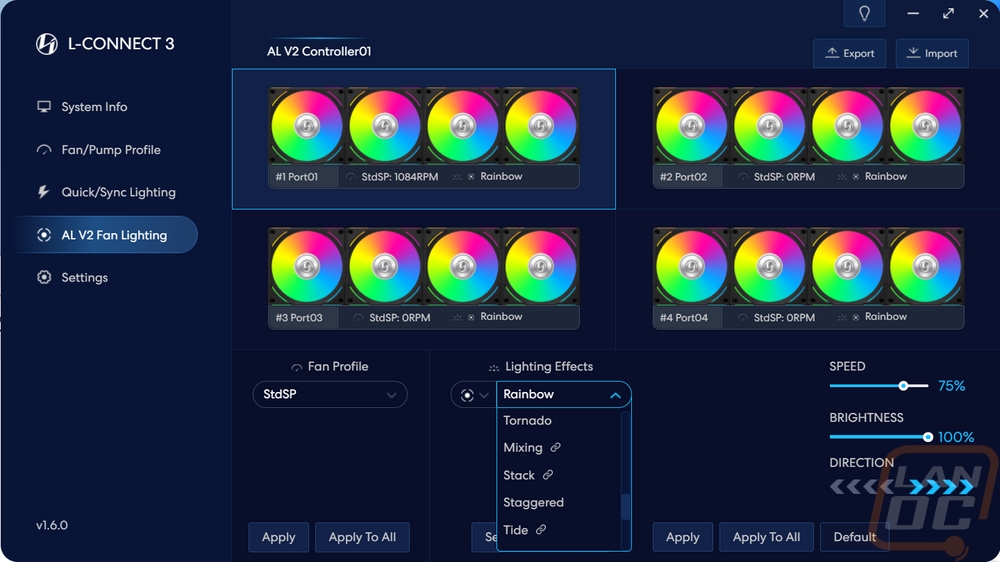
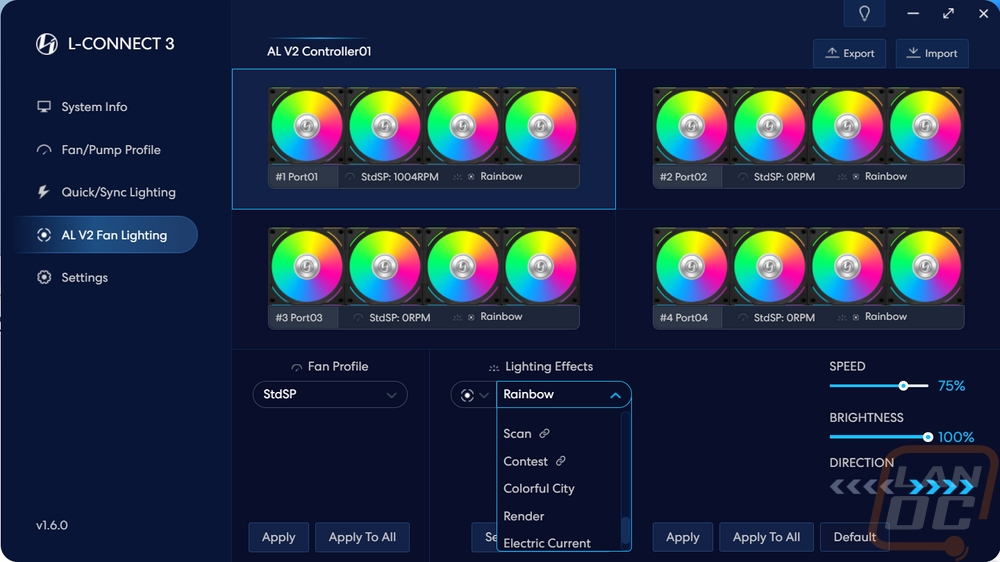
The next page is specific to the AL V2s and this has four sets of fans pictured, each has four fans and shows the current lighting effects for each of the L-Connect ports. This also shows the fan speed profile as well. Like the page before in the bottom right corner you can change speed, brightness, and direction. But you can get into more detailed lighting effects here. Under lighting effect on the left, there is a dot with four dashes around it, these represent the blade and then the outer lighting. You have a long dropdown of effects here where you can set different effects for the blade lighting and the outer lighting including effects specific only to each.
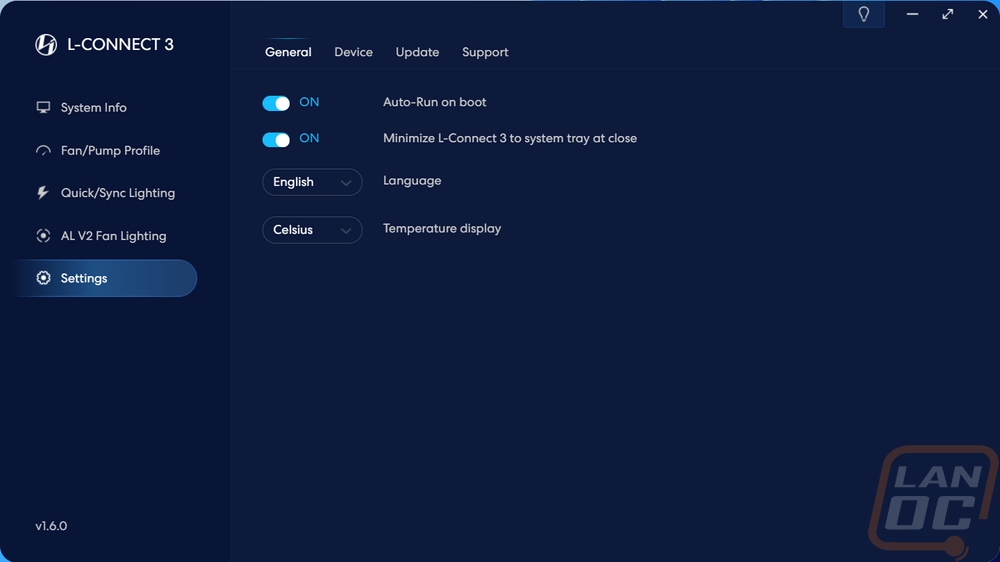
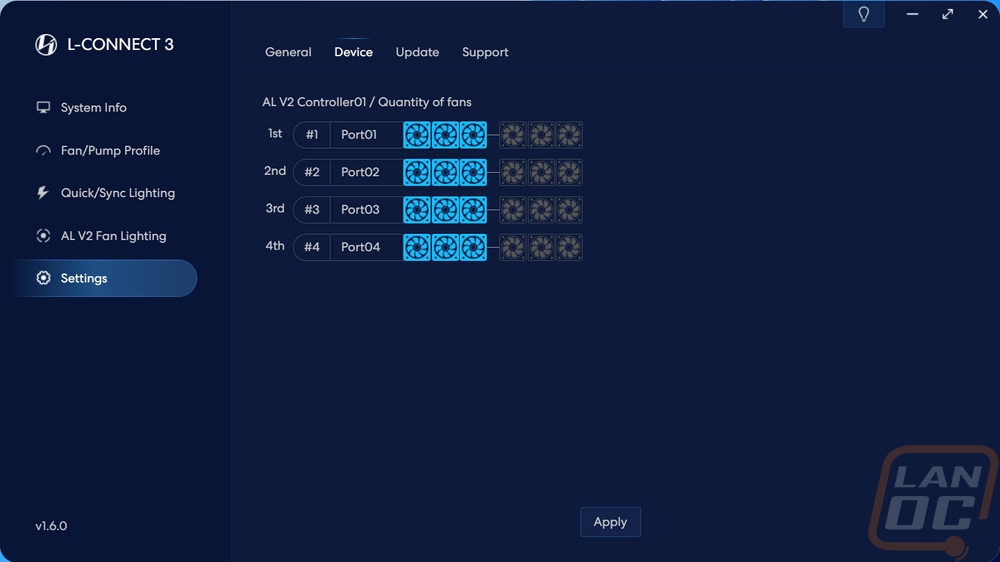
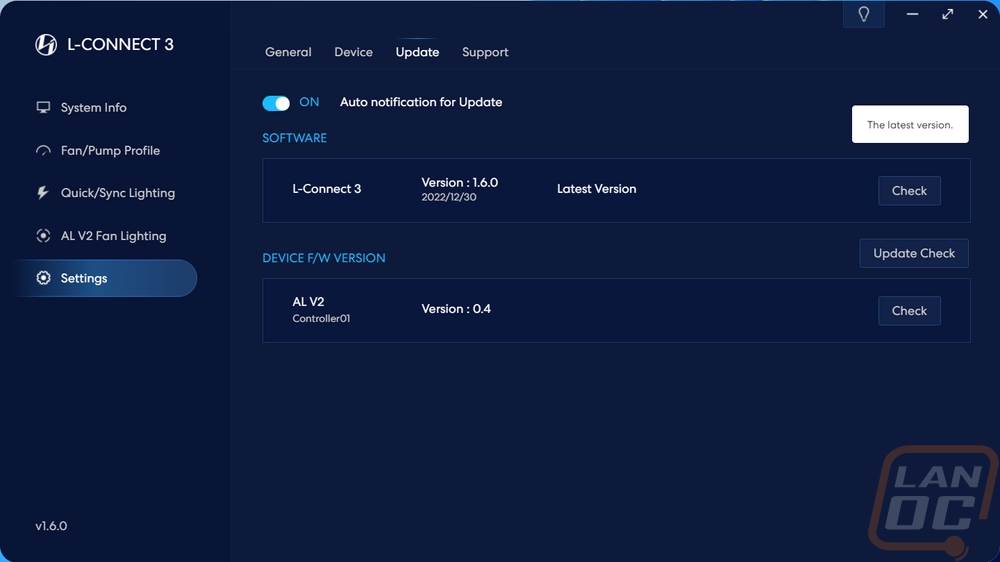
Last up is the settings page. There are a few pages under settings and the first is simple with software options like should the software open when windows starts and if it should minimize to the system tray. You can pick the language and also pick between Celsius and Fahrenheit as well. The device settings are where you can let the software know how many fans you have daisy chained together. By default, it is three, but your effects won’t track correctly if you have fewer or more fans until you let it know. You can also check for software updates and firmware updates as well on the update page.
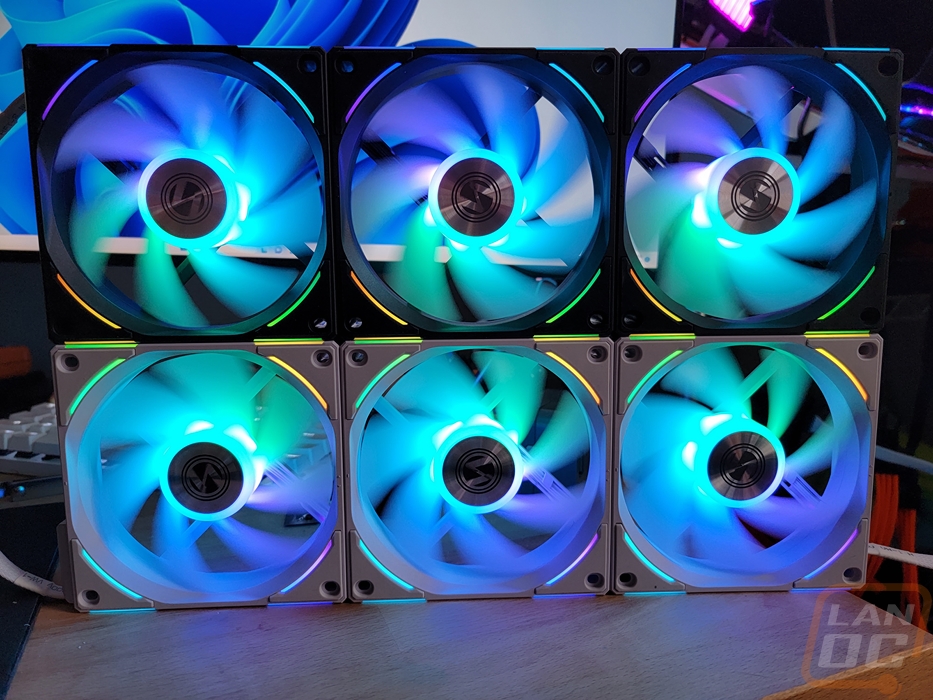
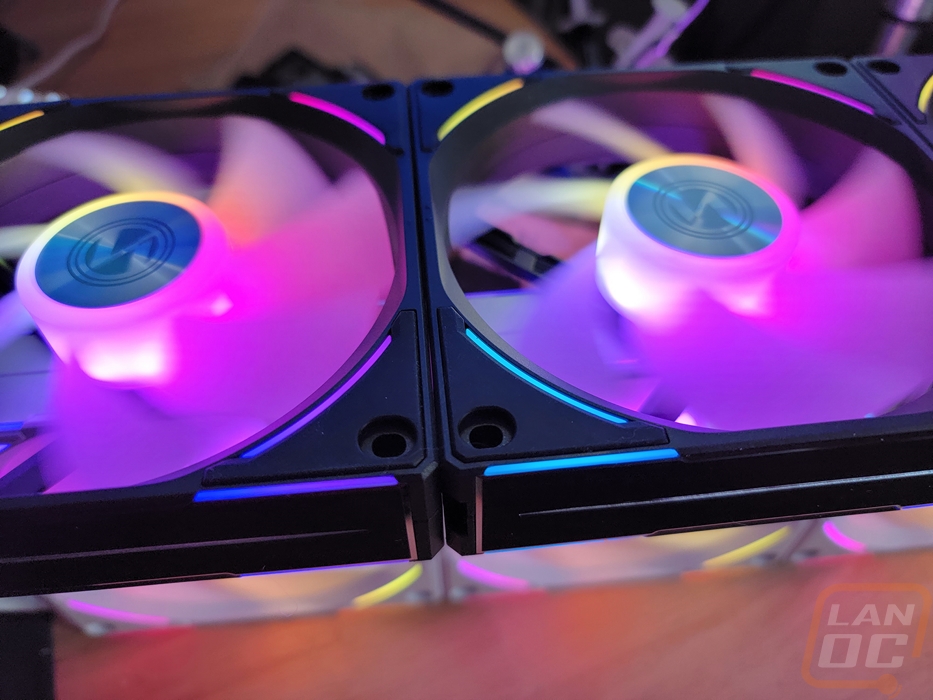
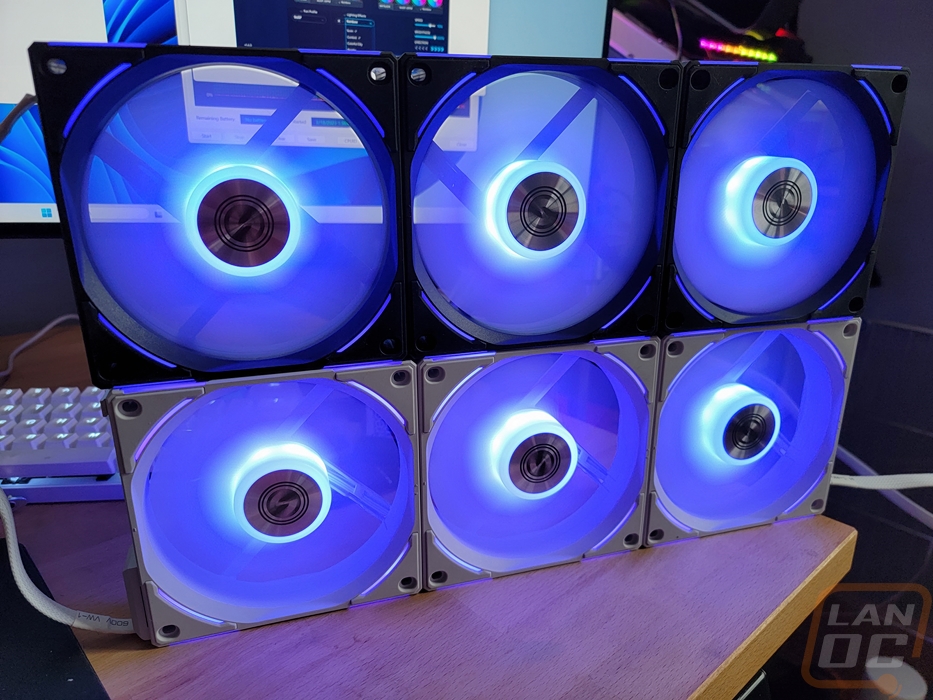
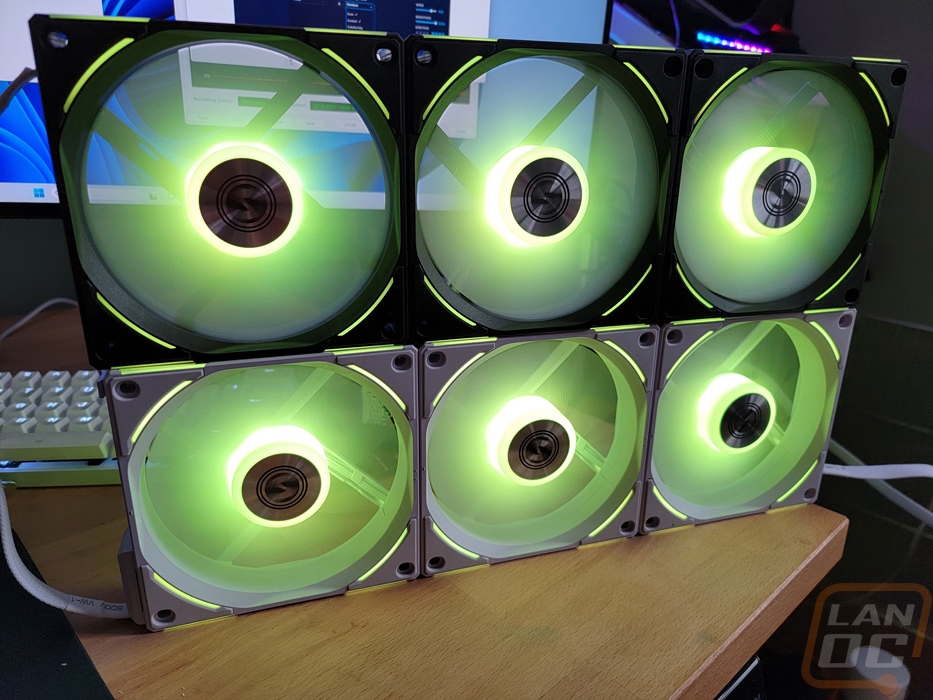
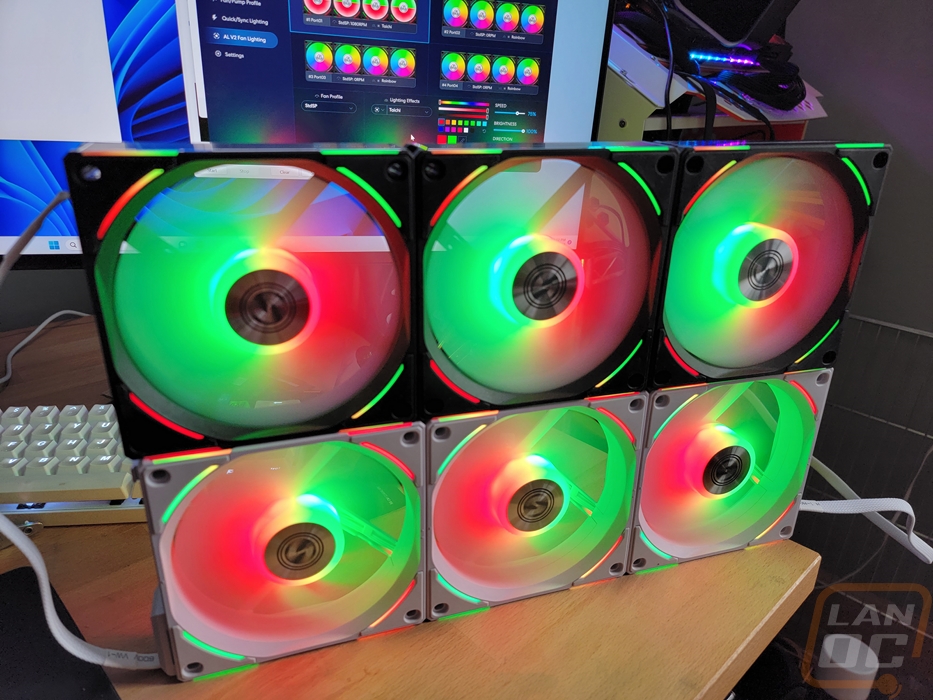
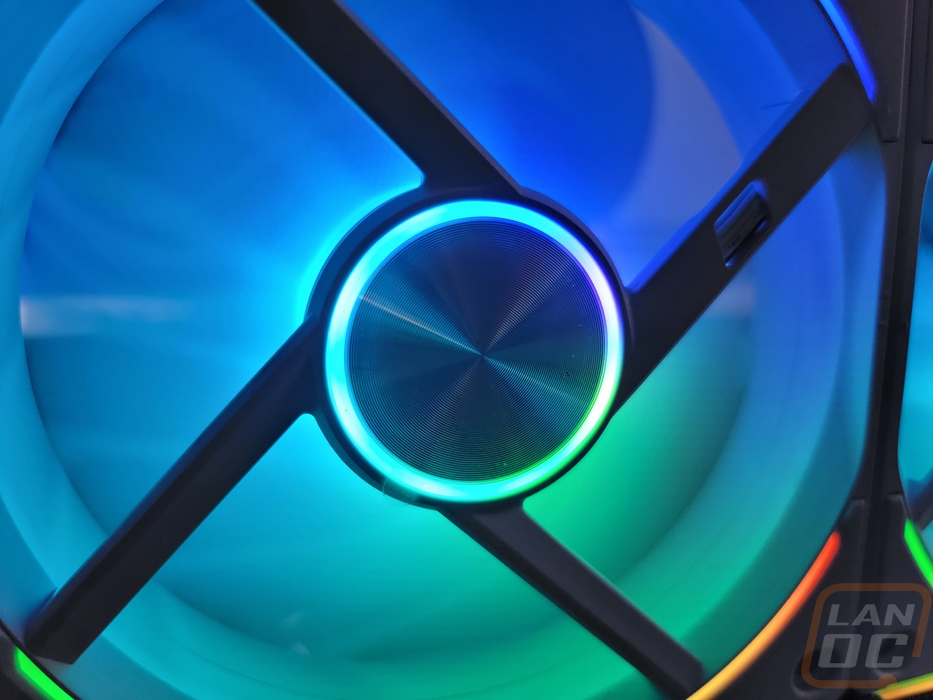
For the most part, we can let the pictures do the talking here. The AL120 V2s look great and the lighting was bright even in the middle of the day when I took the pictures. The blade lighting is brighter in the middle where the LEDs are but the lighting does reach out all the way to the tips. The white AL120 V2s look a little brighter in my opinion because of the white lighting. But I personally like the black model for how well the housing lighting stands out. This includes the new lighting up on the top and bottom edge which adds lighting that will still be visible when looking in a side panel for top and front-mounted fans.


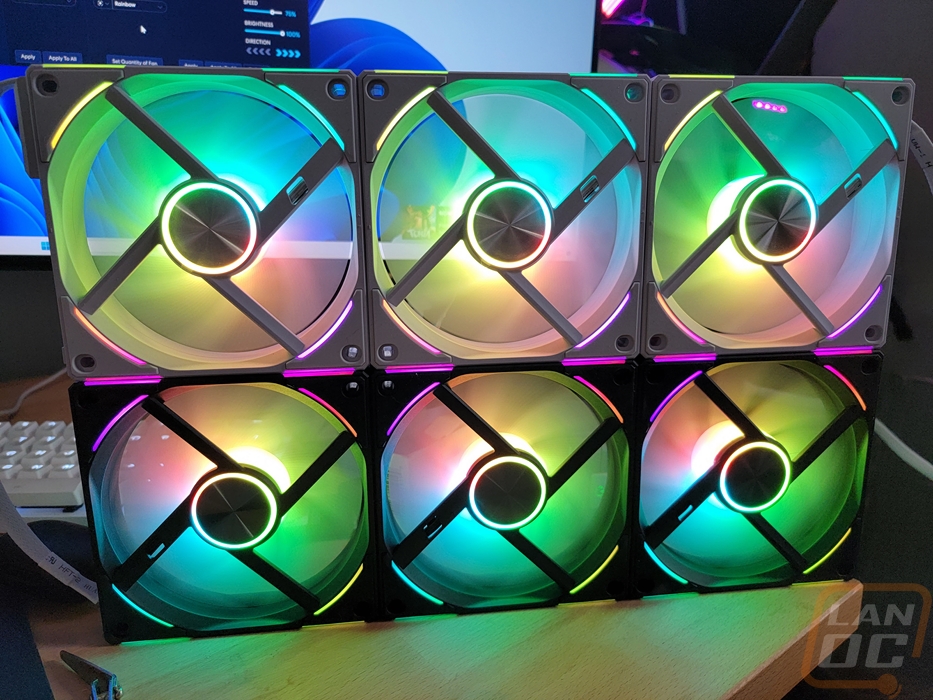
Here is a look from the back which shows off the ring around the back of the fan motor where the blade lighting can slip through. Even with the mount bars on this side of the fan, you aren’t missing out on much lighting at all and with the aluminum center cover on both sides the back doesn’t look like the red-headed stepchild and you can run the back out without worrying that it will look bad.
I also put together a simple video that shows off each of the lighting effects that you can flip through, everything is labeled.
For performance testing, I took a look at the noise performance. I went at this in two different directions. With the CPU running at 40c I tested the noise level and RPM of the fans under all of the different fan speed settings in Lian Li’s software. This gave me an idea of what to expect for noise levels with mid-range CPU temps. The standard profile did a great job of keeping things quiet where going up to the high-speed setting started to get louder and of course with the fans cranked to 2000 RPM they are noisy. Breaking things down with the fixed fan speeds do a better job of showing things. As long as you stay at 1200 RPM and lower they are quiet but once you get up into the high fan speeds they are noisy. The main focus is still aesthetics and clean wiring but Lian Li did improve the airflow while still keeping the noise levels near where they were before so I can’t complain too much.
|
Fan Profile |
RPM |
Decibels |
|
Quiet Fan Profile |
710 RPM |
34.8 dB |
|
StdSP Fan Profile |
919 RPM |
36.1 dB |
|
HighSP Fan Profile |
1162 RPM |
39.4 dB |
|
FullSP Fan Profile |
2002 RPM |
56.1 dB |
|
Fixed Fan Speed Testing |
||
|
Fixed Fan Speed |
1000 RPM |
38.4 dB |
|
1200 RPM |
39.4 dB |
|
|
1500 RPM |
46.7 dB |
|
|
1700 RPM |
49.6 dB |
|
|
2000 RPM |
56.1 dB |
|
