Photos and Features
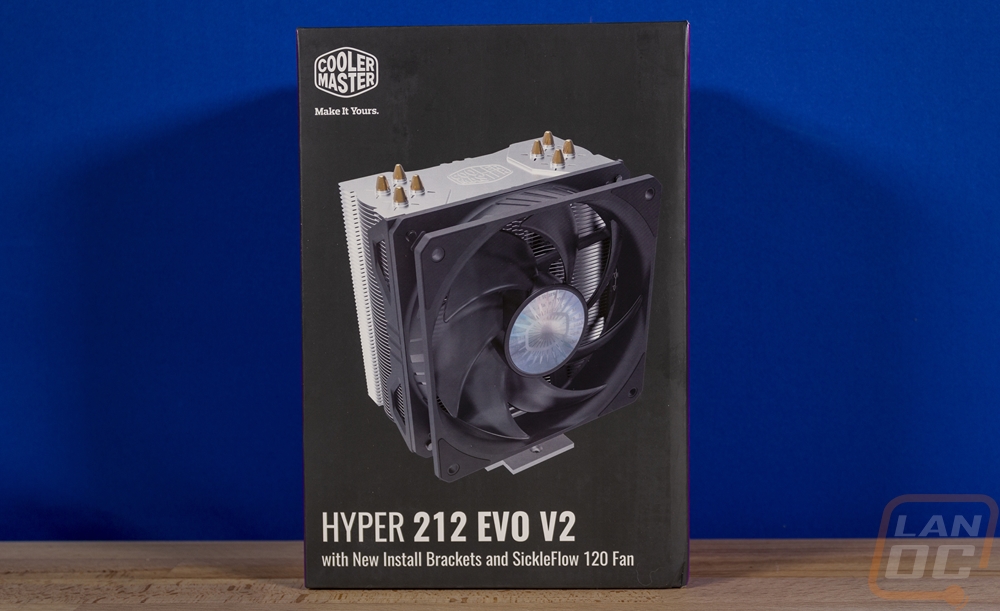
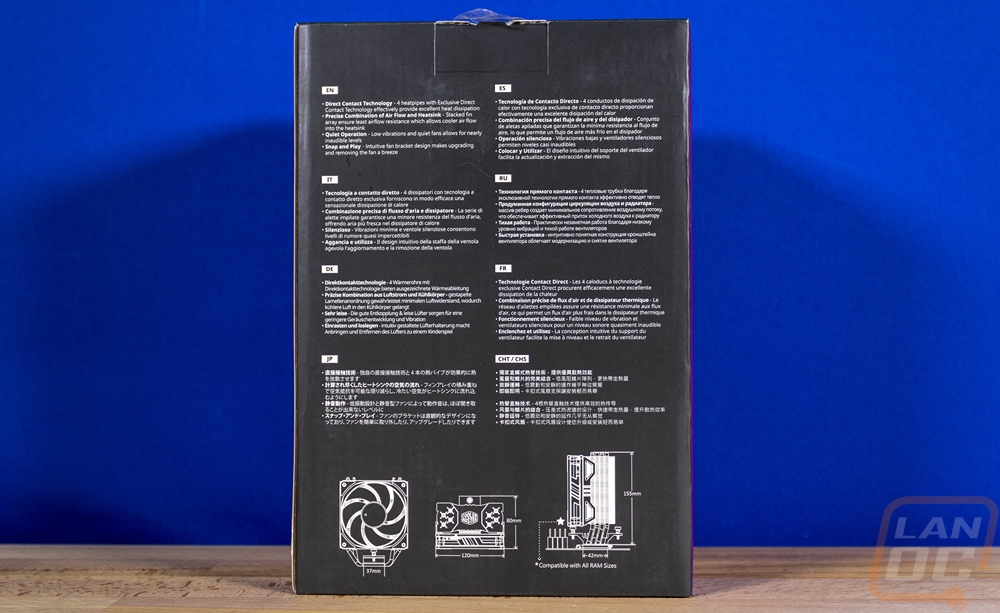
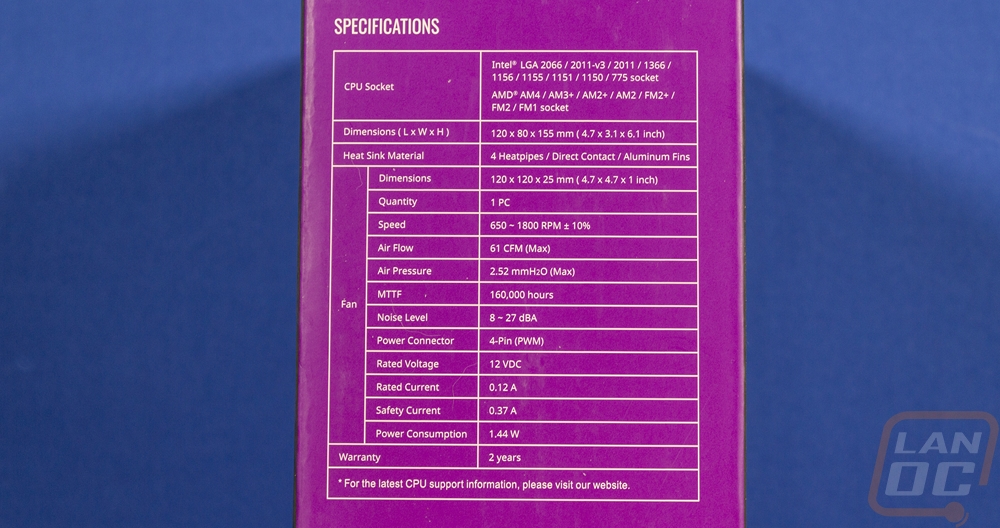
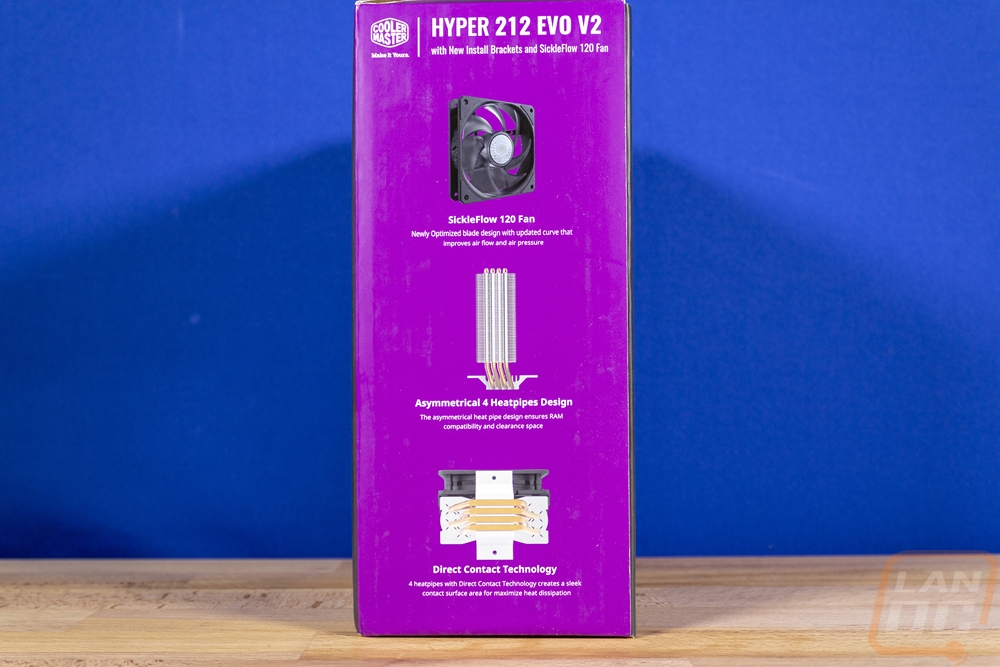
With Cooler Master always going with the purple theme, I was surprised to see the Hyper 212 Evo V2 didn’t have purple on the front or back of the box at all. They didn’t skip it altogether, it is on both sides. But I always liked the touch of purple to quickly spot who makes it. They have the Cooler Master logo in the top left corner and the product name is across the bottom and they bolded everything but the Hyper in the name. They even touch on what is different under that by highlighting the new brackets and fans. The front of the box also has a large picture of the cooler on an otherwise dark grey background. On the back, they list off four key features with a short description of each then repeat that across multiple languages. Then down at the bottom, they slipped in line drawings with dimensions which is nice to help when you need to know if it will fit in your build. They did include a full specification listing on the side as well as pictures to go along with the features on the other side which is nice.
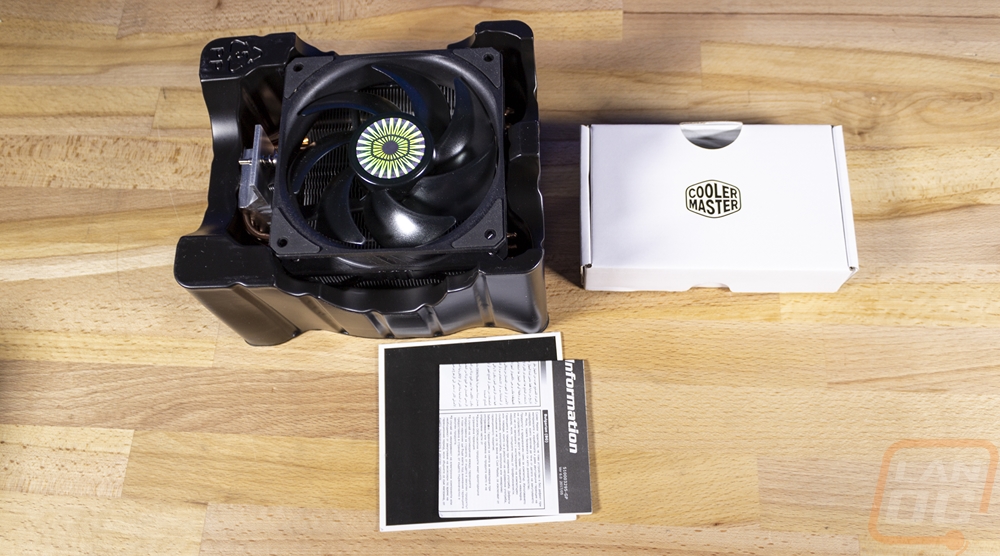
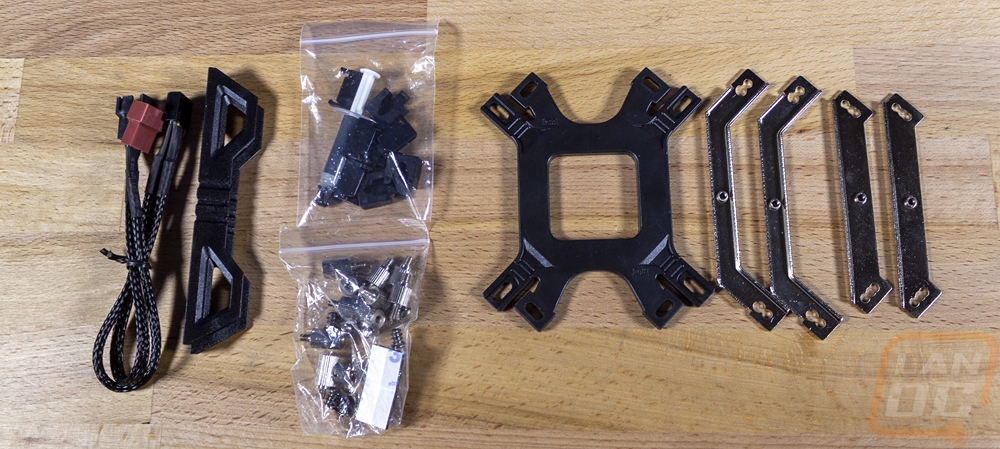
Inside the box, the cooler comes stuffed into a formed plastic tray. Along with that, you have all of the brackets and accessories in a small box that sits up on top. They also included some documentation in the form of a manual which includes installation instructions and a warranty paper with all of the legal information repeated across every language. Inside of the box they have included a backplate for both AMD and Intel installations as well as brackets for both. There are two baggies, one has all of the universal parts like the small tube of thermal paste and the black clips to use on the backplate. The other has a mix of Intel and AMD hardware as well as universal parts as well. Then there is a fan splitter cable and a set of plastic fan brackets, both are for if you want to run dual fans on the cooler. Given the budget for the cooler, its surprising they would include anything extra let alone what you need to help the cooler cool even better.

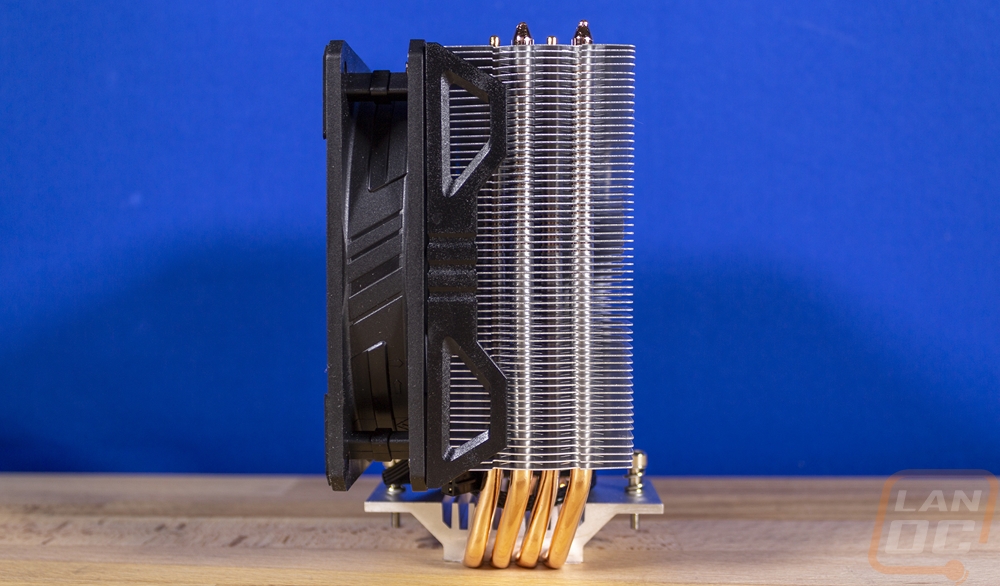
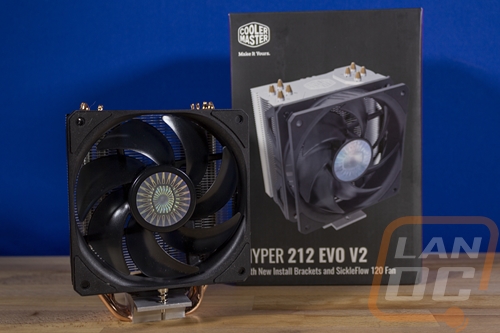
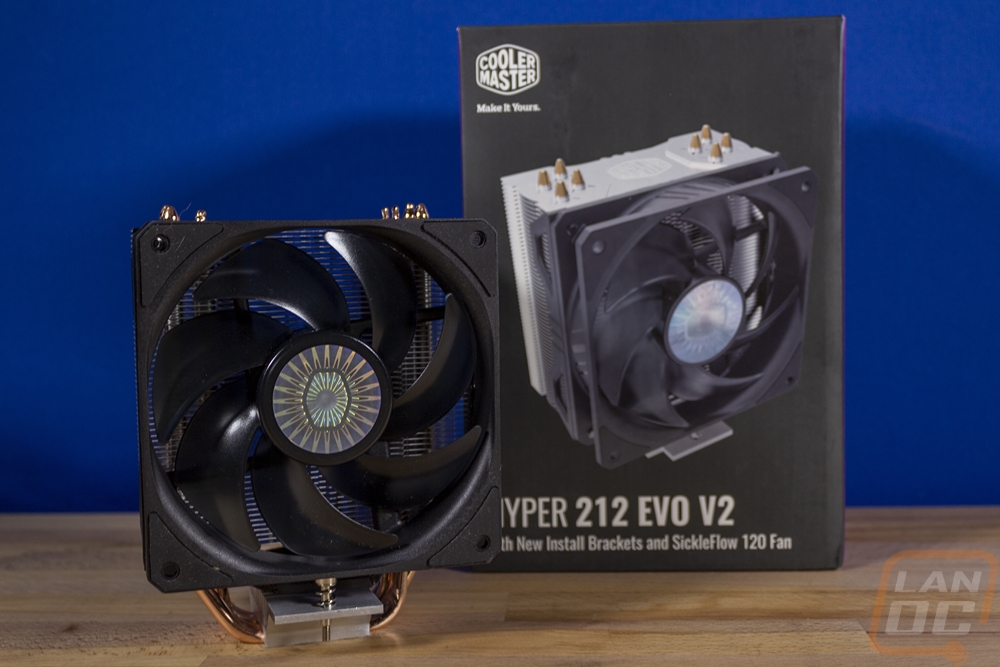
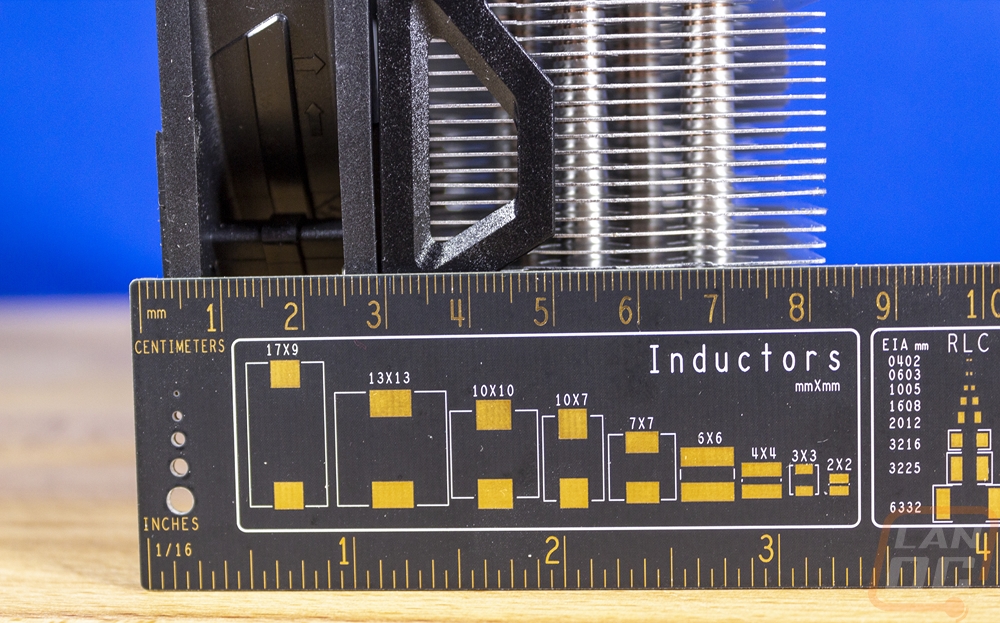
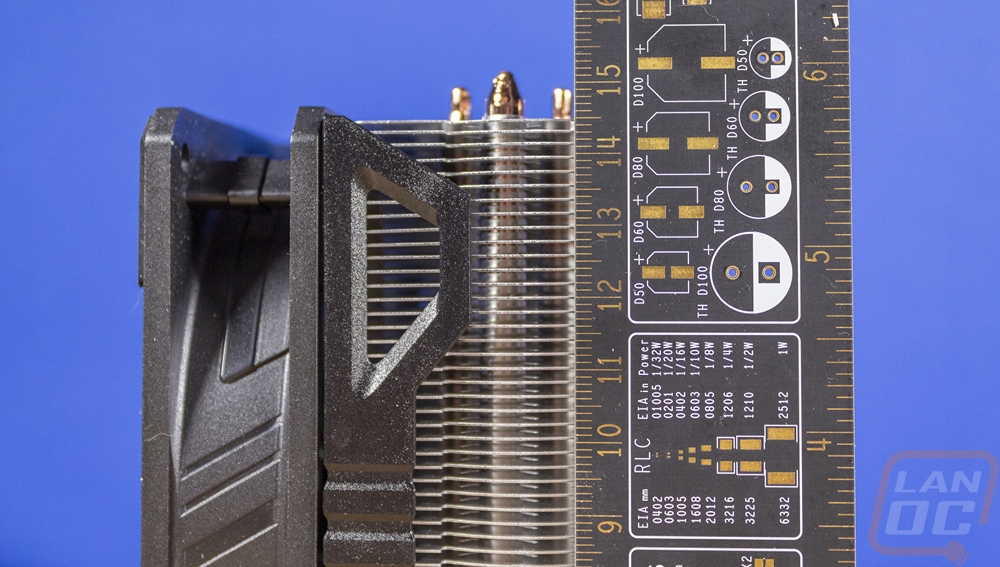
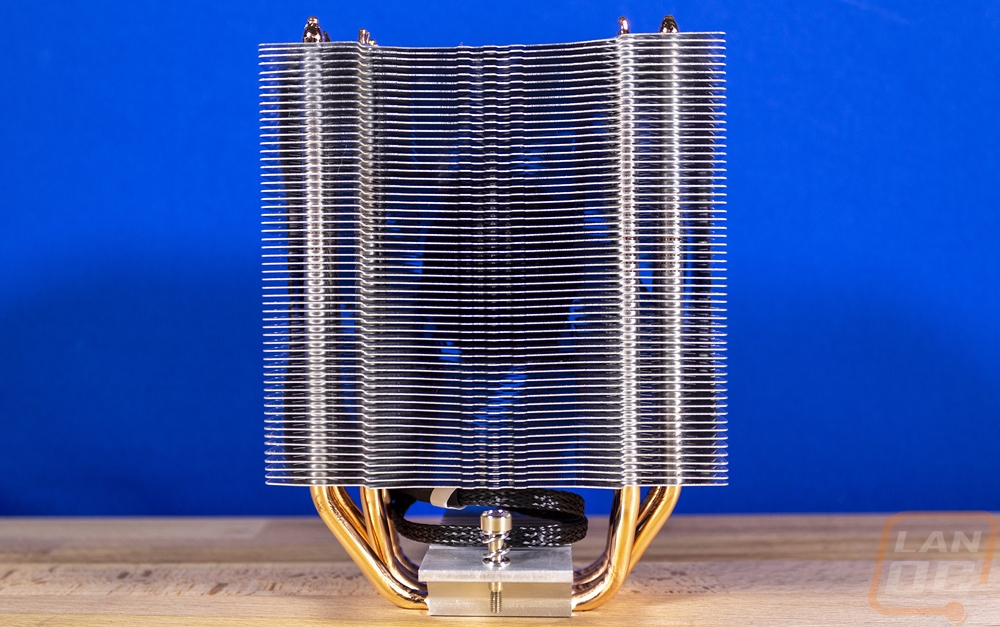
At first glance, the Hyper 212 Evo V2 looks just like past Hyper 212 designs and that isn’t a bad thing given their popularity. It ends up coming in at 120 x 80 x 155 mm or 4.7 x 31. X 6.1 inch in imperial. This is where we will find our first change in the V2 model. The original Evo is 159mm tall where this one is a touch shorter at 155. Cooler Master says that is to help with case fitment, though given how small of a difference it is it might just be a nice side effect of the new asymmetrical heatpipe design that I will talk about in a minute. Even so, it is sized to have almost universal compatibility when it comes to any traditional mid-tower case. Though this is still too tall for compact cases that support some tower designs like the M1 which is limited at 130mm tall.

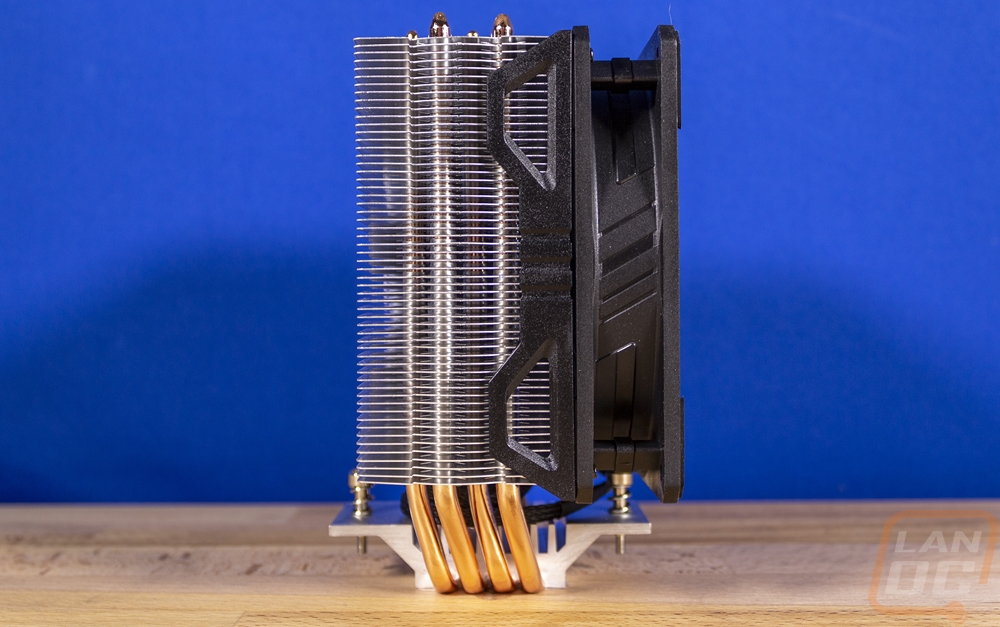
So the side profile of the Evo V2 lets us see that asymmetrical heatpipe design that I was talking about. The old design was just vertical, they have now added a little angle when coming out from the direct contact surface. This brings the heatsink over slightly to help get the fan up over top of the mounting bracket. This is important for memory clearance which now has full tall memory compatibility. This does give us a view
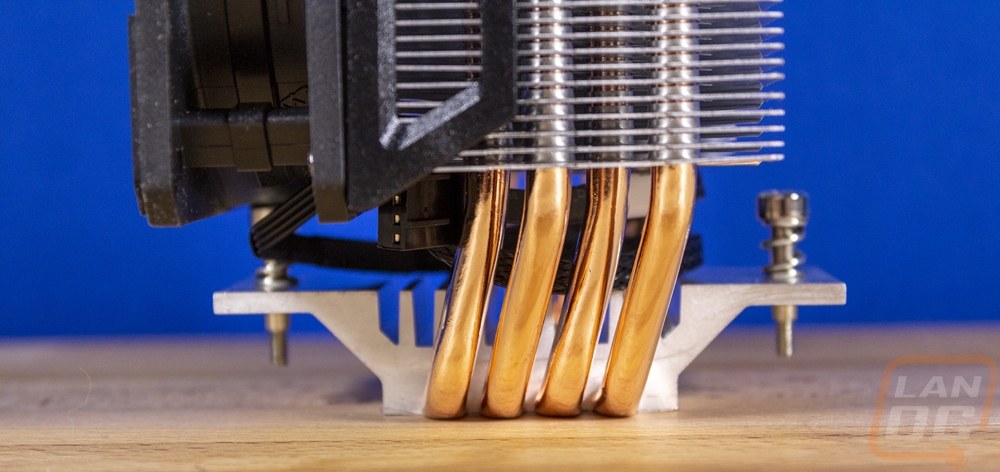
One of the main reasons the performance has always been good on the Hyper 212 lineup is the direct contact surface. They can skip having to have a perfect mirror finish and have the heatpipes directly up against your CPU which helps pull the heat up into the heatsink quickly. You have to make sure you have good thermal paste and a good application for the best performance, however. The contact surface is a little different than in the past however, they used to do a continuous direct contact which had all four heatpipes butting up against each other. Which makes me think these are slightly smaller as well. They then have an aluminum bracket that keeps them spaced out and has the two attachment screws for the mounting bracket. The mounting screws are clipped into place so you don’t lose them and they have a spring included helping get the correct mounting tension.
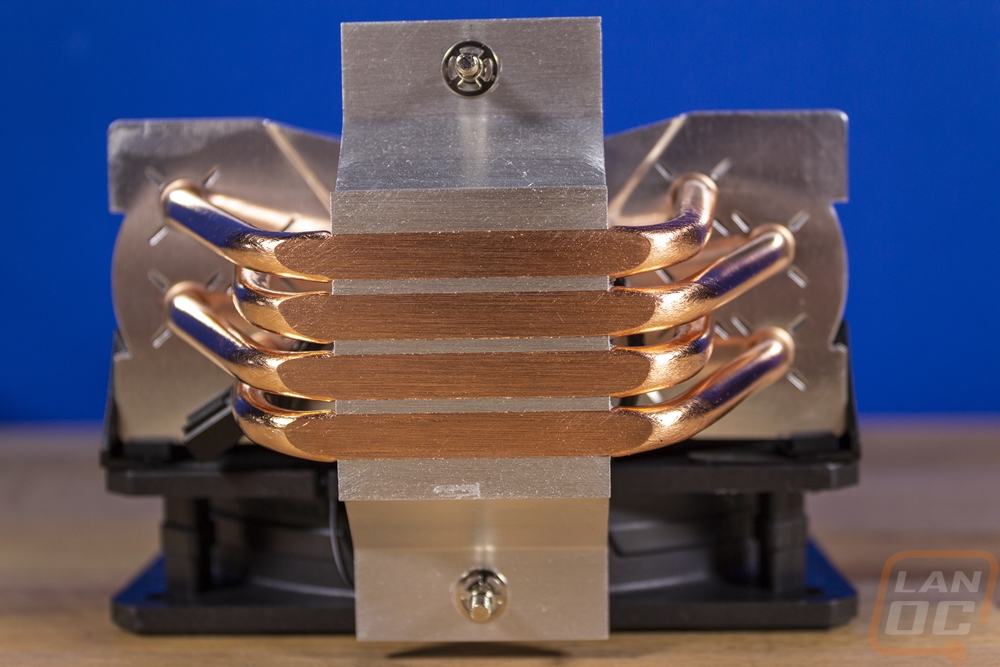
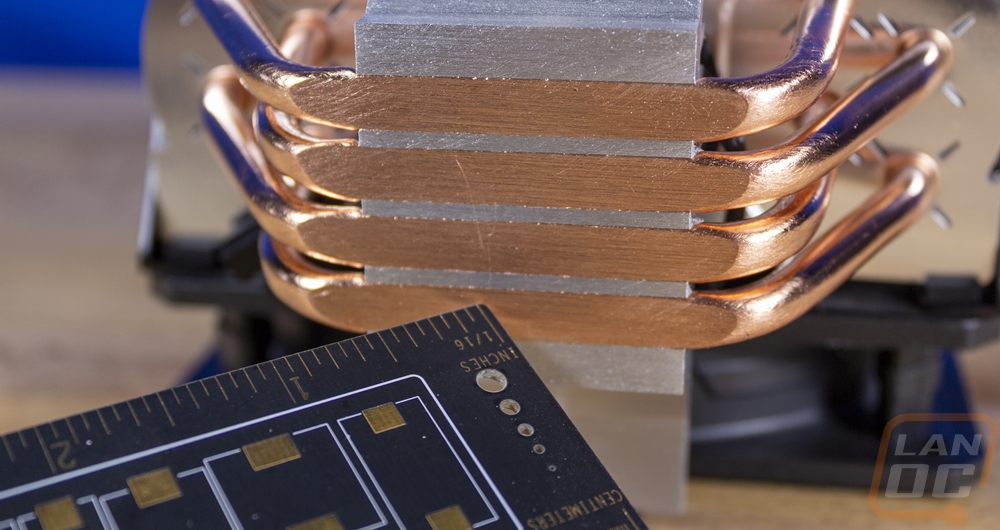

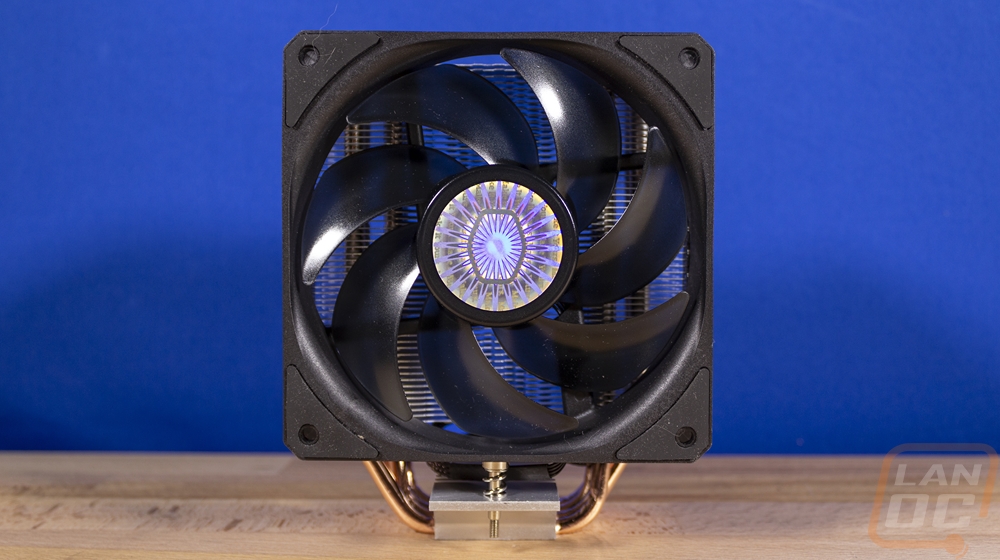
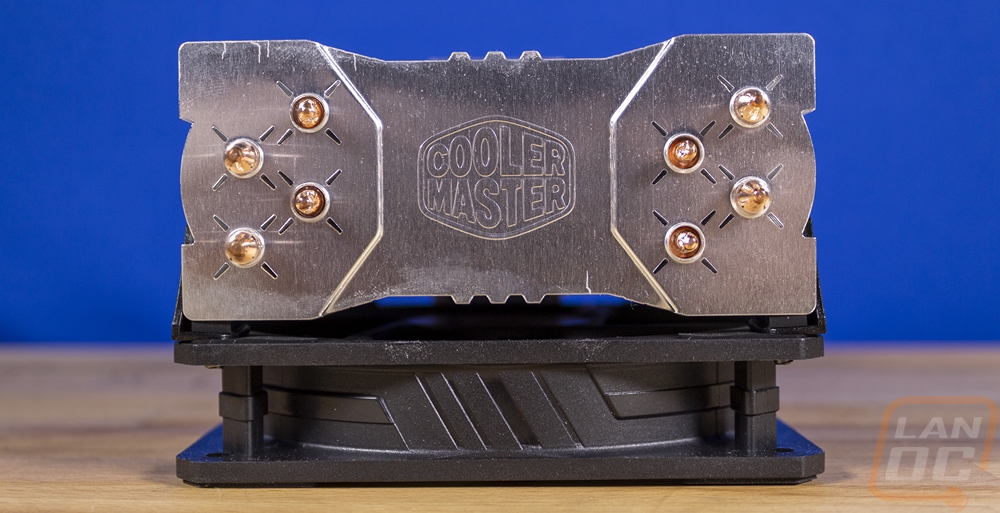
The four heatpipes have a U shape which means they are able to run up both sides of the heatsink and they do have them spaced out into two rows for each side which you can see through the heatsink and at the top. The heatsink itself is a normal sheet metal aluminum design. They have put a small opening behind the fan on both sides as well as on the sides you can see a hook shape cut into each for the fan mount brackets. Then up on top for a little styling, the top layer has an indented section in the middle, as well as the Cooler Master logo, etched into it.
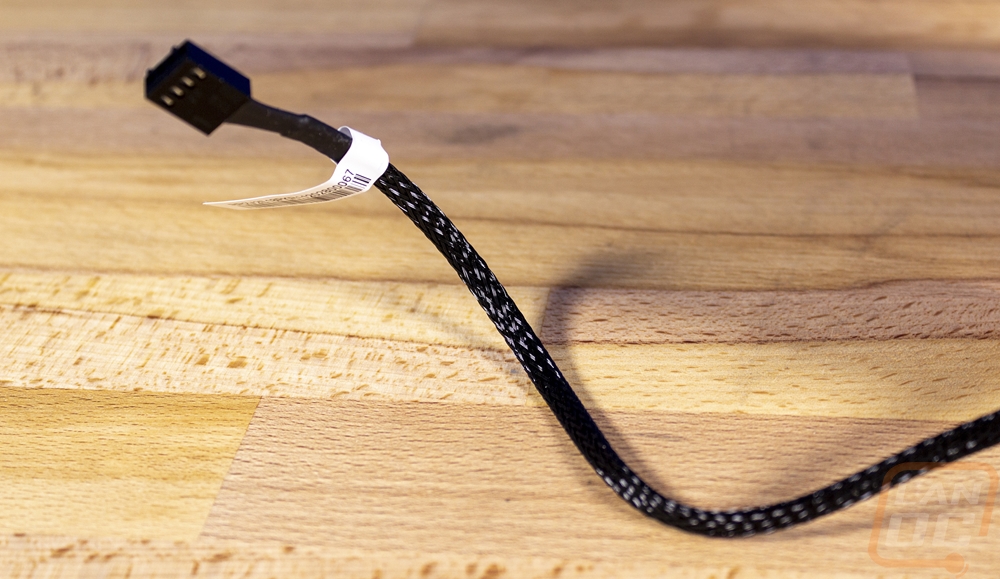
Now another big change for the V2 is the fan. They now have the SickleFlow 120 for the fan where the old fan was Cooler Master branded and was called the XtraFlow 120. The old fan ran up to 1600 RPM with 66.3 CFM where the new fan goes up to 1800 RPM at a lower max CFM of 62 but at a lower decibel level (31 vs 27). It also has better static pressure with the old fan outputting a max of 1.7 mmH2O vs 2.52 mmH2O on the SickleFlow. The SickleFlow is the same fan Cooler Master used on their ML280 Mirror that I just reviewed as well. They use rifle bearings and have a long expected life with it being rated at 160,000 hours which is over 18 years. The mounting configuration is the same as in the past but is still worth pointing out because they used plastic clips, not the wire clips that a lot of other coolers use. You mount them to the fan and then you can clip the fan on and off. The fan is PWM with its four-pin plug and does come sleeved with a thick weave, I would prefer a tight weave or no sleeving at all as long as it had the thin black flat cables that most fans have these days.