Photos and Features
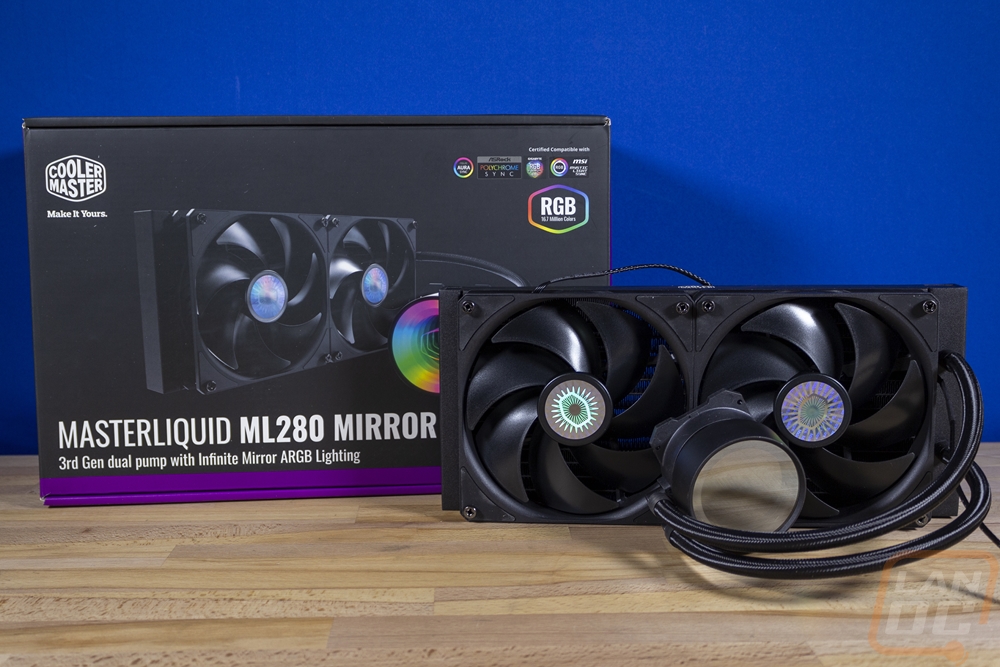
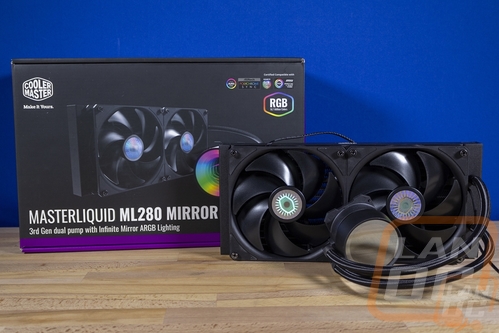
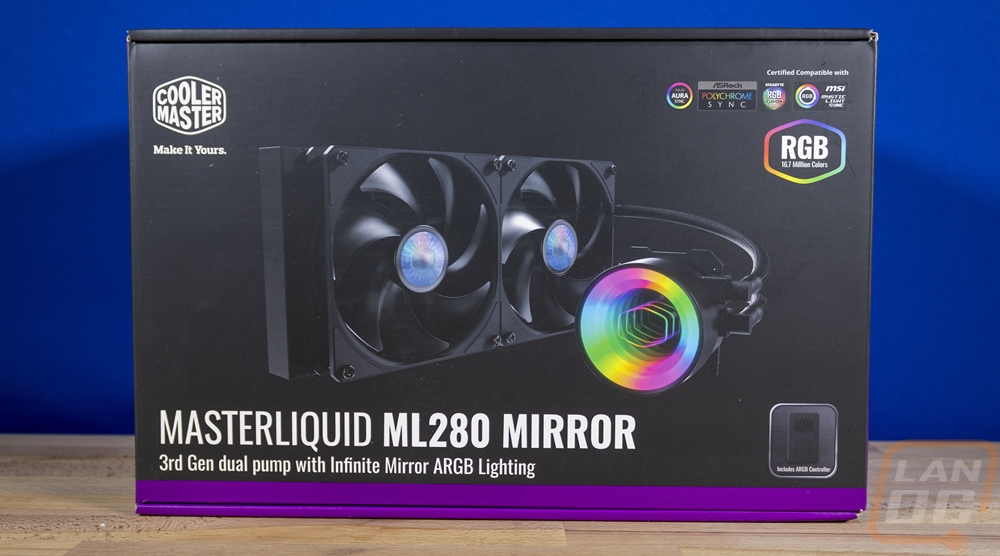
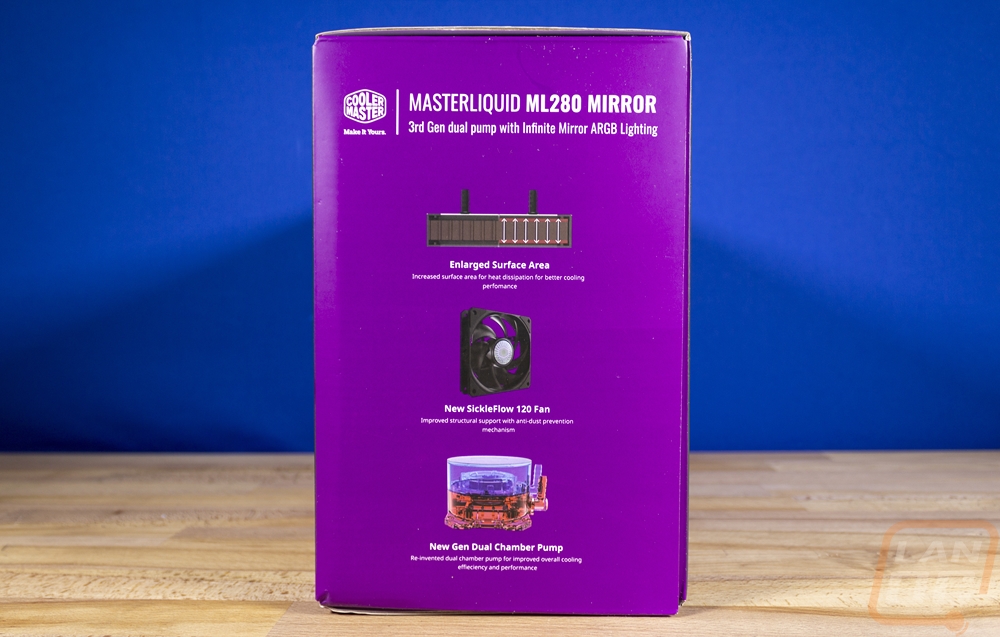
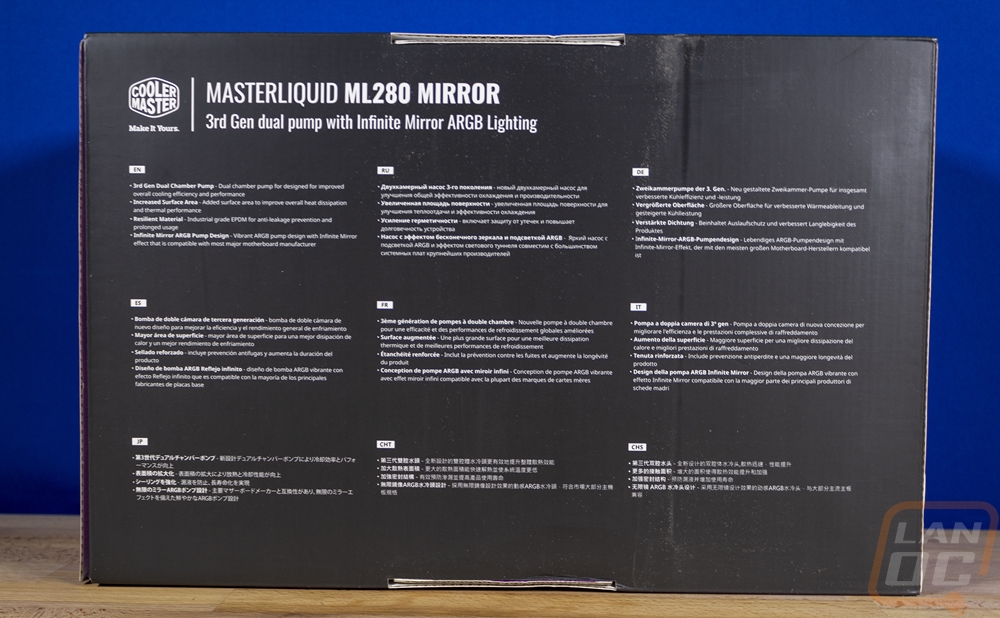
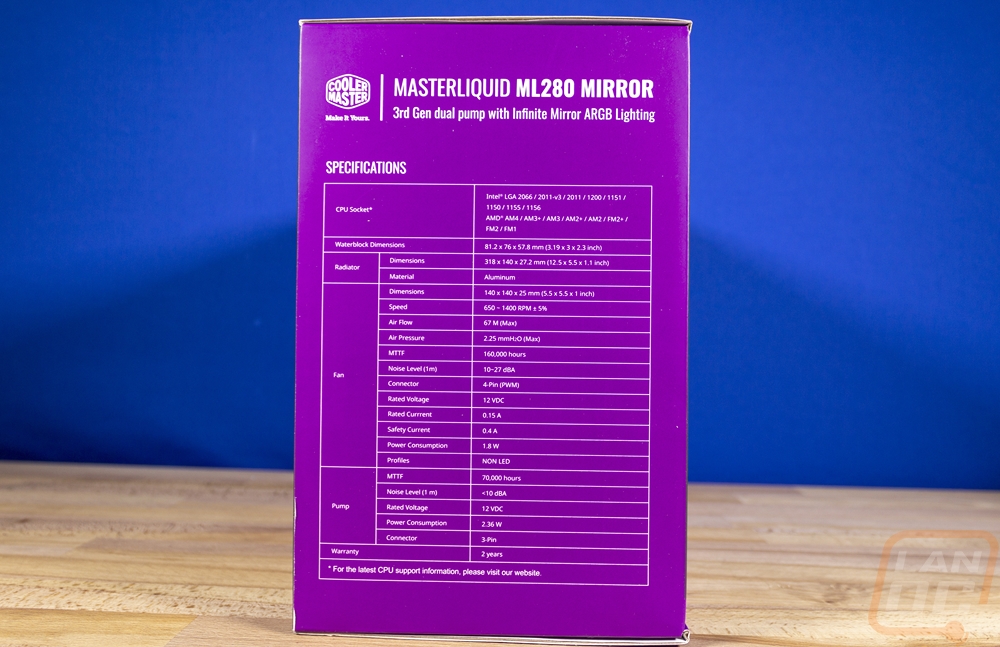
Almost everyone does a black background on their packaging anymore and Cooler Master was no different here. But purple? Not a lot of companies go with purple and Cooler Master has stuck with it for years now so it is easy to spot their hardware on a shelf. The box for the ML280 Mirror has a large picture of the cooler across the front with the lighting lit up as well. They have the model name in the larges font but just below it, they do talk about this being their third generation dual-pump design and the mirror is their infinite mirror addressable RGB lighting. The Cooler Master logo is there up in the corner but not in your face then they show logos indicating support for basically every motherboard’s lighting software in the top right as well as a picture of a small controller of their own in the bottom right. The sides of the box have a full specification listing on one side and on the other they kind of highlight a few features with a transparent drawing of the pump, the fan, and their surface area on the radiator. The back has a list of features on it as well but no pictures and that list is just repeated over and over in other languages to make a wall of text.
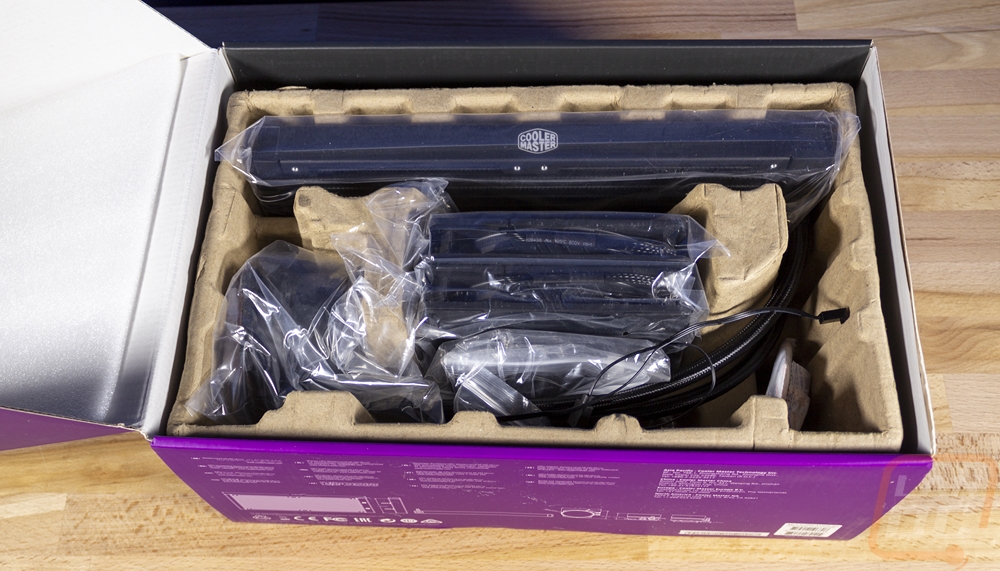
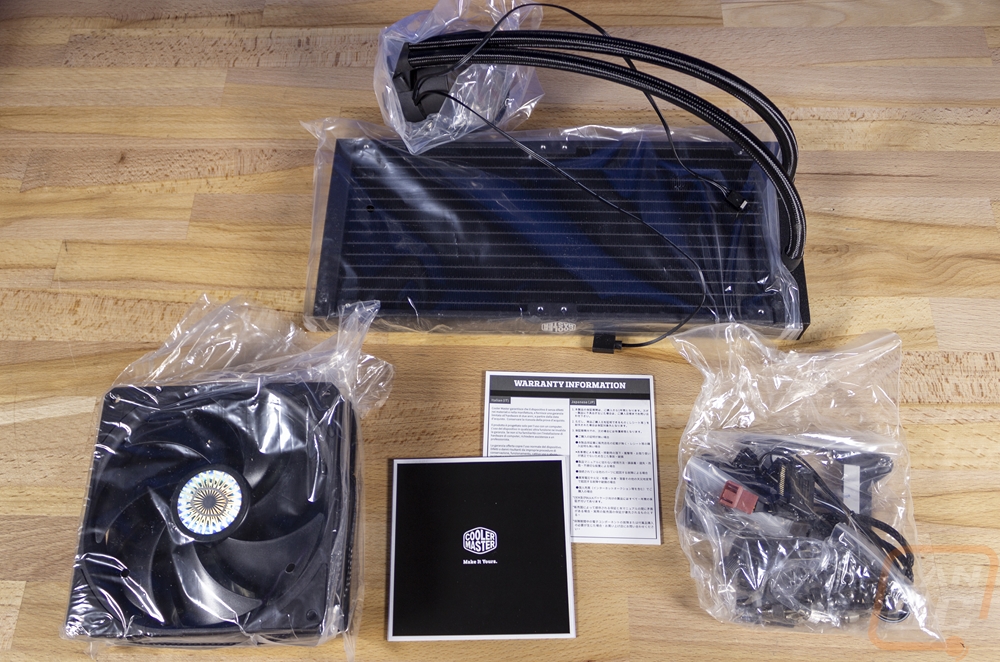
When you open the box up you will find each component wrapped up in its own plastic bag and sitting in a formed recycled cardboard tray that keeps everything in place. When you pull it out you get the pump/radiator, two fans, documentation, then a bag filled with all of the accessories and hardware. For documentation, you get a warranty information paper and then a small folded up installation guide with information on installing the ML280 Mirror on all of the supported socket types.
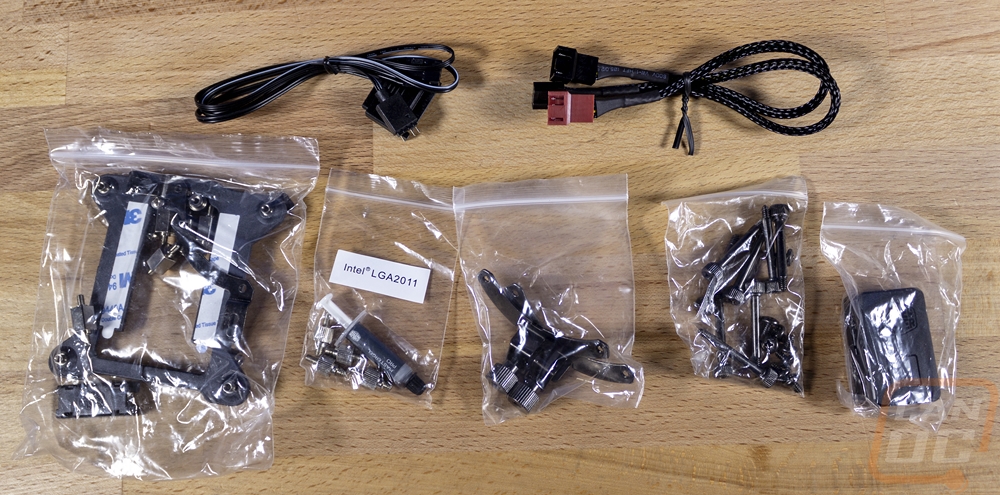
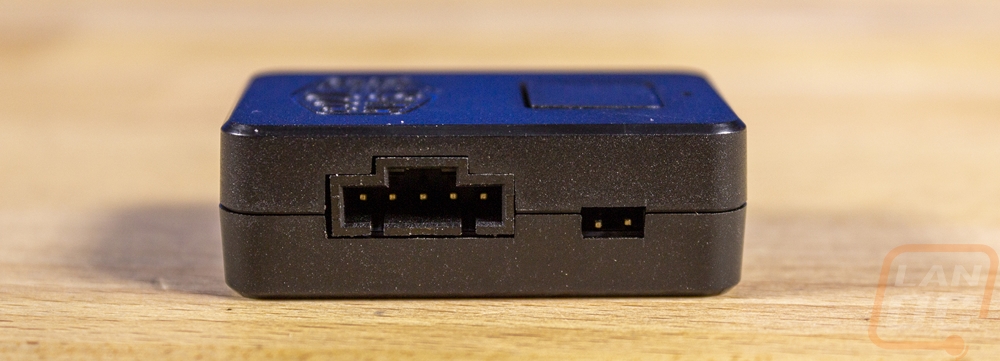
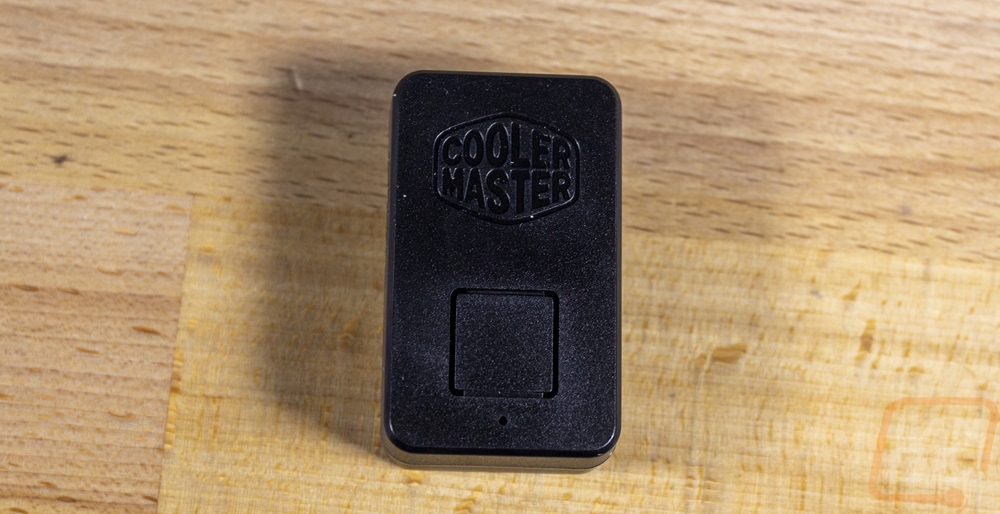
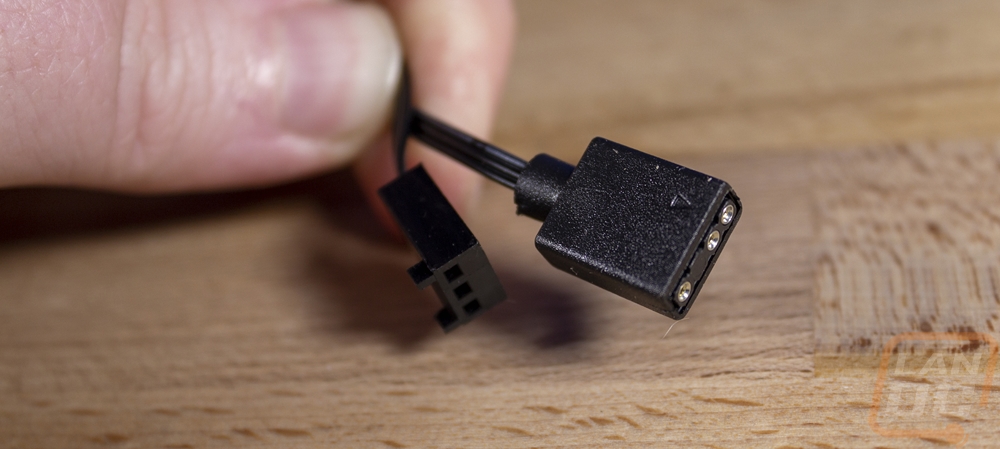
That big bag does have a lot of other bags inside. Only one is labeled which is a bummer, I like when they make it simple. But the AMD bracket was easy to spot because it is completely different than the Intel brackets. They then have the 2011 socket stuff labeled so you can tell it apart from the rest of the Intel hardware, but they also slipped the thermal paste in that bag. It is a tiny tube, but it is more than was include with the Pure Loop I just took a look at. There is a bag with the backplate and another with a small RGB controller. That has the Cooler Master logo on the front and just one button then it has two plugs. The big one uses the power cable and outputs to the three-pin addressable plug for the pump, the other you can wire up to change the lighting outside of your case with a button. There is also a PWM fan splitter cable as well.
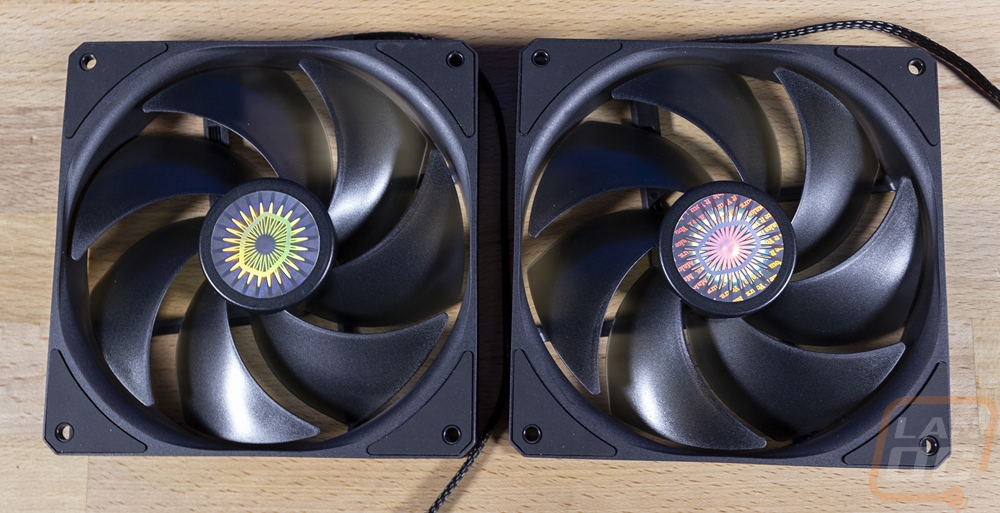
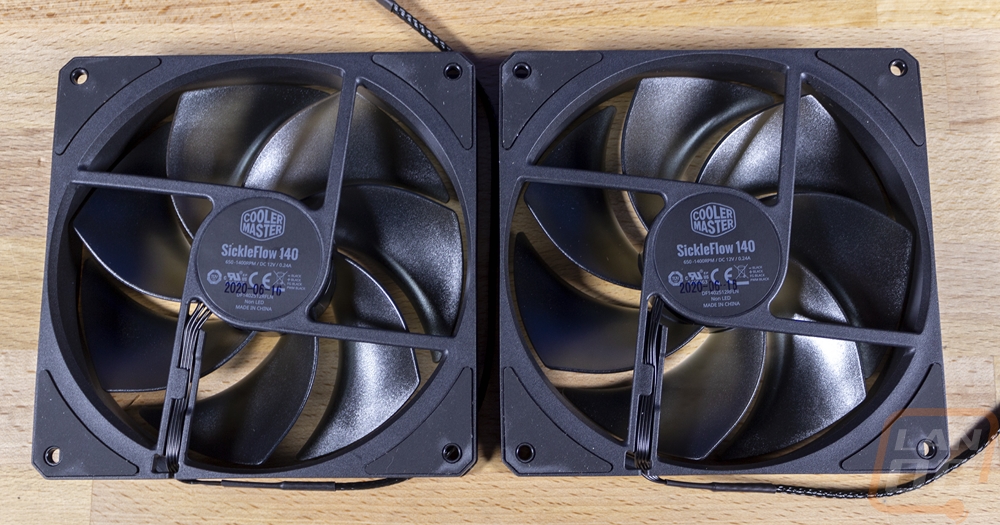
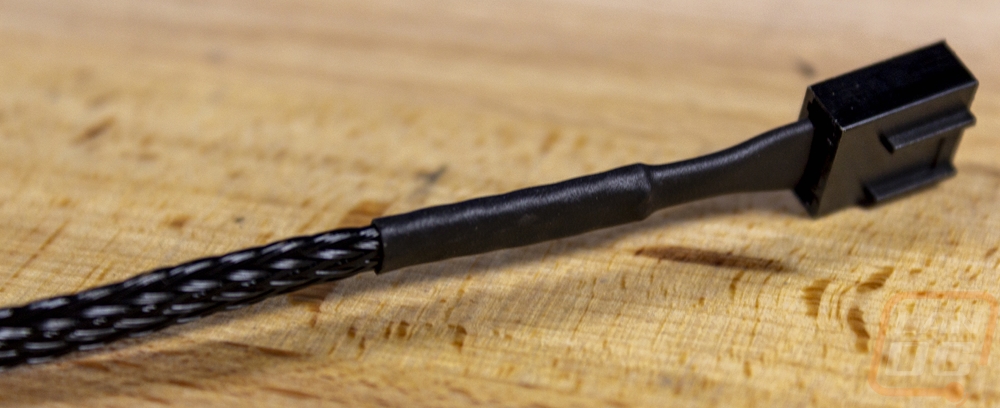
For fans, Cooler Master went with their SickleFlow 140mm fans for our 280mm dual 140mm setup. I’m surprised this kit doesn’t also get RGB fans as well to go with the mirror lighting. These fans run up to 140mm RPM with 67 CFM. 2.25 mmH₂O at full fan speed is solid for a water cooling fan and they have them listed with a 160,000 Hours lifetime which is crazy using a rifle bearing. The fans have rubber vibration pads which are nice but otherwise aren’t all that exciting looking with their mostly basic black fan look. They do use a semi-transparent black which does help. Then in the center of both, they have a holographic Cooler Master sticker which I would personally prefer something simpler given the fan itself has a clean black look. They both have black sleeved cables with a thick weave, but they do look like they have flat cables inside as well so they should be easy to hide.
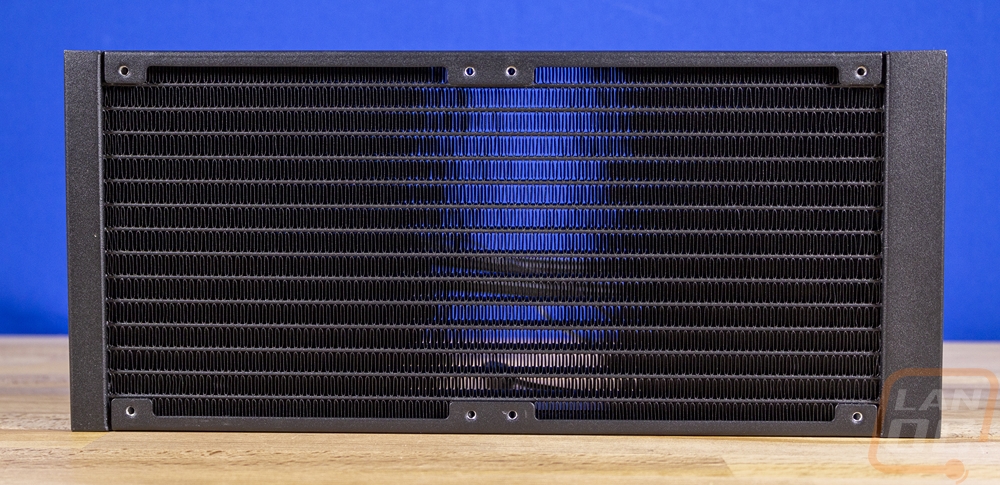
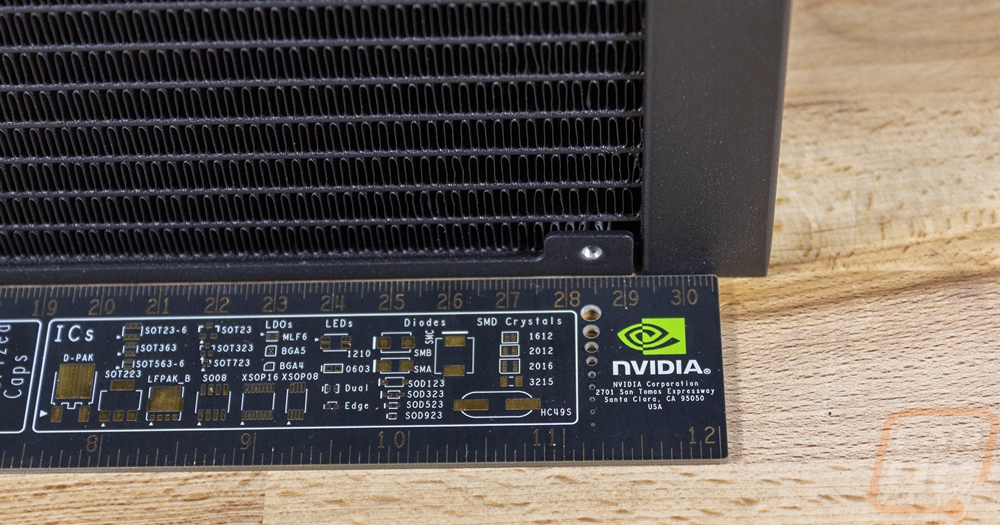
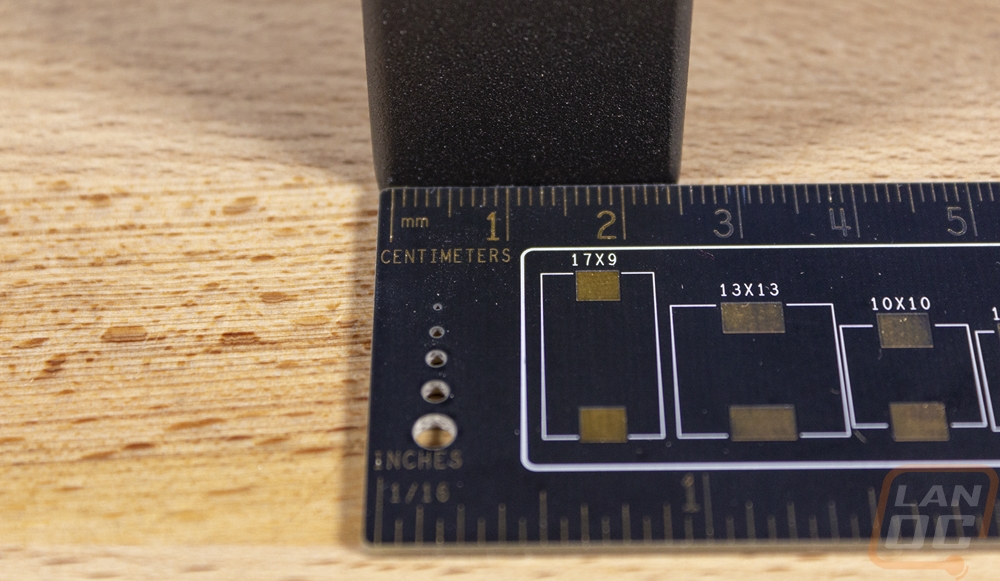
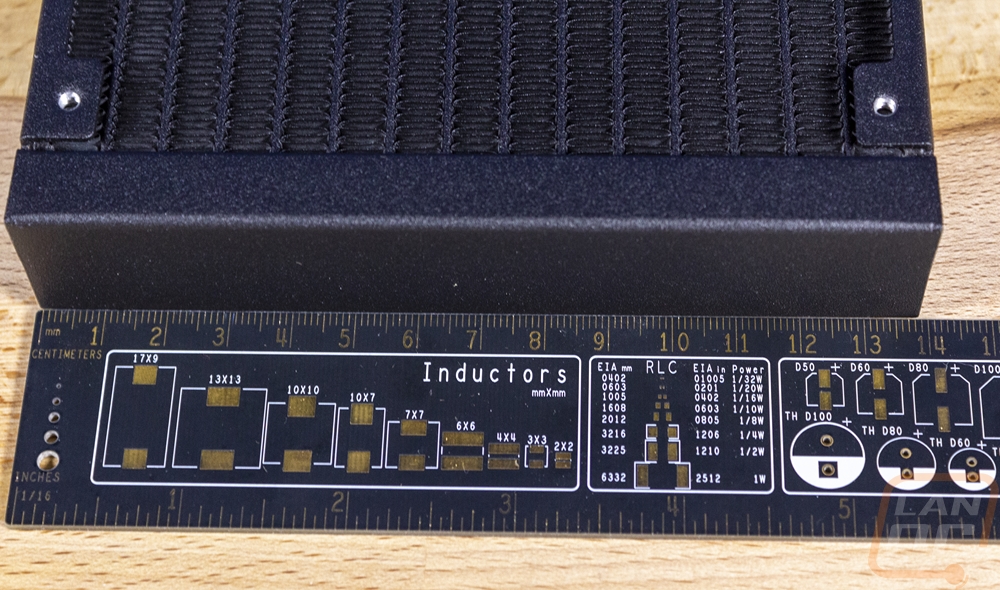
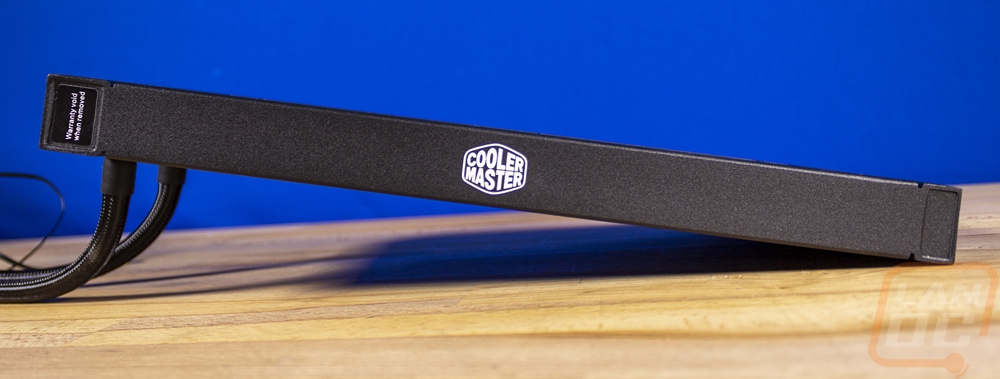
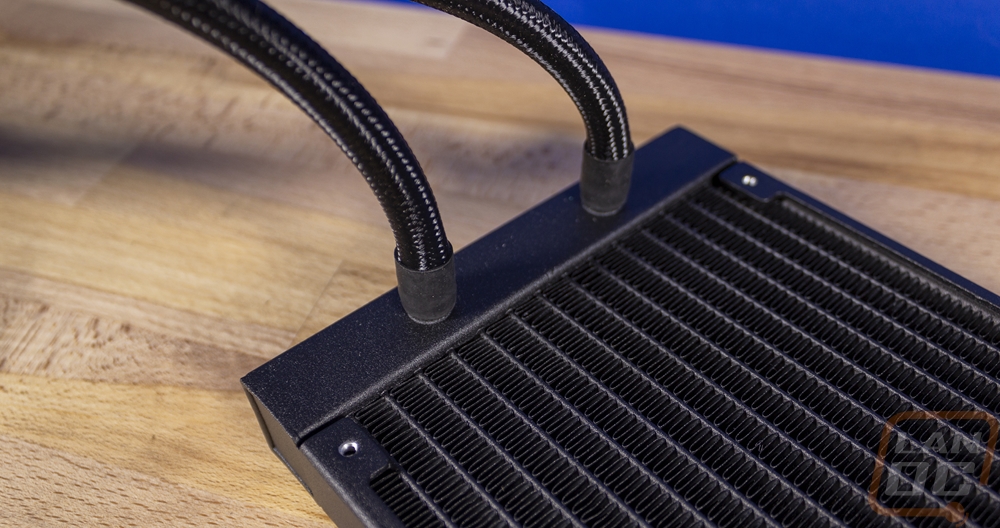
For the radiator it comes in at 318 x 140 x 27.2 mm and they went with the more boxy style that we have been seeing more of lately. I like the textured black finish they went with as well. The edge is 27.2mm thick which is .2 thicker than normal and that edge also has the white Cooler Master logo on it and a sticker over the fill port meaning they don’t want you to refill your kit. Cooler Master mentioned a thicker radiator on the packaging but this is the same thickness that I have been seeing on other coolers lately, so I don’t know if maybe they are comparing with their old designs. The fin spacing looks standard as well letting us still look through when looking straight on. The radiator is aluminum, which is the standard for these AIO kits. The two tubes have plastic fittings covering the connection at the pump then the tubes have been sleeved in black sleeving for styling.
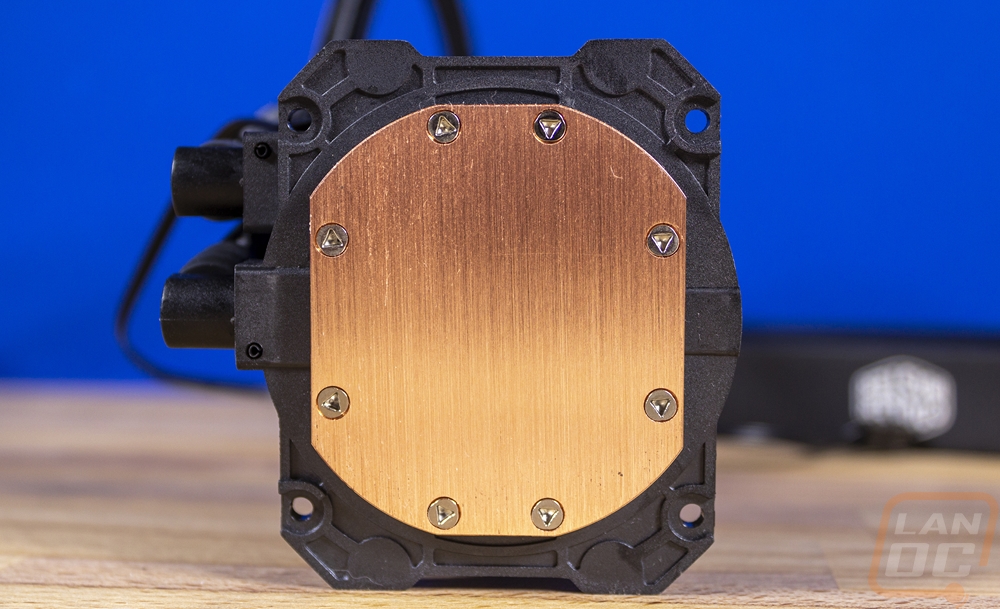
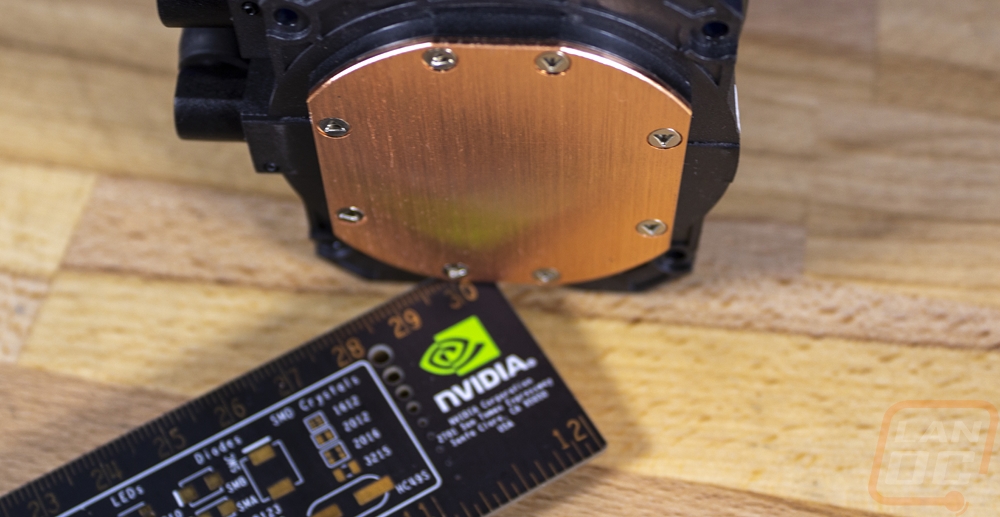
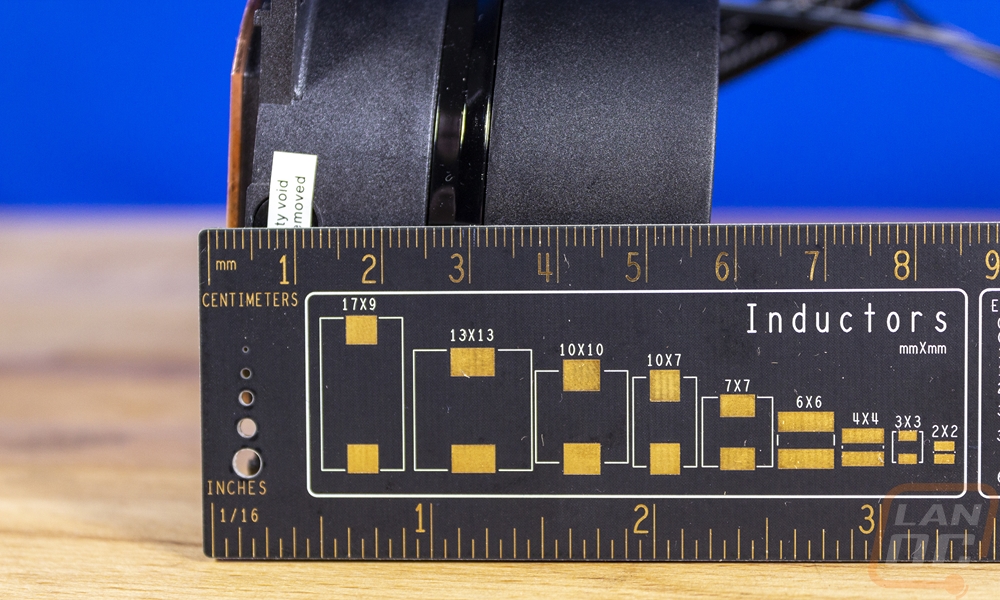
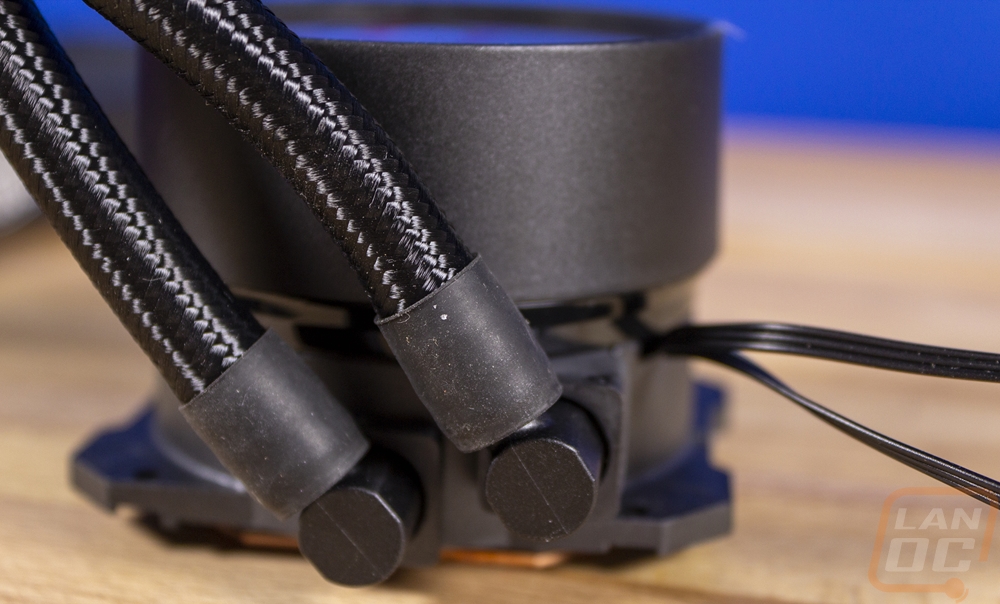
The ML280 Mirror is a little closer to a traditional AIO design when compared with the Pure Loop that I just took a look at. They still have the pump combined with the CPU water block. This uses Cooler Masters 3rd generation of dual-chamber pump which pumps into a top chamber then spirals down at the center to get the coolest water right on the die then spirals out. This design avoids patent issues with some of the AIO OEMs and allows Cooler Master to create their own design completely to help keep costs down. It also means this isn’t a cookie-cutter cooler and the mounting is completely different as well. A look at the bottom of the pump in the pictures below you can see the tabs on the side where you mount the included brackets. The contact surface isn’t what I would call a mirror finish. It has a heavy machined finish that has almost no reflection at all so good thermal paste usage is going to be important. The dual-chamber design also means that the pump is taller than most, coming in at 57mm tall. This is still shorter than the Castle EX280 that I previously took a look at. For connections, the pump has one fan header which powers the pump and then a three-pin addressable RGB cable for the lighting on the top.
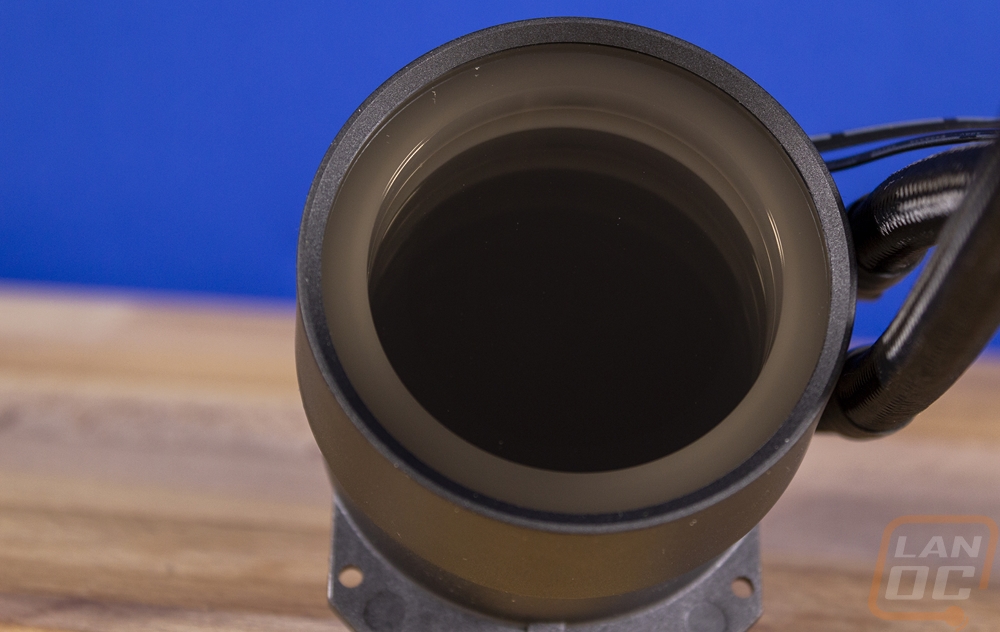
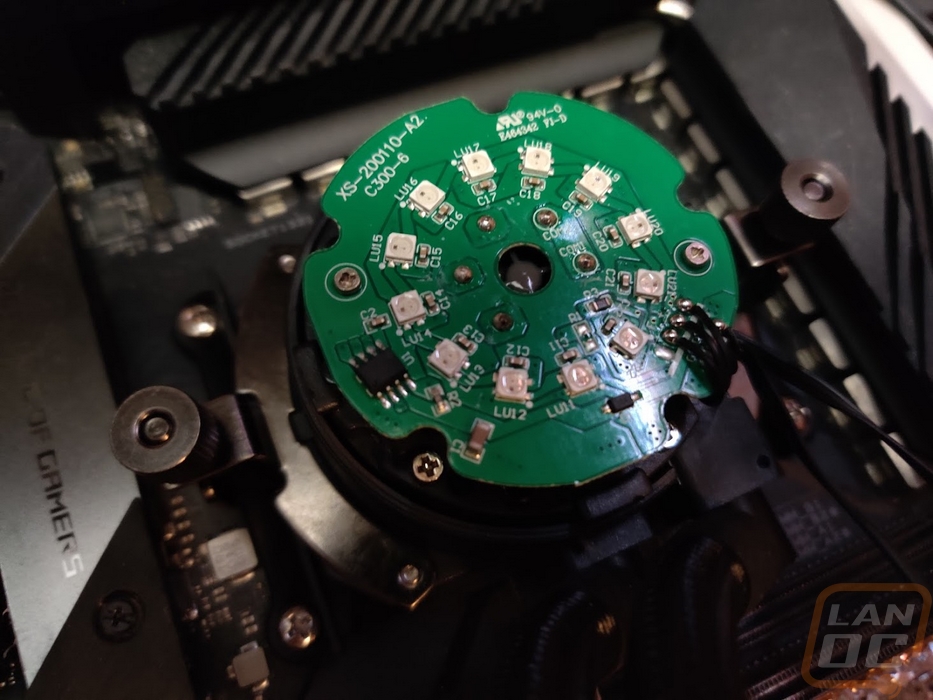
Speaking of the top, this is the main area that the ML280 Mirror stands out from some of Cooler Masters's other designs. The pump housing has a cap installed on top that can be popped off to expose the twelve addressable RGB LEDs. These light up the top of the pump. Then the cap itself has a two-way mirror finish that hides the PCB but lets the lighting through for a cool effect. You can control this with the included controller or by plugging into your motherboard if it supports addressable RGBs to control it using your board's lighting software.

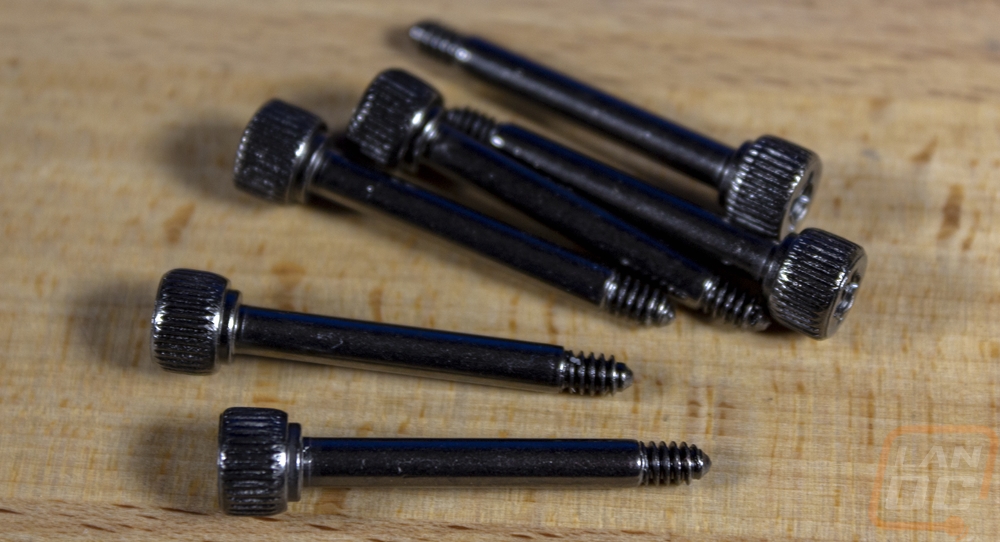
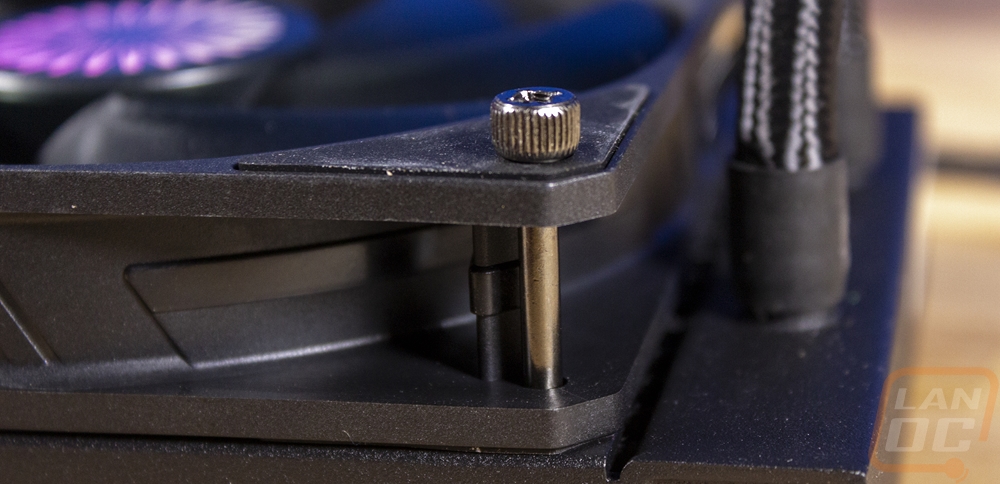
For mounting hardware, the screws for installing the radiator as well as the screws for installing the fans to the radiator are both black. I do like the fan mounting screw design which uses short thumb screw ends. This makes installation easier because you can hand start them. But it does also mean that they stick out making the radiator and fan assembly thicker.
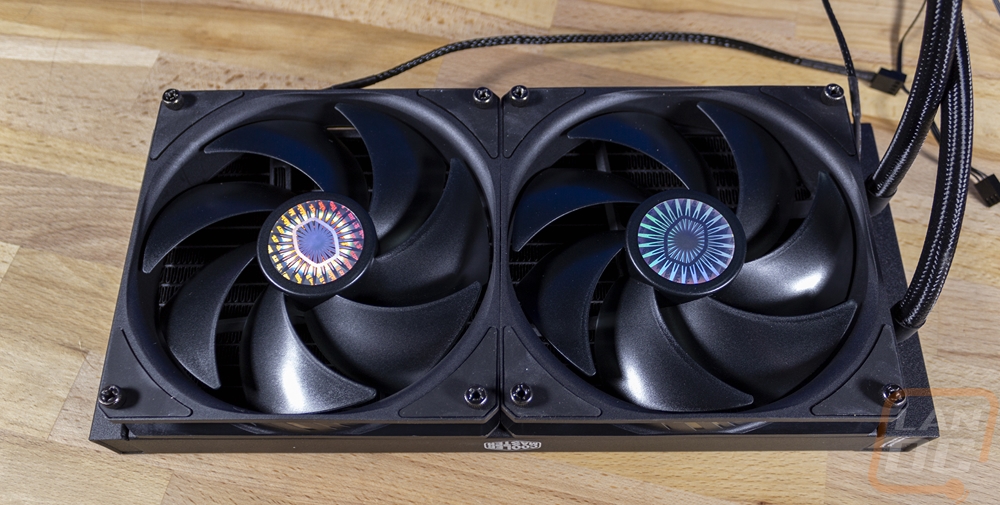
Here is a look at the ML280 Mirror with the fans installed. The holographic stickers on the fans that I didn’t like much do sort of go with the mirror finish on the pump and the design overall does look clean. Especially when it isn’t lit with just the one Cooler Master logo visible on the side of the radiator