Noctua NH-U12S TR4-SP3
Now it might sound like I’m just repeating myself on a lot of this, but Noctua has a very standard look and layout for their heatsinks so the NH-U12S TR4-SP3 packaging looks a lot like the NH-U9 TR4-SP3 that I just talked about in the previous section. The packaging has that same white and brown theme and they have the model name both on the left and at the top with the heatsink type below that which is a 120mm U type cooler. This is similar to the U9 in that it is U type but at a larger size. Below that and on both the top and front Noctua has a shortlist of key features listed like the 6-year warranty, fan features, the mounting type, etc. All of those same features are repeated again on the right side of the box only this time each has a description below it and a small picture that helps with the explanation. Also on the packaging one side has a specification listing for the heatsink, the fan, and a list of everything included in the box which is awesome. That side also has line drawings of the heatsink with dimensions but I do wish the box would have a photo of the heatsink on it, I just like when I’m shopping to be able to see what I am getting and that is easy online but not so much when shopping in retail unless it is included on the box.


Inside the box, the heatsink comes wrapped up in an origami of cardboard which sticks with what Noctua has always done, simple sustainable, and no unneeded plastics on their packaging. Alongside that there is a small cardboard box. Inside that has the documentation in the form of a folded up paper and the accessories. I’ve talked about it a lot, but Noctua goes way above and beyond when it comes to accessories. Look at the Wraith Cooler that came with nothing at all other than paperwork. The U12S TR4 gets additional brown fan mounting pads, an LNA or low noise adapter for the fan that slows down the RPMs, an additional set of fan mounting clips so you can add another fan for a push-pull setup, and even a full tube of thermal paste! You also get a long Allen wrench for installation and a thick all-metal case badge that has the Noctua logo molded into it then painted.


So the overall layout and size of the NH-U12S TR4-SP3 is very familiar to me. We use U12’s on all of our test benches that aren’t water cooled so I have been dealing with installing and removing the U12 over and over, especially during CPU testing. I have always gone with it because at 120mm it is a full tower cooler but it doesn’t fall into the crazy category with dual towers or being large enough that it might not fit in every case. Being Noctua it is a premium cooler, but size-wise it is about as average as you can get. The U shaped heatpipe design complements the tower shape really well and with both the standard model and the Threadripper specific one I am looking at today it runs a center-mounted tower in relation to the base, a lot of times this is offset because you want it centered once you include the fan, but Noctua leaves the option to run a second fan for a push-pull configuration as a way to upgrade your cooling capabilities. Of course you have the tan and brown NF-F12 PWM fan included and the total height of the cooler is 158mm which isn’t a lot taller than the 125mm of the NH-U9 but it makes a big difference in use. This is for a standard case configuration where the NH-U9 is focused on more compact builds, this is why I used it on our Crush project build. It fit in the compact Bullet BH7 case. Funny enough my Threadripper build is in the slightly taller BH8 which is where I am testing these heatsinks today.


From the top view, you can see the heatpipe configuration. There are a total of 5 in a U shape which gives us 10 up on top. Noctua has them well spaced out to get really good distribution across the heatsink, not like the NH-U9 which has them packed in a lot tighter at the ends. They still left room to include the Noctua logo which is stamped into the top. You can also see the hook shape on the outside edges that works with the fan clip design and the V shapes cut into the heatsink to help lower fan noise as well.

That evenly spaced out heatpipe design is possible because of the crazy bending they do down here at the bottom of the heatsink. You can see from one point of view where all five heatpipes come out front on top of the contact surface, one is a standard U shape then two are bent to go to the outside edge and two for the inside. These two pictures also give us a good look at the mounting configuration which is the same on all three of the heatsinks. Noctua allows for them to be swapped out later with them being screwed on. I said it once already but they are awesome at keeping up with socket changes. It might not seem important because LGA 2011, LGA 1050, and AM4 have stayed consistent for a while now other than the change from AM3 to AM4. But Noctua provides owners with free new brackets to move your old heatsink on to new platforms if/when they come out where most other companies would try to sell you a new model. Combined with that 6-year warranty, you are getting a long term heatsink with Noctua.


So the big change for the TR4-SP3 model is with the contact area at the bottom. The number of heatpipes and everything else about the U12S is the same. In fact, you can use the cool Chromax covers on this model just like the others. But the contact area has been made significantly larger to support that huge Threadripper CPU. As for the finish, this is the standard Noctua finish. It isn’t mirror smooth like some water blocks, you can see machine marks in it but it is close to mirror when you put something up next to it to see.


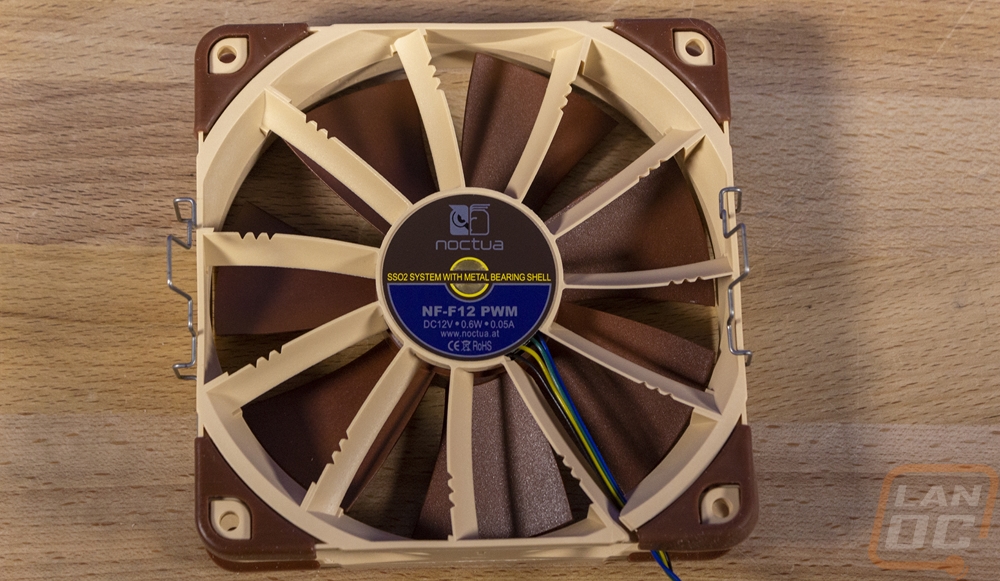
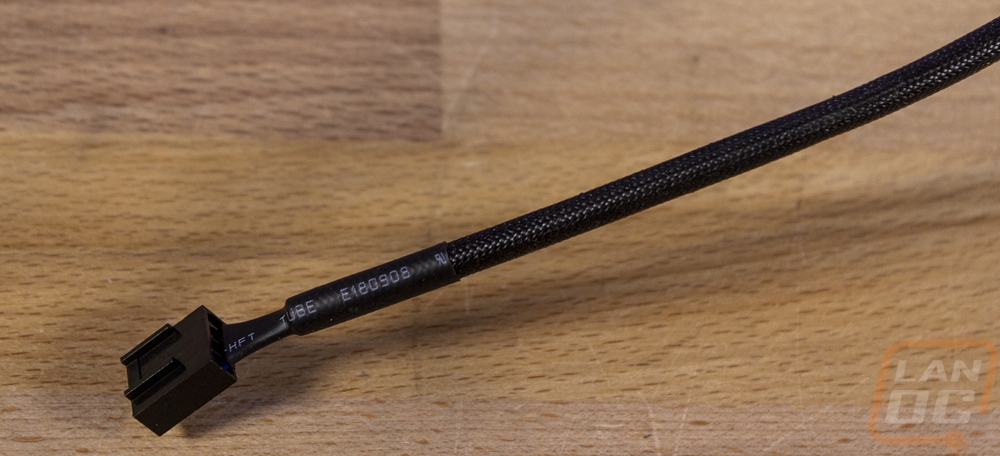
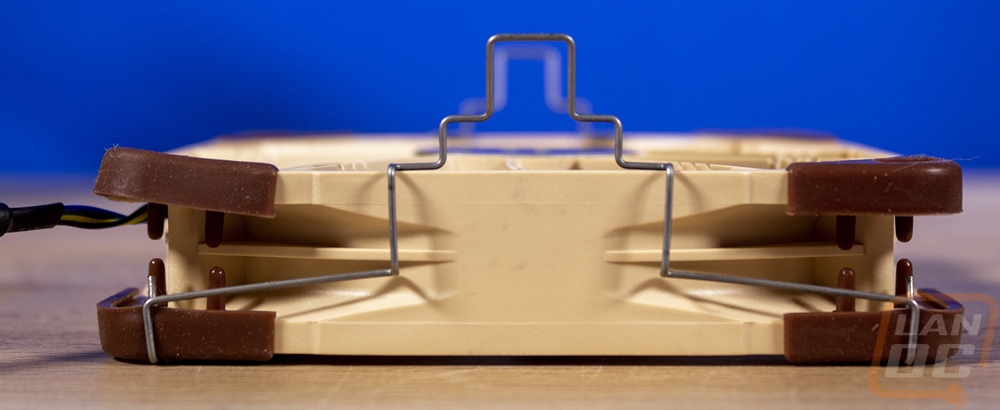
The NH-U12S TR4-SP3 comes with just one fan, the Noctua NF-F12 PWM fan which has an SSO2 bearing inside and unlike the A9 that came with the NH-U9 the NF-F12 has a lot of Noctua’s fan features like the cuts in the angled fins on the back of the fan and the noise-reducing vibration pads on every corner. If you haven’t ever held or used a Noctua fan you might not understand it, but their fan blade is a little more thick and solid compared to cheaper fans and the bearing is ultra-smooth, you can tell the difference just giving the blade a flick between this and a cheap fan. The wire mounting clips clip on to the fan and stay on and allow for easy attaching to the heatsink. A lot of wire mounts like this can be a pain, but these stretch out just enough to make it easy and also hold the fan tight and because they stay on the fan you don’t have to fight with making sure they stay on when installing the fan in your PC. The fan also has a short-sleeved PWM cable which has a sleeving unique to Noctua that as I have said before feels almost like it is coated in wax.


