Photos and Fitment
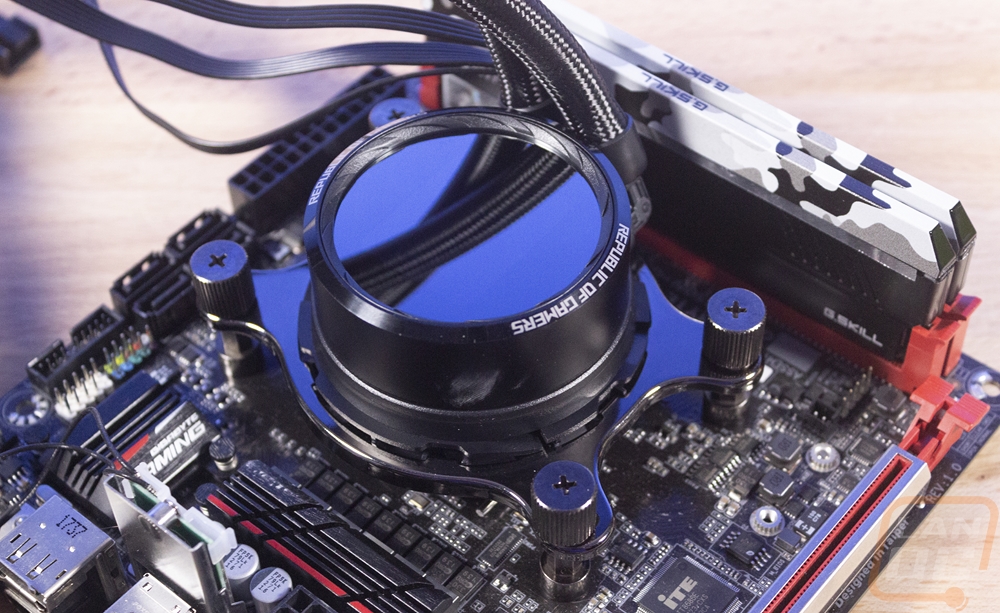
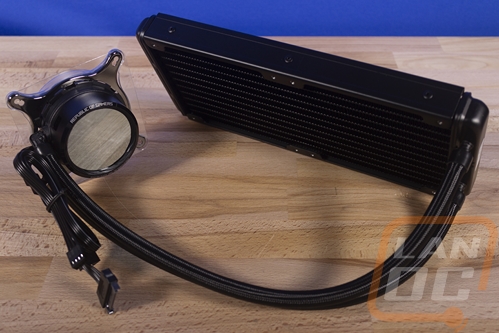
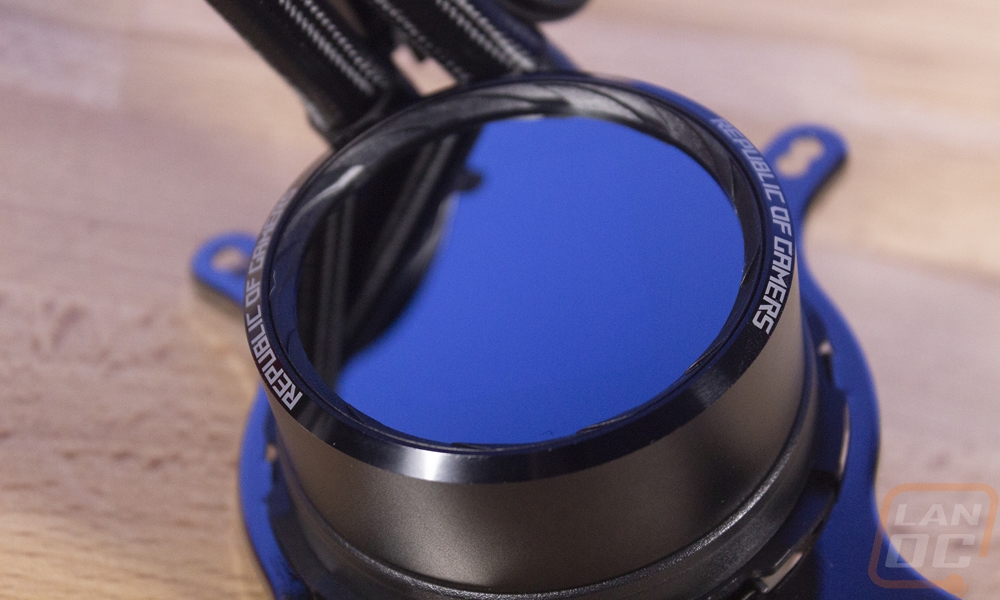
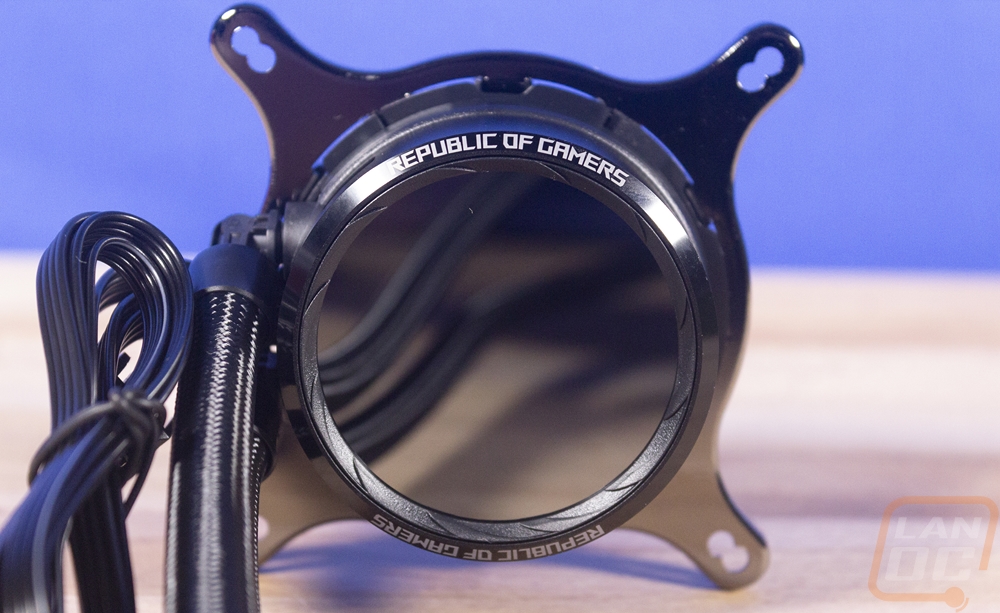
At first glance the Ryuo looks a lot like all of the other Asetek water cooling kits, this is mostly because it has the same round pump/block setup that most have. But you can see the mirror-like top of the pump that starts to set the Ryuo apart. Beyond that though the kit has sleeved hoses like some of the other premium kits but they are thinner than the Corsair AIO’s for example.
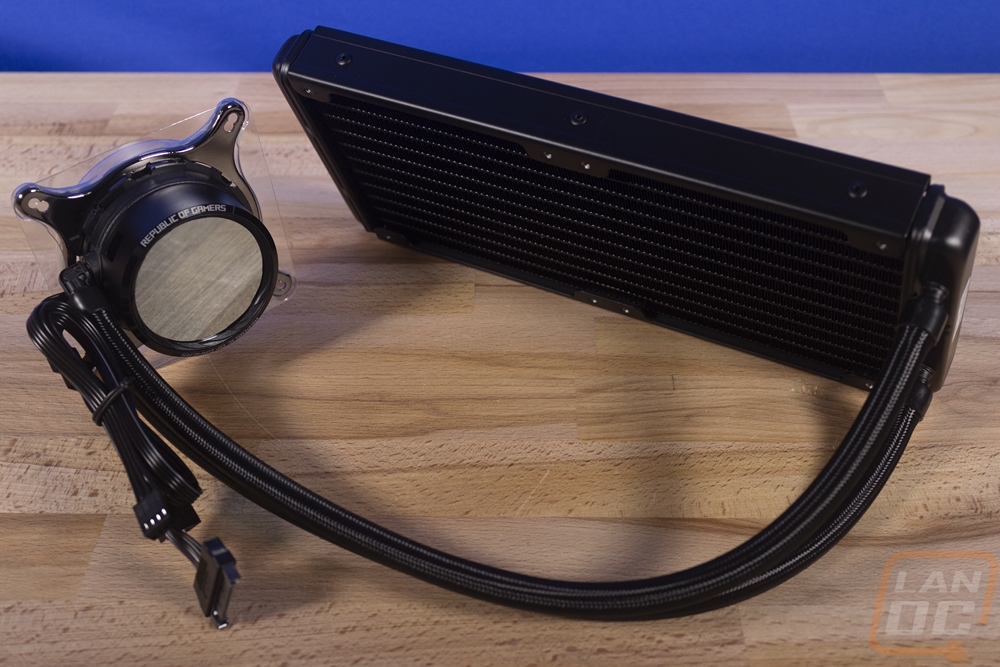
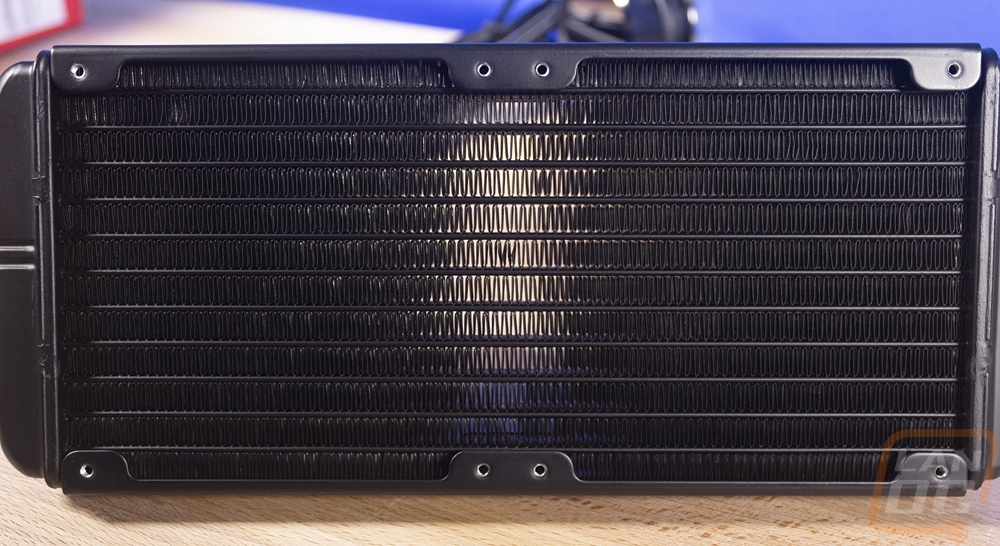
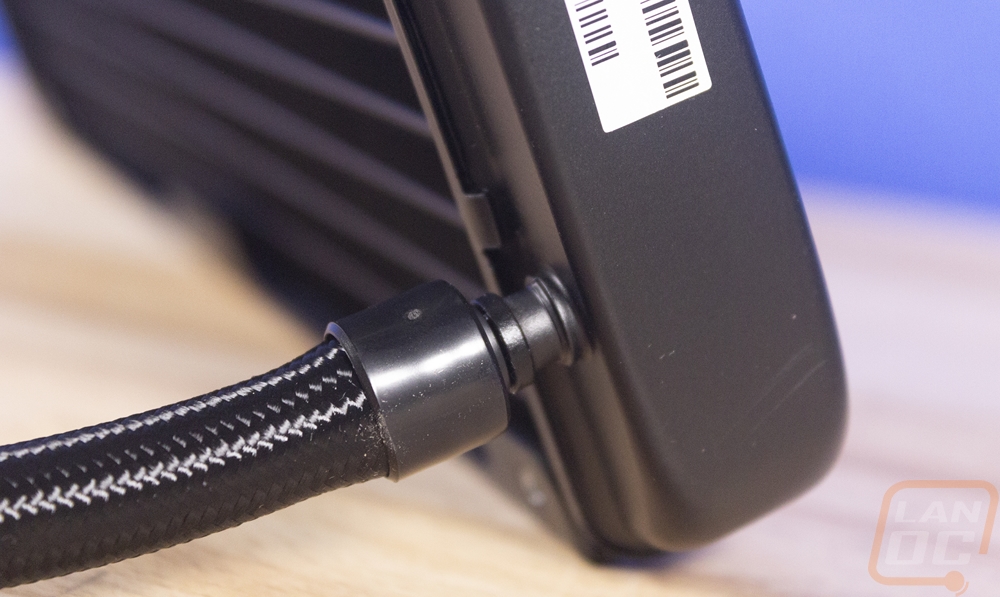
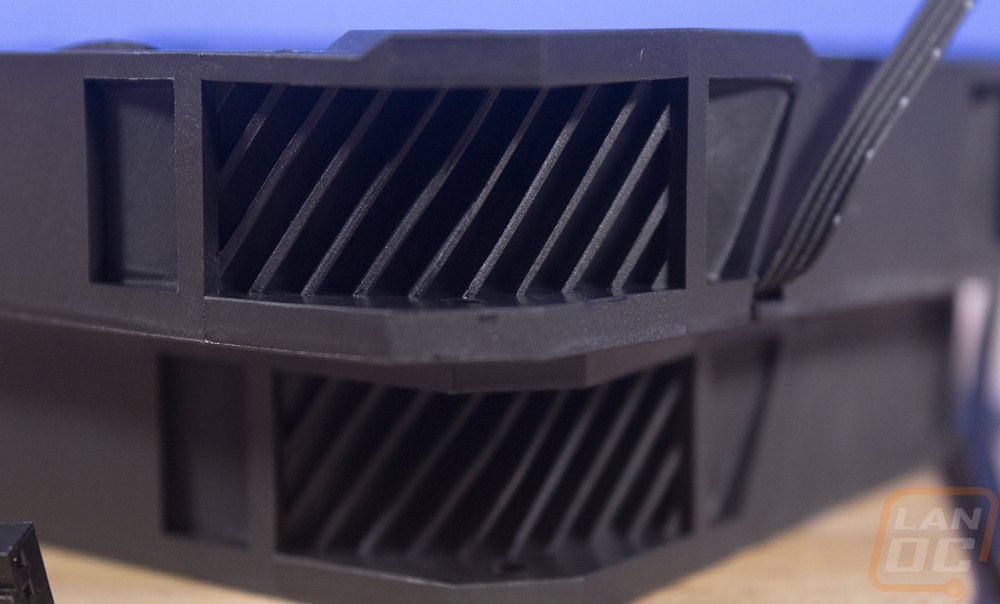
The radiator is all aluminum and is 27mm thick. That is your standard AIO radiator thickness, thinner than a custom loop but nearly the same thickness as a normal 120mm fan. The radiator fin density is on par with your average AIO as well, in other words, the Ryuo is using a similar radiator to all of the other AIO kits on the market. A closer look at the inlet and outlet on the radiator, however, was interesting. We know the tubing is sleeved over top of a normal rubber hose but where the hose meats the radiator looks oddly thin. This is mostly because of the plastic clip for the sleeving, but I do wish they would have done a better job covering it up at least.

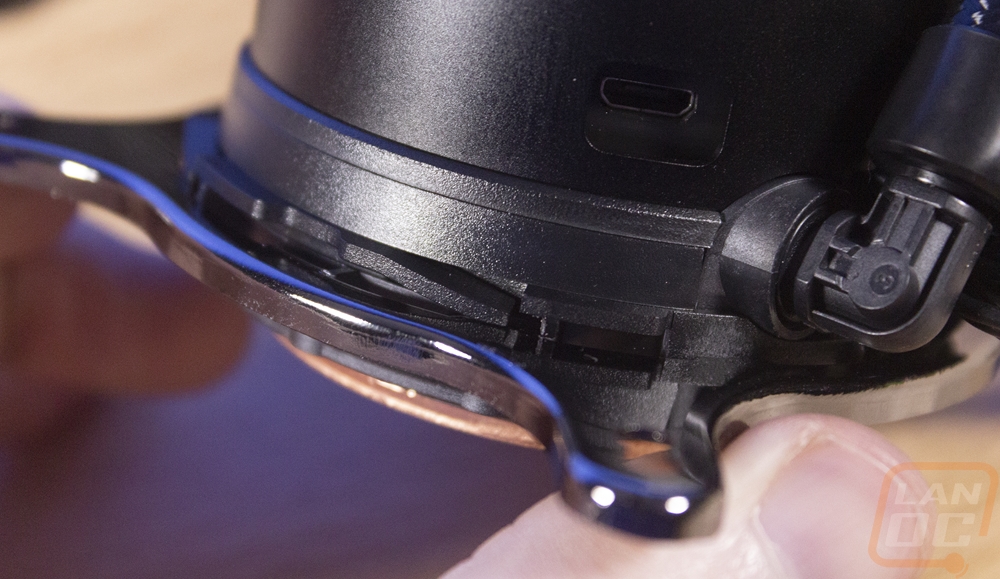
So the pump/water block combo does have that normal Asetek round shape and the same mounting bracket as other designs. But the pump itself is thicker than a lot of the other kits on the market at 45mm thick. This is partially because Asus slipped their fan controller and hardware into this area like a few other companies have done, for example, the EVGA cooler. But they also integrated a small OLED screen into the top of the pump housing. It is a 1.77-inch screen with a 5:4 aspect ratio. The screen has a resolution of 160 x 128 and is full color. It is all hidden behind a two-way mirror finish up on top. Then around the outside edge of the top of the pump, Asus also put ROG branding at the top and bottom so it is readable no matter how the pump is orientated.
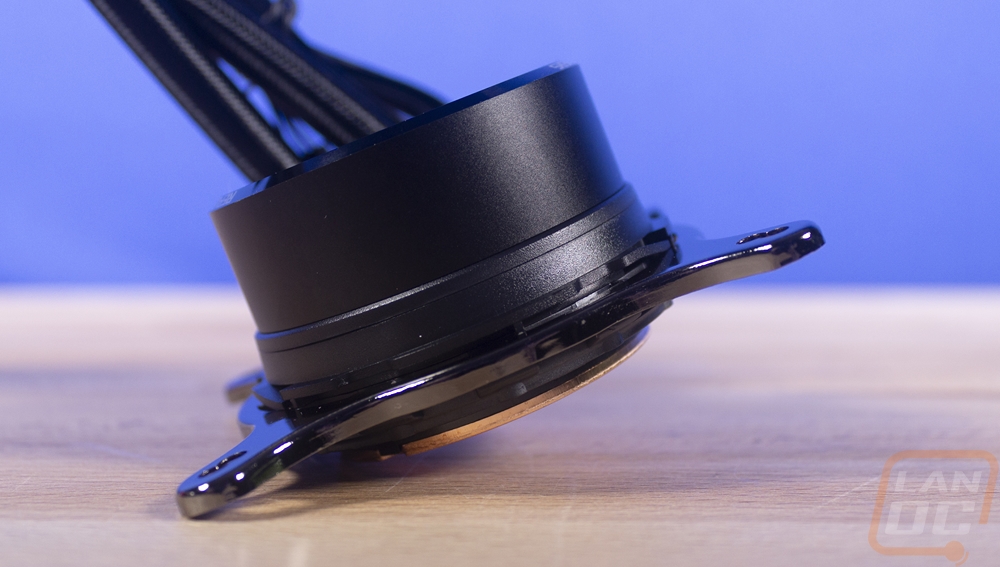
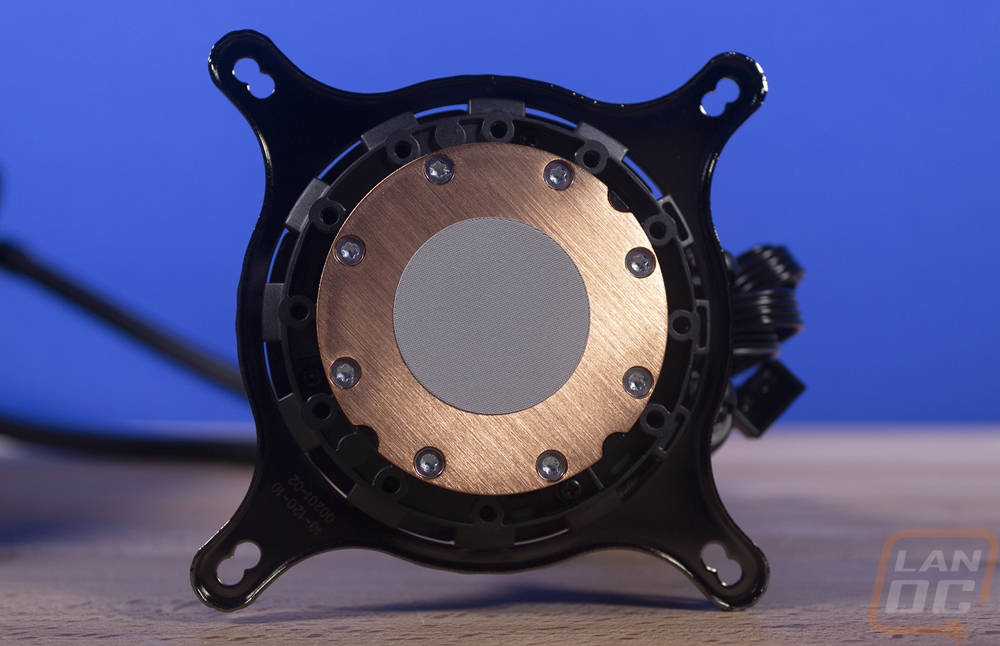
The bottom view of the surface could really be any AIO, the finish isn’t spectacular with a heavy tooling still left on it and in the middle they have pre-applied thermal paste in a circle. This will make the installation easier but the downside is because of this there is no reason to include a tube of thermal paste so if you have to remount it later you will need to have your own.
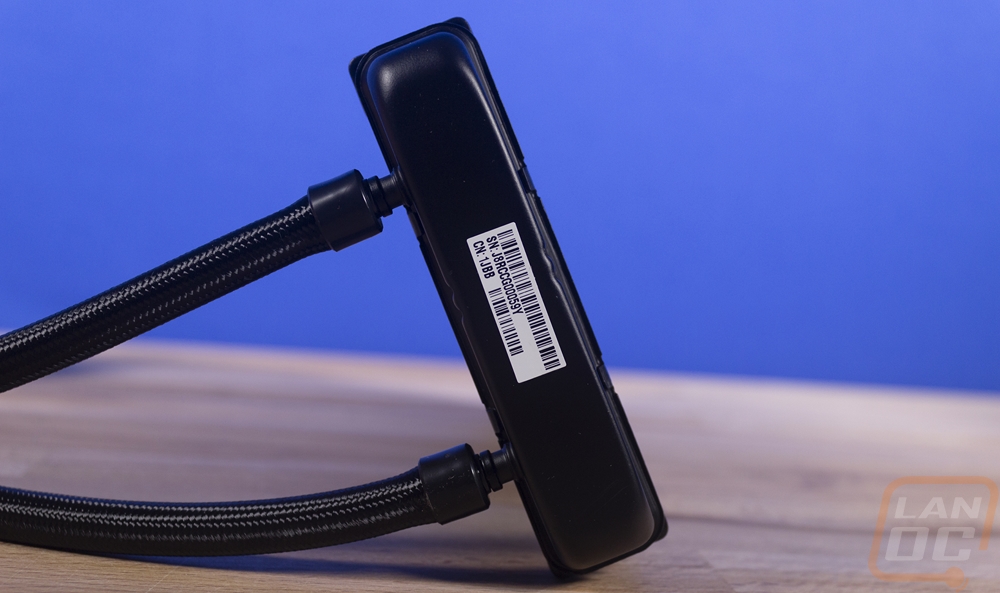
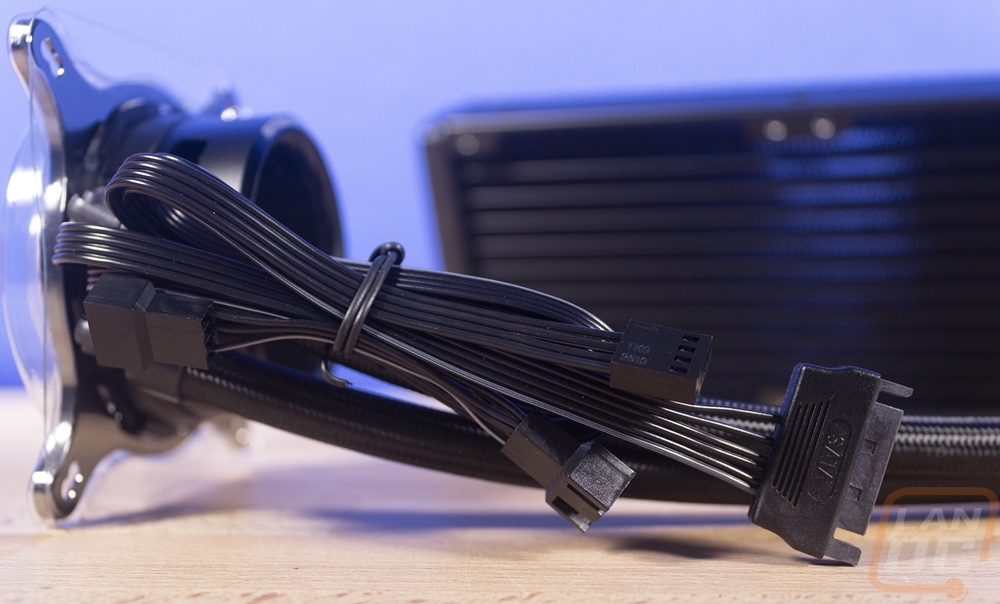
Coming off of the pump/block is all of the wiring. I think this one of the main areas Asus could have learned from a few other AIOs kits like the Fractal. Running all of these up the tubing sleeving and having all of these connections at the radiator would make a world of difference (with the exception of the signal cable). There is a SATA power connection for power for the screen. Then the two radiator fans have a single cable with two connections on it that hook up that comes off the pump. Then there is a signal cable that hooks up to your CPU or pump header on your motherboard to let it know how fast everything is running and to pick up what your motherboard fan profile wants it to do. I call it a signal cable because the SATA is already providing power for the fans. Not pictured here, but somewhat visible behind the cables there is also a USB connection that has to be plugged into the pump.
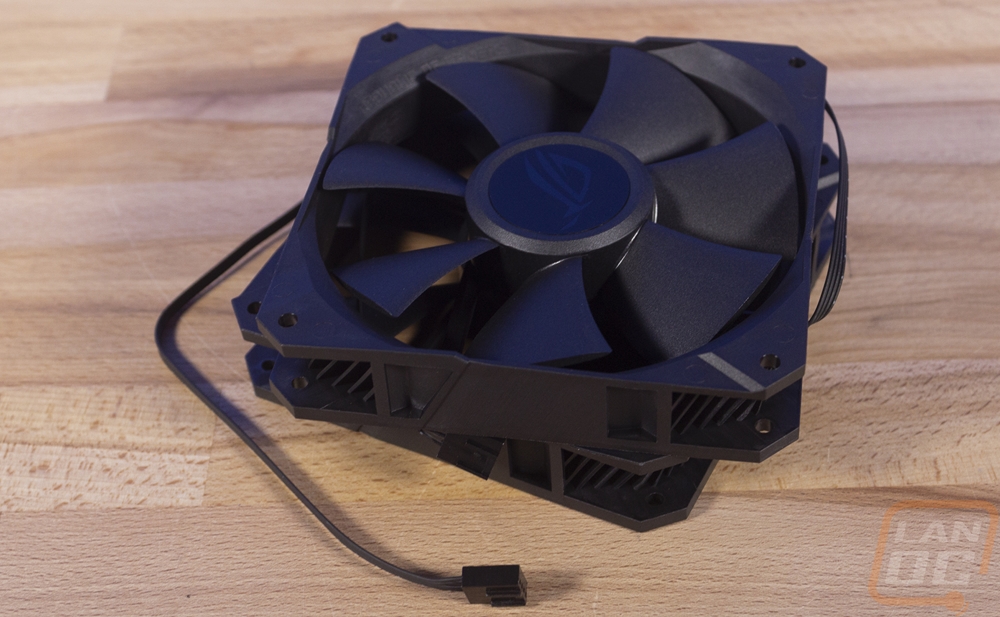
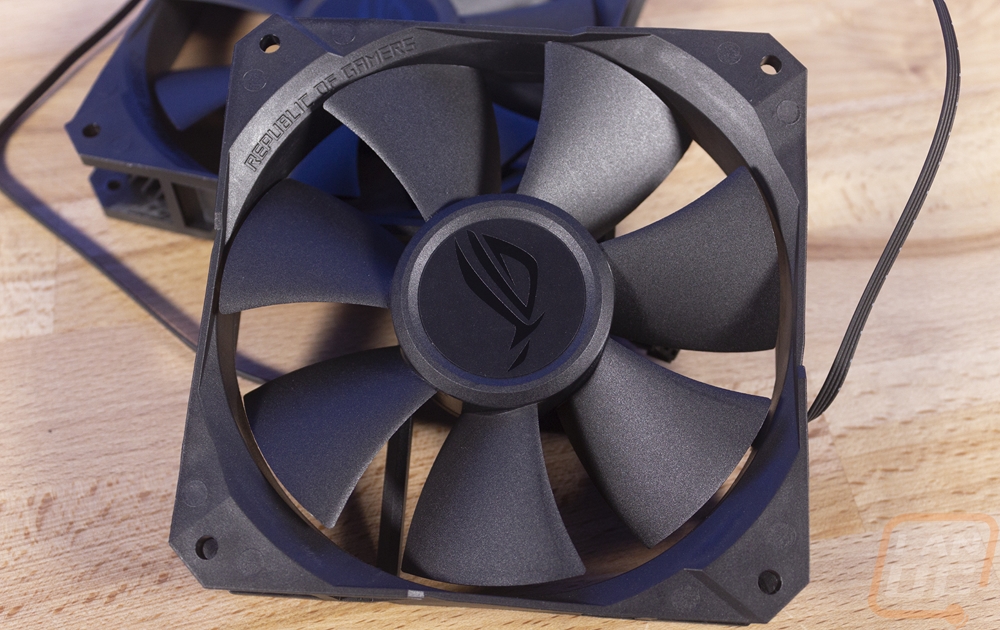
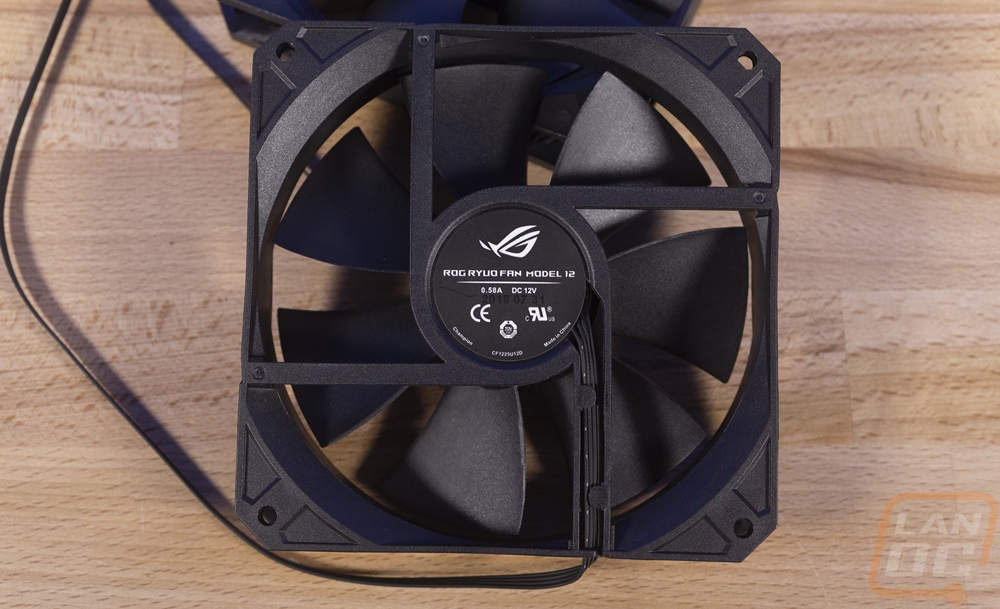
So when I heard about the Asus water cooling kits I was really excited about the Ryujin partially because they were using Noctua fans right out of the box on that one. I thought that was a great idea for a higher end AIO kit because I almost always switch my fans to Noctuas anyhow unless I have a need for RGB fans in the build. I thought Asus was going that direction rather than design their own fans but I was wrong. The Ryuo does come with Asus ROG branded fans and they have a few things that are unique about them. So as far as the stickers go, the front has the ROG logo with a black on black sticker in the middle. Then around back the sticker on the back is labeled an ROG Ryuo Fan Model 12, so these were made for this specific cooler. They are rated at .58A and made in China. One of the big things about them is in the corners behind where a screw would go I noticed they have angled supports that give a unique look. The ROG branding is embossed into the casing as well but the weird part about the fan housing is that is isn’t straight, it steps up and down in different areas with the low spot being at the middle point on each side. I don’t know if they get more air into the blades with this design or if it was just for styling. Speaking of the blades, there are 7 and they are fairly aggressive. The fans are rated to push 81 CFM and 5.0mm of H20 static pressure, so they do have the airflow and pressure needed to push through the radiator or one much thicker really.
Before testing, I did have to get the Ryuo installed. I actually did this a few times in our testing. My performance testing was done on our normal Ryzen cooling testing configuration but I did my testing of the screen in an actual system. Anyhow there were a few things I wanted to point out about the installation. For starters, the bracket that came installed was for Intel sockets so for our Ryzen setup I would have to swap the bracket out. I was dreading this because normally this requires taking out multiple tiny screws but I love the easy swap design that the Ryuo has. You just push up on the bracket and twist it and it turns and pulls off, then you push the new bracket on and turn it counter clockwise and it locks back in place. Simple and to the point!
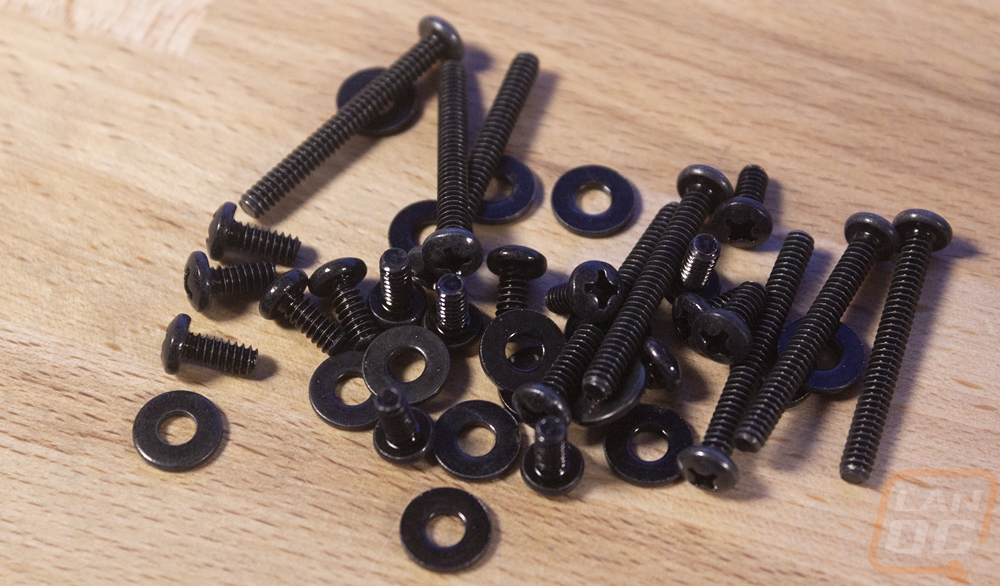
Installing the fans to the radiator and the radiator to the case. You get both short and long screws so you can install the fans to the underside of the radiator and then the radiator to the case. You aren’t forced to use just long screws and a pull configuration or to use small screws to mount the fans and then traditional fan screws to mount to the case.
Getting the pump attached to the motherboard was simple. The Intel kit comes with its own backplate, but for the AM4 kit, you use the stock backplate. You just use these four standoffs that attach to the backplate and then hold the pump/block.
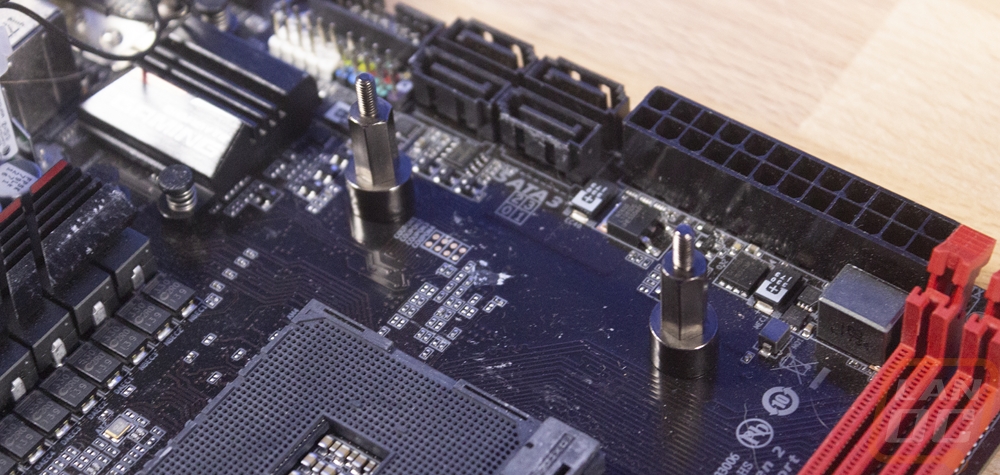
From there you just drop the pump on in the orientation that you prefer, remember to think about that before you start, then attach it with the four thumbscrew bolts. You can use a screwdriver on them or do them by hand with the knurled sides. From there you just have to get the wiring all figured out, but that can be an issue all in itself. Like I said before I felt like there were too many wires coming out of the pump and you can’t exactly hide them all. But the USB cable was by far the biggest pain. The included cable has way too long of a connection end on it so the plug actually was up against the memory. It was tight but did work, I would pre-plug the USB in if possible and I bet that connection has problems later on from the pressure pushed on it.