Photos and Fitment
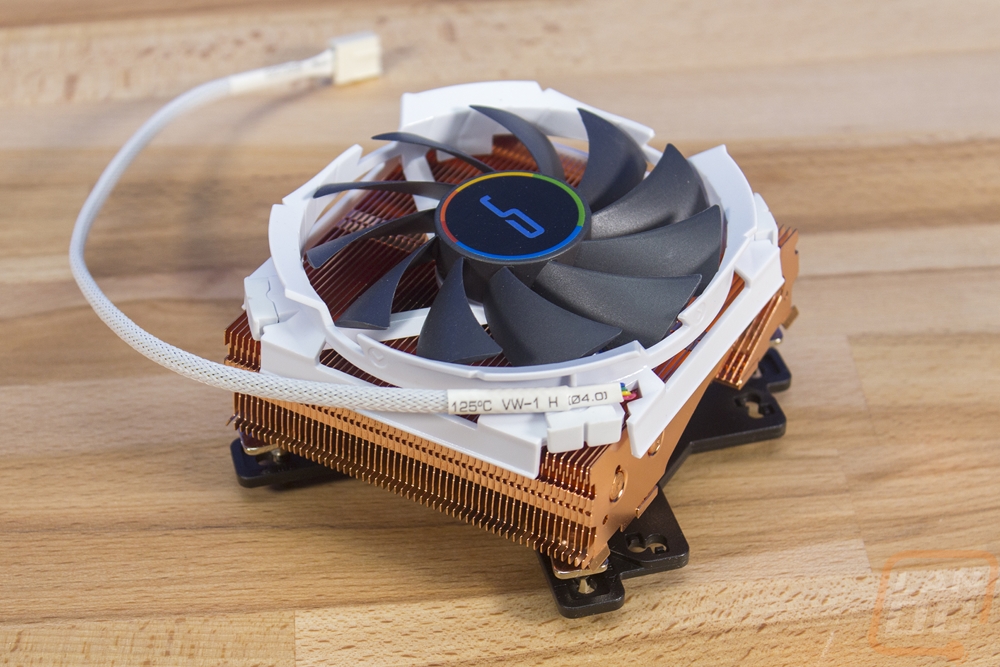
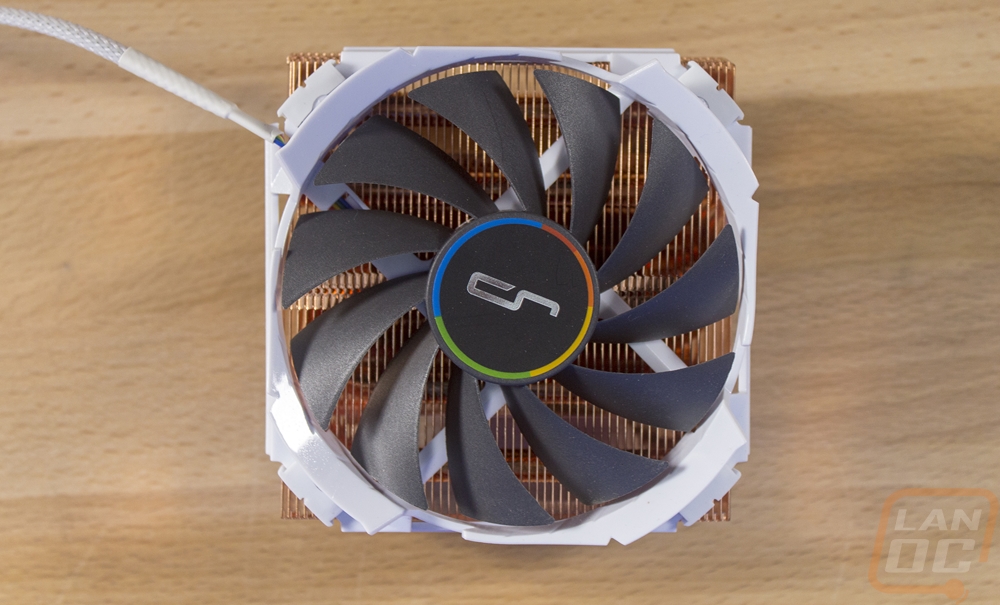
With the Cryorig C7 Cu out of the box, I wanted to take a look at the cooler before getting it installed in our test rig. If you have seen the original C7 there isn’t too much different here, everything metal that was aluminum before is now copper. The copper finish looks amazing, it really catches your eye. The other big change is with the fan, the shroud that was black previously is bright white.
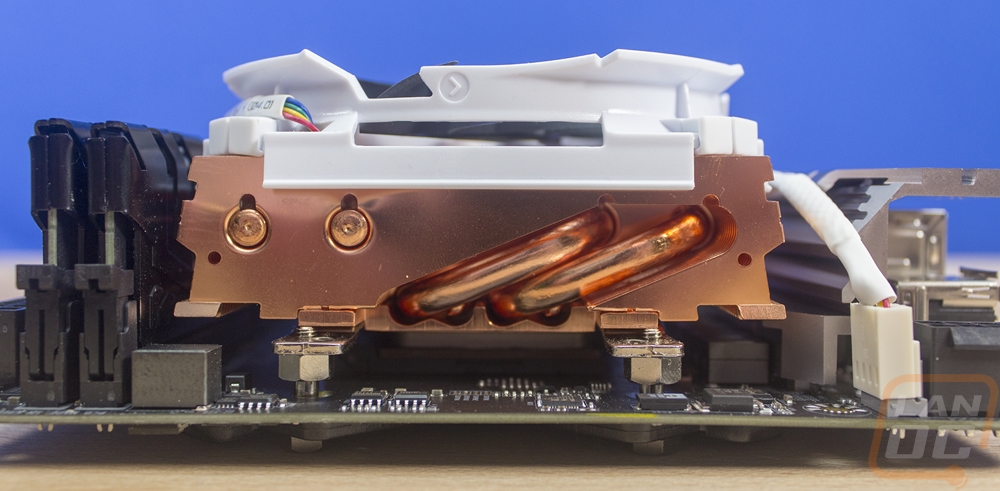
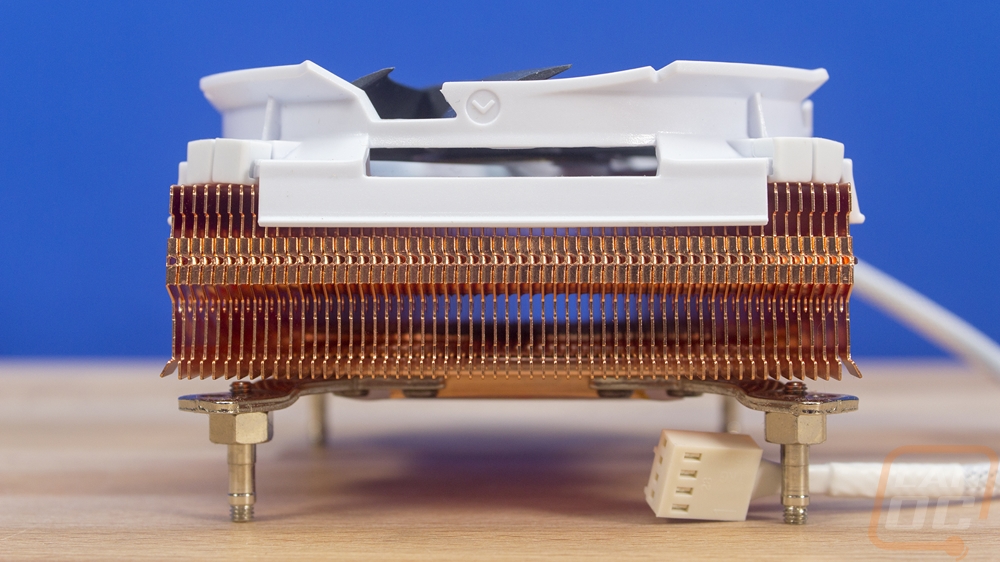
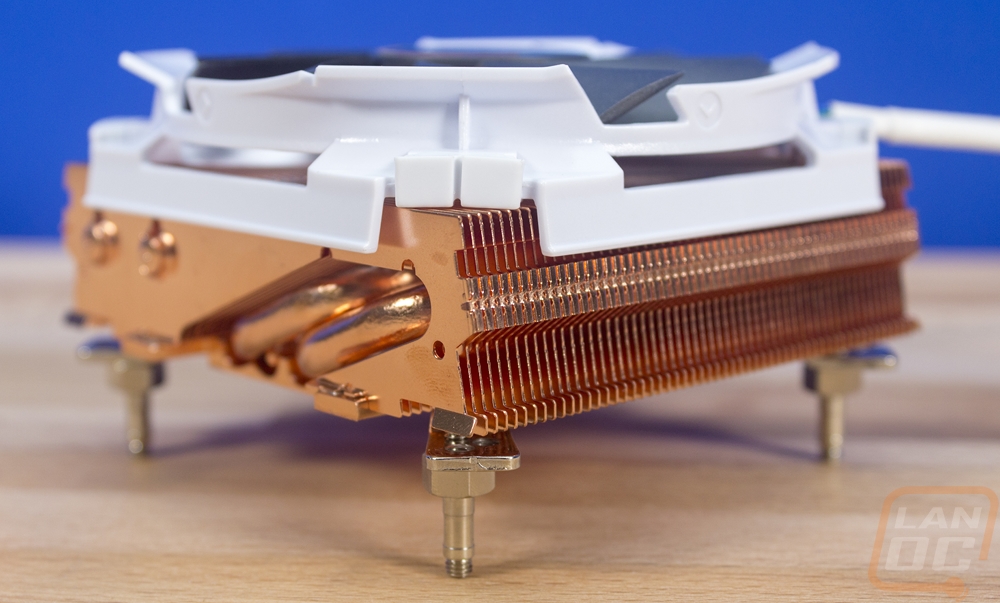
So if you haven’t seen the C7 before, this is a heatsink designed for extremely compact builds where you might not even have the height clearance to be taller than your memory. The C7 and the C7 Cu come in at 47mm tall, this is close to what the Noctua NH-L9 series heatsinks are at, but those have a thinner fan design and are a little shorter overall, 10mm in total. The extra height helps fit the four heatpipes on the C7, there are two going out each side and as you can see in the picture below the heatpipes are in a copper baseplate that touches the CPU. They mostly help pull the heat out into the outer sections of the cooler, not as much of a vertical pull like tower heatsinks. The 92mm fan has a shroud designed around it specifically for the C7, the shroud hooks right on to the heatsink keeping the overall height low. The fan shroud also has cuts in the sides, these are helpful in tight builds when the fan is up against a side panel or something else, the fan can still pull some air in.
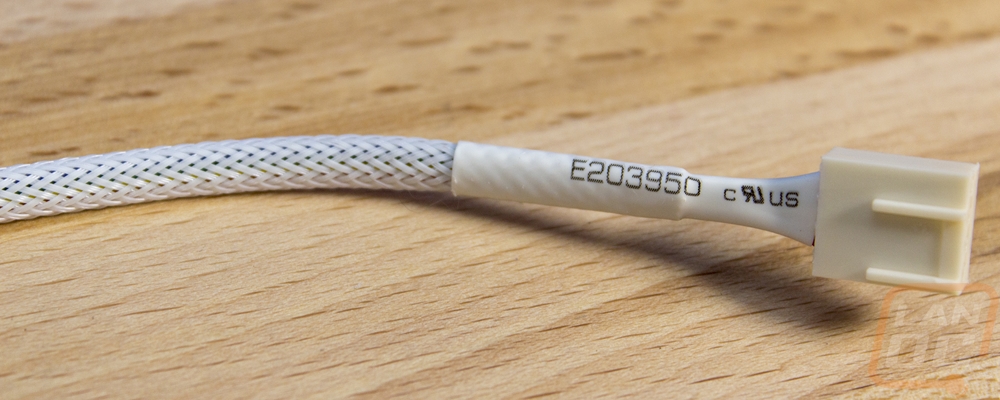
I’m a little torn on if the white shroud is the best way to complement the copper heatsink. The original black shroud would look good as well and might go better in some builds. That fan design was flipped with a black shroud and a white fan blade though. I think I would prefer an all-black version with the copper heatsink. The fan also has its cable sleeved in bright white and they went as far as to make sure the connector is white and the shrink wrapping as well.
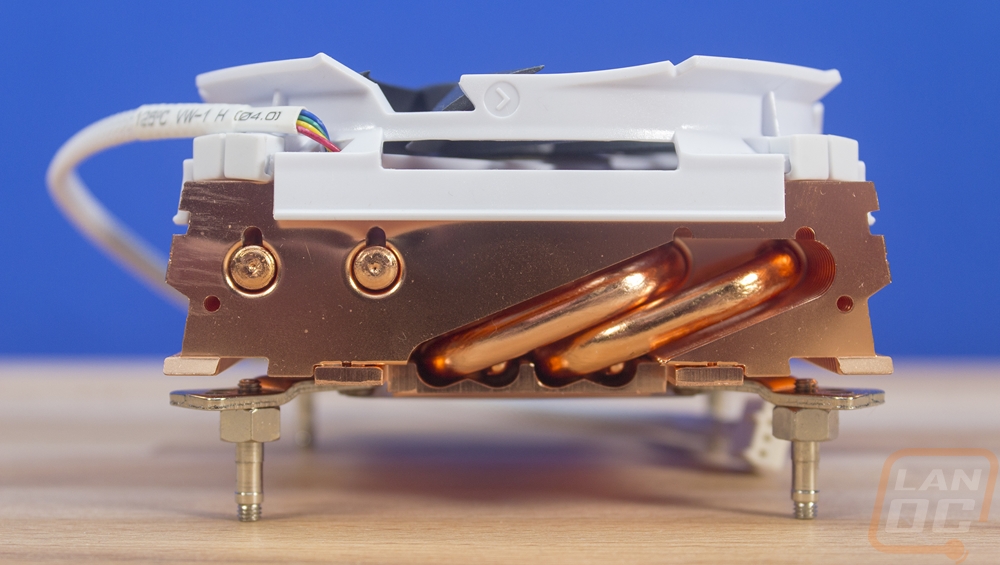
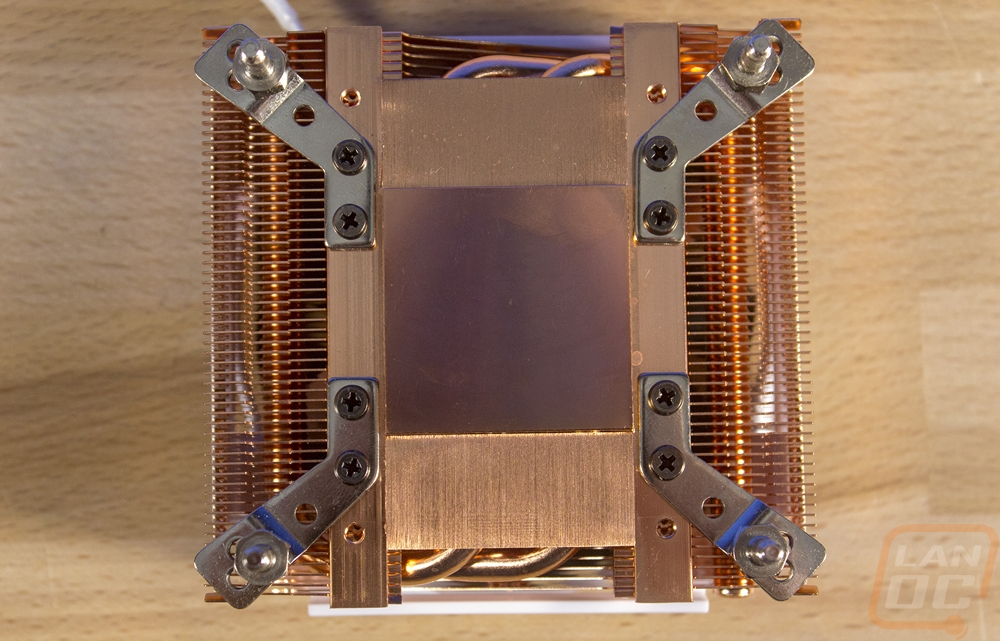
So the bottom of the C7 Cu is all copper, the original design had a polished silver finish even on the underside so this is a big change. But beyond the material, none of the design has changed. The bracket design is low profile and mounts directly to the motherboard, you don’t install a bracket and then mount the heatsink to the bracket like larger heatsinks. That design would take up too much space. So there are just four brackets that bolt to the C7 Cu. They each attach with two screws and there are a total of 12 screw holes in the heatsink. This is because the Intel mounting uses the inside design and AMD sockets use the outside. The brackets themselves also get rotated in 45 degrees for the AMD sockets. Cryorig included the newer bracket design that covers AM4 with this kit, last year the socket was new and those brackets had to be ordered.
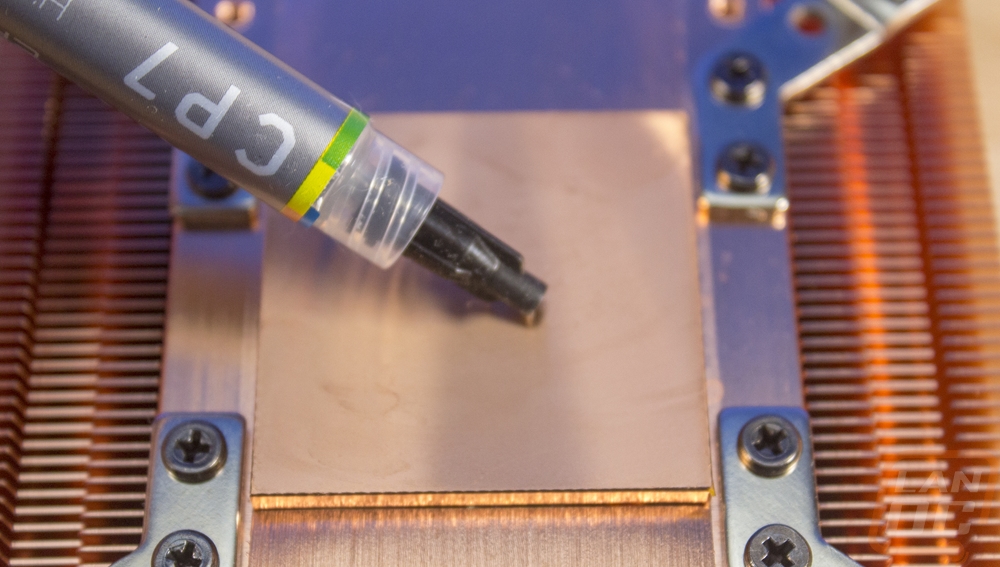
Now the overall finish of the contact surface could use some work. I think you could edge out a little more performance by polishing this. The surface is flat, but the finish on it doesn’t show any reflection, just a shadow.
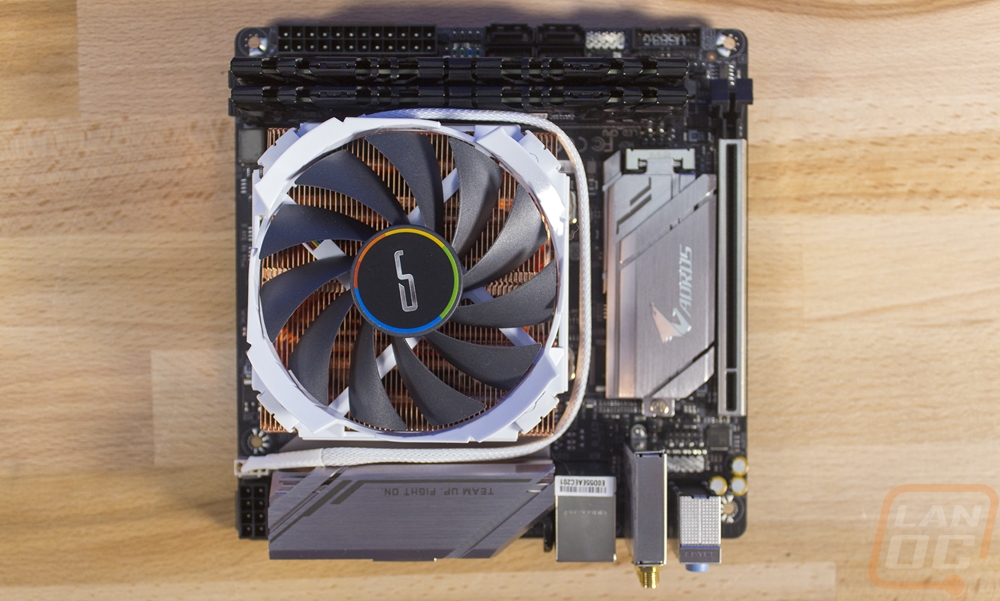
For my photos, I test fit the cooler on the newer B450 ITX board from Gigabyte/Aorus that just came in. But for my testing, I used our original B350 board. Oddly enough the new B450 board is a lot tighter for heatsink clearance so this actually worked better to show how much space you might have. For starters there isn’t any worry about memory interference, this cooler doesn’t hang over them at all. Now this board was tighter than the B350 board with the memory though, you can see that the B450 board has the wiring connections tucked in next to the memory pushing those closer to the CPU socket. There was still a little room left on the I/O side, but I was originally worried that the lip at the bottom of the motherboard's heatsink would cause issues with this low profile of a cooler, but it didn’t.