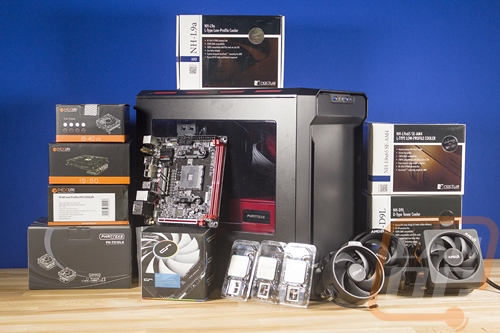
AMD Photos and Fitment
For AMD’s coolers, I dug through our boxes and pulled out one of each of the coolers available with Ryzen. Now I know that each cooler is designed to work within the thermal properties of its own CPU range but I wanted to see how they all work overall.
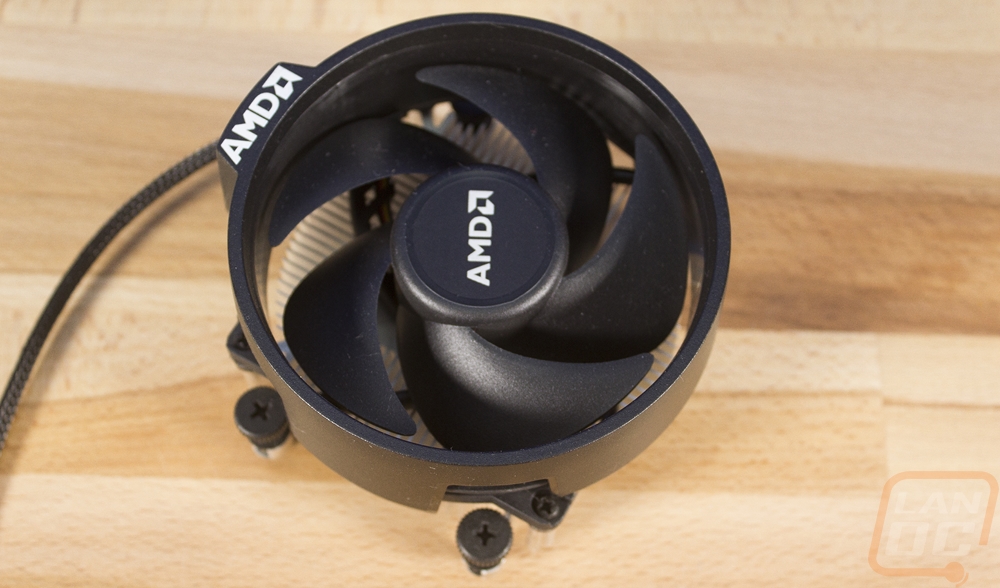
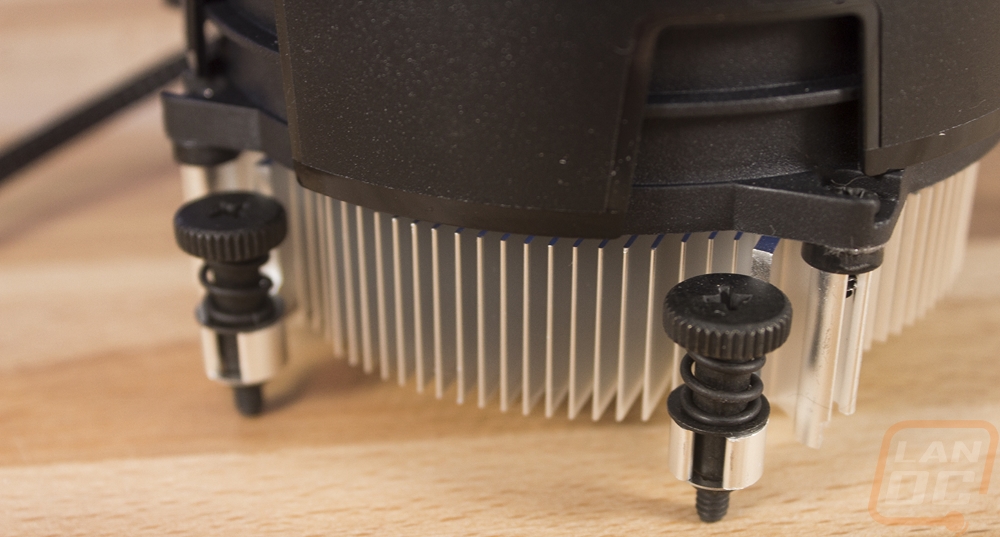
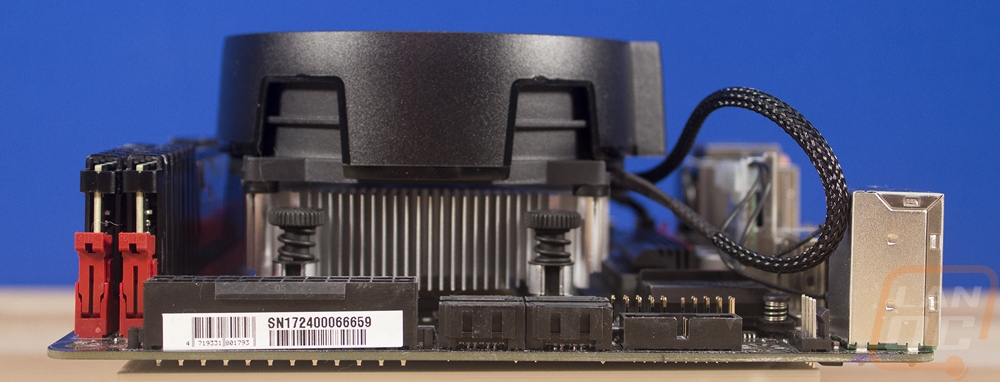
The first cooler is the Wraith Stealth. This cooler is most similar to the standard Intel heatsink. It has an aluminum construction with a middle mounting point and then a fan blowing down over the heatsink. The CPU contact surface is really rough and is aluminum as well. The fan has AMD branding on it and the fan shroud also has a small AMD logo. Th fan cord is at least sleeved but overall this is as basic as they come. You can see just how much smaller it is than the other AMD coolers as well with its height being similar to the Intel design. For mounting though it does at least use the new screw down mounts that utilize the stock backplate.

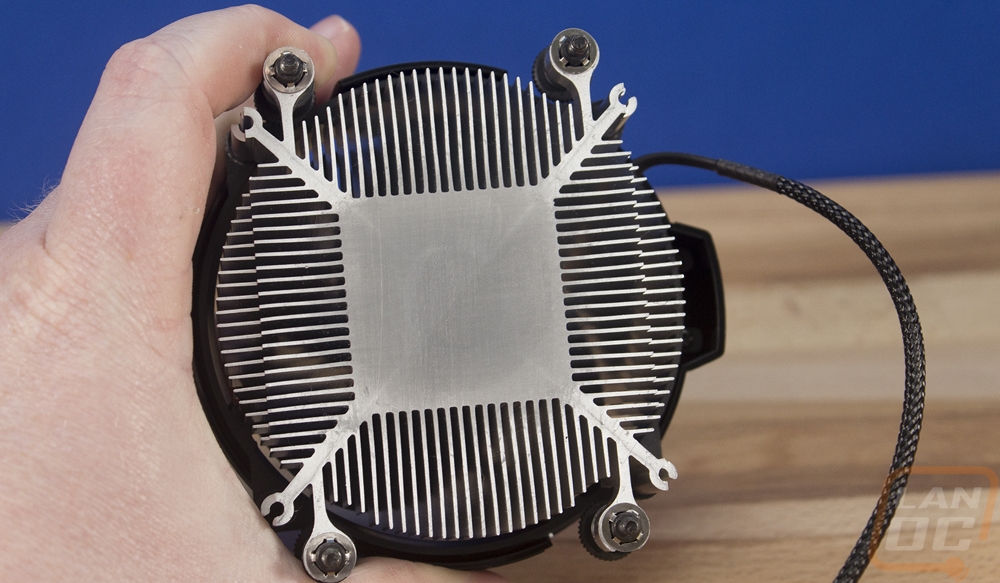
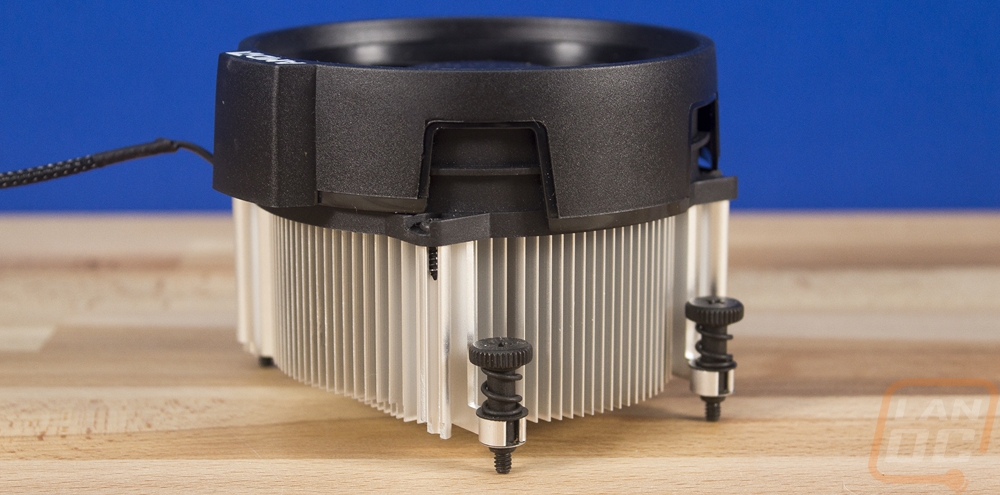
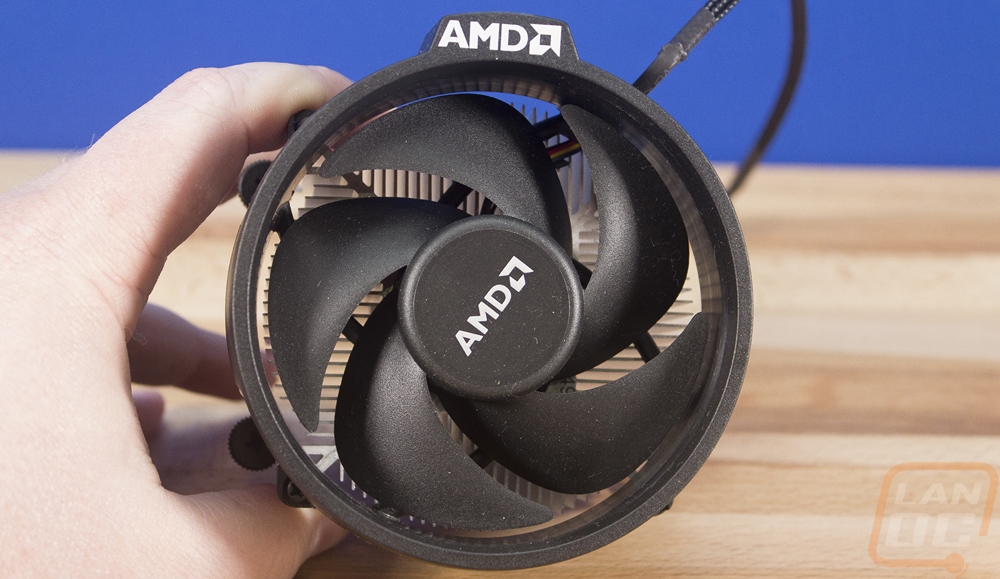
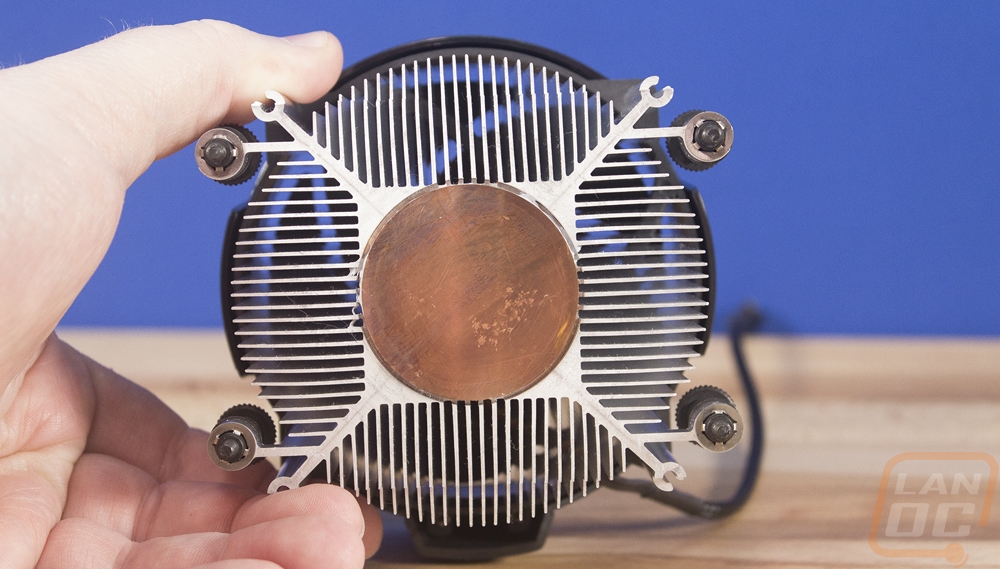
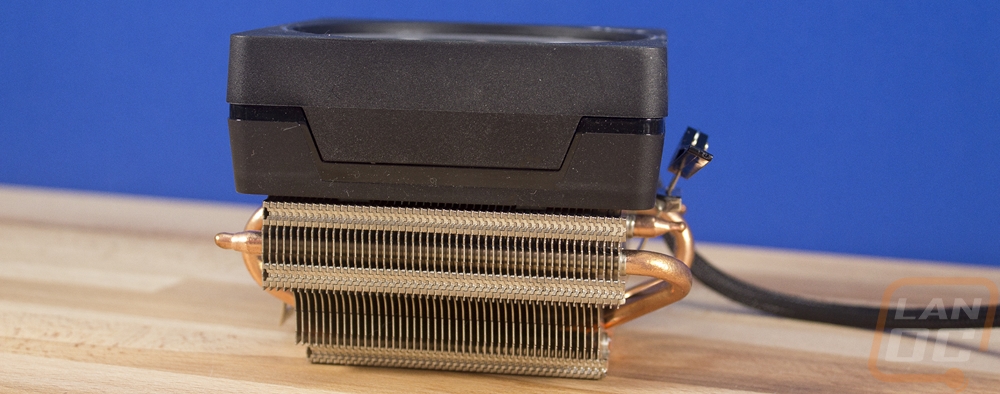
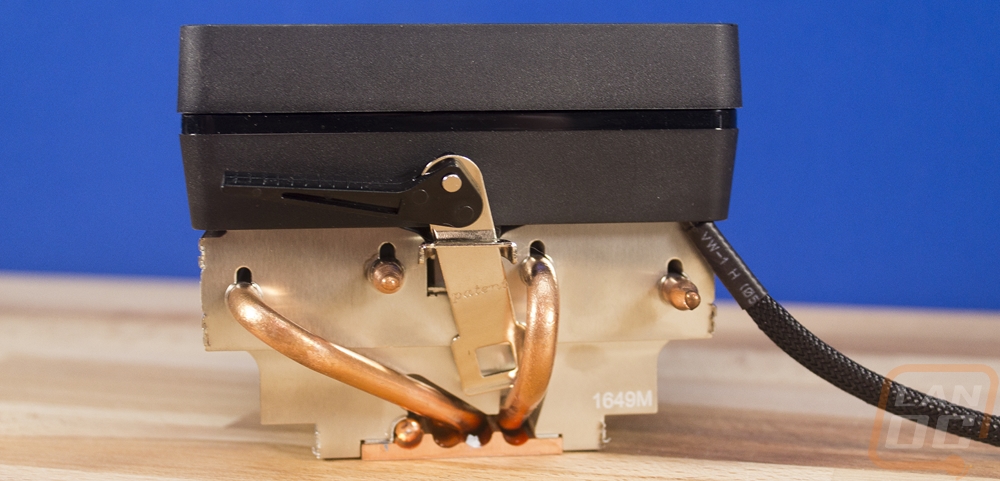
The same design carries over into the Wraith Spire only this cooler is taller. It has the exact same fan design as well as the shroud but it utilizes more surface area to get more cooling capacity. It comes in at 71mm, 17mm taller than the Stealth and just a few short of the Max. When you flip it over though you will notice that they at least used a copper slug to get a better contact surface on top of the CPU. It uses the same screw mounting setup that I like as well.
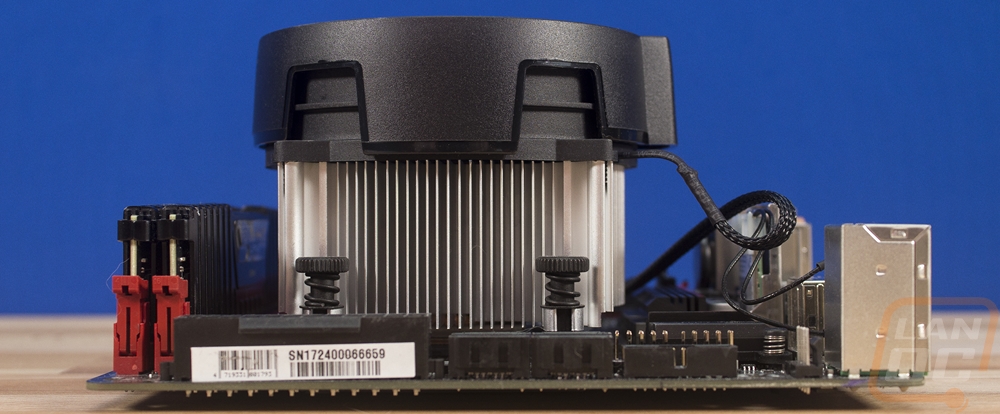
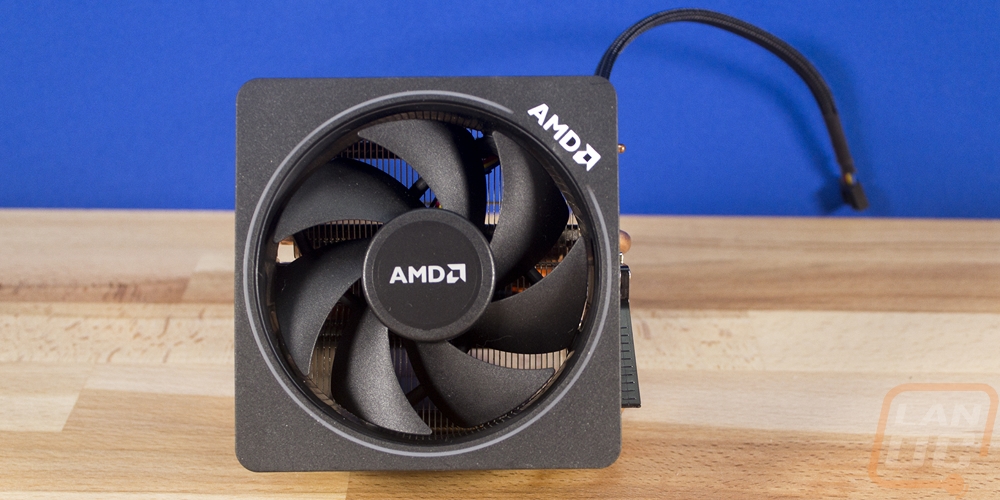
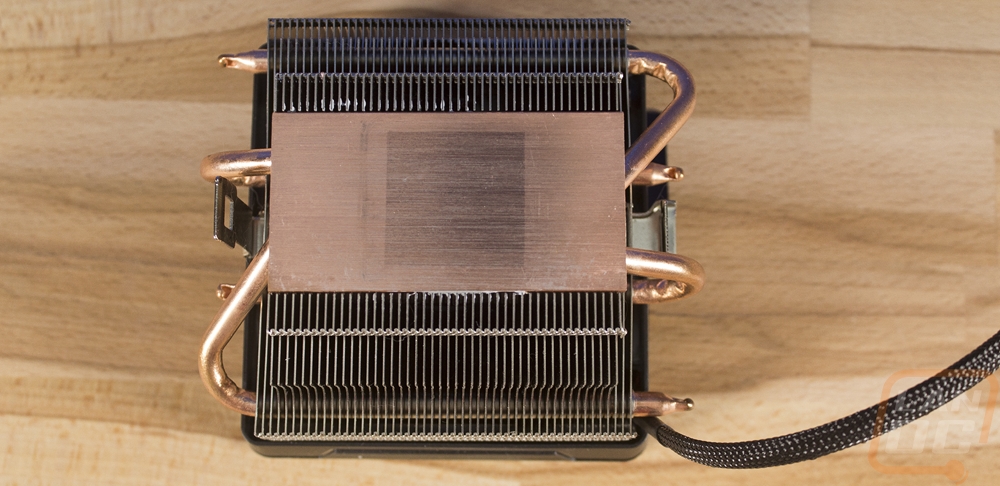
The Wraith Max cooler is a nice departure for a stock cooler. It was first introduced last year and rather than going with the round shape of the other coolers and Intel’s coolers it uses its space a little better with a square shape. It uses a similar heatsink design as aftermarket coolers with thin aluminum fins and four copper heatpipes pulling the heat up from the contact surface up into the cooler. Then up on top is has a plastic shroud around the top down fan. The shroud does have the AMD logo on it and for this year they added an RGB ring around the fan as well. The lighting rotates through colors by default but you can also hook it up to USB or to an RGB header on your motherboard. For mounting it has the old school latch design that uses the old plastic AMD mounts on the board.
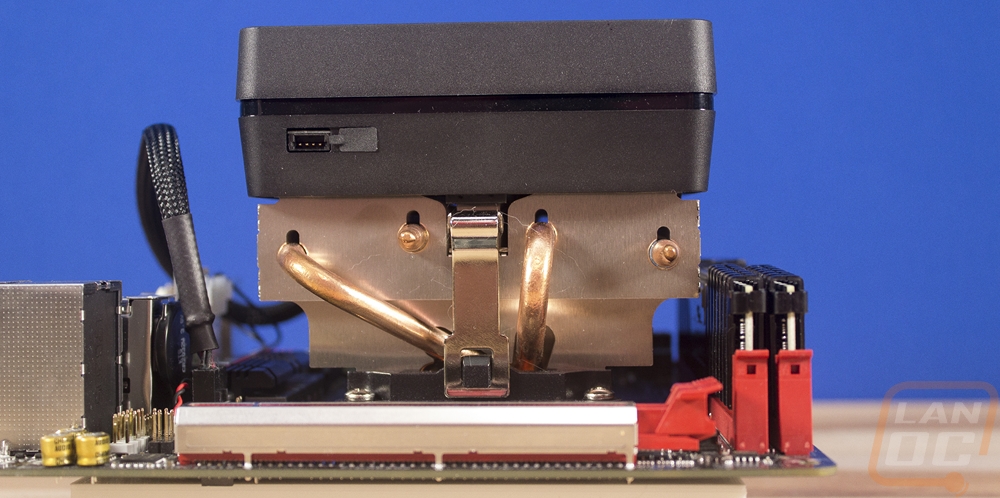
Installing the AMD coolers was a little from both the good and bad trees. The Stealth and Spire coolers utilize a new screw mounting system that attaches to the stock AMD backplate. So to install them you have to remove the two plastic clips and then just screw these down. They come with thermal paste pre applied. They are both much easier than Intel’s stock coolers and the easiest to install of all of the coolers tested. The Wraith Max, on the other hand, is a little older with the exception of the new RGB ring on it. It uses the old school AMD clip system. So you leave the plastic clips on your board then hook one side over the clip, then stretch the second out and over the clip. Once attached you flip the level over to tighten everything down. Sadly I hate this setup. The hooks could really use a touch more length so you can easily get them over the hooks without looking like older AMD coolers had. So this one ends up being a huge pain to install in the case and if you ever take it out that spring lever is going to pop up and hit you in the knuckle nearly every time.
|
Cooler |
Height |
Fits Tall Memory |
AM4 Bracket |
|
AMD Wraith Stealth |
54 mm |
Yes |
Included |
|
AMD Wraith Spire |
71 mm |
Yes |
Included |
|
AMD Wraith Max |
85 mm |
Yes |
Included |
