Everyone and their mom has at least one all in one water cooling kit in their product lineup these days. But Cooler Master was in it long before that. They have been selling AIO kits from nearly the beginning and while everyone basically repackages the same kits, Cooler Master has sold a wide variety of kits. This also ended up having the somewhat famously battling in court with one of the AIO OEMs due to a few patients. Well, that hasn’t stopped them at all. So recently they sent the MasterLiquid 240 over for me to check out. On top of being yet another product in their lineup with the Master branding, the AIO kit looks to be a little unique from everything else on the market, so today I’m going to check it out and find out how well it performs while we are at it. Enjoy.
Product Name: Cooler Master MasterLiquid Pro 240
Review Sample Provided by: Cooler Master
Written by: Wes
Pictures by: Wes
Amazon Link: HERE
| Specifications | |
| Model | MLY-D24M-A20MB-R1 |
| CPU Socket |
Intel® LGA 2011-3 / 2011 / 1366 / 1150 / 1151 / 1156 / 1155 / 775 AMD FM2+ / FM2 / FM1 / AM3+ / AM3 / AM2+ |
| Radiator Dimension (L x W x H) |
275 x 118.5 x 27 mm 10.83 x 4.67 x 1.06 inch |
| Radiator Material | Aluminum |
| Fan Dimension |
120 x 120 x 25 mm 4.7 x 4.7 x 1 inch |
| Fan Speed | 650 ~ 2000RPM ± 10% |
| Fan Air Flow |
66.7 CFM (Max) 113.32 m3/h (Max) |
| Fan Air Pressure | 2.34 mmH2O ± 10% (Max) |
| Fan MTTF | 490,000 Hours |
| Fan L-10 | 70,000 Hours |
| Fan Noise Level | 6 ~ dBA |
| Fan Connector | 4-Pin |
| Fan Rated Voltage | 12 VDC |
| Waterblock Dimensions (L x W x H) | 94.8 x 68 x 56.9 mm (3.7 x 2.68 x 2.2 inch) |
| Pump Waterblock Material | Copper |
| Pump Speed | 1100 ~3300RPM (PWM) |
| Pump Bearing Type | Ceramic |
| Pump Rated Amperage | 0.5 A |
| Pump Power Connector | 4Pin (PWM) |
| Tube Diameter | Φ8 mm |
| Tube Length | 358 ± 5mm |
| Pump MTTF | 175,000 Hours |
| Pump L-10 | 50,000 Hours |
| Pump Noise Level(dB-A) | < 12 dBA |
| Pump Rated Voltage | 12 VDC |
| Pump Power | 6.0W |
| Pump LED | Blue LED |
Packaging
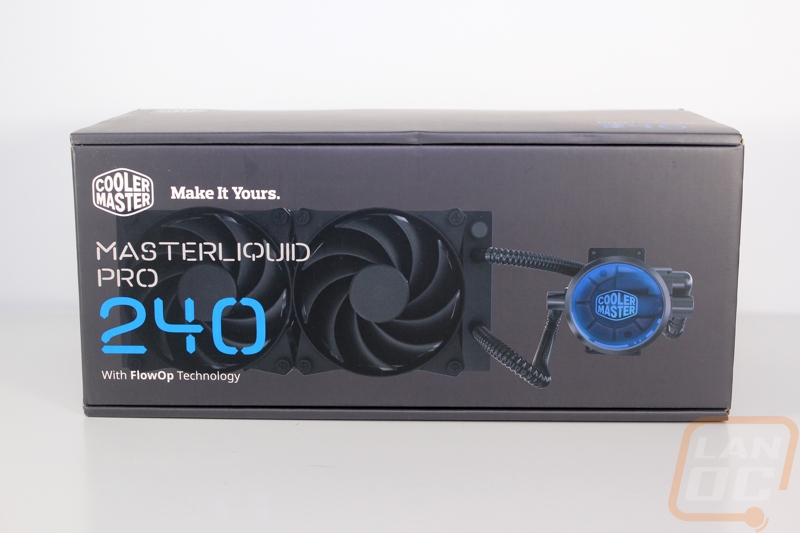
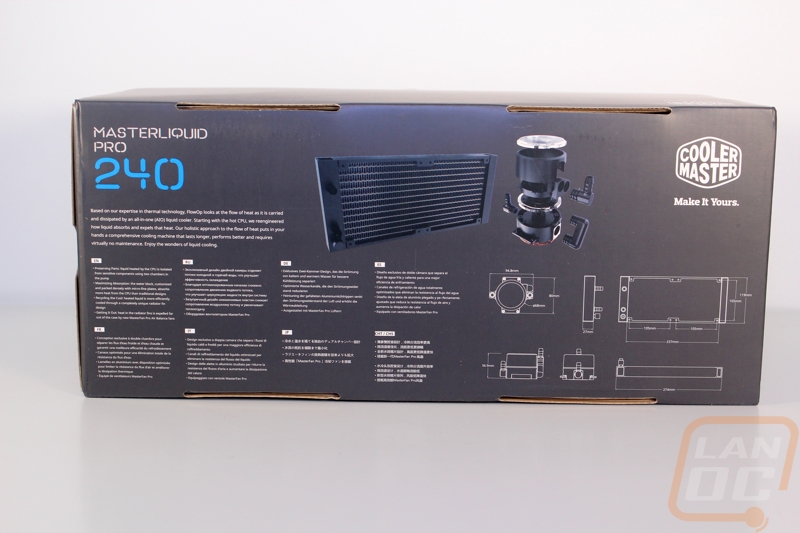
The packaging for the MasterLiquid Pro 240 follows the same theme that Cooler Master has been doing with all of their new “Master” branded products. The box has a photo of the kit right on top with the Make It Yours branding. The 240 that designates the dual 120mm fan radiator size is in bright blue, matching the blue lighting in the pump. Beyond that, the box is dark gray and really simple. The back of the box has a breakdown of the pump design as well as the radiator. I love that they include line drawings of each component right on the back with dimensions to help people figure out if the kit will fit their build.
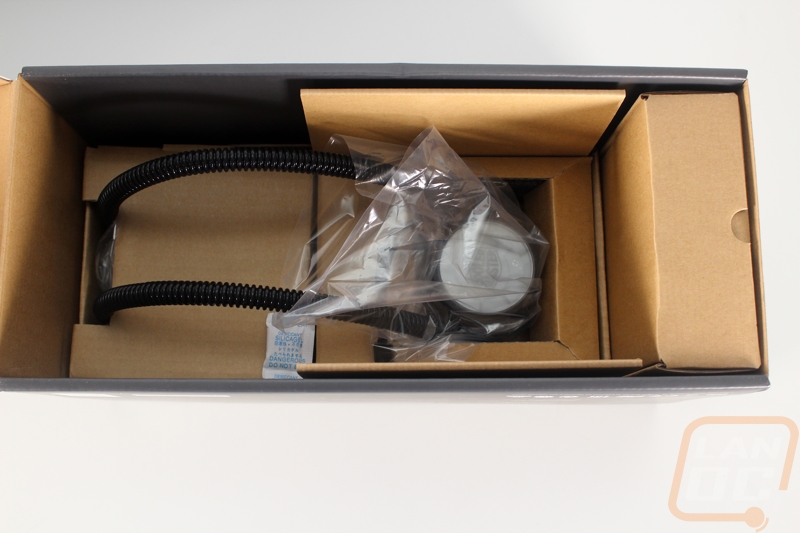
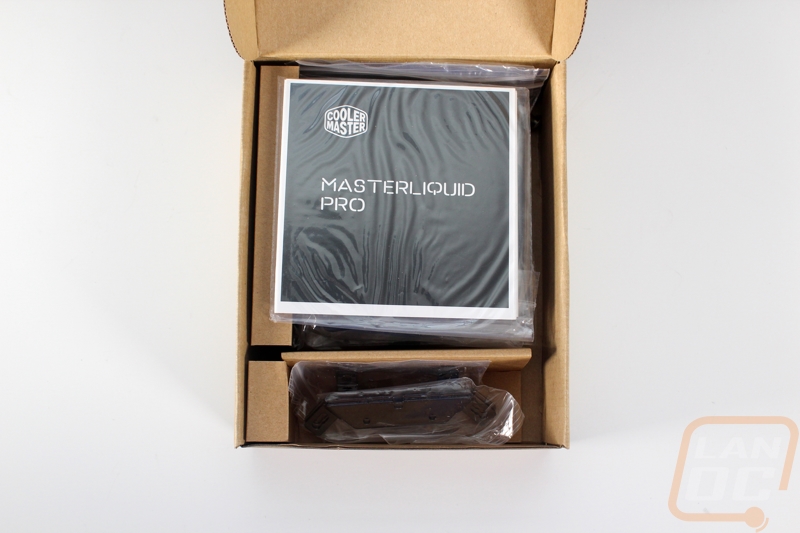
Inside the box, the radiator sits at the bottom with the pump wrapped up in plastic and folded up on top of the radiator. The two fans are tucked up next to the pump as well but under the cardboard. Then over on the right is a box with all of the kits accessories and documentation.
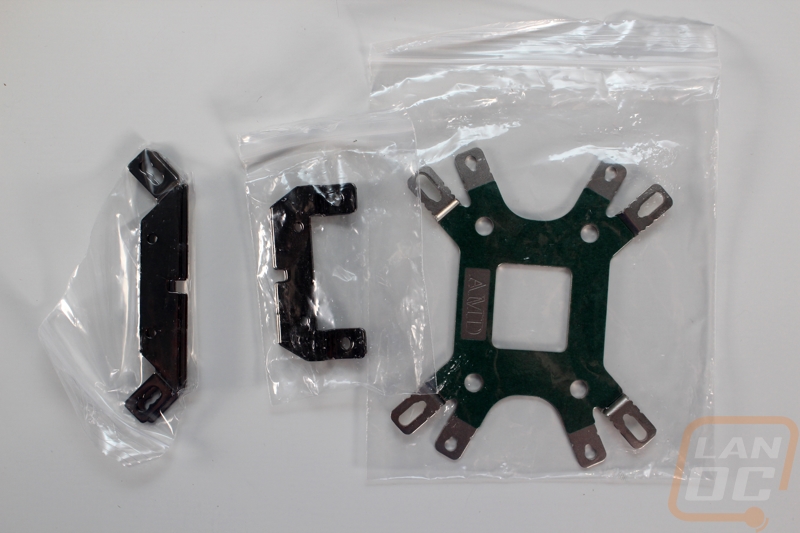
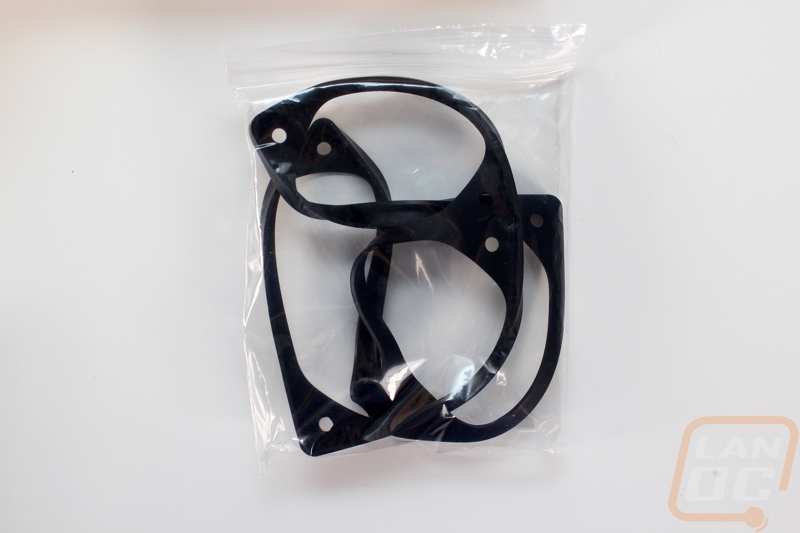
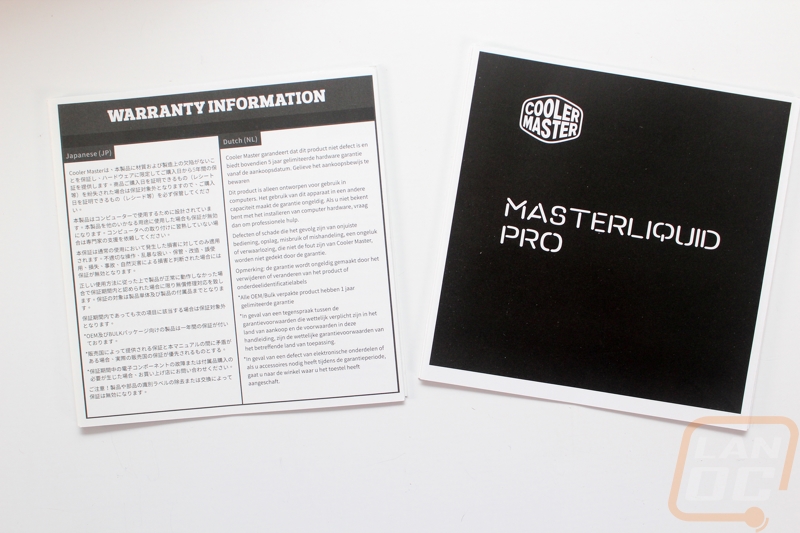
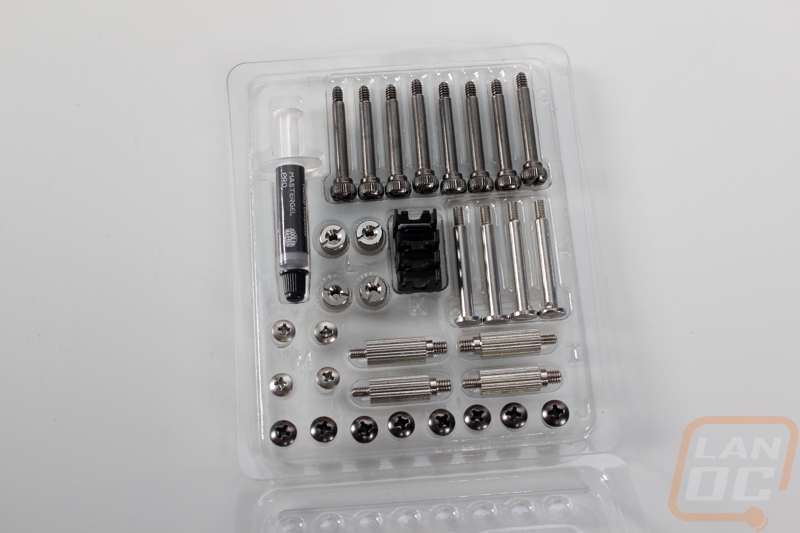
The accessory box has the manual and warranty paperwork right up on top. This way you can look to see what parts you actually need for your build because the kit has support for just about everything including AMD and all of the different Intel sizes. You get a few bags with both intel and AMD brackets as well as the backplate that supports both. If you decide to use your own fans they do include two rubber mounting pads that you can install between the fans and the radiator. There is also a dual PWM fan adapter so you can hook both fans up to just one fan header, this helps get the watercooling kit hooked up to your CPU fan header (for the pump) and the CPU2 or CPU Optional header for your fans.

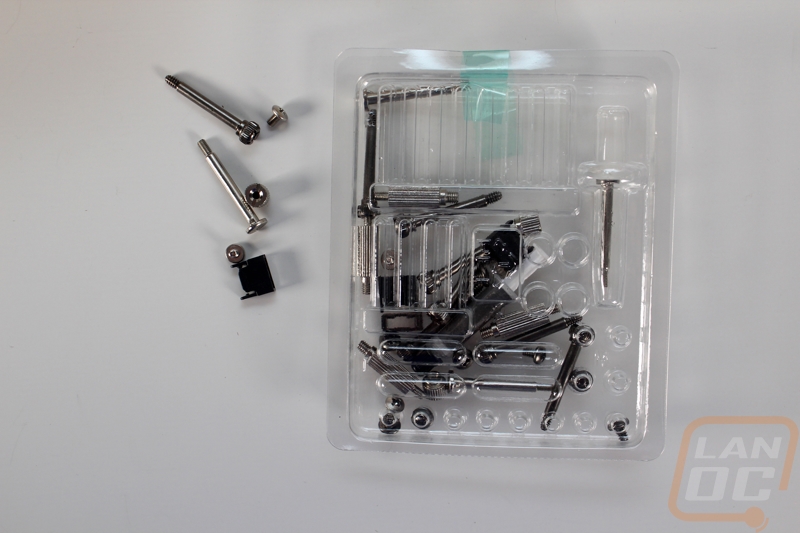
Most of the time you get all of your screws and mounting hardware in one bag or if you are lucky it is broken down into a few smaller bags. Cooler Master tried something different this time and put everything in a formed plastic tray. Sadly, mine came in completely knocked around with parts out in the box. I did take a little time to put everything back into their homes so I could confirm I wasn’t missing anything and you can see that photo below as well.
Photos and Features
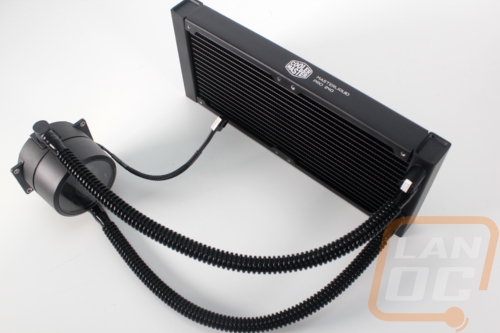
While the MasterLiquid 240 is an All in One kit like a lot of the others. By not working with the standard OEM their design is different right from the start and it's clear even just glancing at it. We can see that the pump is considerably different but there also seem to be a few things different over on the radiator. Really the only thing that is consistent are the standard plastic AIO lines that most kits have and I always hate. They are durable and they don’t take up much room, but they are also exactly why custom water cooling looks so much better.
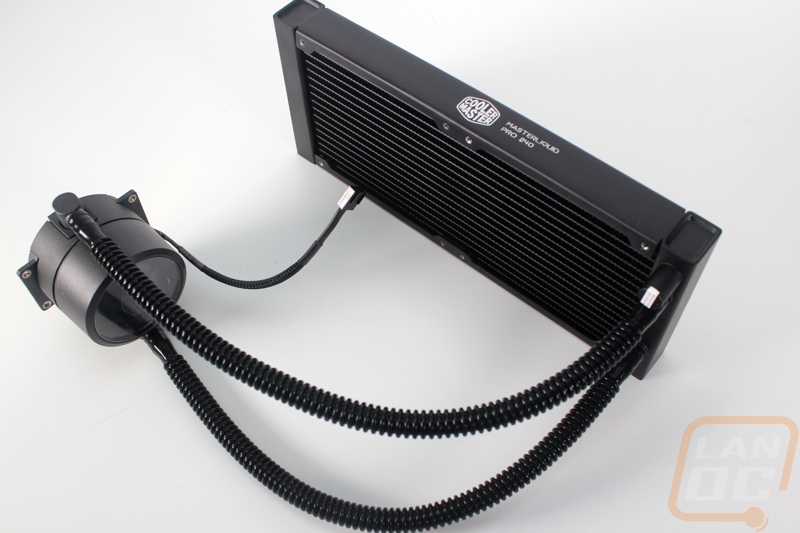
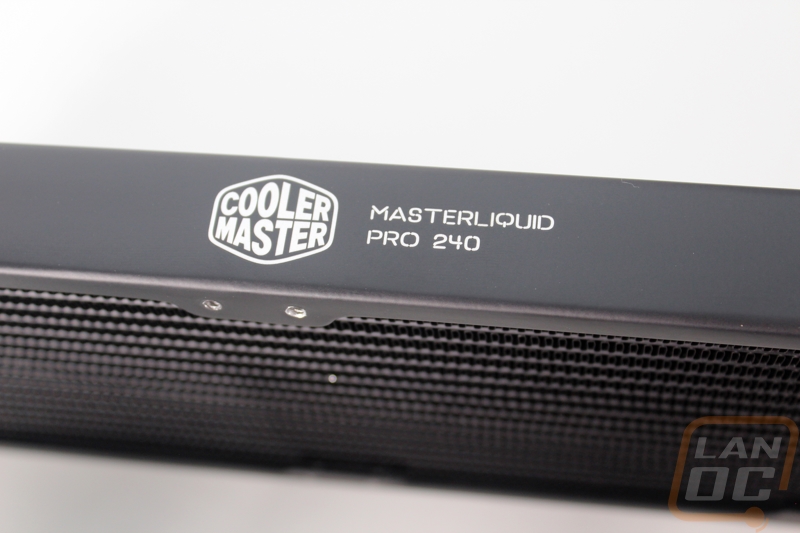
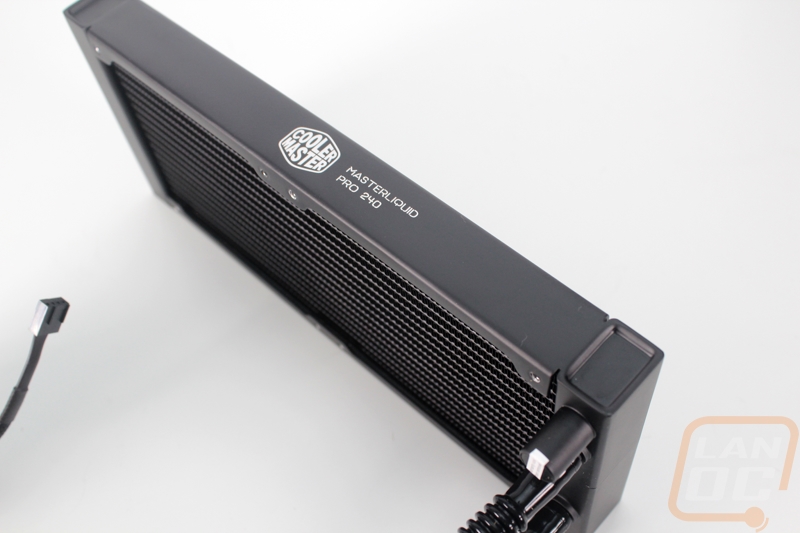
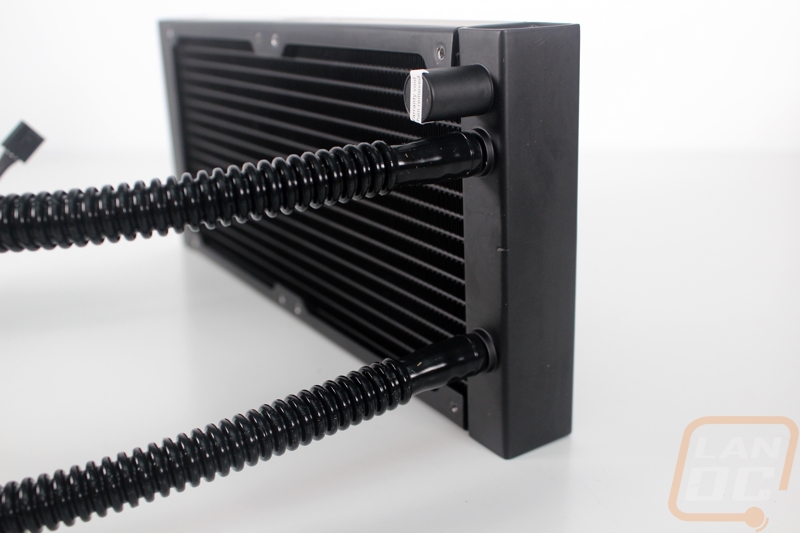
So starting with the radiator I love that Cooler Master printed the full product name and their logo on the side. This is a small touch but it looks really good when everything is put together. The radiator itself has an interesting boxed shape down at the ends but it’s the fin layout that really caught my eye. Normal radiators have a fin design that is wavy but Cooler Master with a very squared off design. It's easy to see that this radiator should flow more air but I am curious how that same design effects the internal water flow. Down at the end, we have the two small tubing connections as well as a third capped off connection that they used to fill the system. The radiator is just a hair over an inch thick, this is a little thicker than a few of the lower end AIO kits that I have seen but it is in line with most other AIO kits.
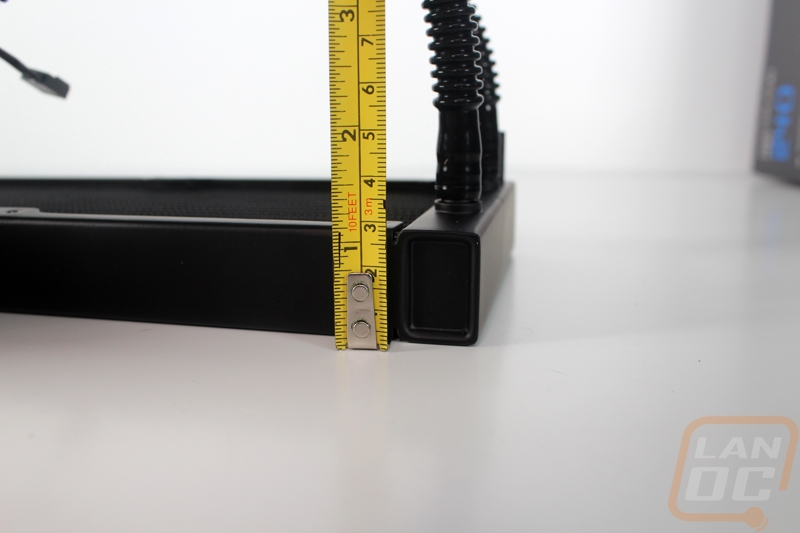
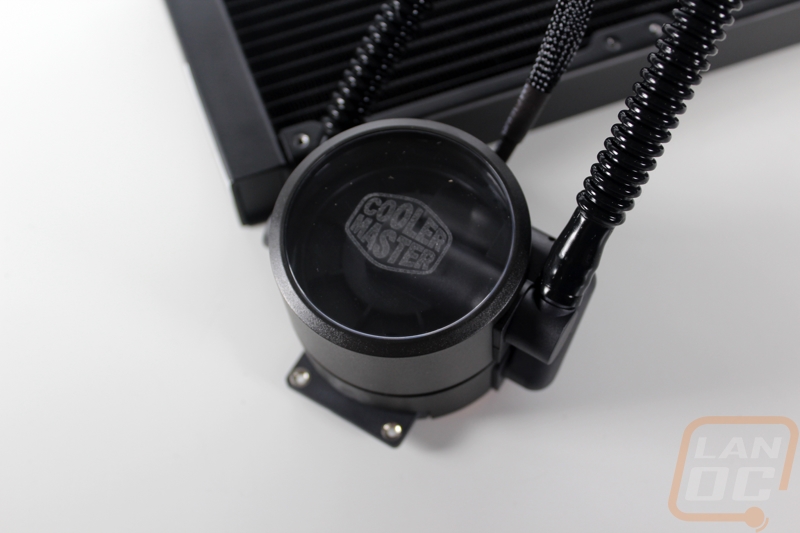
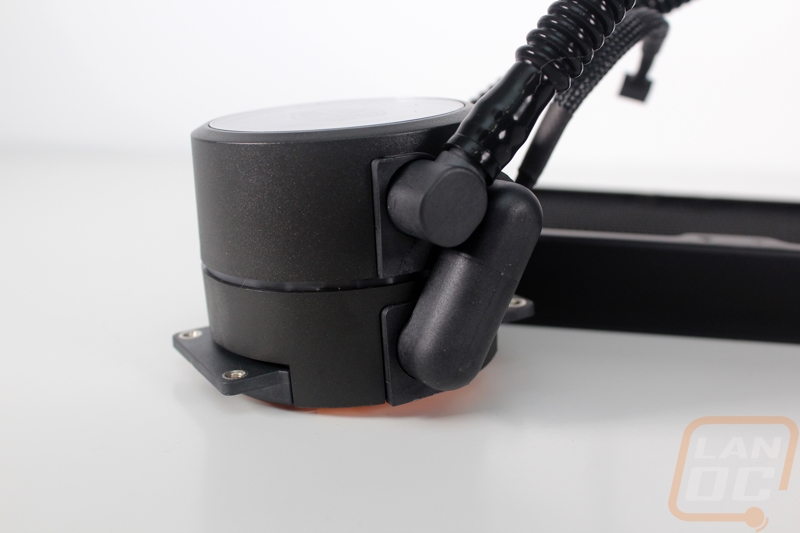
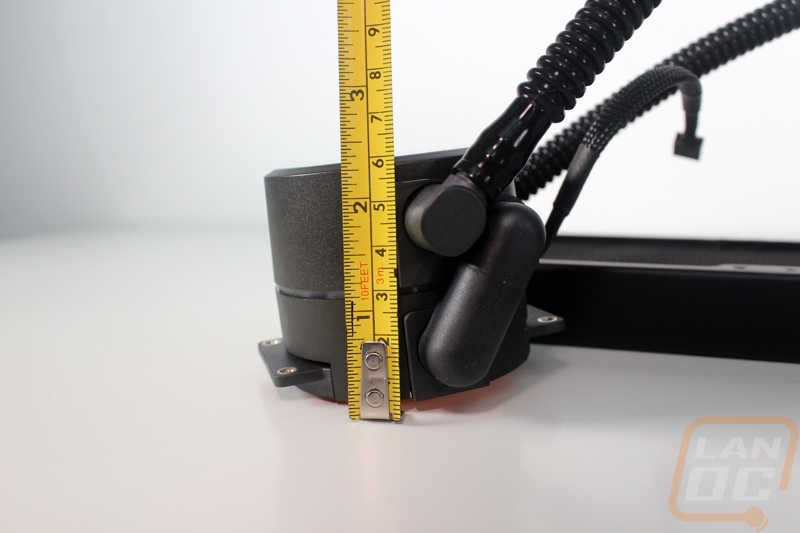
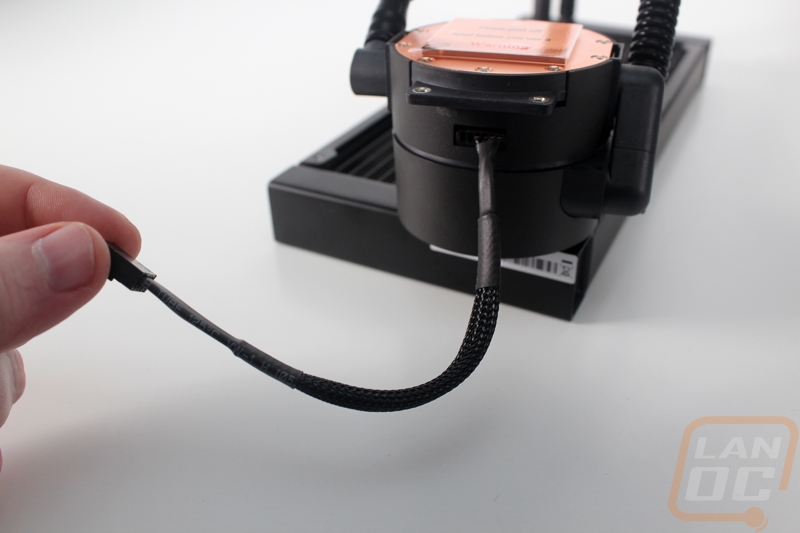
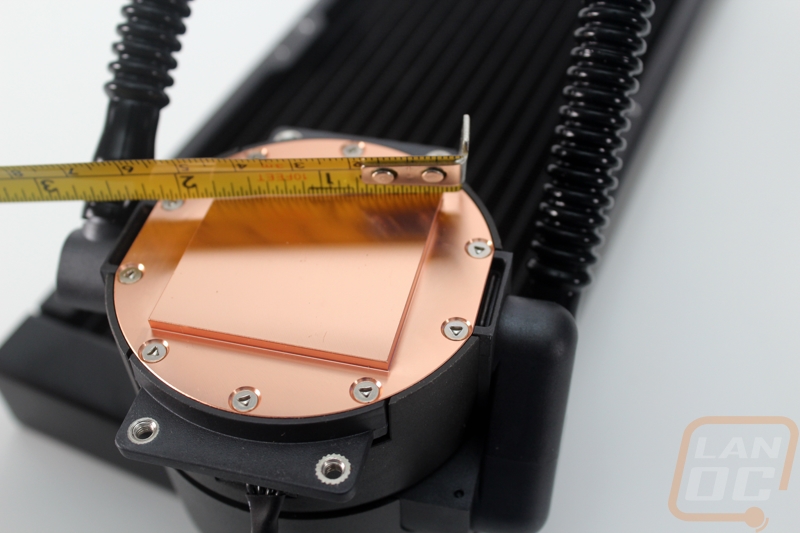
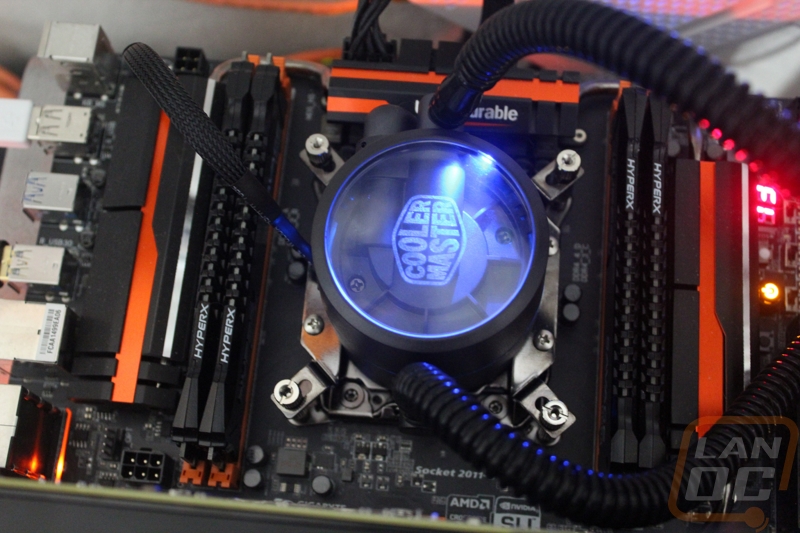
So like I said it’s the pump design of the MasterLiquid that is the most unique. Cooler Master is using a dual chamber design and you can see it even from the external photos of the pump. It pulls in coolant up in the top half and this picks up some of the heat then it is pumped down into the middle of the water block to get the coolest coolant right onto the hottest part of the waterblock. Most pumps pump from side to side so the pump from the middle out design is a little different. The pump housing has a transparent window up on top with the Cooler Master logo etched in it and they have blue backlighting to light up this area. The dual chamber design does end up being considerably thicker than the normal AIO designs. The pump is actually 2 ¼ inches tall. This shouldn’t affect fitment in any cases, but it does stick up a lot more than you would expect. For power, there is a very short fan header lead that comes off the back of the pump.
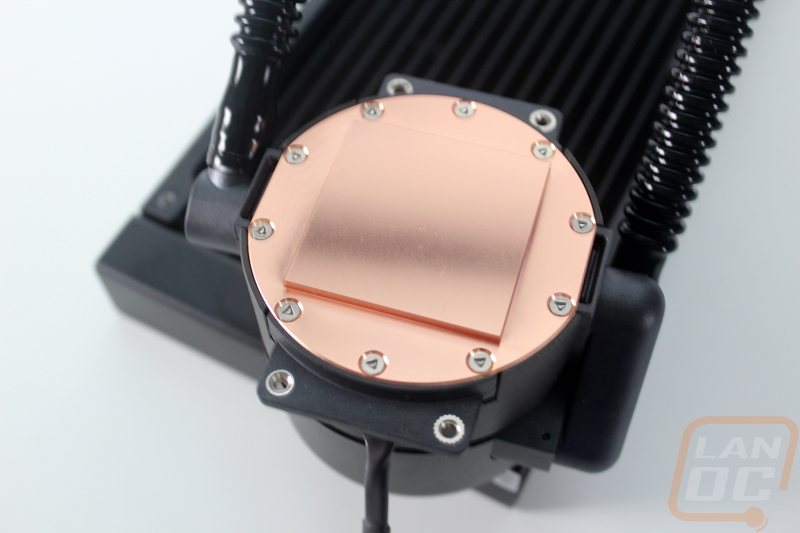
The bottom of the pump is all copper and has a solid CPU shaped square for the contact patch. It does not come with thermal paste applied so keep that in mind when you are installing the kit. The pumps contact surface is flat and machined but has a flat finish, not the glossy perfect contact area that I would prefer to see. You can still polish it out, but typically people buying an AIO kit aren’t looking to put in that time, nor do I blame them.
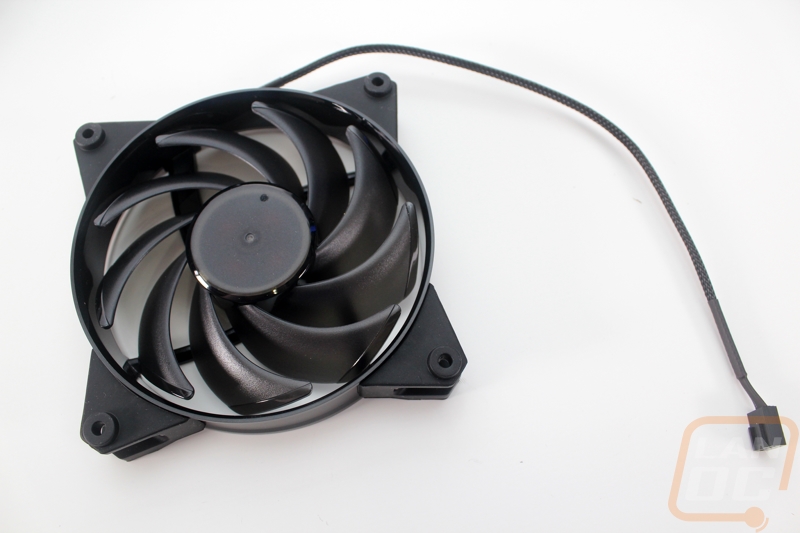
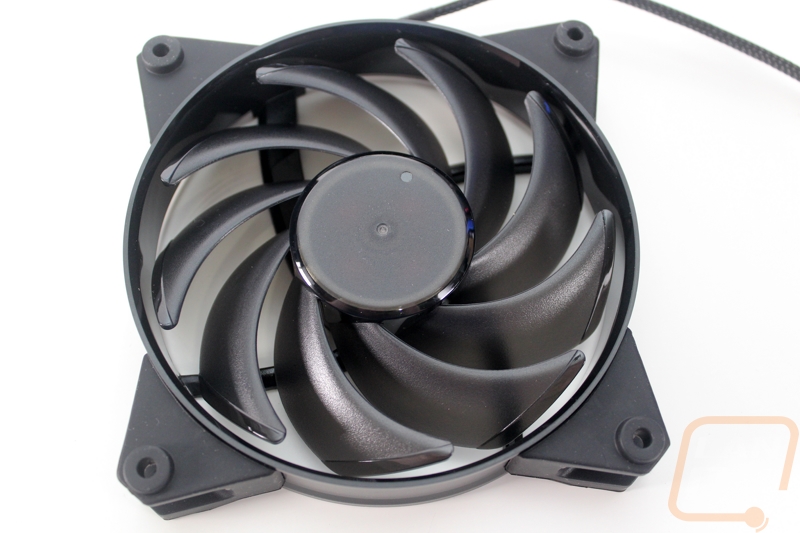
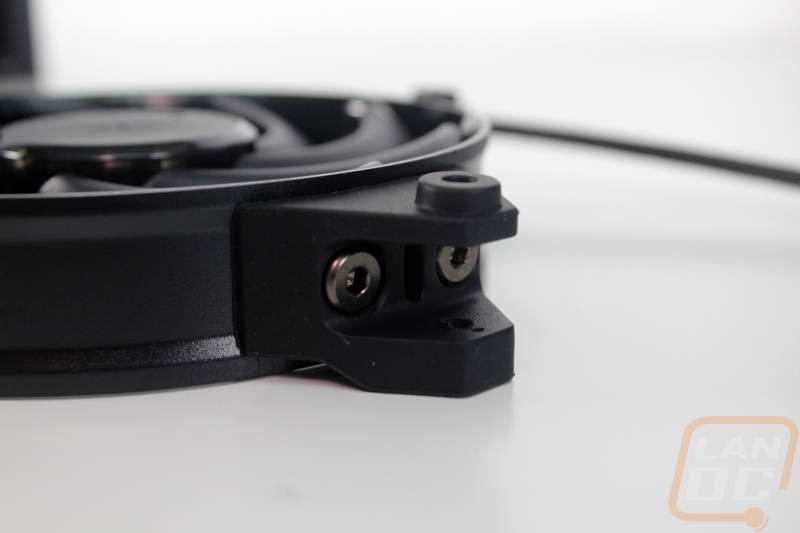
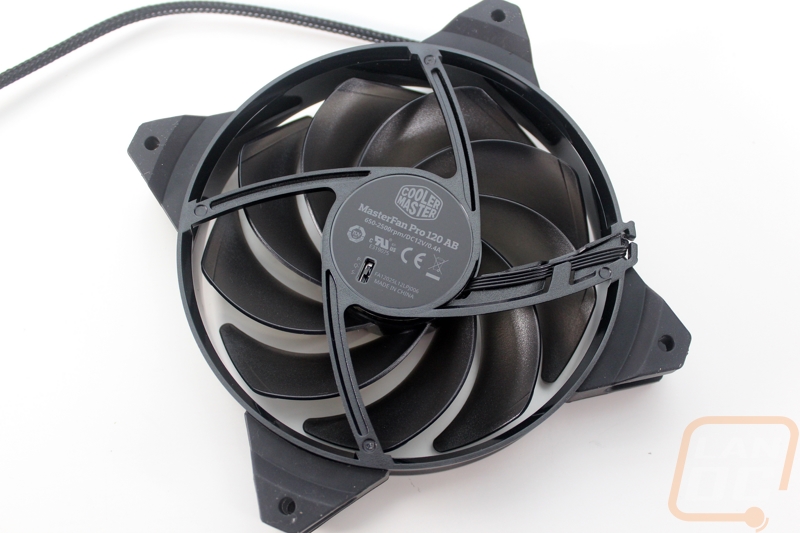
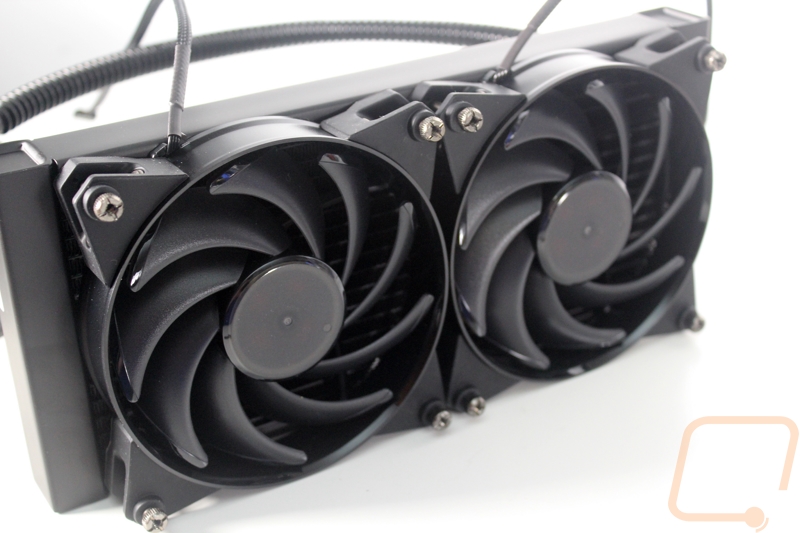
For fans, Cooler Master went with their MasterFan Pro 120 AB’s, the AB stands for Air Balance. These are 120mm fans but a little different than normal fans. The chassis for the fans is completely round and then each of the four mounting points are actually bolted to the fans. The mounts are all rubber and help absorb the vibration right from the start to keep the noise down. The fan has 9 blades, all with a twisted design to help cut into the air and give the fans their 66.7 CFM airflow. I love that the fan doesn’t have a sticker or any branding out on the outside. They do have a sticker on the back of the fan with the Cooler Master logo, all of its certifications, and the model name. What is really interesting, though, Cooler Master actually slipped in a tiny switch here at the motor. The switch lets us switch between three fan speeds and the fan comes set on the middle setting.
Our Test Rig and Methodology
| Our Test Rig | ||
| CPU | Intel i7-5960X | Live Pricing |
| Memory | Kingston HyperX FURY Black 32GB Quad Channel Kit 2666 MHz | Live Pricing |
| Motherboard | Gigabyte X99-SOC Champion | Live Pricing |
| Power Supply | Cooler Master V1000 Power Supply | Live Pricing |
| Storage | Kingston Hyper X Savage 960GB SSD | Live Pricing |
| Case | Dimastech Test Bench | Live Pricing |
| Test Methodology | |
| Fan Noise | Using a decibel meter 6 inches away from the fans or pump we test 25%, 50%, and 100% fan speeds |
| Fan Speeds | To go with our noise testing we also document the fan speeds when they are running at 25%, 50%, and 100% |
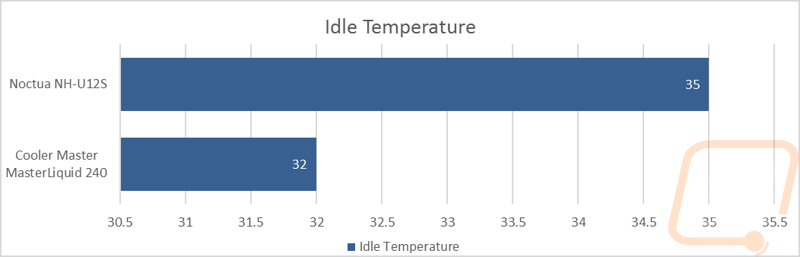
| Idle Temperatures | We test the idle temperatures using the included tool from our motherboard. |
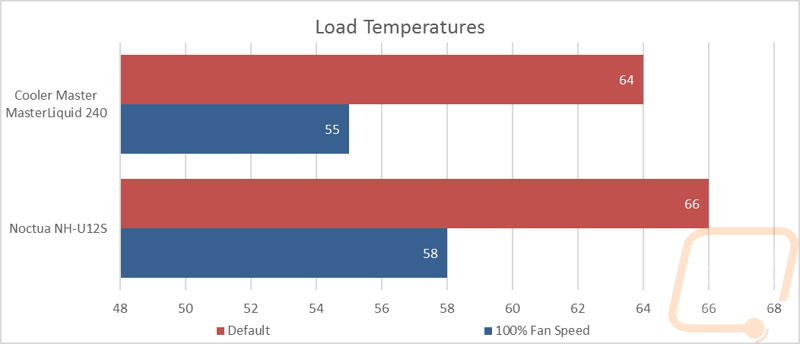
| Load Temperatures | Using the latest version of Prime95 on the Small FFTs setting we put the CPU under load for 30 minutes. This always tested at 100% fan speed and then again with the fan profile set to the stock profile on our motherboard. |
| Test room temperature | The room is always set to 70 degrees no matter the season |
| Temperature readings | We use the Intel Extreme Tuning Utility to get package temperatures from the CPU |
Installation and Performance
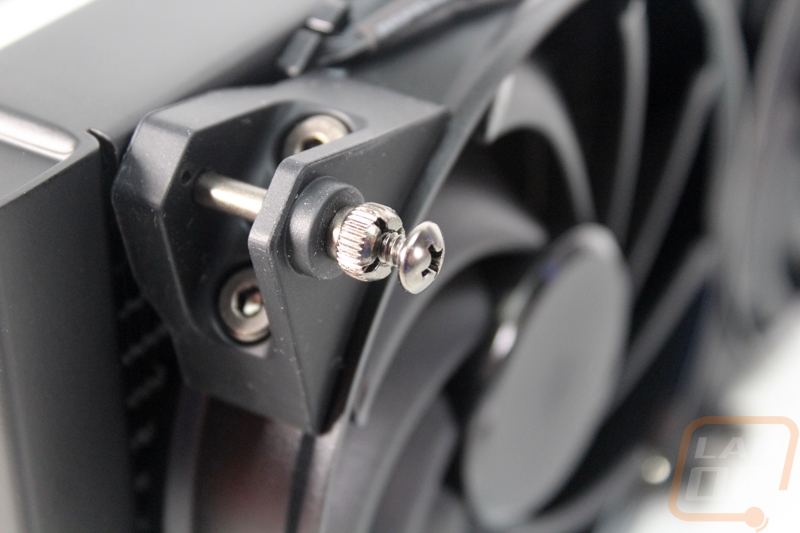
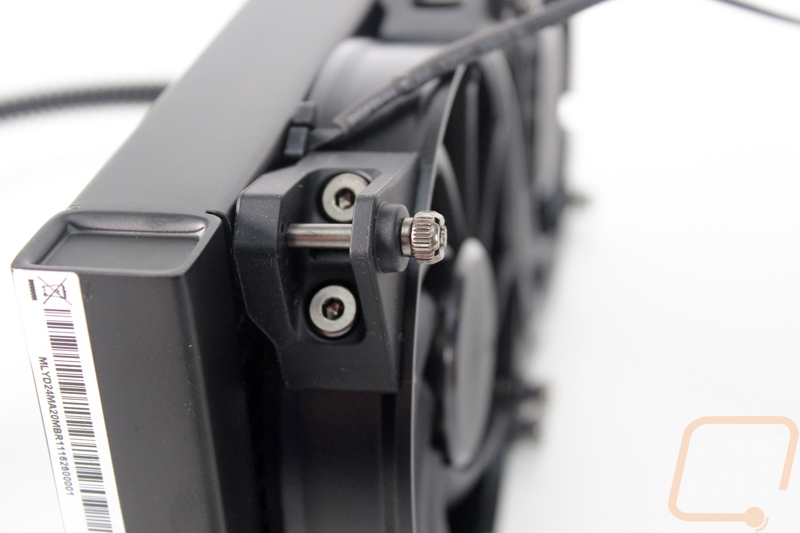
Before I dive into testing I did have to install the MasterLiquid 240. To get started with this I pre-installed the two fans onto the radiator. Depending on your case configuration you will sometimes have to install the fans and the radiator into the case at the same time but Cooler Master also has a new design that can help with that. The included fan screws are actually thumbscrews but they also have a threading in the end. You can install the fans and then use the included screws to attached the fans and radiator into your case. The downside to this is the thumbscrews are thick and the fans won’t get installed flush against the outside of your case. I would love to see them also include a set of normal long screws for situations where the extra thickness won’t work. That said it was really easy to install the fans with the thumbscrews.
With our fans installed I just needed to sort through all of our parts and figure out what I needed for our test bench. For a 2011 socket build I actually only needed the Intel brackets, the standoffs, and the top bolts. I did also have to use four screws to install the brackets but I forgot them in the photo below. 2011 socket systems don’t need a backplate because the mounting system is built into the socket itself.
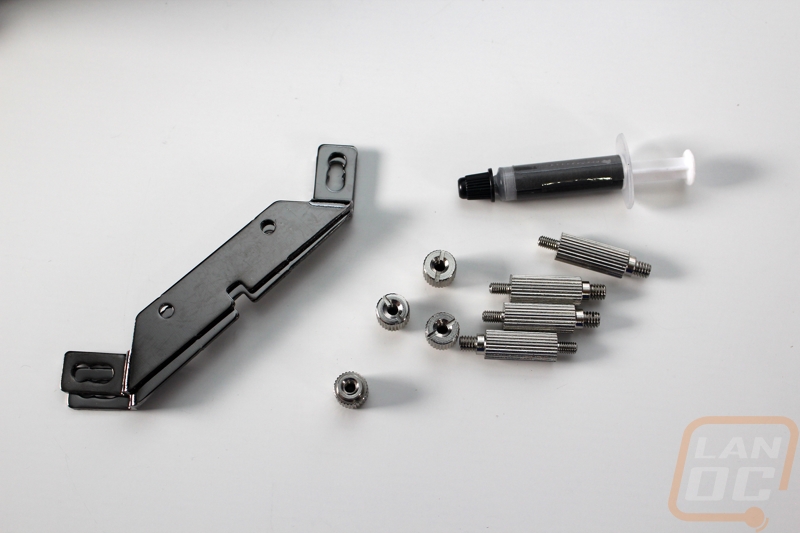
So I preinstalled the standoffs, this was easy because they are designed to be installed without any tools. From there I installed the two mounting brackets onto the pump. Then I put thermal paste on our CPU and installed the pump. I then used the four nuts to tighten everything down.
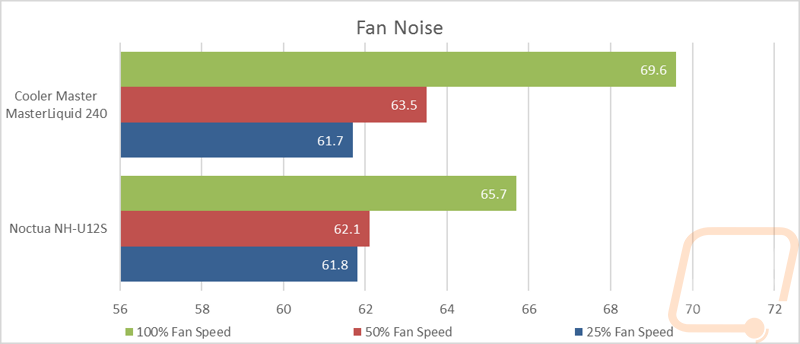
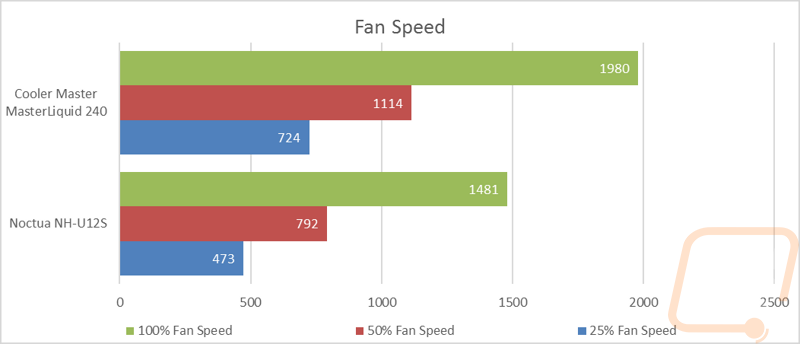
With everything installed I jumped into our testing. Due to our test bench being completely new after our old one died, I don’t have a lot of our past cooler results to compare the MasterLiquid 240 with, but I did test our normal Noctua NH-U12S against the water cooling to get an idea of overall performance. I started off my testing by testing the noise performance. With air cooling, this involves just testing the fans but for water cooling, I test both the pump and the fans and go with whatever is the loudest. When I first turned the MasterLiquid 240 up to 100% pump speed there was a bit of extra noise, but once the air that must have been in the lines cleared out it was the fans that were the noisiest part of the cooling. I did my testing using the fan on the middle fan setting that they ship on as well. What I found was the dual fans of the MasterLiquid 240 when turned all the way up run at about 500 RPM faster than our Noctua cooler and with that were 4 decibels louder. That is only at 100% fan speed and frankly, you shouldn’t be hitting that in normal use. I was, however, impressed with the 50% fan speed numbers as well as the 25%.
The second half of my testing was, of course, focusing on temperature testing. I used Intel's Extreme Tuning Utility to document the temperature directly on the CPU, not the thermal sensor the motherboard uses under the CPU. Letting the CPU run at idle with nothing running the temperatures settled down to an impressive 32 degrees Celsius in our 70-degree Fahrenheit office. The Noctua that was also performing well was a few degrees higher at 35 degrees. Idle temps aren’t all that important, though, they mainly show that we have good contact with the CPU. To really test things I used Prime95 with the FFT setting to heat up the CPU for a half hour and documented the highest peak temperature. I did this twice, first I tested with the fan settings running on their default profile from our motherboard to see where things would settle then I tested again at 100% fan speed. I do this to see what you should expect for everyday performance in a worse case situation and then I test at 100% fan speed to see the max cooling the setup is capable of if noise was never an issue. Here the MasterLiquid came in two degrees under the Noctua cooler under normal settings but three degrees with the fans cranked up. No huge shock here, the radiator has more cooling surface than the Noctua cooler and also has twice the fans. Remember these are on CPU numbers, our motherboard software was actually showing 10 or more degrees cooler.
Overall and Final Verdict
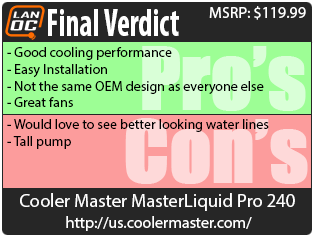
With Cooler Master slowly moving their product lines into the new Master branding it wasn’t a big shock when they introduced the MasterLiquid Pro 240. In fact a few month ago they send one of the kits over but there were a few fitment issues that they fixed. They went with a completely different design than what everyone else is going with for AIO kits. This is mostly because Cooler Master didn’t just go with an OEM kit from the company with most of the patents on AIO kits. They went out of their way to design something completely different and that is really clear when you look at it. The MasterLiquid 240 ended up performing well, outperforming the typical Noctua cooler than we run. It ran cooler at both idle and under load and while it didn’t outperform on the noise testing, I would say it ran nice and quiet with the exception of when I had both fans running at 100% fan speed. Installing the kit wasn’t any harder than your standard heatsink. They had compatibility for any socket and it was just a matter of getting the correct parts out for our specific socket. I think the best part about the kit are the two MasterFan Pro 120 AB fans that they include with it. They have a nice rubber mount design, good airflow, and there is a switch on the back to help tune the kit for noise or performance.
My two complaints about the kit were both with its aesthetics. Cooler Master went with the same plastic water lines that most of the AIO kits come with. I’ve never been a fan of them, but with companies like Corsair selling similar kits with nicer lines, it would be great to see them improve the MasterLiquid with them as well. Beyond that, I was a little concerned with the overall height of the dual chamber pump design. I didn’t run into any fitment issues due to it, but it does look a little tall. Neither issue had any impact on the performance of the kit, though, but I do think more people buy AIO water cooling kits for that water cooled look than anything else.
The MasterLiquid 240 has an MSRP of $119.99 and that in itself is less than the MSRP for the Corsair H100i V2 that I would consider the most popular current 240mm option. That said right now the Corsair is selling for less, Cooler Master is going to have to beat this kit in pricing to have a big impact on the market. So the MasterLiquid Pro 240 is a good kit, but keep an eye on its price for it to really be the kit to get.

Live Pricing: HERE


