Installation
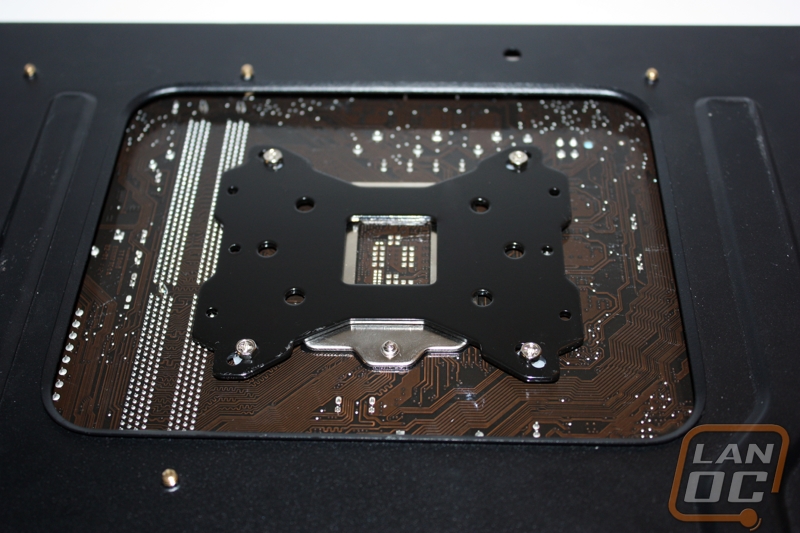
We will be installing the AXP-100 according to the included users guide and using the socket 1155 instructions as we always do. First up is the backplate where Thermalright has chosen to go with pretty standard looking solution. The plastic spreaders thread into the mounting holes and hold the mounting screws in place while you tighten down the standoff washers. Not much effort is required here though, do be aware that only one side of the washers hare plastic and this is the side that comes in contact with the motherboard.
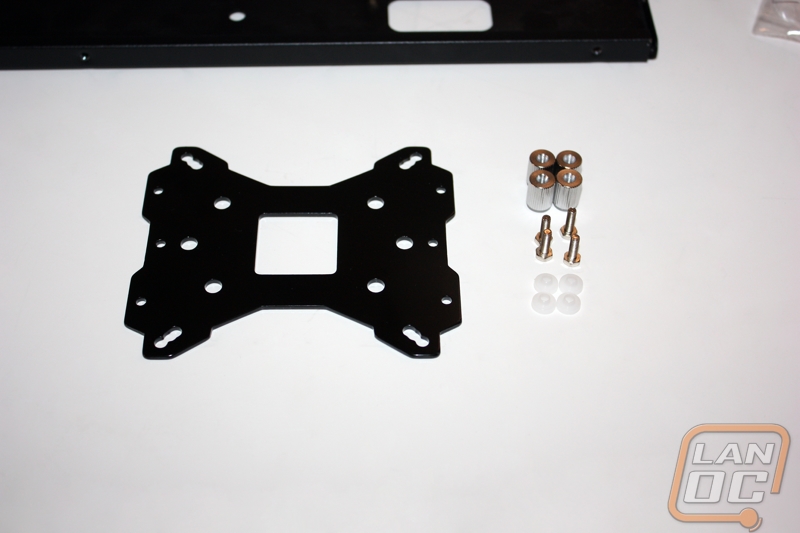
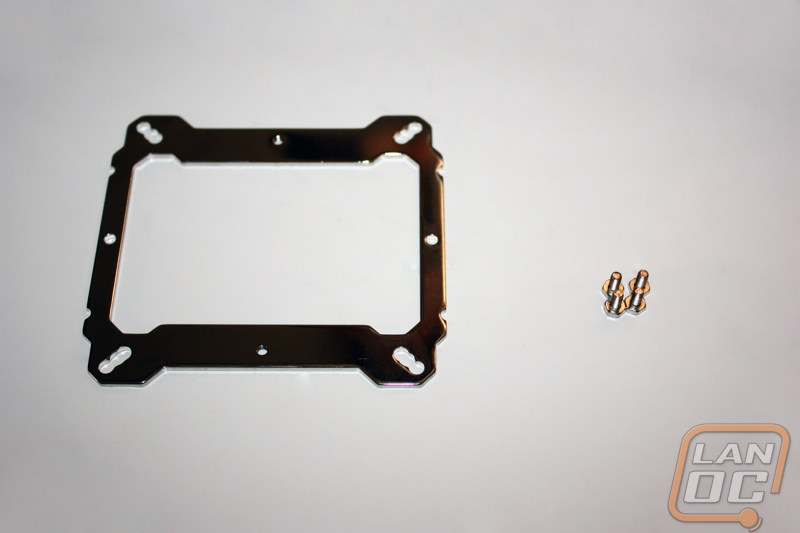
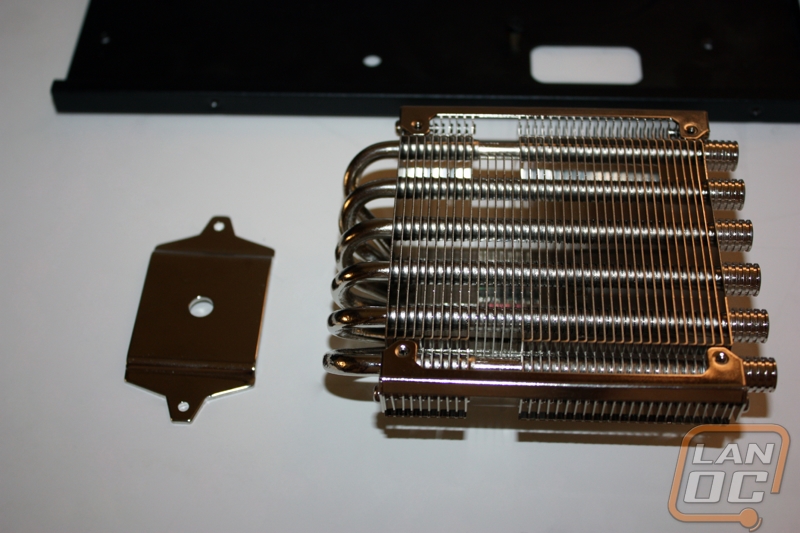
Next up is the mounting plate which screws into the standoffs in much the same way as the backplate. The screws are threaded in the opposite direction so no worrying about undoing your already completed work.
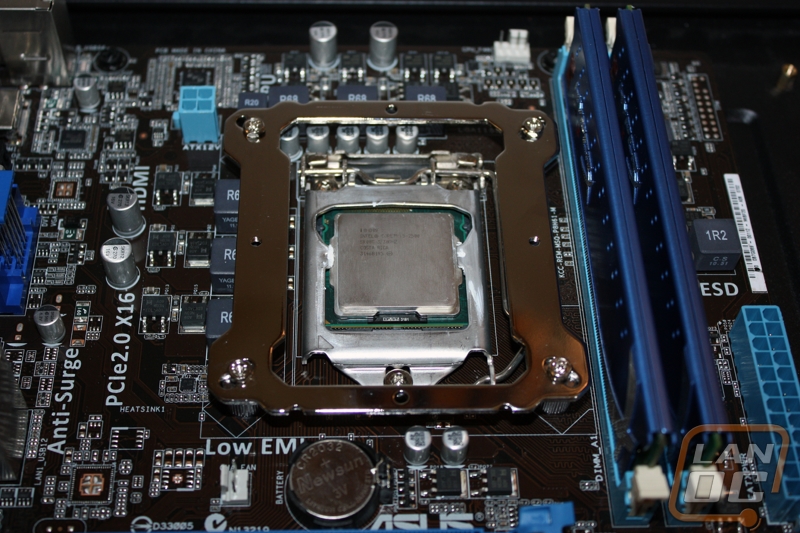
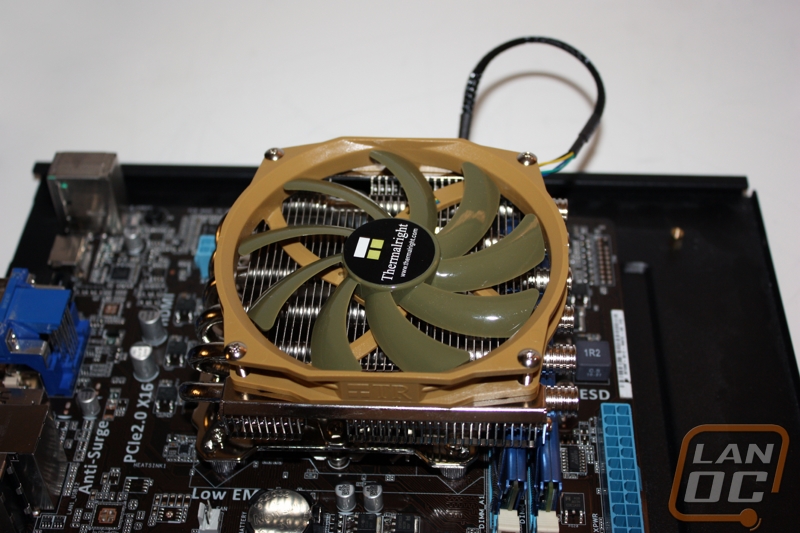
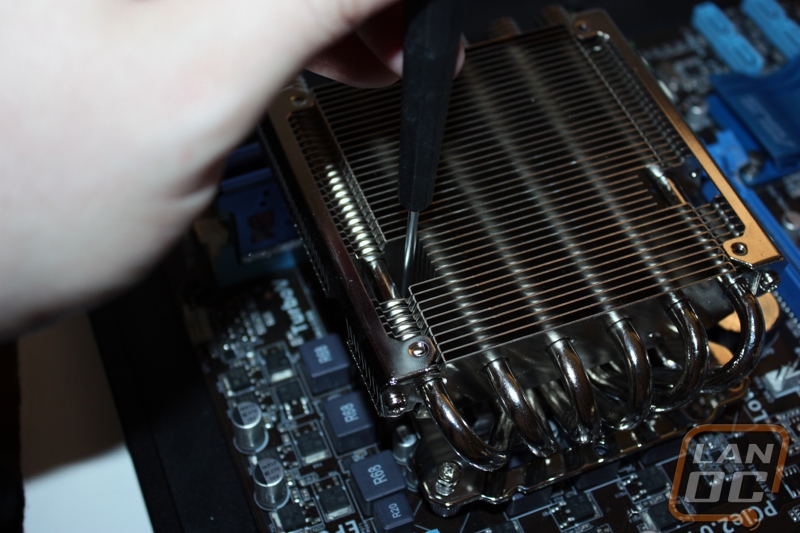
Probably the most difficult part of the installation is up next. The cooling unit secures to the mounting plate with two screws and is held firmly in place by a metal bracket. Thermalright has made tightening these screws down with large hole directly over the screws but you still have to tighten both screws down evenly to prevent the cooler form sliding around.
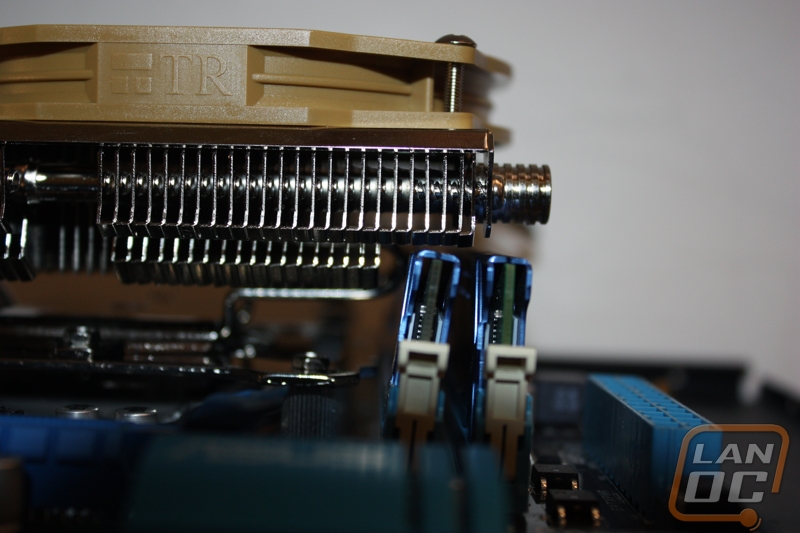
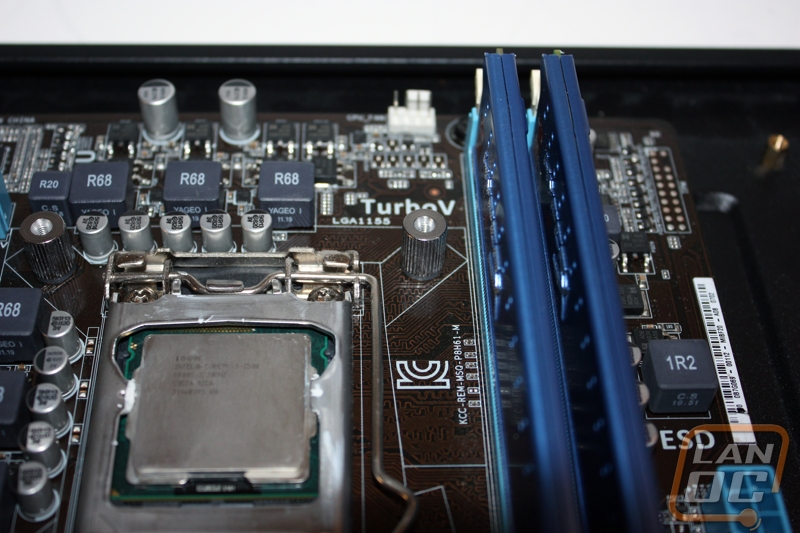
With four more mounting screws to secure the TY-100 fan in place we are ready to begin the testing though there is a problem to report, at least with our board. Once secured in place the cooler does crowd over into the RAM DIMMs a fair amount and results in a less than perfect fit.