Installation
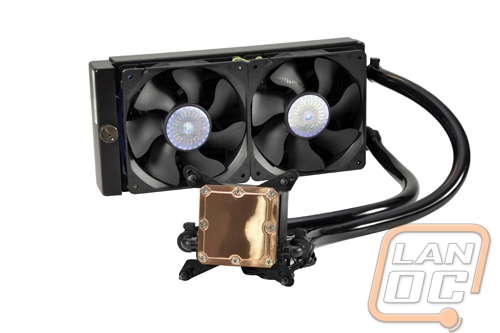
Fair warning, this is about to be our shortest installation to date because, thanks to Cooler Master, this AIO cooler is a breeze to install on any supported socket. We will, of course, be following the instructions for an LGA1155 install.
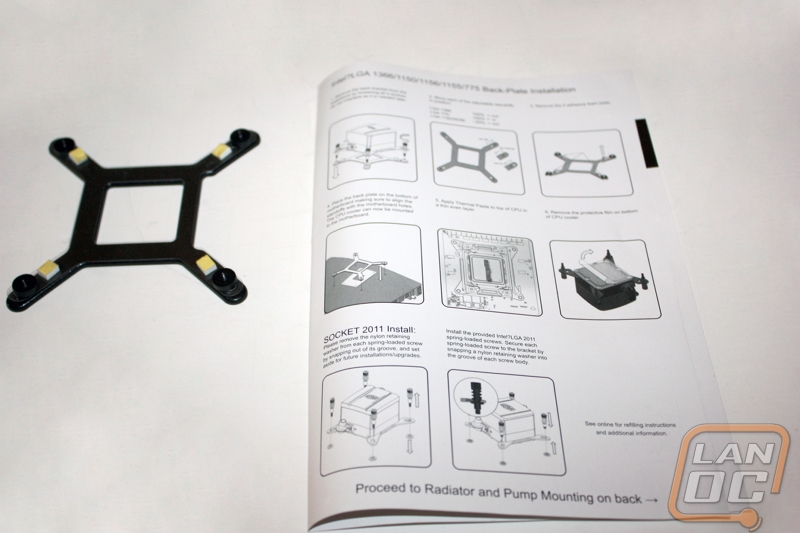
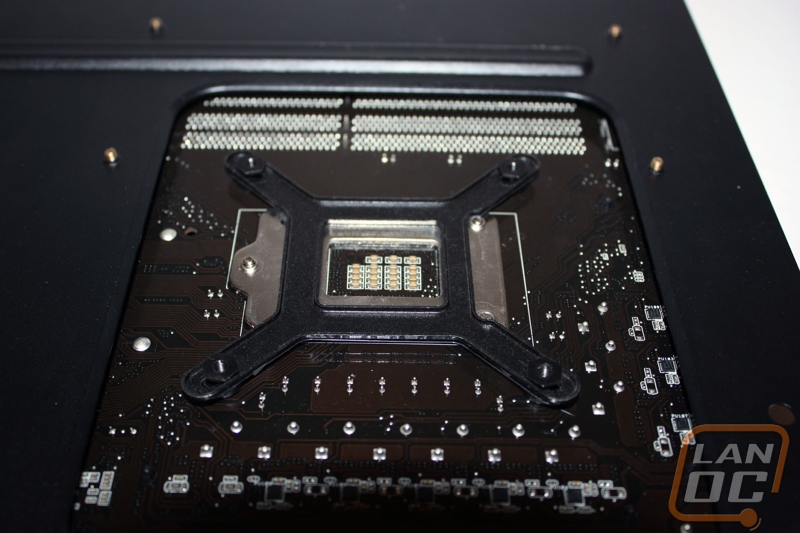
The backplate is as simple as peeling off the yellow covers from the adhesive patches and attaching it to the back of your motherboard. After that it isn’t very hard to line up the bracing holes with the mounting screw holes though I do feel some way to lock them in place afterwards would be a welcomed edition to later revisions.
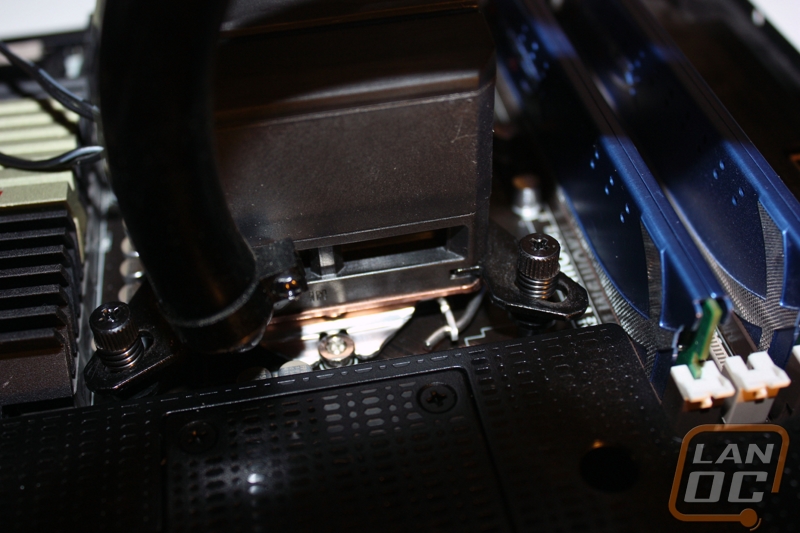
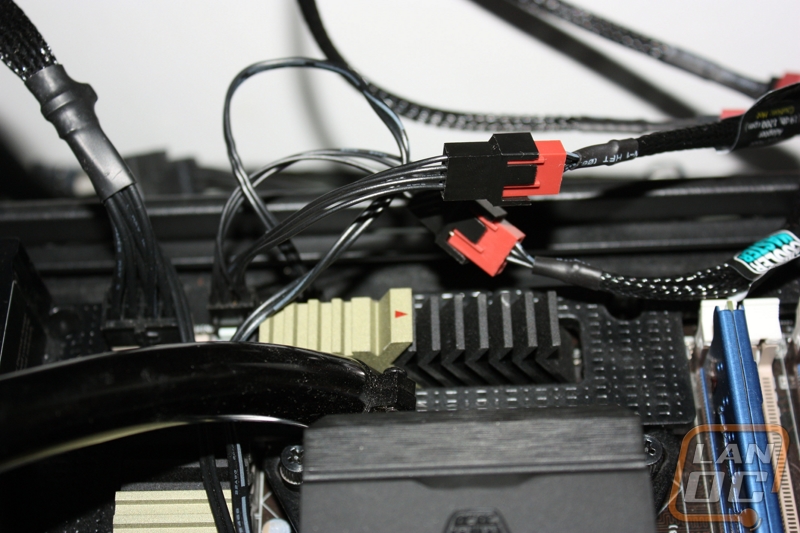
The only thing left after that is tightening down the spring screws to secure the block to the CPU. The whole ordeal is as simple as peel, place, and then tighten down four screws. All-in-all the whole installation took me less time than finding a way to plug in everything. Be wary of that as the pump requires a SATA power and 4-pin power by itself then you are left to find a place to power your radiator fans. A PWM splitter or some way to reduce cabling is would be recommended if you want to do anything more with this cooler than just the basic out of the box install.