Today we take a look at our second cooler from Be Quiet! and while I was left impressed by a few features and performance found in the Dark Rock Pro 2, the massive size of the cooler left a bit to be desired in the board real estate department. This time around we are looking at a few less heat pipes, one less fan and a drastically different design in the Shadow Rock TopFlow. Will this different design match its sibling in performance and hopefully offer us a bit more space to stuff our components? We shall see.
Product Name: Shadow Rock TopFlow
Review Sample provided by: Be Quiet!
Review by: Debo
Pictures by: Debo
|
Specifications |
|
|
Cooler Unit |
|
|
Model Number |
BQ SR1-48-135 |
|
Material & Finish |
Aluminum fins / nickel plated |
|
Socket Compatibility |
Intel: LGA 775/1155(1150)/1156/1366 AMD: 754/939/940/AM2(+)/AM3 |
|
Dimensions |
137 x 117 x 126mm |
|
Weight |
654g (w/ fan) |
|
Delta T @ 100W |
11.8o C |
|
PWM Fan |
|
|
Dimensions |
135 x 135 x 25mm |
|
RPM @ 100% |
1500rpm |
|
Airflow |
113.6 m3/h; 66.8 cfm |
|
Noise @ 100% |
23.5 dB(A) |
|
Lifetime |
200,000h |
Packaging and Overview
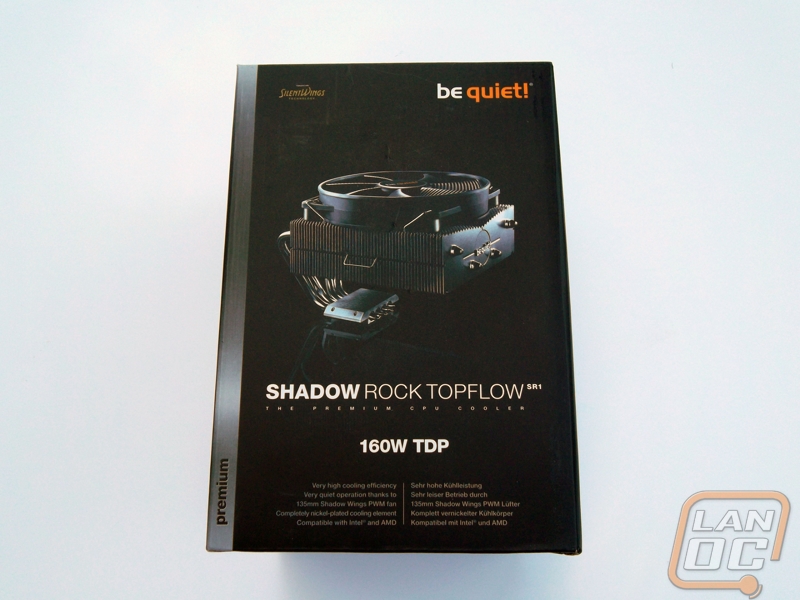
We are greeted by the Shadow Rock in the same way as the larger sibling with a direct and informative package that shows off the unit itself and highlights a few major features immediately for us. The strip down the side reads “premium” this time and while I’m unsure exactly where that lies in Be Quiet’s lexicon I am sure it is somewhere near the top and firmly in the enthusiast range.
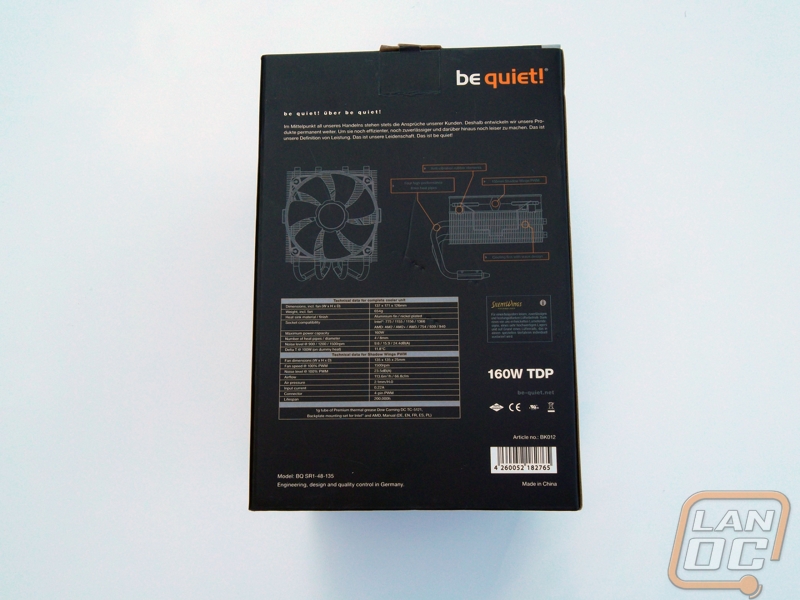
The rear of the package has the wiredrawing of the Shadow Rock and gives us the layout of the top down design while highlighting more technical aspects of the cooler from the four 8mm heat pipes to the wave designed fins. The full specifications are found under the drawing and all and all I like the direct approach.
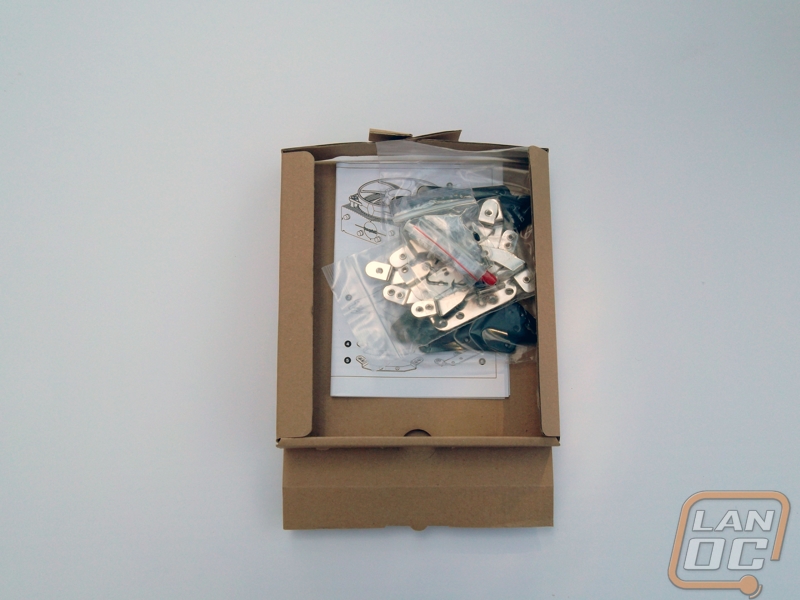
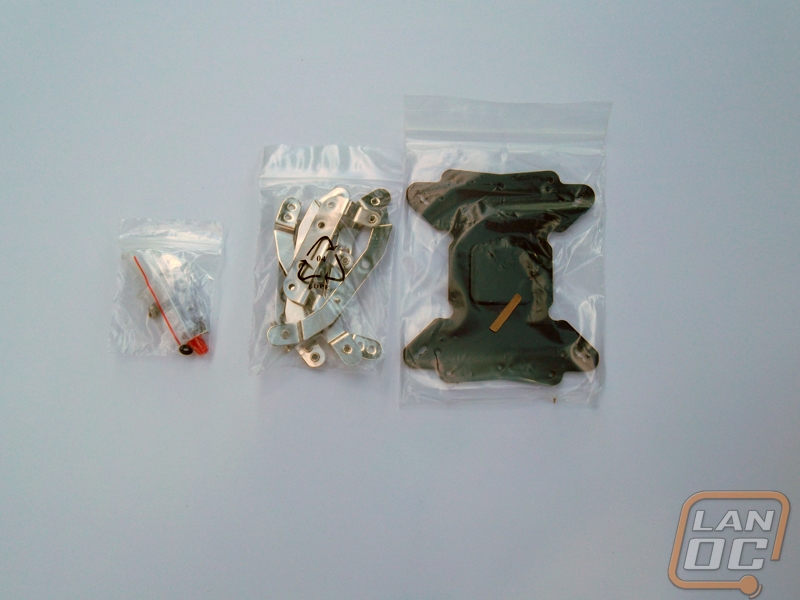
The first thing out of the box is all the various mounting pieces, a sturdy backplate and the ever important installation guide. The included tube of Dow Corning TC-5121 thermal compound is enough for maybe three applications so mind your instructions. The installation package is again quite small compared to most enthusiast coolers so let’s hope for an equally painless install.
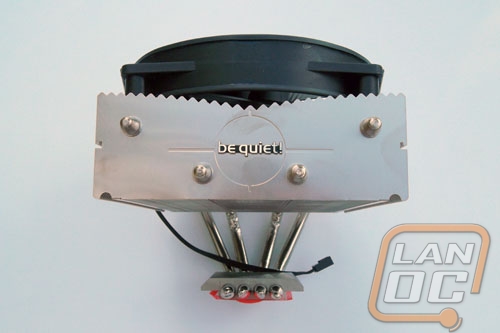
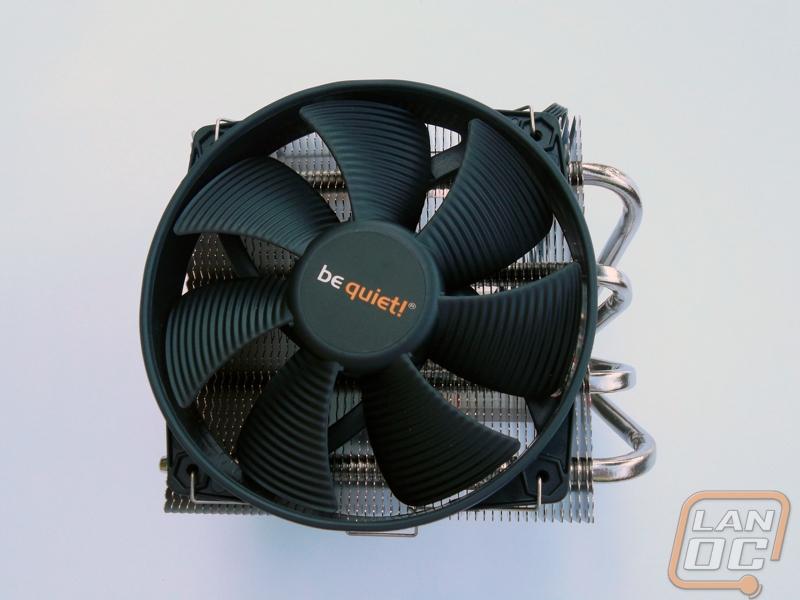
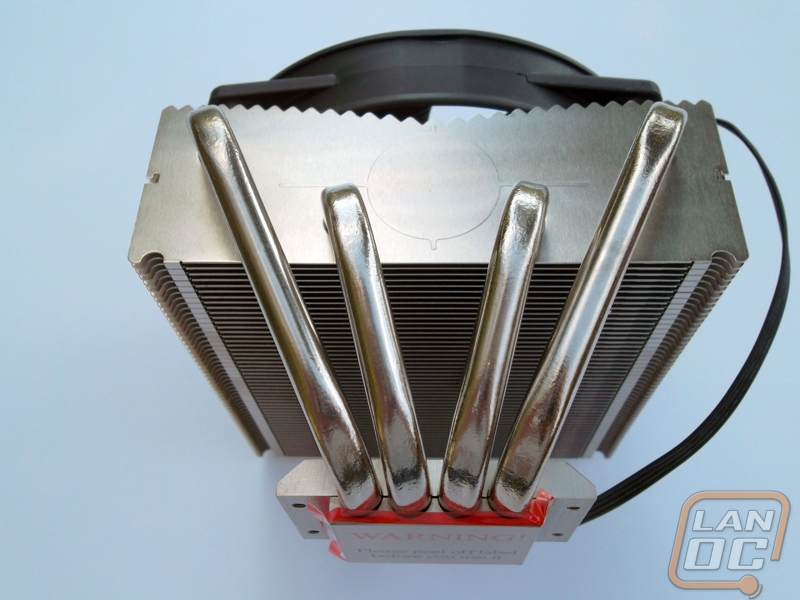
The first real world look we get of the cooler is fittingly from the top down at the large 135mm Shadow Wings PWM fan strapped to the top. A similar fan used in the Dark Rock Pro 2 proved to be quite effective and silent as well so there is much to already look forward to.
From the side on we can already get the feeling of how much underneath space this cooler will allow from thing such as RAM and with as wide as the design seems the extra space might be needed more so as it encroaches into the realm of the 12-pin power plug on most ATX motherboards.
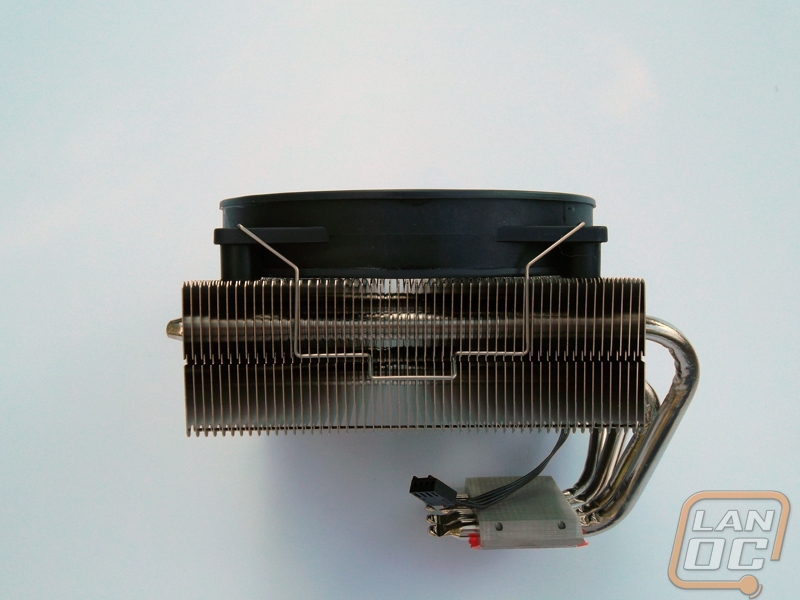
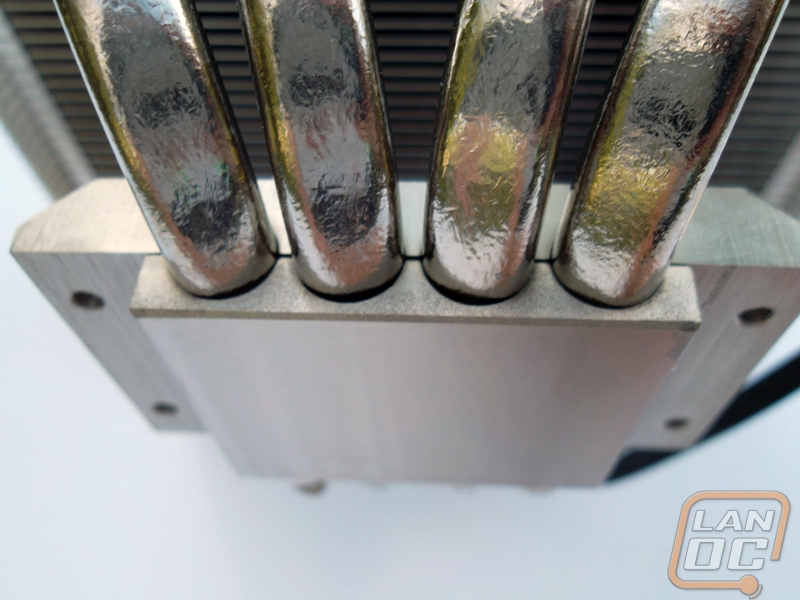
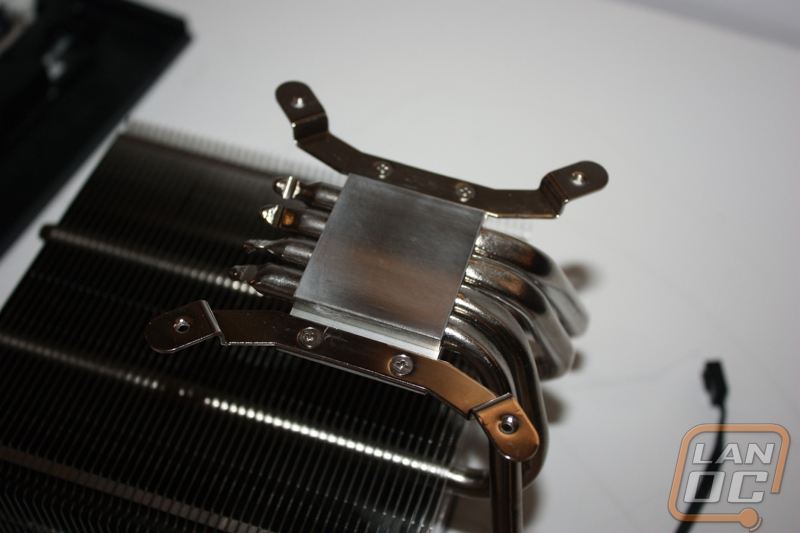
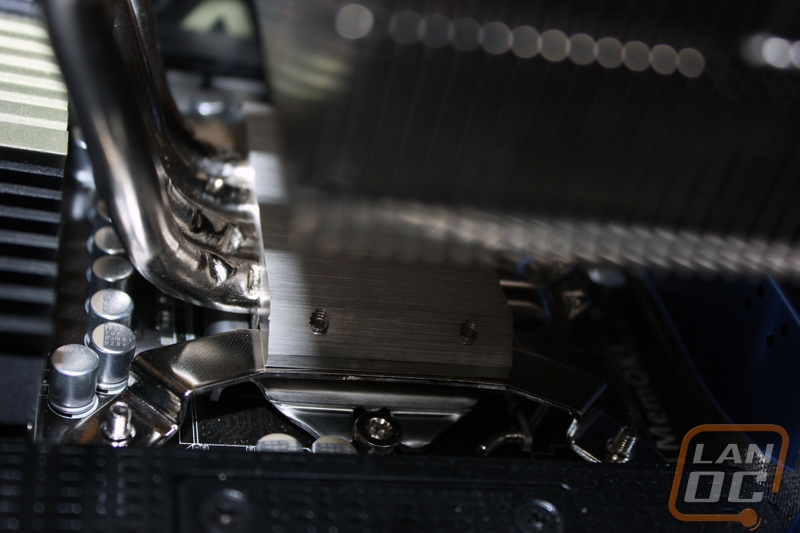
The last initial look at the Shadow Rock is the massive heat pipes. These are good for not only from a cooling standpoint but also because the large, 8mm pipes serve to support the majority of the cooler’s overall weight. These four heat pipes run through the block, not making direct contact, and dissipate their heat through the fins.
Testing Methodology
Our testing rig is as follows:
- Processor: Intel Core i5-2500 @3.3GHz
- Motherboard: Asus Sabertooth P67
- HDDs: Seagate Barracuda ES.2 1TB
- RAM: 8GB Kingston DDR3 1600
- Video Card: NVIDIA GeForce GTX 560 Ti
- Case: CoolerMaster xB
- OS: Windows Home Premium x64
A total of two tests will be run. These tests are as follows:
- A Peak Test with the supplied cooler and fan setup running Prime95 for a total of 30 minutes.
- A Real World Test using the supplied cooler and fan setup running 3DMark 11 for a total of 30 minutes.
The Peak Test is meant to test the absolute worst case scenario you could throw at your perspective cooler and will both be conducted with the CPU fans running at 100% RPMs under load. The real world test is something a bit less stressful, meant to give you an idea of the coolers performance in a more day-to-day sense.
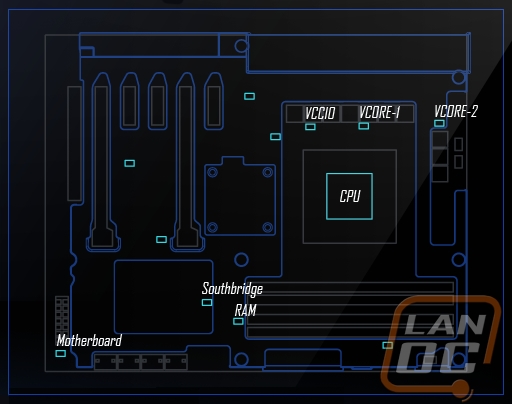
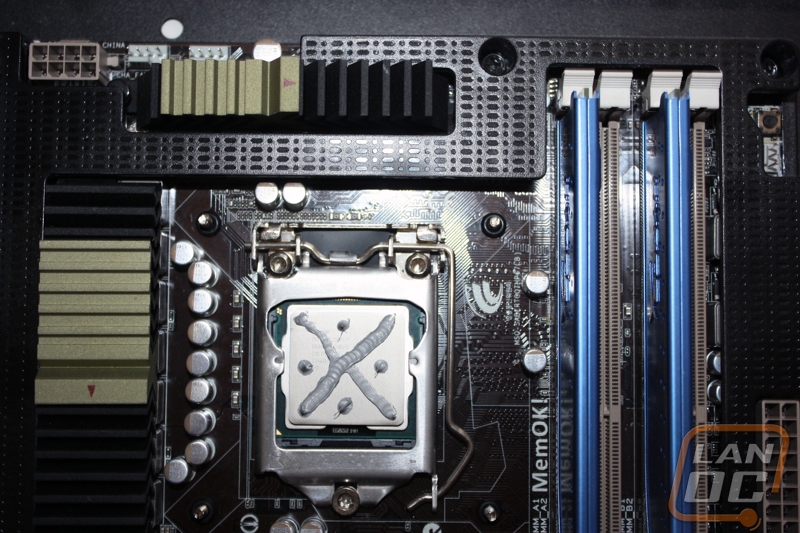
All tests will be performed using Noctua NT-H1 thermal paste in order to eliminate that variable from testing. CPU temperature reading will be taken using RealTempGT, RAM DIMM temperatures will be taken with a non-contact infrared thermometer and the remaining temperature results will be taken using the Sabertooth P67’s own temperature sensors using the following layout.
The Peak test will also be subject to noise level measurements taken with a digital sound level meter every 10 minutes throughout the test to be averaged into an overall comparison score during both load and idle timeframes.
Installation
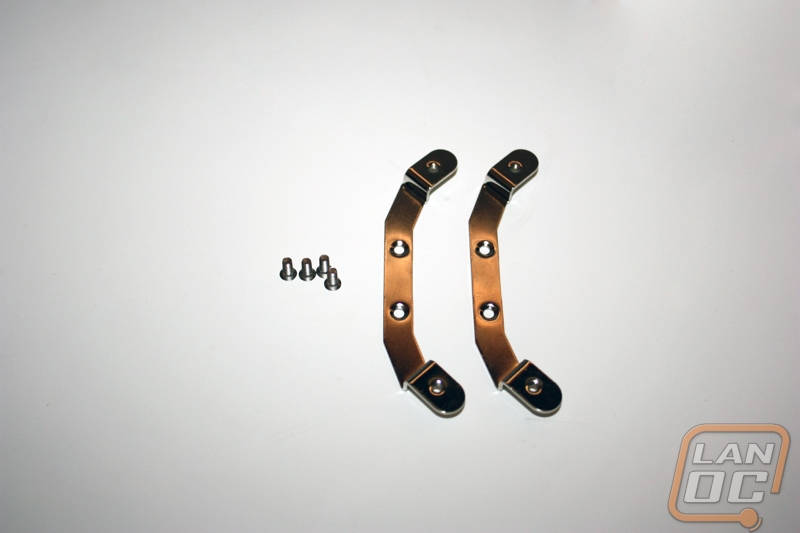
As previously established, we will be following LGA1155 installation instructions when working with our test bench but the Shadow Rock TopFlow comes with support for an array of both Intel and AMD sockets. We will first start out by attaching our mounting clamps to the cooling unit. Tightening the four small screws into the base is all that is needed and it’s done.
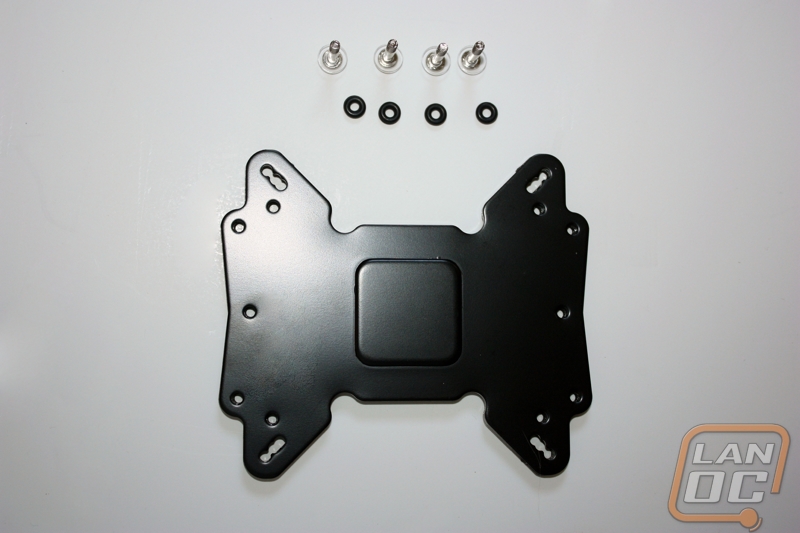
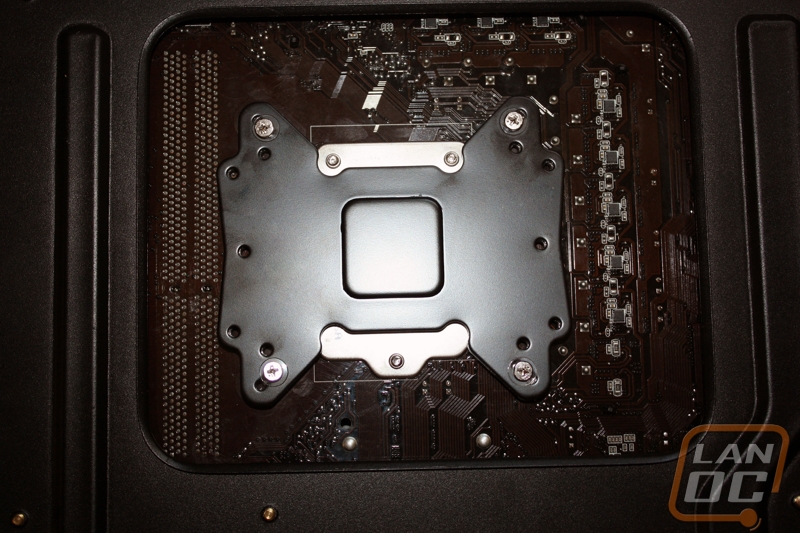
Next we move on to securing the backplate support to the motherboard. This is a thirteen piece process this time around and consists of plastic spacers, screws and rubber o-rings for each individual hole. The entire setup is quite painless and when all is said and done the whole job takes about 10 minutes. The o-ring serve to keep you from tightening the cooler down too much as well as hold the screws steady where most coolers choose to make the job require two hands. Be Quiet earns more stellar marks in this category.
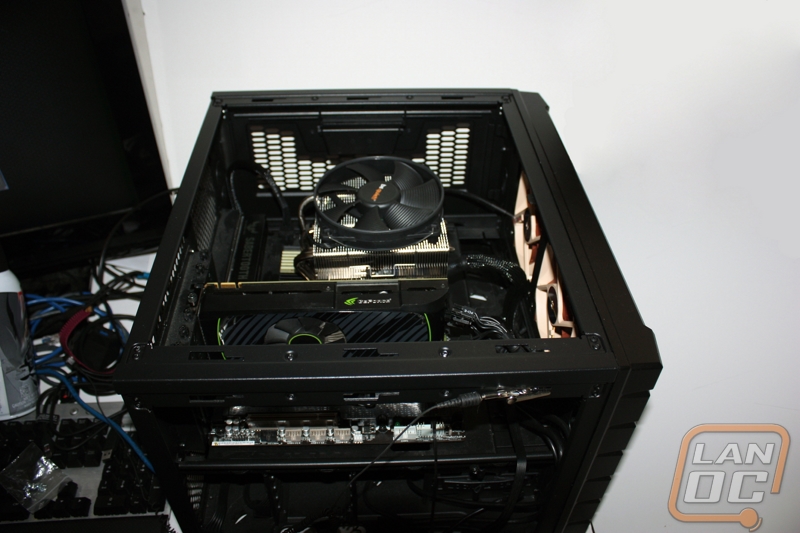
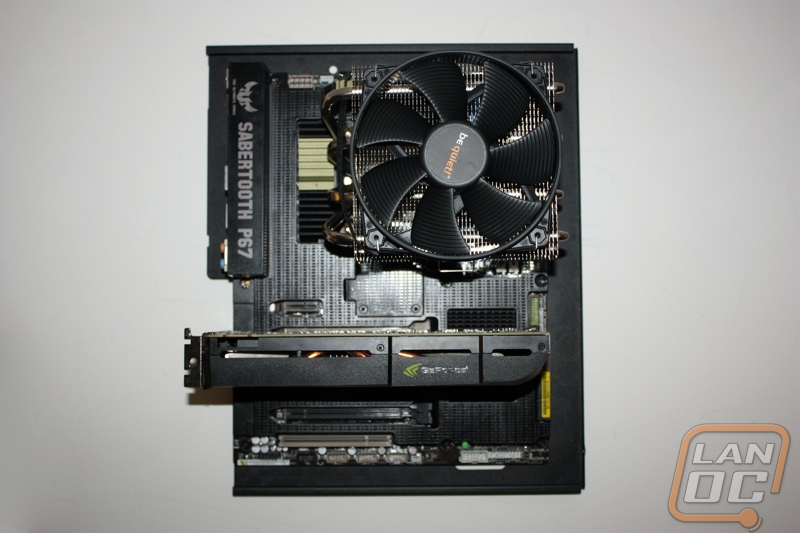
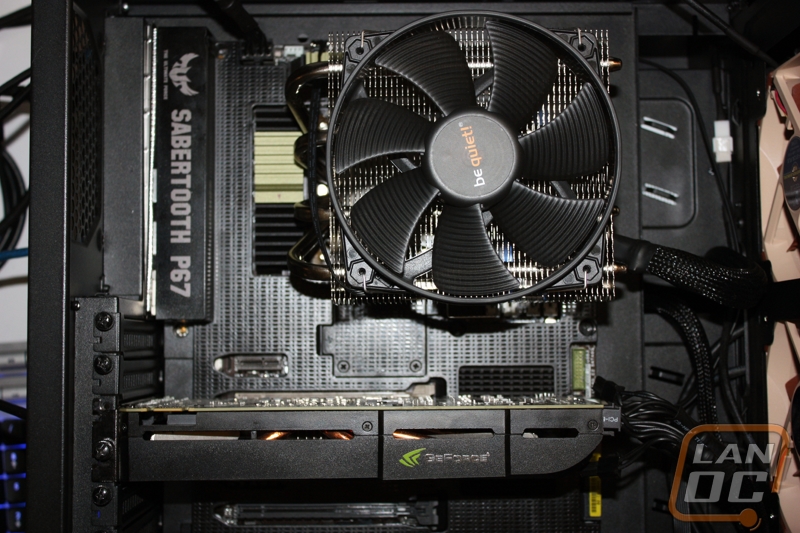
Backplate secured and held in place, it’s a simple matter of screwing on the cooler unit and fastening it in place. With the cooler installed we can check on some of the clearances and we find that there is ample space above the RAM DIMMs. There is enough room on the underside of the cooler to install a second 120 or 140mm fan, however in testing this was not done so I cannot directly attest to its potential performance gain or loss.

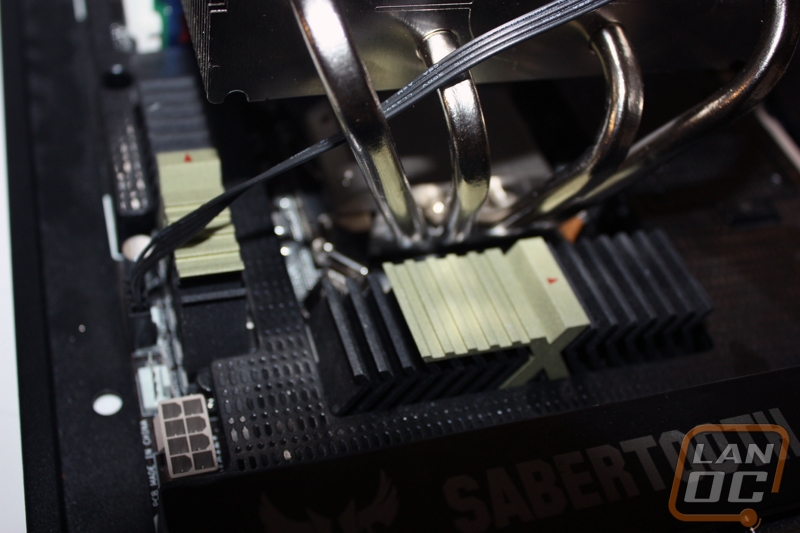
You will also notice that the Shadow Rock is so wide it does in fact cover up the 12-pin power plug on a standard ATX motherboard. While this does make real estate appear a bit crowded after installation the clearance underneath the cooler is such that plugging in this connector is not an ordeal.
While the unit is wide it is important to note the Dark Rock also does have a rise a shade over 5 inches (12.7cm) off the motherboard so plan your builds accordingly. Also be aware you may have to adjust the original fan orientation to have the power connector reach the 4-pin CPU fan slot on your motherboard. I was able to thread mine through but it was a less than perfect arrangement.

Performance
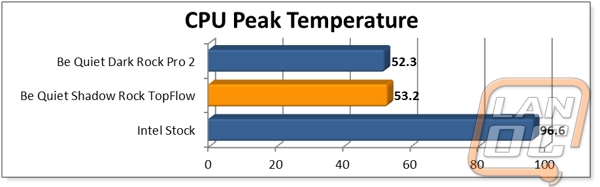
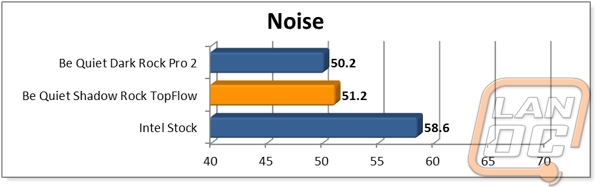
Looking at the Peak test first, we can compare the Shadow Rock directly to its sibling, the Dark Rock Pro 2. We find that while its performance is impressive it does come up just short, if ever so slightly. Where the Shadow Rock does show measured gains is in the RAM temperature which is to be expected with the TopFlow design. With air not only being blown across the fins but also down over the DIMM heatspreaders the added cooling effect here is surely something to consider. Noise was higher on the Shadow Rock and that can probably be chalked up to design with the fan aimed down at the board and fins only supported on a single side by the heat pipes.
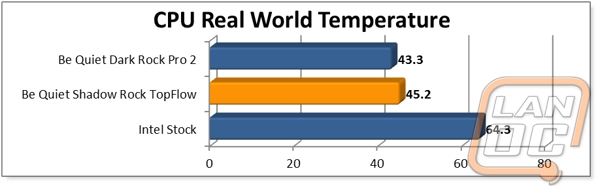
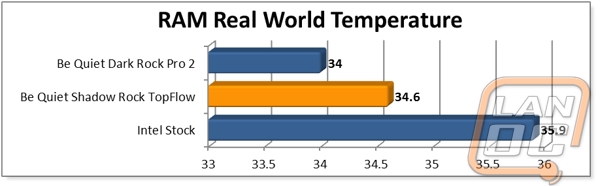
Taking a look at the Real World test we find much the same results with CPU temperatures slightly higher than the bulkier Dark Rock but measurably lower RAM temperatures.

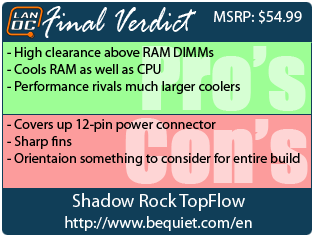
Overall and Final Verdict
Again, I will have to hand out top marks to Be Quiet for their tremendously easy installations. It is uncommon and a very nice surprise being able to go from box to installed in under 20 minutes with little effort overall. The actual performance is wonderful when you consider it is being directly compared to a cooler with more heat pipes and a second fan as well as the added bonus of keeping RAM DIMMs cooler.
A few things to take note of, however, are the Shadow Rock’s larger profile which will take up a large chunk of your board north of the expansion slots. Also, beware during install as the aluminum fins the fan sits on proved to be a bit sharper than originally expected. Due to the TopFlow design you also will have to consider cases which allow air intake from the side panel or top depending on orientation.
All in all though, the Shadow Rock was an impressive piece of cooling technology. With room enough to accommodate both larger RAM heatspreaders and a mild overclock and the flexibility in design the allow for the possibility of an additional fan, the Shadow Rock TopFlow from Be Quiet is well worth your consideration for old and new systems alike.