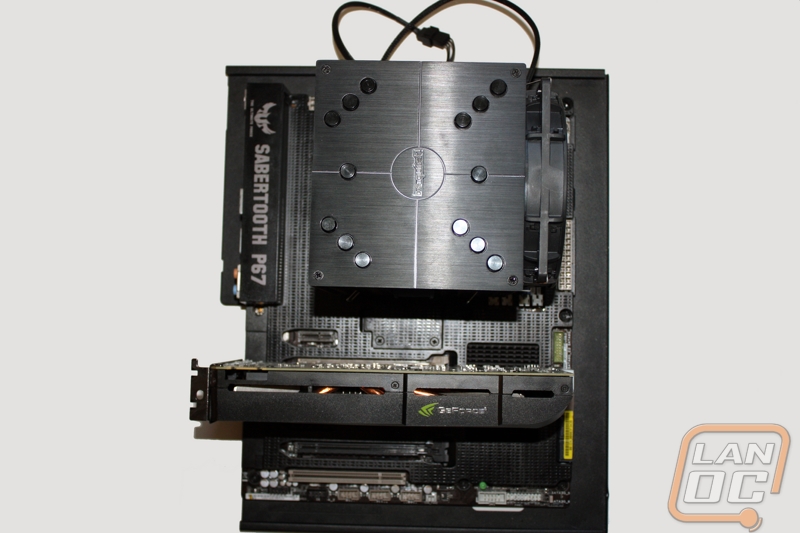
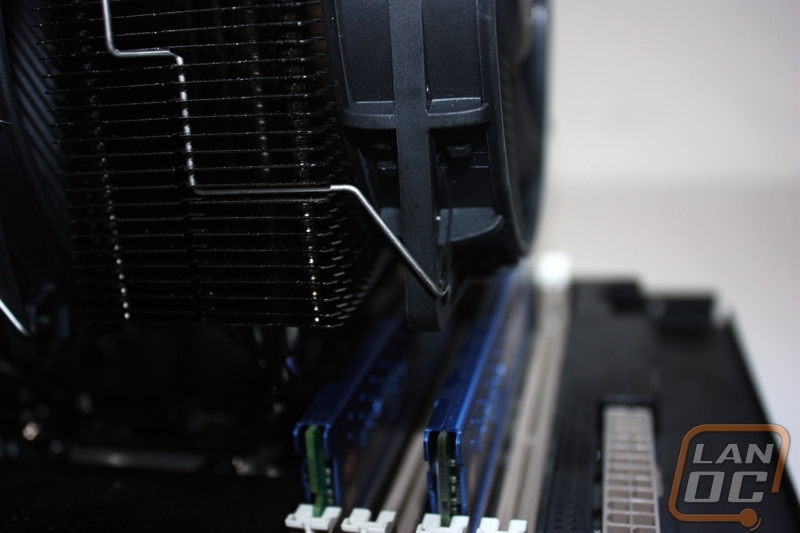
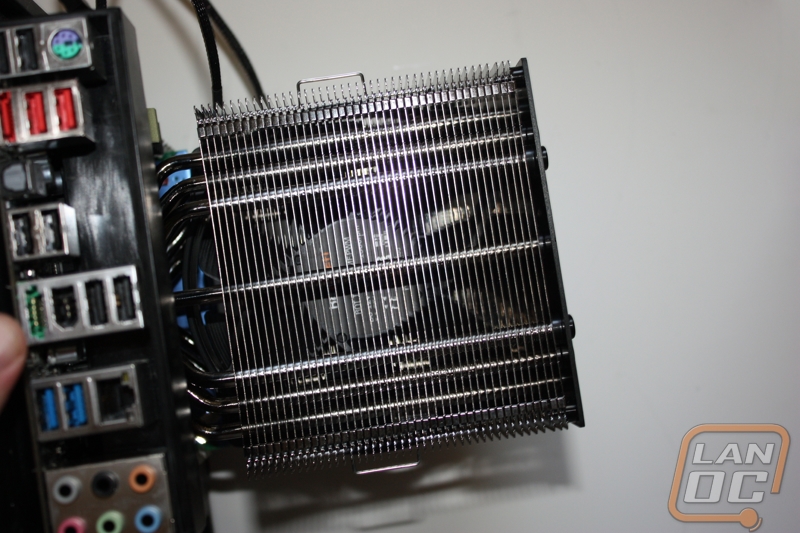
Installation
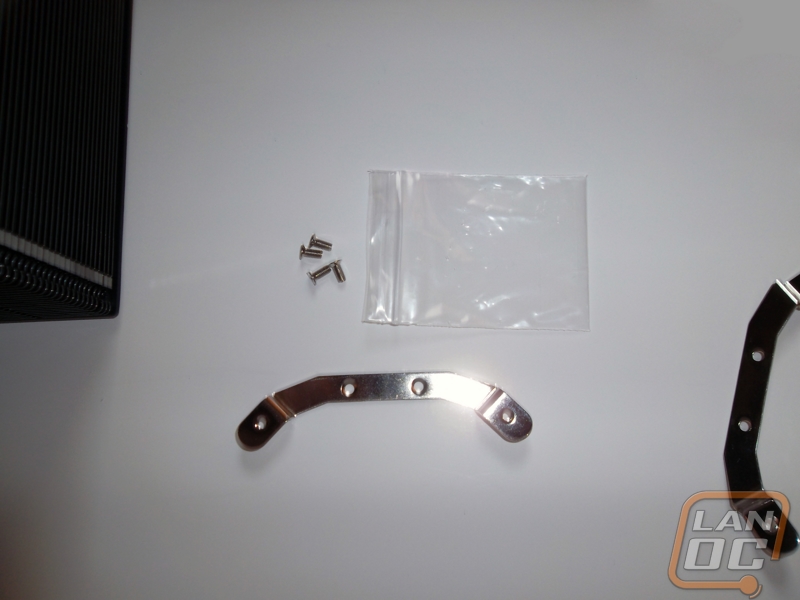
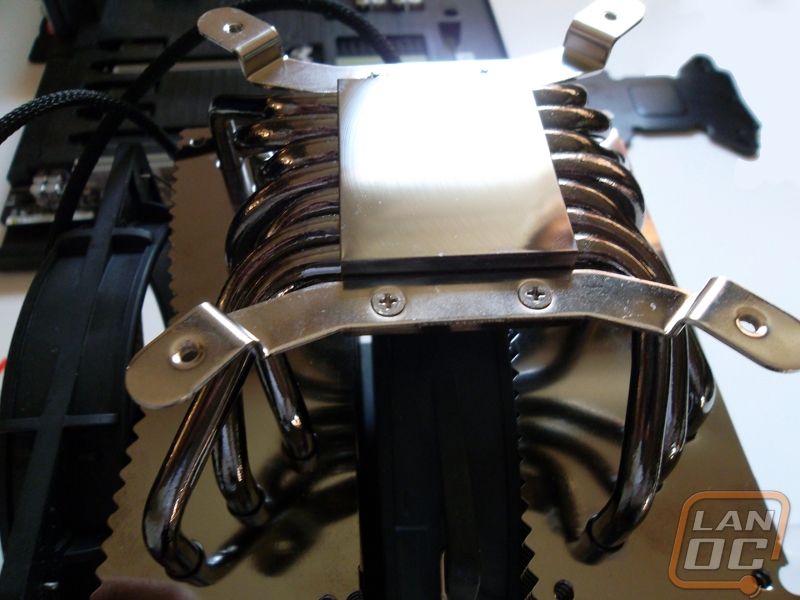
The first order of business is to know your socket. In the case of our test bench we will be following the socket 1155/1156 directions and using the supplied accessories. Finding the clamps and screws is unassuming enough and the whole ordeal is as simple as lining up and tightening the four small screws into the Dark Rock’s base.
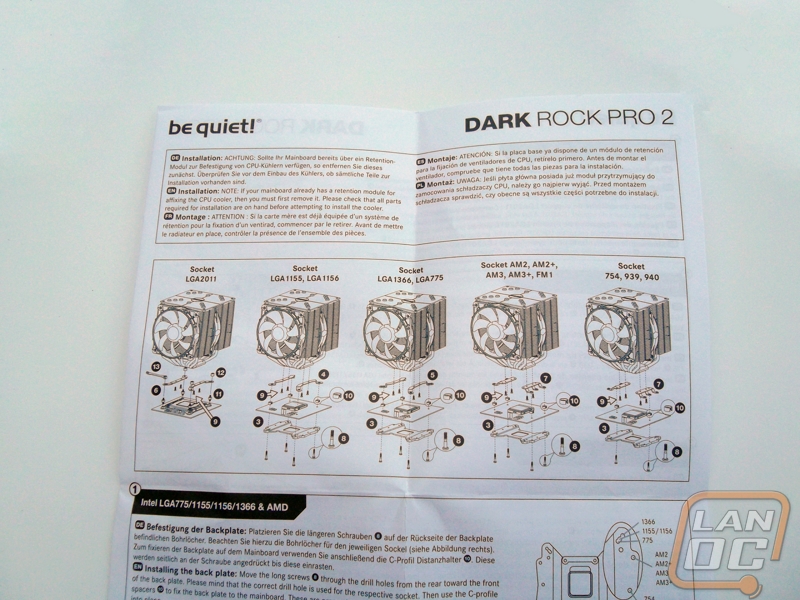
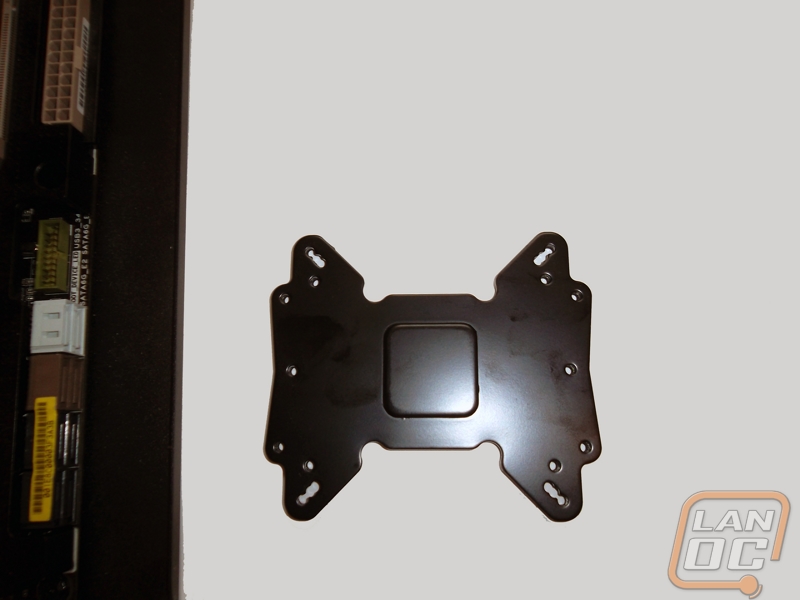
Moving on, the backplate feels incredible substantial and well supported. It fits snuggly onto the processors backplate and lets you thread the screws without much trouble.
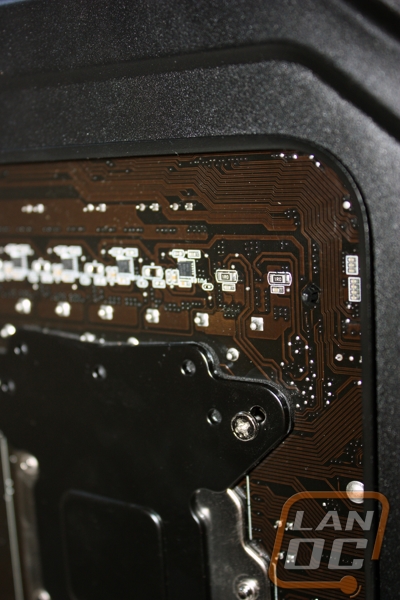
This is unfortunately the part most builders dread as lining up the cooler with one hand and keeping the backplate pressed against the motherboard is a two hand job that usually requires three with large parts moving around the most sensitive part of the system. You would think this would be even a worse prospect with a cooler the size of the Dark Rock Pro 2 but Be Quiet! comes through in the clutch. The small plastic C spacers that are there to keep you tightening the cooler down too tightly also double as screw holders keeping the backplate secure without forcing you to hold it down as you line up the massive cooler.
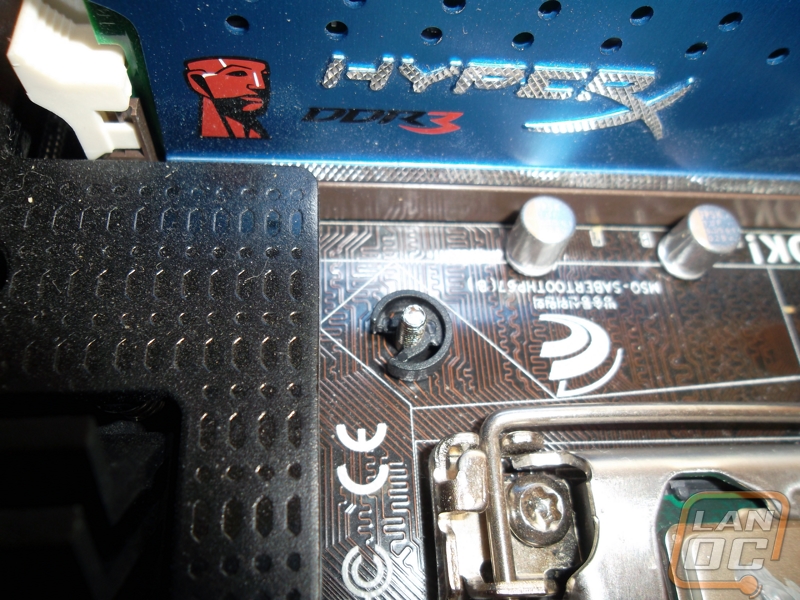
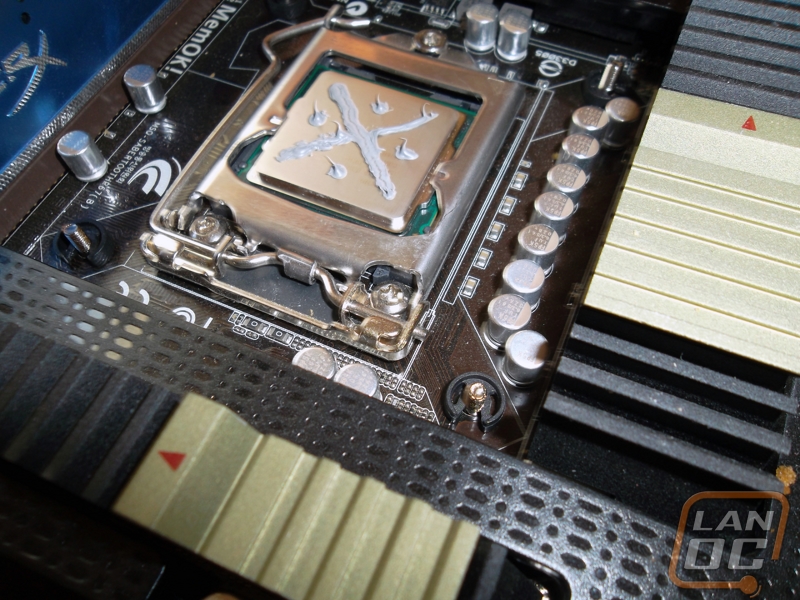
Remember your thermal paste and its only four more screws before you are ready to go. The Dark rock is a large object to say the least and ended up covering all four RAM slots on the P67 Sabertooth board in our test rig. Because of this I would recommend using low profile RAM with this cooler as well as make measurements regarding the width of your case to make sure the Dark Rock doesn’t but up against any side paneling as it stands nearly 6.5 inches (16.5cm) off the motherboard. That said, the anchoring mechanisms hold the Dark Rock securely to the board and show no obvious stress points.
