Processor cooling is one of the most important choices a builder can make for their system. While the market is flooded with many options and styles to choose from, one market has always remained competitive and populated with choices year after year. I am, of course, talking about the large, multi-heat pipe air coolers and today we are going to take a look at the Dark Rock Pro 2 from Be Quiet! to see if it holds up through installation and our new testing procedures. Is it worth your money? I don’t know but I hear the Germans make good stuff.
Product Name: Dark Rock Pro 2
Review Sample provided by: Be Quiet!
Review by: Debo
Pictures by: Debo
|
Specifications |
|
|
Cooler Unit |
|
|
Model Number |
BQ DR2-76-135 |
|
Material & Finish |
Aluminum fins / nickel plated |
|
Socket Compatibility |
Intel: LGA 775/1155(1150)/1156/1366/2011 AMD: 754/939/940/AM2+/AM3+/FM1 |
|
Dimensions |
138 x 147 x 166mm |
|
Weight |
1260g (w/ fan) |
|
Delta T @ 100W |
9.0o C |
|
PWM Fan |
|
|
Dimensions |
Front: 120 x 120 x 25mm Inner: 135 x 135 x 25mm |
|
RPM @ 100% |
Front: 1500rpm Inner: 1700rpm |
|
Airflow |
Front: 93.3 m3/h; 37.2 cfm Inner: 113.8 m3/h; 67.8 cfm |
|
Noise @ 100% |
Front: 24.3 dB(A) Inner: 21.5 dB(A) |
|
Lifetime |
300,000h |
Packaging and Overview
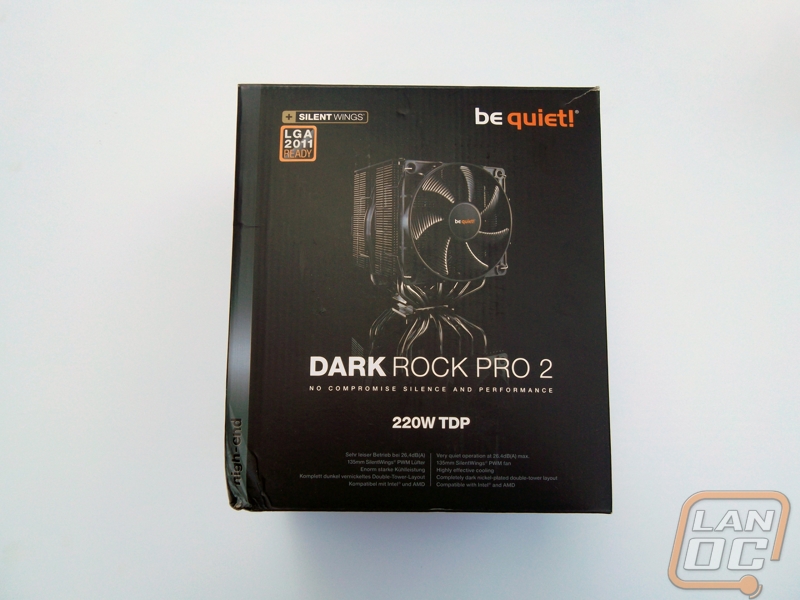
Our first introduction to the Dark Rock Pro 2 is via the front of its massive box albeit in much smaller scale than the actual product. Be Quiet! chooses to go the simple and informative route here with a direct and to the point in black, orange and white and the strip down the left side reading “high-end” lets you know this cooler is intended to cater to the enthusiast.
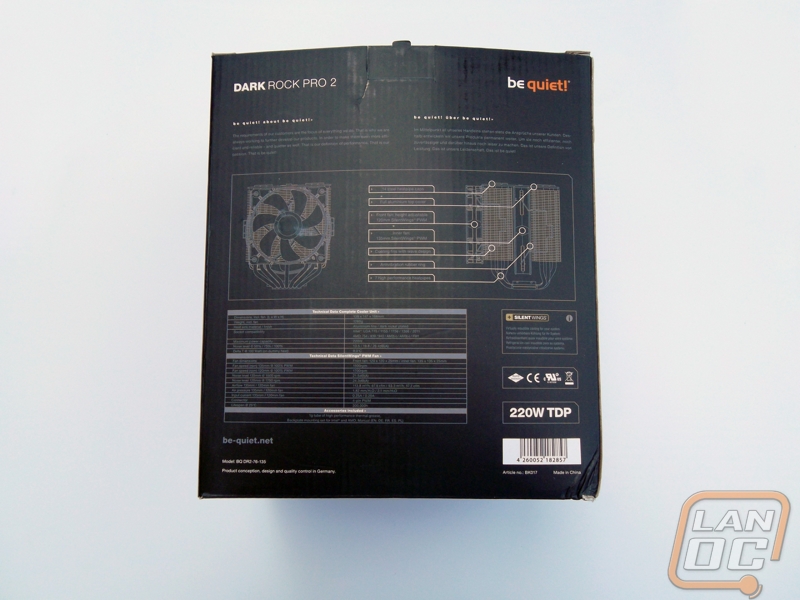
The reverse of the package give us a wiredrawing layout of the entire cooler and highlights a few specific points such as the solid aluminum top cover, dual fans and the whopping seven performance heat pipes. The coolers specifications follow and all in all you couldn’t expect much more from external boxing.
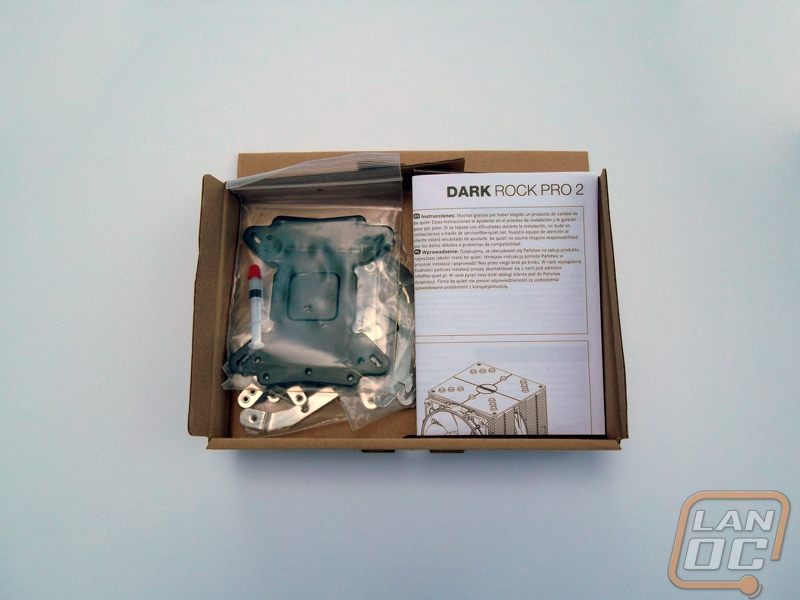
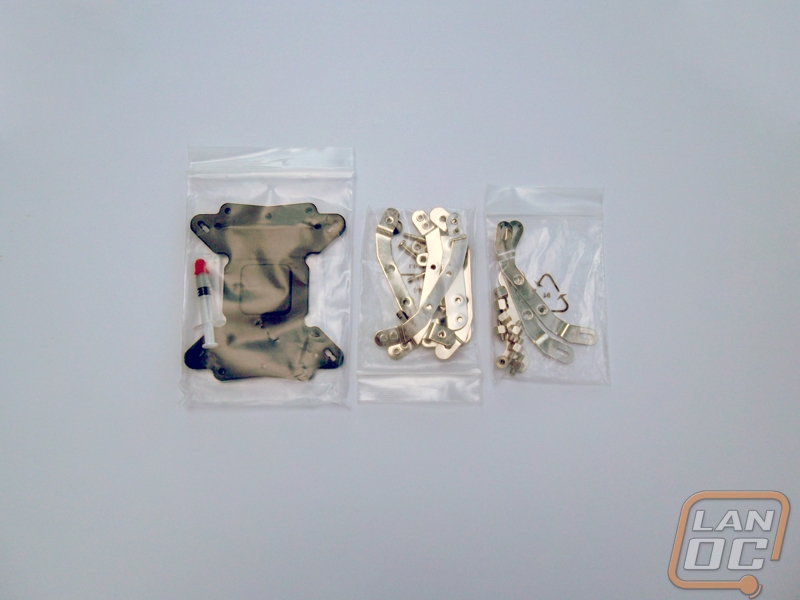
Diving right in we find all of the Dark Rock’s accessories packaged in a nice little box on top. Included are the usual warranty information and install guide as well as everything you will need to connect the heatsink to your processor through an array of the clamps, screws and adapters we all know and love. There is enough thermal compound for maybe three attempts so let’s hope the install isn’t too much of an issue.
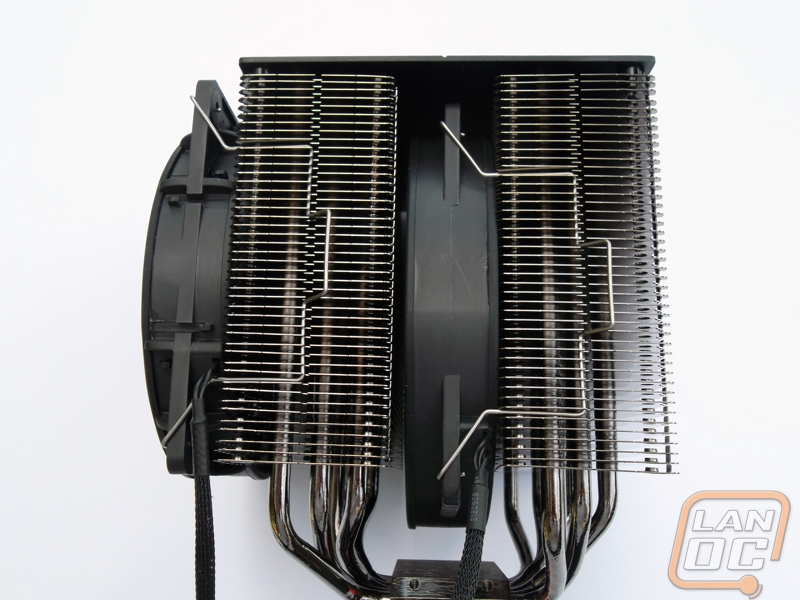
On to the cooler itself we see the pair of PWM fans that move air across the fins. Both are removable for replacement or cleaning and the front 120mm fan is even slightly adjustable to let you squeak out every little bit of space you can above your RAM. This is good because of the sheer bulk of the Dark Rock Pro 2 as it comes in just under 7 inches tall and is wide enough to hang over at least the first three DRAM slots on most ATX motherboards.
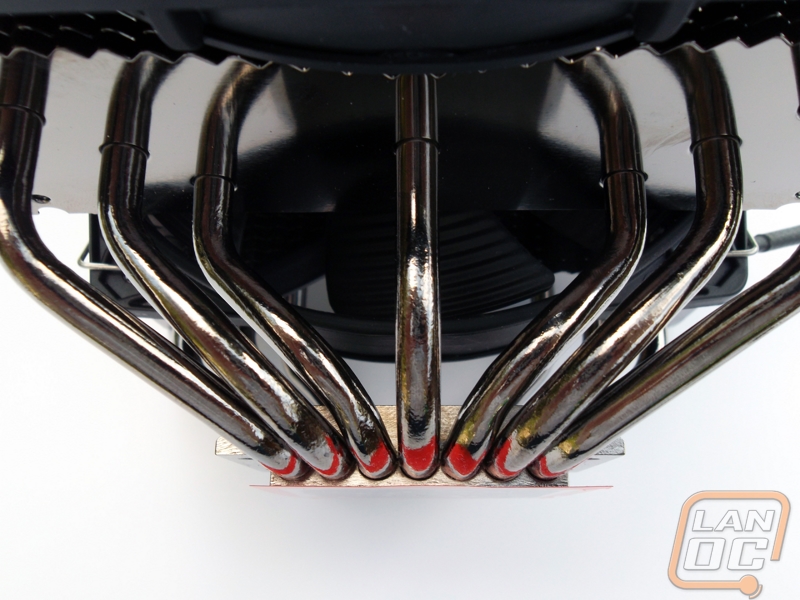
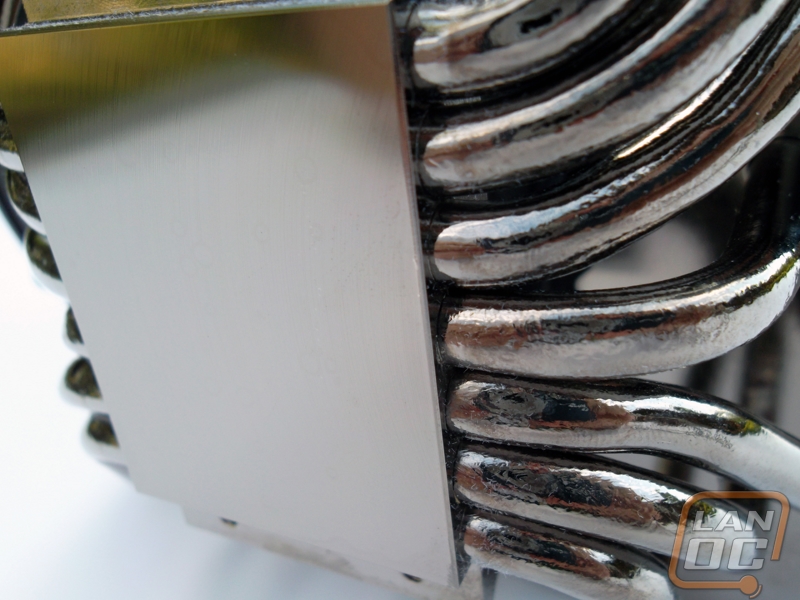
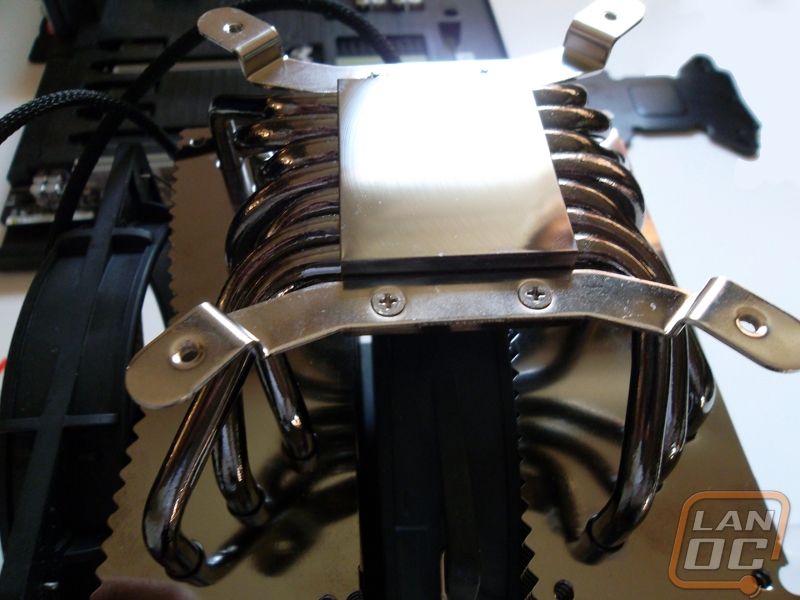
Next we take a look at the seven heatpipes that do the real work when the Dark Rock is in operation. Each is an impressive 6mm in diameter and made of nickel plated copper. Each individual pipe runs through the copper base and is arrayed to distribute heat even to both sets of fins. The base itself has a near mirrored CNC machined finish to make the best possible contact with the processor.

Testing Methodology
Our testing rig is as follows:
- Processor: Intel Core i5-2500 @3.3GHz
- Motherboard: Asus Sabertooth P67
- HDDs: Seagate Barracuda ES.2 1TB
- RAM: 8GB Kingston DDR3 1600
- Video Card: NVIDIA GeForce GTX 560 Ti
- Case: CoolerMaster xB
- OS: Windows Home Premium x64
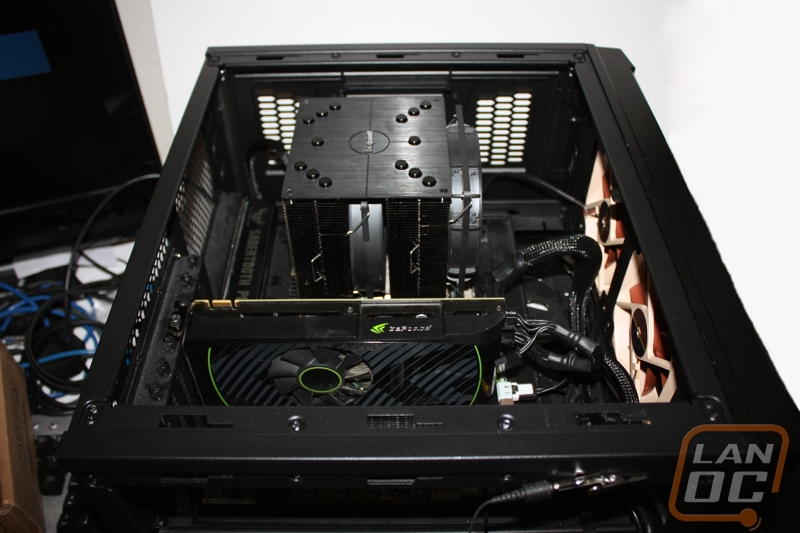
A total of two tests will be run. These tests are as follows:
- A Peak Test with the supplied cooler and fan setup running Prime95 for a total of 30 minutes.
- A Real World Test using the supplied cooler and fan setup running 3DMark 11 for a total of 30 minutes.
The Peak Test is meant to test the absolute worst case scenario you could throw at your perspective cooler and will both be conducted with the CPU fans running at 100% RPMs under load. The real world test is something a bit less stressful, meant to give you an idea of the coolers performance in a more day-to-day sense.
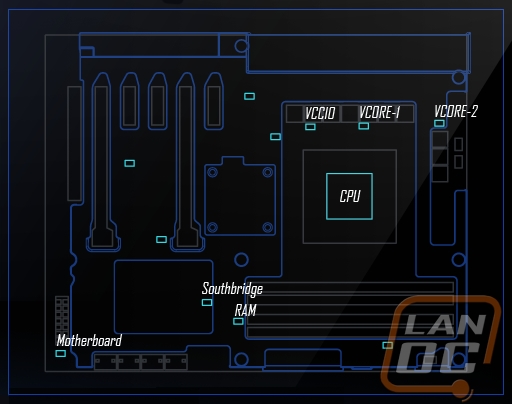
All tests will be performed using Noctua NT-H1 thermal paste in order to eliminate that variable from testing. CPU temperature reading will be taken using RealTempGT, RAM DIMM temperatures will be taken with a non-contact infrared thermometer and the remaining temperature results will be taken using the Sabertooth P67’s own temperature sensors using the following layout.
The Peak test will also be subject to noise level measurements taken with a digital sound level meter every 10 minutes throughout the test to be averaged into an overall comparison score during both load and idle timeframes.
Installation
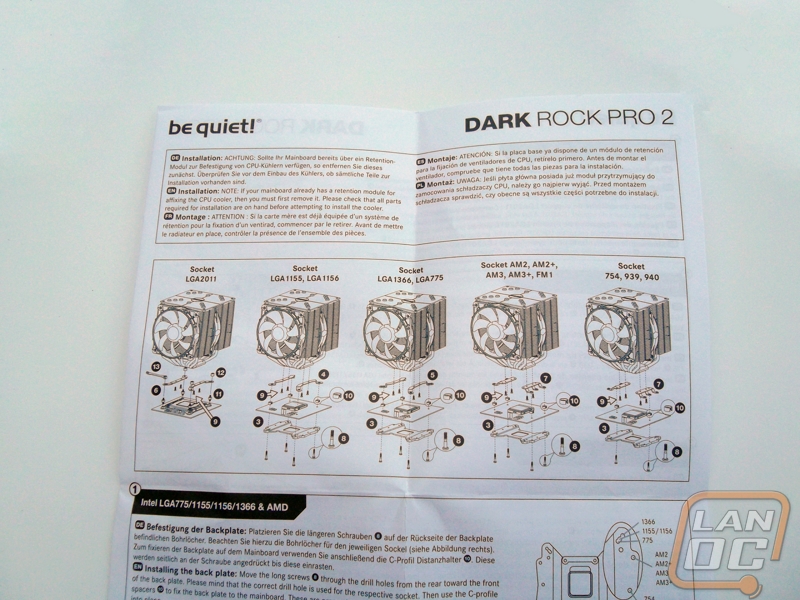
The first order of business is to know your socket. In the case of our test bench we will be following the socket 1155/1156 directions and using the supplied accessories. Finding the clamps and screws is unassuming enough and the whole ordeal is as simple as lining up and tightening the four small screws into the Dark Rock’s base.
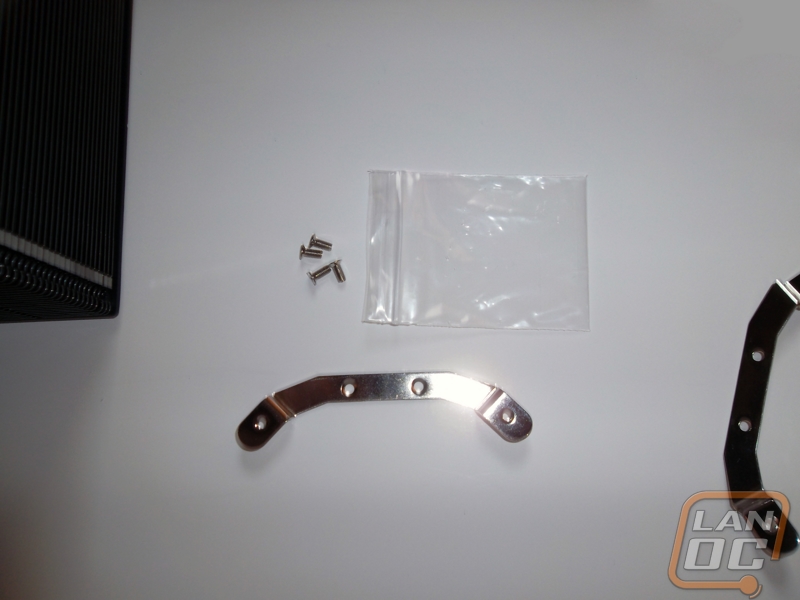
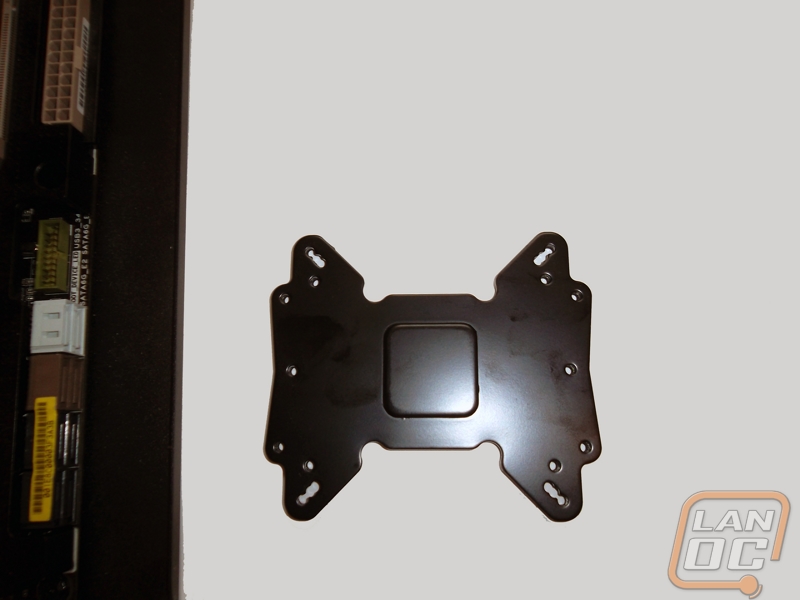
Moving on, the backplate feels incredible substantial and well supported. It fits snuggly onto the processors backplate and lets you thread the screws without much trouble.
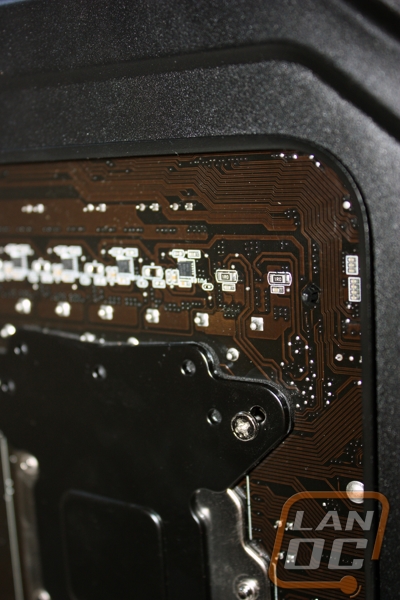
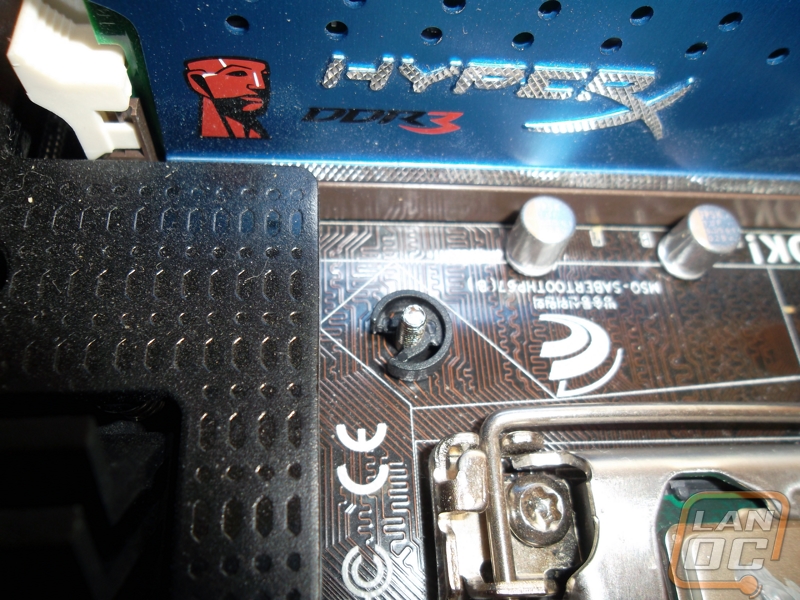
This is unfortunately the part most builders dread as lining up the cooler with one hand and keeping the backplate pressed against the motherboard is a two hand job that usually requires three with large parts moving around the most sensitive part of the system. You would think this would be even a worse prospect with a cooler the size of the Dark Rock Pro 2 but Be Quiet! comes through in the clutch. The small plastic C spacers that are there to keep you tightening the cooler down too tightly also double as screw holders keeping the backplate secure without forcing you to hold it down as you line up the massive cooler.
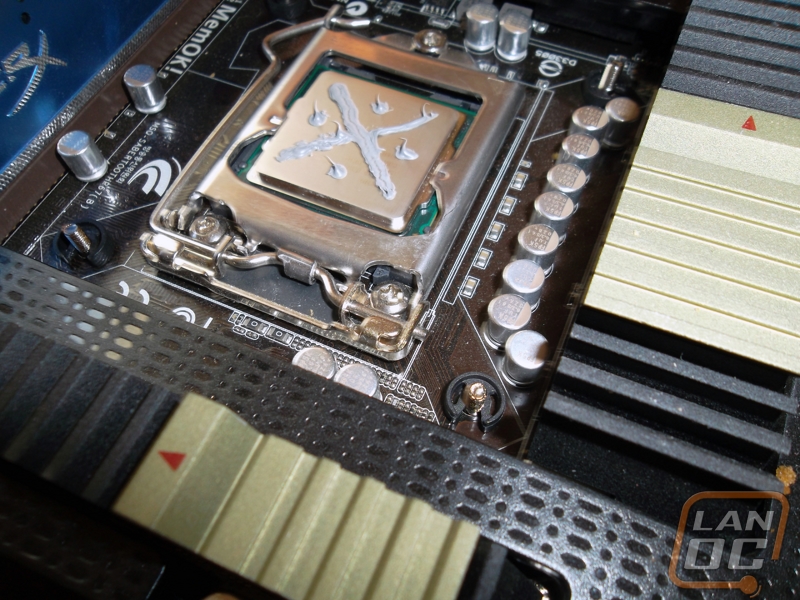
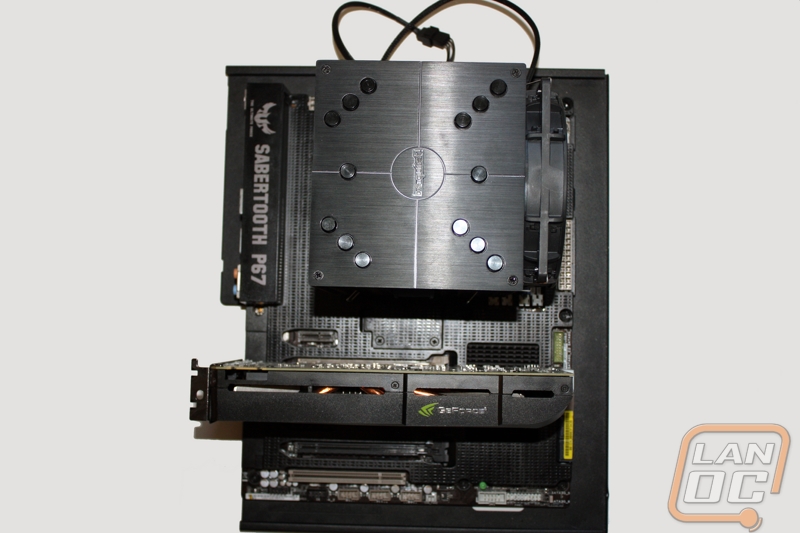
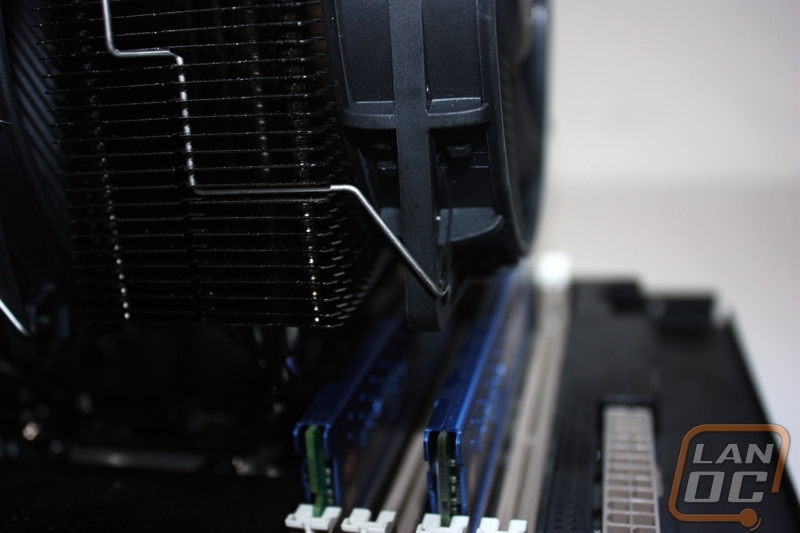
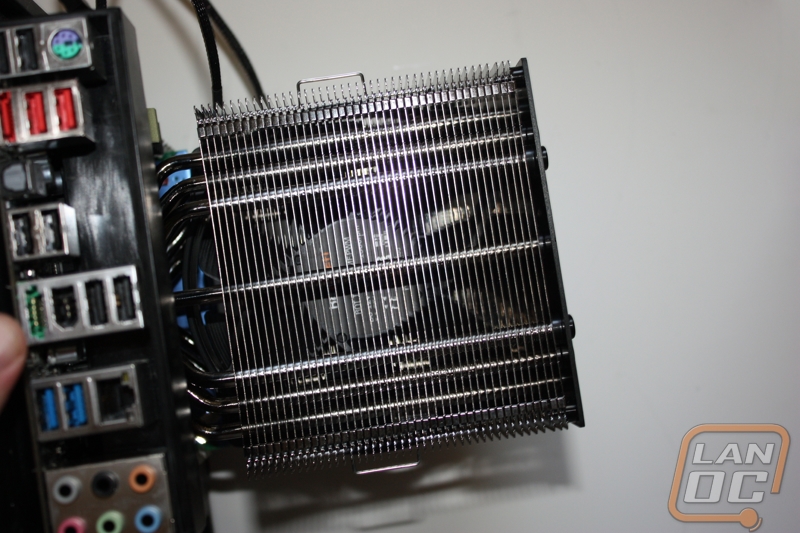
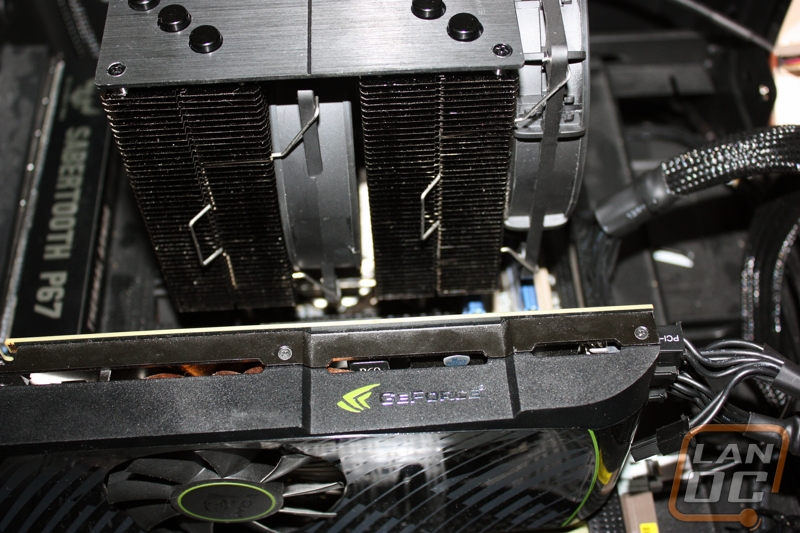
Remember your thermal paste and its only four more screws before you are ready to go. The Dark rock is a large object to say the least and ended up covering all four RAM slots on the P67 Sabertooth board in our test rig. Because of this I would recommend using low profile RAM with this cooler as well as make measurements regarding the width of your case to make sure the Dark Rock doesn’t but up against any side paneling as it stands nearly 6.5 inches (16.5cm) off the motherboard. That said, the anchoring mechanisms hold the Dark Rock securely to the board and show no obvious stress points.
Performance
We’ll take a look, first, at the Peak test results. This very same test had the Intel stock cooler cooking at near the i5-2500’s thermal maximum. As you can see, the Dark Rock Pro 2 fared much better and produced some nice results considering and even managed to record a lower overall RAM temperature despite looming over top of the DIMMs. Noise at 100% RPM was also noticeably less by nearly 9 dB(A).


The Peak test may be the absolute worst you can throw at a heatsink as far as performance but usually that isn’t what we subject our systems to day in and day out. The real world test gives us a more practical look at the coolers capabilities and the difference between it and stock are still substantial.


Overall and Final Verdict
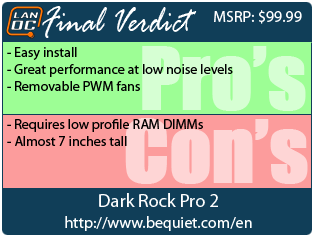
As a system builder, the ease of install on a product with this much bulk alone is enough for the Dark Rock Pro 2 to garner praise. Couple that with the sheer amount of performance the seven heatpipe design is able to muster at such a quiet operating levels and you have yourself quite the capable cooler. The cooler is so efficient that at idle startup the test bench actually errored out because the fan would only have to run at 500RPM to keep the processor at 27oC.
The glaring issues are the ones that plague most of these large multi-heatpipe designs and that is space. The Dark Rock Pro 2 requires low profile DIMMs and wider cases to fit in. While it doesn’t crowd the PCI-e x1 slot or 8-pin motherboard power it does make maneuvering around that second of the board more painful than it needs to be.
Still with coolers of this type you take the size issues with a grain of salt simply because of the amount of performance gained with all the extra copper and aluminum. Size aside, the Dark Rock Pro 2 is an exceptional cooler and well worth the money if you have the space to fit it in your setup. The numbers shown by our peak test show you have more than enough room for a mild overclocking before resorting to more severe options and the ease of install isn’t going to leave you pressed for time. Be Quiet! has proven they are more than capable of making more than just power supplies.
