 When it comes to keeping your fancy new CPU cool there are so many options available that it can be very confusing. You really can have just about any style and performance if your budget allows it. Recently sealed water cooling kits have been all the rage and in the past 6 month/year larger 240 kits have been popping up from all of the manufactures as well. Cooler Master is no different than everyone else, they recently jumped in with their take on them with the Seidon 120M and now today they are introducing the Seidon 240M variation. Let’s take a look to see how it performs.
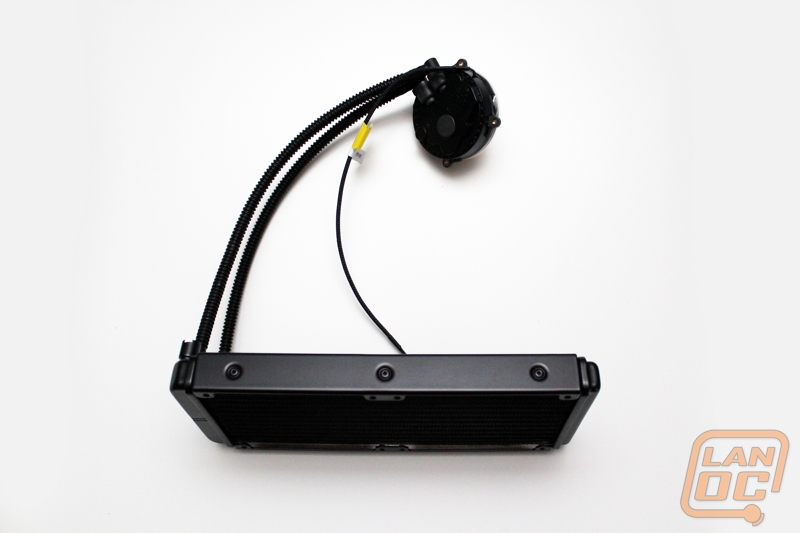
Product Name: Cooler Master Seidon 240M
Review Sample Provided by: Cooler Master
Written by: Wes
Pictures by: Wes
Specifications
|
CPU Socket |
Intel LGA 2011 / 1366 / 1156 / 1155 / 775 AMD Socket FM1 / AM3+ / AM3 / AM2 |
|
Main System Dimensions |
70 x 27 mm (2.75 x 1.1 inch) |
|
Radiator Dimensions |
273 x 120 x 27 mm (10.7 x 4.7 x 1.1 inch) |
|
Radiator Material |
Aluminum |
|
Fan Dimension |
120 x 120 x 25 mm (4.7 x 4.7 x 1 in) |
|
Fan Speed |
600~2400 RPM (PWM) ± 10% |
|
Fan Airflow |
19.17 ~ 86.15 CFM ± 10% |
|
Fan Air Pressure |
0.31 ~ 4.16 mm H2O ± 10% |
|
Fan Life Expectancy |
40,000 hours |
|
Fan Noise Level (dB-A) |
19 ~ 40 dBA |
|
Fan Bearing Type |
Rifle bearing |
|
Fan Connector |
4-Pin |
|
Fan Rated Voltage |
12 VDC |
|
Fan Rated Current |
0.2A |
|
Fan Power Consumption |
3.6 W |
|
Pump Life Expectancy |
70,000 hrs |
|
Pump Noise Level |
< 25 dBA |
|
Pump Connector |
3-Pin |
|
Pump Rated Voltage |
12 VDC |
|
Pump Load Current |
0.15 A |
|
Pump Power Consumption |
1.8 W |
Packaging
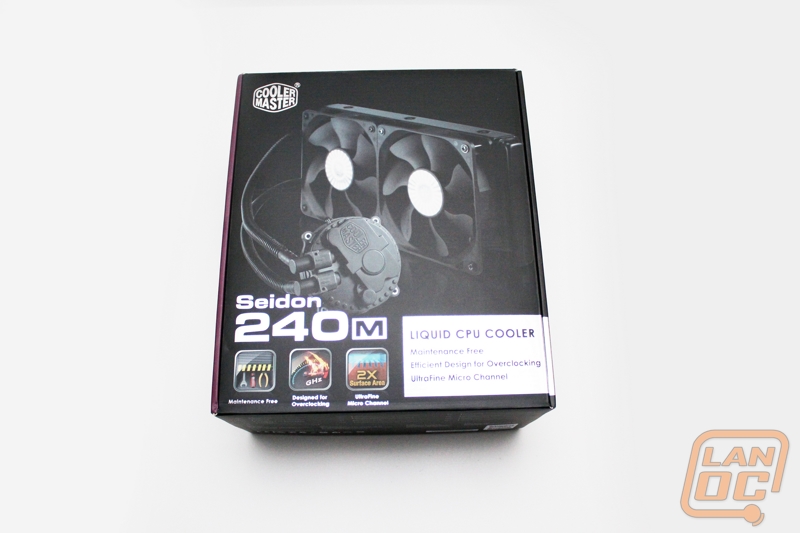
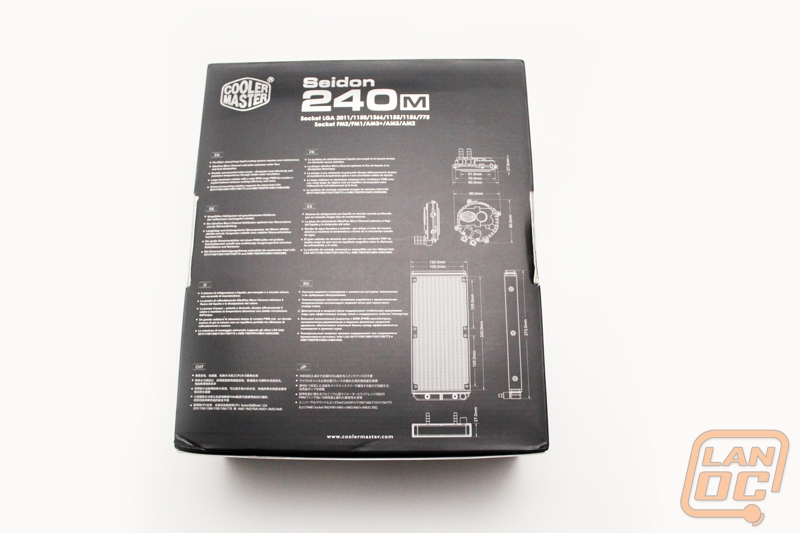
Of course, we should have expected it. The Seidon 240M comes in a black and purple box, much like most of Cooler Master’s product lineup. The branding all across the box is in a reflective chrome finish to get your attention. The front of the box has a very large photo of the kit itself, its actually larger than 1:1 scale, along with a couple notes at the bottom about being maintenance free and designed for overclocking. I like that they included a full specifications listing on the side as well. Around back there is a short list of features listed in 8 different languages taking up most of the space, you also have full line diagrams with dimensions of both the radiator and the pump. This is perfect for someone who is really not sure if this kit will fit in their case, a little measuring and you will know without a doubt.
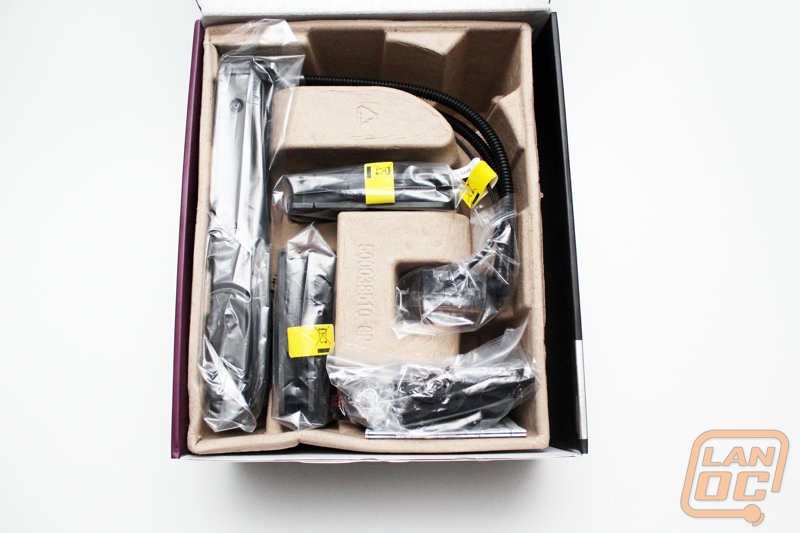
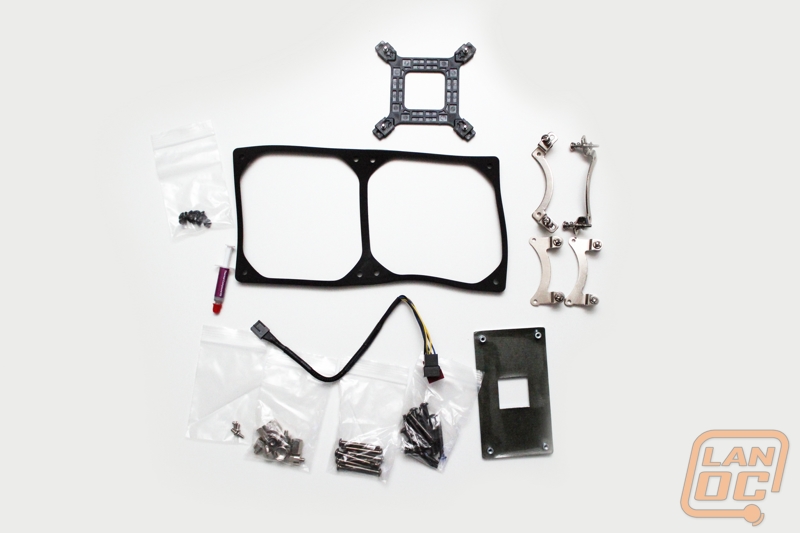
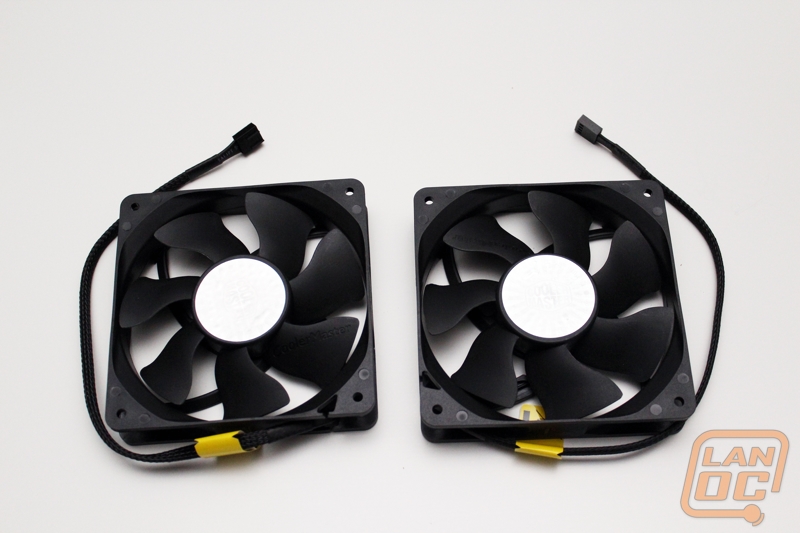
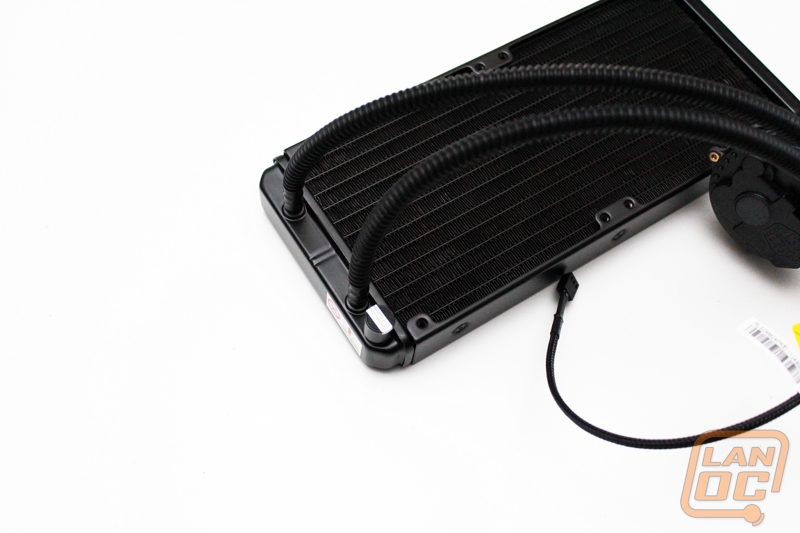
Inside the box the entire kit is wrapped up in plastic and then held into place in a recycled form keeping the kit from bouncing around. Inside you have all of the usual suspects as far as water cooling kits with the pump/tubing/radiator being all in one piece and then two fans. In the accessory pack you get mounting kits for both Intel and AMD. Along with that you also get thermal paste, rubber fan pads, and a fan cable splitter. The splitter is nice because the 240M has two fans, this will keep them both running at the same speed. The rubber fan mounting pads should help keep noise/vibration down as well.
Our Test Rig
Asus Rampage IV X79 Motherboard
Seagate Constellation 2tb Hard drive
Cooler Master Gold Series 1200 Watt PSU
http://www.highspeedpc.com/ Test Bench
Kingston 1600Mhz DDR3 Quad Channel Ram
Kingston Hyper X 120 SSD’s in Raid 0
Installation/Setup
There are two parts to the installation of the Seidon 240M, the waterblock/pump and the radiator. I should point out that unlike all of the competition the Seidon is a little different. Everyone else is working with Cool It or Asetek as an OEM, that makes the installation of each of them to be about the same typically. From what we can tell Cooler Master went their own route here, or had a completely custom design made for them. That means that the Seidon uses a mounting system much like what we have seen from all of their heatsinks. For our testing we installed the Seidon 240M on our test bench, but to get an idea of the installation of the radiator we also played around with it in a few cases sitting around the office.
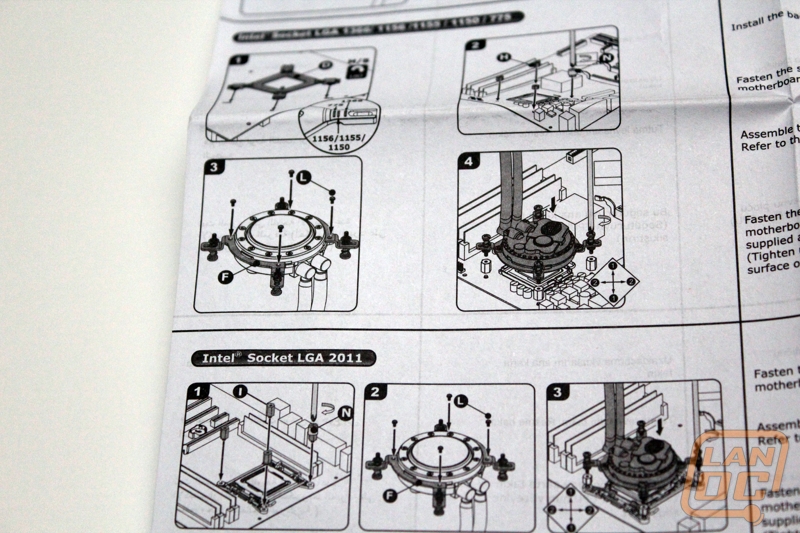
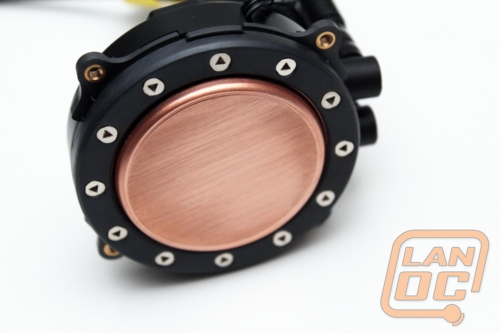
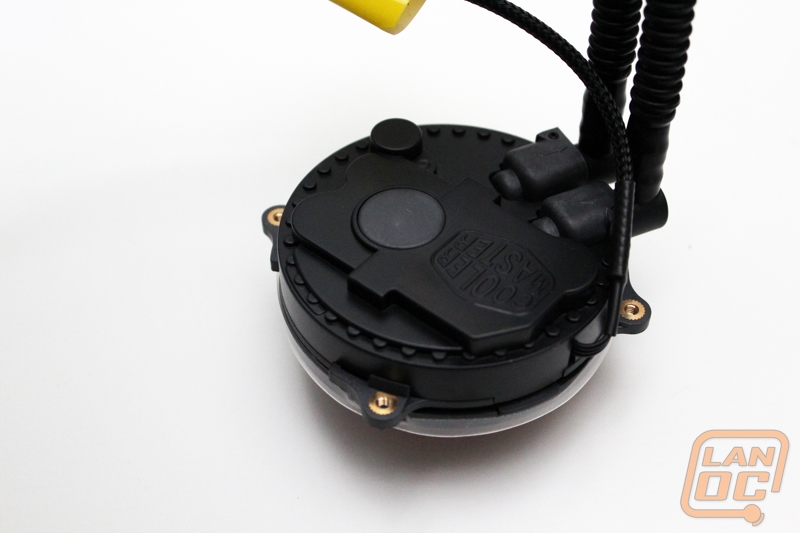
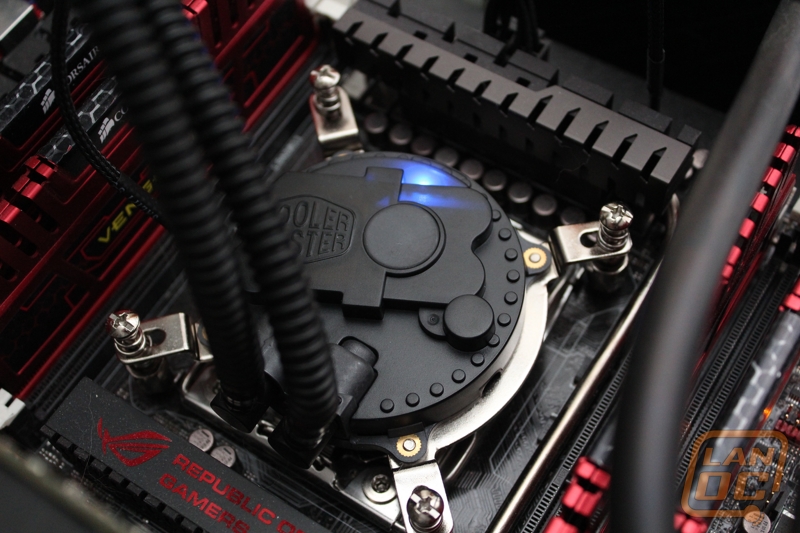
Installing the Seidon meant sorting through the mount collection to find the parts needed for our installation. In our case, we are installing onto a 2011 socket cpu so the backplate wasn’t needed for example. With everything picked out, I installed the Intel mount onto the pump/water block itself and was ready to go. From there It was just a matter of attaching the adapters to the motherboard, putting thermal paste on our cpu, and screwing down the pump/ water block. It was a little weird not having thermal paste pre applied to the pump, we normally see that in this situation, but we were able to go with the paste of our choice. Cooler Master also includes their own paste as well, and you get more than enough for multiple installs.

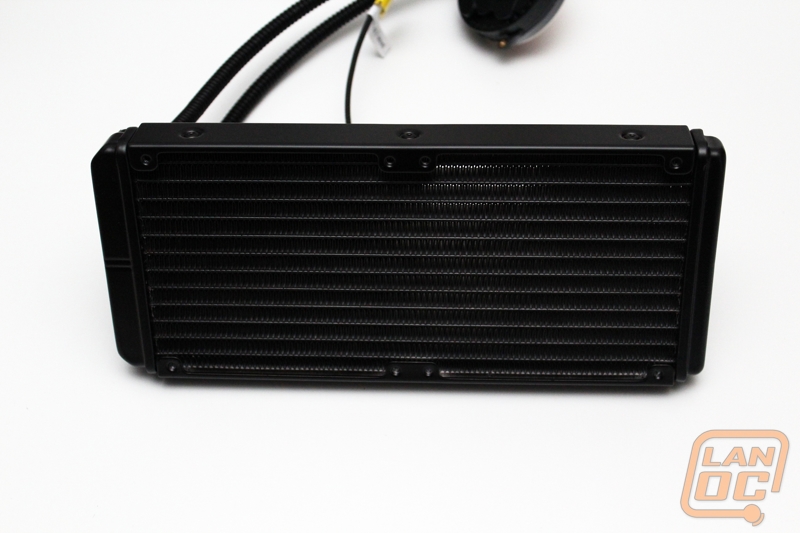
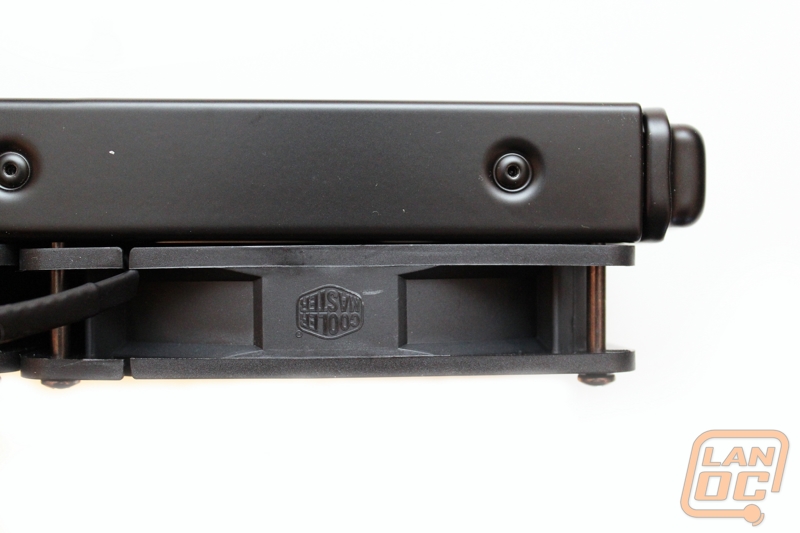
Installing the radiator was just about as simple. You have to line up the two fans and then run the long screws through your case, the fans, and into the radiator to hold everything together. We did try out installing the radiator in the Fractal Design R4, its top panel had mounting holes for a top radiator mount already so installation went smooth.
Overall I wasn’t sure what to expect because of the unique mounting design compared to Cool It and Asetek systems, but it went better than expected. My biggest complaint is actually with the full chrome hardware with the rest of the pump being all blacked out. The hardware almost looks like an afterthought when I know that wasn’t the case.
Performance
Our performance testing for the Seidon 240M wasn’t any different than our normal heatsink testing. We put the kit under a load using prime95 for an hour and see how it performs. We also compare it on idle performance and then the subjective noise test as well. Noise testing is always interesting with water cooling because there is the added variable of the pump’s noise output as well.
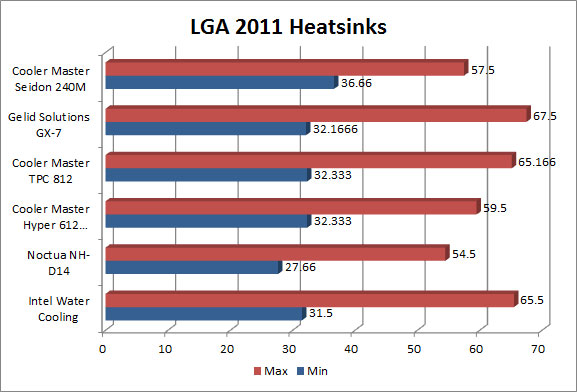
Before putting it under load we ran our test bench with no load on it for an hour and averaged out our temperatures. The Seidon 240M came in higher than our other heatsinks/water cooling results but this isn’t a big deal as they are only idle numbers. After being under load for an hour we averaged out our numbers again and had an impressive 57.5 degree’s. This still didn’t outperform our Notcua results, but was considerably better than the Intel water cooling kit. The extra length on the radiator helps with more surface area than the Intel even though the Intel’s radiator is a little thicker.
As for noise, the Seidon 240M was noticeable right at our first bootup. We had a hum and slight rattle that was especially noticeable on our open air testbench. As it turns out the pump was the source noise, something that we have seen before on other water cooling kits. This time around it was more noticeable than other kits that we have tested though. The noise output between at full load and idle wasn’t noticeably different. It’s really disappointing that the pump was noisy because the fans did a great job of keeping everything quiet.
Overall and Final Verdict
My experience with the Seidon was a mixed bag. On one hand, I loved the performance and the installation was quick and easy. But with everything up and running our pump was a little too noisy for our taste. We do our testing on an open air test bench so the noise is exaggerated, an enclosed case would be much better but still not perfect. I’m still excited about the Seidon simply because it’s not the same old design from the main OEM’s that we typically see. That is why the installation was a nice change and easy to do. My only nip pick here is that I would love to see the mounting brackets have a black finish to match the pump; the chrome finish is nice but stands out more than it needs to. This is especially noticeable considering how much they worked on giving the top of the pump a stylish look and even an LED that lets you know when it’s up and running.
So what about the price? We typically see 240mm water cooling kits ranging from $120 to $140 but it’s not like Cooler Master to stick with what everyone else is doing. The Seidon 240M can be found for $99.99 or less, considerably less than the competition. This actually puts it in the same price range as a few of the 120mm coolers, especially kits that come with a push/pull fan setup. The extra surface area that the 240mm radiator affords you is a much better pick and can also be run in a push pull configuration if you would like.
What does it all mean when it’s put together? Well the great price makes up for the noisier than normal pump and its great performance is the icing on the cake. The next time you are in the market for a cooling solution the Seidon 240M is going to make your choice much easier. Why go with a 120mm cooler when you could get twice the radiator (unless it won’t fit in your case of course).