 A lot of us overclock our computer because we want high end performance without the high end price tag. But it seems all the cool guys want to convince you that you just have to go with water cooling. What? A good water cooling set-up can set you back more than the cost of the CPU. So why not get something that will keep your CPU cool, look cool, and won't break the bank. The Titan Fenrir Evo certain fills the "look cool" requirement. Let see how it does in the other two.
Product Name: Fenrir Evo
Review Sample Provided by: Titan
Review and Pictures by: Chris
Specifications
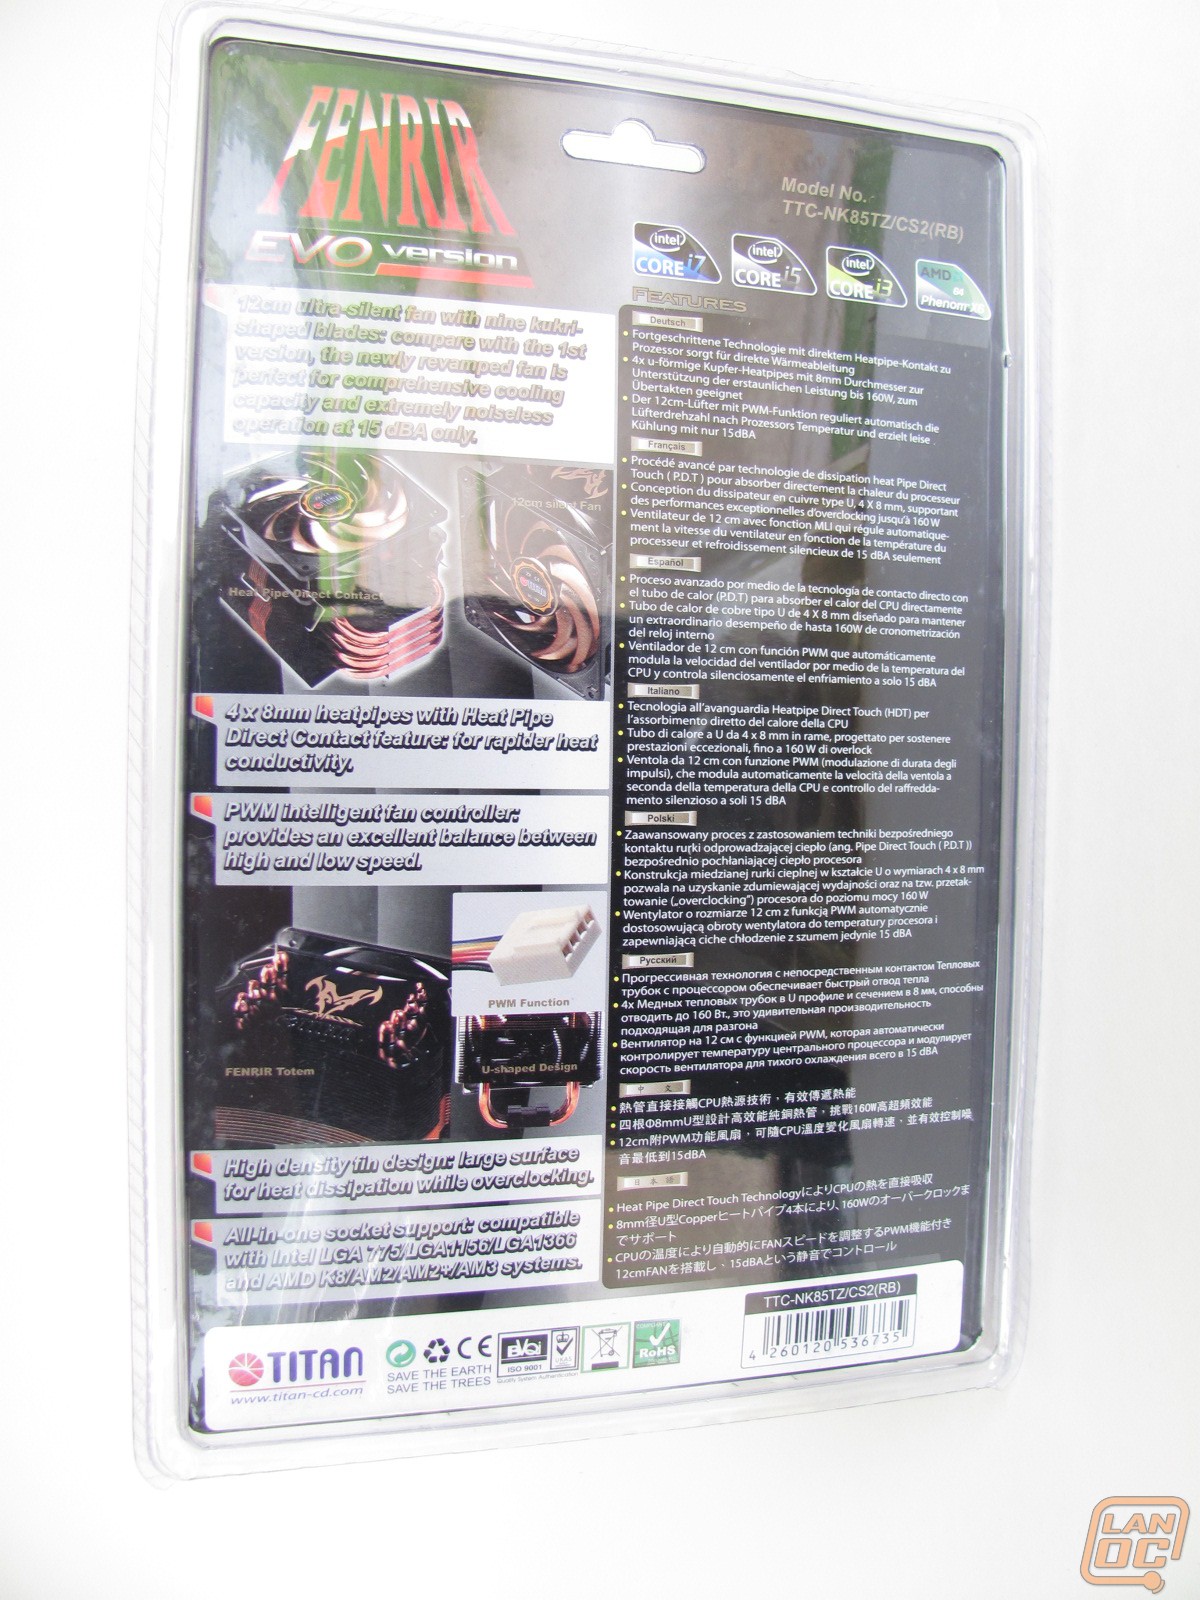
- 4 x 8mm heatpipes with Heat Pipe Direct Contact feature: for rapider heat conductivity.
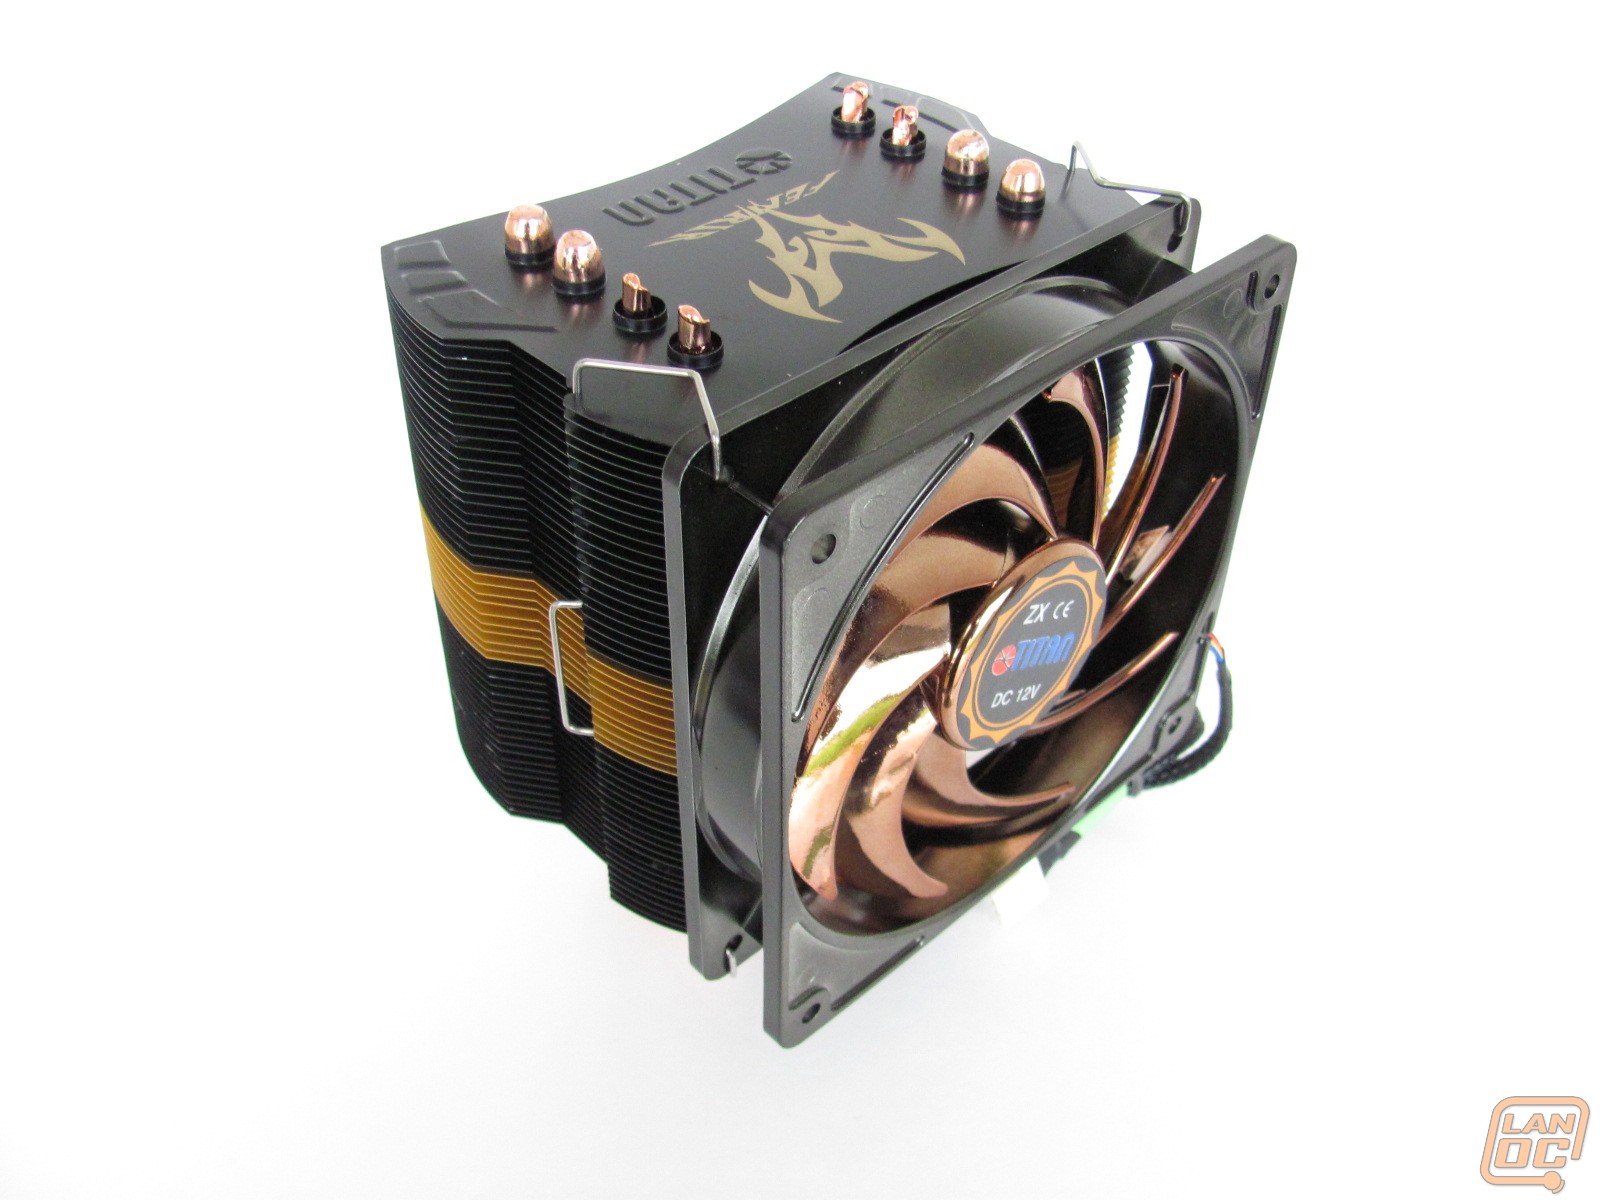
- 12cm ultra-silent fan with nine kukri-shaped blades: compare with the 1st version, the newly revamped fan is perfect for comprehensive cooling capacity and extremely noiseless operation at 15 dBA only.
- PWM intelligent fan controller: provides an excellent balance between high and low speed.
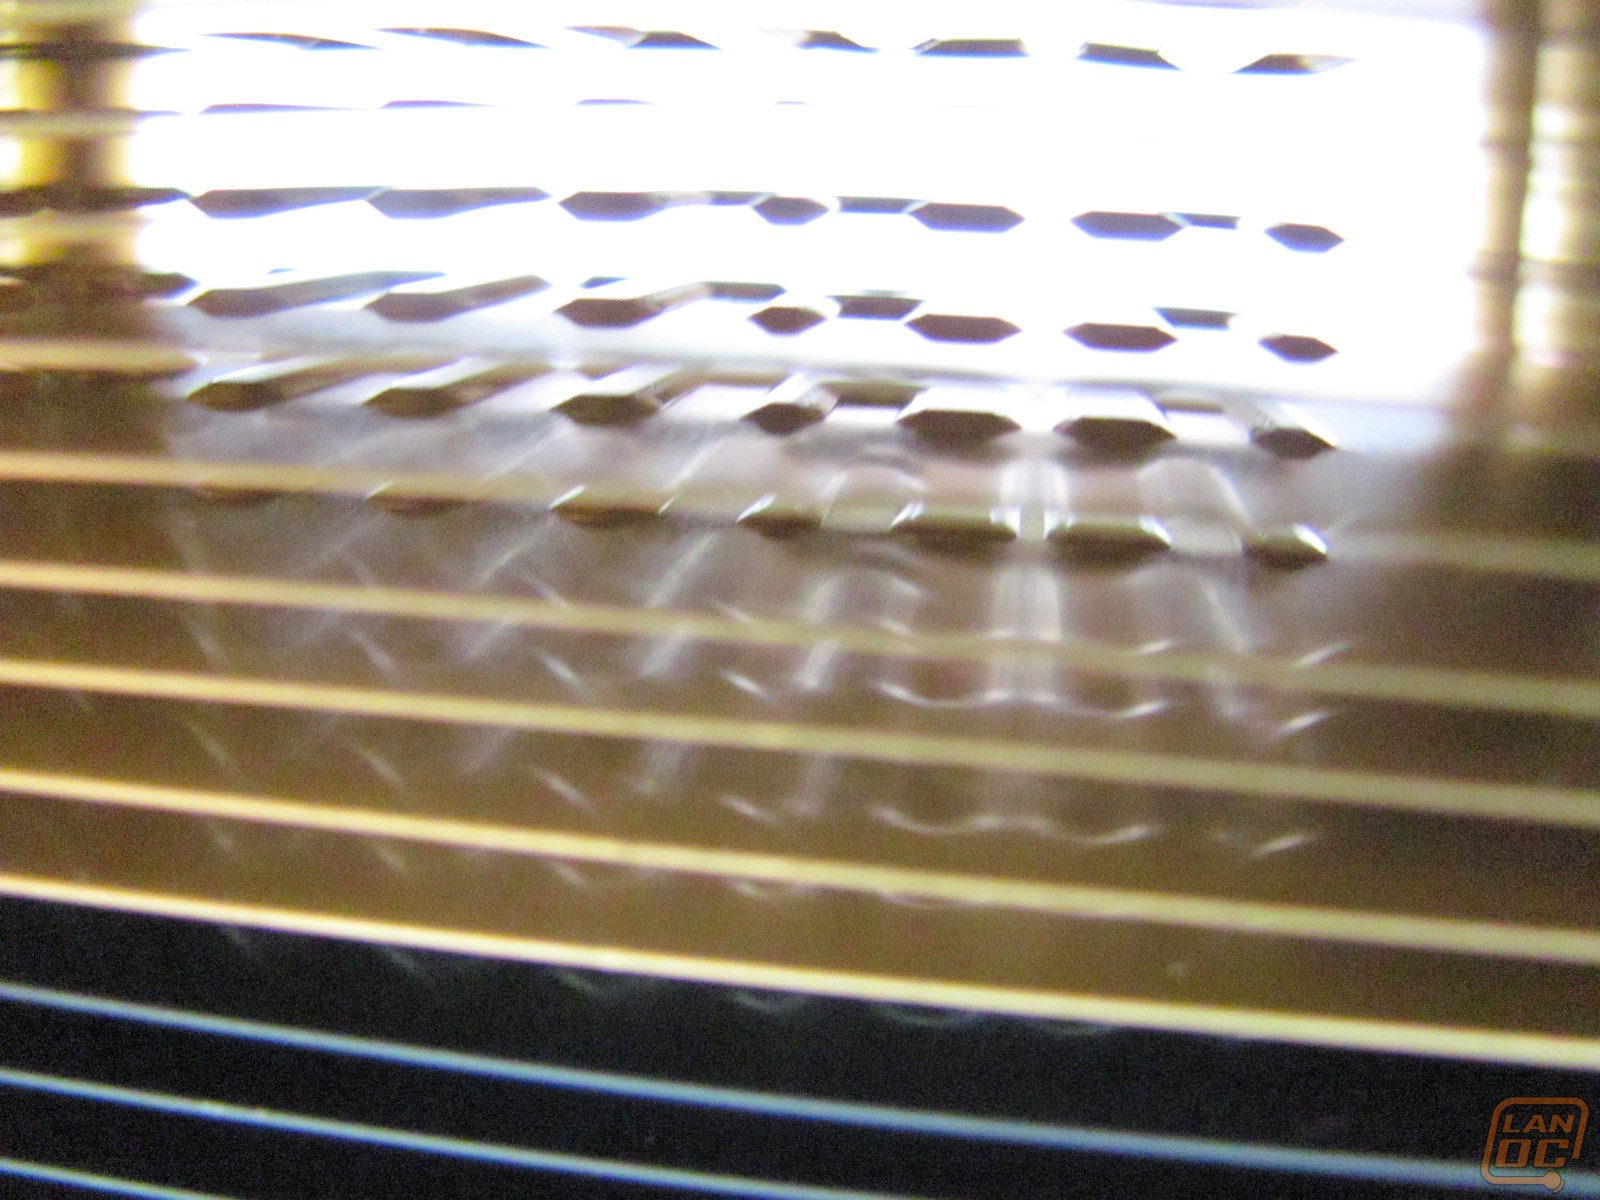
- High density fin design: large surface for heat dissipation while overclocking.?
- All-in-one socket support: compatible with Intel LGA 775/LGA1156/LGA1366 and AMD K8/AM2/AM2+/AM3 systems.
| Outline Dimension | 124 x 107 x 156 mm |
| Fan Dimension | 120 x 120 x 25 mm |
| Rated Voltage | 12V DC |
| Rated Current | 0.32A |
| Power Consumption | 3.84W |
| Rated Speed | 800~2200 ± 10%RPM |
| Airflow | 24.23~66.62 CFM |
| Static Pressure | 0.02~0.14 InchH?O |
| Noise Level | <15~<35dBA |
| Bearing Type | Sleeve / One Ball & One Sleeve / Two Ball / Z-AXIS |
| Life Time | 25,000 / 35,000 / 50,000 / 60,000 Hours |
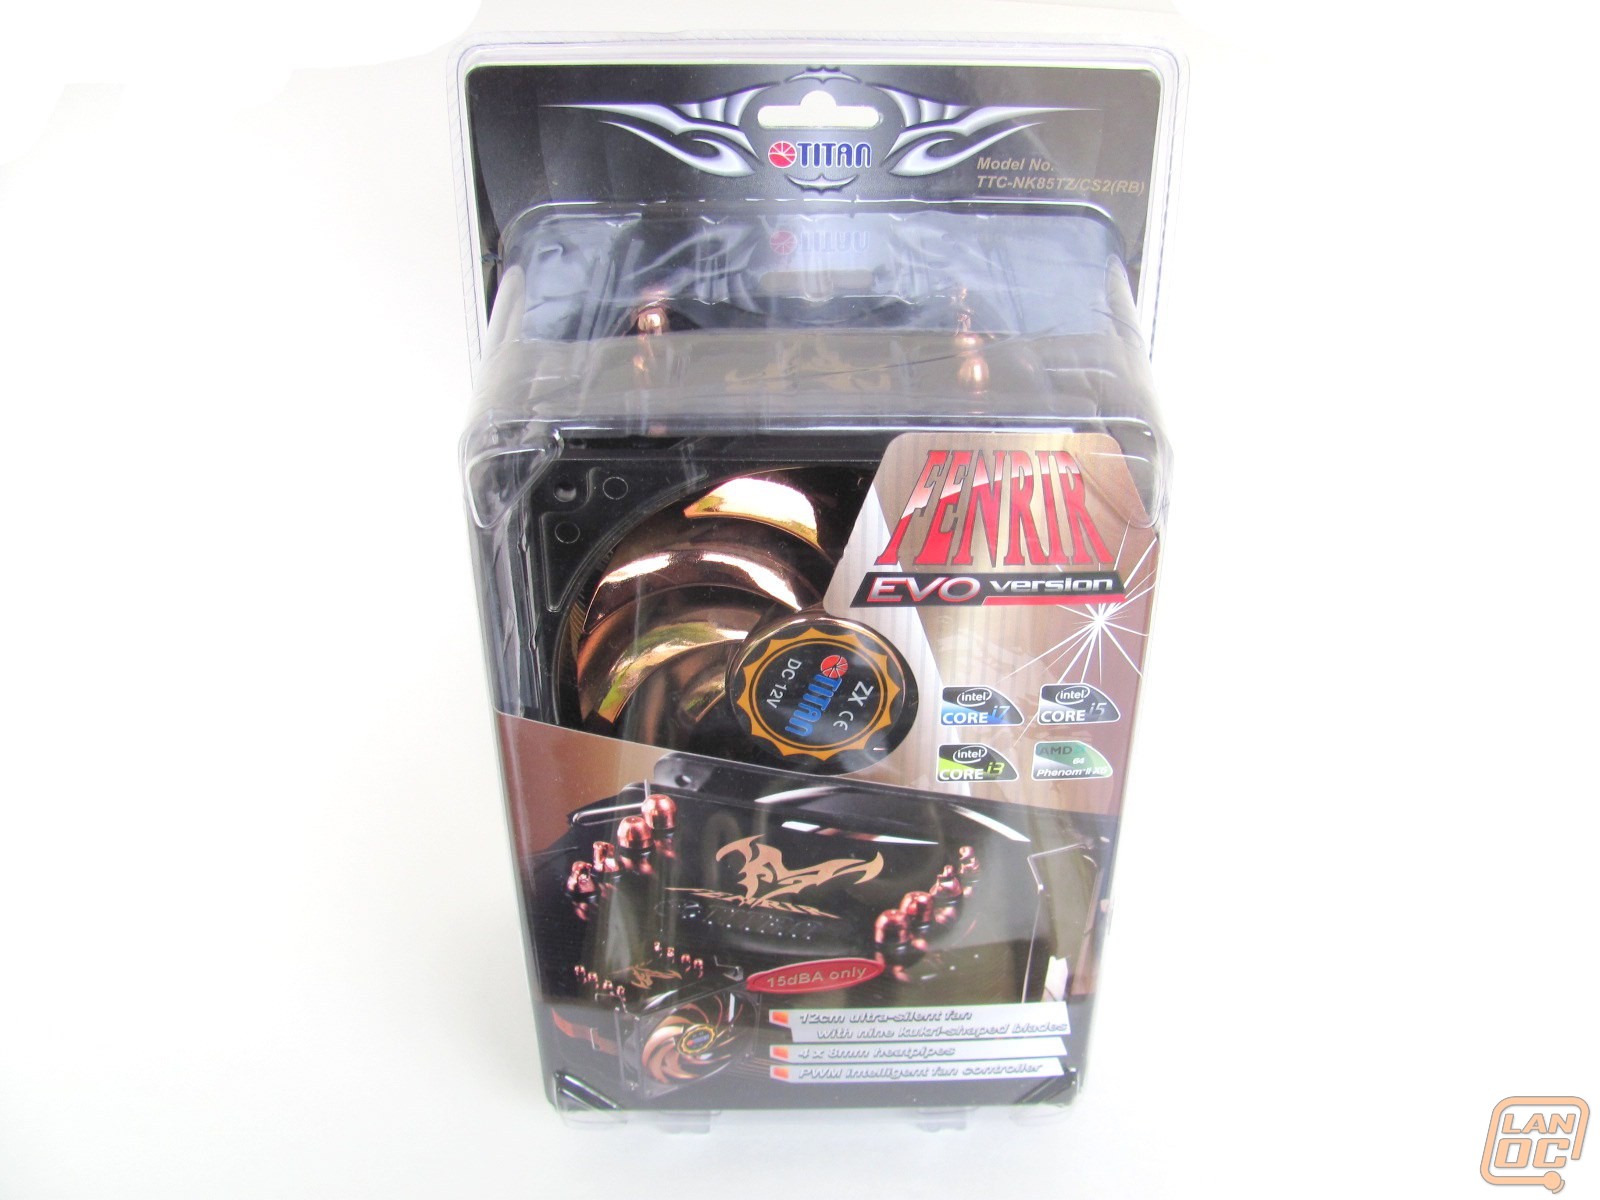
Packaging
There's nothing that brings out the kid in me more than this type of packaging. Maybe it's because the harder it is to open, the better the toy inside is. The marketers must know this kind of packaging sells, because I'm all over this one.
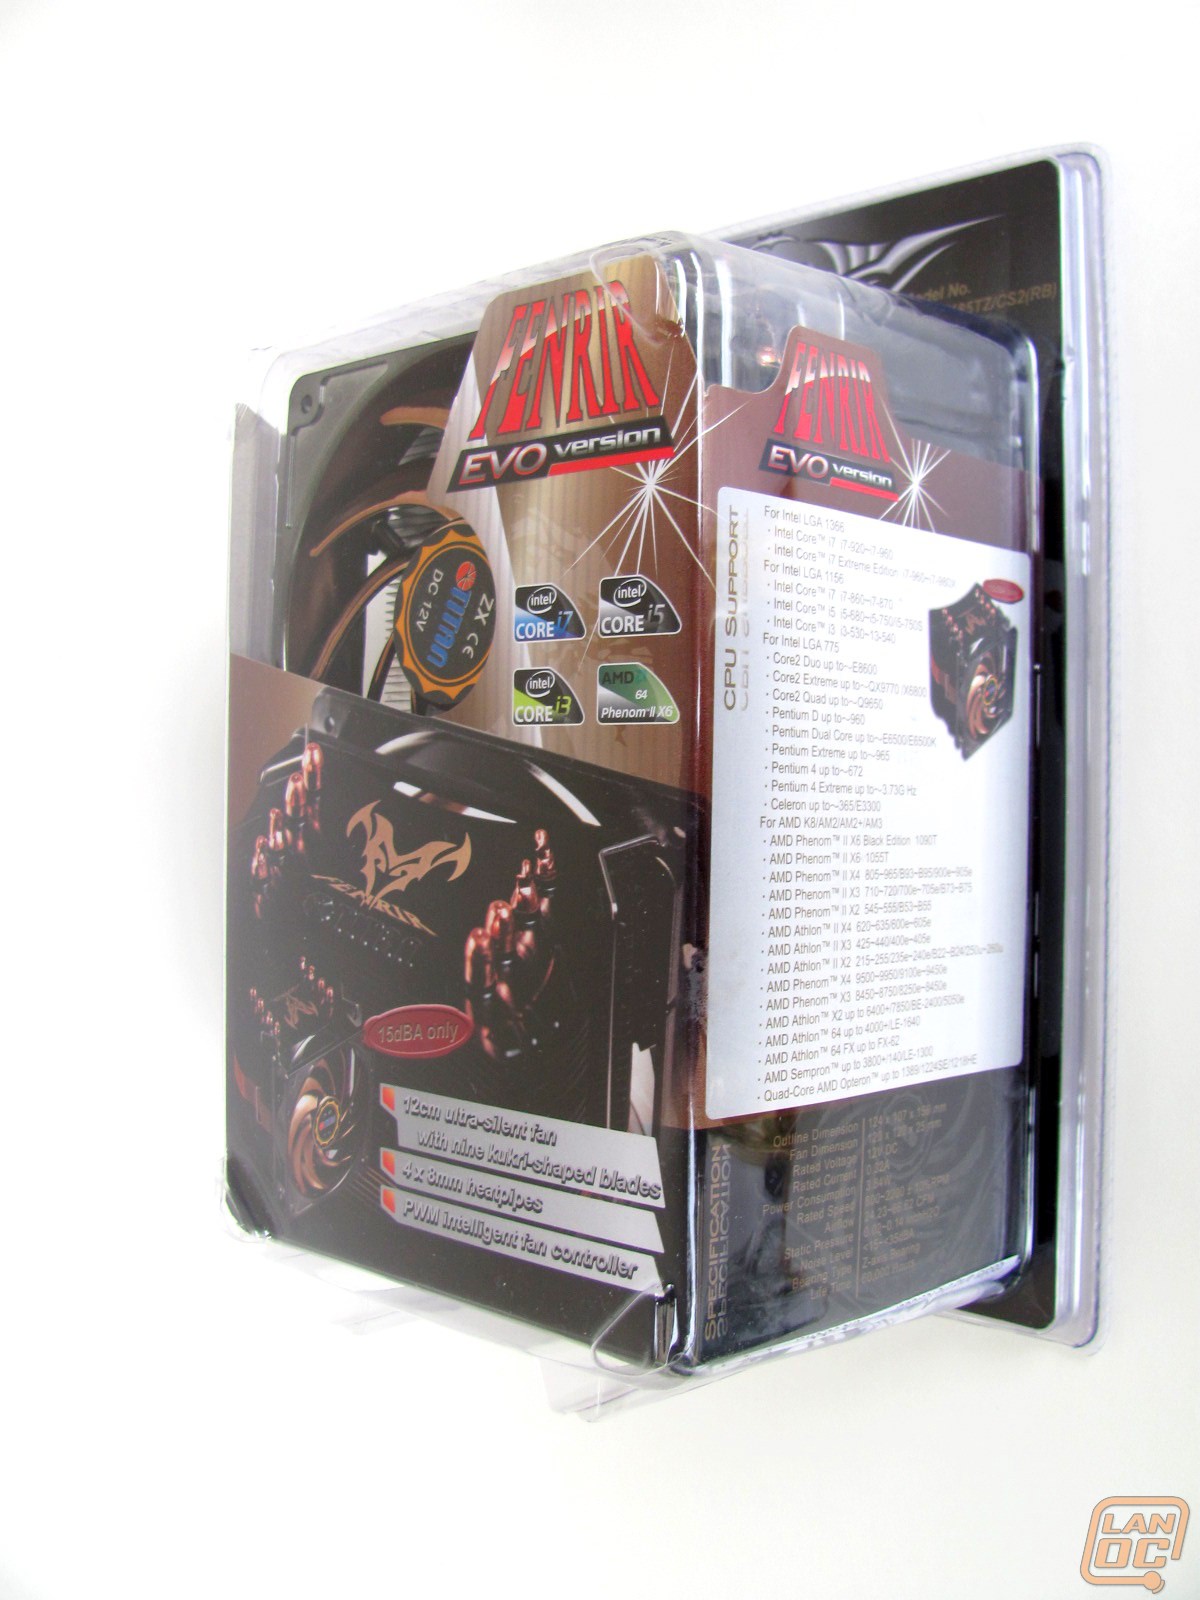

The Fenrir comes with everything you'd need to attach it to just about every modern socket type, except for the really odd ones such as socket 771.

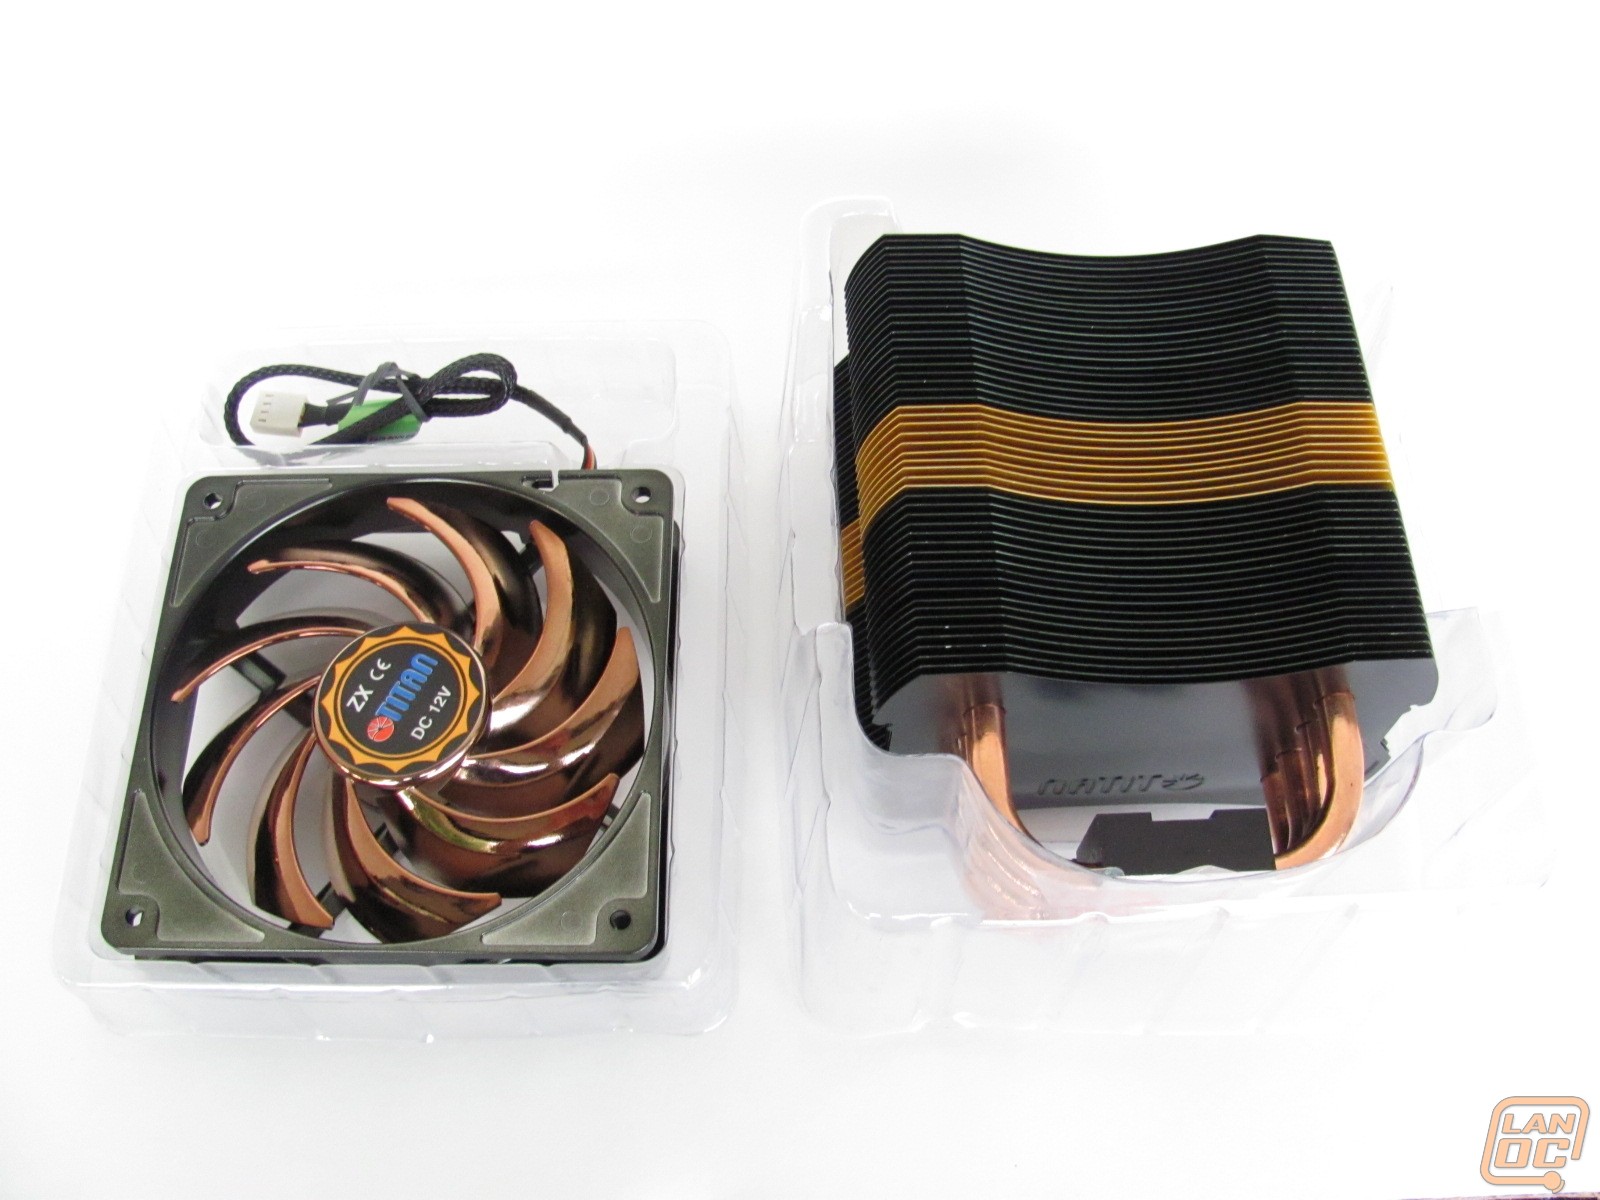
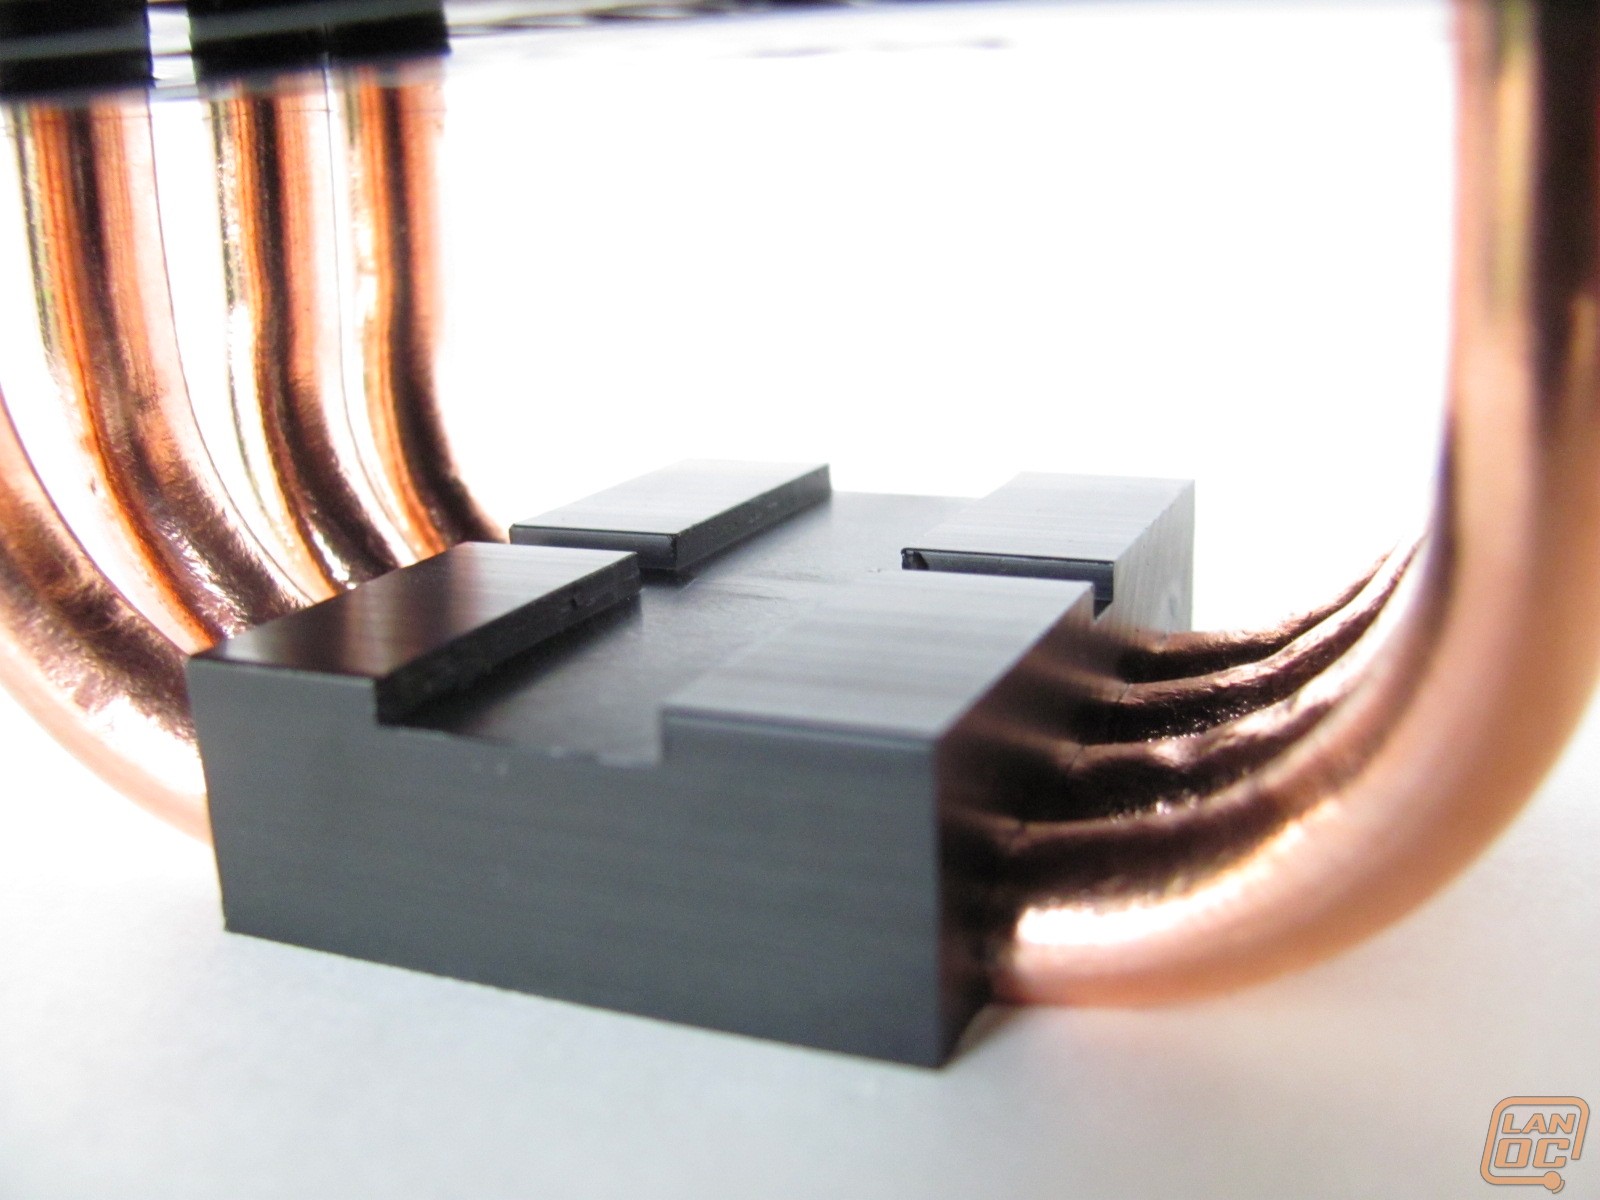
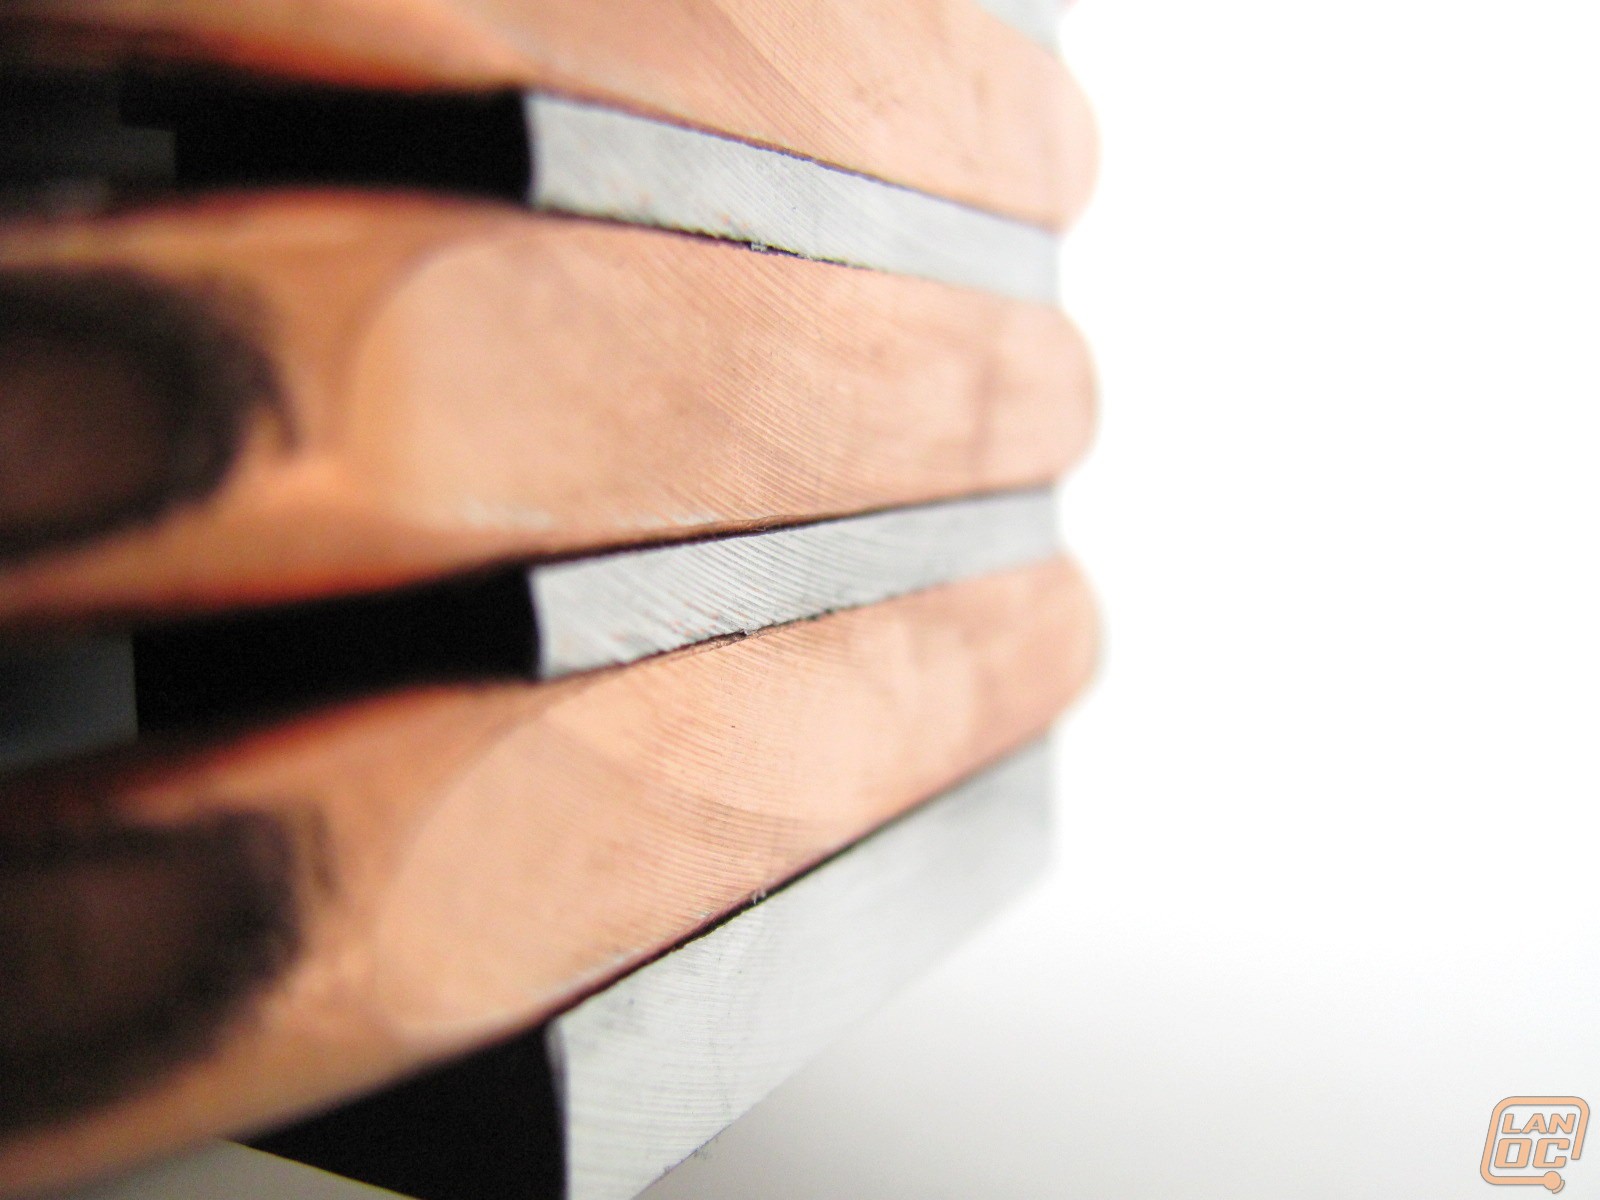
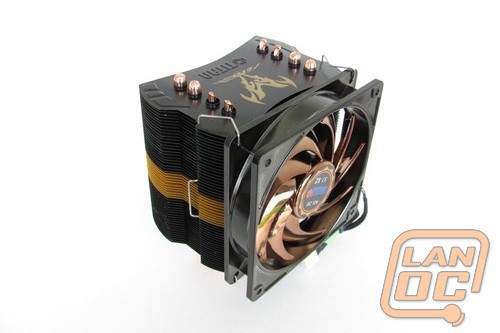
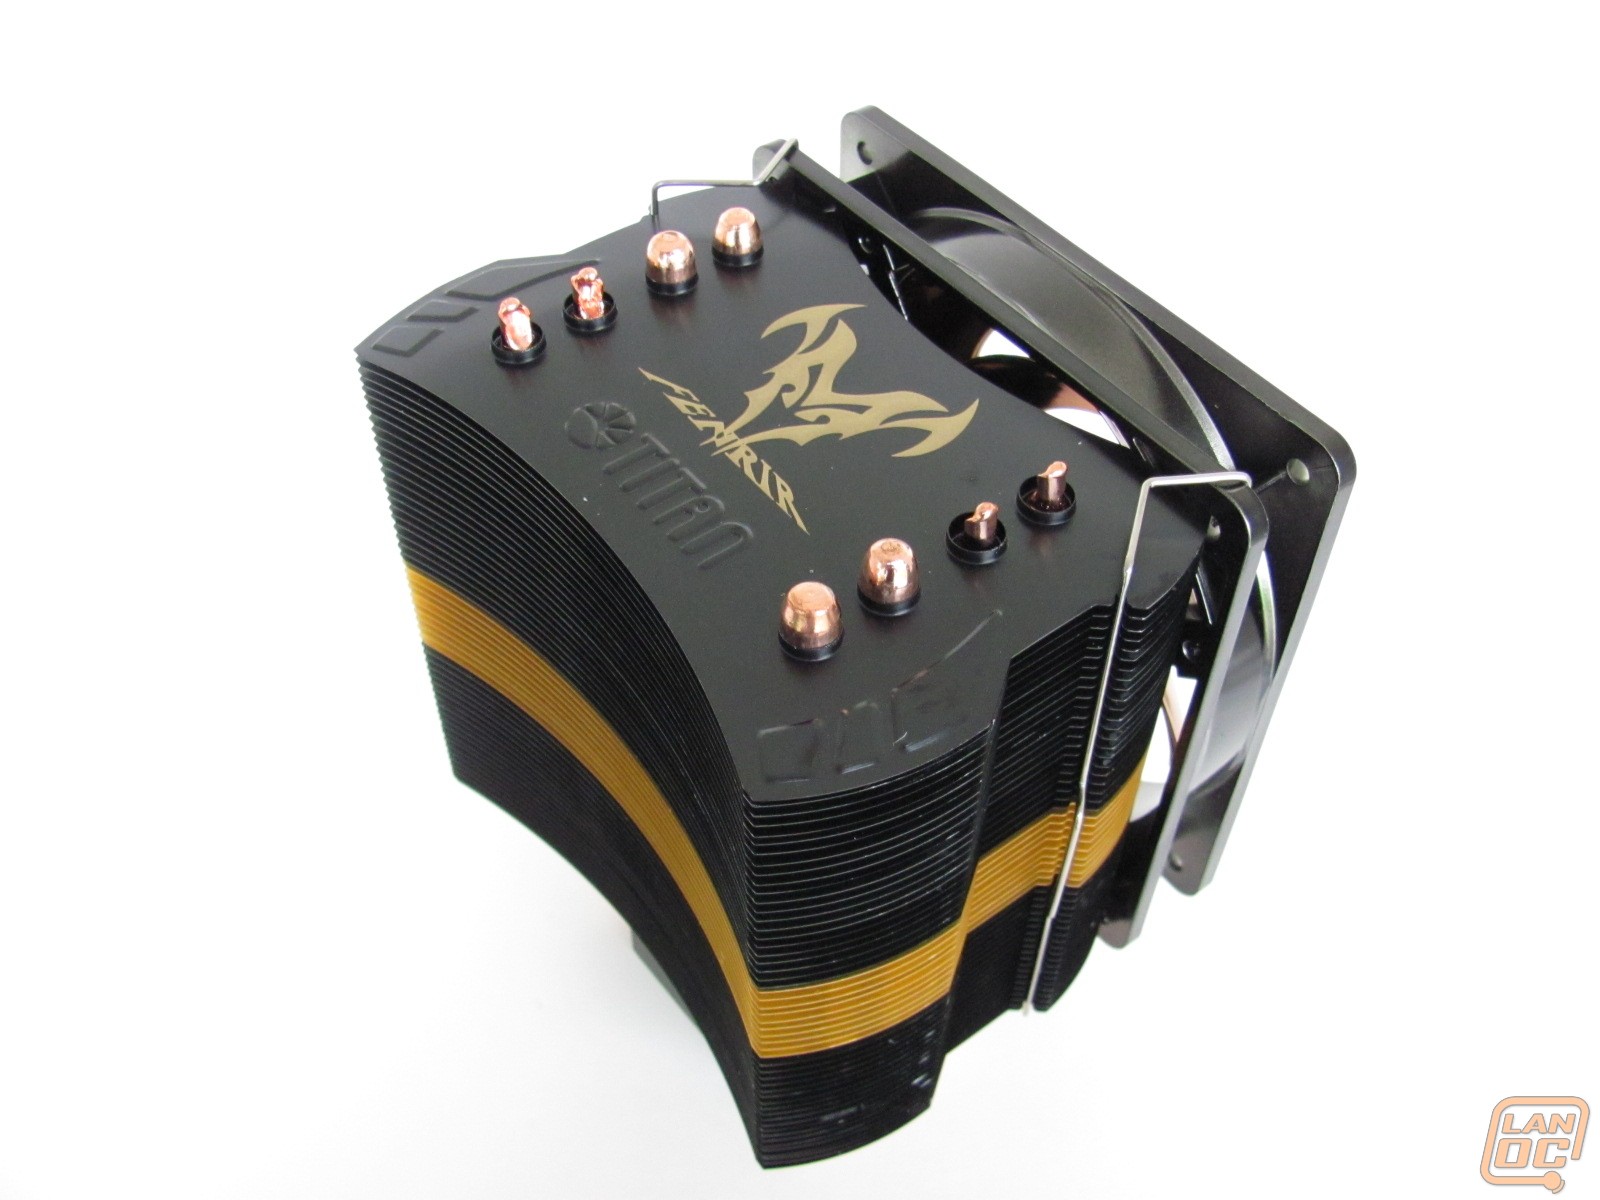
Titan has certainly put themselves together a great looking heatsink. The anodized fins and the shiny fan blades really makes it "pop". They even anodized the block of metal on the base. So not to hinder the conductivity of fins, the anodizing there is really thin. The drawback of this is that scratching it off it a bit easier than it otherwise would be. Moving it back and forth from different computers did take it's toll, especially in the area where the fan clip rubs it. Another drawback of this particular design is that there's no option for a second fan. Someone looking to shave off those extra couple degrees is going to have to do a little modding to make it happen. Mabe a couple of dabs from the hot glue gun is all it would take.

Installation
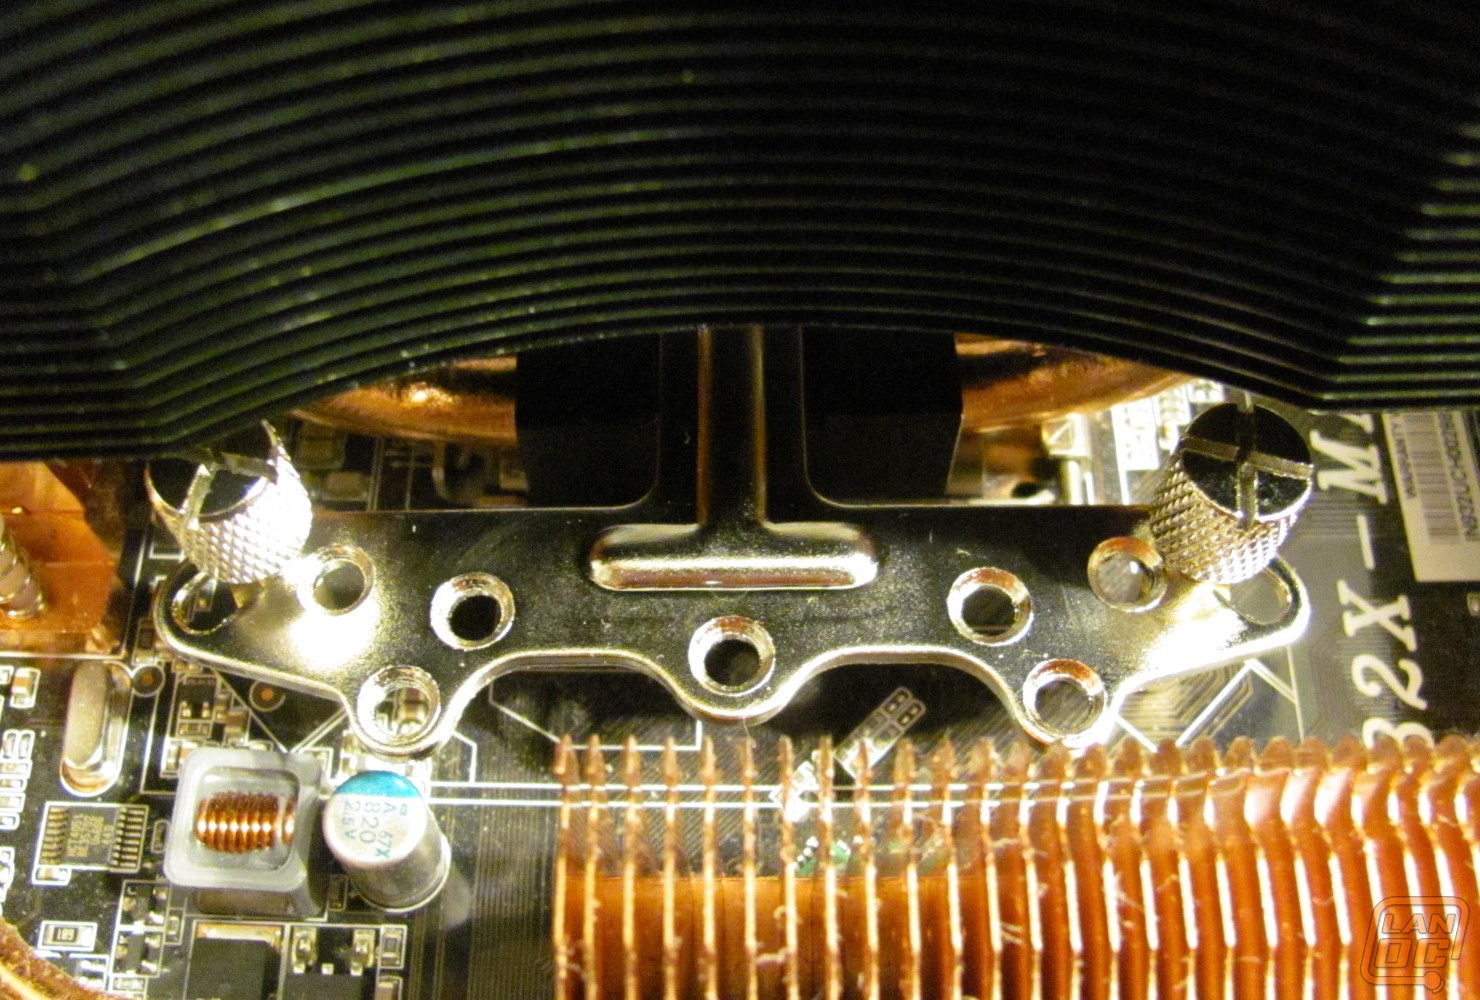
Since I'm not installing this into a new system, I decided to do it with the motherboard still in the case. Since my case has a CPU cutout, I figured why not put it to use. When installing on a socket 775 motherboard, you slap a plate onto the back, put some screws through the holes, and attach a set of brass screws on the other side. And don't forget the little non-conductive washers or you might short out some of the motherboard traces. Once those are tight, you're done with the backside. Now it's just a matter of putting heatsink compound on and attaching it. Before we get too far ahead of ourselves, I wouldn't suggest using the grey goop that comes in the package. It's pretty bad. Toss it in the trash and use some Artic Silver. It's worth the price you pay. Now that it's greased up, it's time to lock it down....and for frustration to kick in. All you have to do is turn 4 thumb screws. Simple, right? If you look at the pics, this isn't as easy as it sounds. There's no way to get a screwdriver on them. The heatsink overhangs way too much for that. If it weren't my case having plenty of room at the top, it would have been near impossible. There's nothing like squeezing your hand into a tight spot, using the tips of your fingers to try to get the screw started, only to have it fall off, fish it out, and start over a dozen times. I told my wife as she was watching me do the install, "I'm subtracting a point for every time I sigh." Let's just say the score would be in the negatives if I actually did that. In the end, I had to have my daughter, who has small hands, put the last screw on. So be prepared to borrow a kid to help you with the install, if you don't already have one. Otherwise, removing the motherboard from the case may be the only other option.
Since I'm not installing this into a new system, I decided to do it with the motherboard still in the case. Since my case has a CPU cutout, I figured why not put it to use. When installing on a socket 775 motherboard, you slap a plate onto the back, put some screws through the holes, and attach a set of brass screws on the other side. And don't forget the little non-conductive washers or you might short out some of the motherboard traces. Once those are tight, you're done with the backside. Now it's just a matter of putting heatsink compound on and attaching it. Before we get too far ahead of ourselves, I wouldn't suggest using the grey goop that comes in the package. It's pretty bad. Toss it in the trash and use some Artic Silver. It's worth the price you pay. Now that it's greased up, it's time to lock it down....and for frustration to kick in. All you have to do is turn 4 thumb screws. Simple, right? If you look at the pics, this isn't as easy as it sounds. There's no way to get a screwdriver on them. The heatsink overhangs way too much for that. If it weren't my case having plenty of room at the top, it would have been near impossible. There's nothing like squeezing your hand into a tight spot, using the tips of your fingers to try to get the screw started, only to have it fall off, fish it out, and start over a dozen times. I told my wife as she was watching me do the install, "I'm subtracting a point for every time I sigh." Let's just say the score would be in the negatives if I actually did that. In the end, I had to have my daughter, who has small hands, put the last screw on. So be prepared to borrow a kid to help you with the install, if you don't already have one. Otherwise, removing the motherboard from the case may be the only other option.

Ok, so here we are up and running. Since the fan can be placed on only the one side of the heatsink, you're out of luck if you want the logo to be right-side up and have the fan blow the hot air up toward the top exhaust fan. I wonder if they even installed one in a case before sending these off to manufacturing? The only way I see the logo being right-side up would be if you flipped it over and the fan was on top pulling, not pushing, air through. That certainly isn't the recommended configuration.
 Performance
 Performance
Since I'm charged with maintaining and keeping my kids computers upgraded along with my own, I'm usually late to the party when it comes to having the most recent CPU. This means that I'm still putt-ing along with a Core 2 Q6600 while the other reviewers are rocking Core i7's. Cyber Power computers was nice enough to send me a PC with an overclocked Core i5 in it, to look at (Review soon to come). So I took the opportunity to test out the Fenrir on it as well. The Cyber Power PC came with an Asetek 510LC which is one of those all-in-on water cooling setups. I wasn't able to test that on my Q6600, and my Thermalright Ultra 120 didn't come with the hardware to mount on a socket 1156 CPU. So there aren't any test results for those.
When looking at those results, I don't pay much attention to what the idle temps are. It's all about how cool the CPU is when it's being pounded on, and the Fenrir Evo fared quite well. In fact, if I had a windowed case where everyone could see it, I'd probably switch to the Fenrir Evo and keep it in my PC all the time. When comparing, a degree off here or there isn't going to make much difference either way, but when you face-plant another cooler, like the two air coolers did here with the Asetek LCLC on the overclocked Core i5, you have to wonder. Thinking that it was installed wrong, I took it off and put it back on, just to make sure. This just goes to show you. Spending a bunch of money on one of those all-in-one systems doesn't necessarily mean you get better performance.
To check how loud the fans were, I turned eveything in the house off, except for the a server, and plugged in each fan. While not the loudest of the bunch, the fan on the Fenrir Evo had a higher pitched whine when running at full speed. If this is the loudest fan in your computer and if you're sensitive to that sort of thing, they've included an in-line resistor, you can add, to slow the fan down. Of course this is going to reduce the cooling a bit too. Since in my computer it's competeing with the sound of 2 GTX 260s running at 80% and 5 other case fans, I can't even hear it at full speed. In fact it's drown out much more than the others that have a lower pitched sound.
Conclusion
The Titan Fenrir Evo is a definite contender. It kept both overclocked CPUs nice and cool. In fact it put the Asetek 510LC that Cyber Power installed to shame. As with most tower style heatsinks, it is tall and won't fit into most cases that have a fan on the side panel. The mechanics of the installation is easy and straight forward; put this screw here and turn this nut. On the other hand, unless the motherboard is out of the case or your case is large with lots of room, you're going to need to borrow a kid with little hands to actually get said nut put on. As with most things, I can deal with a difficult install if the product performs well. Since the Fenrir Evo does and looks good in the process, I wouldn't hesitate to recommend it someone building a new system where the motherboard isn't already in the case.