 For most people the thought of running water through a box full of electronics sounds crazy. If you can get over that, it's most likely intimidating enough that you may never consider the option. Thermaltake designed a few water-cooling kits that are designed to be easy to install and good performing. One of those kits is their Big Water 760i kit. Thermaltake sent us one of the 760i's for us to compare it to all of the heatsinks we have tested up until now, and to find out if they succeeded at making an easy to use Water Cooling kit to get you started with H2O.
Review Sample Provided by: Thermaltake
Review by: Wes Compton AKA Garfi3ld
Pictures by: Wes Compton AKA Garfi3ld
Specifications
|
2U Bay Drives |
Dimension |
232mm(L) X 148.6mm(W) X 85mm(H) |
|
Weight |
1.3(kg) | |
|
Application |
CPU |
AMD AM2 series AMD K8 series Intel LGA775 Intel P4 |
|
Water Block |
Material |
All copper designed |
|
Dimension |
58mm(L) X 58mm(W) X 35mm(H) | |
|
Quick install connector |
For 9.5mm ID (3/8") tubing | |
|
Weight |
311(g) | |
|
Pump |
Dimensions |
75(L) x 70(W) x 75(H) mm |
|
Bearing |
Ceramic bearing | |
|
Maximum Capacity |
500 L/ hr | |
|
Rated Voltage |
DC 12V | |
|
Input current |
600 mA | |
|
Connector |
4 pin | |
|
Noise |
16 dBA | |
|
Life time |
80000 hr (MTBF) | |
|
Radiator |
Dimensions |
153(L) x 120(W) x 28(H) mm |
|
Material |
Aluminum | |
|
Tube Design |
Aluminum, Dimple | |
|
Fin Design |
Aluminum, Louvered | |
|
Quick install connector |
For 9.5mm ID (3/8") tubing | |
|
Fan |
Fan Dimension |
120(L) x 120(w) x 25(H) mm |
|
Fan Speed |
1600~2400 RPM | |
|
Rated Voltage |
12V | |
|
Noise |
16 ~20 dB | |
|
Life Expectancy |
40,000 hr | |
|
Connector |
4pin | |
|
Liquid Tank |
Dimensions |
72.4 (L) x 70.5(W) x 69.4(H) mm |
|
Capacity |
130 c.c | |
|
Quick install connector |
For 9.5mm ID(3/8") tube | |
|
Tube |
Dimensions |
9.5mm ID(3/8") tube |
|
Material |
Green UV | |
|
Coolant |
Capacity |
500 c.c |
|
Major Material Ingredient |
Ethylene Glycol |
Packaging
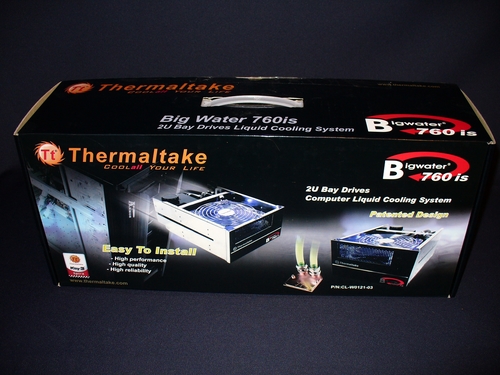
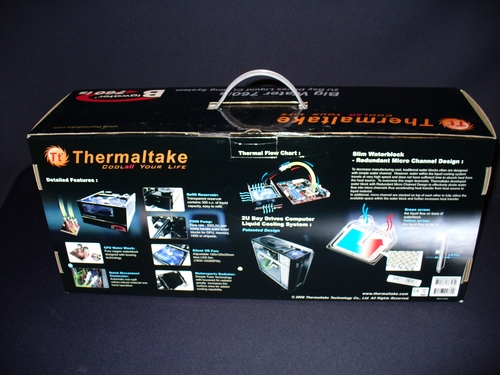
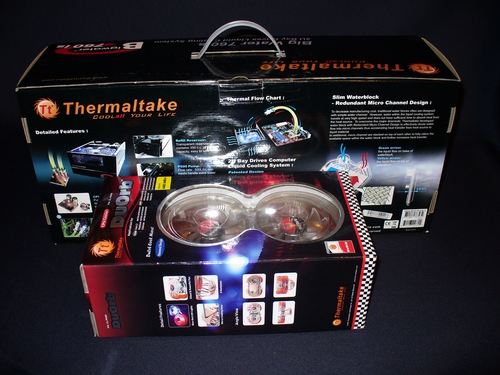
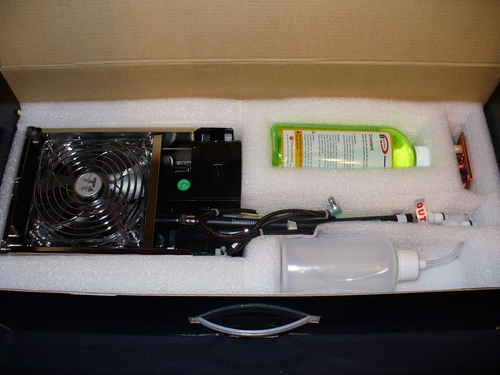
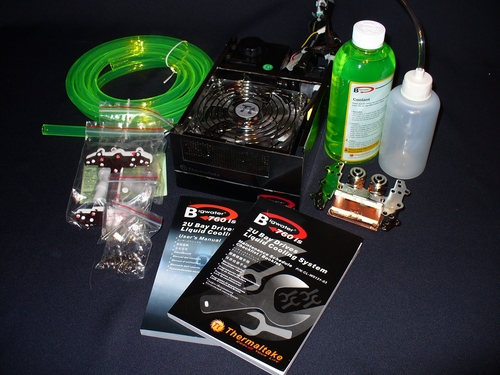
The Big Water 760i comes in a large box; you can compare it to the size of the DuOrb that is also very large in one of our pictures. It almost feels like a briefcase when you are carrying it around because of the handle on the top of the box. The front of the packaging has a few pictures of the main unit sliding into a Thermaltake Armor case along with a picture of the waterblock. In big bold letters, they tout that the kit is "Easy to Install". On the back of the box they list off all of the included parts, everything needed for a full water cooling kit is here, from the coolant to the fittings. The rest of the back is covered in diagrams and things explaining the "redundant Micro Channel Design" used in the included CPU Water Black.
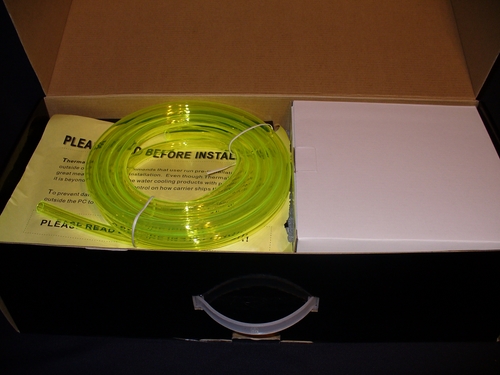
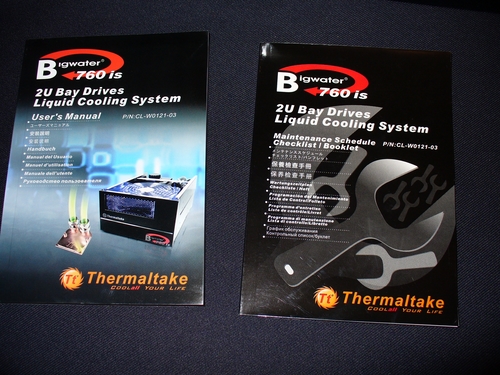
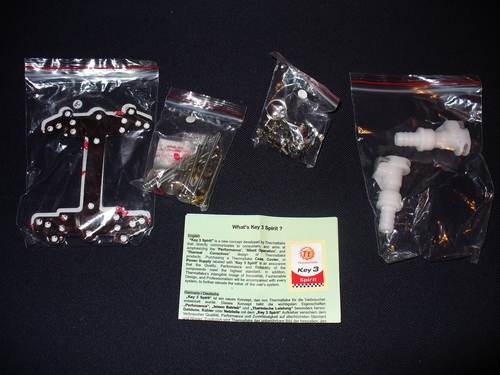
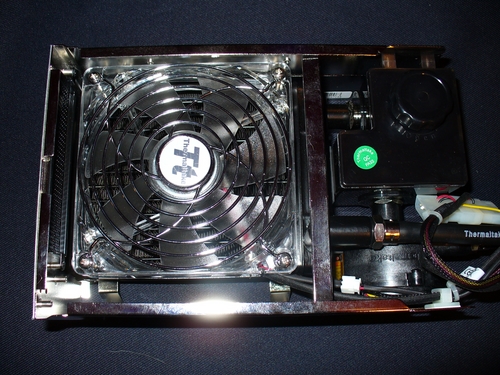
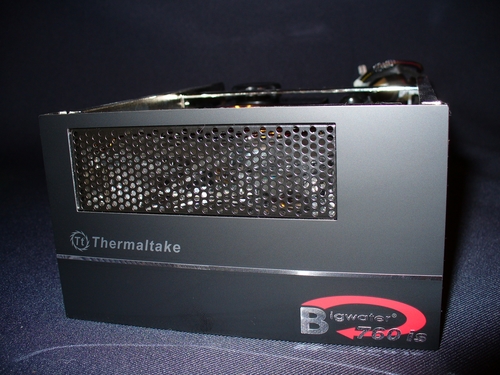
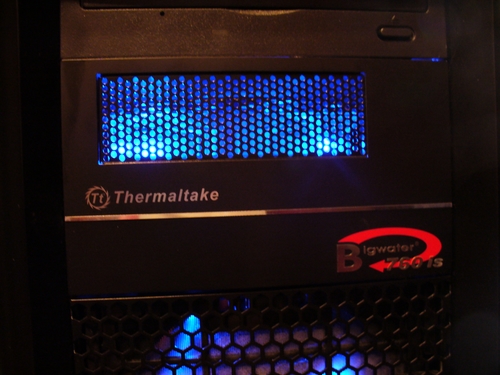
Opening up the packaging, you will find that Thermaltake did not waste any space in packing everything into the box. The box is packed with tubing, a box full of clips and brackets, a fill bottle, two thick books, a bottle of coolant, the CPU water block, and the main unit. The main unit itself houses the reservoir, pump, radiator, and fan.
Our Test Rig
Abit IN9 32X-MAX 680i Intel Q6600 Quad core CPU B3 stepping 4 gigs of A-Data G Series Ram EVGA 8800GTS Video Card 640MB Antec Twelve Hundred Case Antec Quadro 850 Watt Power Supply Lite-On DVD Burner Running Vista Ultimate and XP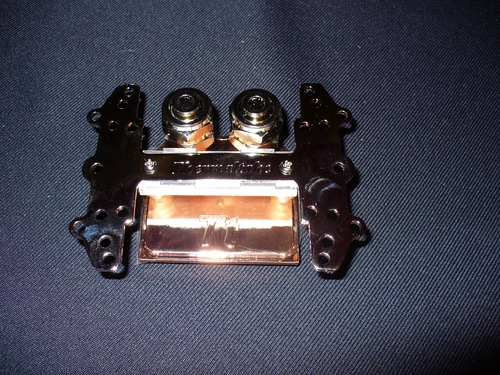
Installation
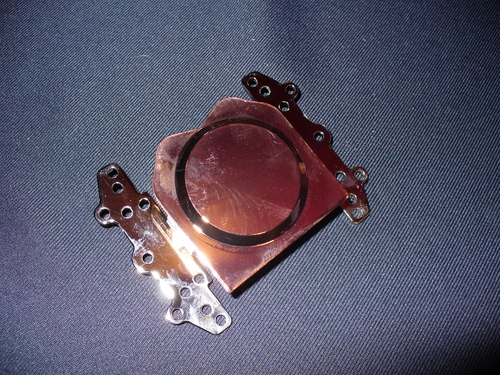
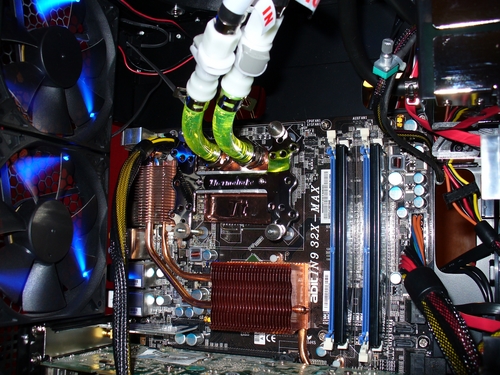
I started a little worried going into this install. Water and expensive parts do not go well together. I started by taking a close look at the books Thermaltake included in the box. Once you filter out all of the different languages, the instructions were fairly small and simple. I started by removing the motherboard and getting the waterblock and brackets ready. I did not have to worry about swapping the bracket out on the water block because the 775 bracket comes preinstalled. You basicly put the base bracket, an insulator, and a foam pad on the underside of the motherboard. Apply your thermal paste to the CPU, then bolt the water block to the backplate through the motherboard. It goes together fairly simple, not much harder than installing the backplates for most of the newer heatsinks.
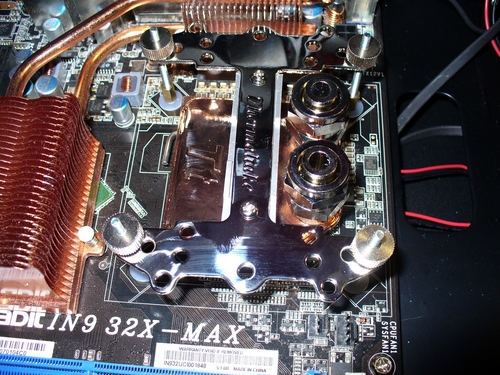
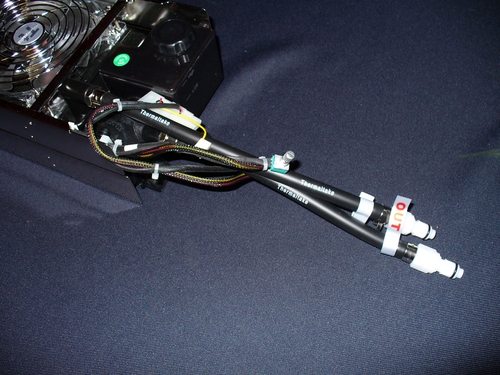
With the biggest part of the install behind us, we moved on to installing the main unit. In this case, with our case, I had to remove two drive covers and then the unit slid in. Once installed and secured I had to plug in the motherboard fan lead so that the computer does not think there is not a fan. For power there are two Molex connectors, I found where I was going to install them but kept them unhooked so we will be able to leak test the kit without putting power to the rest of the computer. The only thing left to do on the install at this point is to hook up the tubing and fill it up. Because of where we mounted the main unit the tubing coming off our water block was almost nothing. We cut two 3-inch lengths of hose, grabbed two quick disconnects, and two clamps from the bags of parts included. The clamps when over the hose first and then I put the quick disconnects into one end of each hose. The clamps slid up and over the disconnects to keep them from leaking. In order to connect the hoses to the water block we removed the two nuts and slid them onto the hose. Then the hoses easily went over the barbs on the water block. The nuts tighten back down to prevent any leaks on this end. Lastly, you connect the two hoses coming from the water block to the two hoses coming from the main unit. Make sure to keep them from bending too much, any kinks or bents in the hose can stop the flow.
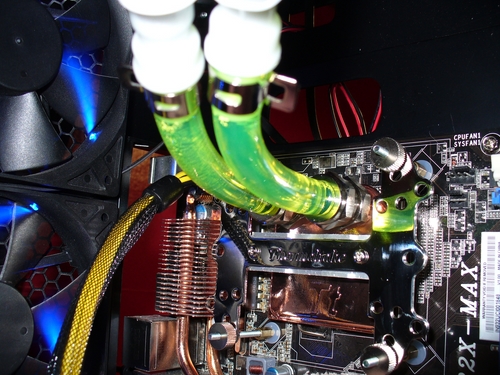
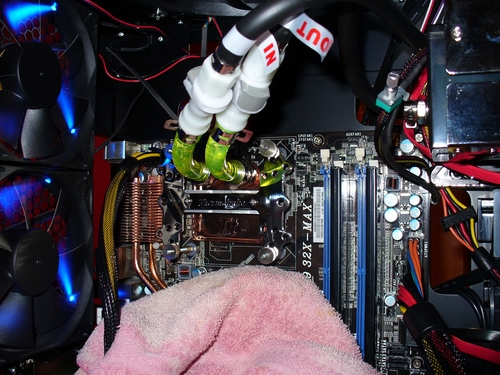
Now that everything is together, I filled the fill bottle up with coolant and started to fill up the reservoir. Once we could not get any more into it was time to power everything up. Before we power it up though we stuffed rags under all of the lines to soak up any leaks if one were to happen. Next, we used an old power supply to provide power to the Big Water 760i kit without powering up the pc. This way if there is a leak you will not fry anything, you will just have to dry it out. With everything ready, we powered everything up and watched the bubbles run out of the lines. At one point, it was necessary to top off the coolant but overall everything was perfect. The install went smoother than expected for a water cooling kit. There are not many ways you could make water-cooling any simpler than what Thermaltake did with the Big Water 760i.
Performance
Even though this is a water cooling setup I put it through our standard testing for heatsinks. Our standard test consists of letting the pc idle with nothing but realtemp 2.5 running and recording the lowest average temperature reached. For our load testing, we ran prime95 for an hour on all four CPU cores. The highest average temperature reached is our result. While doing all of our testing no matter the time of the year we make sure the ambient temperature is at 70 degrees. Our CPU clock is set to stock settings and all of the fans on our Antec Twelve Hundred are turned on the max setting. Because of the case, some of our results may be lower than tests run in cases with less airflow.
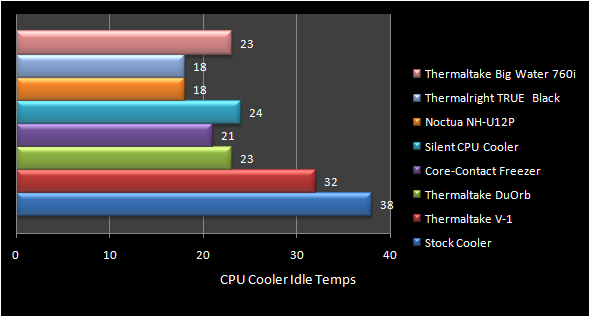
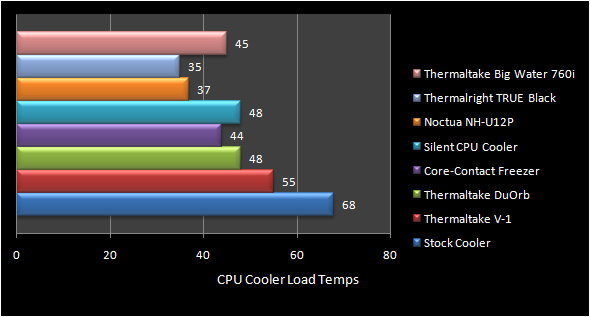
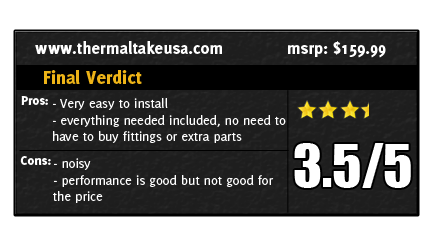
Our results were a little disappointing but still much better than stock and some other heatsinks. A few of the high end, high performing air-cooling solutions we have tested recently did outperform the Big Water. Considering the price this was a little disappointing, but when you realize that this is a water cooling kit for fewer than 200bucks, you can't expect it to be top end. I also believe that people that have cases with low air flow this kit may perform better than the higher end air cooling solutions. As for noise, I was disappointed in the rattle the pump made. The fan put out a little more noise than normal, a good quality replacement fan may quite things down a little bit.
Overall
Even though I install heatsinks almost daily, I was very apprehensive about installing the Thermaltake Big Water 760i. As it turns out I had no reason to worry, the install went smoothly mainly because of the main portion of the parts being put together in the main housing. Thermaltake also did not miss any clips or parts making it easy to get everything together, infact they sent extras. The performance of the Big Water 760i was mid range in the cooling solutions that we have tested, I was hoping for a little better. The kit is also somewhat noisy with the rattle in the water pump and the fan. Frankly you arnt buying this kit if you want the best cooling, you are buying it if you want to get into water cooling without having to fabricate brackets and the other installation troubles you will find with a normal water cooling kit. Thermaltake packaged it all in a two drive bay pack to make your life simpler, but you will have to sacrifice some noise, and performance.
