Our first introduction to the Hyte brand was with the Revolt 3 launch last year. Hyte is a sister brand to iBUYPOWER and with the Revolt 3 we learned that they aren’t looking to continue the status quo, they are looking at each new product with fresh eyes and bringing new ideas. For the Revolt 3, the focus was on a travel-friendly case with a hidden carrying handle and features to make packing everything into the smaller case much easier. This last CES they also showed off their upcoming case, the Y60 which goes the other direction and is a case focused on desktop use, and with the Y60 they are specifically aiming at the market who loves posting up pictures of their systems in places like Reddit at an angle to show off the inside and front of your case. The Y60 brings the two together with a cornerless design and I’m excited to see what other kinds of changes Hyte has incorporated so let's dig in.
Product Name: Hyte Y60
Review Sample Provided by: Hyte
Written by: Wes Compton
Amazon Affiliate Link: HERE
|
Specifications |
|
|
Case Type |
Dual Chamber Mid Tower ATX Case |
|
Volume |
60L |
|
Case Dimensions |
456mm (L) x 285mm (W) x 462mm (H) |
|
Case Materials |
Tempered Glass, Steel, ABS |
|
Color |
White/Black, Black/Black, Red/Black |
|
Motherboard Support |
EATX, ATX, mATX, ITX |
|
Power Supply |
ATX up to 235mm in length |
|
Video Card Max Dimensions |
375mm length, 75mm thick (60mm or less recommended for best cooling) |
|
Fan Support |
Side: 2x 120/140mm Top: 3x 120mm
Rear: 1x 120mm (1x 120mm, 1300 RPM included) Bottom: 2x 120mm/140mm (2x 120mm, 1300 RPM included) |
|
Radiator Support |
Side: 120, 140, 240, 280mm up to 150mm thick Top: 120, 240, 360mm up to 28mm thick Rear: 120mm |
|
CPU Cooler Height |
160 mm |
|
Storage |
2x 3.5" HDD or 4x 2.5" SSD |
|
Expansion Slots |
3 + 6 half-height |
|
Front USB 3.0 |
2 |
|
Front USB 3.2 Gen 2 Type-C |
1 |
|
Audio/Mic Jack |
1 |
|
Dust Filters |
Bottom, Side, Top |
|
RGB Lighting |
None |
|
Included |
Riser Cable |
|
Warranty |
3 years |
Packaging
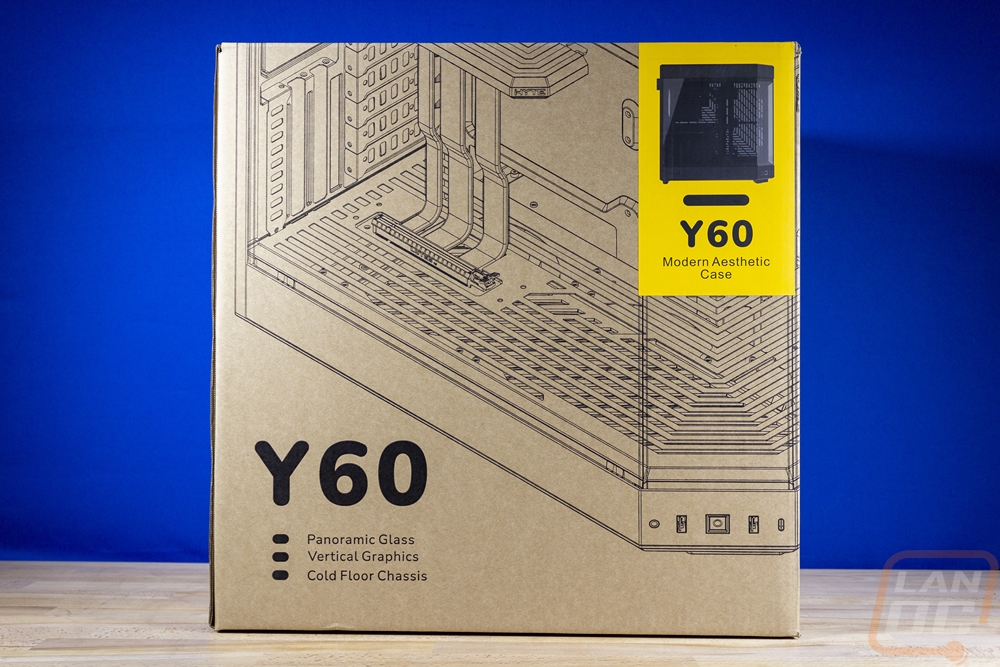
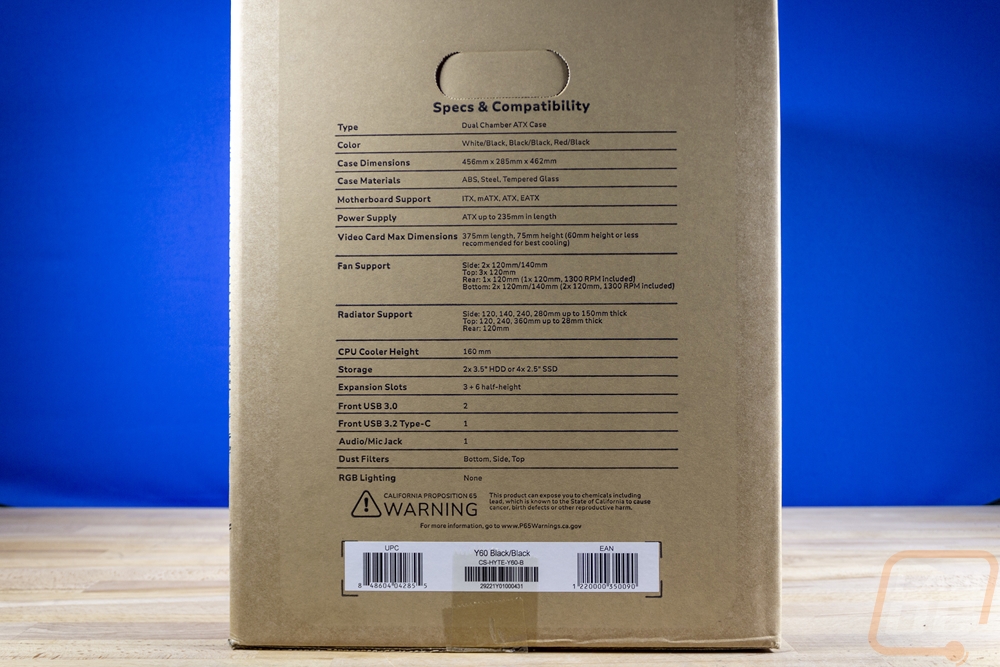
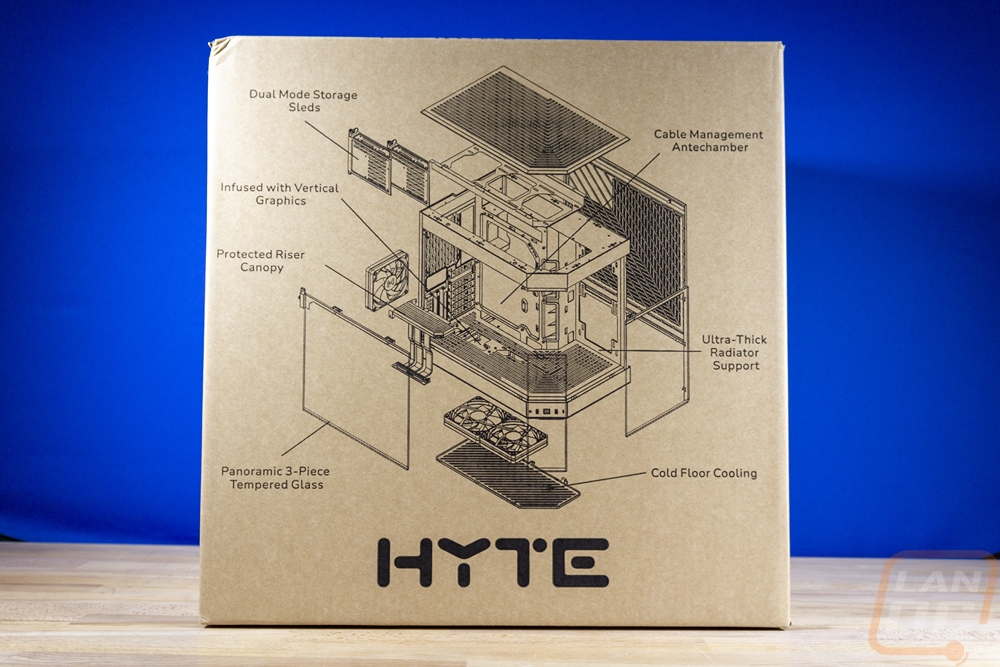
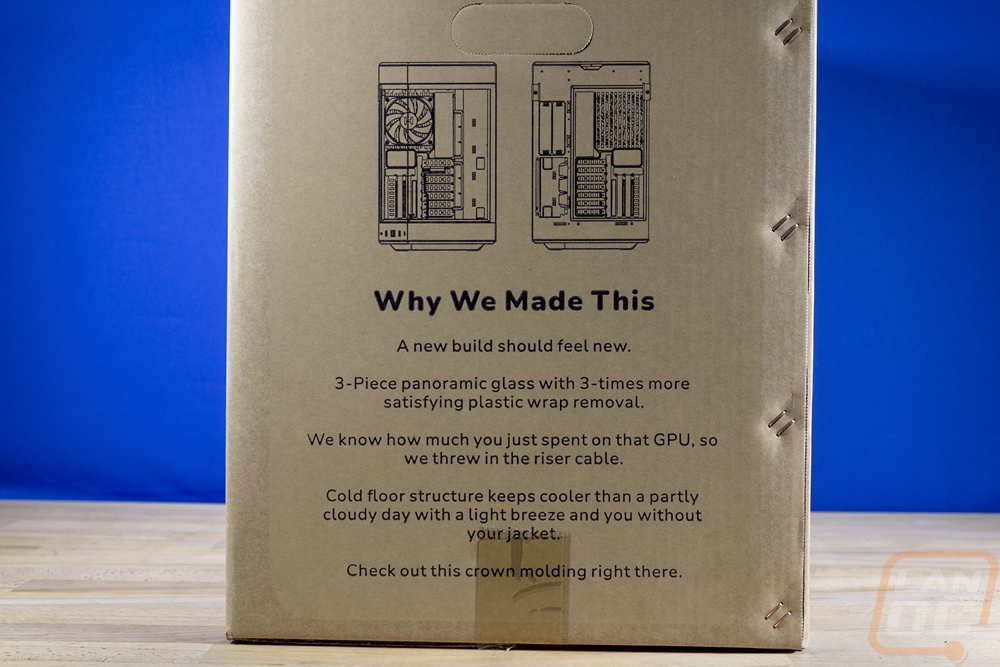
The box for the Y60 starts with the standard brown box but with a huge line drawing of the bottom half of the case across the front and the Y60 branding in large black letters. Below that they highlight three of its features, panoramic glass, vertical graphics, and cold floor chassis. Then up in the top right corner, they have a bright yellow sticker that fits with the Hyte brand with a color picture of the case. This I’m guessing will show the different color options, ours is all black but they do have a white/black model and a red/black model. The box has a full specification listing on one side along with a sticker for the UPC and model/serial information. Then on the back of the box, Hyte has a full blown out drawing of the case to touch on a few other aspects of the case. They took advantage of the space on the other end to talk a little about why they made the case as well.
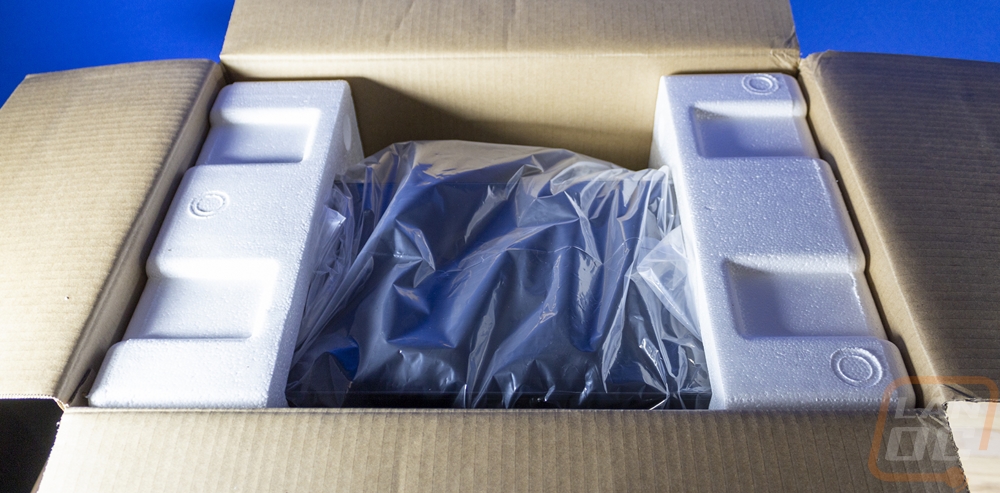
Inside the box, the Y60 comes wrapped up in a plastic bag, and then it sits between two Styrofoam panels to keep everything safe in shipping.
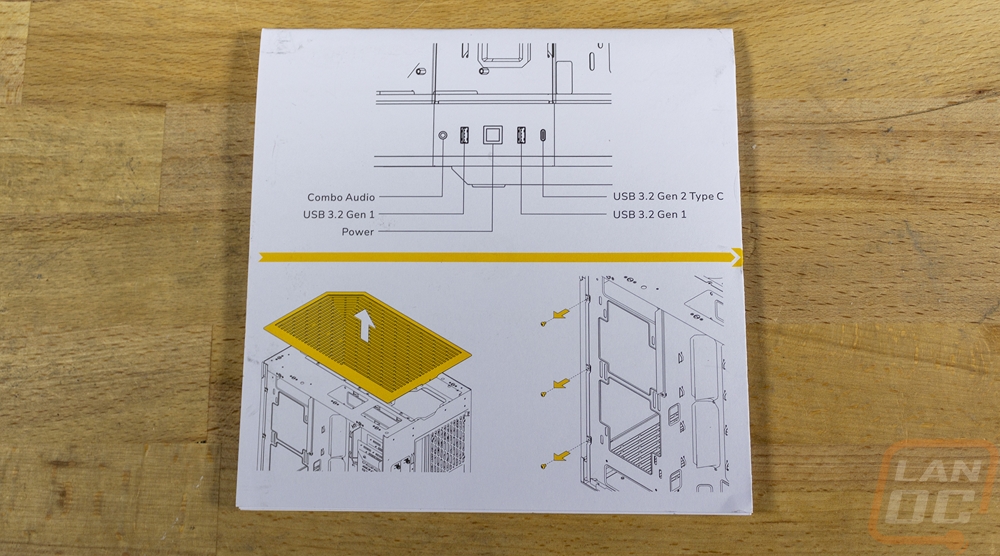
It does come with one manual. It is mostly line drawings but they do use the Hyte yellow to highlight things when doing the instructions. The Y60 is a lot more straightforward case than the Revolt 3 as far as building in it, but it is still good that they have easy-to-read instructions.
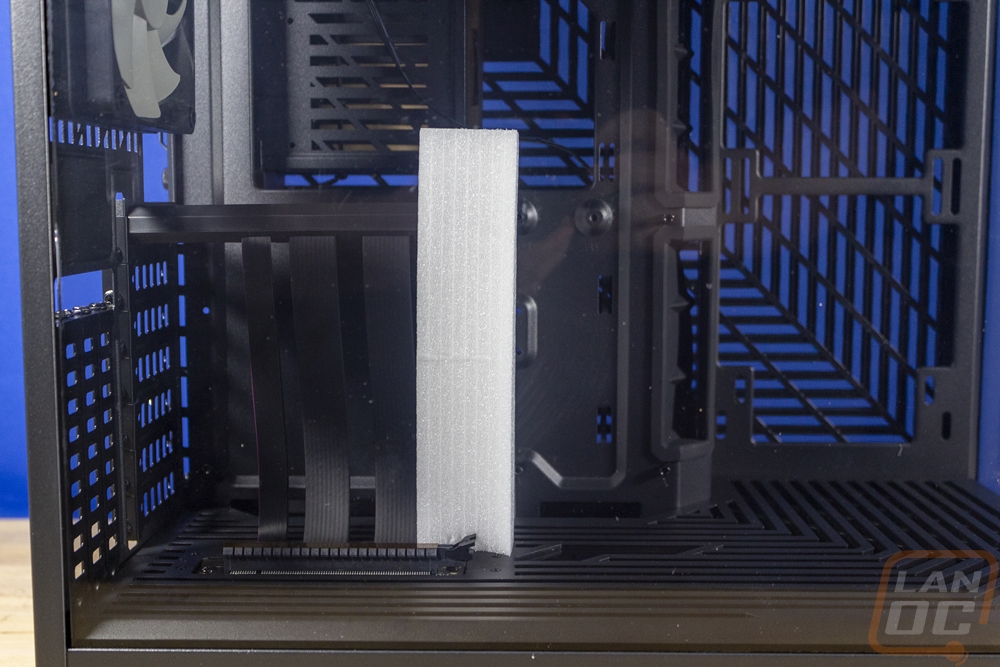
The glass panels all come with an additional plastic coating that you will need to take off and inside of the Y60, the included riser cable comes preinstalled. But to keep it from moving around it also has foam holding up the unsupported end. All of the accessories are then all put in a cardboard box and sitting in one of the hard drive trays. There aren’t many things needed, but you get a small bag of black screws. There are two different screws, some are for your motherboard and then they have hard drive/PSU screws all mixed together. I do wish they would come split up and labeled to make things a little easier. You get a bundle of zip ties which are surprisingly thin in size and there is an audio adapter cable that goes from a combo headphone jack to the normal PC dual jack setup for your headphones and microphone.
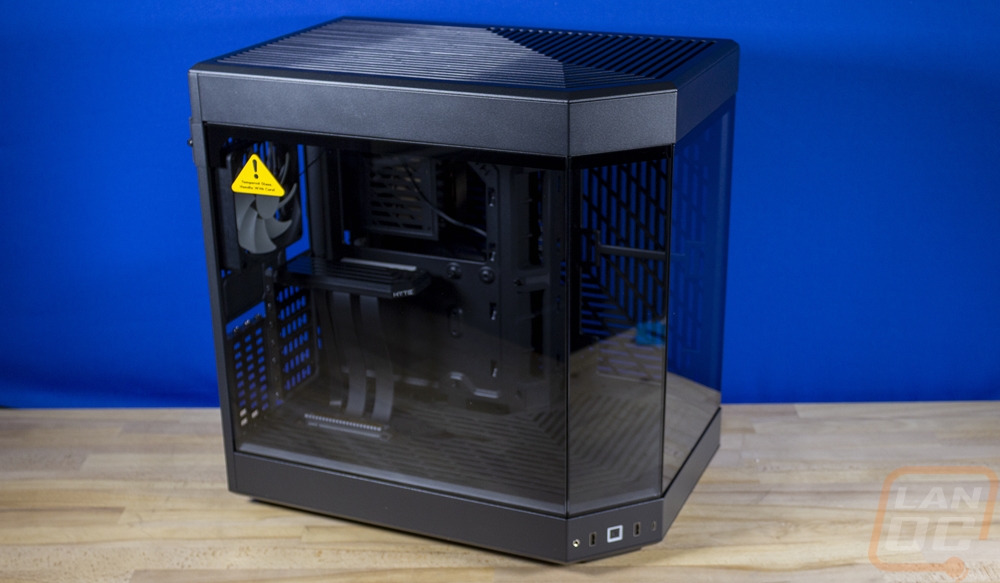
Outside
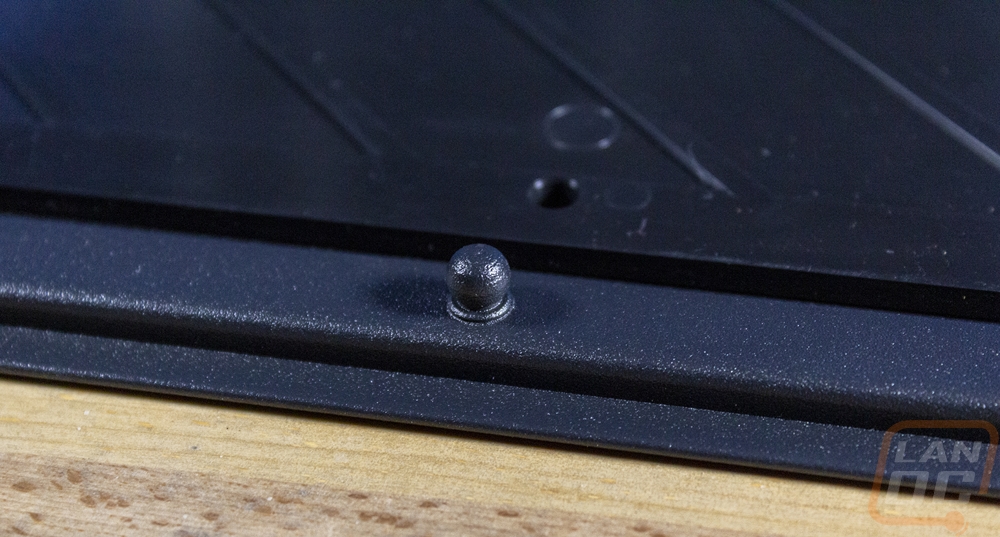
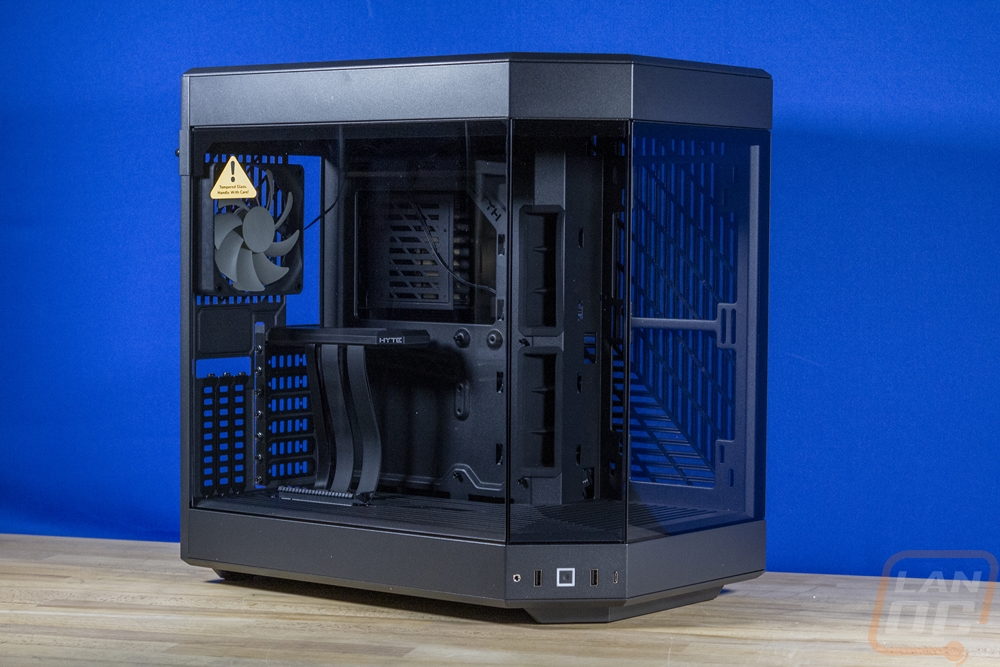
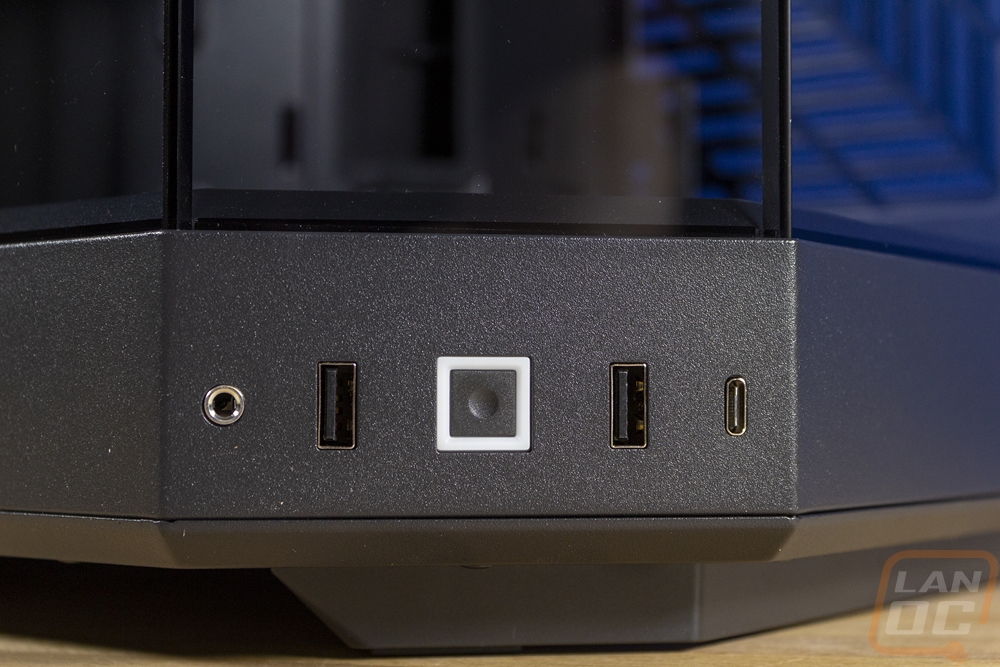
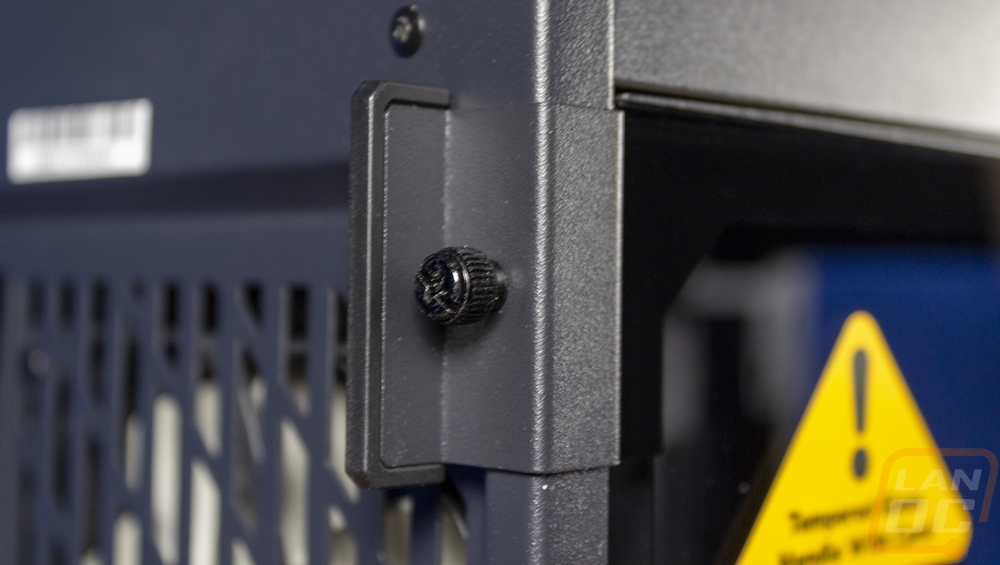
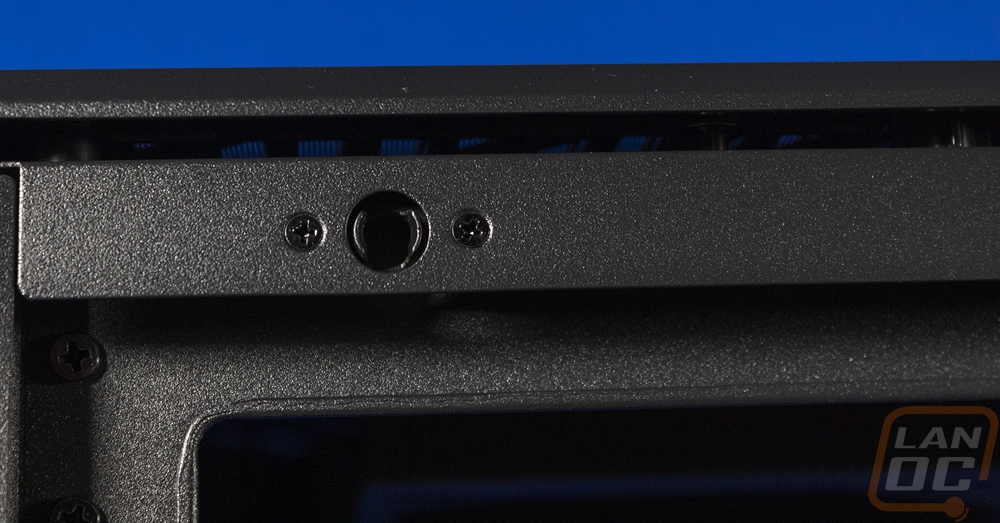
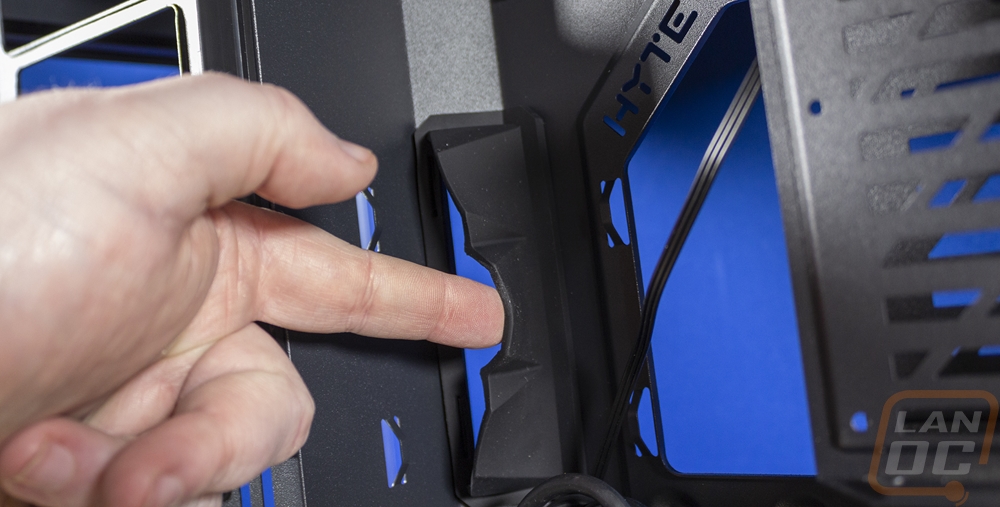
So the left side/front view of the Hyte V60 is what it is all about. This is the panoramic glass that Hyte mentioned on the packaging and this is the main point of this case. When people take pictures of their PC and when a lot of people put their PC on the right side of the desk the view you get is looking in the side as well as the front at a 45-degree angle. For the Y60 Hyte has removed the pillar on the front corner and just wrapped the entire view around. The top of the case has what they call the crown molding with a thick panel that wraps around the top and the same on the bottom with the tinted tempered glass in between that. Those panels are all steel and for our version, they have a textured black finish but they also come in white and red as well with the red only being available from Hyte themselves. The front I/O is designed for the Y60 to be up on your desk as well with it being down on the bottom edge on the 45-degree panel in the corner. You have a square power button in the middle with a white LED ring around that. There are USB 3.2 Type-A connections on each side of the power button then on the left, there is a combo microphone and headphone plug for the front audio and on the right a Type-C connection. The audio plug will work with compatible devices or if you only need a headphone it will do that automatically, if you need the split connections they include an adapter for that. The square button and full layout is exactly the same as on the Hyte Revolt 3. The main door panel is locked in place with a metal tab that wraps around the corner and a thumbscrew, it also uses small ball mounts to snap into place as well. The front and corner glass panels can be removed as well, but the corner panel is designed as a structural part of the case, so they do warn not to move the case around without that panel installed.
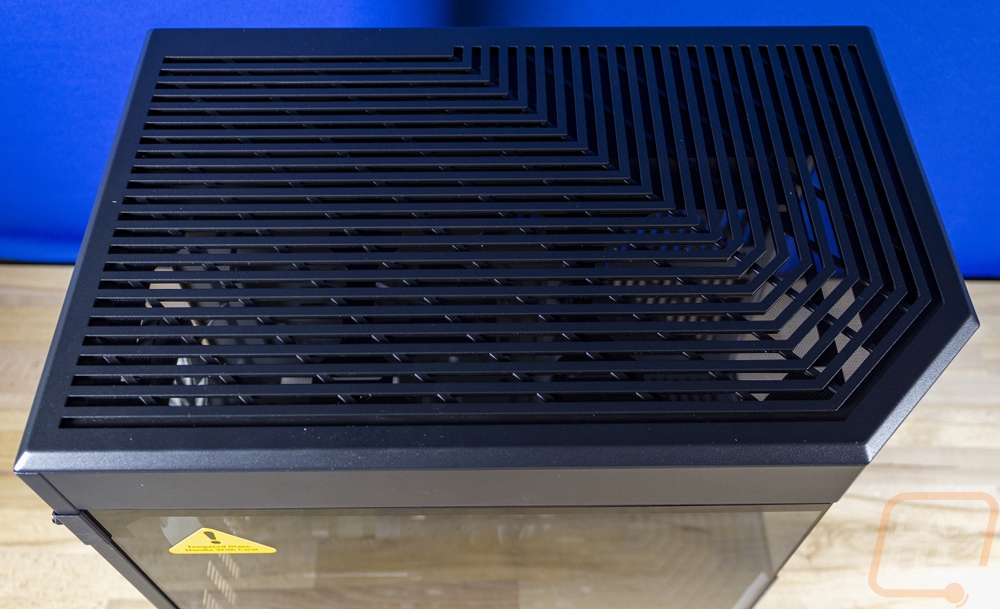
The top of the Y60 continues the same corner design with its plastic top panel having ventilation slots that turn at the corner. This design is continued in other areas of the case and the top panel does have a mesh filter behind the vent as well.
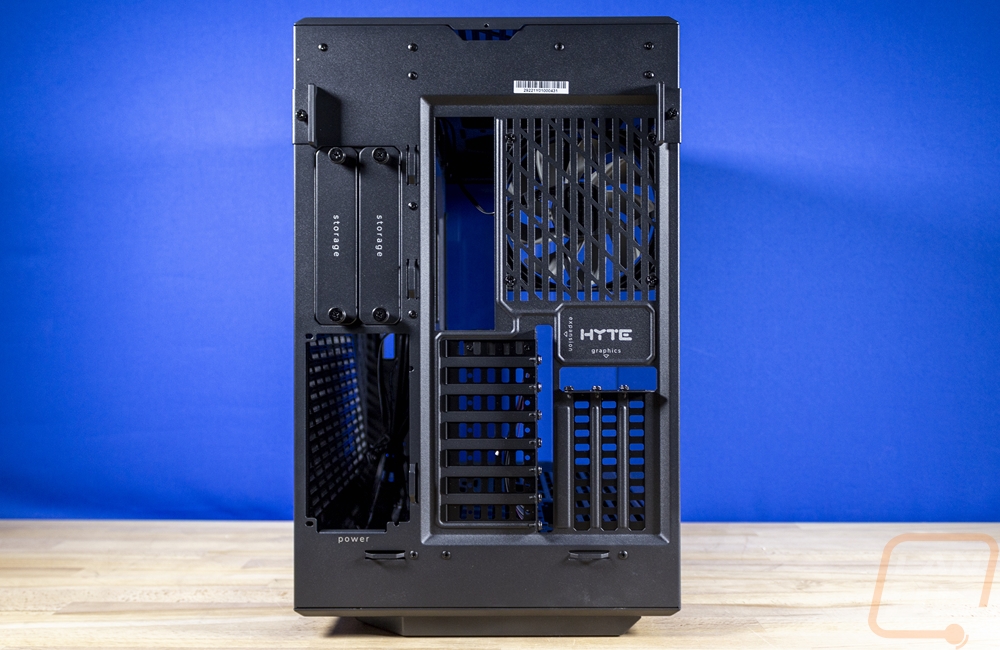
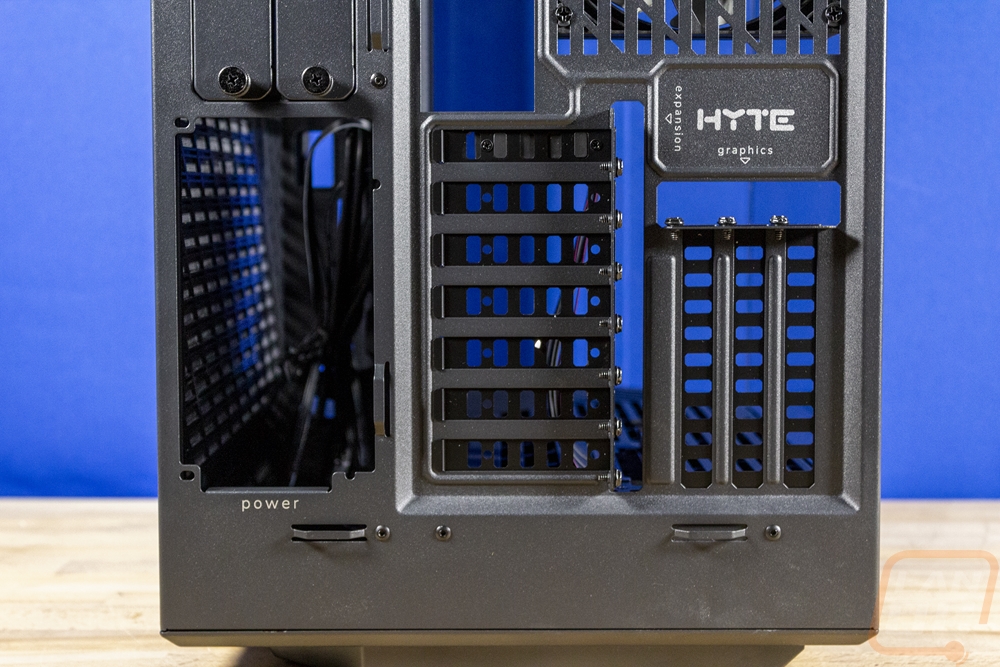
Around the back of the Y60, we can get a better idea of the overall size of the case. Officially this is a dual-chamber design meaning there is an area behind the motherboard tray where they tuck away things like your power supply and hard drives. This back view helps show that layout. On the left side you have the hard drive mounting hole and above that two pull out hard drive trays. Both are labeled on the black powder coated metal back panel. Then on the right 2/3 you have the motherboard area with a 120mm fan above the rear I/O for the motherboard. Below that there are 7 half-height PCI slots. This is an interesting design for a gaming-focused case, normally half-height slots are mostly on servers. They have these in place of where the standard PCI slots would be and then to the right of that, there are three full-height slots in a vertical orientation. Hyte has also put two tabs below all of that that you can zip tie your exterior wiring to if you want. Overall the Y60 is 285 mm wide, then it is 462 mm tall which is used for those unused areas at the top and bottom of the motherboard area. Then 456 mm from the front panel to the rear. In other words, this isn’t a small case, even with the mid-tower designation.
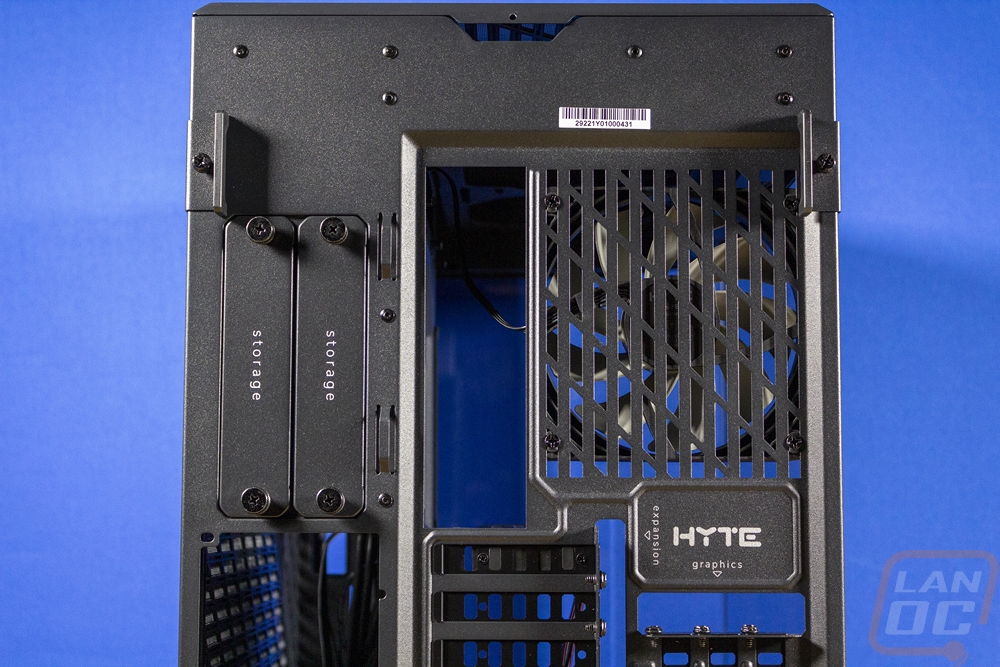
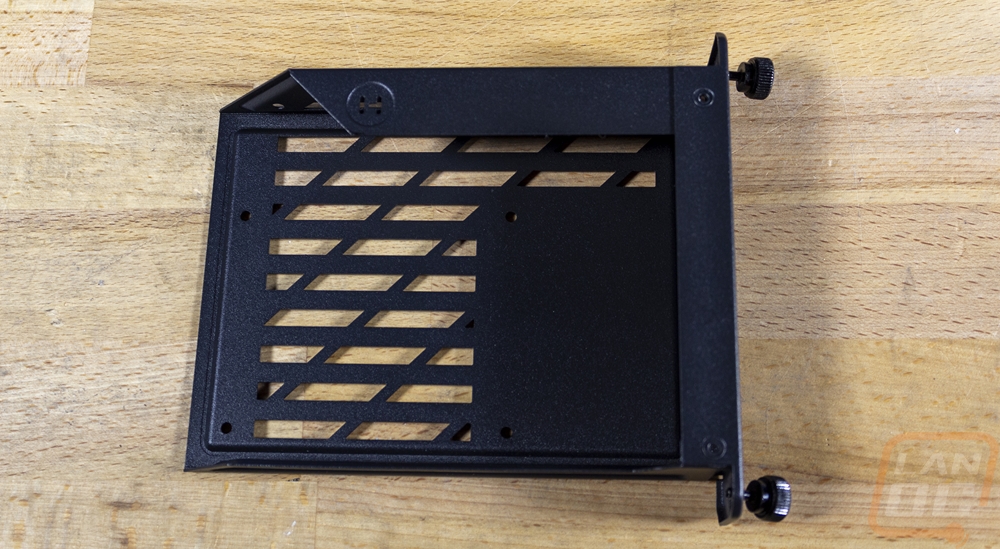
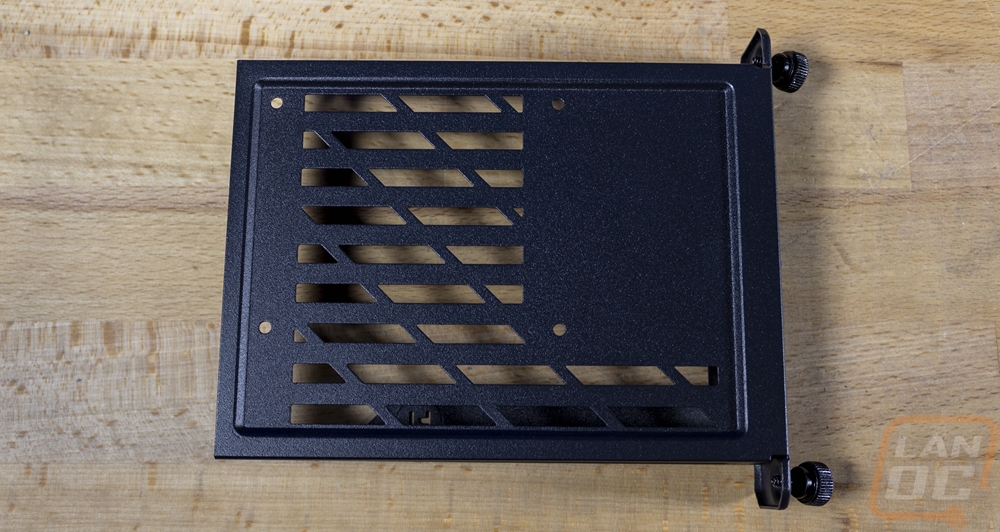
The two pull out hard drive trays are all steel and have the same textured finish as the rest of the case. I was really surprised to see these weren’t plastic, but I like that they are steel. They have thumbscrews preattached that hold the trays in place and make them relatively easy to pull out. They don’t have a backplane at all, so you can’t expect to just hot-swap out drives, but you could if you do your wiring to handle it leave enough wiring to pull the wires out the back of the case when you remove them and swap out drives without opening up the rest of the case. Both trays have the Hyte logo cut into them along with ventilation slots on the bottom and they have mounting holes for SSDs or 2.5 inch hard drives on the bottom then mounting holes on the sides for 3.5-inch drives.
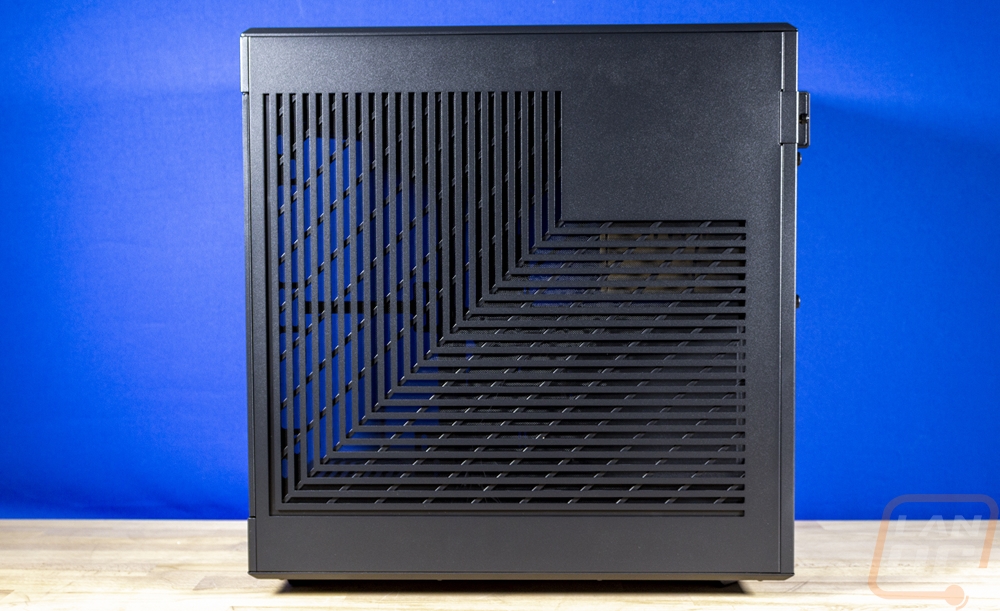
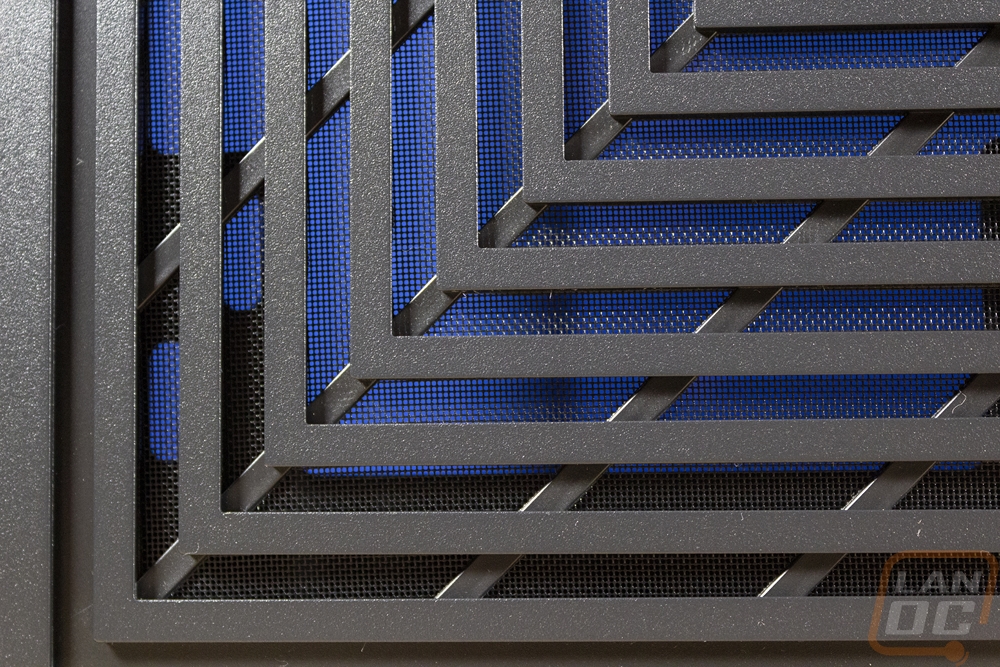
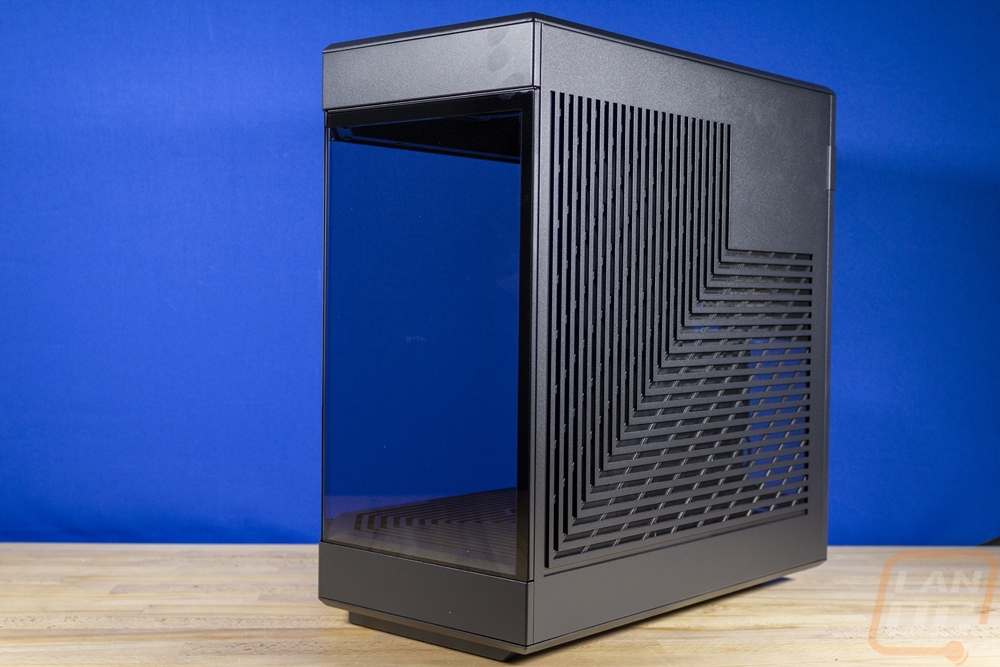
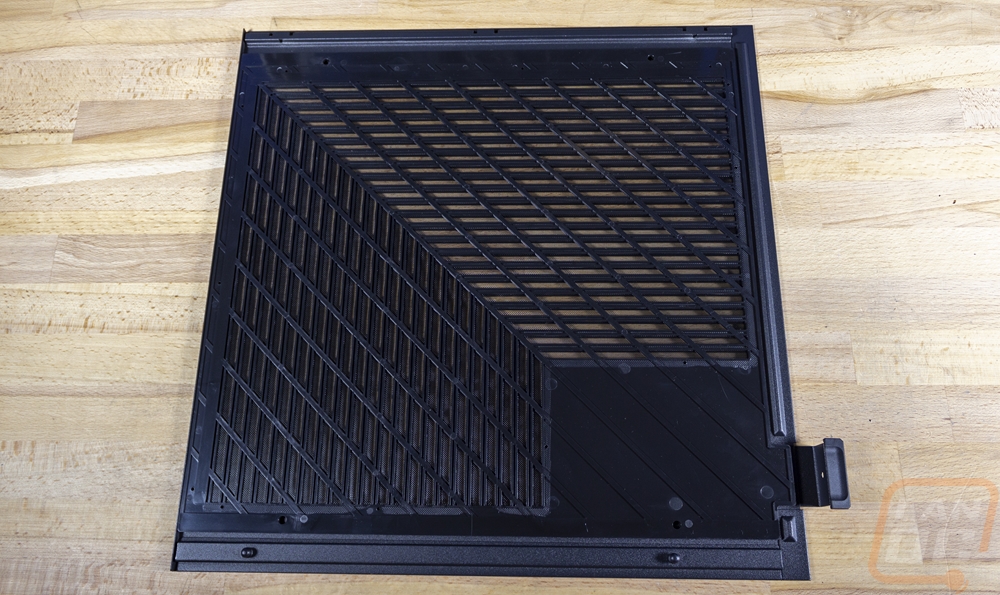
The right side panel of the Y60 would be considered the rear panel, especially with the corner design and this panel has a steel outer finish with a layer of plastic behind it. It has the same tab with a thumbscrew mounting design on the back that the glass front panel uses and also uses the same ball lock method at the top to hold the panel in place when you don’t have the thumbscrew in place. This side panel has the right-angled shaped vent stops in it just like the top which covers most of the side of the case for the blow through airflow of the 240/280mm radiator mount and for the intake fan for your rear mounted power supply. The side panel has a full filter that covers the ventilation on the inside as well.
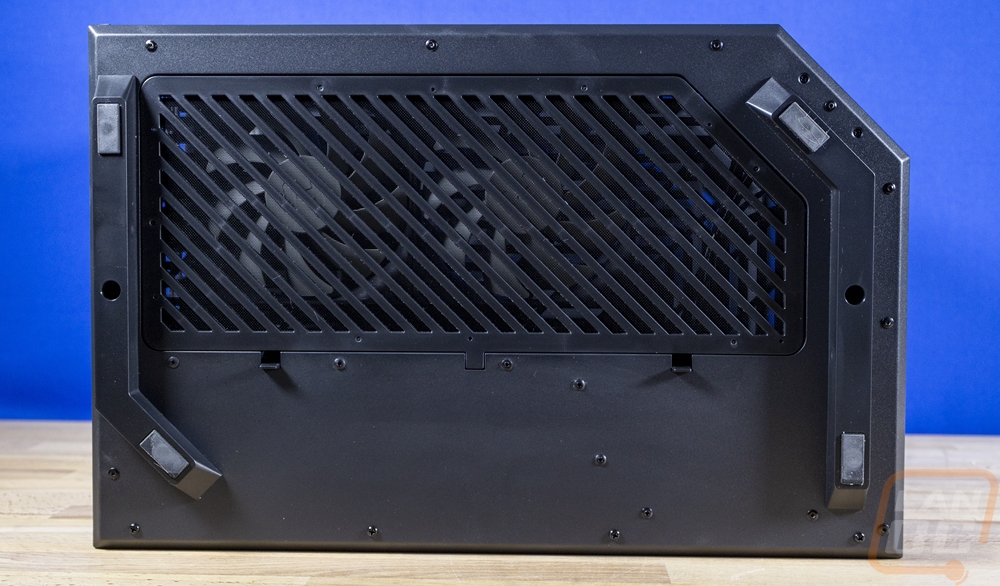
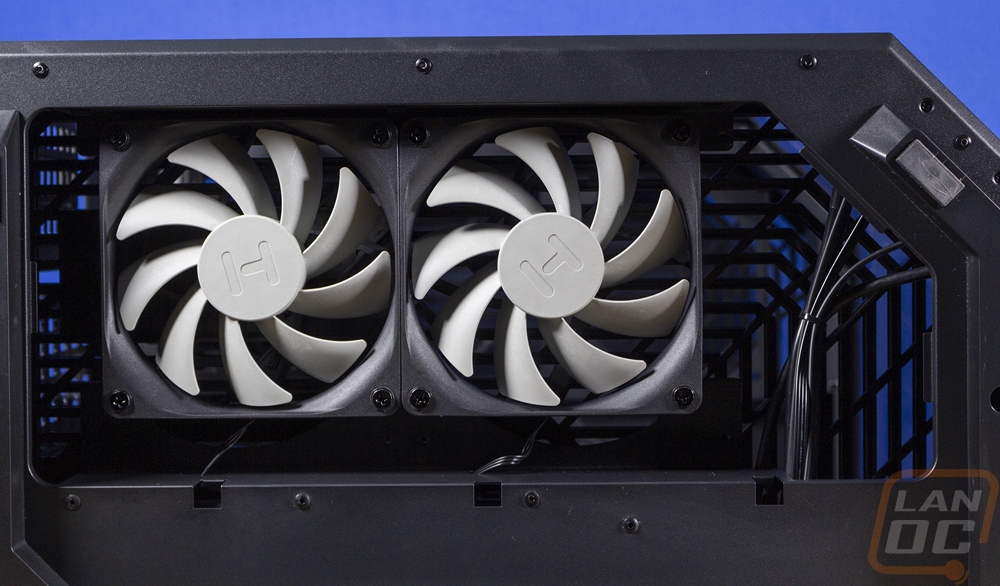
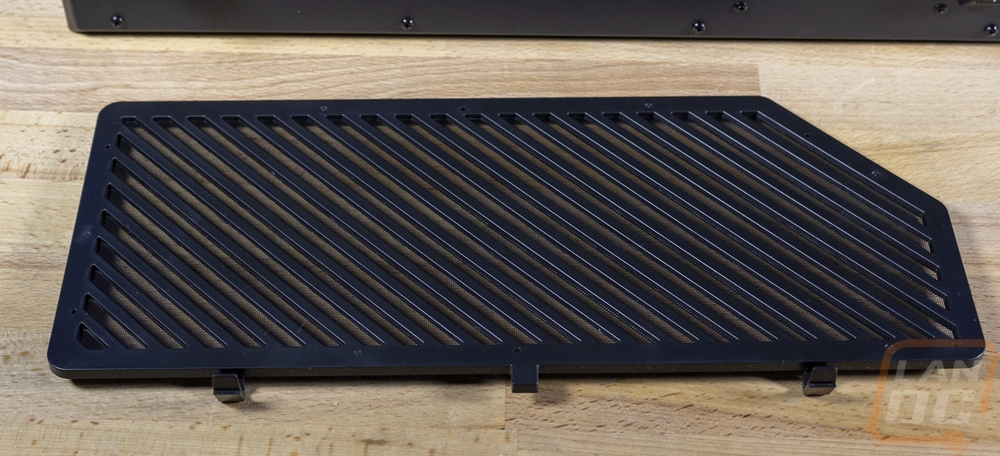
For the bottom, the Y60 has two main feet which have a hockey stick shape and run the length of the front and back. Both had smaller rubber feet on the ends for traction. Then between them, the plastic bottom has a removable plastic door with angled slots in it. This door gives you access to the bottom mounted fans that come with the Y60. This is the “cold floor” that they mention on the packaging which both fans blow up from the bottom to prevent the normal hot spot that can happen at the bottom of a case below or around your GPU. These are right under the vertical mounted GPU so it should get great airflow.
Inside
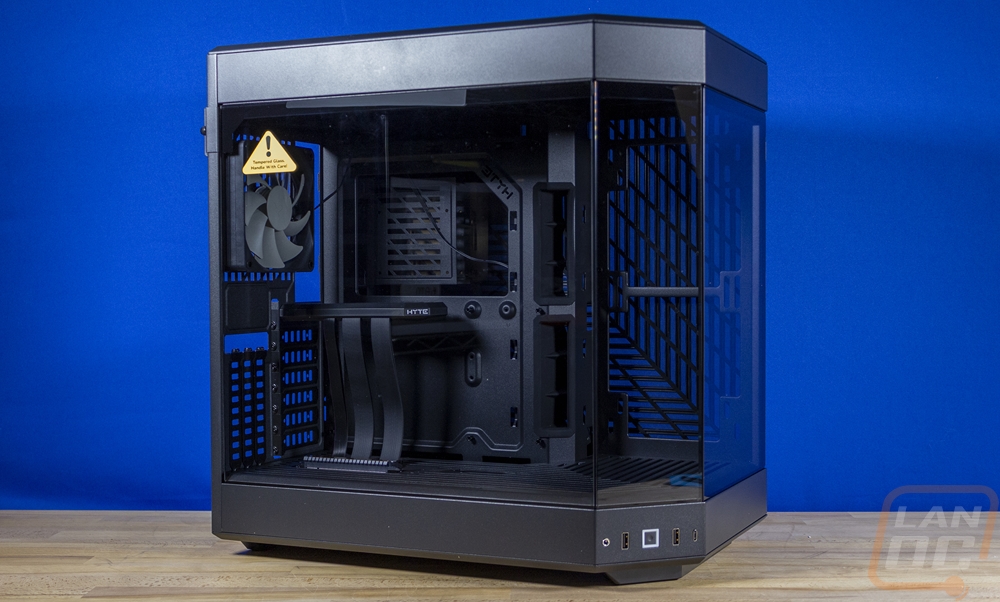
So to complement the panoramic glass windows on the Y60, the interior layout of the case has a similar layout to the always popular O11 Dynamic which puts the motherboard on the left and a recessed blow through the mounting area for a radiator on the right near the front of the case. This is the same layout that Thermaltake has used on their open air P1/3/5 cases as well. The Y60 supports a full ATX motherboard and EATX as well. Then on the right for the radiator mounting area they support a dual 120mm radiator or a dual 140mm radiator/fans and as far as depth goes there is enough room to go with as thick of a radiator and even push/push fans as well without getting out in front of the video card. The case layout can work with air cooling or an all-in-one water cooler but custom water cooling is not only possible but encouraged with the visibility offered. The striped “cold floor” also means that mounting a pump with a reservoir on top can be put almost anyplace in the case and I imagine it won't be long before distribution blocks pop up taking advantage of the glass shape.
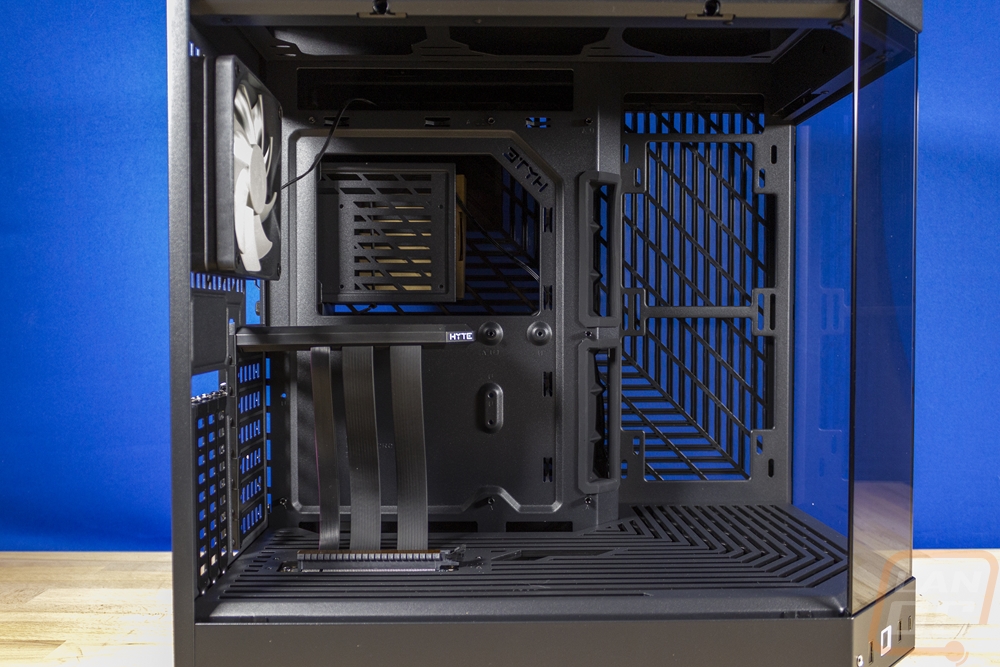
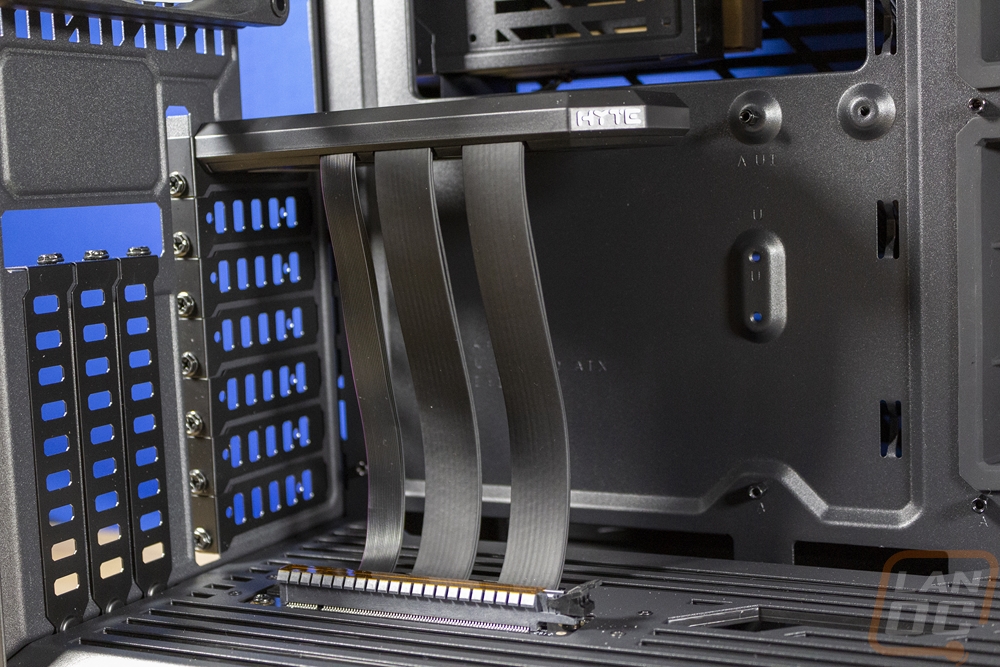
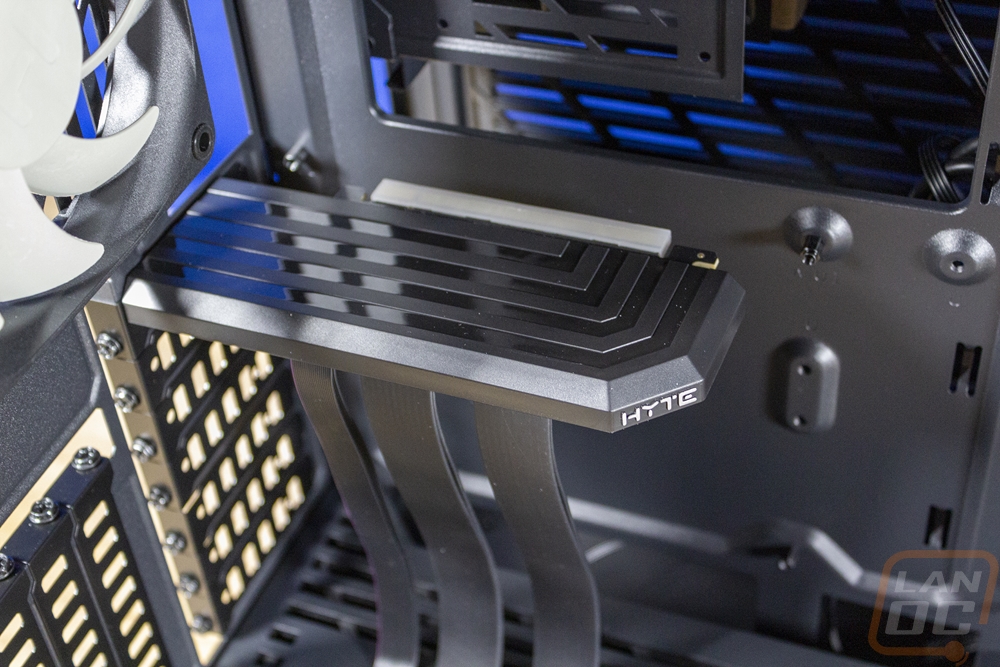
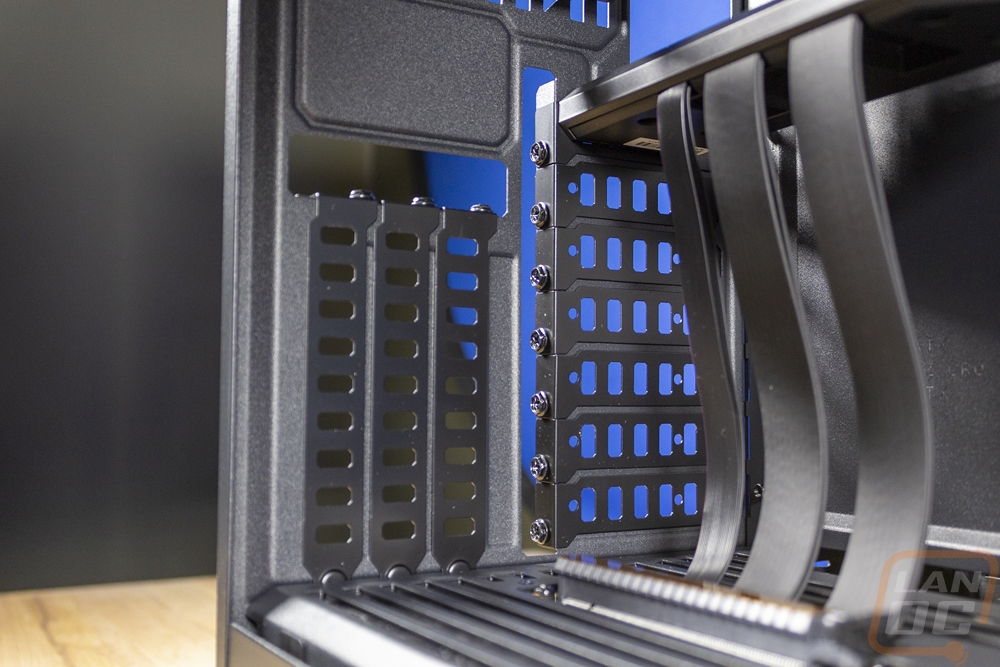
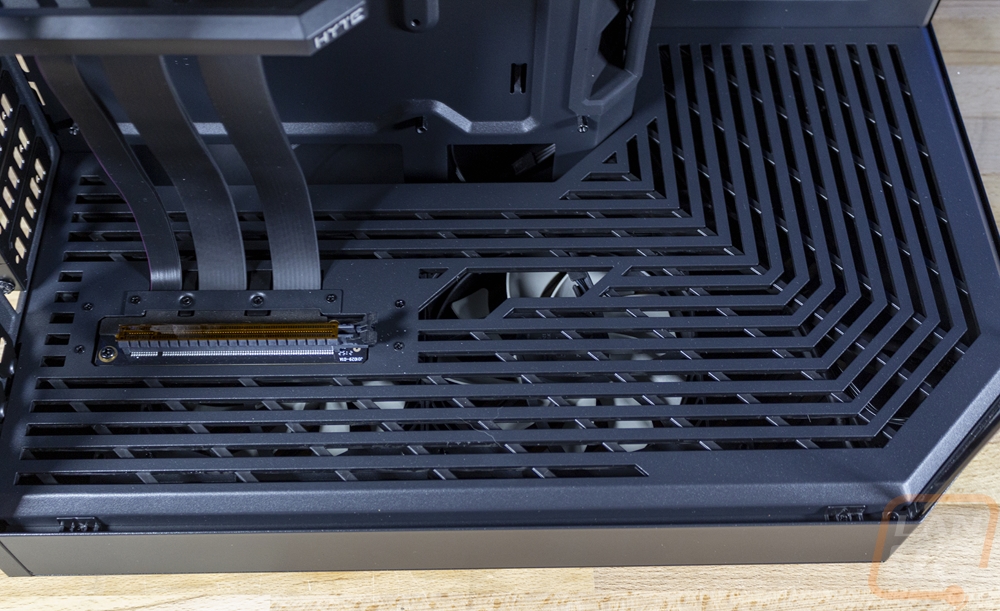
The PCI bracket design is especially unique with the half-height brackets in the standard orientation and Hyte does make a point to point out that you can still use half-height devices behind the vertical GPU. Which for gaming mostly means some PCIe SSDs or M.2 adapters and a few capture cards. I’ve also been saying for years now that most builds don’t need to be any larger than ITX because most people aren’t using any of the extra PCI slots so for a lot of situations this shouldn’t be a big deal. The Riser card is custom to Hyte and supports PCIe 4.0. It comes installed and the bottom slot is integrated into the bottom of the case. The top part of the adapter has a full housing made with the Hyte branding and the right-angled line shape of the Y60. This housing is color-matched to the case, which for ours is black but the white version has a white riser and the red has a red riser. That part comes mounted to one of the half-height slots but can be adjusted down to other slots depending on where your PCIe slots are on your motherboard. Then for the GPU itself, Hyte left enough room for a full 3 slot GPU with almost an inch from there to the glass so there should be airflow, especially with the bottom fans blowing up on to the card. This case is designed to feature your most expensive component, the video card.
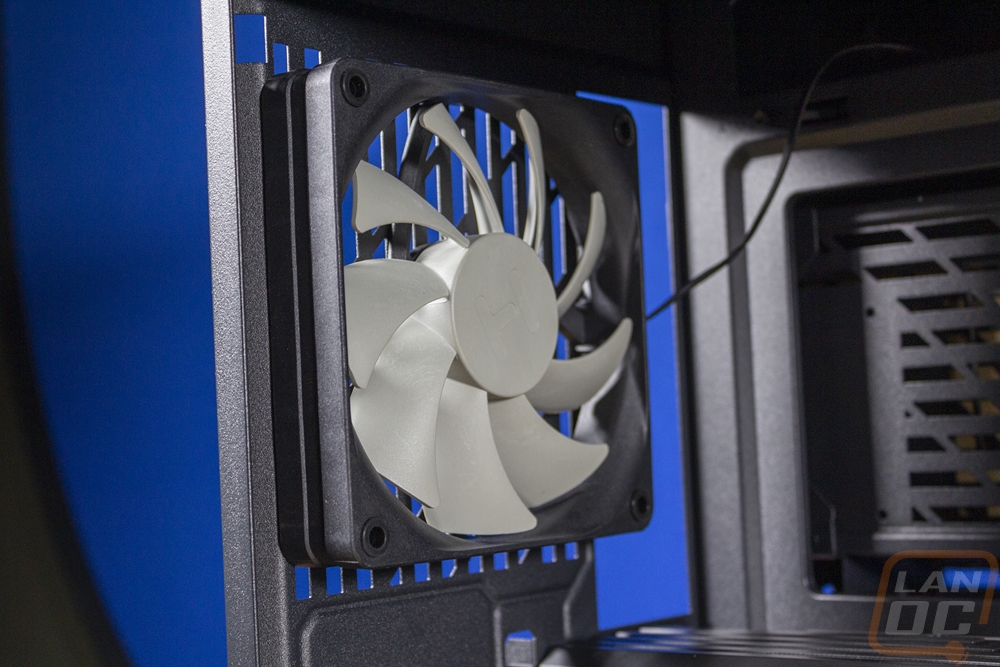
 At the rear of the case, the Y60 comes with a third fan which mounts above the rear I/O on the motherboard. It is a 120mm exhaust fan and it has the same black housing and grey finish with the Hyte logo embossed in the center as the two bottom fans. These aren’t crazy fans and I would imagine if you are running nice fans for your radiator that you would want to replace this one but Hyte does include the three fans just in case you aren’t planning on doing that.
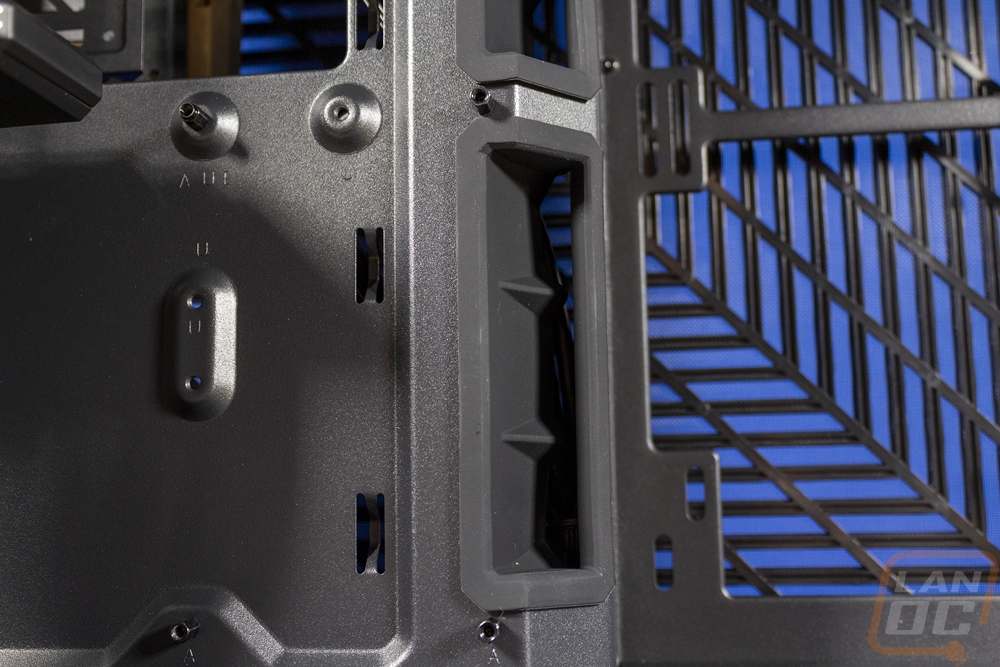
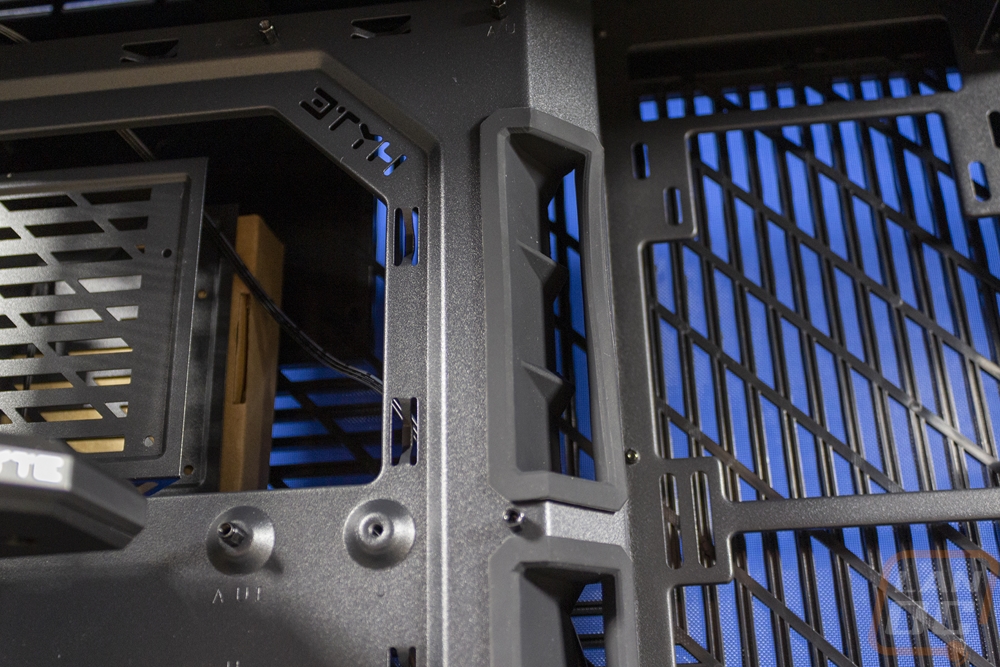
The motherboard tray has a huge hole cut in its top half for access to the back of any CPU for installing a backplate. They mention ITX board support but this hole is wide enough that you will see if for some reason you go with that small of a board so keep that in mind. The hole also has the Hyte logo cut into it which is readable from the back of the case. Then for wire management from the rear to the front to the right of your motherboard, there are two tall holes with a unique rubber grommet in each.
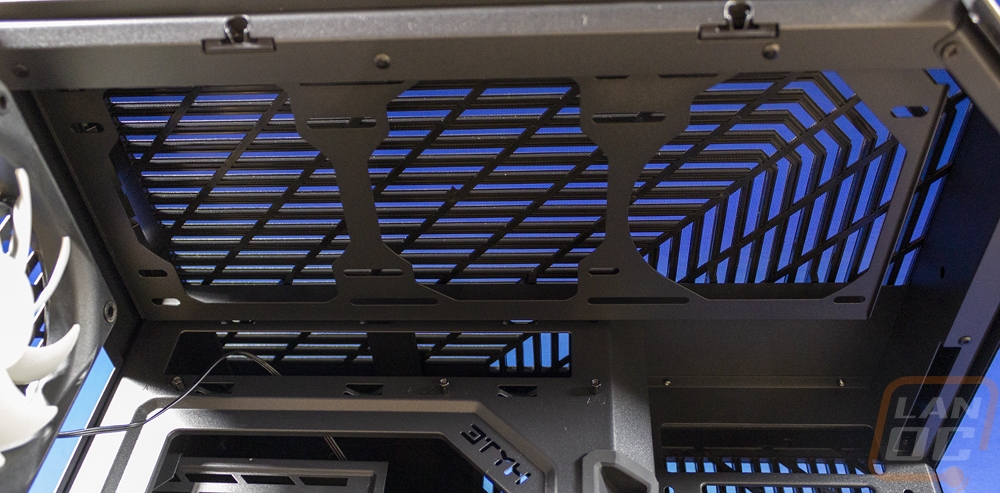
So the cold floor or open-air bottom of the Y60 has the same shape/design as the top of the case which has that L-shaped stripes to match the corner design of the case. There is a hole just past the PCIe bracket where you can feed your GPU power cable up through if you would like and if you look closely there is also a hole in the motherboard backplate to run cables up to the bottom row of the motherboard as well. The top of the Y60 has a top bracket designed to hold fans or a radiator. The specifications list support for up to a 360mm long radiator or 3x 120mm if you prefer that. Though not listed in the specifications it does look to also support a 2 x 140 mm configuration as well. The top can fit up to a 28 mm thick radiator before getting down into the motherboard space.
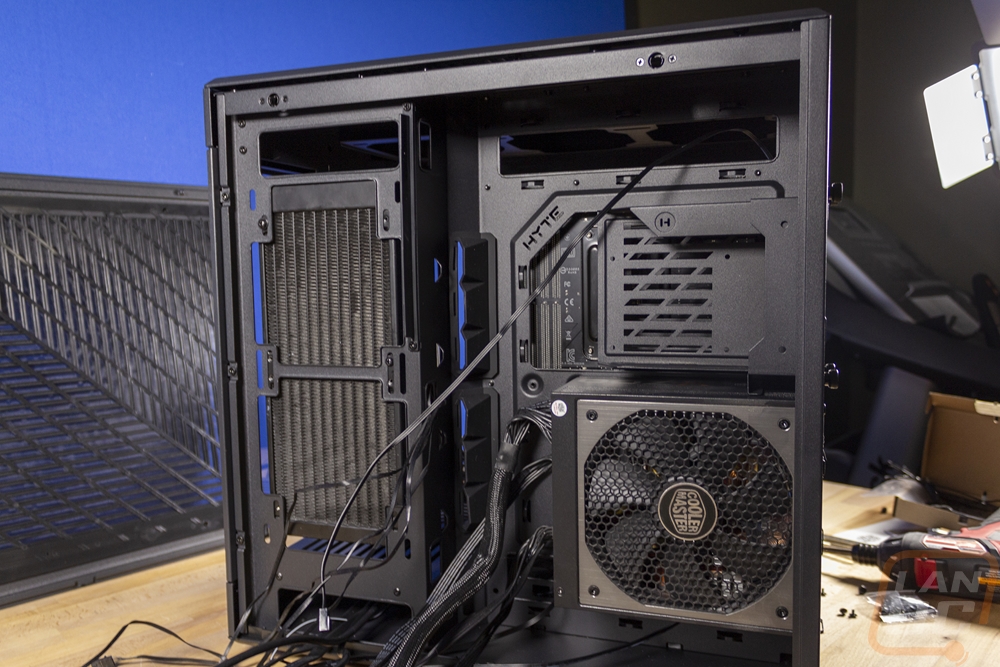
The rear panel is held in place with the one thumb screw and then the two ball mounts at the top and the metal panel does have the plastic panel permanently attached on the back with the full panel filter. I was really hoping this would be attached with magnets and removable for cleaning. The back of the case is designed with most of the space to be on the right behind the motherboard. The left area where the radiator mount is pushed up near the side panel to get most of that air blowing through the panel, not into the back of the case. Everything is blacked out to match the black case including the wires coming from the front panel that are bundled up back here.
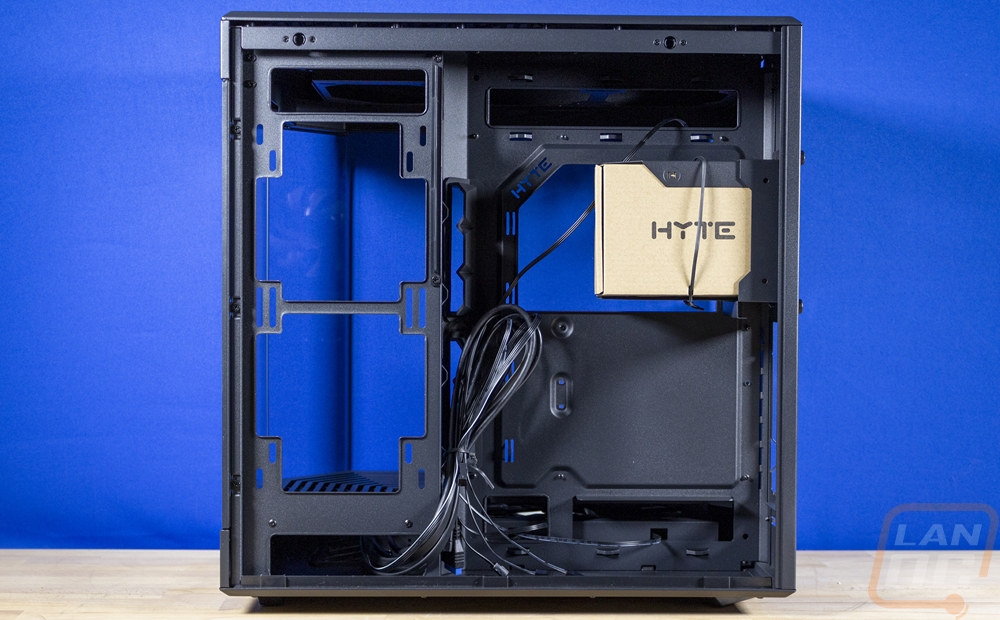
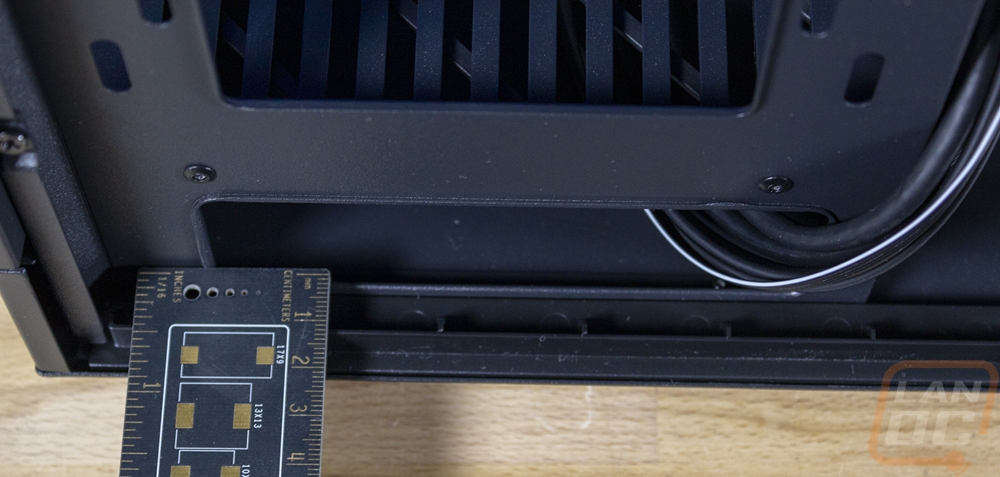
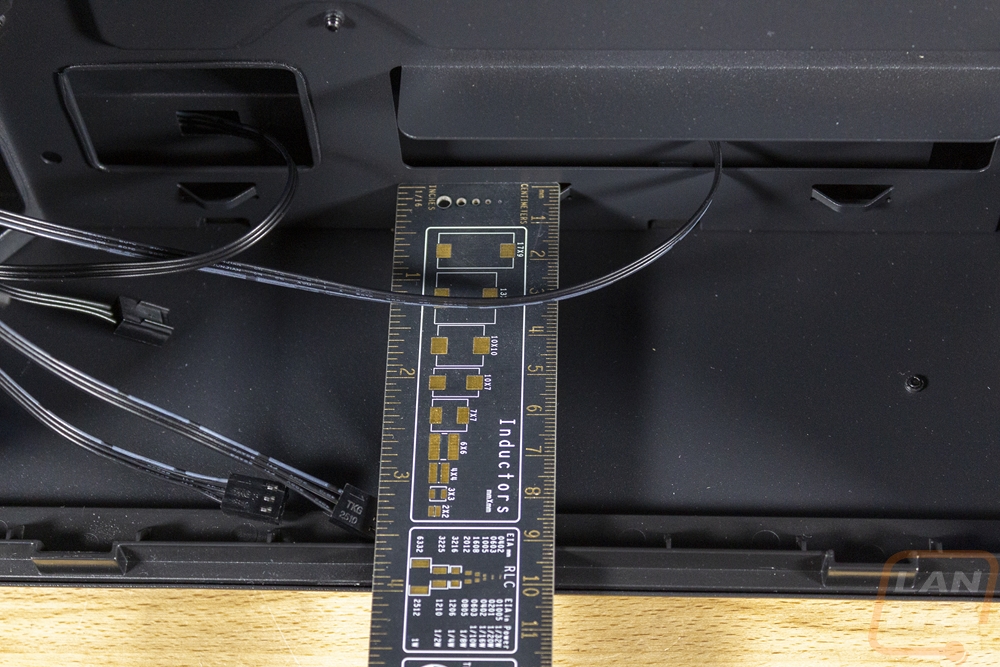
The left side does have a small gap of 1 centimeter which is enough room to feed a few wires around into the main compartment like the front panel cables come. Then on the right side, you have 90 mm or 9 cm of space. There is a bottom section below the mounting bracket for the power supply which you can see here and two large holes to pass through into under the floor or up through the small hole for the bottom area of the motherboard. They also have two large clips to zip tie cables too here as well.
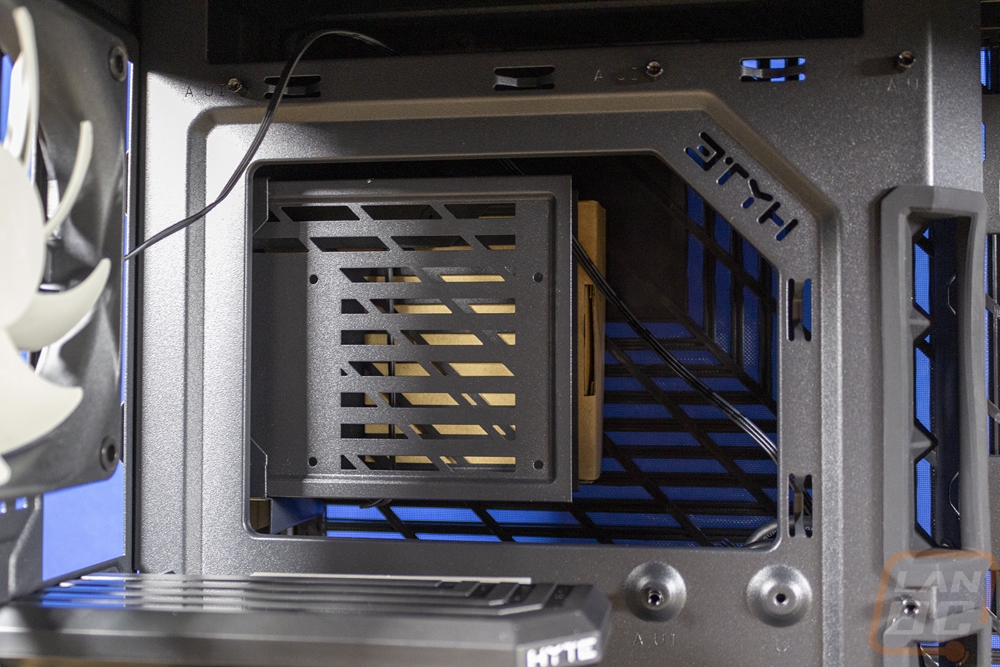
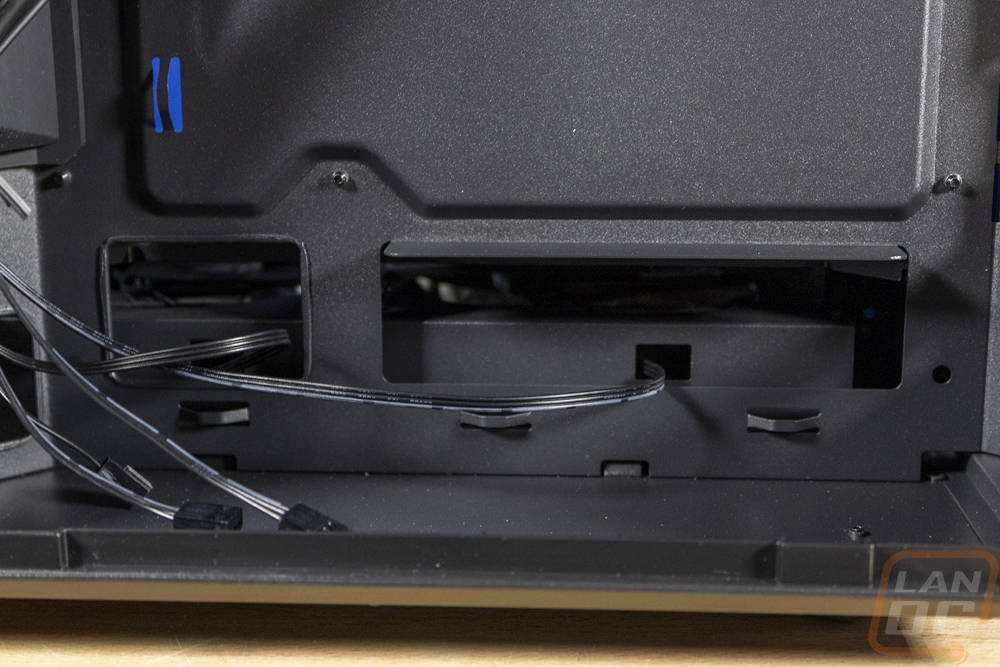
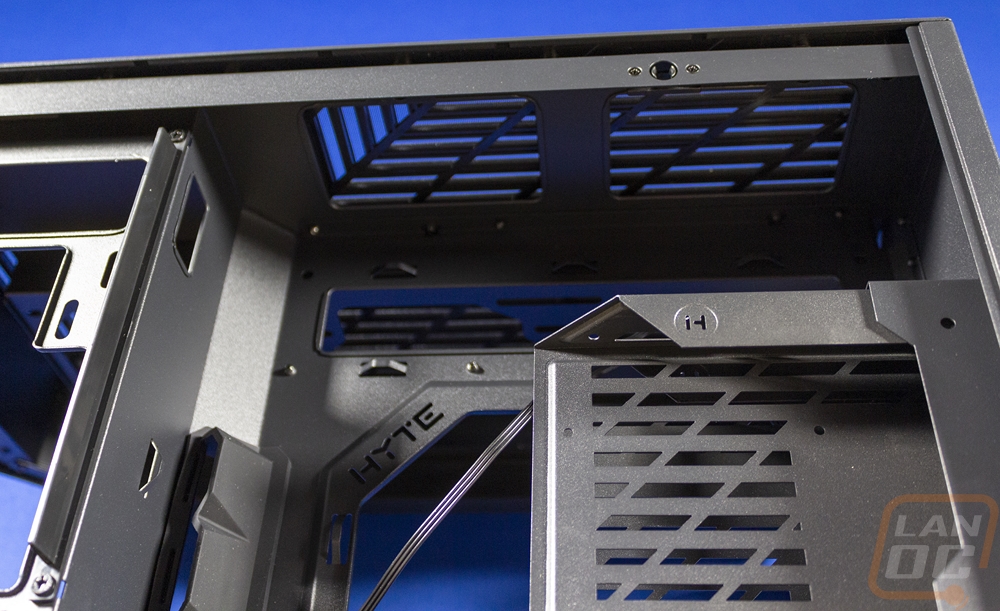
The power supply then sits right behind the motherboard and it has support for up to 235 mm in length and a standard ATX size. Above that are the two hard drive cages that are removed out the back which you will need to remove if you want to get to the big CPU bracket hole. To the left, the rubber grommets that go up the side of the motherboard have those vent-like flaps on them to try to hide any view into this half of the case. There are more wire tie hold downs near those and up at the top of the case as well.
Installation and Performance
Before testing the Y60 I did need to get our test system installed into the case. For components, I went with our old test bench which has an Asus Crosshair VIII HERO WiFi motherboard and a 5900X CPU, Trident Z Royal memory, and a Corsair H100i RGB Platinum AIO cooler. Paired with an Nvidia RTX 3070 Founders Edition. For the power supply, I used a Cooler Master V700. None of those are cutting edge, but they are in line with the average higher-end system. Especially someone who is maybe upgrading into a new case and not upgrading components yet until prices come down.
I started by installing the motherboard with the SSD and CPU preinstalled. This went mostly smoothly other than fighting a little bit with the wire for the rear exhaust fan. It is positioned to face towards the motherboard I/O and with a rear I/O that has a cover on top it was especially tight but I did get it to fit. The Y60 has one motherboard standoff with a peg which helps hold things in place while you install the motherboard screws. Next up I mounted up the radiator for our Corsair H100i AIO cooler. I wanted to get this installed and out of the way quickly and because the Corsair kit uses the stock plastic hook mounts the hardest part for this was preinstalling the two fans then holding the radiator in place while trying to install the screws. An extra set of hands would be a huge help with this part, the 240mm radiator isn’t the largest supported so it mounts up off of the bottom of the case. Taking the front glass out would make this easier with just one person but I was able to get it to work without the extra glass removed. Once you have it started there is a lot of room to get at the rest of the mounting screws from the back.
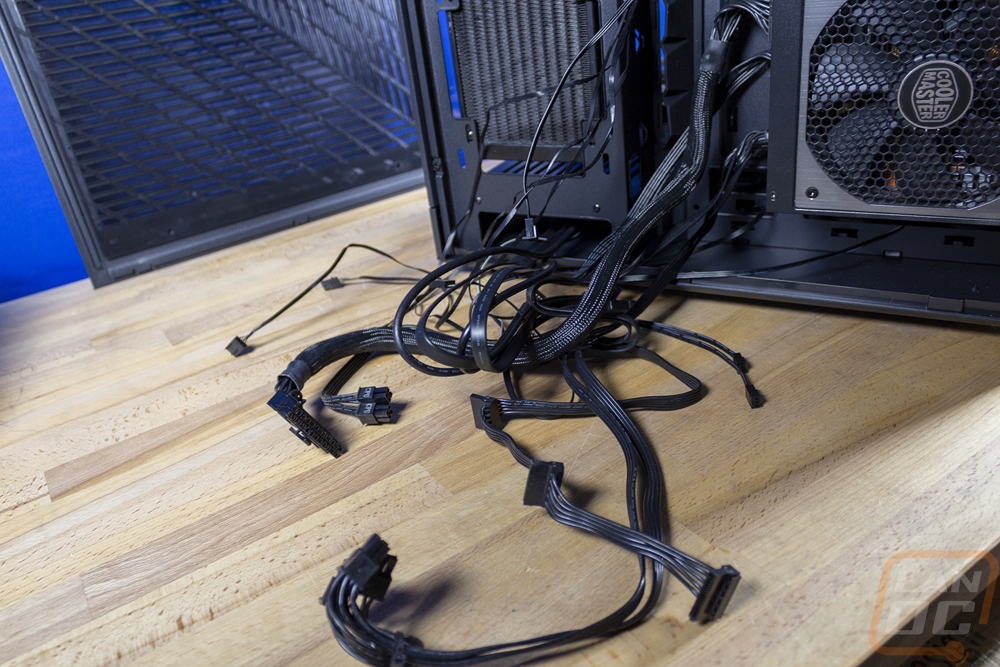
With the big components installed in the front, you can start dealing with the wiring. RGB lit fans can be a big pain so I would recommend cleaning up those wires before you install the power supply or you will have a mess of cables like I have here. You can also run the front panel connections from the case itself. Then after all of that, the power supply isn’t too bad. I did struggle a lot with the weirdly shaped grommets though when I put the power cables through. I pulled both grommets off and fought to get them back in place.
With the wiring done I then went back to finishing the water cooling, I didn’t mount this before the wiring because it can get in the way of running everything. Then lastly I installed my video card. The Y60 has your card featured out in front which also means that if you install it too early it will be in the way of everything. I did this and figured out quickly that it was easier to get it out of the way.
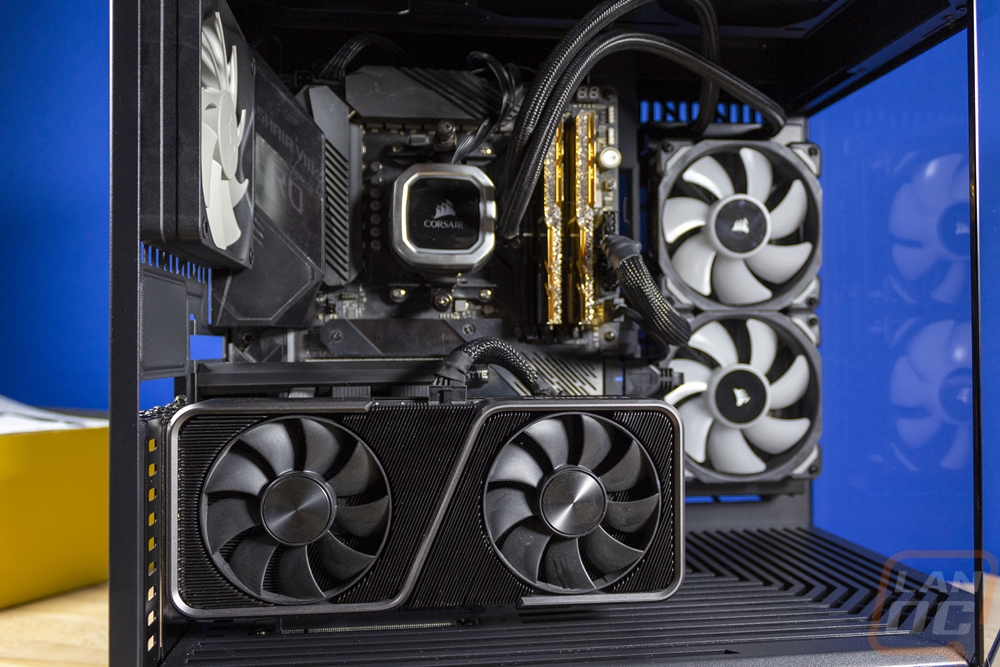
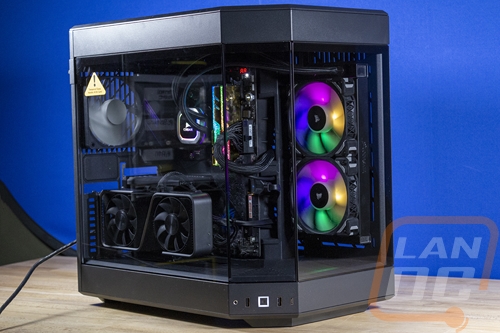
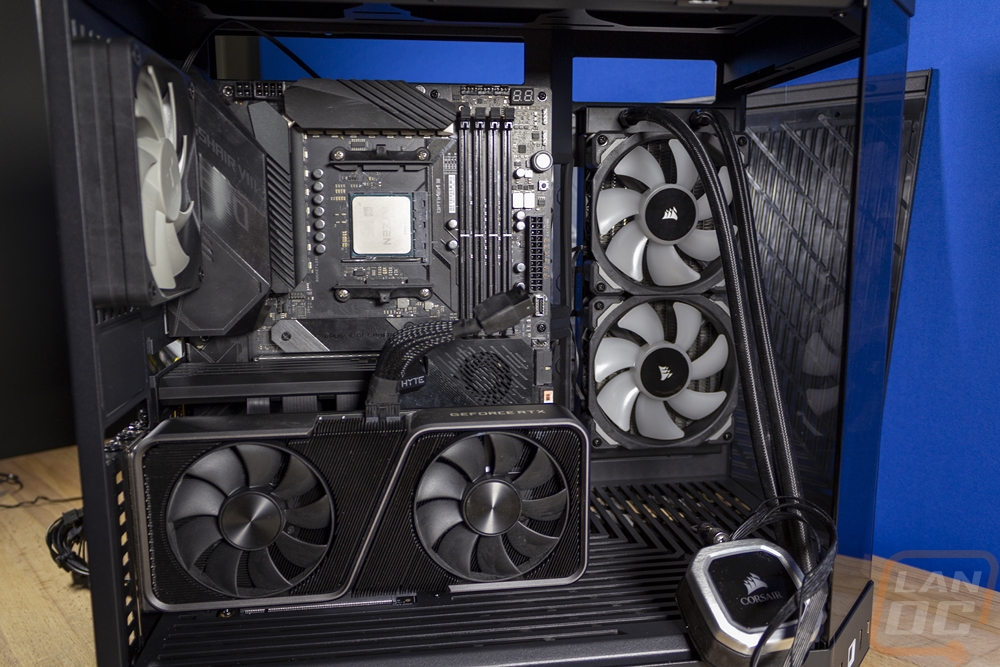
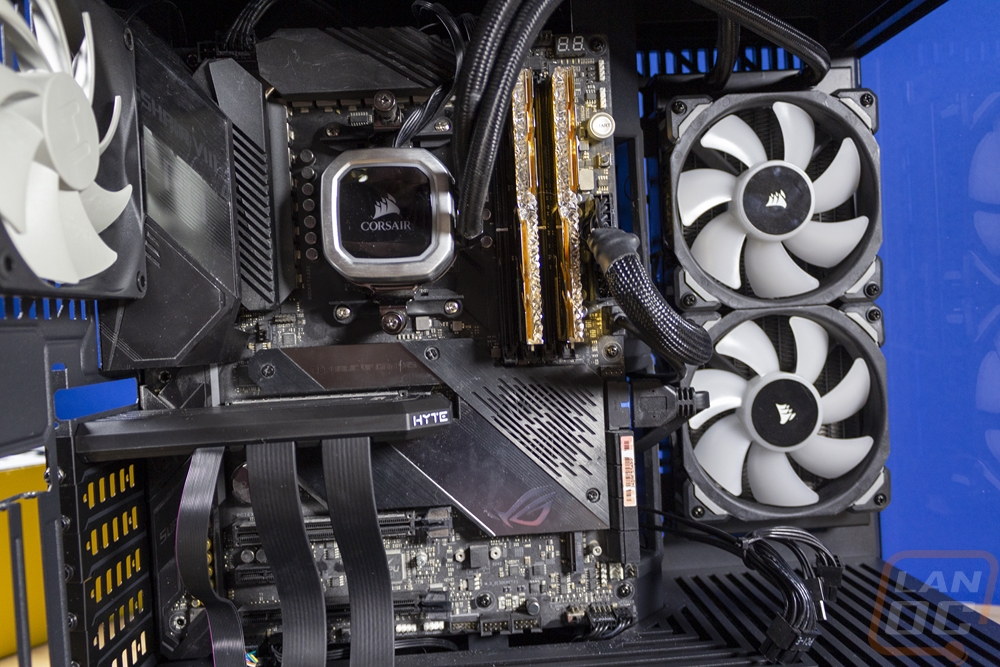
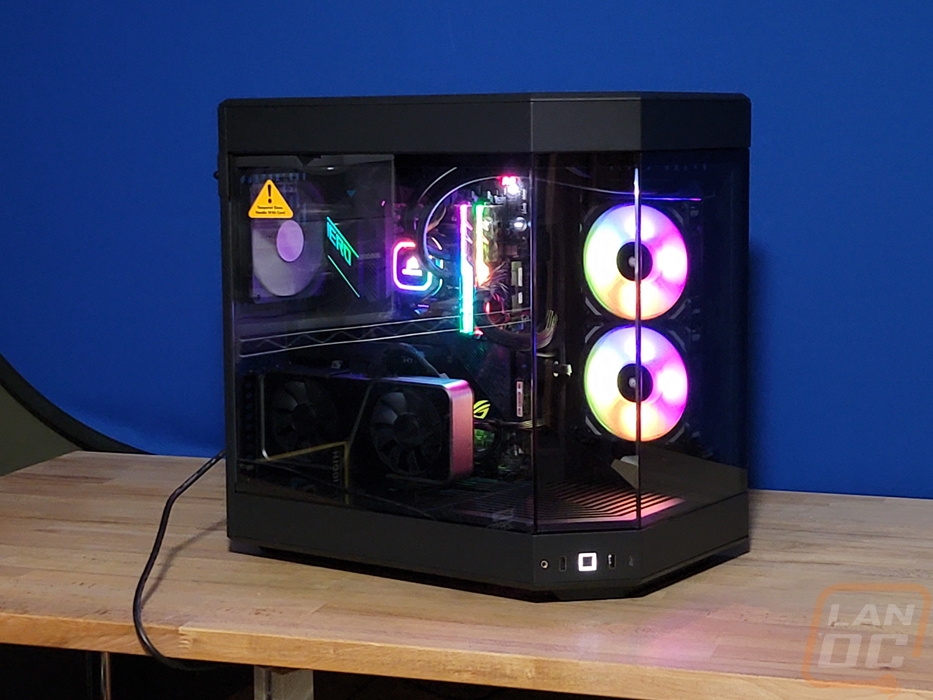
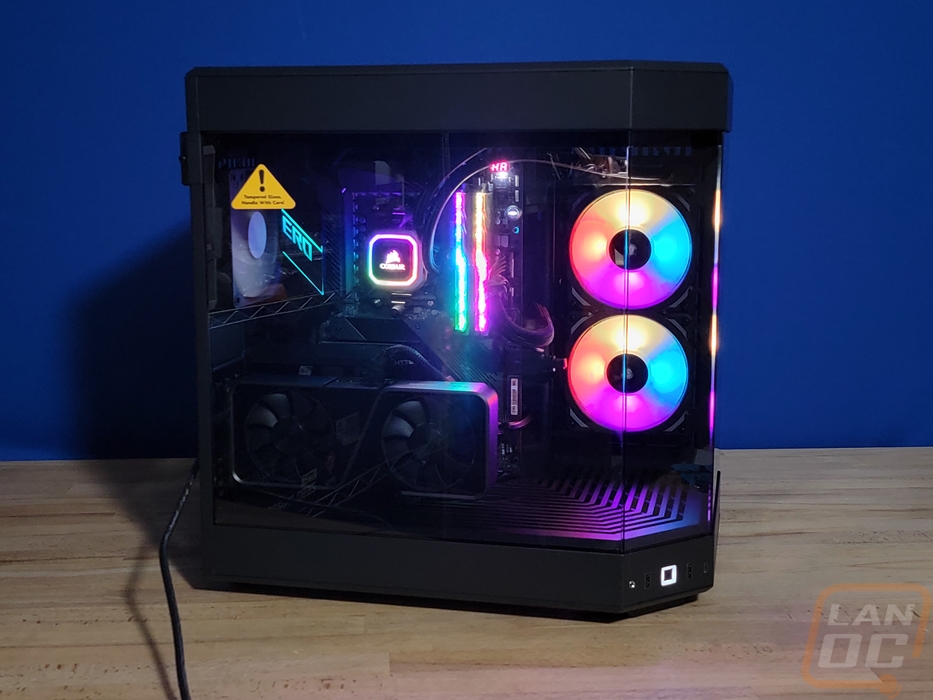
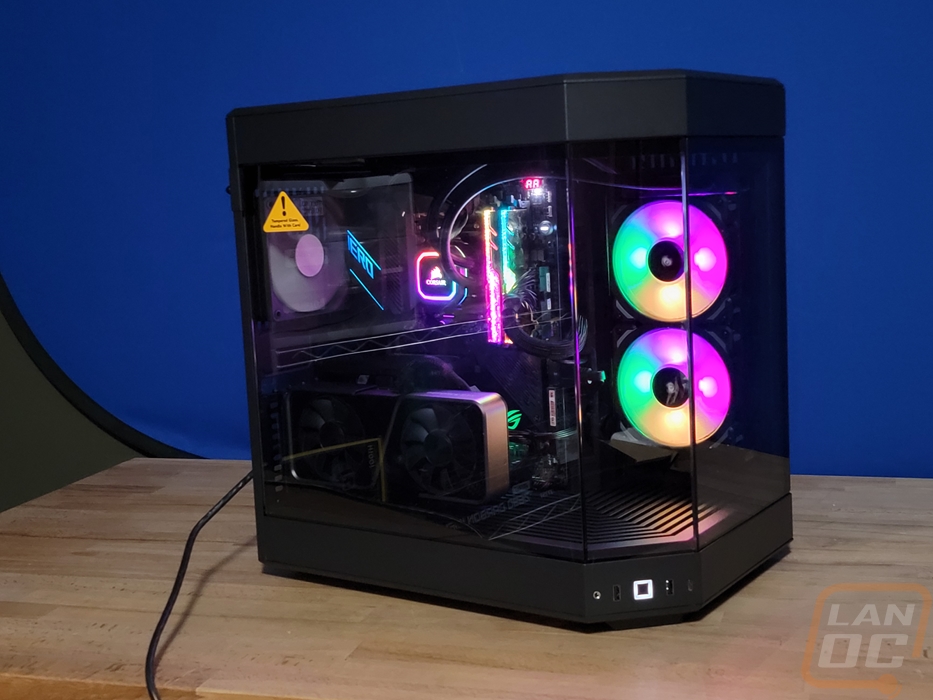
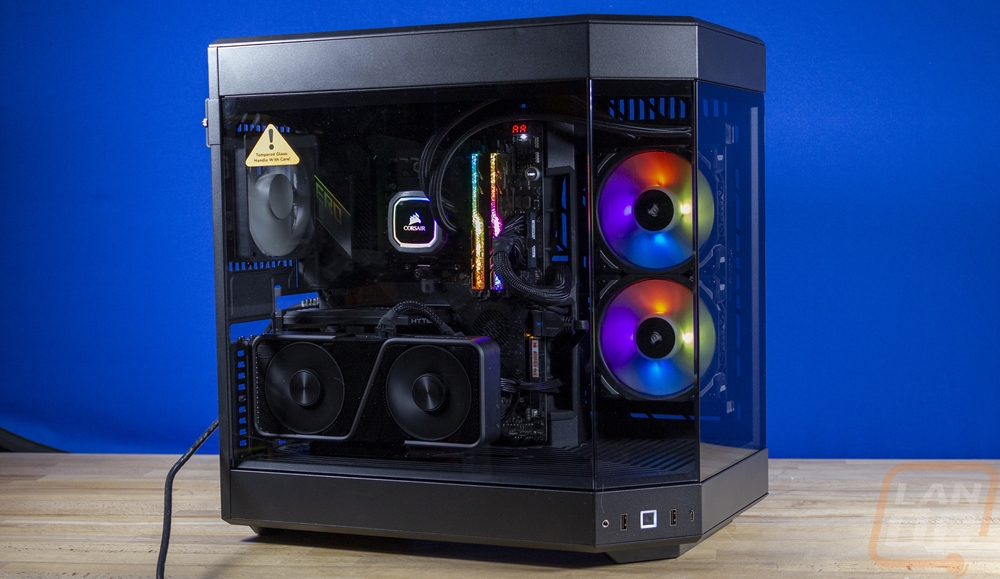
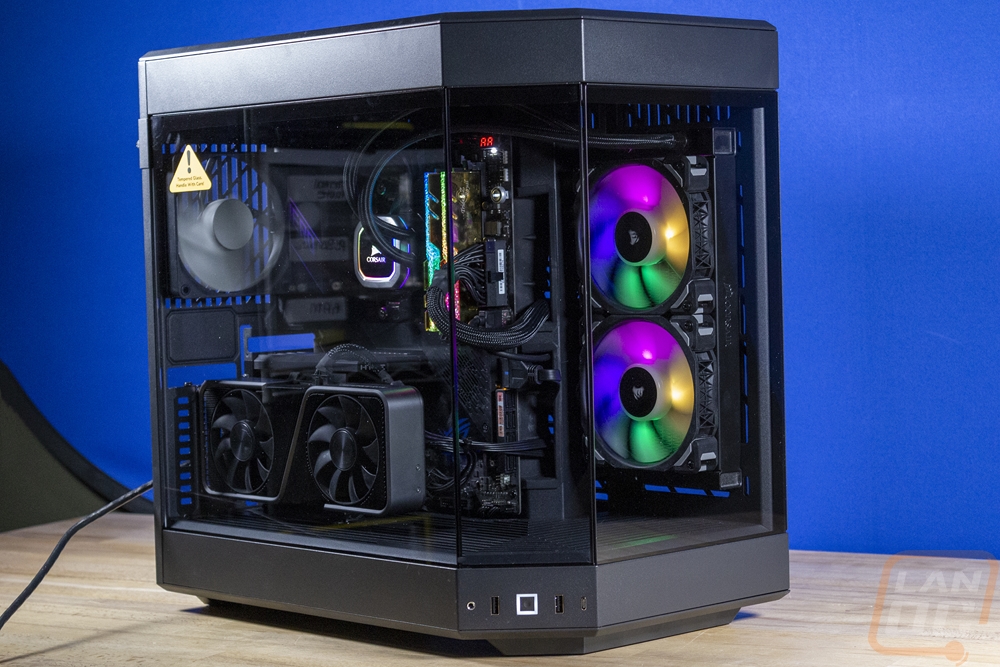
Other than our Trident Royal memory standing out with its gold finish, the system all together looks amazing. Checking the Y60 out from the front, side, or a mix of both lets you see everything inside of the case which is obviously the goal. Using lighting like the RGB fans to draw attention to different areas is nice and even though our Founders Edition card doesn’t have any lighting to get your attention, having it featured right on the front really puts it right out front. This isn’t a case you are going to want to run if you are hiding a tiny temporary video card, the video card is the crown jewel in a Y60 build, and given how much they cost these days I wouldn’t blame anyone for wanting to show a cool GPU off. I will say though that as good as things look with the all-in-one cooler, I bet it would look a lot better with a custom loop even if it is just for the CPU. With how far back the radiator sits, it is a big reminder of just how thin AIOs are. A nice push-pull configuration wouldn’t be a bad idea here if you aren’t able to get a thick custom radiator.
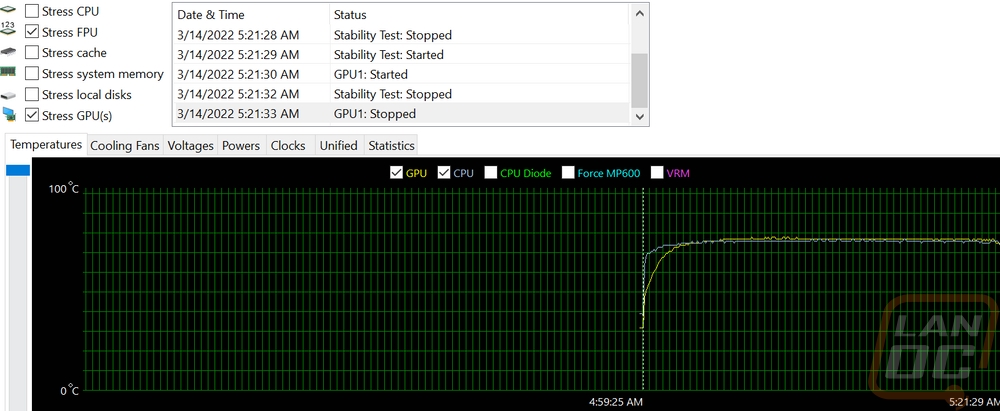
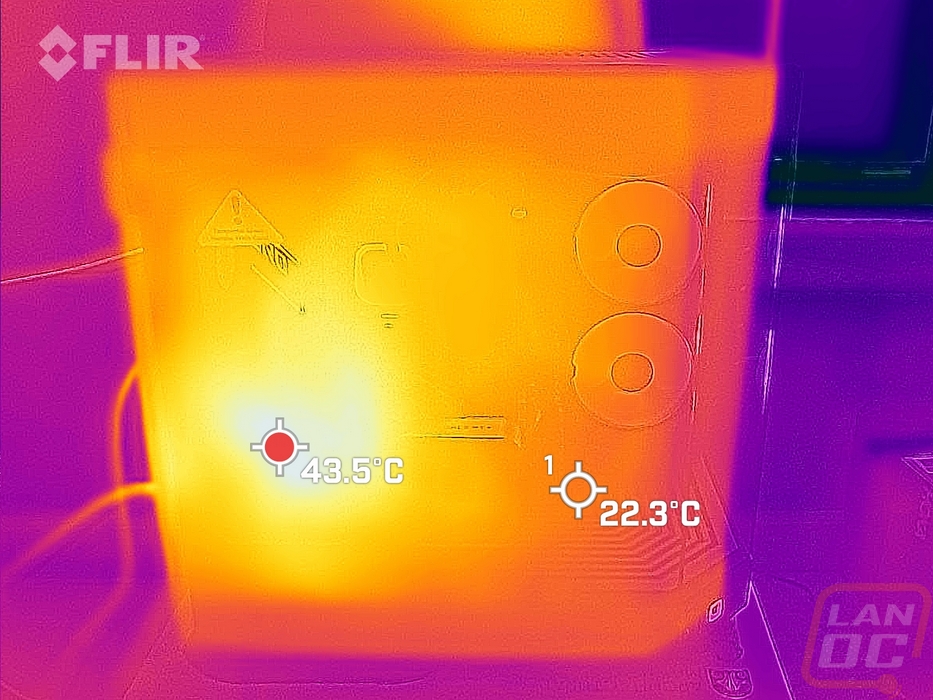
For testing, I was curious if the cold floor design of the Y60 would fix the normal hot spot around the bottom of the GPU. I set the GPU to the GPU workload in AIDA64 and at the same time put the FPU workload on the CPU and let all of that run. Being a Founders Edition card, it did level off at the same 71c that our open-air testbench saw, and the 5900X was right there as well which given the FPU workload makes sense. Then I used the thermal camera to take a look around the Y60 on the exterior then with the glass off to see inside.
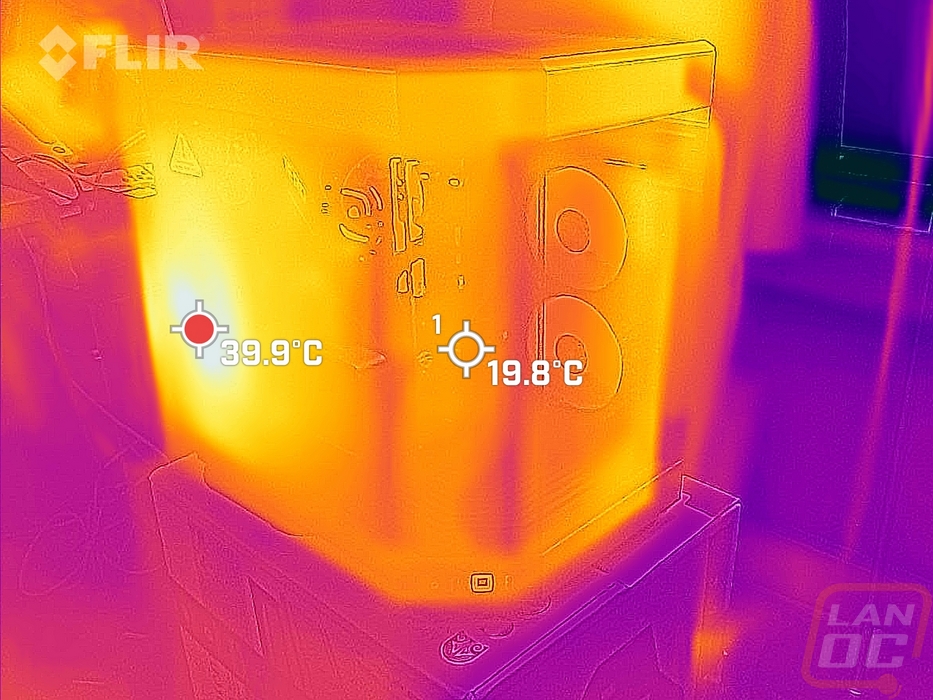
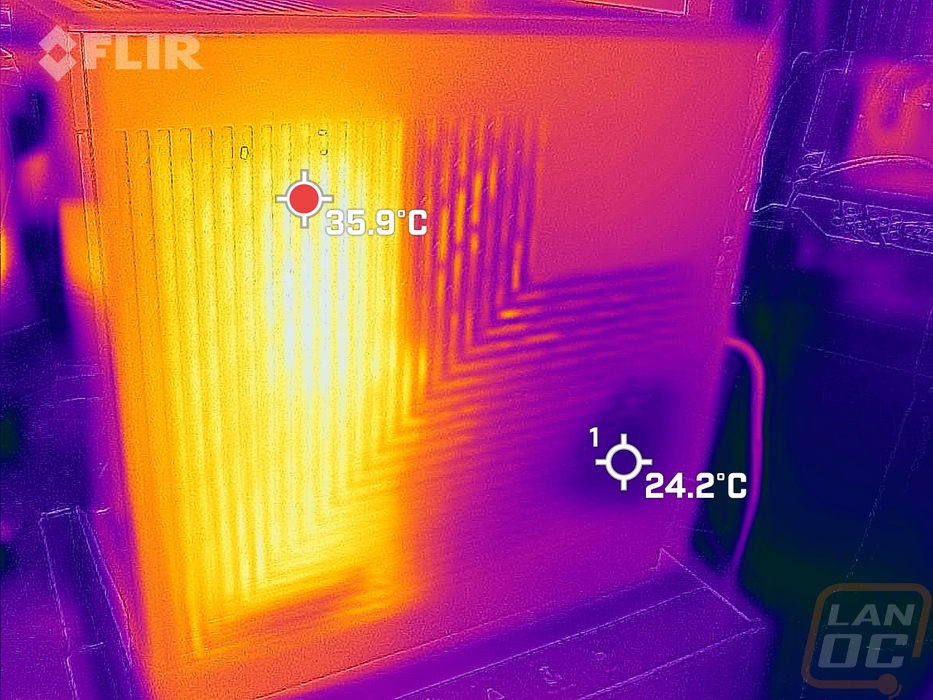
With the glass on we can see that on the GPU side there is some heat warming up the glass near the top of the GPU but I was surprised how cool things were around the base of the GPU area. Even at the hottest spot, the heat transfer wasn’t too bad. The top of the Y60 even without fans is also getting some heat out of the top on the motherboard/GPU side of the case which makes sense. I do think that two more fans in the top to help continue to pull the air being blown up from the cold floor wouldn’t be a bad idea if you wanted things to run even cooler.
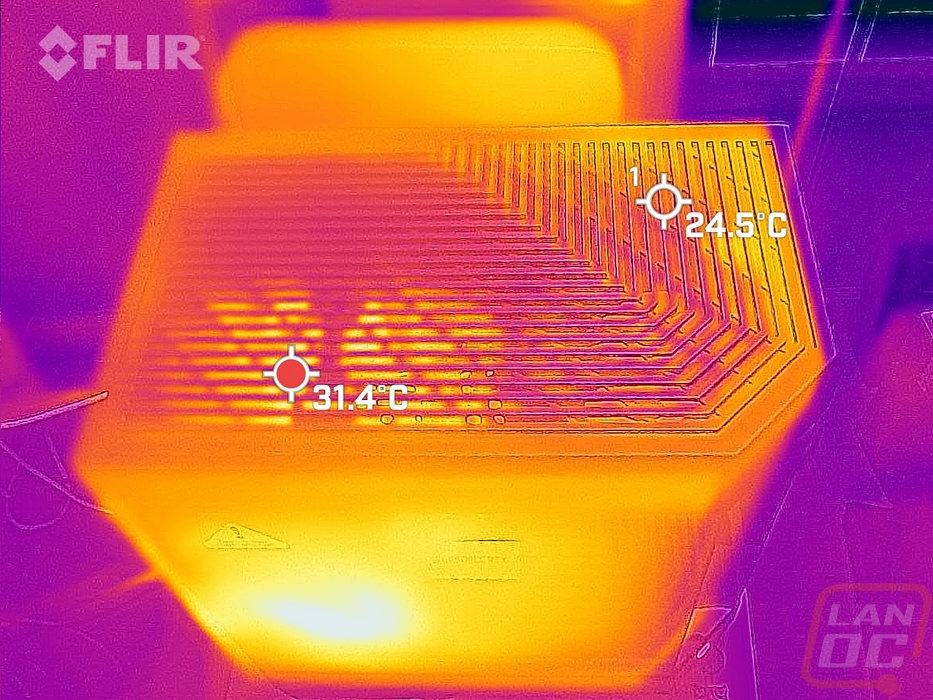
Here is a shot of around back where the watercooling is blowing through the back/side panel. It does look like there is some bleed out the sides because the radiator mount isn’t directly up against the side panel but not enough to be concerned with. Then the coolest spot is where the power supply is pulling air in for its intake which isn’t being affected at all by the CPU warmed air.
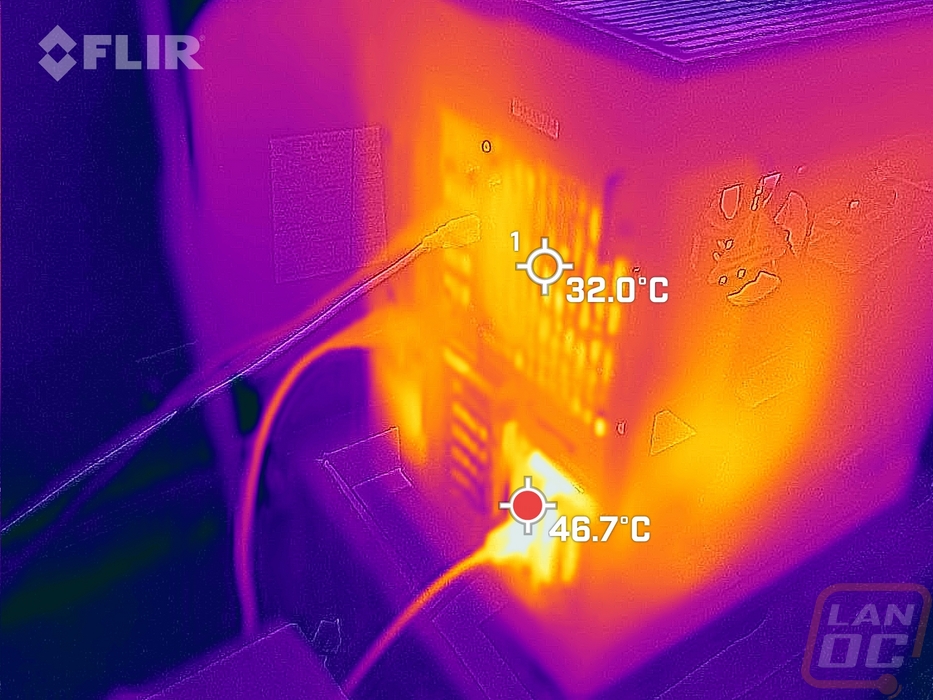
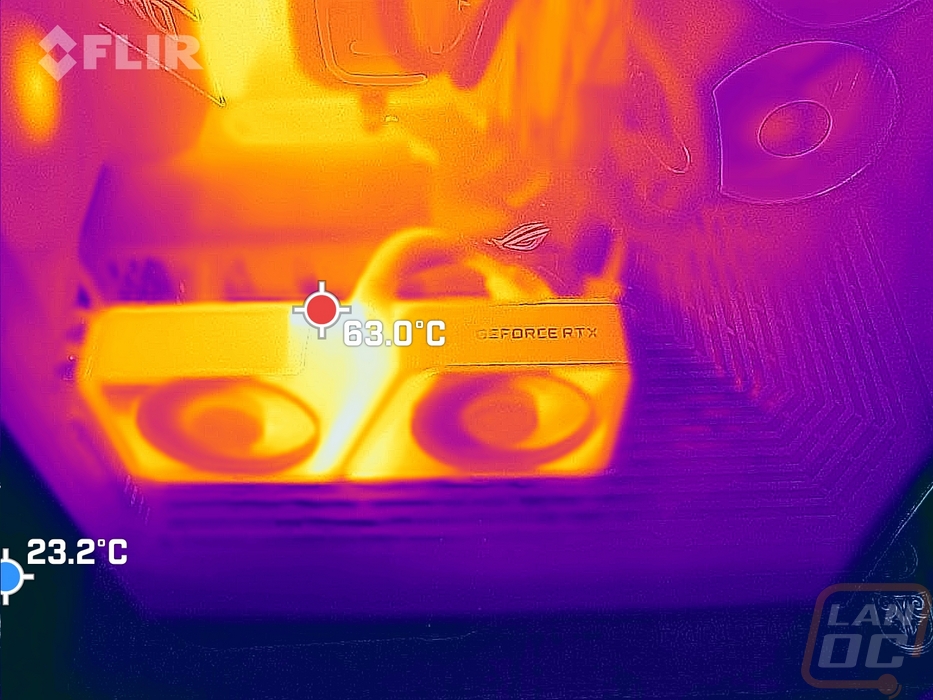
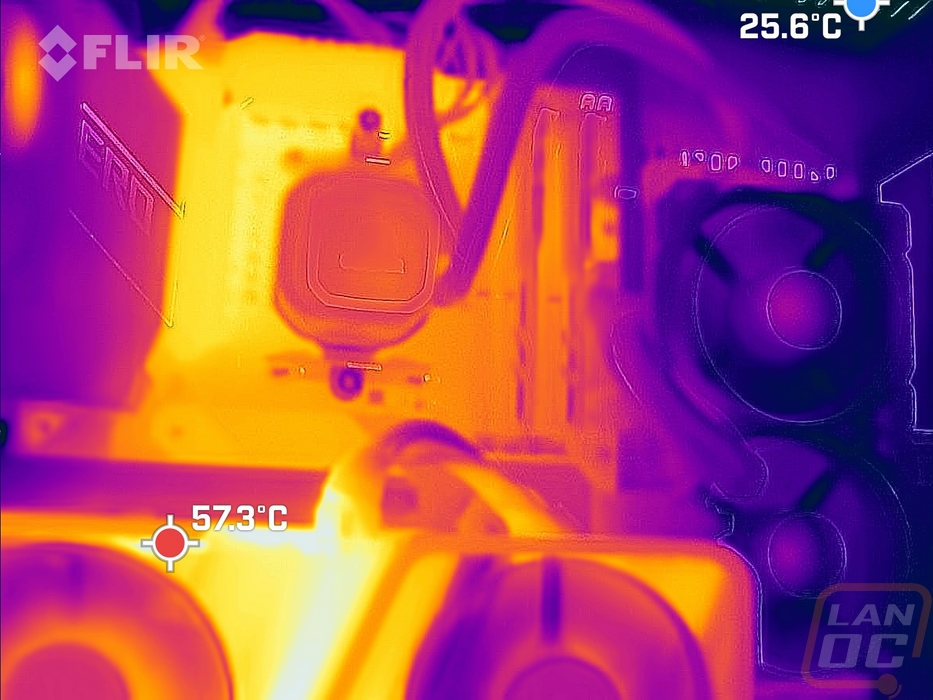
These three pictures are all with the side panel glass removed and looking in. The GPU is of course the hottest point, namely at the top where the RTX 3070 does vent out of the top. The radiator fans and radiator area are all running cool. The VRM area is the hottest area on the motherboard but not at all hot enough to be an issue, especially given the FPU workload which really heats them up.

Overall and Final Verdict
Hyte’s introduction to the market with the Revolt 3 was great but targeted at a smaller market than a full-sized case. So the Y60 is an important launch for Hyte and it is looking very promising. The panoramic glass design that allows you to show off the entire inside of your case without obstruction is unique and looks great. It is also targeted at an audience that loves to show off their PCs which can also help spread the Hyte brand to others as well. Look at what the O11 did for revitalizing Lian Li’s popularity for example. The open design does something else that I don’t think happens enough. It is designed to show off your expensive video card. I’ve been saying for years, even with a traditional case where the top edge of the card is all that is visible that people want people to know what card they have. It is the most expensive part of your build, especially these days, and most video cards only put GeForce or Radeon up on the top edge. This design puts the whole thing out in front like a jewel. Of course, if the GPU shortages have been affecting you and you are sporting GTX 1030 temporarily it is going to look even more underwhelming in the Y60. But as far as GPU size is concerned, you won’t have to worry about that with a full 3 slots being supported and nearly infinite height and length.
The Y60 has lots of room for custom water cooling and while an air cooler is supported it does feel like a good portion of the case would be wasted if you weren’t at least running an all-in-one cooler. The Y60 design is relatively solid with a lot of metal used in the design with the exception of the grills on the top, bottom, and on the “cold floor” which are plastic. Hyte even used steel for the pull out hard drive trays. Details like the custom-shaped enclosure for the included PCIe 4.0 riser that matches the case are a nice touch. The risers even color match depending on if you get the black, white, or red models. They just need some of the crazy orange/pink/purple/teal options that cases like the NR200 have been getting and that would be perfect.
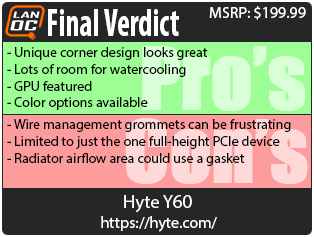
There were a few downsides to the design, some could be improved in the future, and others that are just a tradeoff to the overall design. The biggest tradeoff will be that your GPU is the only full-height PCIe device you can install. The location of the vertical GPU and because it isn’t optional means that your PCIe slots will be blocked. Hyte did leave room and brackets for half-height cards but the options there will be limited. As for things that would just need small tweaks. In my thermal testing, the back of the case shows that due to the gap between the radiator mount and the back vent there is a little leakage going into the rest of the back of the case. A gasket or slight adjustment on the shape of the motherboard tray / radiator bracket could fix that. I also fought with the wire management grommets a lot which wanted to pop out easily for me. Overall those are small issues and I don’t think a lot of people NEED the extra full height PCIe slots.
For pricing, Hyte has the Y60 listed at $199.99 for all three colors. This isn’t too badly priced though I will say that the O11 Dynamic which is what I think is the most direct competition for the Y60 has an MSRP of $189 and is selling for $179 right now. But the Y60 comes with three fans where the O11 Dynamic doesn’t come with any and the O11 Dynamic also doesn’t come with a riser cable which more than makes up for the difference making the Y60 the better value. Overall I think the Hyte Y60 is a great case and I’m expecting to see a LOT of them popping up in pictures in the future in places like r/battlestations.

Live Pricing: HERE


