Outside
Just to address the elephant in the room, this does look a lot like the NZXT H1. iBUYPOWER and NZXT don’t just share their love for capital letters. They have worked closely together for years to make custom cases for iBUYPOWER systems and more recently when iBUYPOWER got into the case market they were variations on NZXT cases. So the Revolt 3 having similarities to the H1 isn’t a big surprise. What surprised me was just how much they changed. Even just looking at the case dimensions 253 x 178 x 409mm it is different from the H1’s 188 x 187 x 388mm. So the Revolt is taller and deeper and a little bit skinnier. Those are BIG changes. The Revolt 3 comes in at 18.42 liters where the H1 is 13.64, so the Revolt 3 is still SFF but a little on the higher end but right in line with the capacity of the always popular Cooler Master MasterBox NR200.
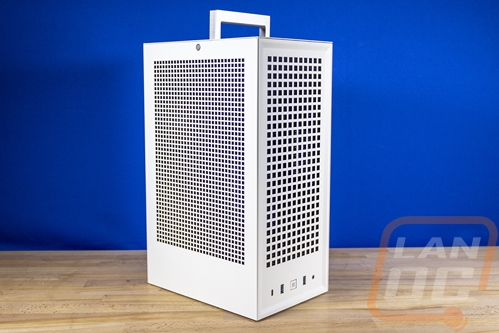
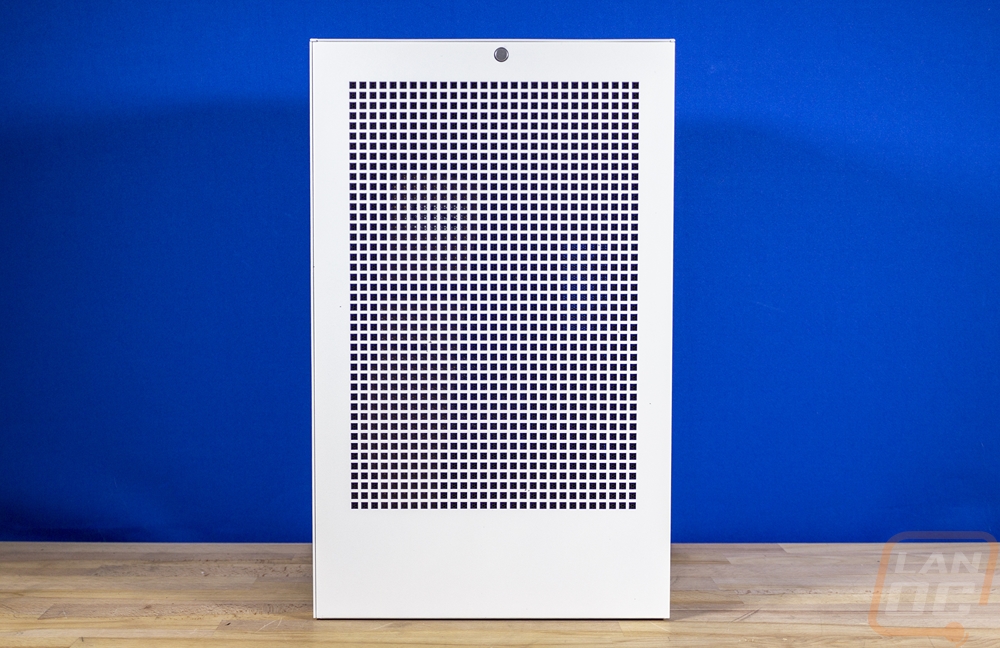
The Revolt 3 comes in white or black and then has an all-black interior with the exception of the launch special edition with the additional bronze mesh for the front that is included. Like the dimensions that I mentioned before imply, the Revolt 3 is an SFF tower case which I like for a LAN system because it also means a smaller footprint. A lot of LANs will provide you a 3 foot by 3-foot space which can fill up quickly with your monitor, your keyboard, and mousepad so a small footprint helps. Unlike the NZXT H1, the Revolt does not have a glass side panel at all. All four sides are mesh with a square hole design cut into the outside panels. The square holes offer a lot more airflow than the round holes that the H1 has and help give the case its own unique look.
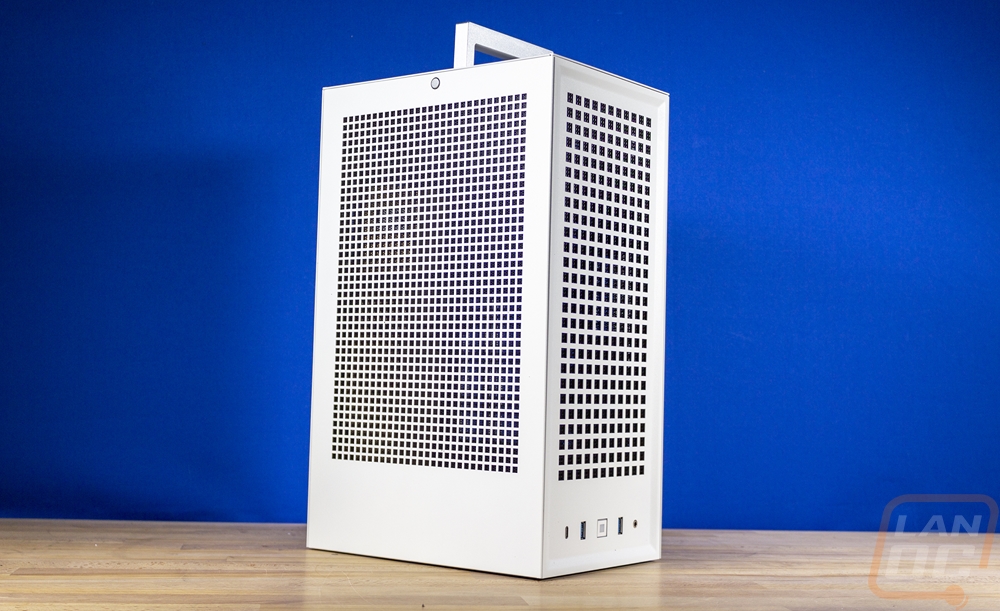
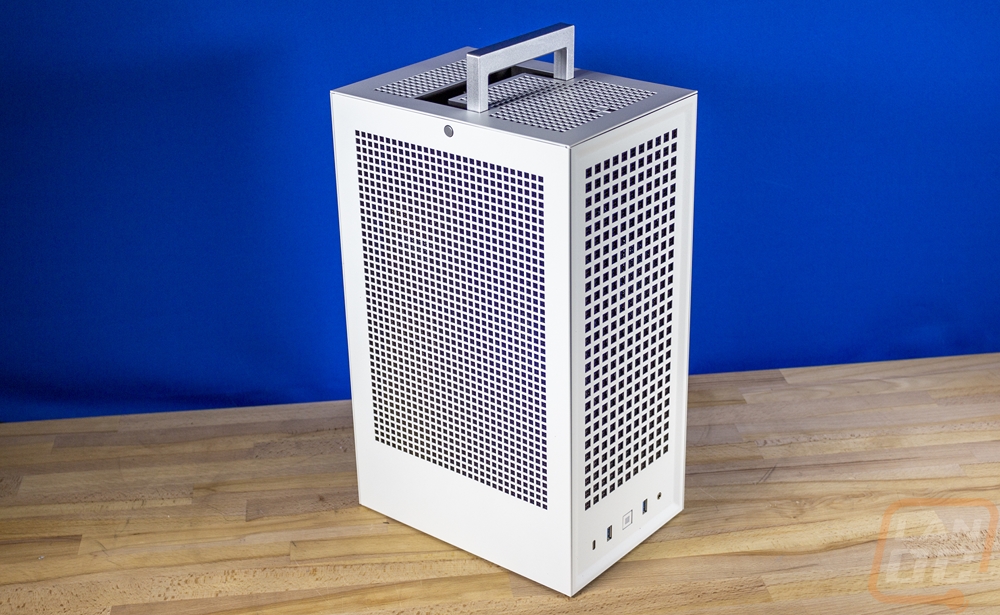
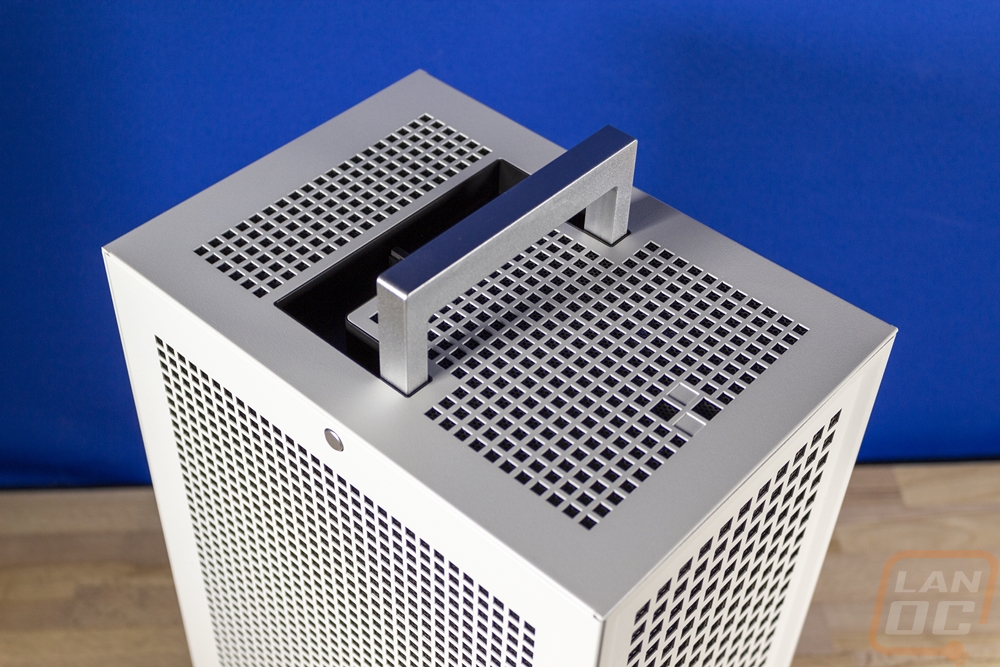
Up on top of the Revolt 3, they also have more square holes, but the biggest feature here is the built-in carrying handle. Unlike most cases with a handle, HYTE has integrated the handle so that when you aren’t carrying the case it sits flush. They have a spring loaded mechanism that you push down on to pop the handle up and they use magnets to hold it down. When you have it up, magnets also hold it in that position as well. Near the front, the squared airflow holes also have an interesting four square design.


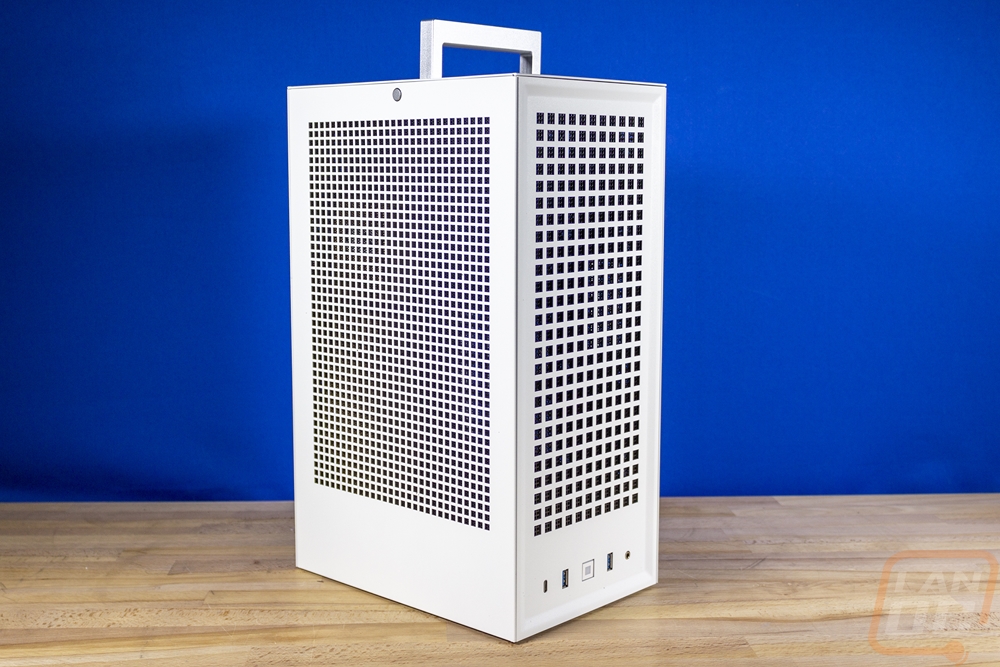
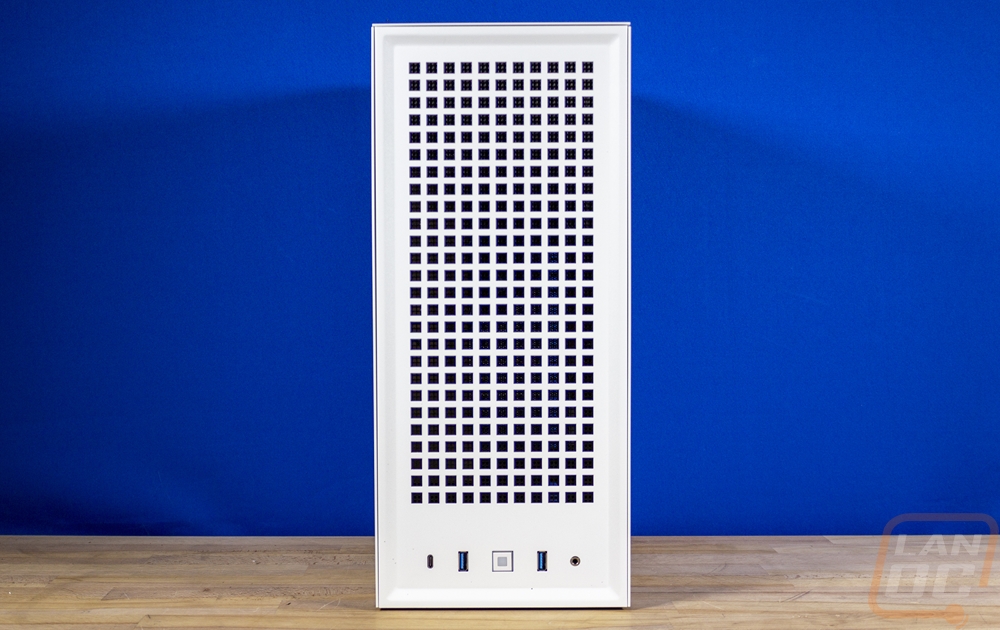
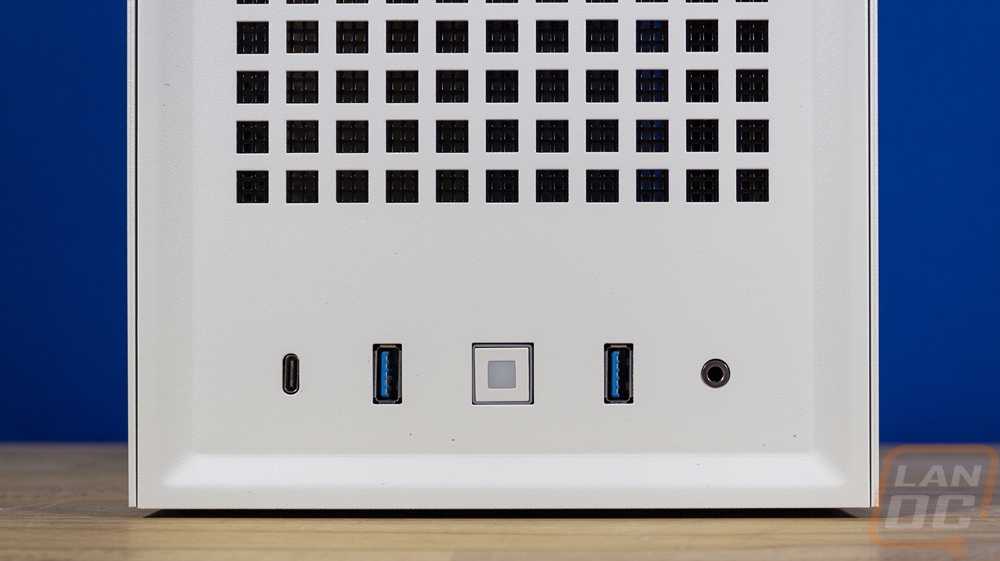
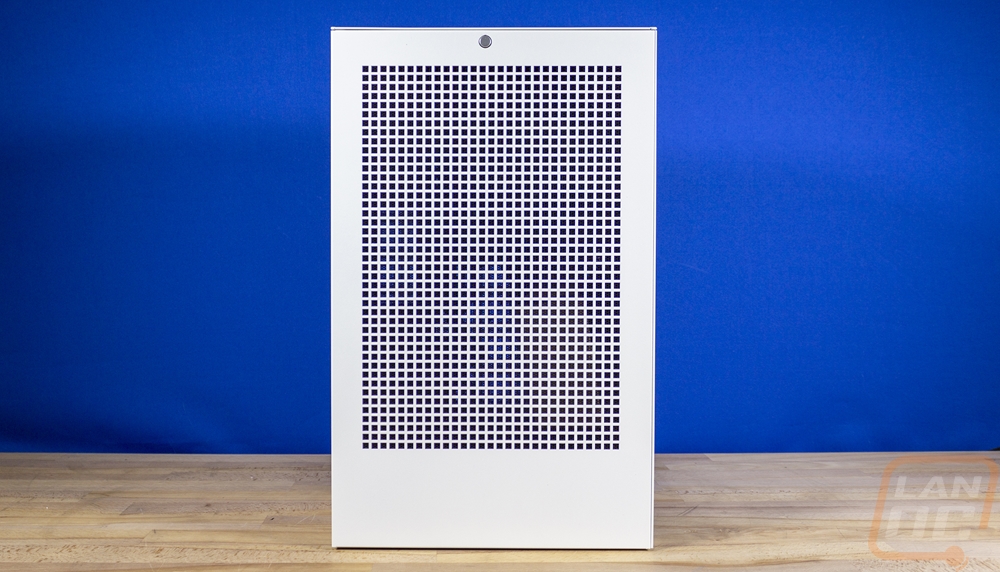
The square hole design carries down the front of the case. The front panel is also the one panel that has a little additional shape added with a small bevel around the edge that gives the front a slightly sunken shape. All of the front I/O connections are at the bottom of the front panel below the ventilation. In the center is a square power button and on each side of it, there is a USB 3.2 Gen 1 Type-A connection. I like that they spaced these out a lot which gives you a lot of room when using thick USB drives and devices. Then on the left, there is a single USB 3.2 Type-C Gen 2 connection and on the far right there is a single shared microphone/headphone jack. That will work with headphones that already have the single shared jack but they did also include an adapter as well that splits this into two connections for anyone using a more traditional setup with a microphone and a headphone plug.
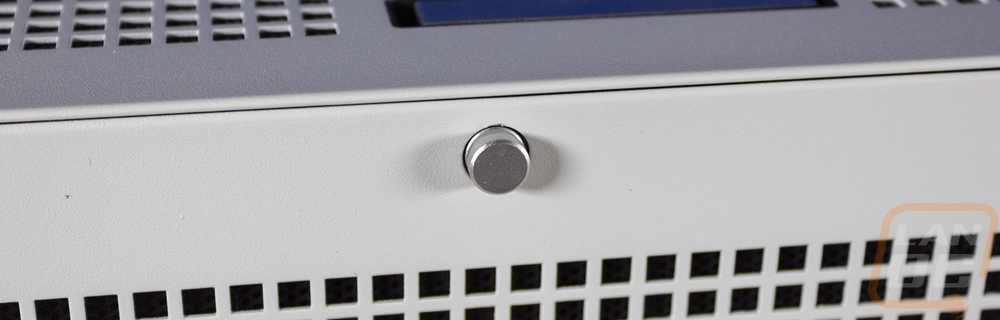
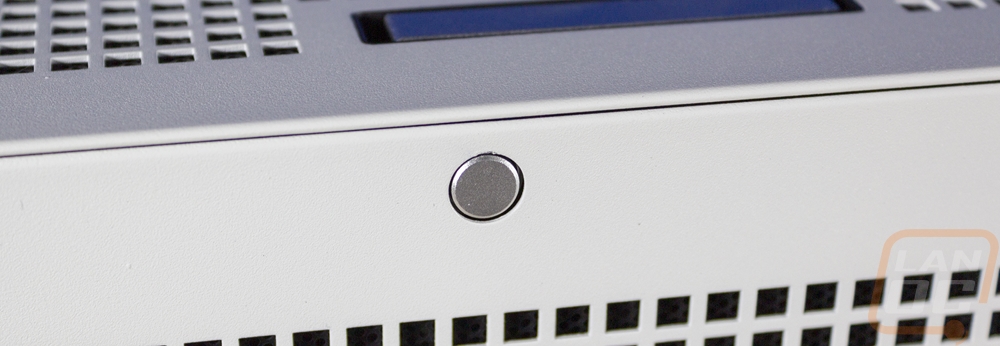
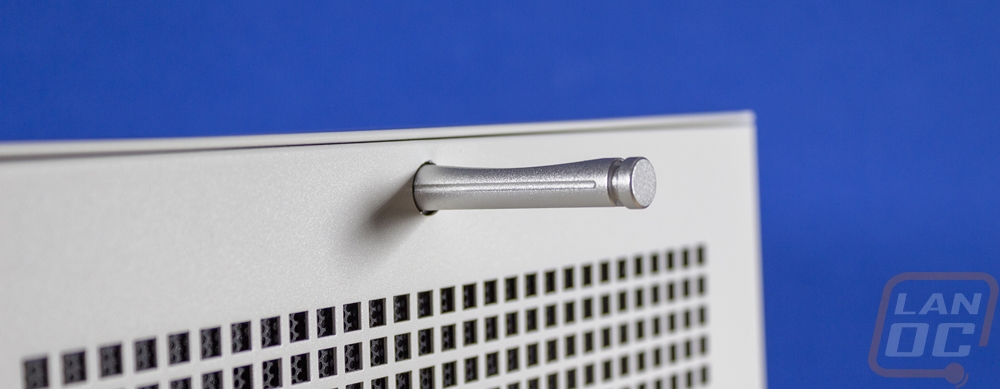
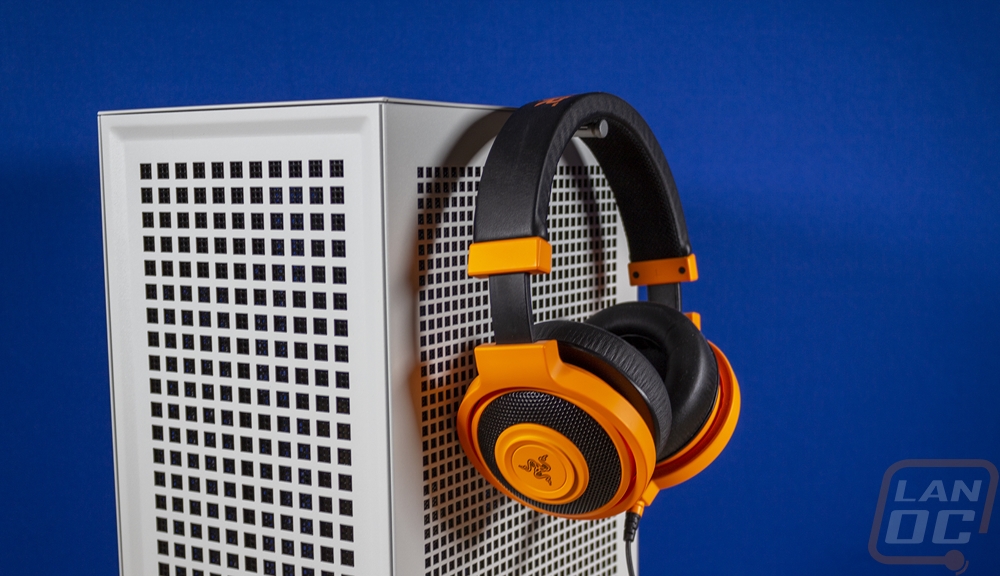
Both the left and the right sides of the Revolt 3 have a very similar setup with just one small change. The same square holed ventilation rungs down both sides with around an inch of solid panel at the edges and a thicker area down at the bottom without ventilation. Up at the top, both sides have a small silver dot. This is unique to the Revolt 3 and is a pullout headphone hanger. They push to pop out then have a small edge to help you pull the hanger out. Both sides have the same hanger but this is where the two sides are different. The location of the hanger favors slightly to the front of the case, so each side panel is specific to that side. The pop-out hangers also have a slight curve cut into the top to help keep your headphones in place as well.
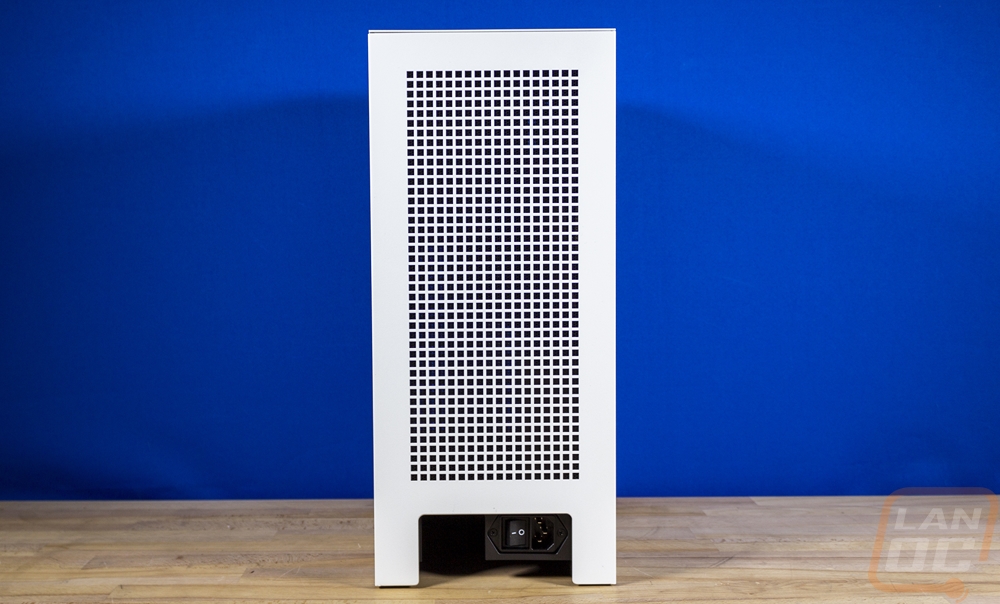
I know I sound like a broken record, but the back of our Revolt 3 has the same all-white finish with squared ventilation holes covering a majority of the panel. The only thing different here is that the back doesn’t have the beveled edge like the front panel and down at the bottom there is an opening. All of the PC connections run into the bottom of the case, this is where they can run out. You can also see the power supply connection which faces out here along with the on and off power switch which is easy to reach.