
Installation and Performance
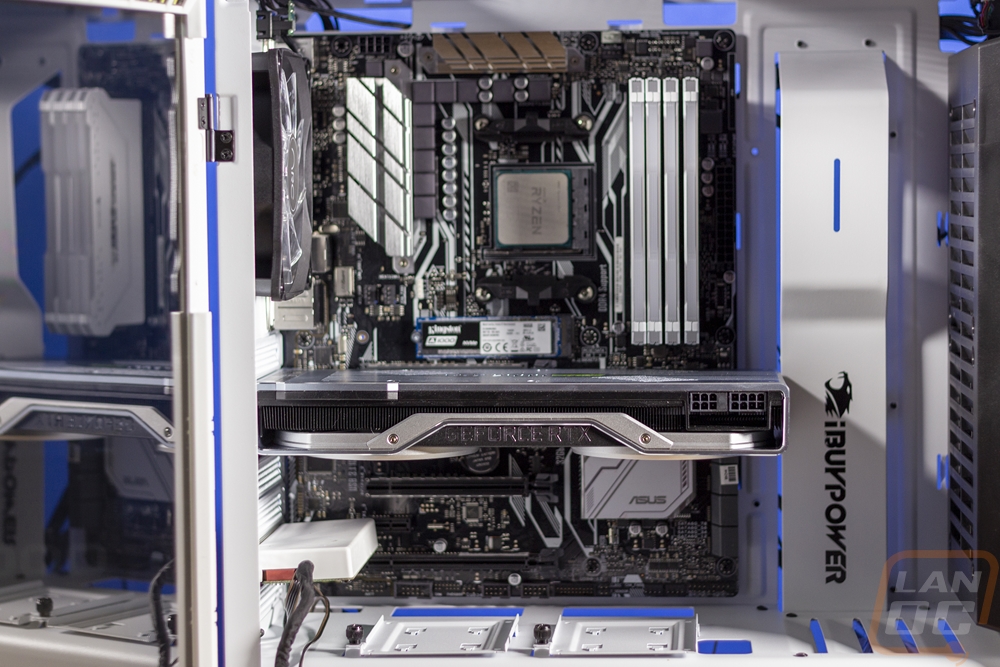
For cases, there are a few aspects that are important. Cooling and noise performance are of course important, but sometimes people forget the installation as well. You may only have to build in a case once or twice, but it is nice when you are building in the case not fighting against it the entire time. So before getting into the testing of the Snowblind Elements screen or any other aspects, I do have to get all of those fancy components into the case. I started off by installing our CPU into the motherboard, putting the Kingston A1000 M.2 SSD in and preinstalling our memory. From there I dropped the rear I/O into the case without any issues and propped the motherboard up in the case. All of the standoffs lined up to our board and the standoff in the center has a post in it that will help hold the board when installing it. That is important because it takes a lot of force to push it against the rear I/O and get the screws lined up. But once lined up they all went in quickly.
I went ahead and also installed our RTX 2080 SUPER Founders Edition and that did give me a little trouble. The slide up panel above the PCI brackets was still too tight for me to angle the card in, so I had to remove one of the thumbscrews on the panel to give more space. After that, the card went in and with thumbscrews for everything I was able to quickly get it tightened up.
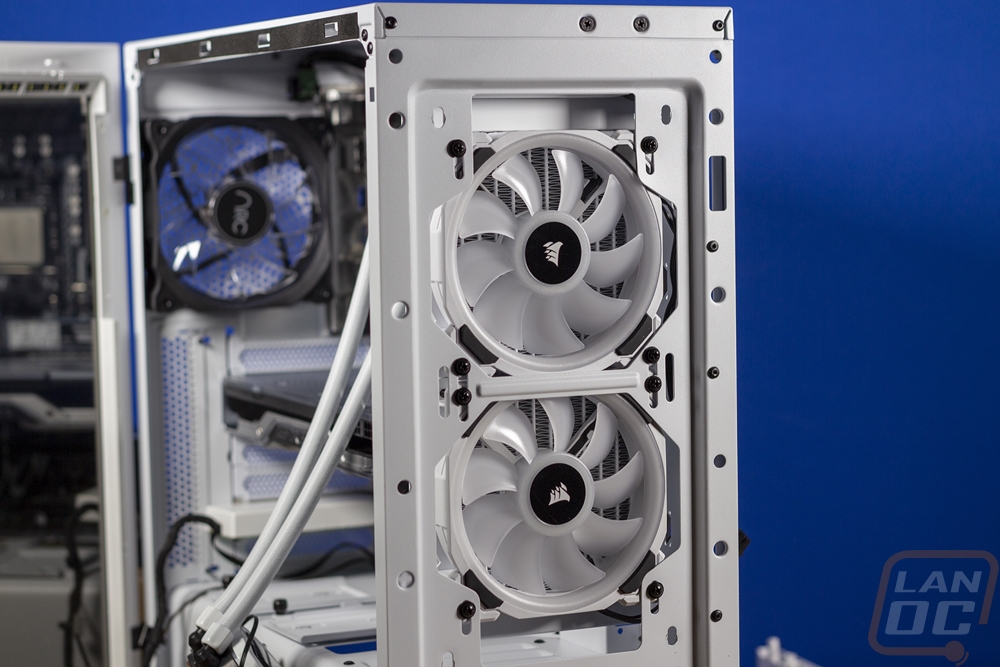
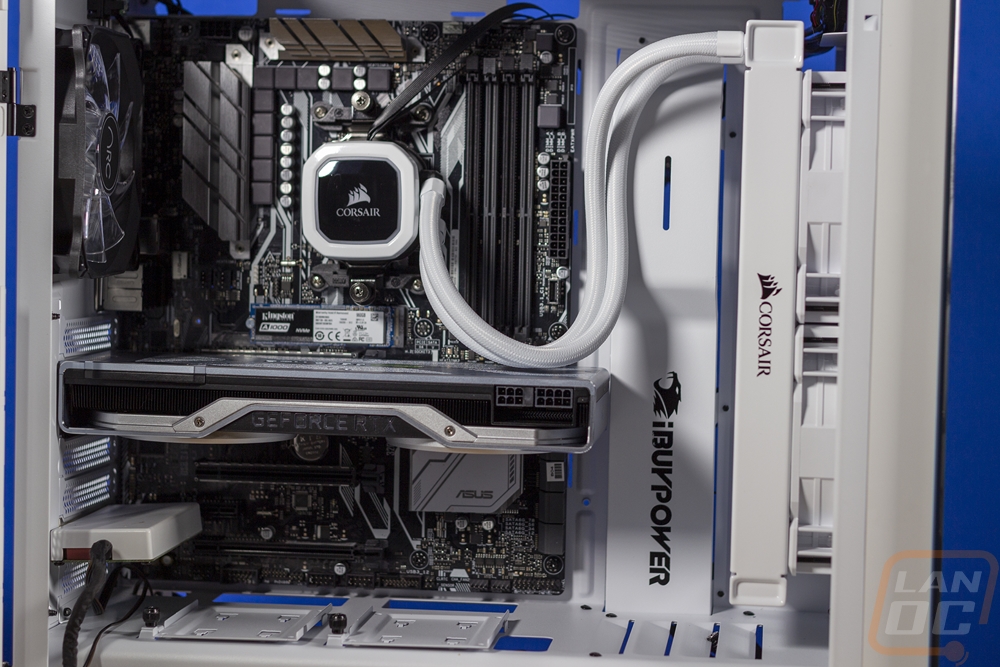
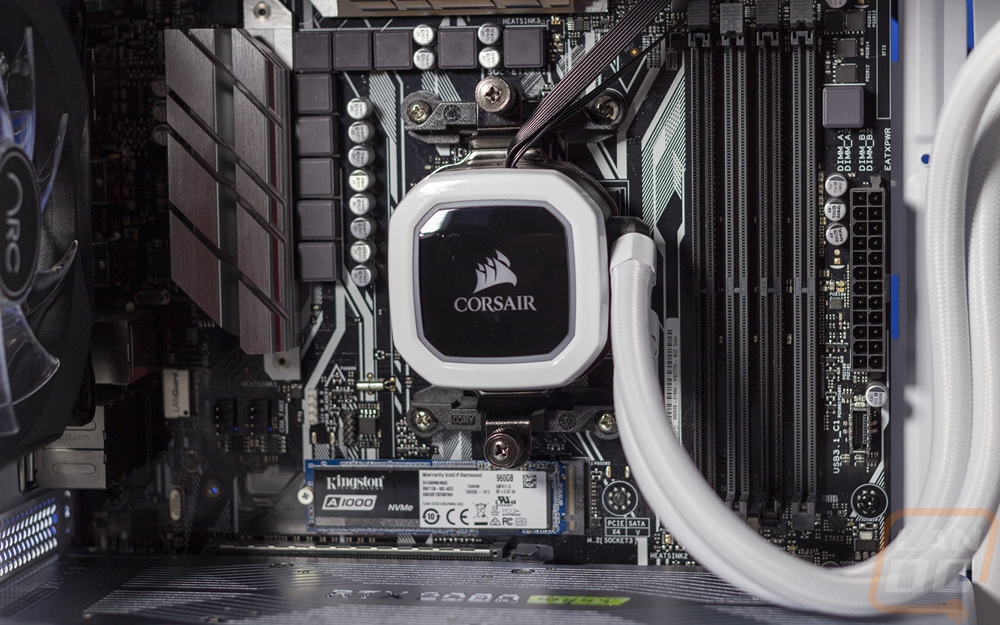
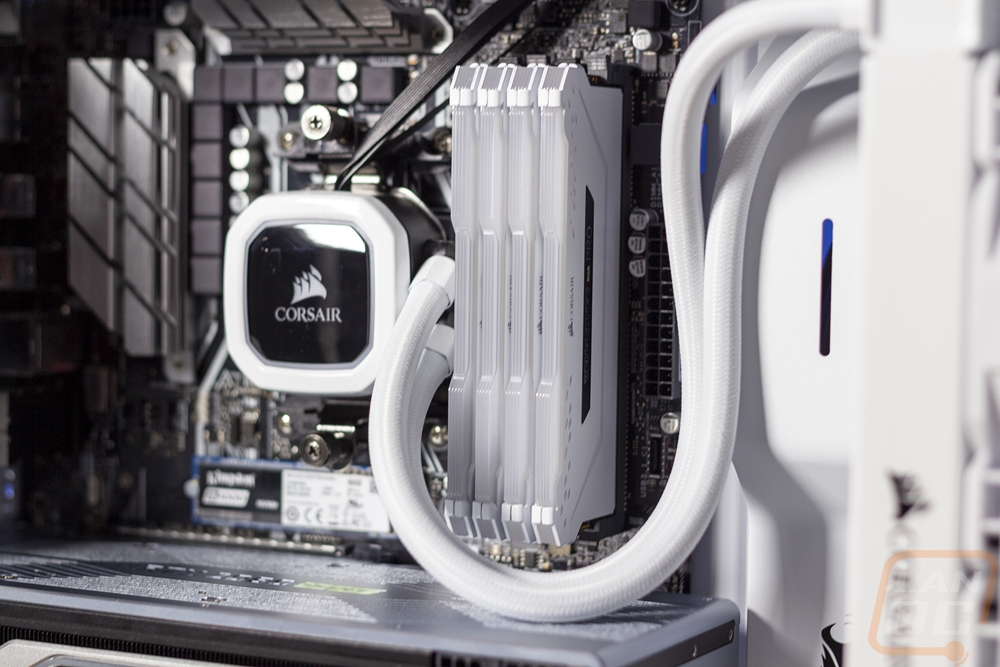
Now for the water cooling, the Corsair H100i RGB Platinum SE kit uses the stock AMD brackets for AMD boards. I personally am not a fan of it at all but it does install quickly. You swap out the brackets to the AMD bracket on the pump and you preinstall the hook and thumbscrew on each side. It comes with thermal paste already applied so that isn’t a concern, so getting the pump installed is as simple as pushing it against the CPU and hooking the two hooks over the bracket and hand tightening both of them up. But first you want to install the radiator and fans and for this case, I did decide to not use the stock front fans and to use the included LL120 fans from Corsair. Even if I used the stock fans though you would still have to remove that black fan cover. I put the new fans towards the outside of the case, blowing in and then the radiator behind them. Then you use the included screws that go through the fans into the radiator. 8 screws installed and you can move the radiator and fans up and down somewhat with the slots in the case. I had to crank a few screws down once I found the place to keep it from moving. Then I went back to the quick pump install. Be sure when you put the pump in that you keep in mind the tube orientation, they can get twisted up when you are going everything. The AIL really sets things off, especially the white fans, I only wish I could hook up a third to the kit for the rear of the case.
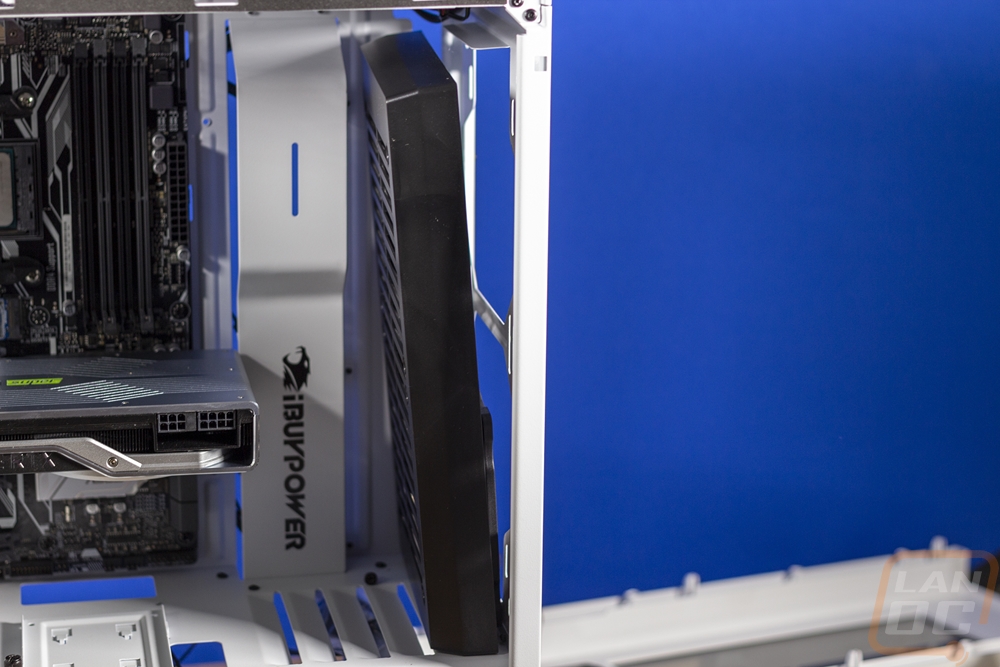
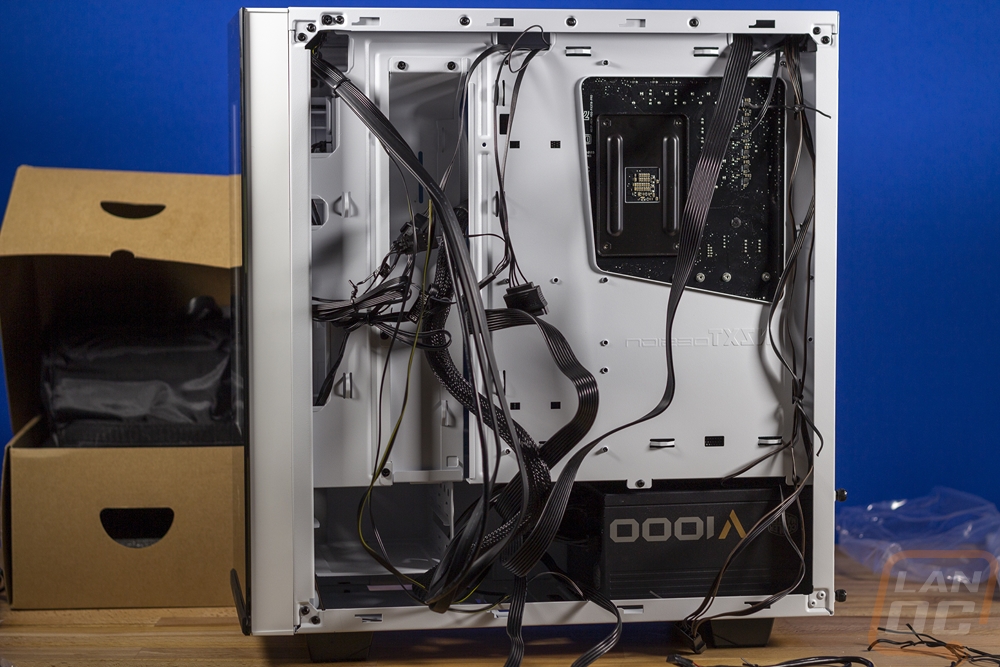
This case design is slightly dated and you can tell here at the back when you start wiring. I installed the power supply and ran all of those wires without any problem. But the mess of wires from the LCD, front panel, pump, and all of the fans can be a big mess. Especially with the Corsair fans adding RGB connections to them as well. Most of the wiring isn’t going to be a problem when tied up and cleaned up. But the 24 pin you want to keep in the deeper cable routing track as well as avoid putting any plugs between the motherboard tray and the door. There is room, but it has its limitations and it doesn’t have the wiring tracks like the H400i had.
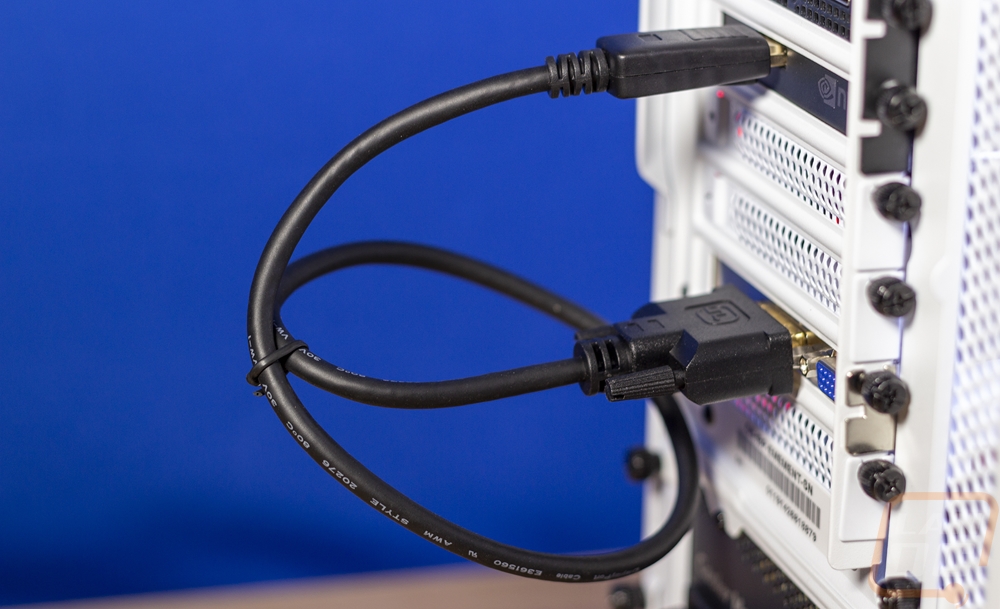
Lastly, before hooking your PC up, you can also connect the LCD screen to your GPU. The cable included is more than long enough and isn’t exactly elegant. But there isn’t going to be anything elegant without right angle adapters or something.
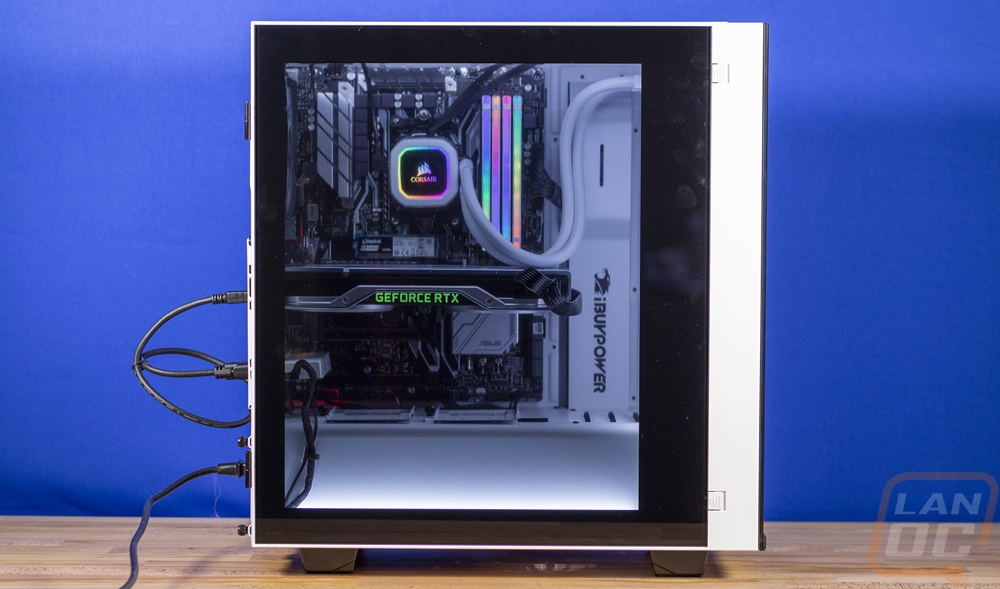
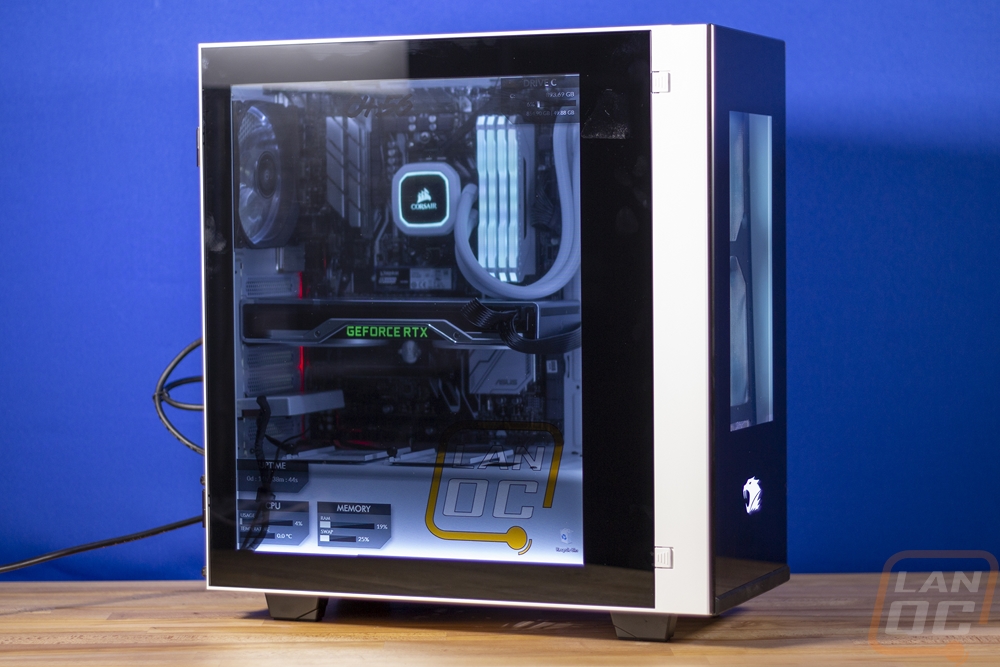
Powered up and we have RGB lighting lit on the Corsair memory and kit and the bright white lights in the Snowblind Element are lit. I will point out that with the AIO kit that only one fan worked until I got the software installed, not sure why that was. But they look really good through the front window that iBuypower has on the front here. The iBuypower logo looks good lit up as well!

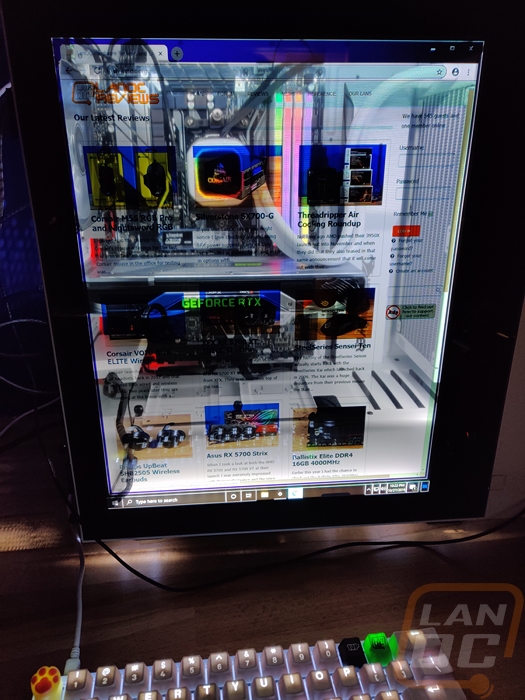
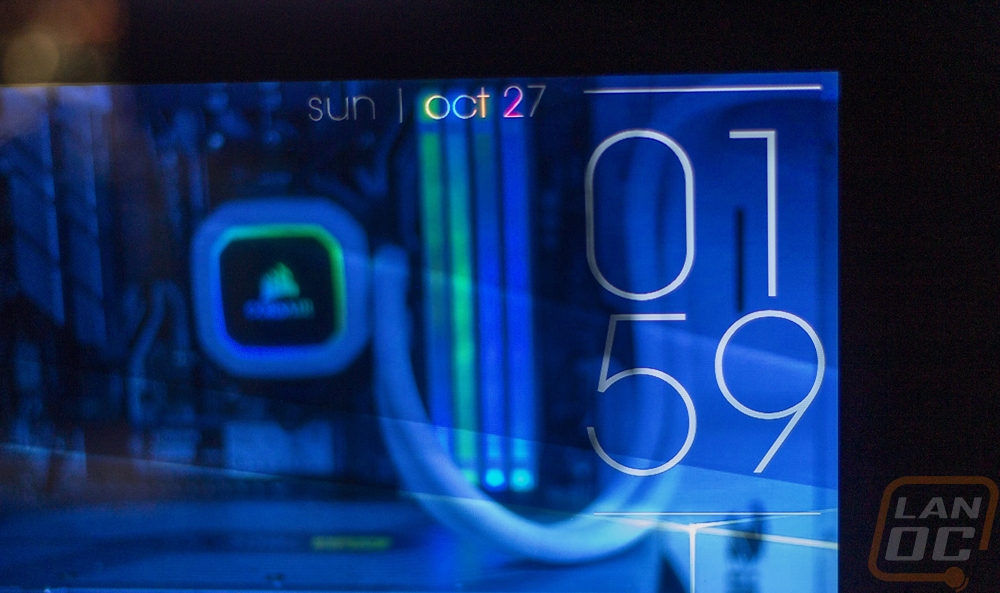
Now the Snowblind LCD panel isn’t designed to be used as a normal monitor, nor would you ever want to try to game at the weird resolution. But I did boot it up first with that as our monitor. You will have to follow the included instructions and set the screen to portrait mode and set the correct resolution. It's funny booting into the BIOS as well.
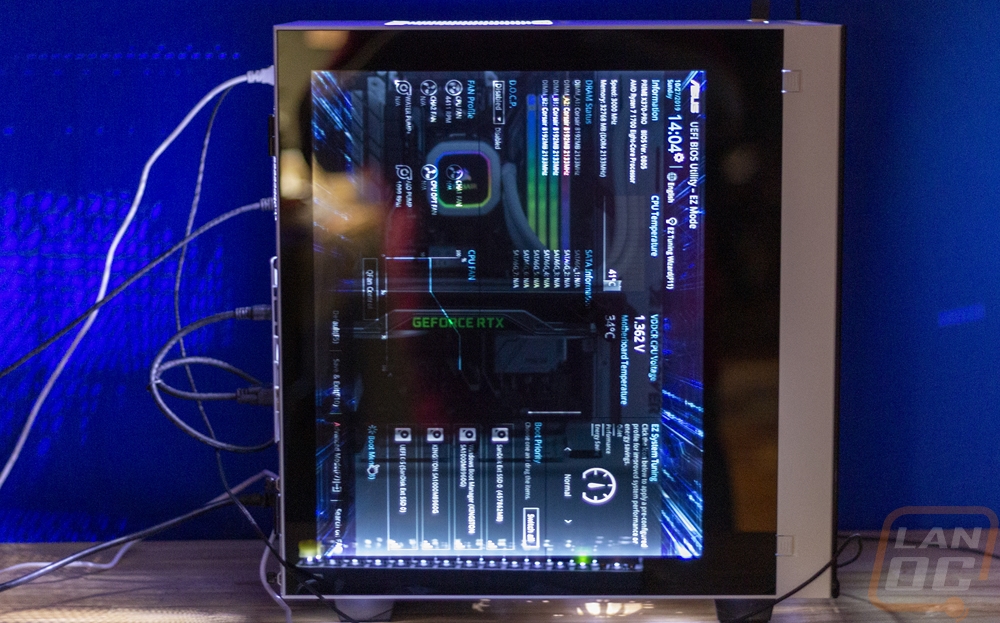
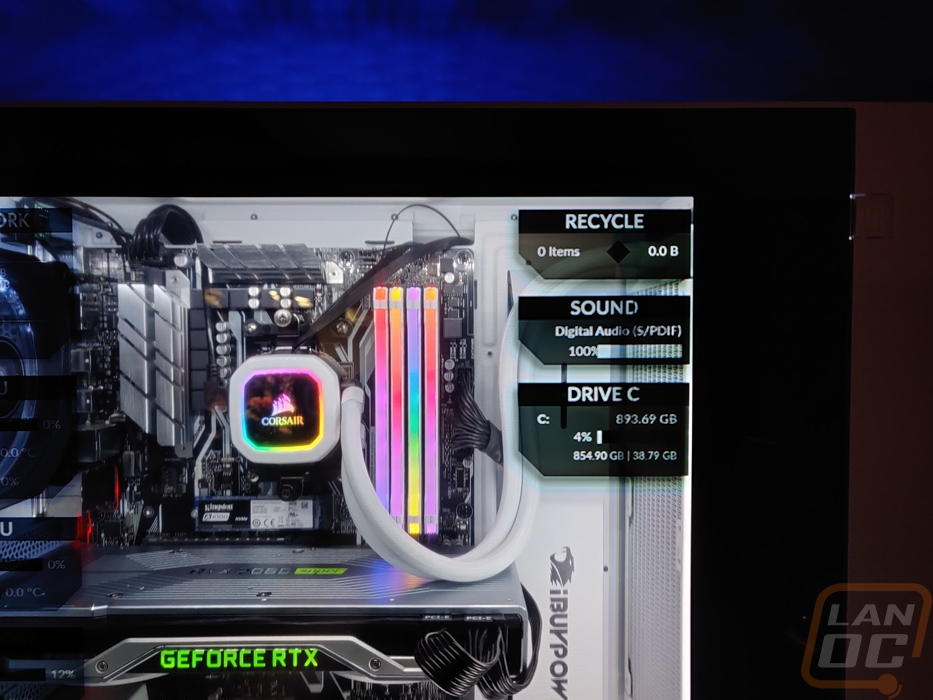
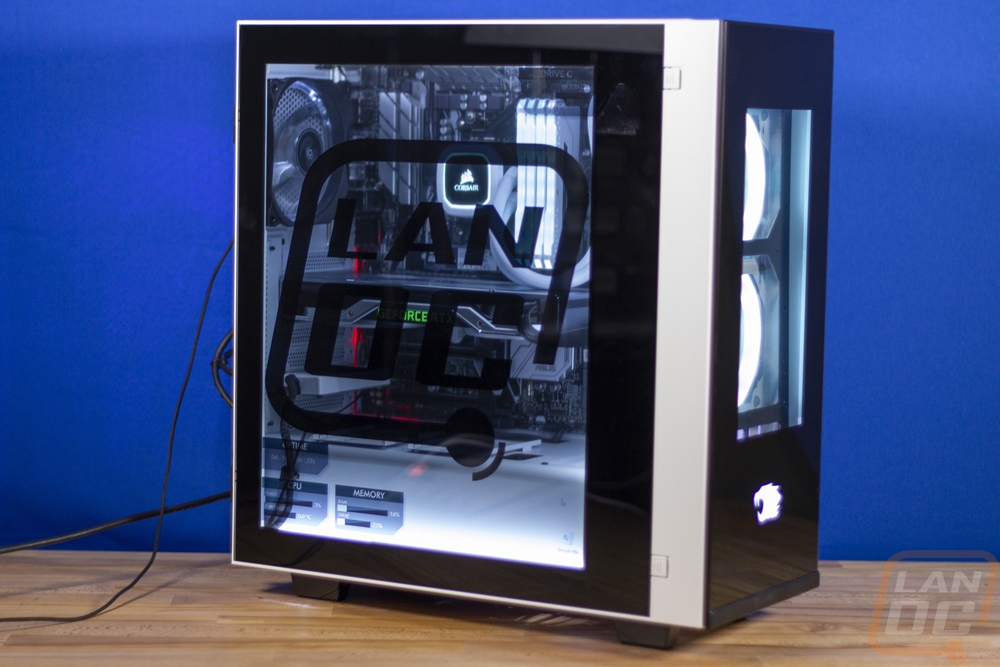
Because frankly, the LCD on the Snowblind Element is the main feature of the case I spent most of my time playing around with it. I was really interested in seeing what ways you could use it. Frankly even just toying around with backgrounds was fun. I was really curious about the contrast when using say a black background. Could you block out all of the light and basically close down your side panel window. Yes and no, you can still see through it. Especially when I hadn’t had the chance to turn off the RGB lighting on the memory and pump lol. But it cuts out most of the view. Which makes dragging and getting a clear window really trippy. I can totally see this being used as a way to highlight components. I did a mockup, but time in photoshop would work better and could have labels. Maybe boxes that show each component, a black background, and lines going to each thing explaining what you have inside your build. While toying with this I made a short video showing the contrast between black and white.
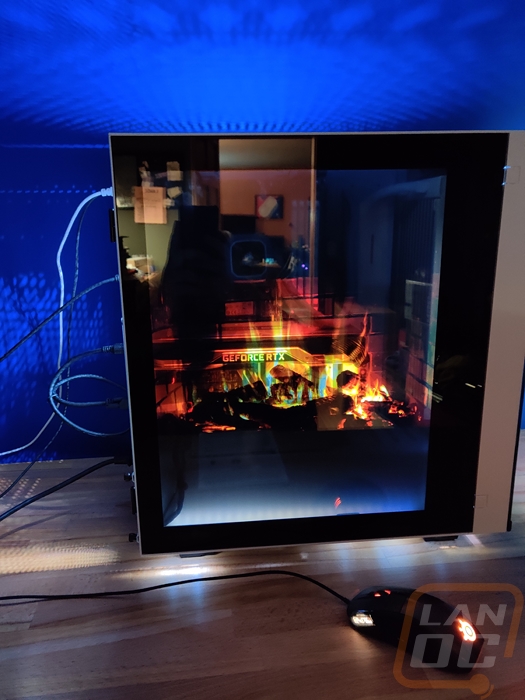
I toyed with just opening a youtube video on the screen. This could work but I might need to use a plugin. When you fullscreen the video it fills unused space with black where it might be cooler to have the video floating so to speak. The picture below was playing a yule log fire 10-hour video.
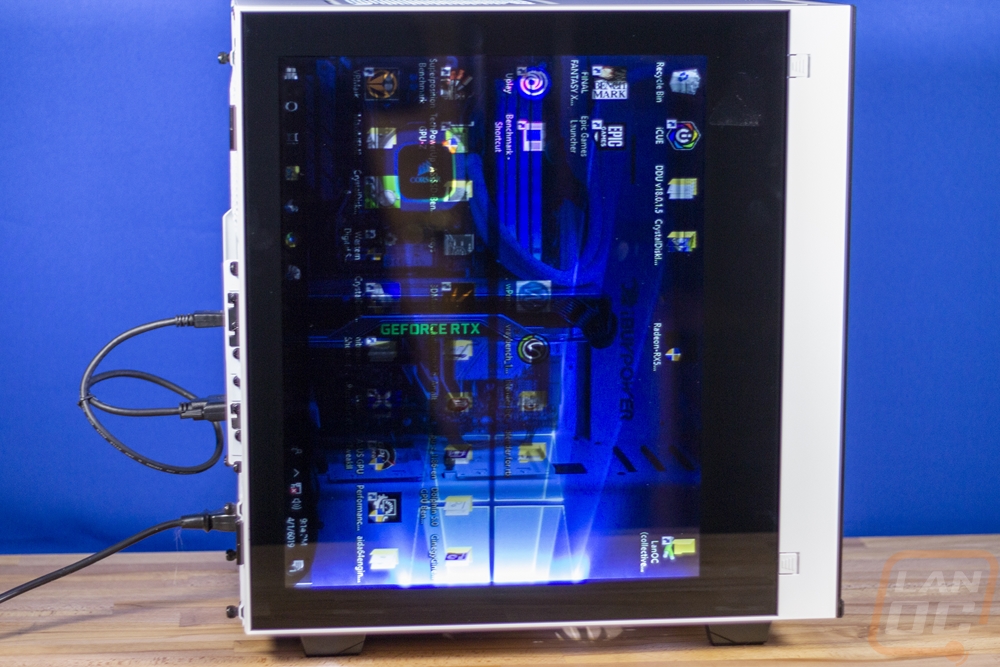
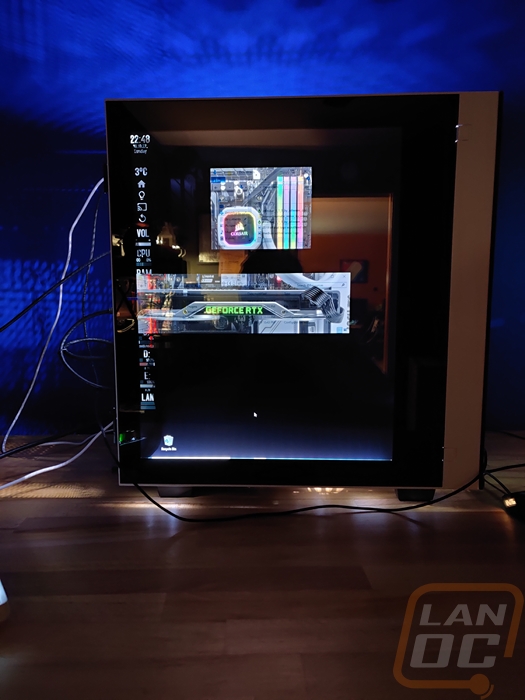
I knew I wanted to show PC hardware info on the side panel and my wife of all people has had a lot of experience using Rainmeter so I knew I wanted to toy around with that. iBuypower also highly suggests it as well to the point where they also have their own skin available to download.
Browsing LanOC on the screen was…. Interesting…
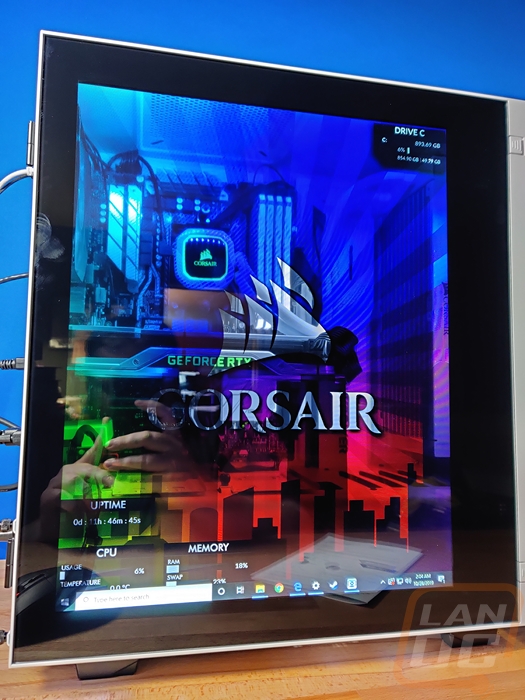
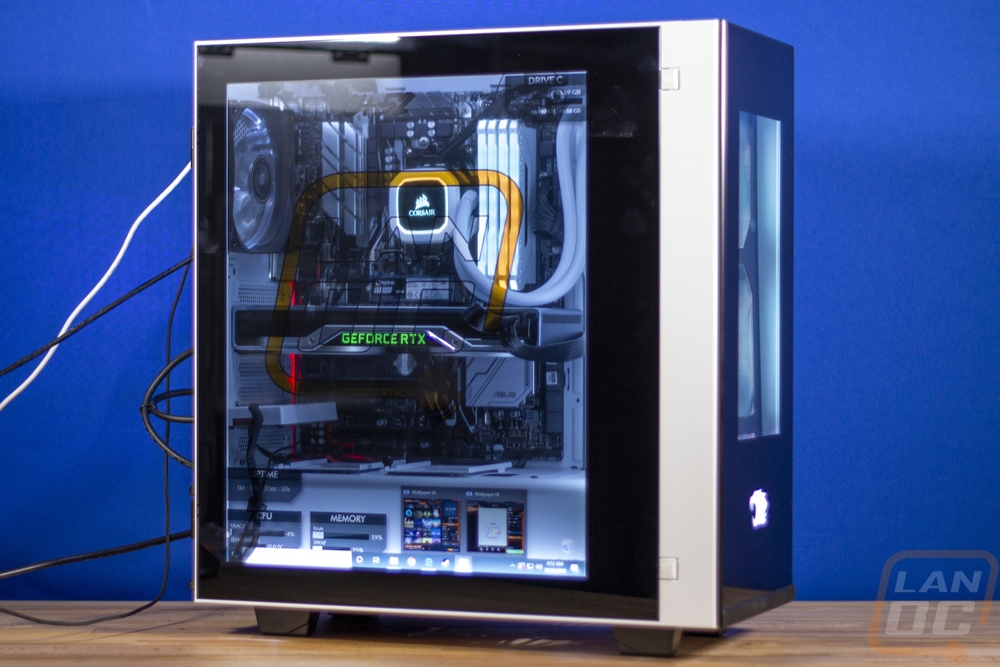
Anyhow after playing around for a while I finally got serious and finished reading iBuypower’s instructions and in addition to Rainmeter, they also recommend Wallpaper Engine which is a Steam program. Their documentation also mentions that they sometimes include it, but I assume that is with their full builds. I didn’t see a code or anything so I went ahead and picked it up. It is $3.99 on steam, not a big deal. I’ve used a lot of programs that allow for custom backgrounds specific to each monitor and that is kind of what I expected honestly. What I found was a lot better. Yes it does do backgrounds for each monitor. But they actually have a repository of uploaded backgrounds and a lot of them offer a lot of customization and sometimes integration with Corsair iCue as well to tie it in with case or peripheral lighting. Most of the backgrounds are moving and sometimes interactive. I snapped the picture below using one of the backgrounds I found someone made for Corsair and it had 6 different background themes that completely changed the look.
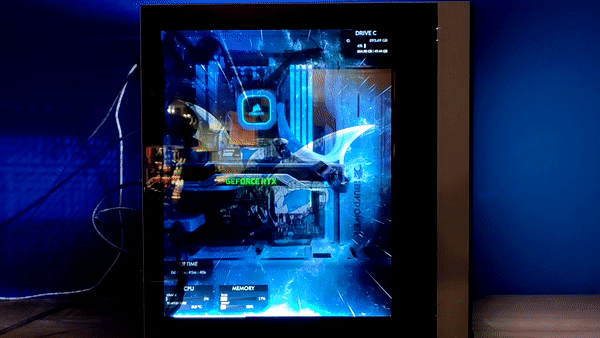
With our new tools, I spent a few hours just picking through the uploaded designs and so many of them are amazing. There are raining backgrounds that make it look like there is actually condensation building up inside of the case. Putting this together with Rainmeter I was able to show off hardware info and also completely change the look of the build over and over. Look at the dragon video below for example then the flaming skull, just changing the colors does a lot. You can even just go with simple single color backgrounds that make it look like the inside of the case it lit up in RGB.
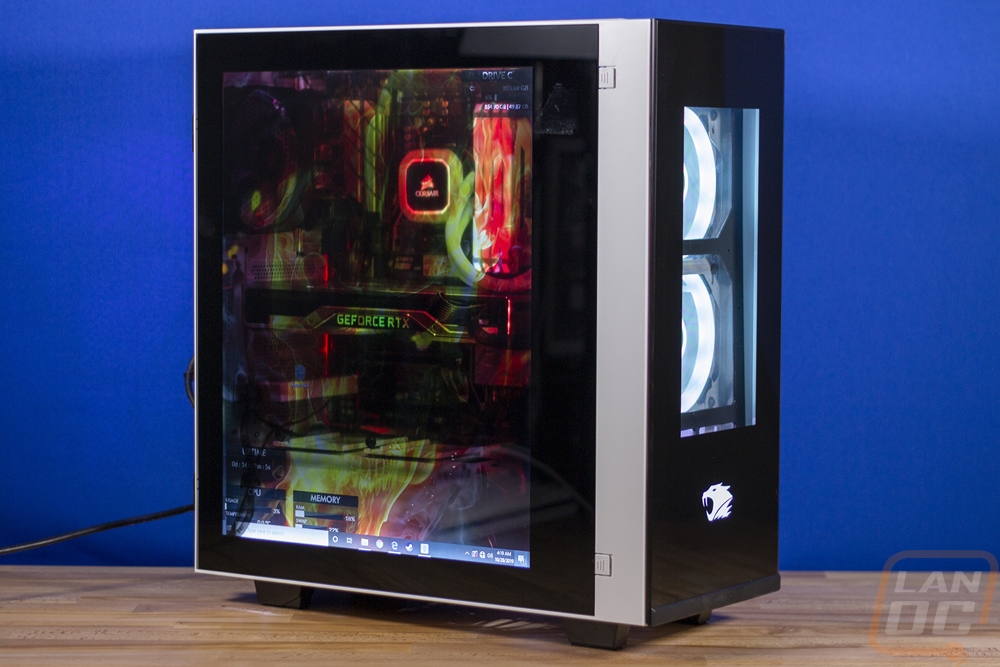
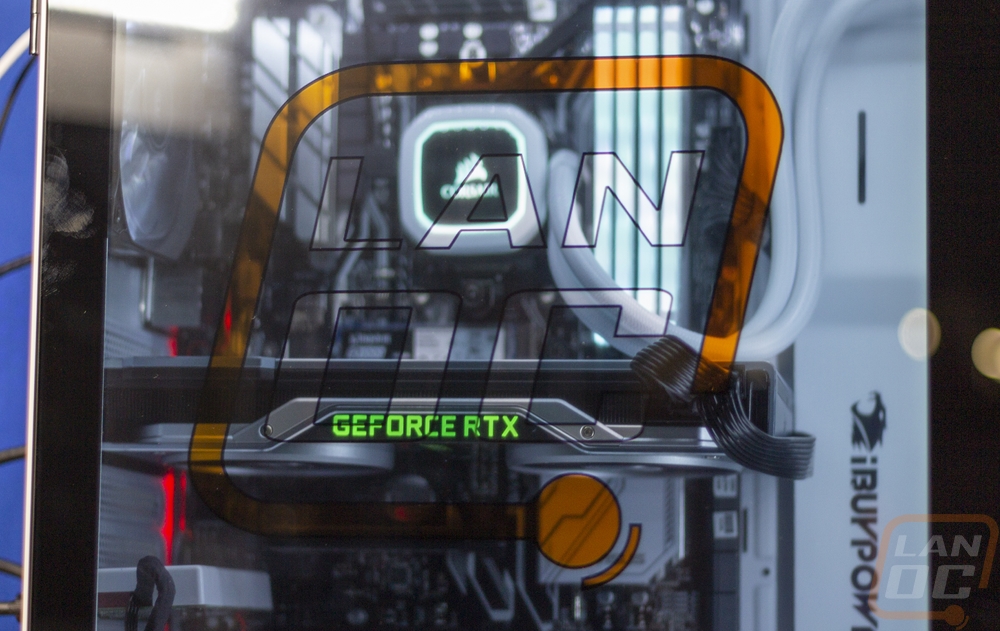
I also spent some time playing around with making custom wallpapers as well to integrate a LanOC logo for a nice title image. The orange and white logo looks okay but the black was a lot more visible. This wouldn’t be the case if every one of our components was perfect white, but the Founders Edition card still has a thick black strip where the heatsink is and the X370 Asus Prime board is far from white. Which as you can see in those areas it is very hard to see what is on the screen. I expected this, the white is needed. I wouldn’t consider it a flaw but it is something very important to remember when getting your components in a Snowblind build. In my situation, if I continue to use this build I may consider swapping to a board with more white and the same goes for the GPU. The silver works well, but a white Gigabyte card, for example, would really pop. Or I could bust out our 3d printers and make a cover or two.
Performance in the typical aspects like noise and power weren’t that bad, but by swapping out the fans I tainted all of that testing right from the start. The one Arc fan left in the case wasn’t that bad for noise or airflow but the LL120’s were still much quieter. More importantly, but taking that large fan cover off on the front I opened up airflow, though it is still limited by the gaps in the front panel. Overall, I wouldn’t go in expecting this to be a HAF case. In fact, I would never attempt a dual GPU setup or a video card that needs lots of airflow because that area is where the case is going to suffer. But shipping the Snowblind Element with two front fans and a rear exhaust fan helps compensate for that.
