Inside
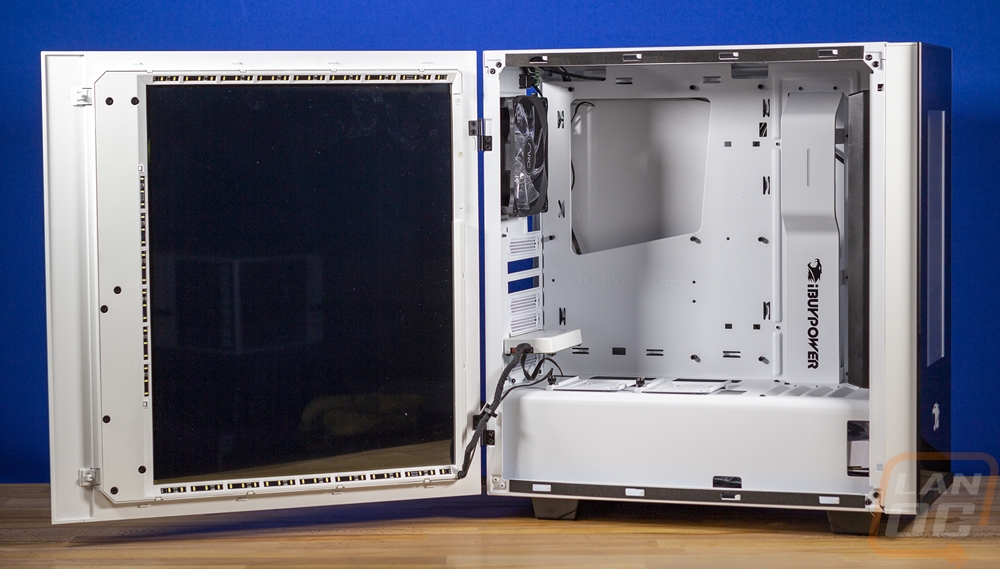
Getting inside the Snowblind Element isn’t too difficult but I wouldn’t call it easy as well. The two clips that hold the side panel on are easy to use, but holding those two clips and trying to pull the panel open without growing a third hand was interesting. That said when opened up I couldn’t wait to take a look at the LCD side panel. I will say though, BE CAREFUL. For one, this is an LCD screen, hitting the inside of the panel could damage it. More importantly, the tempered glass side panel is heavy, add in everything for the screen and when you open the side panel up it can want to tip over. Especially after you take the steel back panel off. I would hate to see someone dump their brand new case over and bust the glass or worse. While it does have a hinged design that you can lift off, there are cables running from the side panel inside of the case so removing the side panel wouldn’t be recommended.
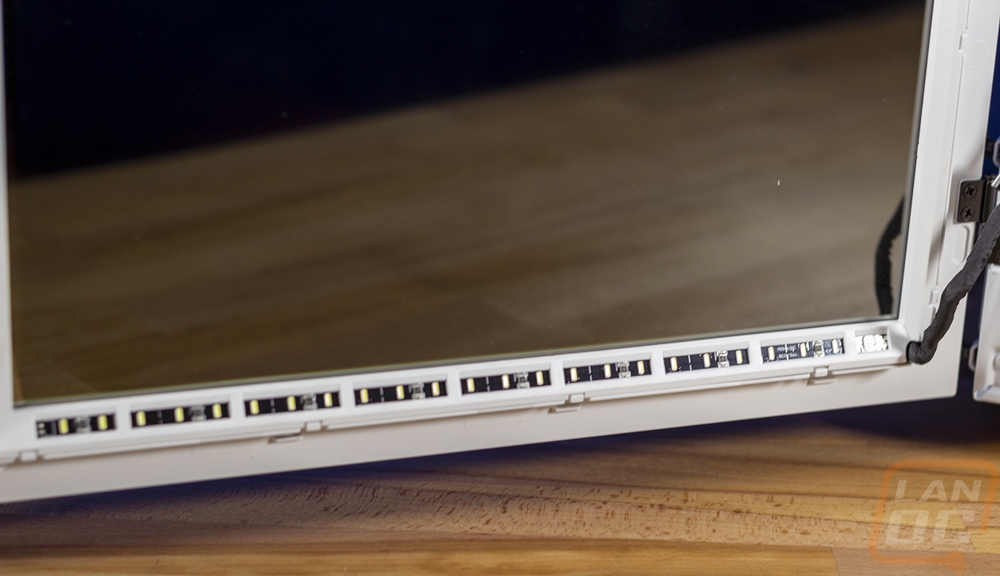
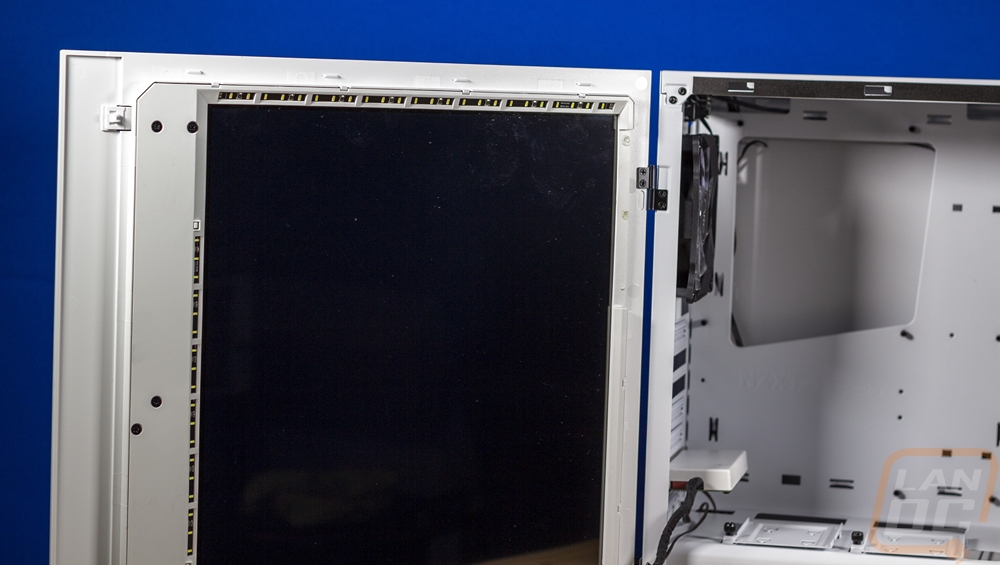
SO what makes it all tick? Well if you are getting old like I am, you might remember old school projectors at school. I don’t mean one that you hook up to a PC or TV. I mean the style that a teacher can write on plastic sheets and project on to the wall. When I was in school and we used those, there were LCD screens you could sit on top of the projector that would shine the light through the LCD. That is basically what is going on. The backlighting used in a normal monitor is gone and they have the LCD panel attached to the glass side panel. Then the inside of the case is all white and around the edge of the LCD are bright white LEDs to light everything up to get that backlight. I knew this is how it all worked, but I was impressed when I opened the case up to see all of the plastic casing used to hold the lighting around the window. This is the difference between going with what iBuypower has done and patching this same setup into your own case. This is a complete product.
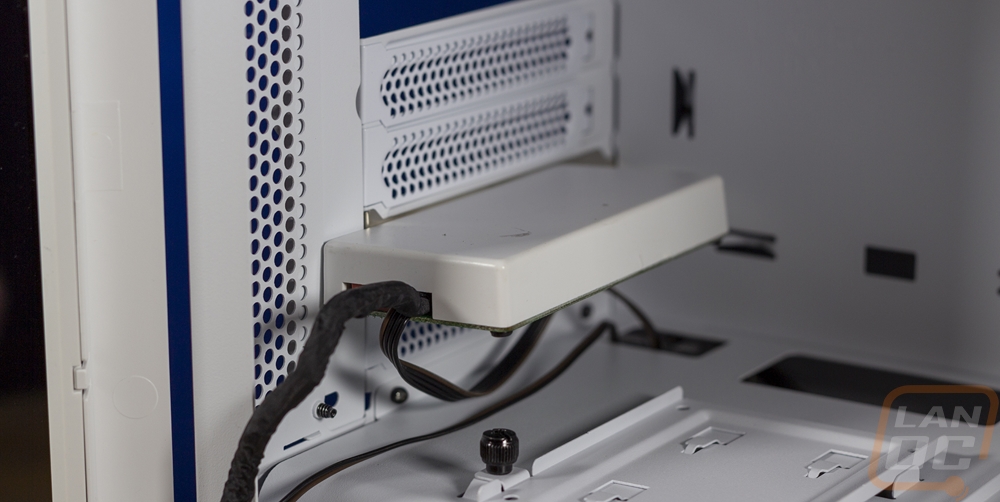
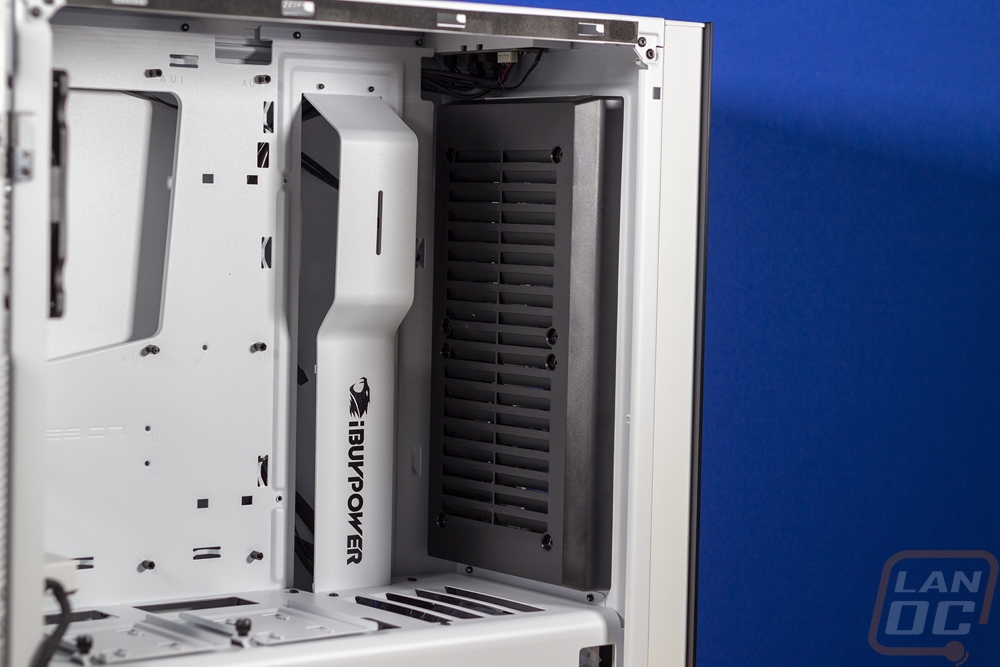
Now, just like with a monitor there has to be a controller for the screen to translate the incoming signal and they have tucked that and the power inside. This is also covered up with a nice white plastic panel. There is no idea solution, unlike with a laptop or an all in one, with a traditional PC case the display connection that the LCD needs is going to be outside at the end of your video card. So they use a PCI slot and on the outside, this has a DVI or VGA connection that you can loop back into your GPU. They also include the cable for that as well.
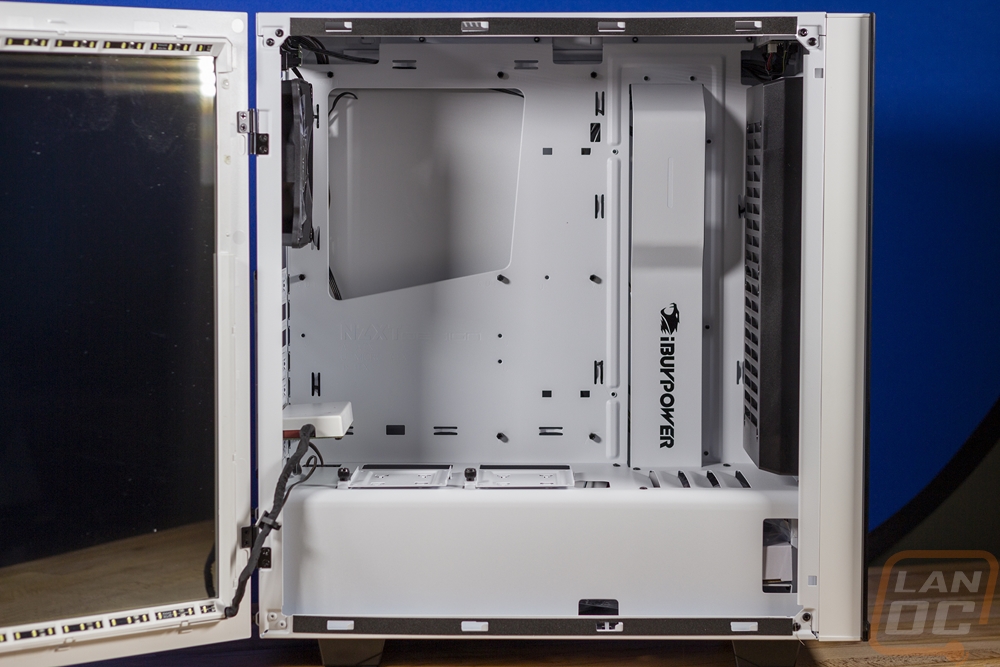
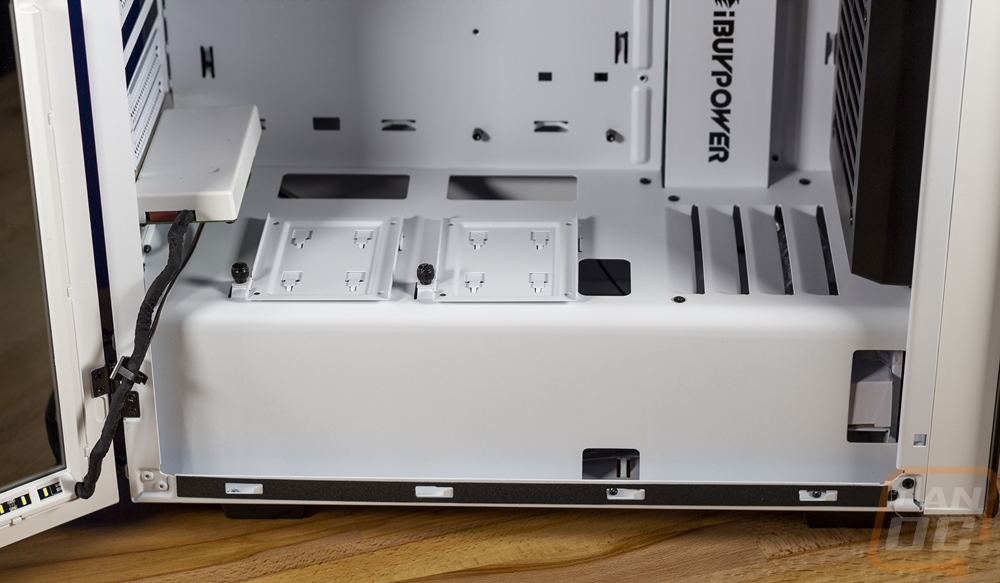
So moving to the rest of the interior there are a few things to note going on. For starters, if you look really close you can spot the NZXT logo under the big CPU bracket cutout, which confirms what I was mentioned earlier. Of course, the wire runner that runs to the right of the motherboard is also a big clue, which is a signature NZXT feature used to hide wiring. It works really well for this case because you want the most white possible and this covers an opening or black grommets and black cables. iBuypower did slap their logo on it as well. The case has a PSU bottom mouse design and the PSU and wiring are all enclosed in its own bottom section which covers up more potential black with a big bright white box. Ironically though the front of the case then has a big black cover over top of the front fans, which combined with the rear fan that is black is really the only black you will find in the case. Other than the black standoffs and screws. Seriously though, for years silver screws were the norm. This would have been a great one to go back to them on.
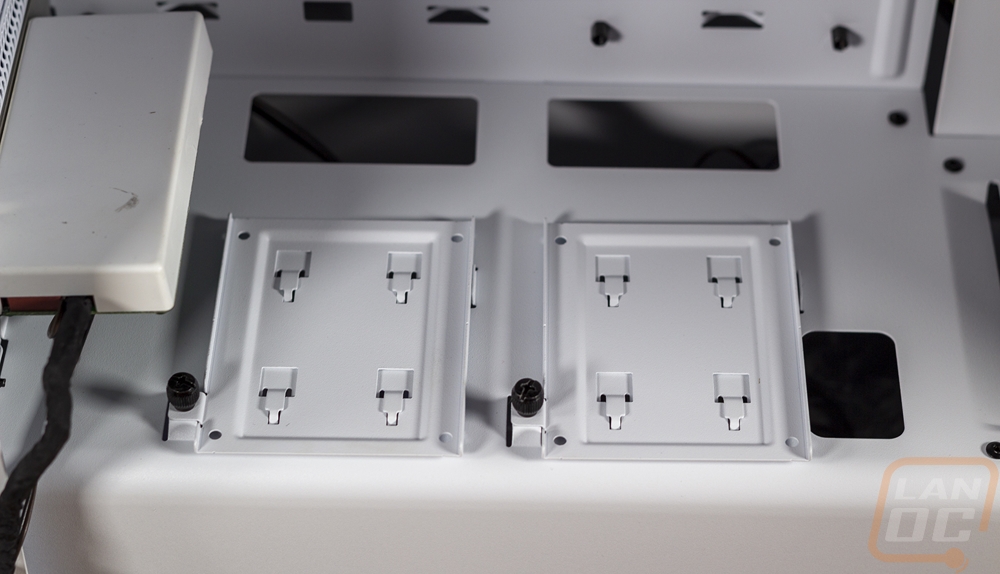
So the PSU enclosure is simple and clean on the front but it does have a few things going on the top. For one it has a set of louvers up near the front. There are two large wiring holes at the back and one to the right of the two 2.5 inch drive mounts. Both drive mounts are held in place with a thumbscrew and can be pulled out and you screw the drive in from the bottom.
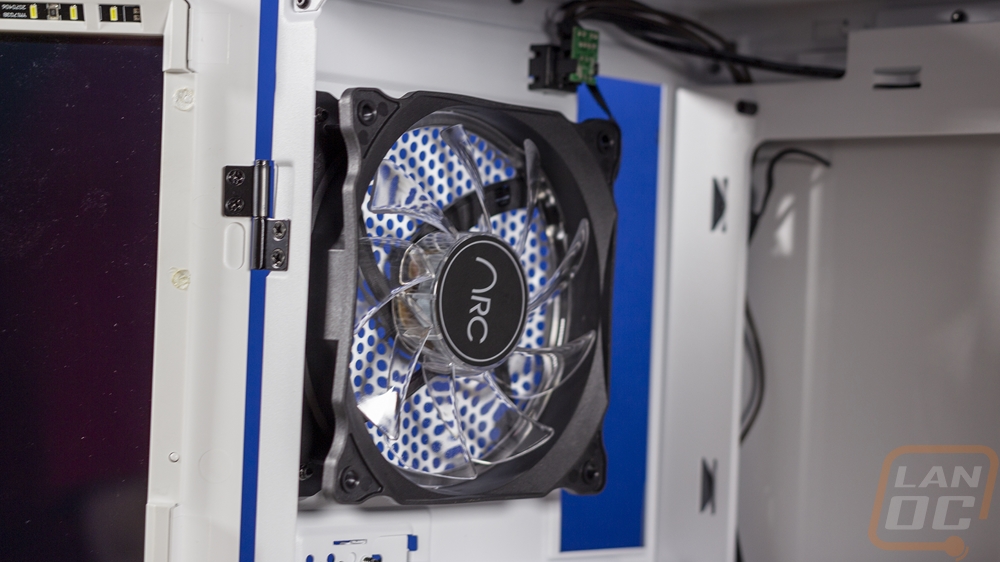
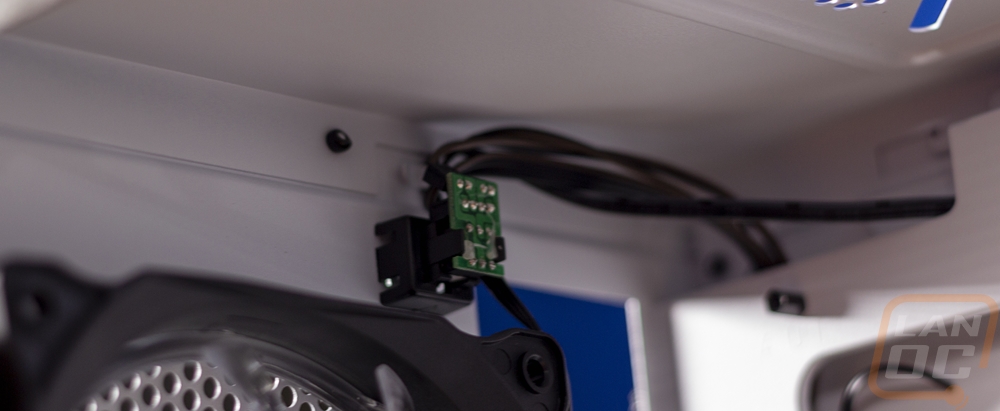
So at the rear of the case, the Snowblind Element does come with a 120mm fan and it isn’t a fan I’ve seen before. It is branded as Arc and it is a simple black frame clear blade non-LED fan. Above that you get a peek at the LED power button that I mentioned on the back of the case. You can see how it is tucked away next to the rear I/O. This powers all of the LEDs for the LCD side panel to give you a manual option to turn them off while keeping your PC on.
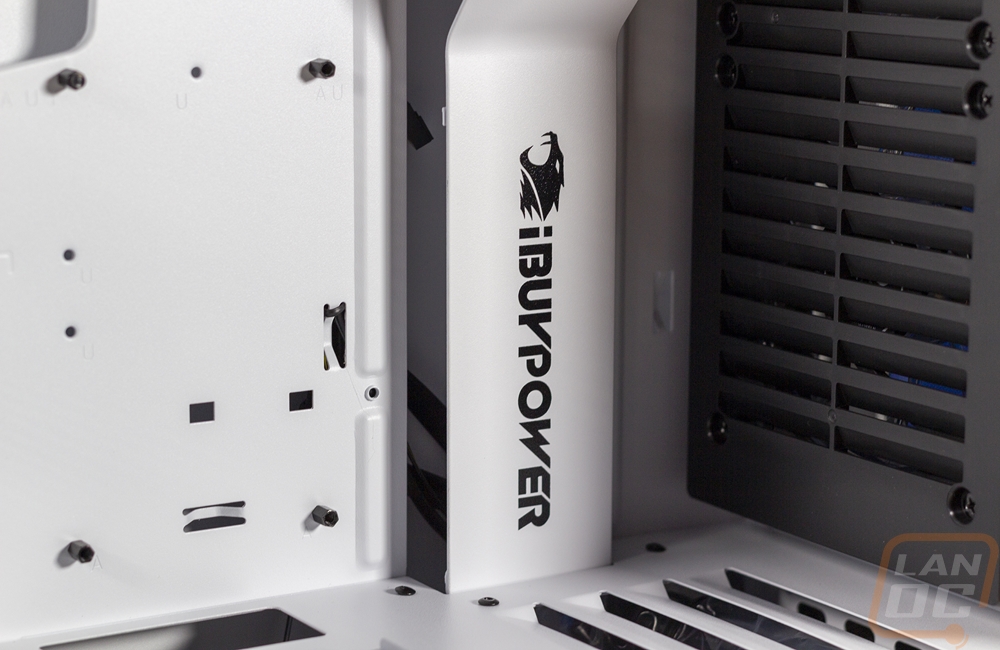
Here is a closer look at the white wire cover that runs almost the full height of the case. The ibuypower logo looks really good here and it is in a spot that will most likely not get covered as well. Then you have the front fan housing which basically looks like someone messed up and put their mouse vent inside the case. This is actually how the two 120mm front fans are mounted. They attach to the plastic louver cover than the cover attached to the front of the case. If the front panel design which restricts airflow isn’t enough, let's give even more resistance here inside. Not only that but it also airs most of the air that is coming in, up.
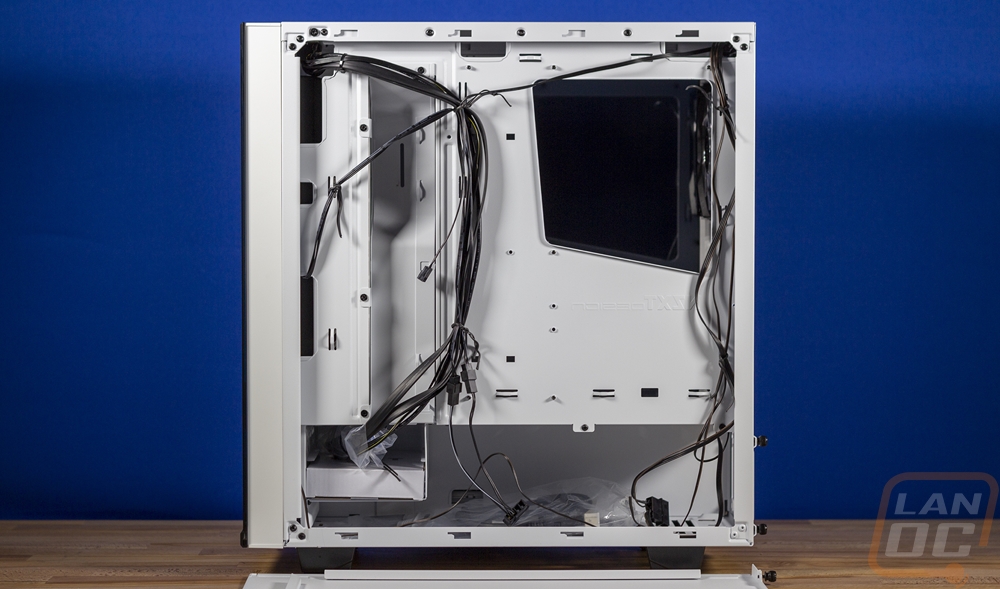
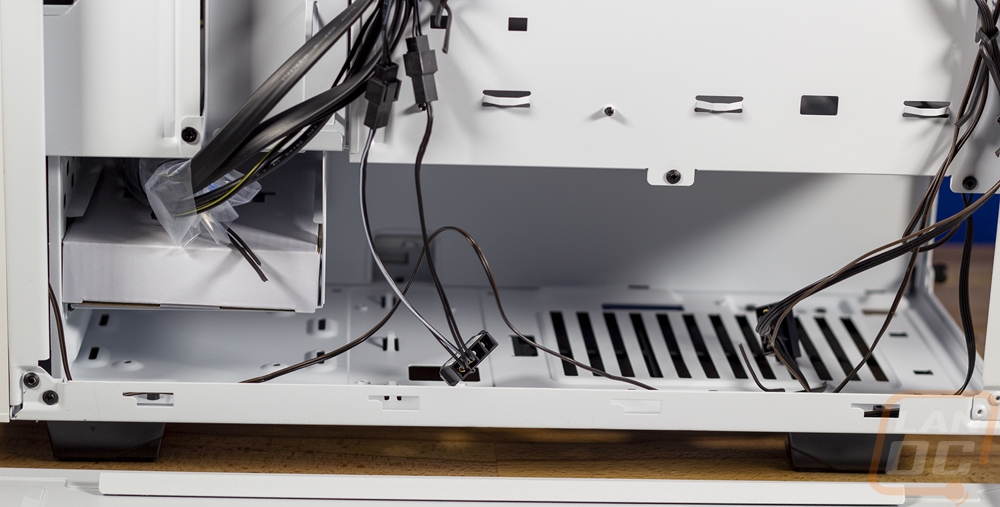
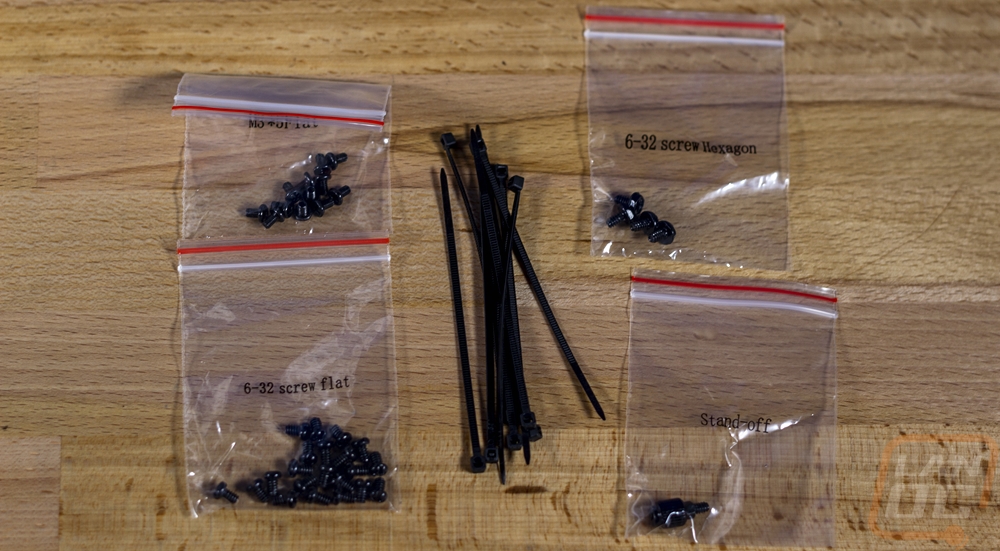
Moving around to the backside of the case. We can finally see inside of the magical PSU box down at the bottom. It runs the full length of the case which means you can fit huge power supplies if needed and you have all the room you could ever want for hiding wiring. The area behind the motherboard tray, on the other hand, is a little tighter, I would be very careful to keep all of your thick wires over there by the wire hider which has more room. The PSU area does have two 3.5 inch drive mounts and it also came with a few accessories. There was an NZXT branded box with three different types of screws including PSU screws and a few extra motherboard standoffs as well as an extra thumbscrew. There is also a nice sized bundle of zip ties as well. I mentioned it earlier but given the goal of going as bright white as possible, this is the one time that the silver screws that every case used to come with would be a better choice over black screws. You also get a magnetic fan filter that you can use on the top of the case if you mount a top fan as an intake. Then you have a relatively short DisplayPort to DVI cable for hooking up the LCD to your GPU.