Installation and Performance
To me, there are three main things to consider when looking at cases. How is it to build in the case, how is noise and cooling performance, and is there anything about the user experience once built that stands out? All three of these are doubly important when it is a case as compact as the Sentry 2.0. Building in a large case, even at its worst is still very simple. Same goes for heat performance, larger cases make keeping things relatively cool easy. But ultra small builds when running high-end components, overheating is a real concern so I am going to look at that. Then of course with a small case like this, I’m very curious how well it works as a LAN PC and also an HTPC case so I will touch on those as well. But first I need to build in it.
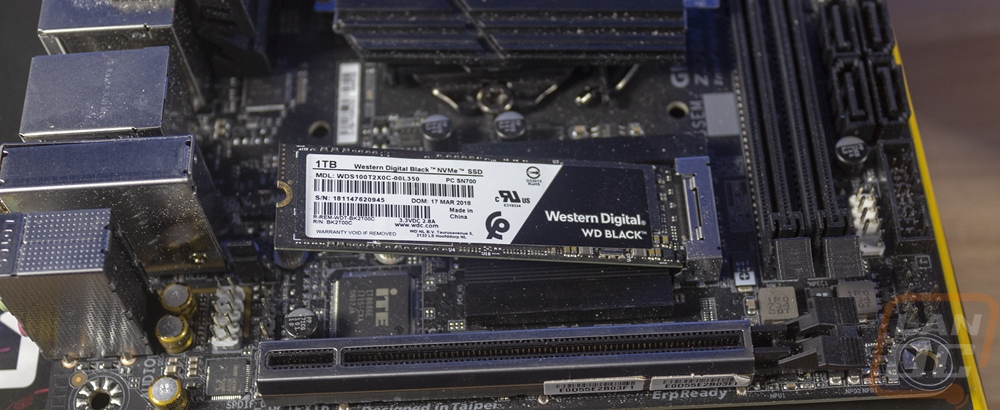
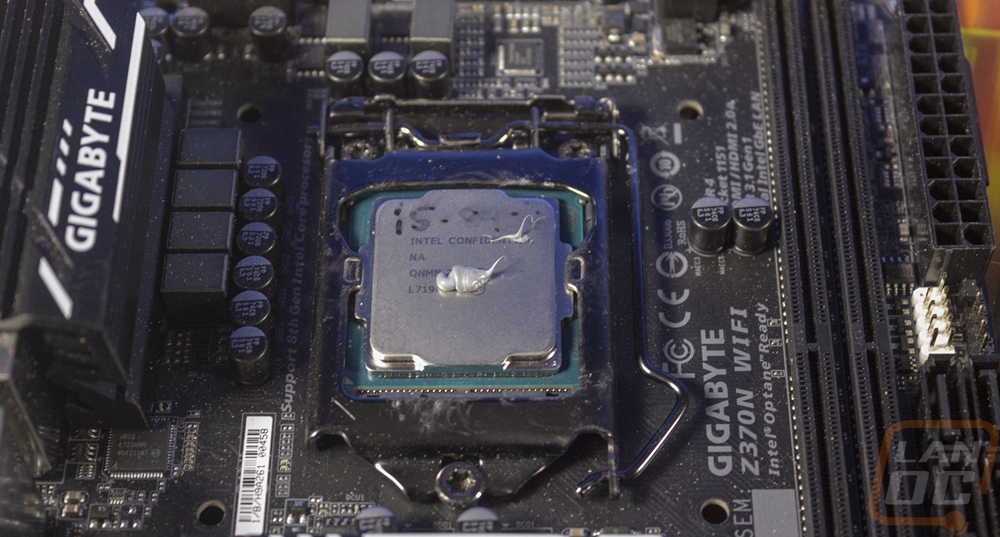
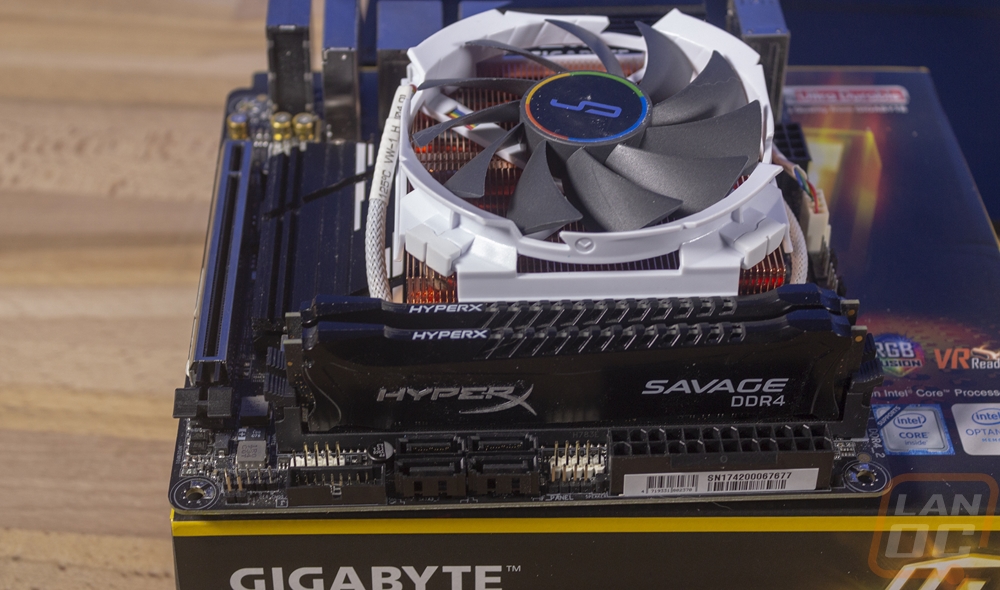
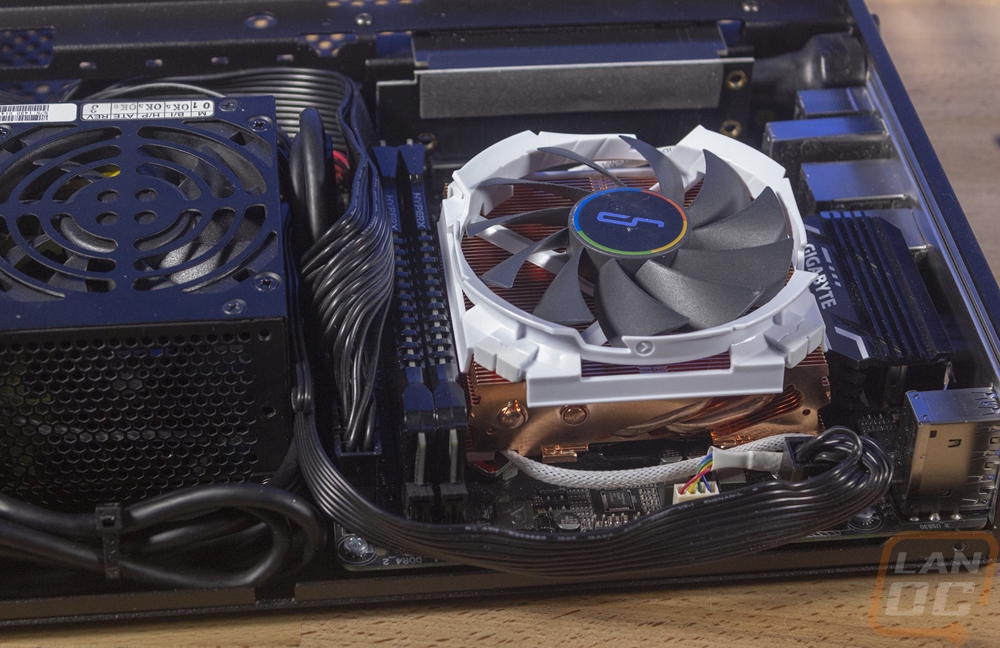
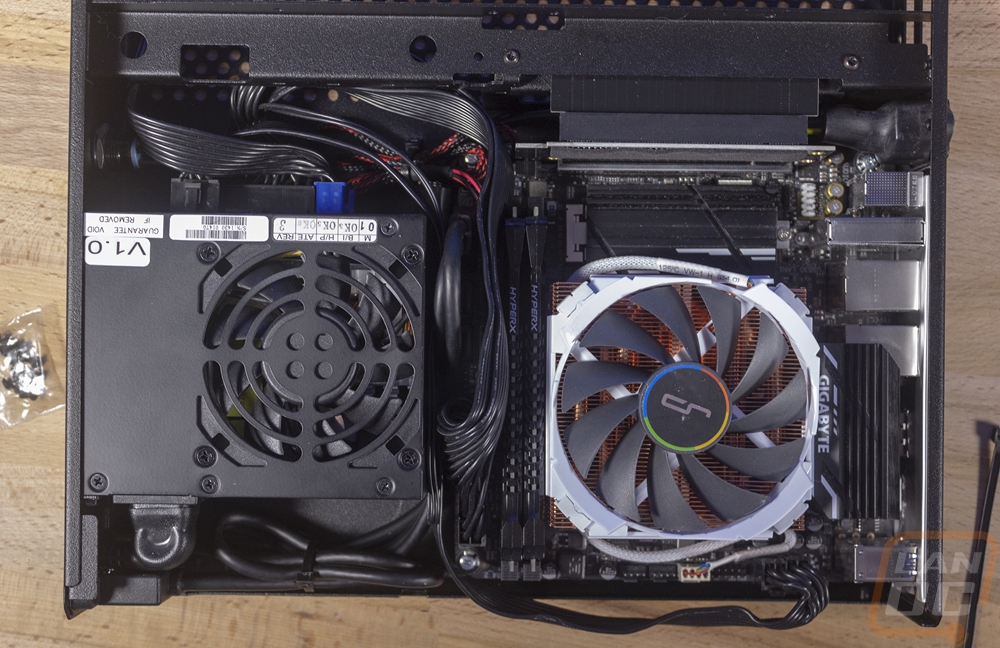
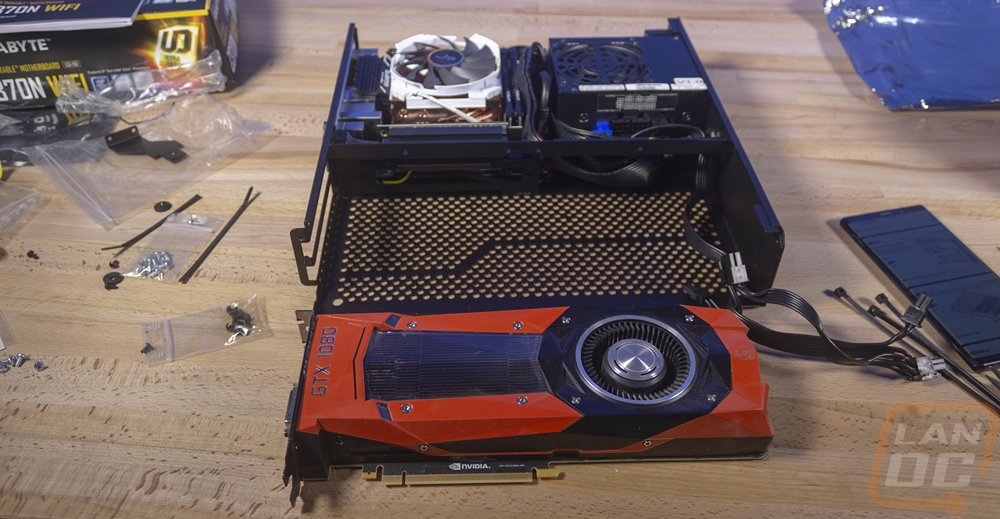
I wanted to run through a few of the main components I went with to explain the reasoning. With this build, I was focusing on something that would game extremely. I have been considering this as a long term build to try out at a few LANs and or to use with our VR setup in the living room. Because of that, I needed a powerful video card. I wanted to go with a 120mm AIO and an ITX sized RTX card but I couldn’t get either one in time for this coverage so I stuck with the C7 Cu cooler that I know performs well and one of our orange GTX 1080 Founders Edition cards An aftermarket card would be better for GPU temperatures, but I think the blower cooler might help make up for it by not leaving as much heat in the case. Then for the CPU I considered going with another Ryzen build but ended up going Intel. We have the Intel i5-8400 which is a little dated now but its 6 cores and a 4 GHz turbo clock is respectable. This was more than enough CPU power and frankly in a compact build like this with a limited amount of cooling potential, the heat was better served being used towards the GPU. The i5-9400F or the Ryzen 5 2600 would be better choices if I didn’t already have the 8400 on hand. For storage, I went with the older WD Black in a 1TB capacity which was just enough to store a decent number of games on. I may expand and add a second drive later.
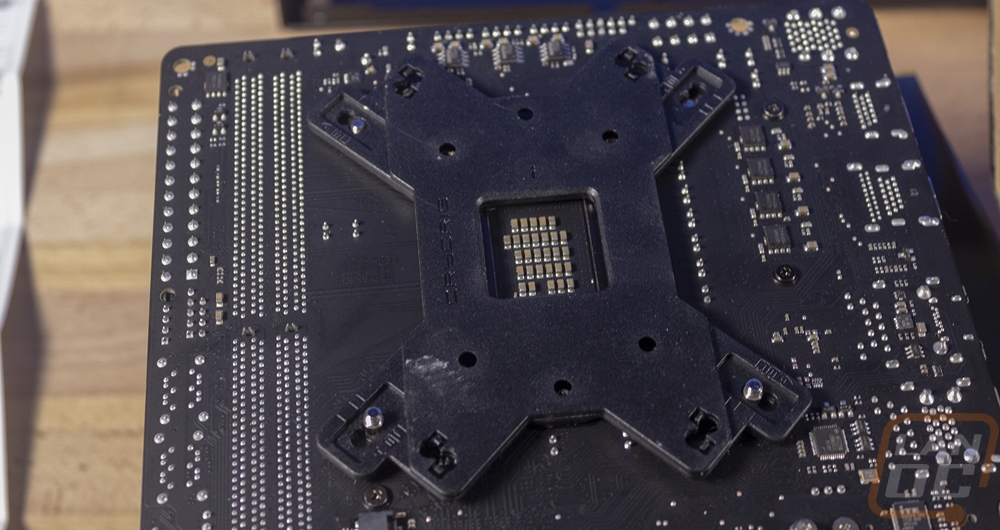
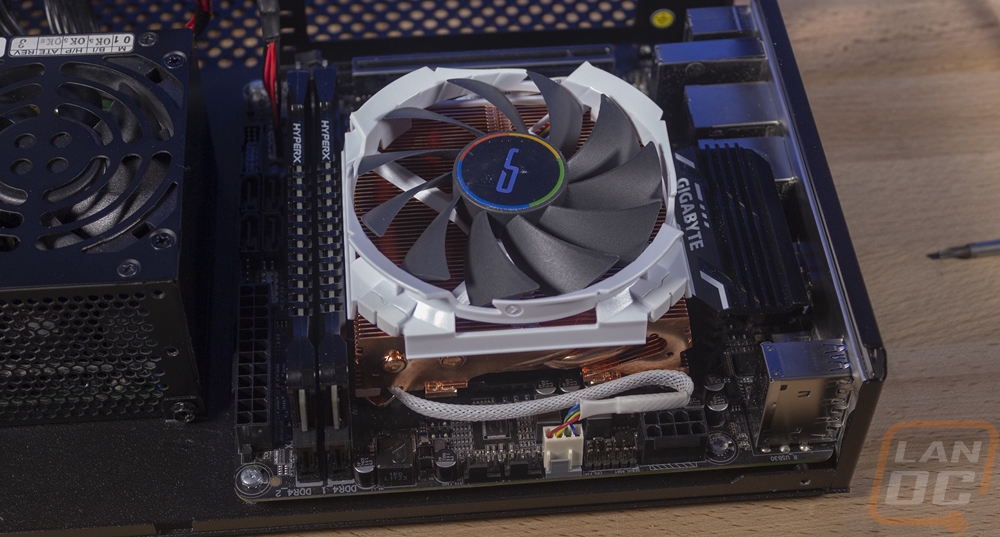
So in getting going on the build I went ahead and prepped my motherboard first. This included installing the M.2 drive up under the heatsink on the Gigabyte board and putting the CPU in place. I fought with the heatsink installation, I forgot how much fun it is to get the backplate installed on the C7. Then installed our HyperX Savage memory. If I were installing an AIO I wouldn’t be able to get this much ready but getting all of this out of the way first helped give me more room in my build area once I got the case out.

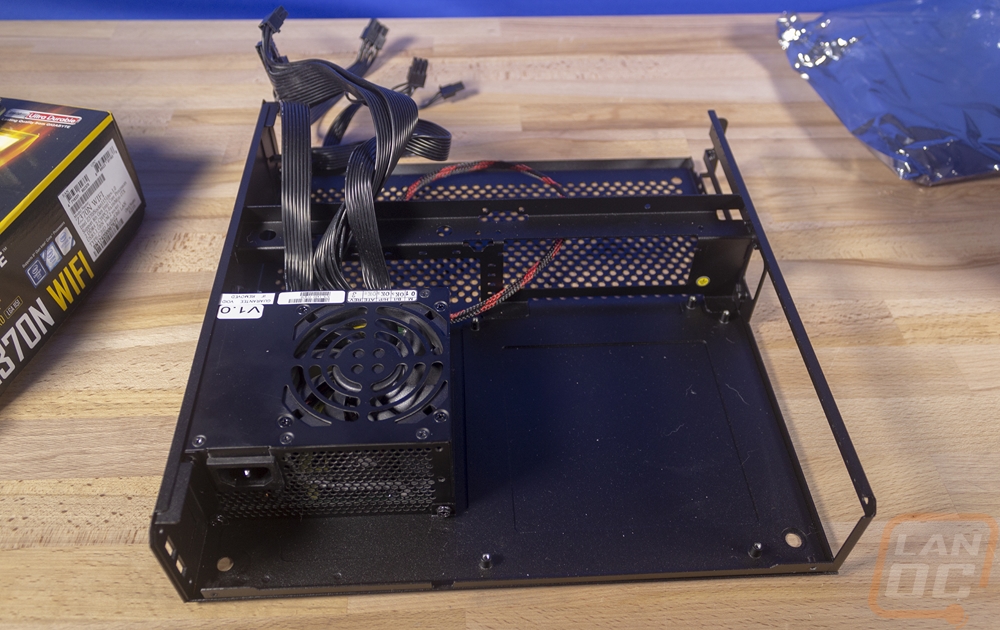
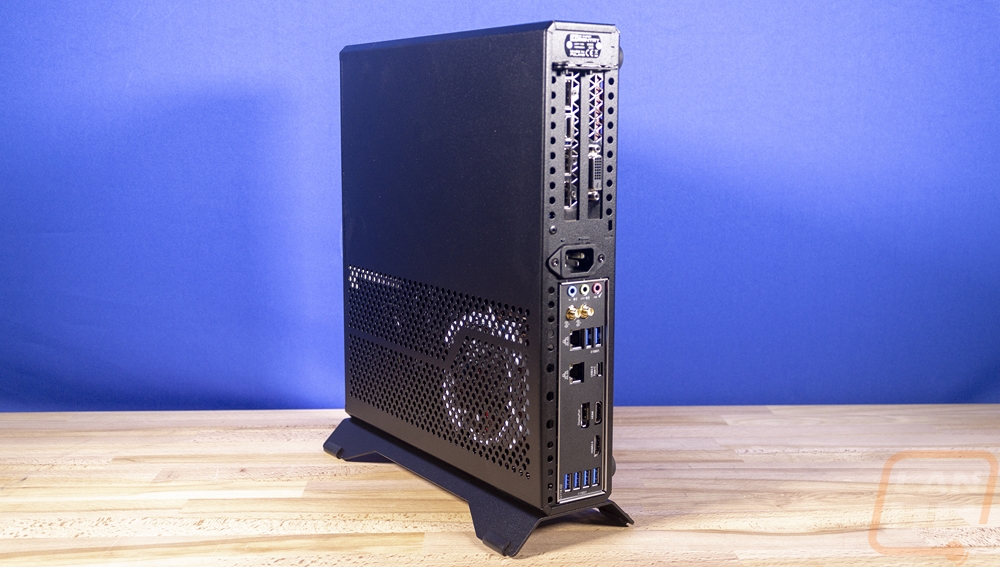
From there I started working through the provided instructions which are online btw so that Dr Zaber can update them as needed. These are seriously the most detail case instructions I have ever seen. They spent a LOT of time on this aspect alone. They first guide you through installing the front panel power switch. It is a Vandal type switch so anyone who has installed one before shouldn’t have any trouble. You remove the nut and o-ring and slide it in the hole and then slide the o-ring and nut back on and tighten it back up. From there you also want to put your power supply in. They suggest hooking up all of the cables you need ahead of time on a modular PSU so I did that. Then getting it in place was easy. You will need the screws provided with your PSU here, they do not provide them so make sure you grab your screws our of your power supply box. You mount the PSU using three screws and if you look closely you can see that for both of the bottom screws they did cut notches in the back edge of the case to get a direct line at these to tighten them down.
Next, you take the entire motherboard assembly that was already put together and get ready to install it. That includes putting the rear I/O shield in place, then from there, you slide the board in. They do provide screws for mounting this but this was where I ran into my first problem. First I’m not the biggest fan of these being silver screws, everything else provided has a nice black finish. But my main issue here was that our screws were of the poorest quality. So bad in fact that a lot of them had the Philips head, not in the center of the top of the screw making them really hard to install. Considering you use these same screws to install things like hard drives I hope they change these for the production run. This is an engineering sample, so hopefully, that is why. Once I dug through the screws and found a few that weren’t as bad I installed our motherboard.

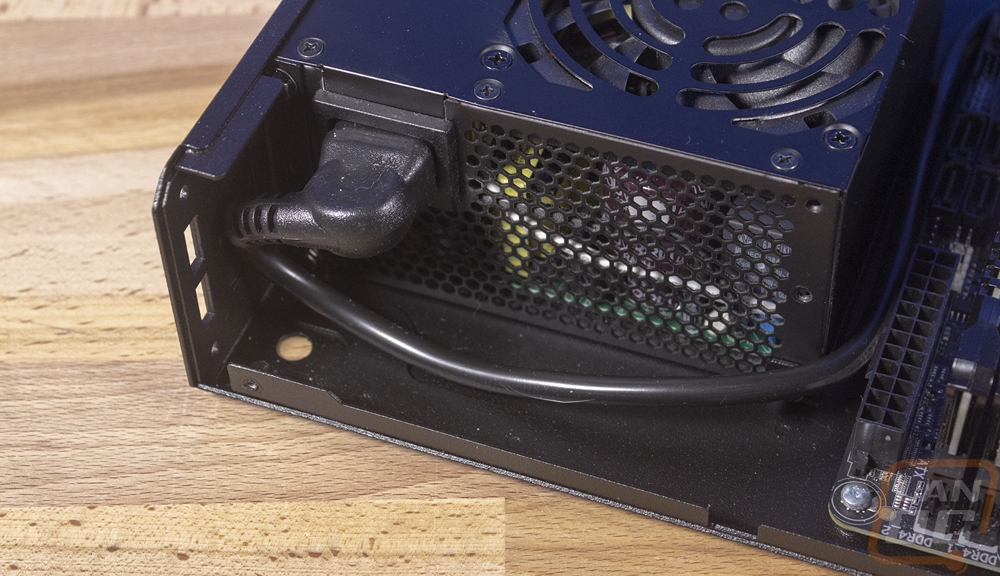
Next, you install and route the power cable that runs from the rear of the case to the PSU. This is the first time you get to use the provided Torx screwdriver and the nice black Torx screws. The instructions give you good guidance to install the ground first and then were to run the cable. I ran into two issues here. For starters, I installed everything and found later that the plug got in the way of our PCIe riser card. After looking at it, I found that the plug was thicker on one side and not the other. Given the detail in the instructions, a small note making sure you know which way to install this part would help. I also found that the right-angled connection that plugs into your PSU was extremely tight up against the side of the case with our Silverstone SFX PSU. It worked, but it is tight.

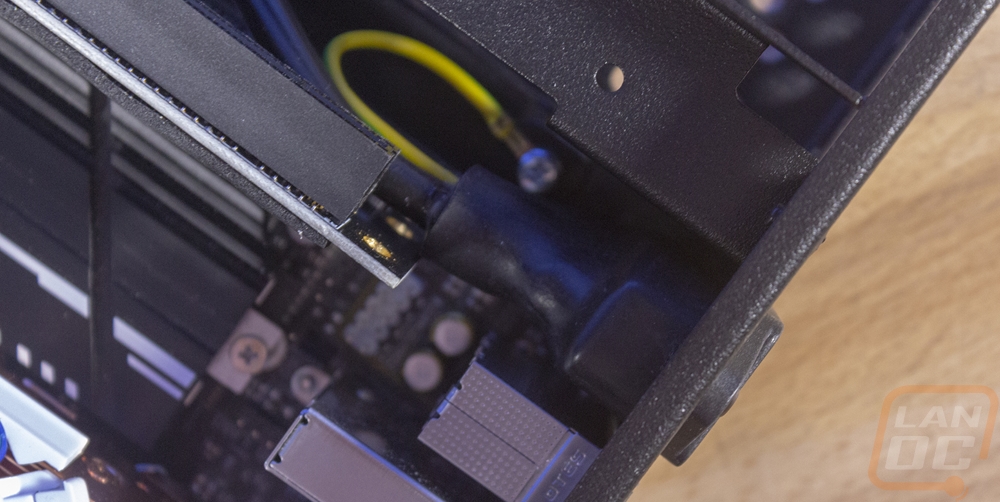
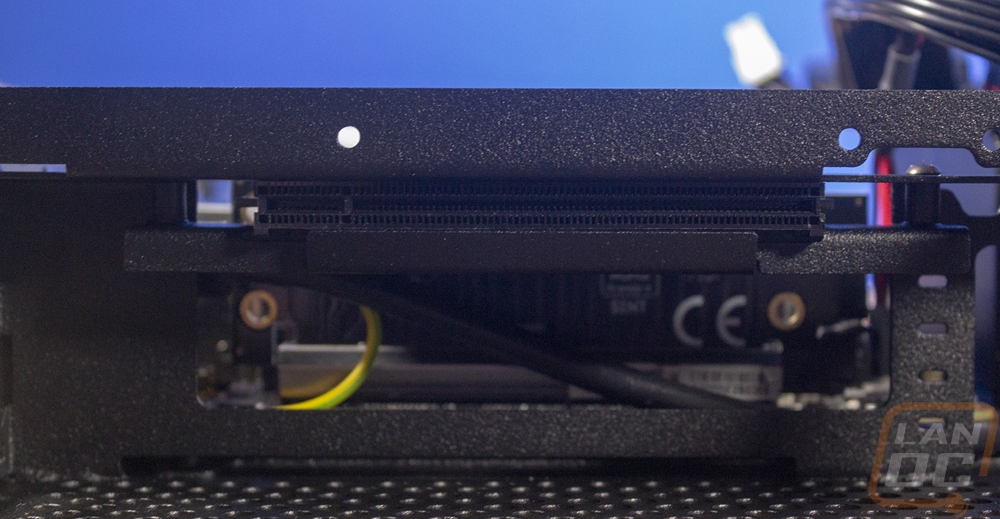
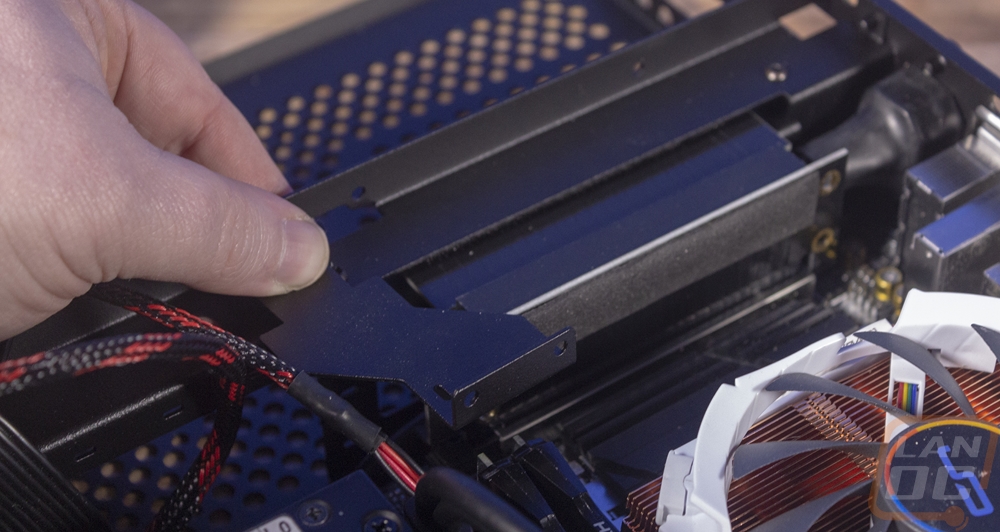
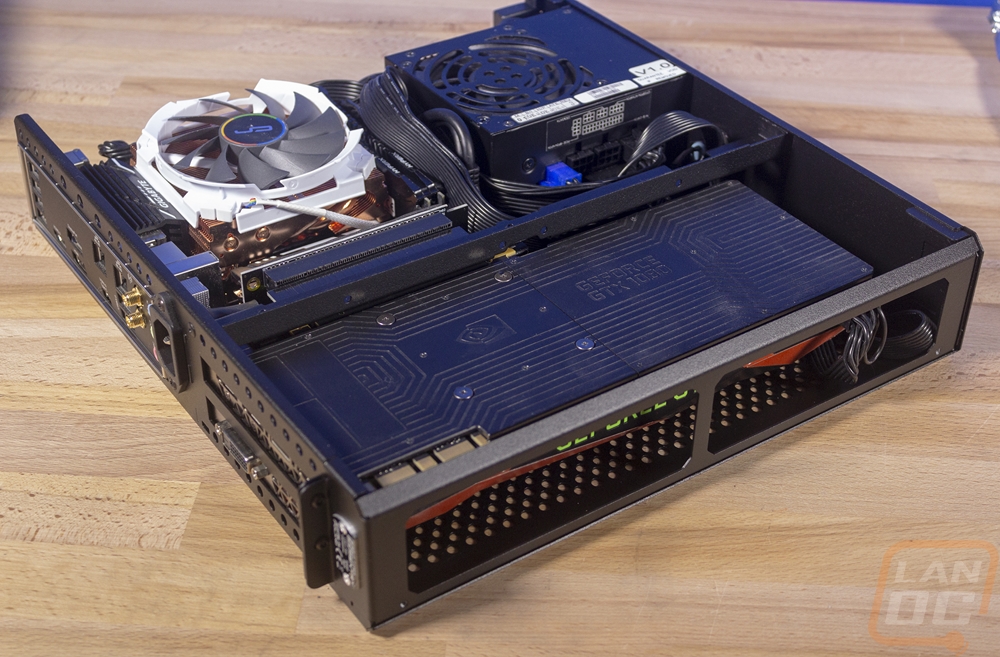
Skipping back ahead, I installed the two-part PCIe riser card. Ignoring the clearance issue I mentioned with the power cord that I fixed. This went in really easy. You have two parts than a bracket that holds them in place. The bracket design is new to the Sentry 2.0 and it holds it all very secure without putting screws through the riser itself. This is a good choice because PCIe risers are sensitive and getting a better support under the slot should hold up from the heavy GPU pulling on it more.

The third cable that you have to install yourself is the front panel USB connections. As usual, the USB cable has those thick and hard to work with cables and the tall connection. I wrapped the cable up in a loop once before putting the two screws in the front with plans of cleaning this up more at the end of my build. You can see just how much extra cable you use up with, but that, of course, depends on where the plug is on your motherboard.
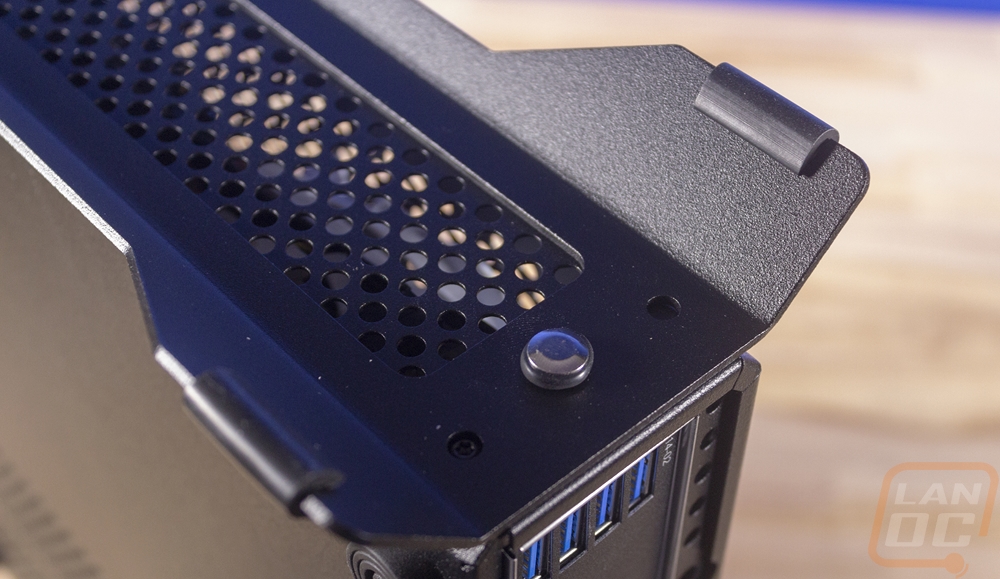
Here is a look at the 2.5-inch drive bracket. It is surprisingly simple and can allow you to install two drives end to end. For my build, however, I kept things simple with an M.2 drive.
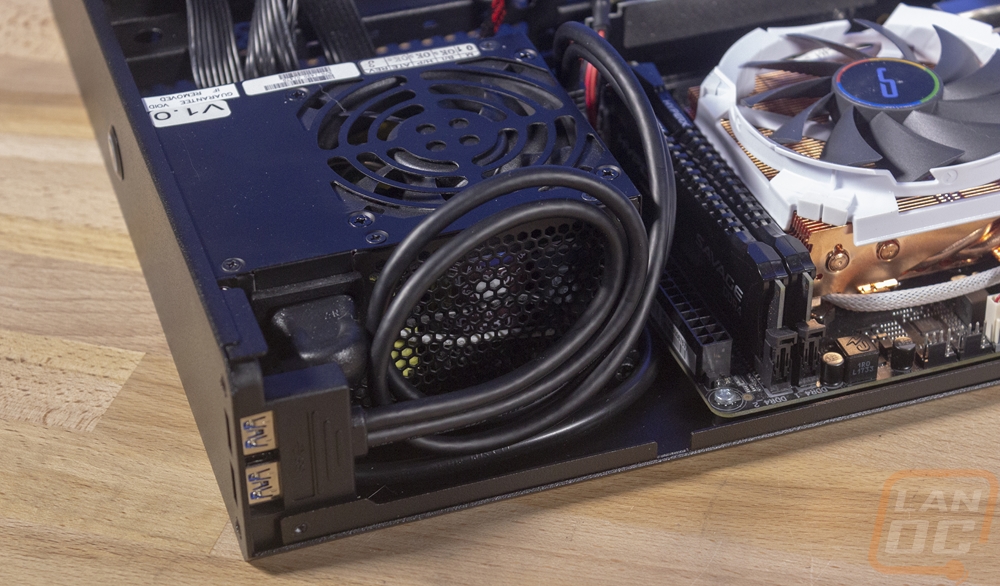
Next, I started to work on cleaning up the wiring I had already done and to run and hook up the 8 pin and 24 pin power connections on the motherboard. I also tucked our PCI power cable up under the divider bracket to hook up our GPU later. The power wiring will depend a lot on your motherboard layout. Mine ended up having a little extra length on both and the 8-pin cable had to be tucked along the edge of the case. That said I had to use very few zip ties when cleaning it all up. Just one on the USB and another on the front power cable.
From there all I had to do was get our video card installed. The PCI bracket holddown is actually the entire side of the case. Once that was removed sliding our Founders Edition car in was simple. You can see that even with the stock height card that the power plug is tight to the side, there isn’t much room for play there but there is some extra room for the rest of the top of the card if you have a taller card with the plug on the end or a recessed plug.
Reinstalling the top cover was improved over the previous Sentry design. Not only are all of the outside screws the same Torx design, but there are only four needed to pull the main cover off. So getting the build buttoned up was quick and easy.
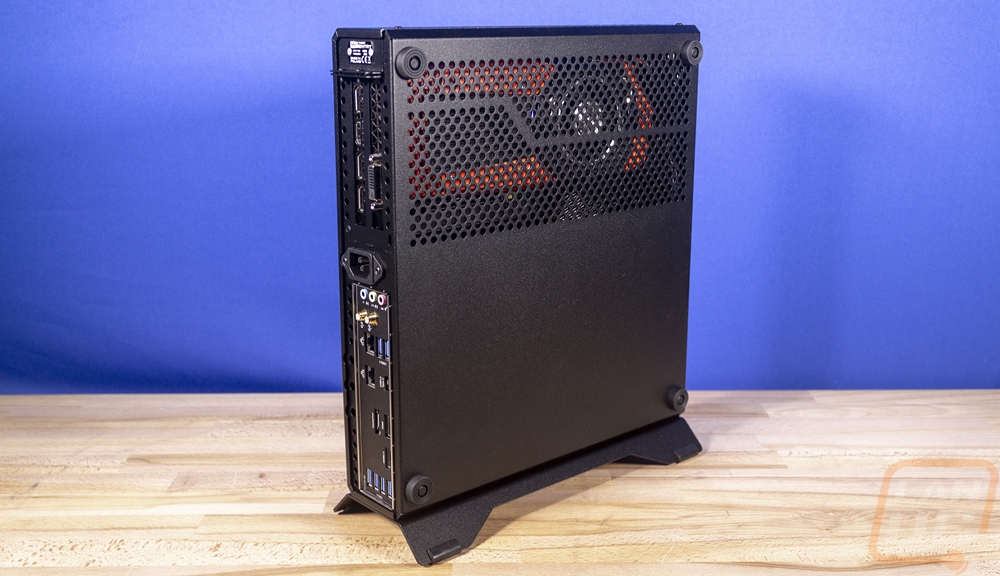
The last thing I needed to do was decide which of the stand/feet that I was going to go with. Remember I’m planning on using this as a VR PC in my living room but also taking it to a few LANs. Because of that, I decided to actually use both. The horizontal feet would help when in our TV stand and the vertical would save room at events. The horizontal feet have two components, there is a rubber foot with a hole in the middle. Then there is a plastic push in part that pushes in the foot and spreads out its “wings” to lock it into place. This is a nice design because not only were they easy to install but it should also be easy to remove later if needed. They also include small plugs to push into the cases foot holes if you don’t want to use these.
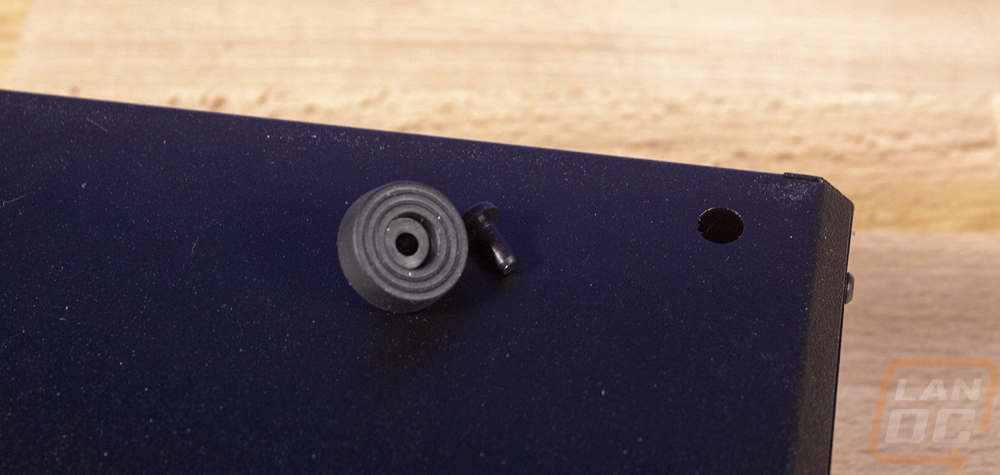
The vertical stand might be my favorite part of the Sentry 2.0. It is made out of a thick steel construction and has the same textured powder coat finish. For feet, they just slipped inch long rubber in four spots. This was a change from the previous design which used glue which didn’t hold up. Without glue, this should be a better design. The stand itself attached with a toolless design that uses an o-ring and a standoff/screw design that you slide into the two mounting holes on the edge of the Sentry 2.0 and you just slide over locking it into place.
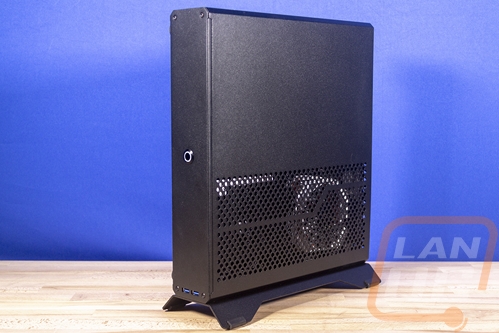
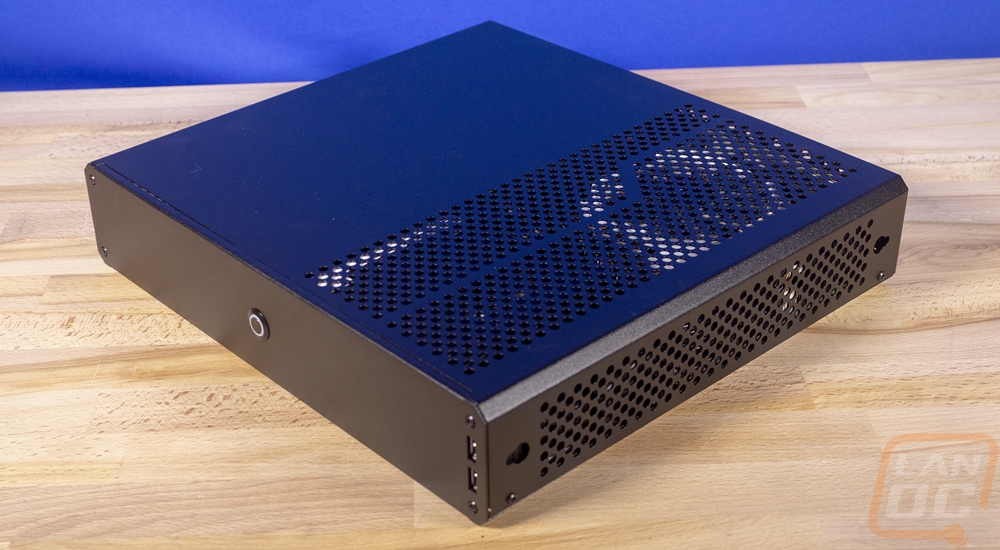
Here is a look at the Sentry 2.0 with the vertical stand. I love the clean look of the case but the flared out feet really set the case off. I would love to see a similar foot design for horizontal use and I have an idea of how it could work, I might have to send some notes over toe Dr Zaber after this review.
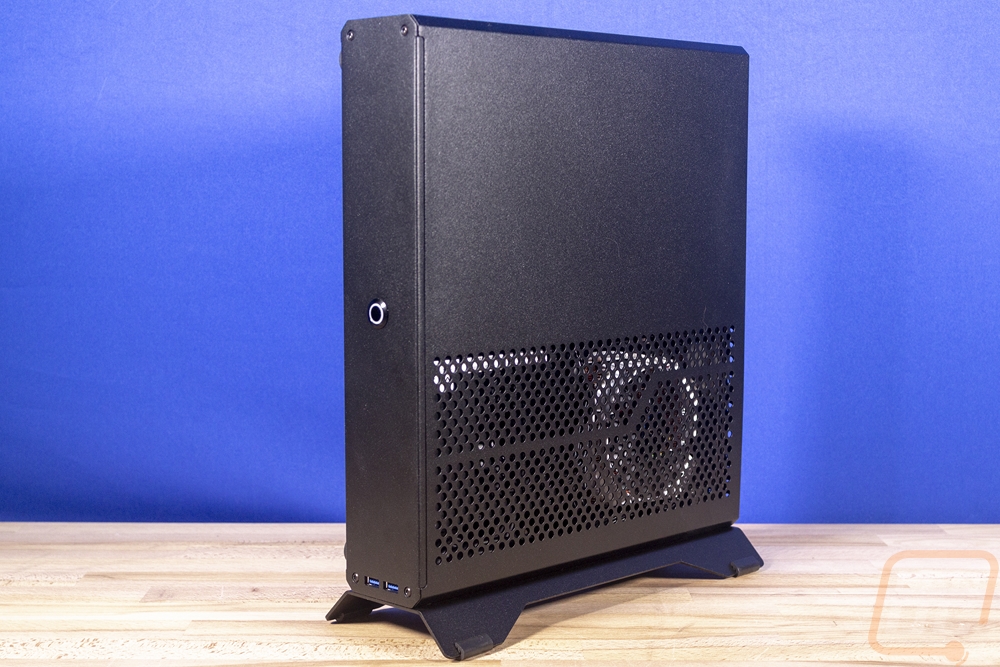
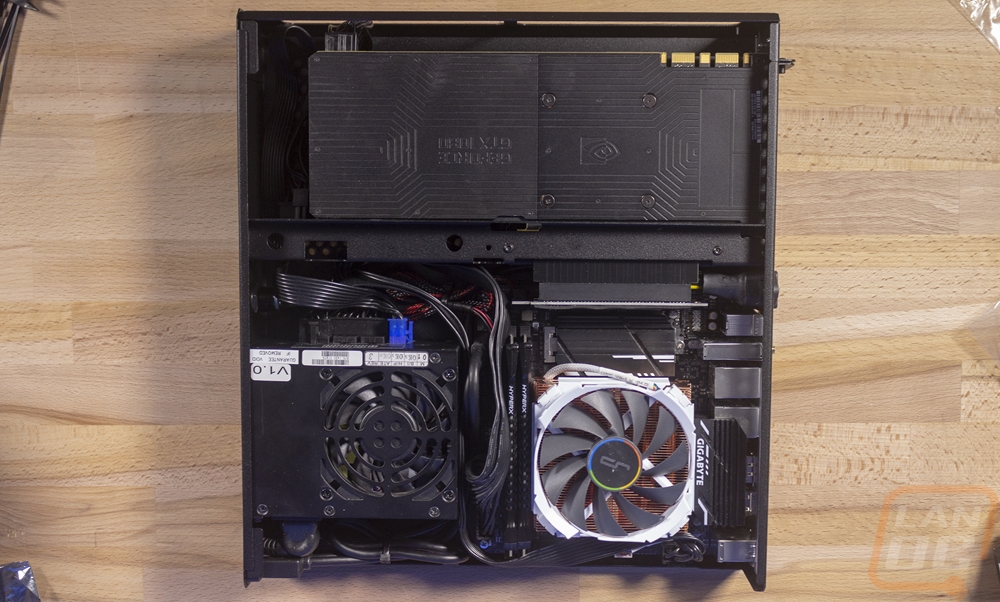
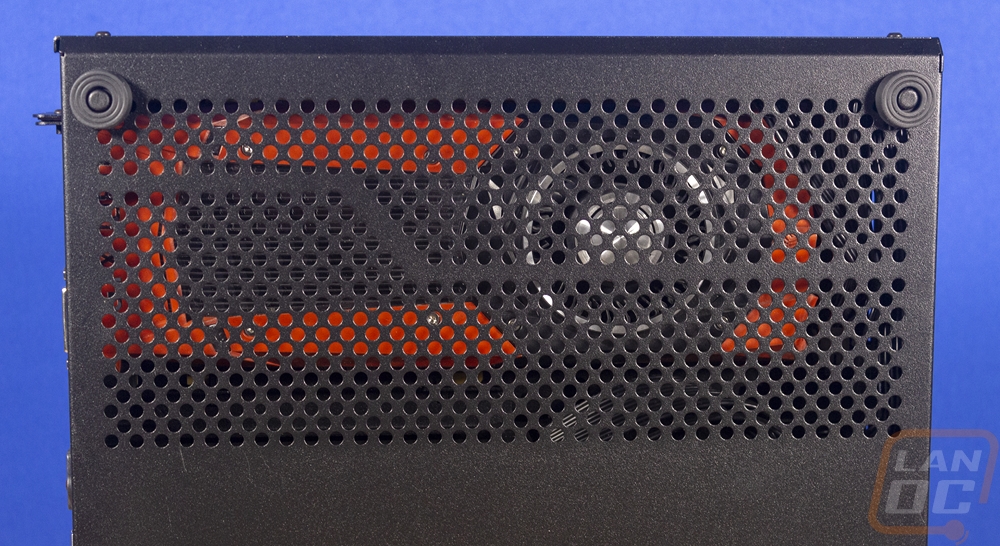
So the Sentry 2.0 may not have a window, but the vented side panels do give a good look inside. Our orange GTX 1080 Founders Edition really stands out.
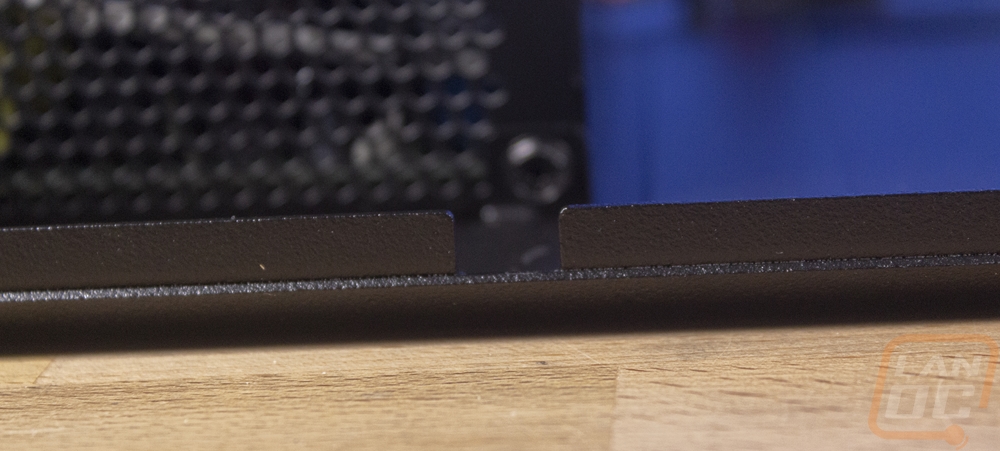
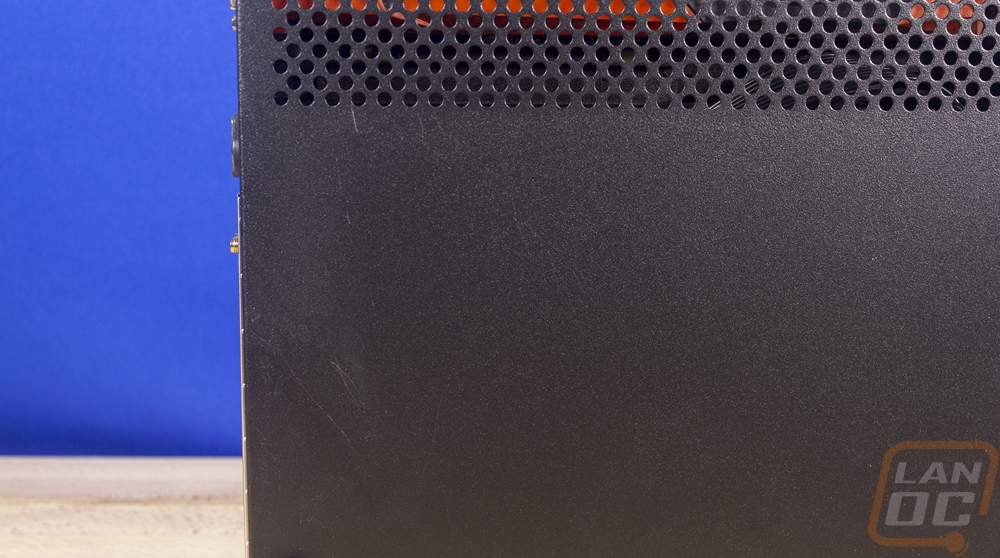
I did notice an issue right after I finished getting our system all together. While building it the powder coating on the bottom side didn’t agree with our wood photo table and it ended up scuffed up. This was a bit of a surprise because I’ve never had any cases damaged from moving them around on the table before, just the wood itself taking some damage because it is softer. Now the Sentry 2.0 instructions do note to make sure you build on a soft surface for this reason so let my mistake be a second warning for everyone else. I do think that some of the powder coat finishes I’ve worked with on cases like Case Labs were more durable but it remains to be seen if the Sentry 2.0 finish is any lower in quality or if I just got unlucky with sand or a similarly hard material up under the case when building in it. Either way, I would recommend installing the feet earlier than they recommend and using a soft pad if possible.
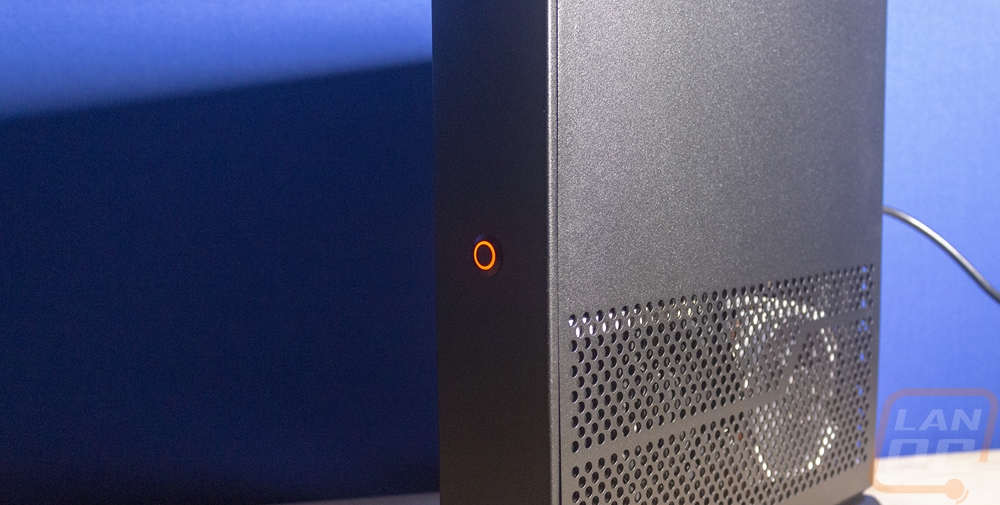
With everything up and running I did find the red LED ring on the vandal power button to be a little dim, especially when I had our photo lights on it you could hardly see it at all.
As for actual performance testing, I spent some time checking out the cooling performance of both our GPU and CPU. Individually I was confident that they would both run about where they should, but when both are under an extreme load would a case with no fans at all handle it? Well to test this I ran both in AIDA64’s stress test. The GPU I expected to run in the 80 to 82c range because that is where all of the Nvidia Founders Edition cards with blower fans run, that is what their fan profile is targeted for. But I was curious to see if a load stronger than a typical game and the heat from the CPU might have that creep up over time but as you can see below it stayed at 82c. The CPU, on the other hand, did raise up a little after about 15 minutes but it leveled off soon after to a solid 50c for the rest of the half hour test.
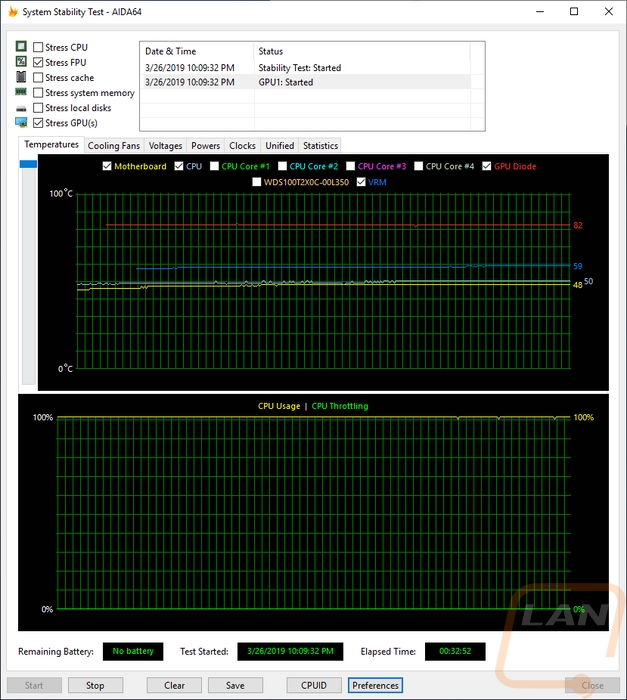
I was also curious how loud our system would end up being during this test. Obviously, the Sentry 2.0 doesn’t make any noise itself with no fans. But when under an extreme load like that would our C7 Cu CPU cooler and GTX 1080 Founders Edition get loud? Well with our decibel meter setup 18 inches away from the system and with both the CPU and GPU under the AIDA64 stress test it was running at 45.1 decibels. This wasn’t quiet, but also not loud considering the load and just how open the case it right next to both fans.
Now I haven’t had the chance to pack the Sentry 2.0 up and take it to any LAN events just yet. But I did toy around with packing it up and carrying it around and it has been interesting. For years now my go-to setup has been to use a LAN bag to hold my monitor, keyboard, mouse, and all of my cables. Then all of my LAN systems have been easy to carry with a handle. The Sentry 2.0, however, opens up the possibility of fitting my system into my LAN bag itself or using a normal backpack to pack it and all of the cables/peripherals up and carry my monitor. Using it in my LAN bag that I already have would be awesome, but I will have to thin out what I keep in my bag including cutting out extra cables and maybe even finally upgrading to a thinner lighter LED monitor, I tore a previous bag putting to much weight into it and the Sentry 2.0 is heavy. But I was really digging how much easier It could be to carry in a bag. Not to mention it takes up almost no space when you are using the vertical stand which helps a lot at LANs.
