Photos and Features
Okay, so I highly recommend that everyone check out my original review of the case. Today I’m revisiting the design and talking about how this all compares to today's cases. The original review goes into more details into the features and even how these cases are handmade. That’s right, unlike most cases on the market, at least most from anyone other than In Win and Case Labs, the D-Frame Mini is made by hand. That really explains why over the years, every time someone new sees the case and just assumes I made it. I wish!
Well, the D-Frame Mini wasn’t the first case that used tempered glass, but it was one of the early examples of it. It also wasn’t the first case made from tubing like this, I think the original was the full sized D-Frame. But it was the first of these that wasn’t completely limited edition and somewhat within range of people buying. In fact, if you didn’t follow the crazy show builds for CES, this is most likely the first one you saw in reviews and maybe even in person. If you only recently got into PCs, you might think it is crazy that just 4 years ago having tempered glass wasn’t the norm. Its amazing how quickly glass and later RGB both just innovated the market.
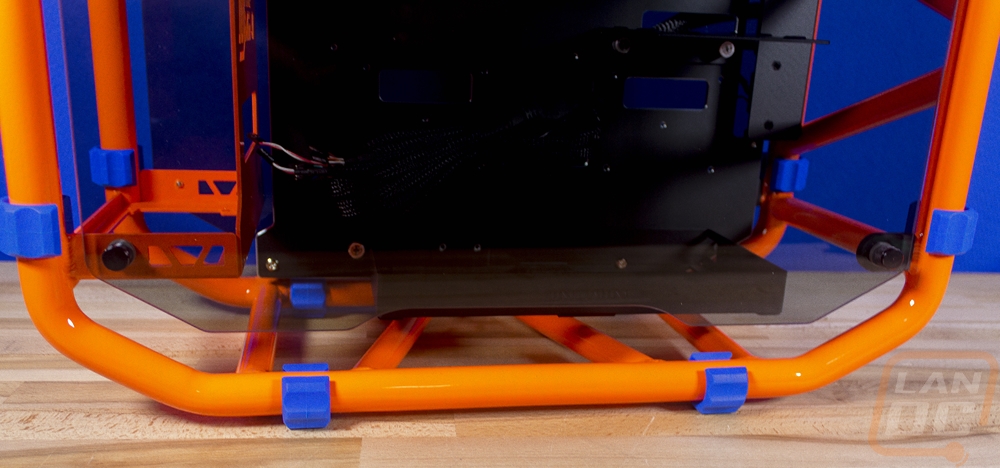
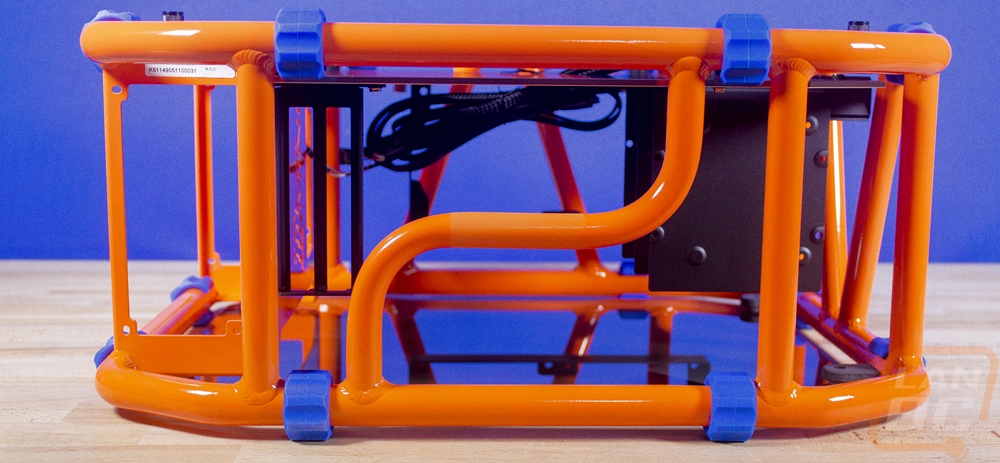
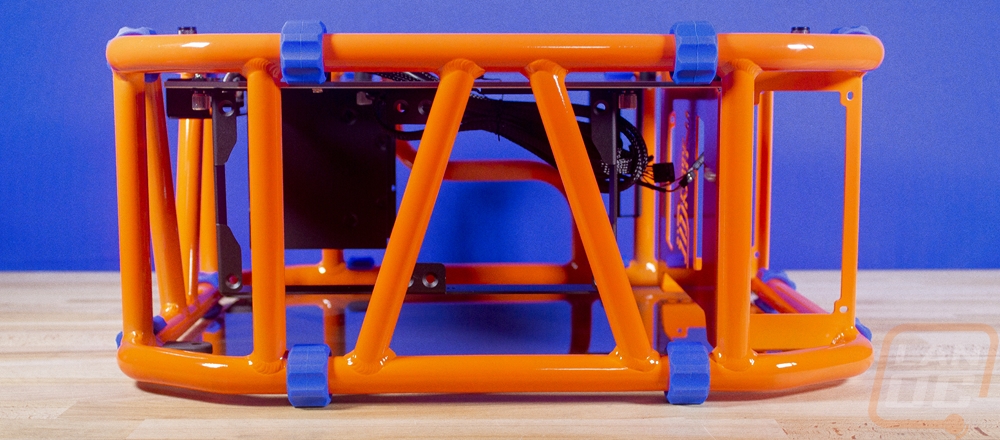
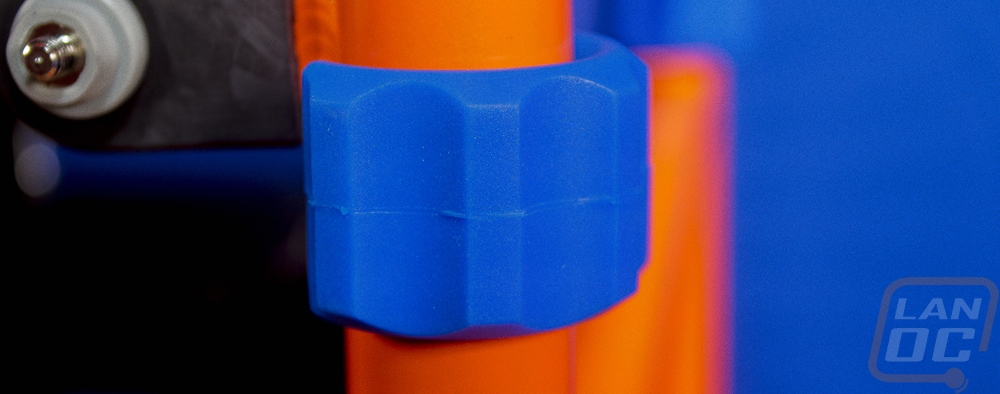
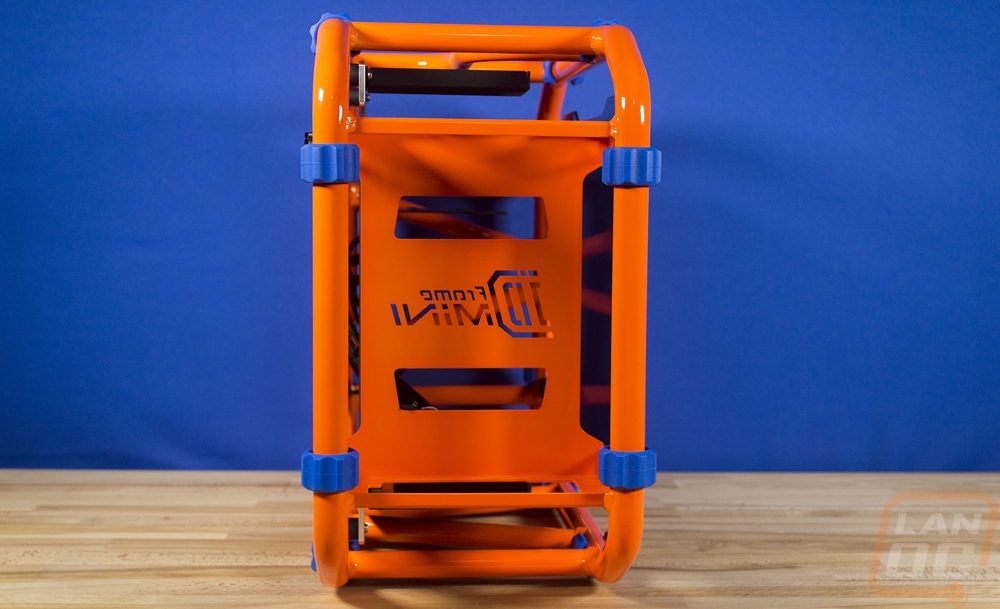
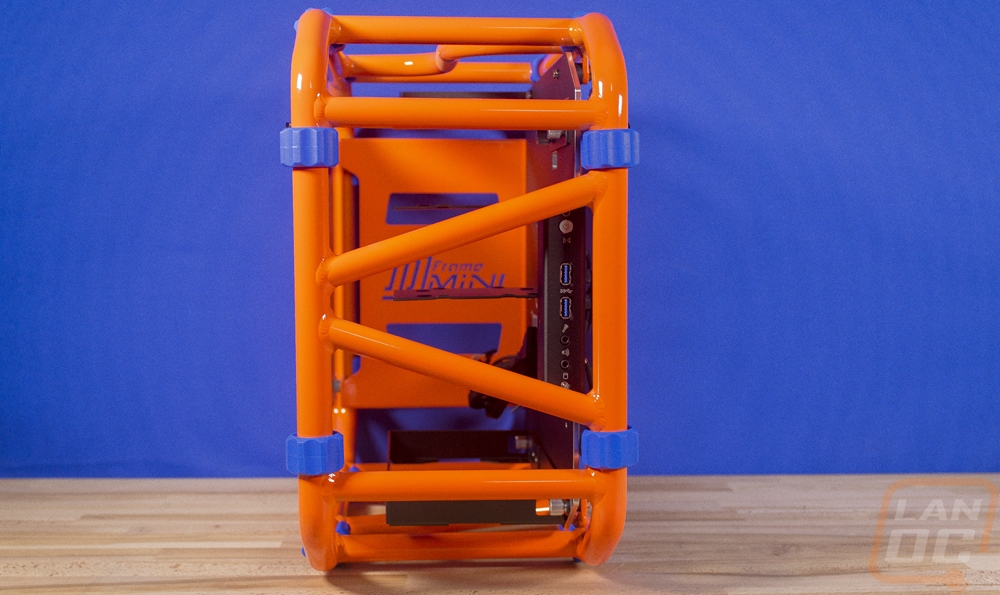
So the D-Frame Mini is an ITX case but I wouldn’t call it small form factor. It is closer to a Mid-Tower due to the extra space the case gives you around the motherboard. In fact, in our original review, I harped on this because at this size it really could fit a mATX motherboard without losing much or they could have made the case much smaller. I still want the D-Frame Micro that is a true SFF case, but I don’t see that happening. The tubular design (actually tubular, not surfer tubular) is basically a huge roll cage for the PC that they just put two dark tinted glass panels on the sides to cover up the main openings. This is really unique because you can actually sit the case any direction you want including flat on its back or in a smaller footprint vertical layout. I do the latter a lot at LANs to take up less space. The bright blue feet help with all of this because they wrap around the tubing and keep it from touching anything, the feet are on every side. Just a word of warning, don’t pull these off. A friend pulled one off my case at a LAN and I’ve fought with it for years after because you can never get them to stick back on nearly as good as they are from the factory. As it turns out, silicone doesn’t stick to most glues, who would have thought. Now the top of the case does have a handle built in with knurled grips. This is great for traction, but when your case is packed with a heavy custom water cooling setup and weighs a ton it can hurt your hand. I will take it over no handle at all, it basically made it possible to use this as a LAN rig.
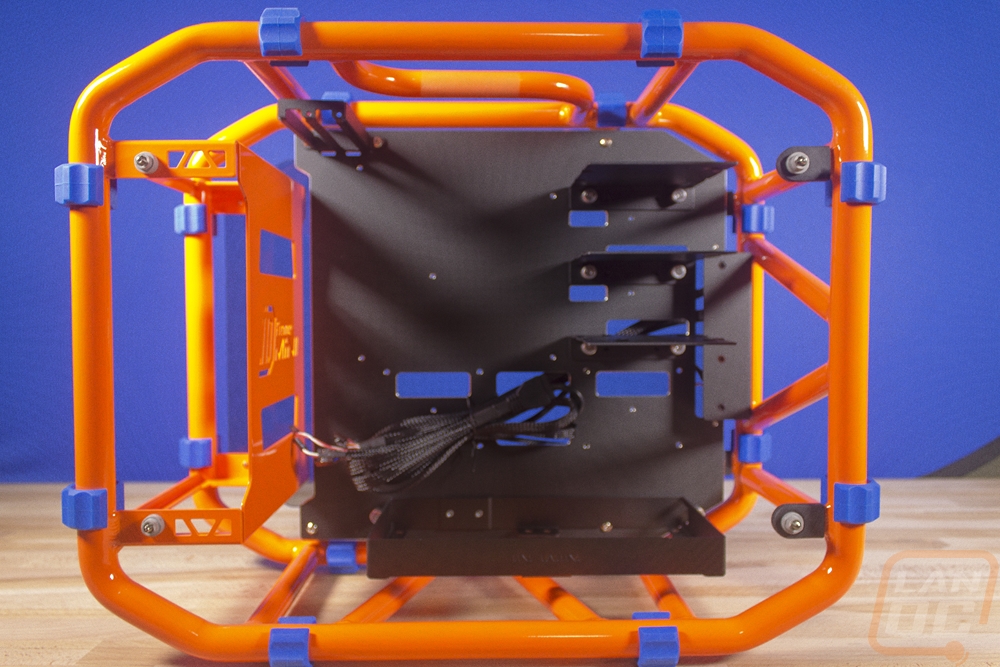
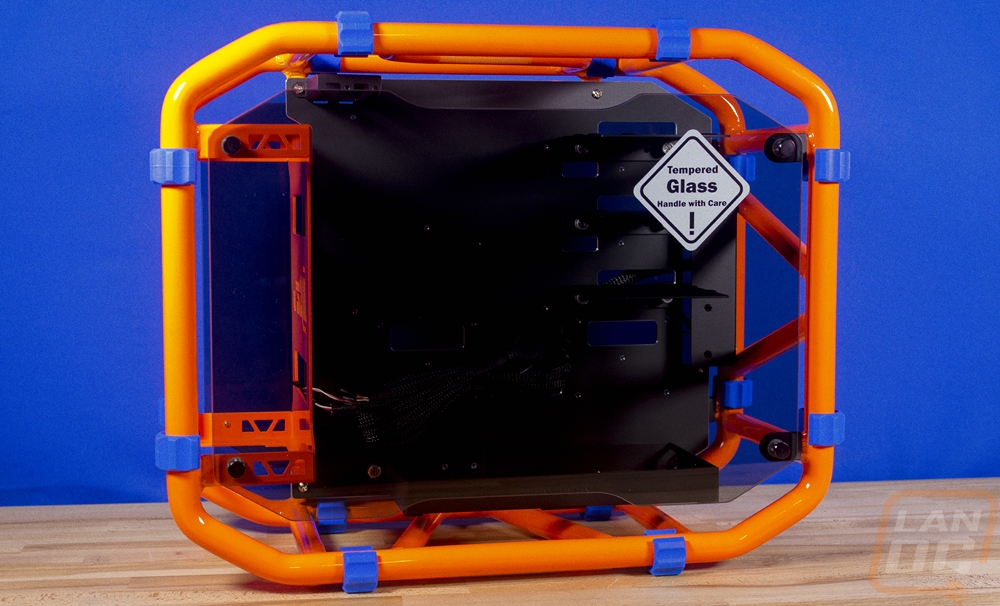
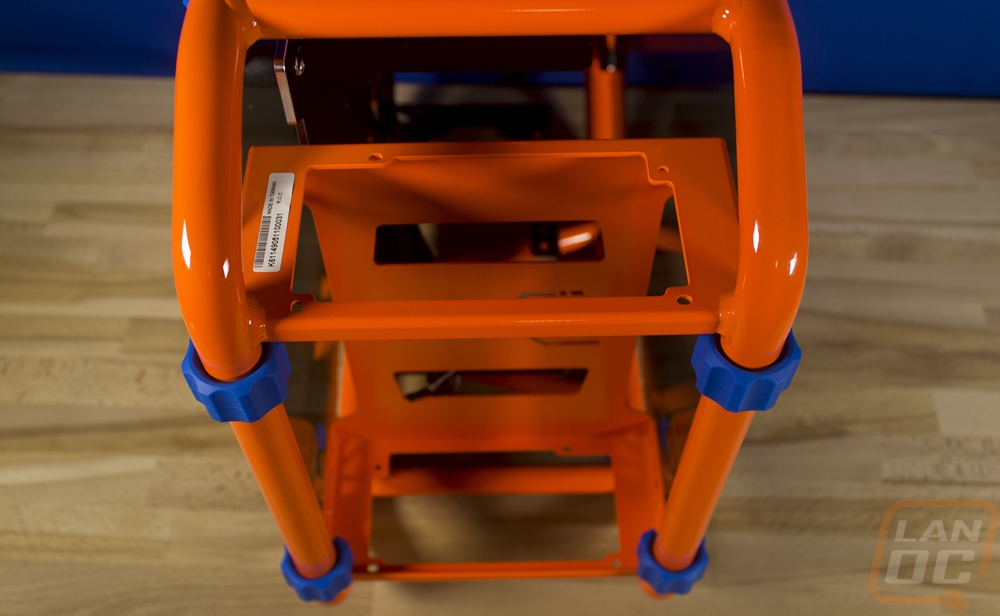
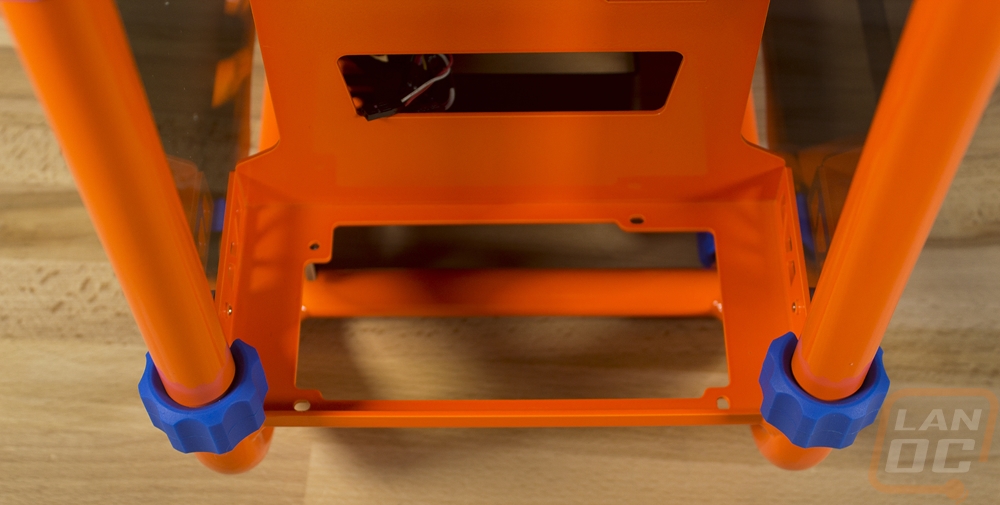
At the back of the case, the power supply enclosure is built in. It has a big plate on the inside with the D-Frame Mini logo cut into it. Then on the top and bottom, there are power supply mounting plates. This lets you pick which orientation you want to roll with. Then once installed you can use the other half as a way to try to contain any extra cords.
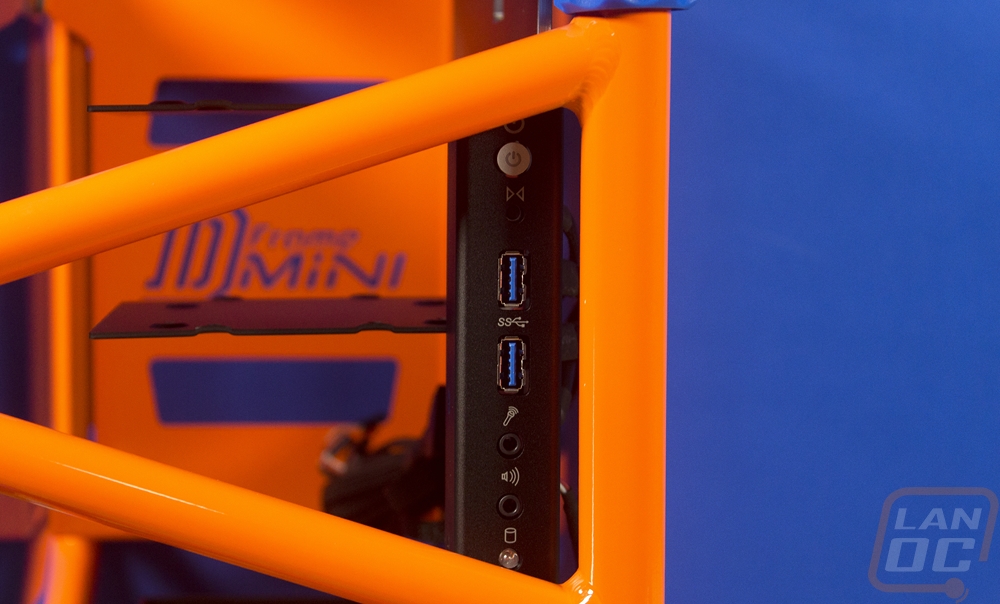
 On the other end of the case, the front I/O is just tucked up behind the front bars. You have to stick your fingers in a little to reach it. You get a plastic power button with a built-in LED up top, a tiny recessed reset button. Then below it the two USB 3.0 ports and then microphone and headphone jacks. Then a hard drive status indicator light down at the bottom. Basically, everything you need, nothing you don’t. Being back behind the tubing means things won’t get bumped, but it also means you have to really look where you are sticking your fingers as well.
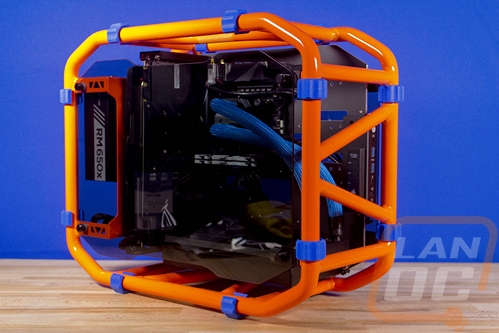
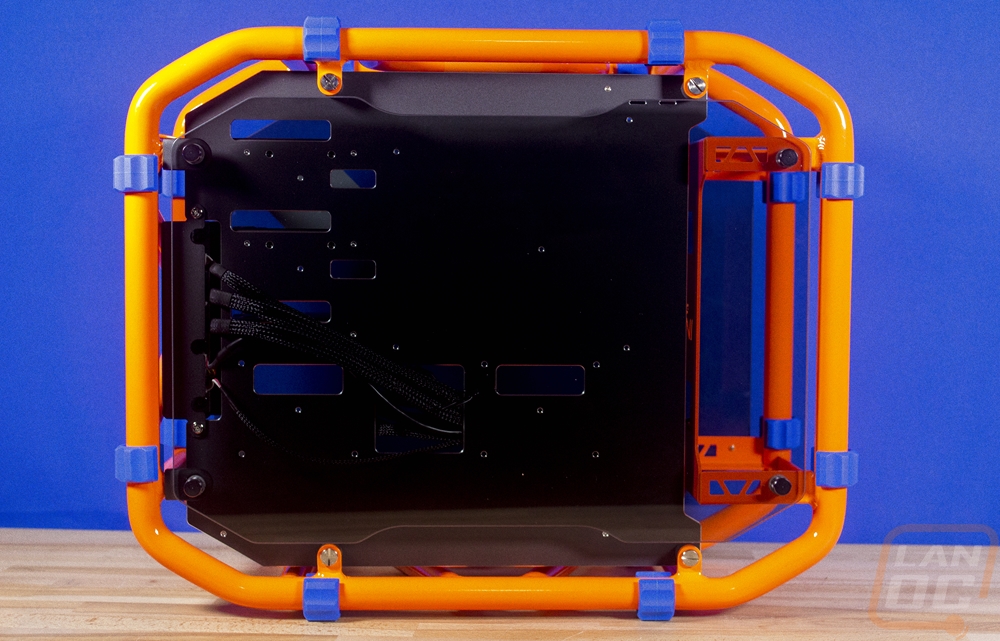
So the two glass panels are tinted and it really depends on where your lighting is coming from and how dark the inside of the case is to how tinted the look. In this picture there looks like hardly any tint on the right, but really tinted on the left over the black motherboard tray. I still love that the tray is actually machined aluminum but with a sticker coating over top of it to prevent scratches. I do wish on the orange the whole motherboard backplate was bright blue though, it would really look good.
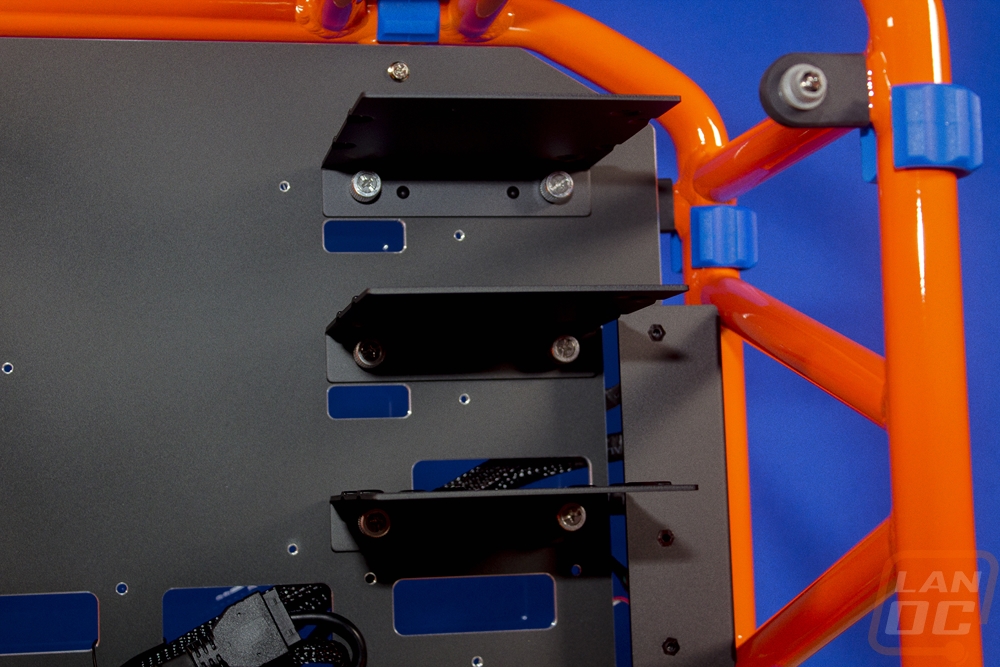
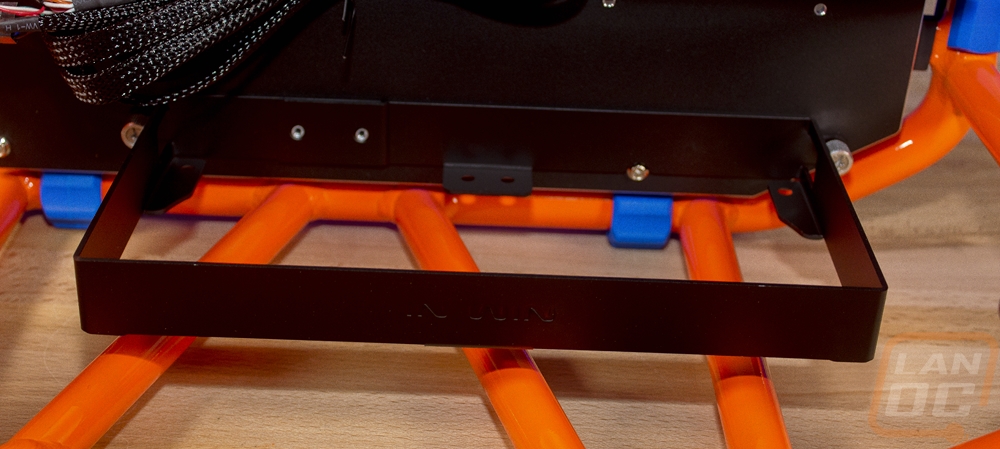
So it isn’t very often that really the outside of the case and the inside blend together. But it really is just the side glass keeping the D-Frame Mini feeling like a case at all. Without them, it is a lot more like an open-air test bench. The inside of the case basically has five things going on. There are three matching mounts over on the right-hand side. These are 3.5 or 2.5-inch drive mounts. This is one of the most dated looking areas of the case. Even back in my original review, I wanted to see a flat SSD mount here and it is even more needed now. They are also the main dust collecting area because they are the only flat surface. Then down on the bottom, there is a rectangle bracket attached with spring-loaded screws. This is the dual 120mm fan mount and the only cooling in the entire case so plan on using it. You can mount your AIO or radiator on top of the dual fans if you go that direction, airflow can go both ways but I suggest facing up and giving the rest of your motherboard and build some airflow as well. Lastly, there is a dual PCI slot bracket, this could really use an update. I hate not having the rear I/O plate and there is room for a proper mount for it here, I’m still surprised that In Win didn’t do it.