Installation and Performance
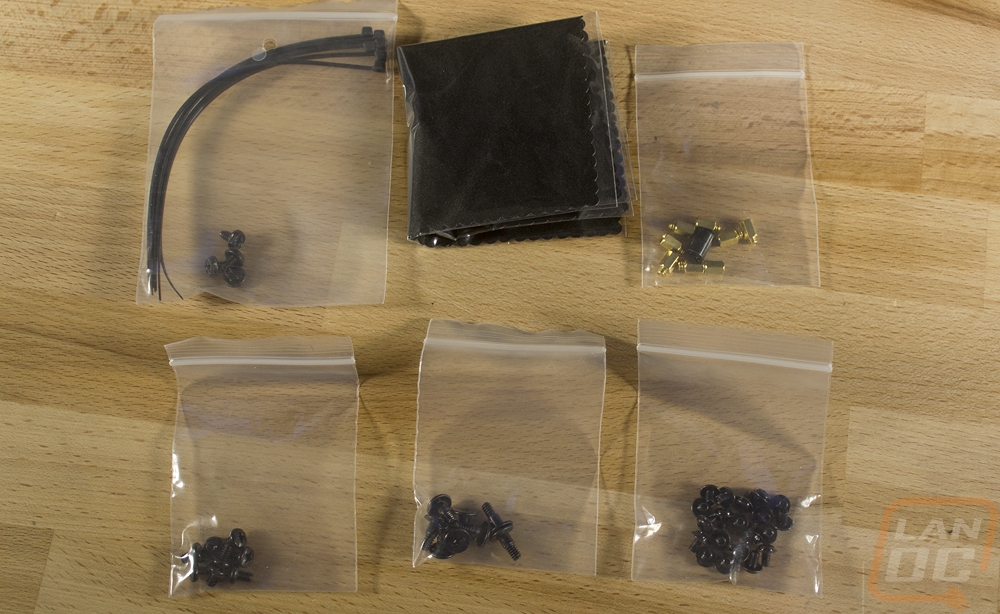
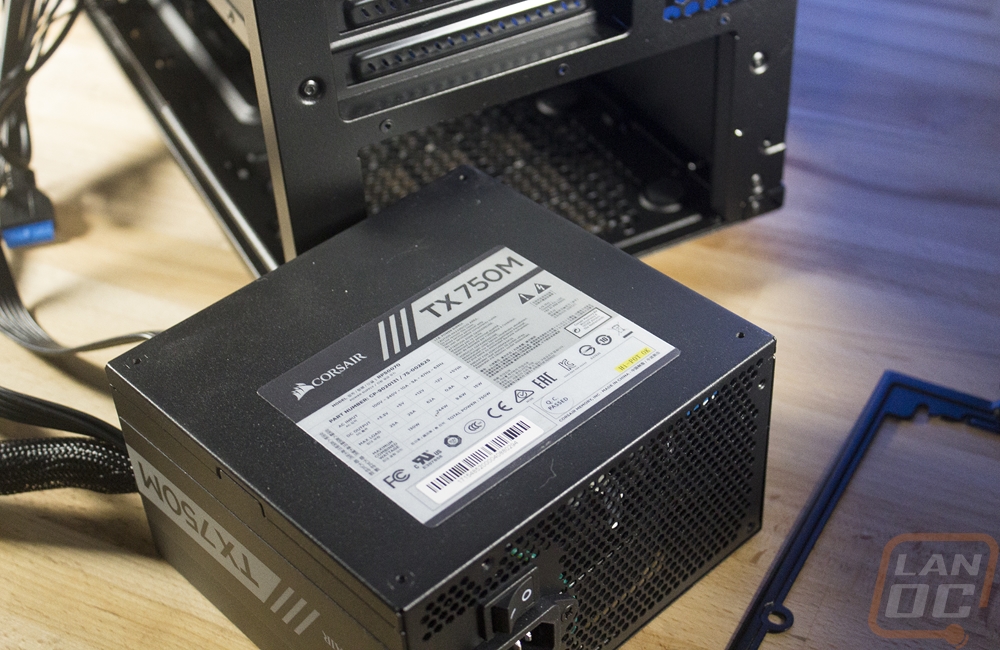
Before testing the Meshify C Mini I did have to get a system together. I grabbed our Micro ATX X299 board from EVGA and a GTX 1070 Ti from Asus to fill things up and a power supply from Corsair to get power. From there I had to dig out the small box of screws Fractal tucked away in the hard drive tray. Inside you get individually bagged but not labeled screws. You also get standoffs, a microfiber cloth, and a few zip ties. Just about everything needed to get things together. I do wish that a few of the standoffs would have come pre-installed, at least what you need for an ITX board. So plan on having to get all of those in before you can start building. They include a screwdriver adapter at least.

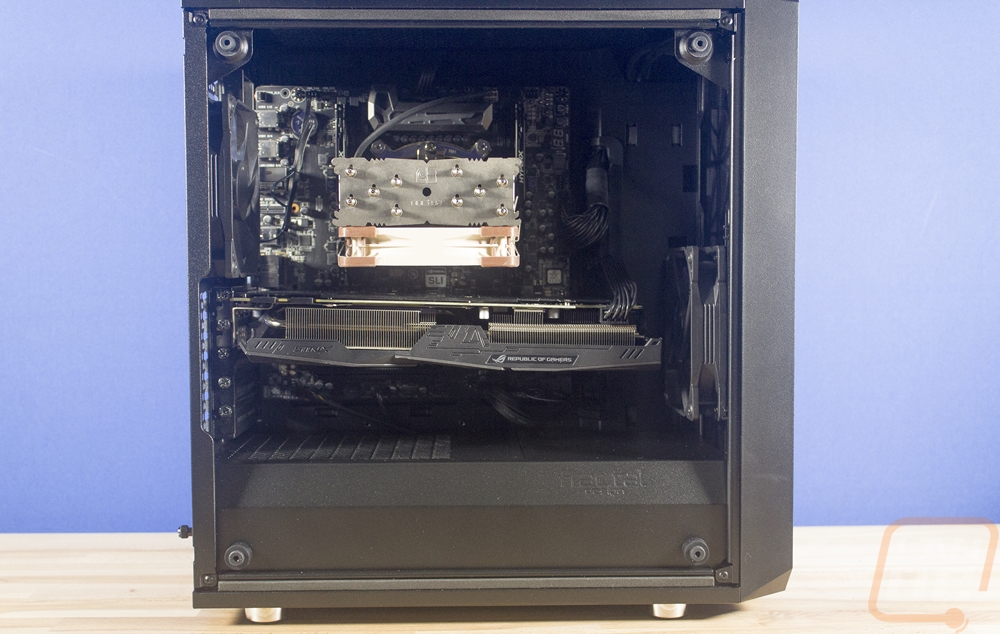
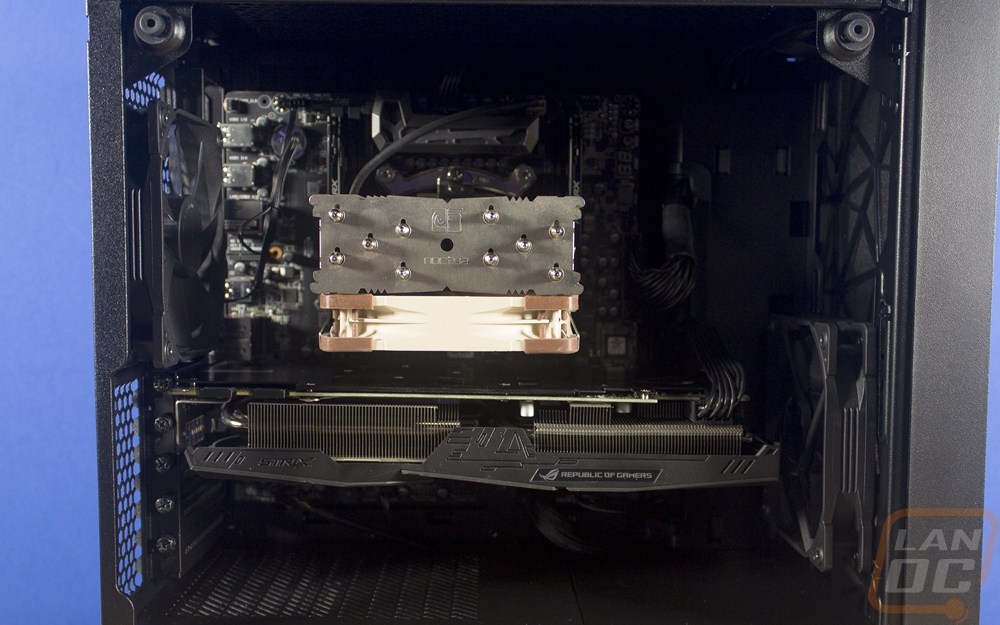
From there I put our memory, M.2, CPU, and cooler altogether outside of the case. Then dropping the combo in was simple. I just had to install the video card and I could start wiring things up. The video card ended up sagging right away, not really the fault of the case at all, but that nice even line right below it for the PSU shroud helped make it more obvious lol.
I actually ran the wires from the PSU and hooked them up ahead of time only to remember I had to install it through the back. You do want to pre-run the wires in this case as it makes it easier to get at, but make sure you run them through the PSU hole in the back after removing the bracket. Getting it back in wasn’t hard and I like how quick you can remove the PSU later with the two thumb screws. Wiring wasn’t too bad as well, the back of the case does have a good amount of room, especially up the side and the grommeted holes made keeping things clean looking easy. I ended up pulling the video card back out for room to get my hands in for all of the small wires though. I also took advantage of a small hole in the top of the PSU shroud for the front panel audio and a fan header but the USB 3.0 and front panel connections went in the side hole.
The end result was a clean looking build, even after forgetting to install the I/O cover initially and figuring out I had the wrong M.2 drive. Once I worked those things out I started with some testing to see if the new mesh design was that much worse for noise and that much better for cooling. With just the two fans and the Noctua cooler and Asus video card both being quiet the build was quiet. Because of the mesh front, if you pack loud hardware inside you are going to hear it more though. Cooling performance in this configuration was about what I expected as well. Going with an AIO loop would have been better on the CPU but I would have been limited to the top or rear mount. As you can see while our 1070 Ti fit there isn’t enough room for a radiator there. Some cards should work though, this one just happens to stick out a little last the PCB getting in the way.

