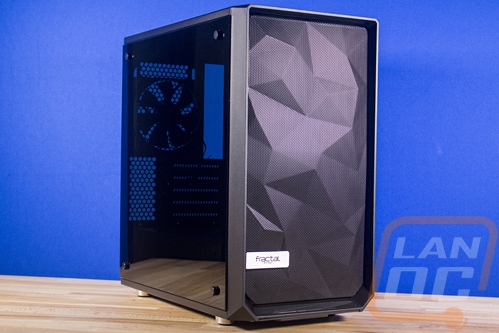
Inside
The most immediate thing that stood out to me what I opened up the Meshify C Mini is actually the lack of the white trim that Fractal likes to use. This case is completely blacked out inside and out. The other thing that I really dug was the power supply shroud down at the bottom. It is metal, not plastic like a lot of the other cases and it even has the Fractal Design logo stamped on it. That combined with the four rubber grommeted holes up top and to the right should help a lot with clean wire management.
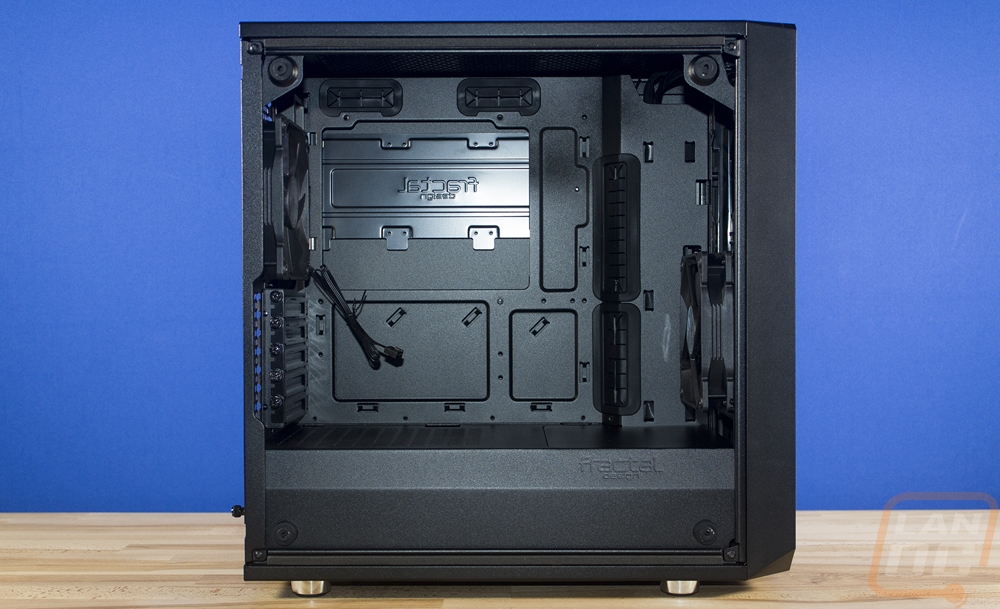
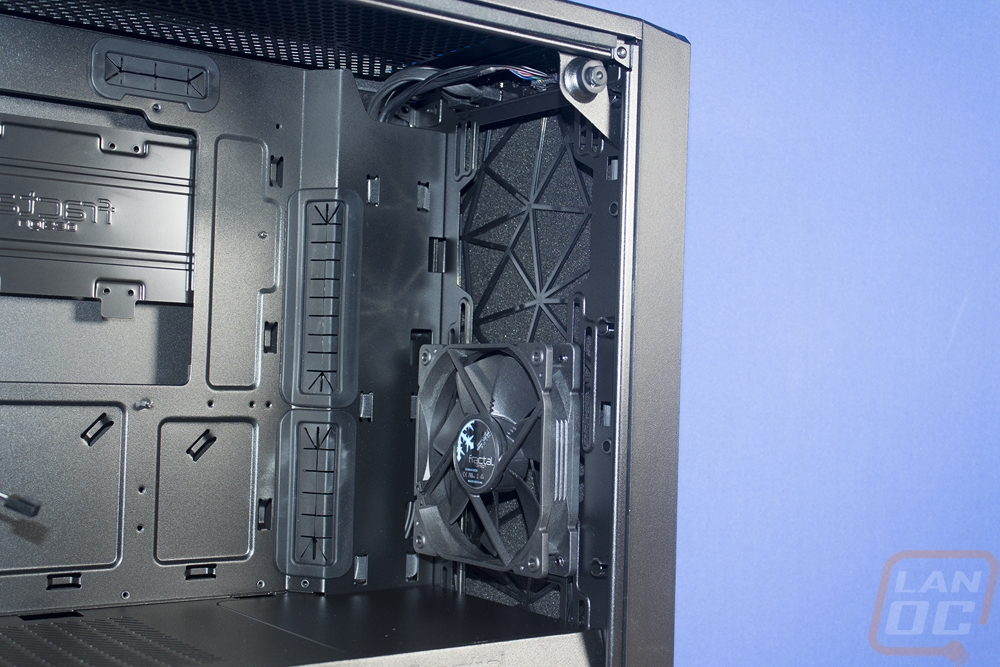
From the inside we can get another look at the 240mm radiator support. The offset layout helps give you 40mm of space between a fan or radiator and your motherboard so most motherboards should fit even though the radiator does hang over the motherboard. Fractal includes two fans, one exhaust on the rear that is all blacked out just like the rest of the case. Under the motherboard there is a large access hole for getting at the back of the CPU with the board installed. Then as I mentioned already there are four rubber grommeted holes for wires. The two up top are nice, there is normally just one on the left. The two holes should help with weird wire layouts on some boards. Then the two on the right run the full length of your board and should cover everything else you need to run including the large 24 pin and video card power as well.
The front of the case has another dual fan configuration. This is where you will find the second included fan. In the front, you can fit a 240mm or 280mm radiator so this is your only option if you need 140mm dual fan cooling. For long radiators, you will need to remove the top plate from the PSU shroud. This is a nice touch that can allow even more cooling if needed. You do have to drop hard drive mounts to do that though.
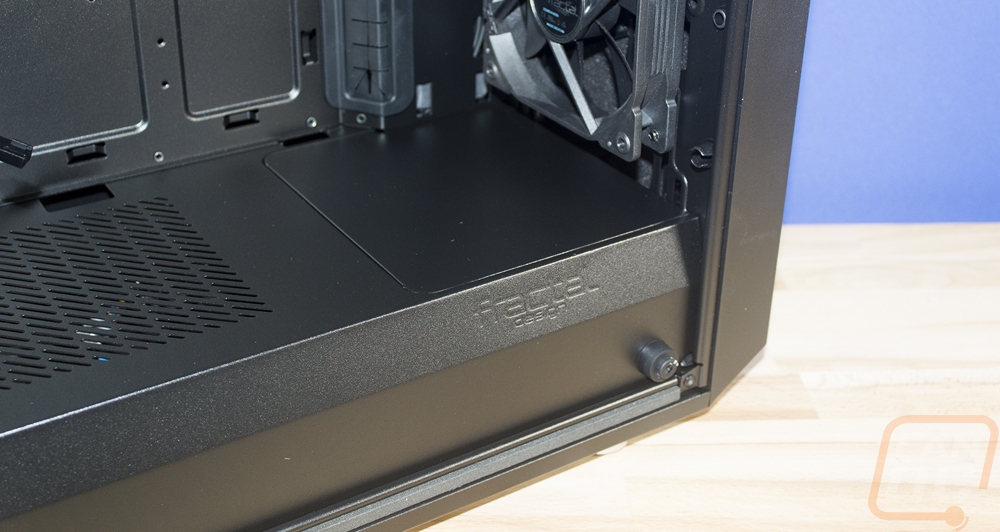
Around back Fractal has left a lot of room to work with. From the back, you have full access to the power supply compartment but I should point out as a reminder that the PSU doesn’t install from this direction. There isn’t enough space to slip it in. The PSU compartment has ventilation on the bottom for the fan to face down. Beyond that, you have a few inches of room in front of it for wires before getting to the hard drive cage. If you have a PSU installed and need to hook up another modular cable, you may have to pull it out slightly to get your hand back there.
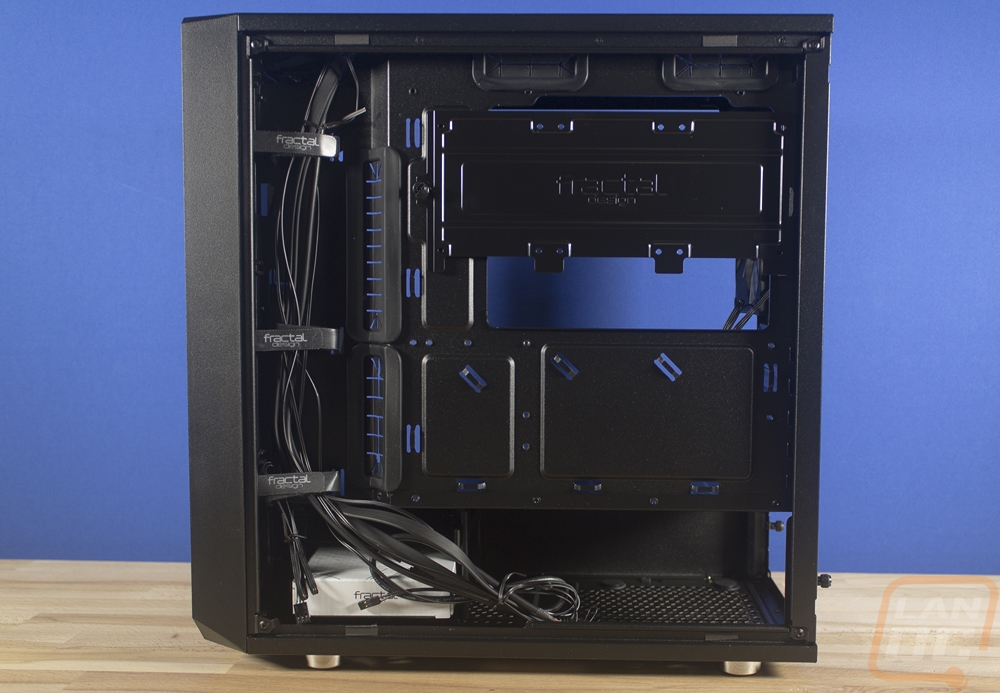
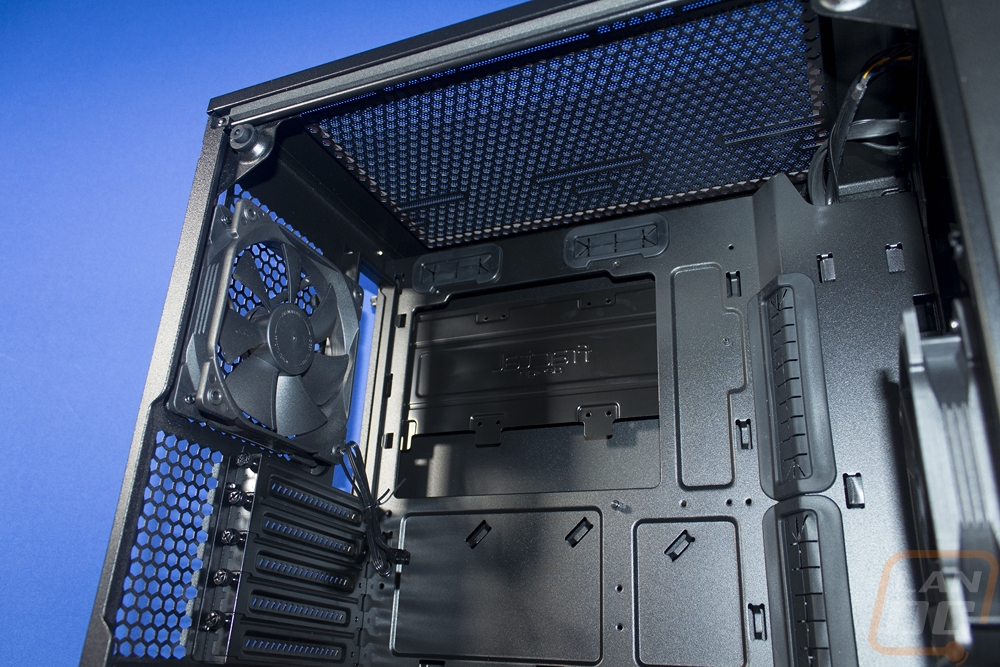
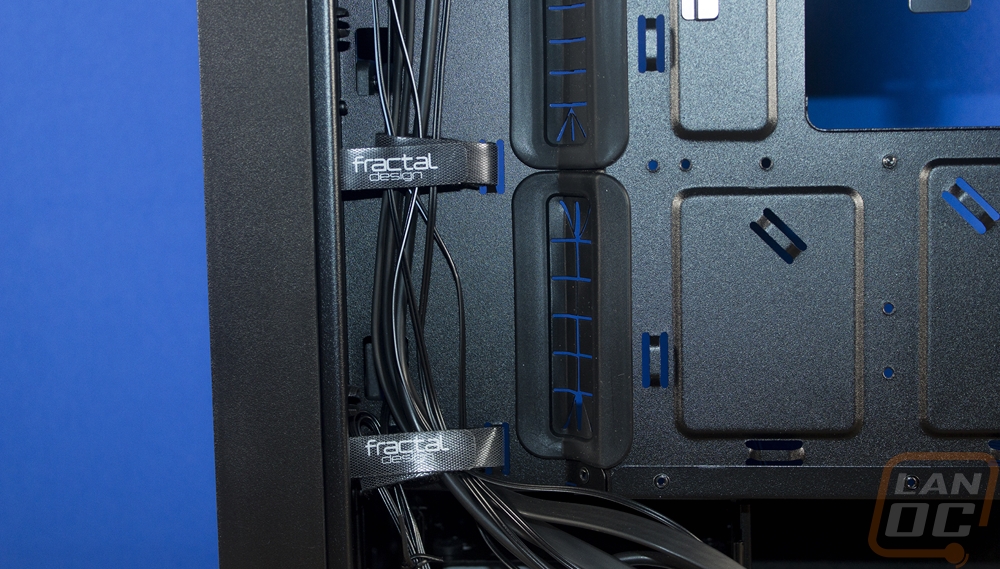
While there is a good amount of space behind the motherboard tray, there is even more over on the left side past the two long passthrough holes. That section also has Velcro straps to help run wires up and down this area.
The two hard drive mounts are plastic and require screws but they slide into the cage like other toolless designs. The cage itself is unique in that it can be removed to gain access for long radiators or fans or you can slide it forward and back. If you want you can also remove it and just mount a drive on the bottom of the case as well. Each tray supports 3.5 and 2.5-inch drives.
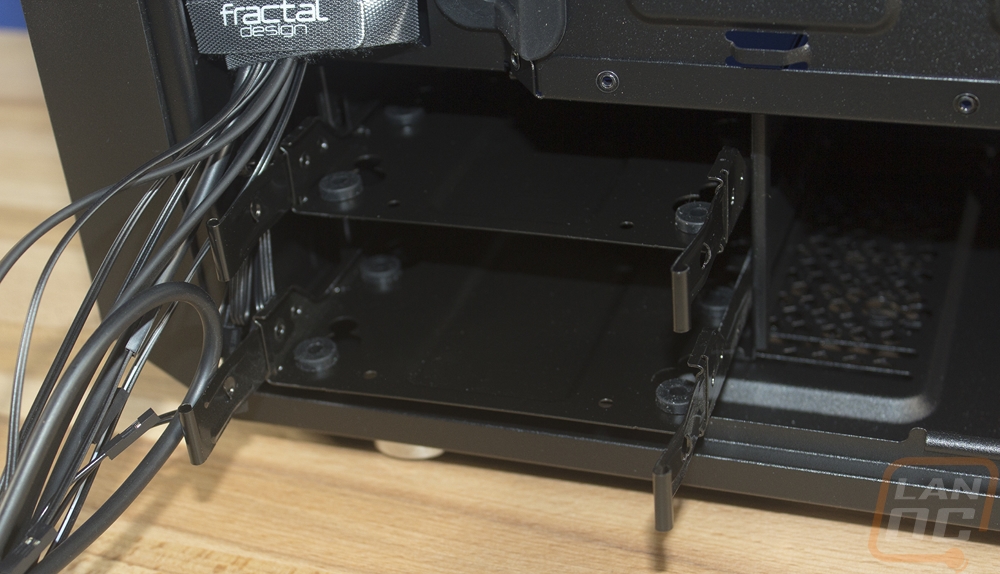
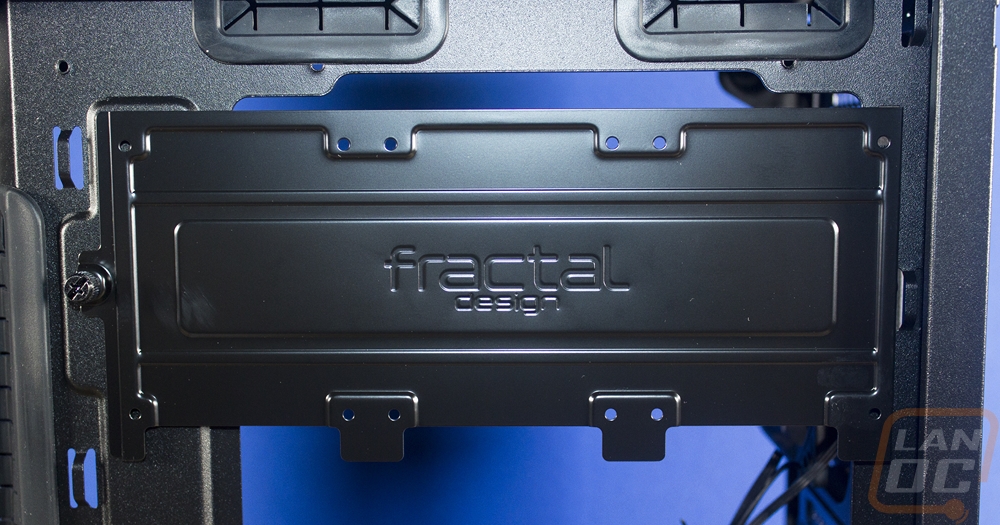
Partially covering up the back of the CPU access is another drive bracket. This one is installed with one thumb screw and it supports up to three 2.5 inch drives. All together you can fit five drives with two being 3.5 or 2.5 not counting M.2 drives. Not bad for an M-ATX case.