I haven’t really had time to check out too many cases over the last few years but I’ve been trying to do a little catching up. On my very short list was a small ITX case that I’ve been seeing around all over the place from Phanteks. The Enthoo Evolv ITX is one of those rare cases that is priced like a budget case but seems to have some of the features and styling that you find in higher end cases. So I reached out to Phanteks and they were happy to send over the case. I’ve been testing it out with our Ryzen ITX setup and I wanted to sit down and talk a little about the case. So let's dive in to see what Phanteks has going on with this popular case.
Product Name: Phanteks Enthoo Evolv ITX
Review Samples Provided by: Phanteks
Written by: Wes Compton
Pictures by: Wes Compton
Amazon Affiliate Link: HERE
|
Specifications |
|
|
Color options |
Blac, Black (no window), White, and Red |
|
Dimension |
230 mm x 375 mm x 395 mm (W x H x D) 9.1 in x 14.8 in x15.6 in |
|
Form Factor |
Mini ITX Tower Chassis |
|
Material(s) |
Steel plates, Plastic, Steel chassis |
|
Motherboard Support |
Mini ITX |
|
Front I/O |
2x USB 3.0, Mic, Headphone, Reset |
|
Side Window |
Yes |
|
Expansion Slots |
2 |
|
Internal 3.5” |
2x (1x extra upgrade slot) |
|
Internal 2.5” |
1x (1x extra upgrade slot) |
|
Liquid Cooling |
Front - 120mm x2 |
|
Graphic Card Clearance |
330mm (13in) |
|
CPU Cooler Clearance |
200mm (7.9in) |
|
Cable Management |
28mm (1.1in) |
|
Radiator |
120mm – 74mm (2.9in) |
Packaging
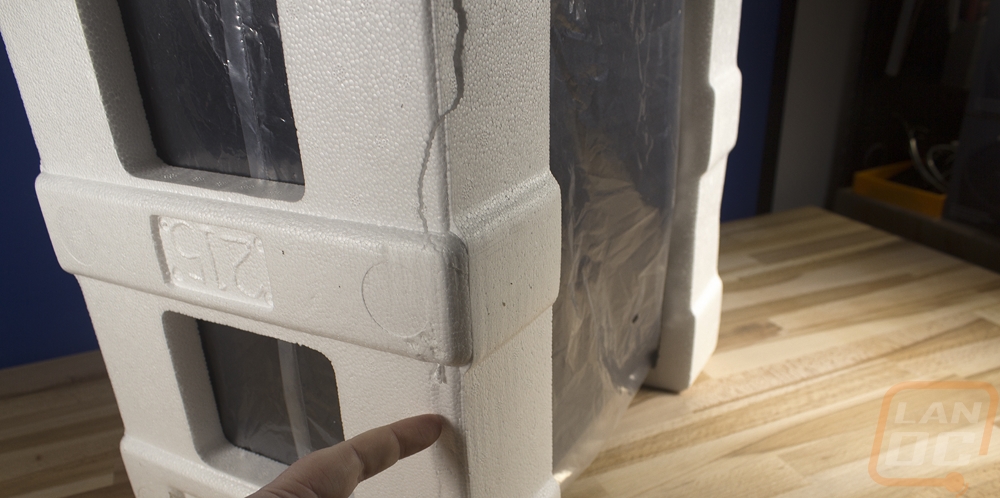
So the box for the Evolv ITX was your basic brown box with a line drawing of the case on the front. Down on the bottom, it had a black strip with the name in it. As you can see though, that black strip took a beating in shipping. I was really worried about the condition of the case when I saw the box, funny enough though I didn’t actually catch it right away. They delivered it with that part facing away and I picked it up and put it up against a wall on that same side. So you can imagine my surprise when I when to take these photos and found it lol.
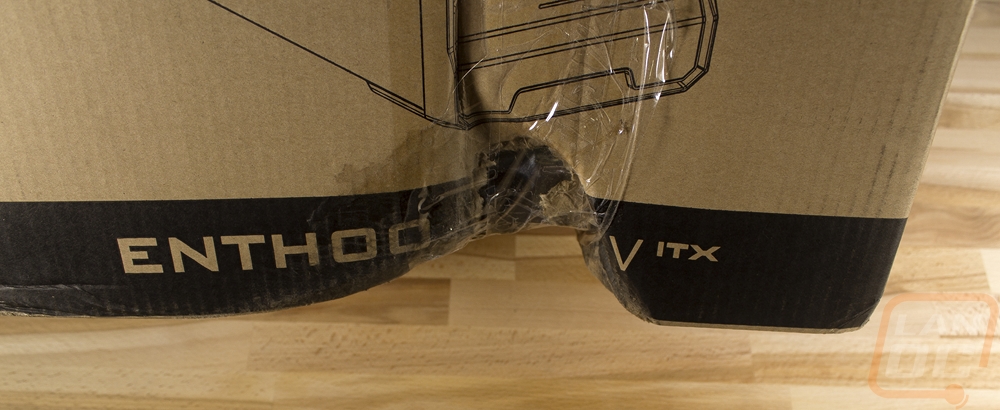
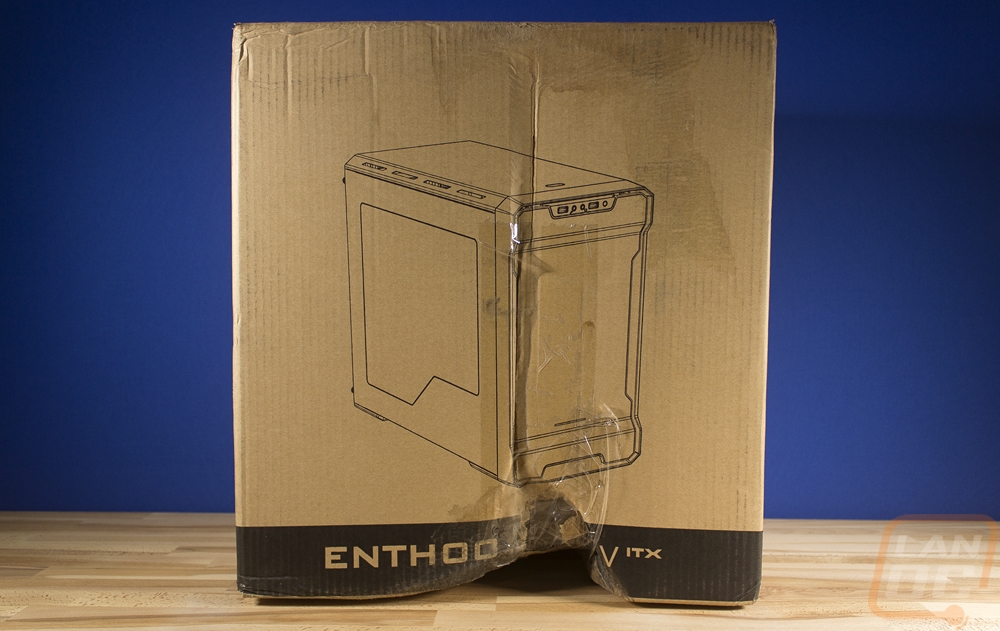
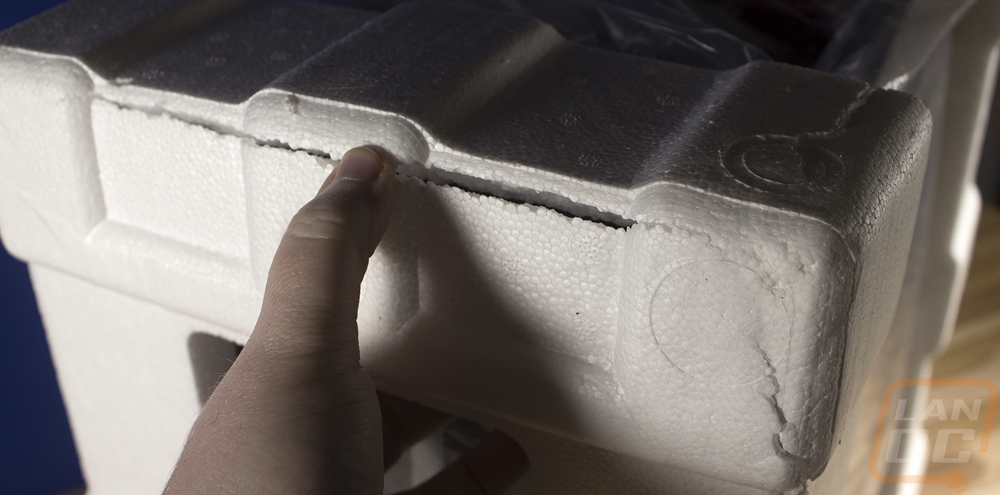
Inside the box, the case came wrapped up in a plastic bag to protect it from finger prints and moisture. Then on both ends, it had foam panels. The big dent in the bottom didn’t end up showing any initial damage but you can see just how much it was banged around by looking at the cracks all over the foam. I later found a small dent in the top of the case, I can only assume it happened in shipping given the condition of the box. But this goes to show you just how well cases are packed normally.

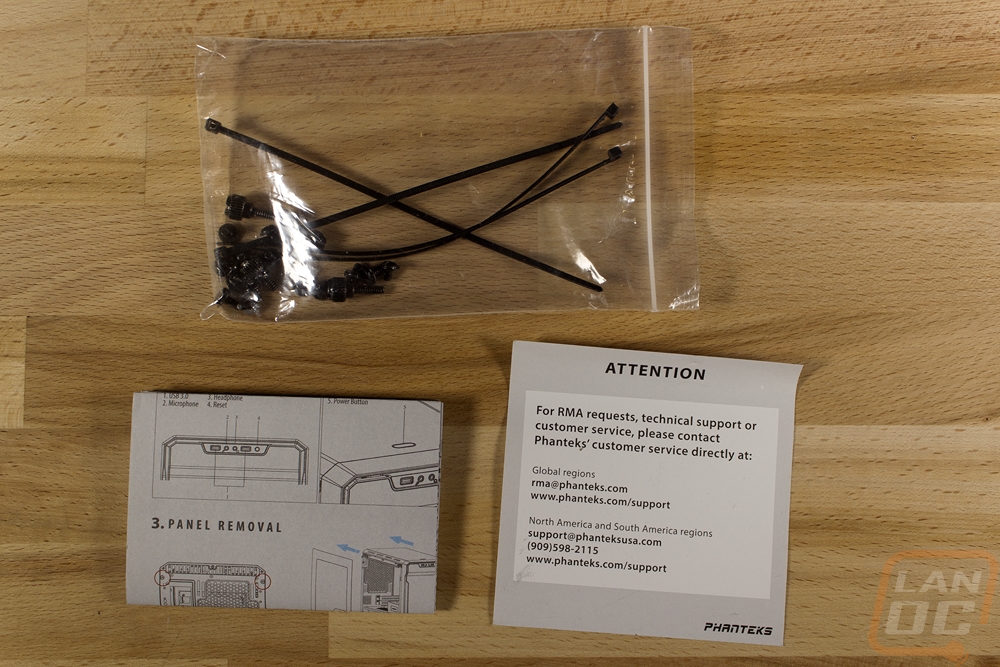
Shipped with the Evolv ITX was a small baggie with motherboard screws and SSD/HDD screws. They also included four zip ties. I would like to see more zip ties, I use more than that with every build. Then there was a small paper manual and a paper with information on RMAs should you need it. Phanteks didn’t really go crazy with documentation or accessories, you get enough to get the job done though.
Outside
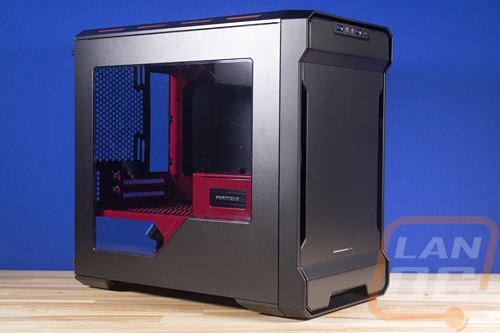
So the Phanteks Enthoo Evolv line of cases has three different sizes that are all easy to recognize. They have the motherboard size right in the name. So you have the ATX model as the largest, an mATX model, then the ITX model I’m taking a look at today. They all have their own tempered glass editions as well with the ITX model just recently being introduced. Then there are a few color variations. For the Evolv ITX we have black, red, and white. The black is all blacked out, the red is black but with red accents, and the white has a white exterior with a black interior. The model I’m looking at today is the red version and this is not the tempered glass edition. So we have the black exterior with red trim up on top and a red interior. Beyond going all blacked out, this is the only other combination that is going to be easy to match with components considering all of the “gaming” focused red and black motherboards and video cards.
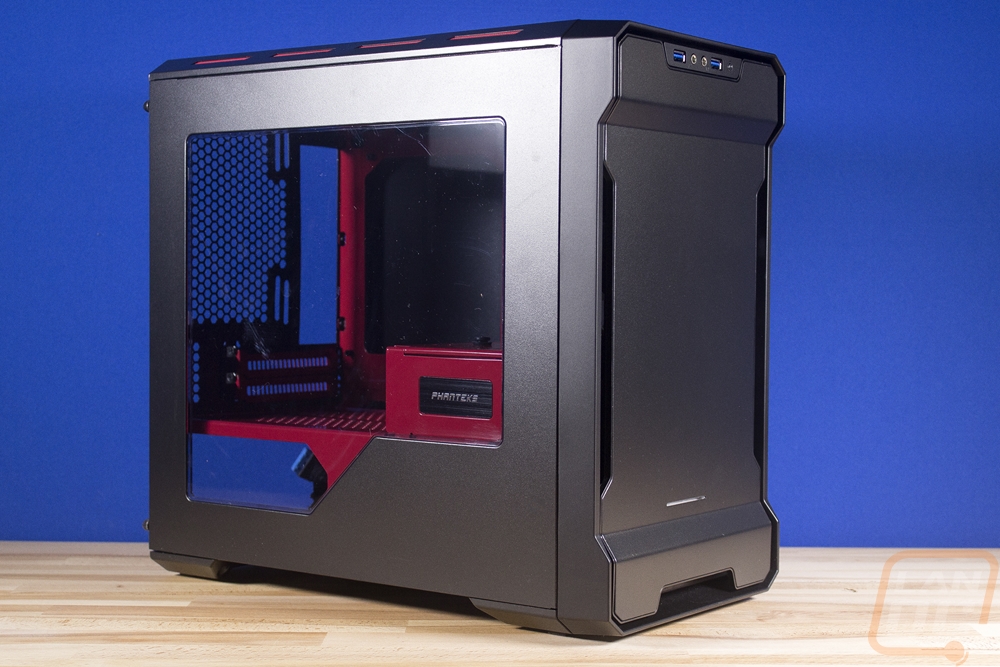
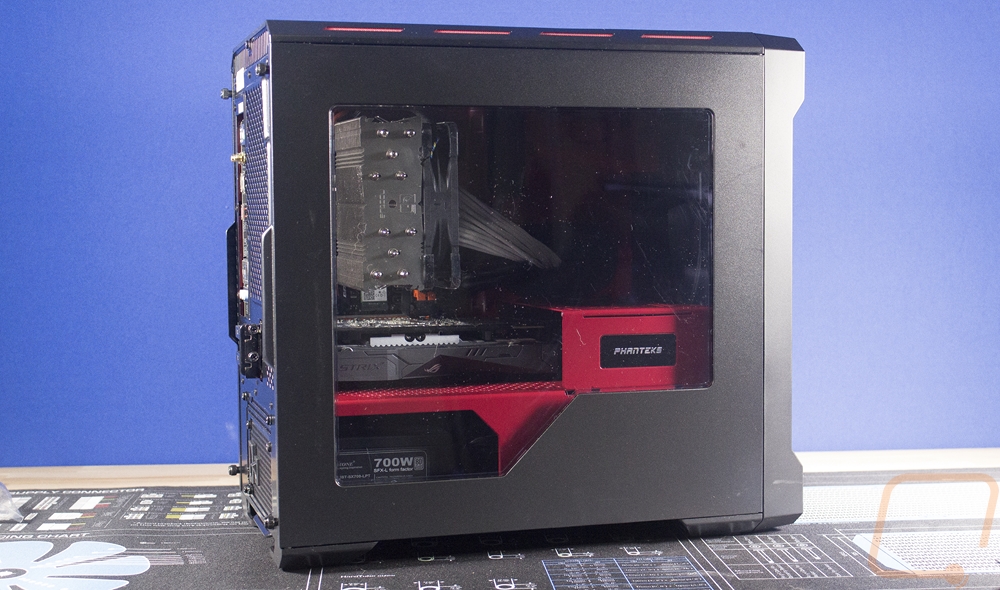
So the left side panel has a traditional side panel window. With tempered glass being everywhere anymore this does seem a little strange but they have used the steel side panel to hide some of the power supply wiring area and to put a thick ring around the window. This gives us a good look at that sexy red interior. Then up on the top edge, there are four vents with red mesh in each.
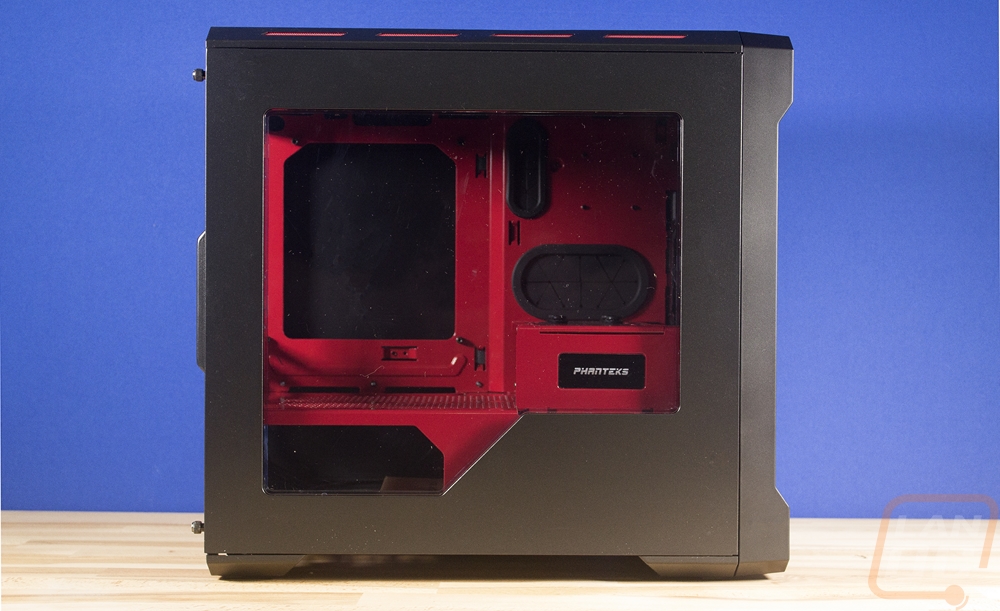
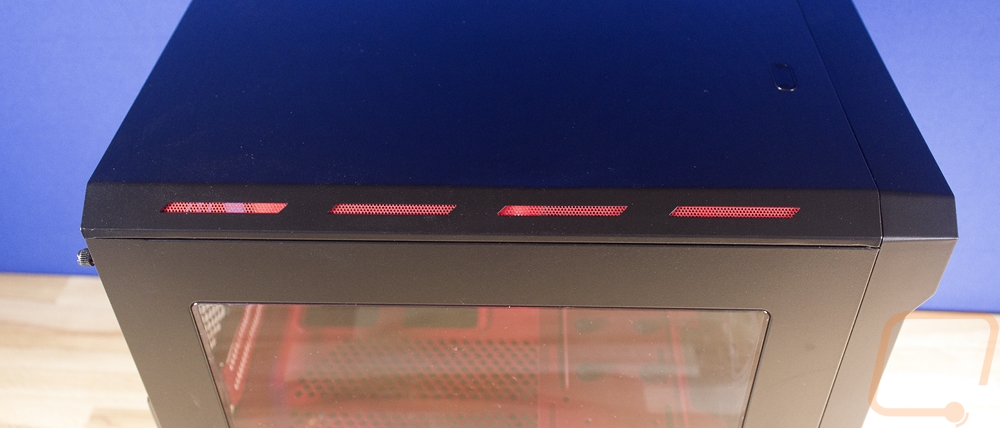
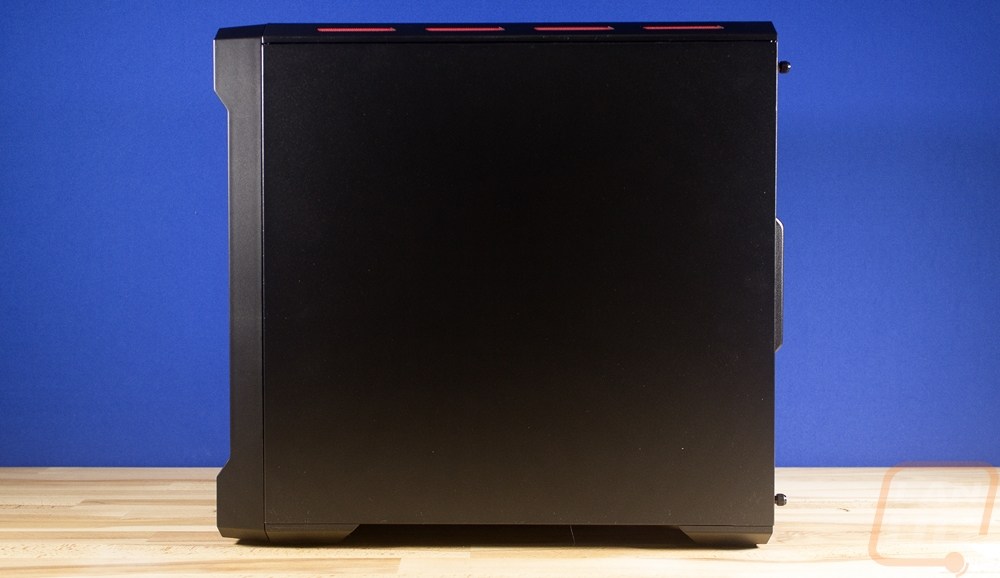
The right side of the Evolv ITX is a lot more boring. This is a traditional steel side panel with nothing going on. There are four more of those red vents up on the top edge though.
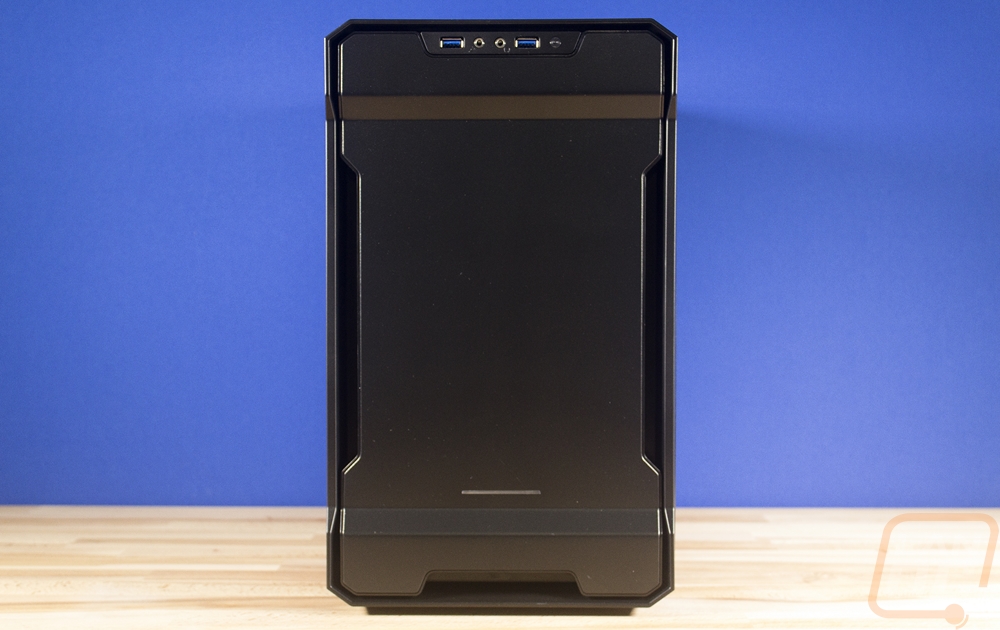
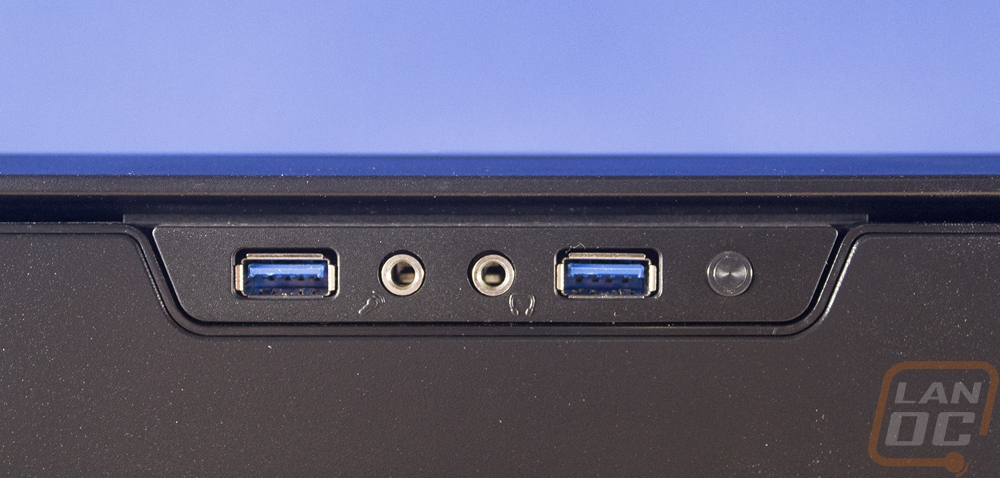
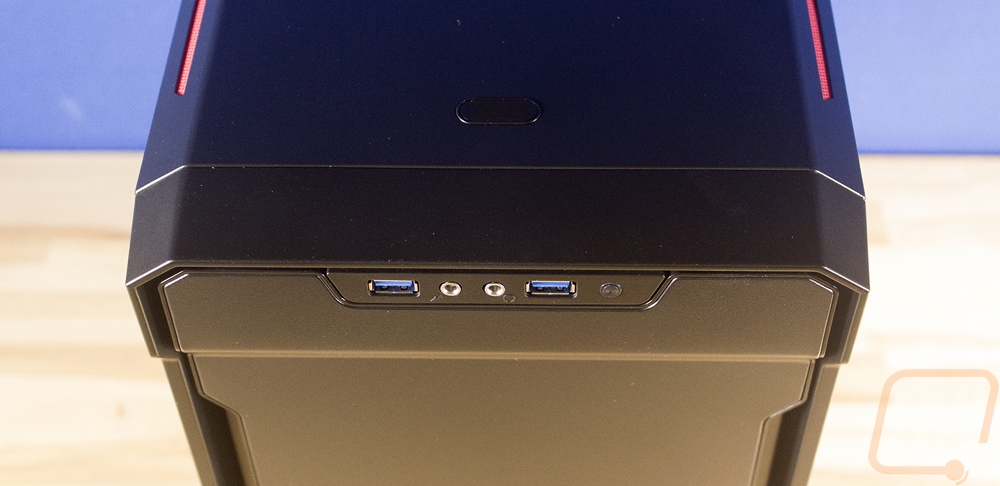
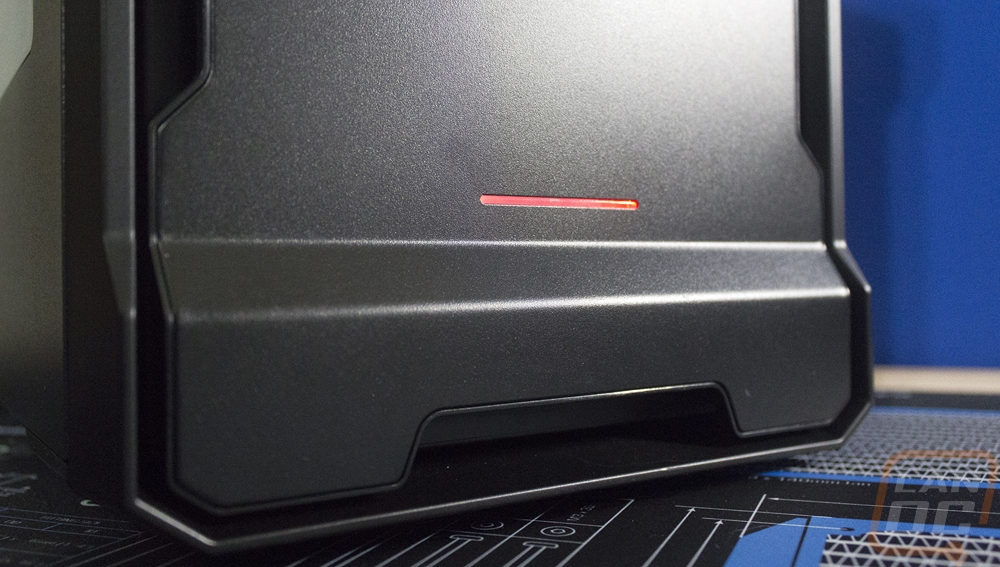
What really makes the look of this and all Evolv cases though is the unique front of the case. The front has this dog bone like shape where it gets thinner in the middle. Those areas are used for vents. Then there are similar spots at the top and bottom as well. Then in addition to that, the top and bottom have overhangs. Down towards the bottom is the power indicator light, for this model it glows red. Then up top is the front I/O. We get two USB 3.0 ports with headphone and microphone jacks between them. Then to the right is a tiny reset button. Up on top, the power button is oval in shape and much larger. Personally, I prefer to avoid power and reset buttons up on top of the case like this. With cats in the house they sometimes will turn off your PC, I think that could be improved by being moved to the front in the future.
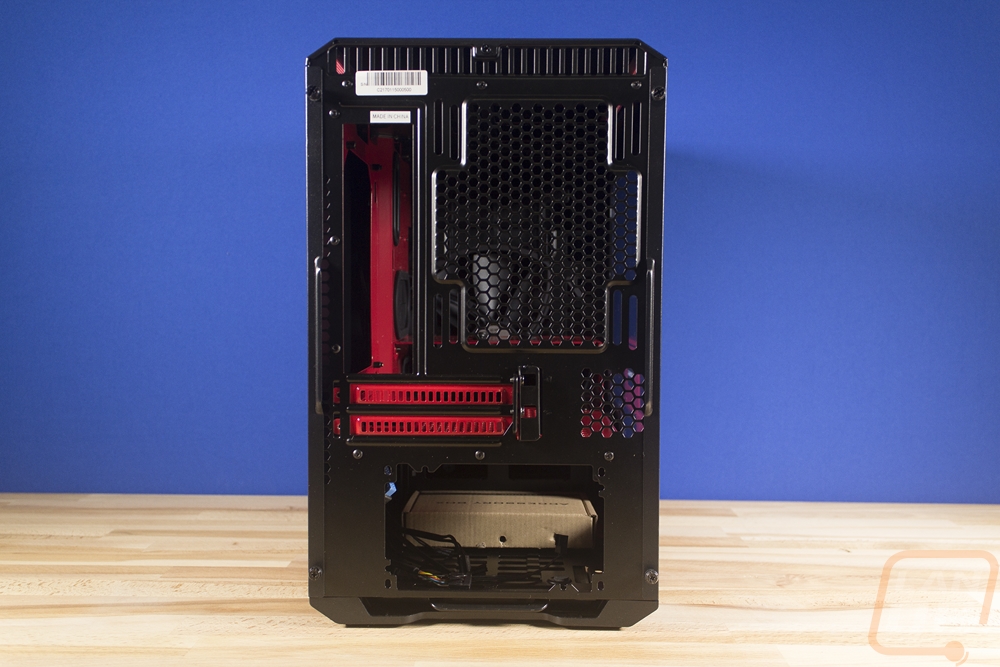
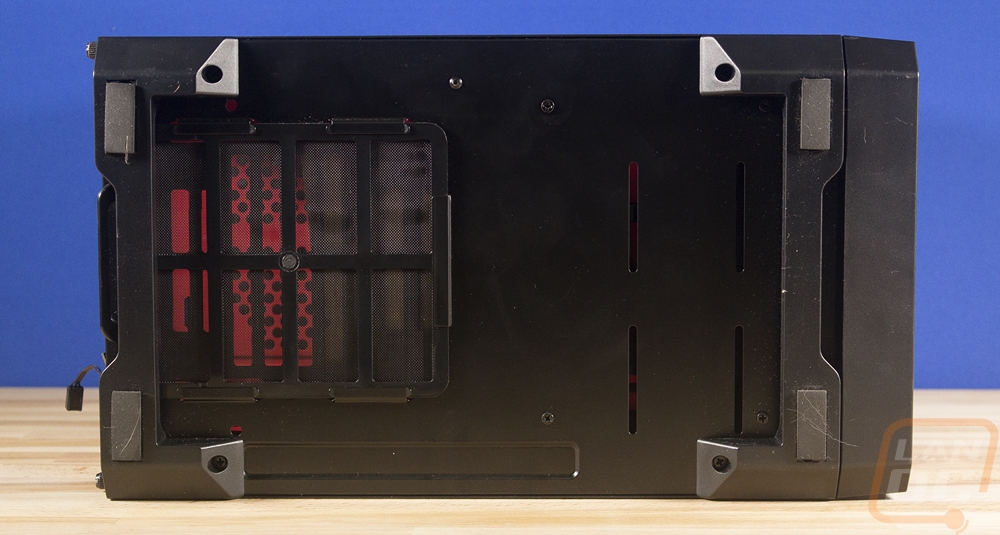
Around back we can see a little of the red interior peeking through the rear I/O hole as well as the two vented PCI slot covers that are also painted red. The back of the case shows that the power supply is mounted down at the bottom and along with it there is a pullout filter for the intake fan on the PSU. Being an ITX case they kept things tight and the PCI slots are right above the power supply. There are just the two needed to hook to a single PCIe slot on a board. For ventilation, the back has a small vent next to the PCI slots and then a much larger vent next to the rear I/O. The vent is unique because it is taller than it is wide. They have mounting slots for both 120mm and 140mm fans but the extra height is because you can slide the fan up or down depending on where you need it. The back also shows us that both side panels are held in place with traditional thumbscrews with small handles sticking out to slide the side panels off. If you look close you can see that they even vented below the motherboard a little as well.
The bottom view of the case shows us that pull out fan filter I mentioned Then for feet they have plastic sections on the front and rear that raise the case up a little for airflow. Both have two rubber pads suck on as well for a little traction.
Inside
With the right side panel pulled off, we can get inside of the case and get a better idea of the layout. This is a traditional layout unlike most ITX cases these days. So it has the same configuration as an ATX case, only much smaller. The main thing you are going to notice with the interior of our sample is the glossy red finish they put inside. It is on the divider that splits the power supply up and helps hide the wiring. It is also on the motherboard tray and the unique drive rack that goes around the video card.
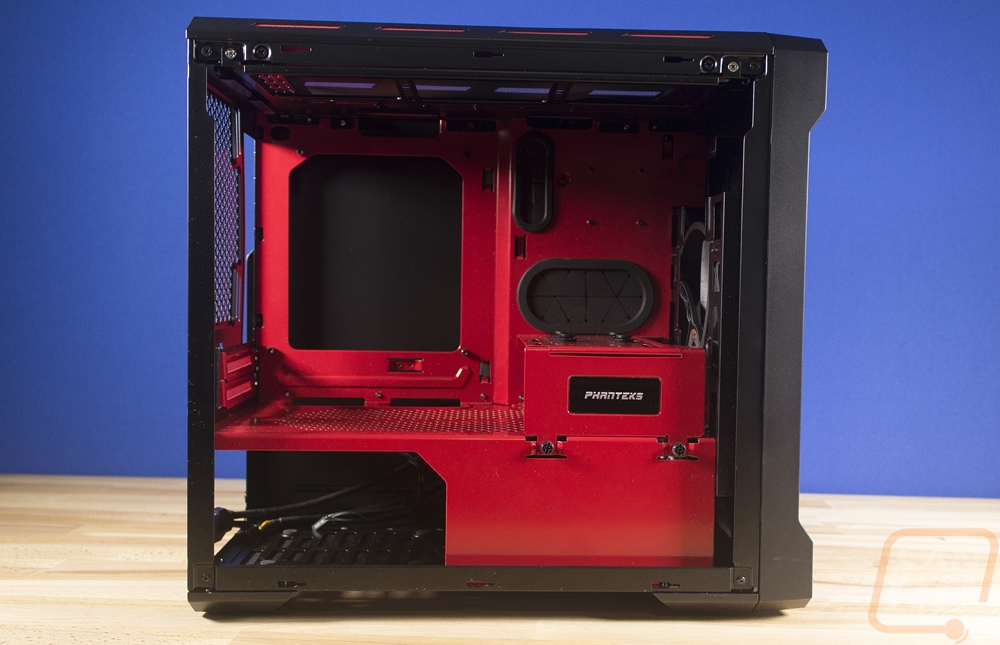
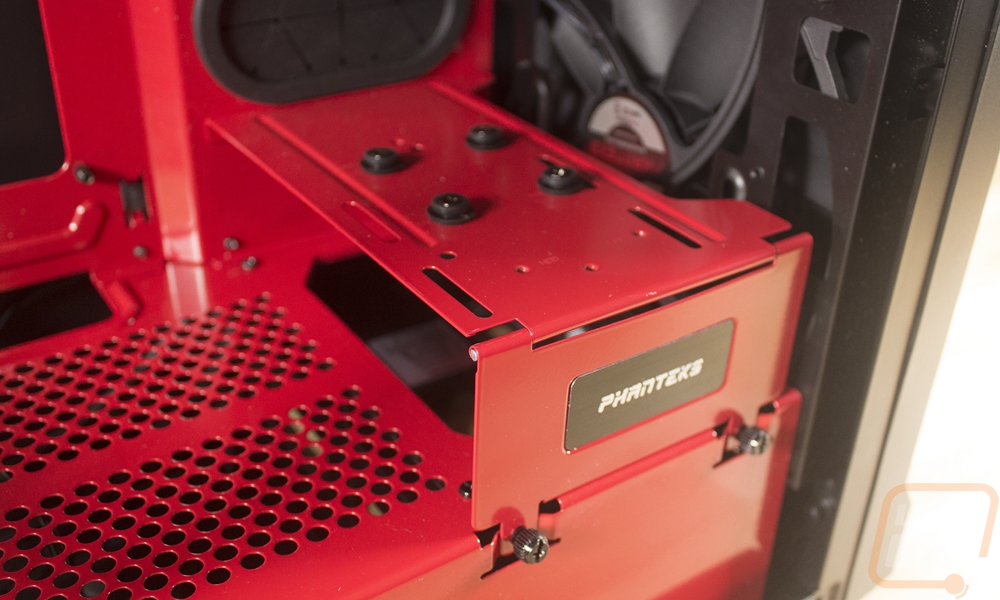
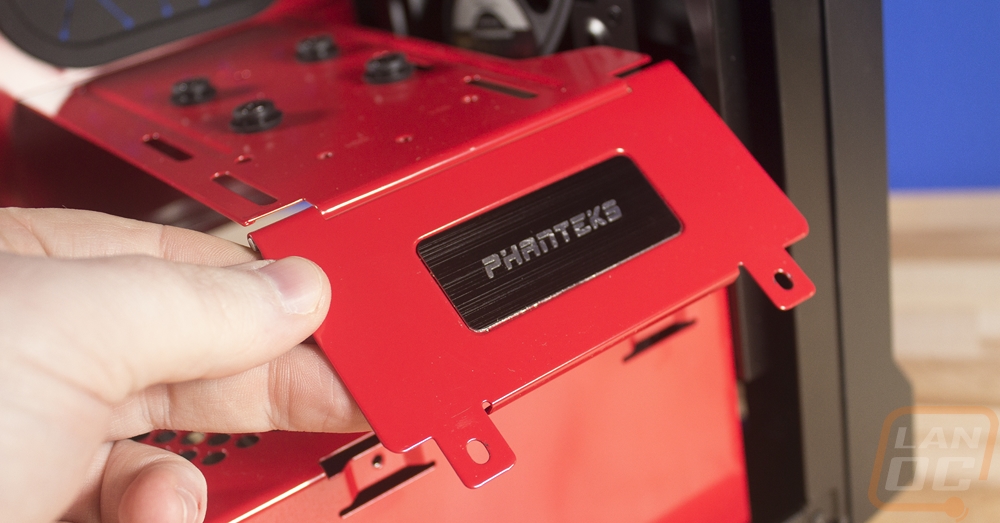
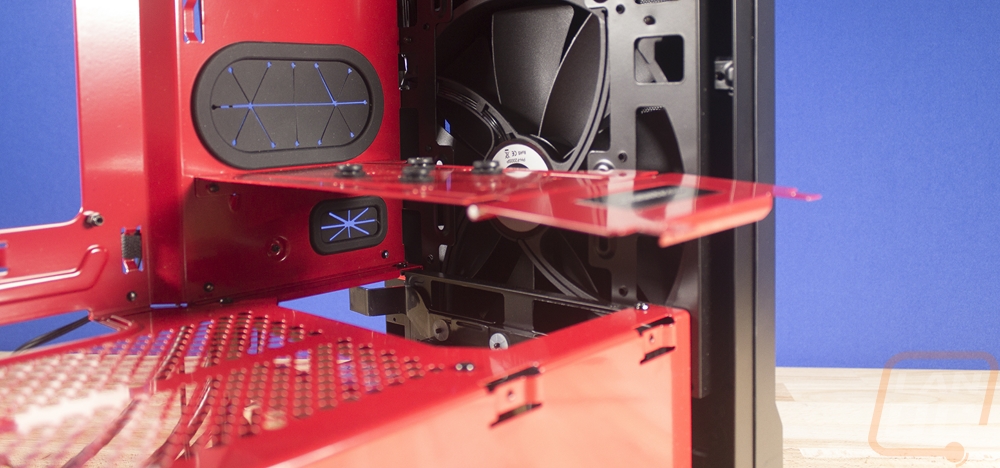
So the cage that wraps around the video card has the Phanteks branding on it and it can also be opened up to make it easy to slide your card in. There are two thumb screws to unlatch the flap and then it pivots up like in the photo below. On top, it does having mounting op top for a 2.5 or 2.5-inch drive. I personally wouldn’t mount a hard drive here but if you have a good looking SSD that matches the build like the red HyperX drive it would look good here. I don’t know if it was intentional but this cage also funnels some of the air from the single 200mm fan in the front that it comes with. You can swap that 200mm to a dual 120mm or 140mm setup and if you want you can put in a dual 120mm radiator but you will have to remove this cage all together. Assuming you aren’t running a radiator in the front you get up to 330mm of video card clearance.
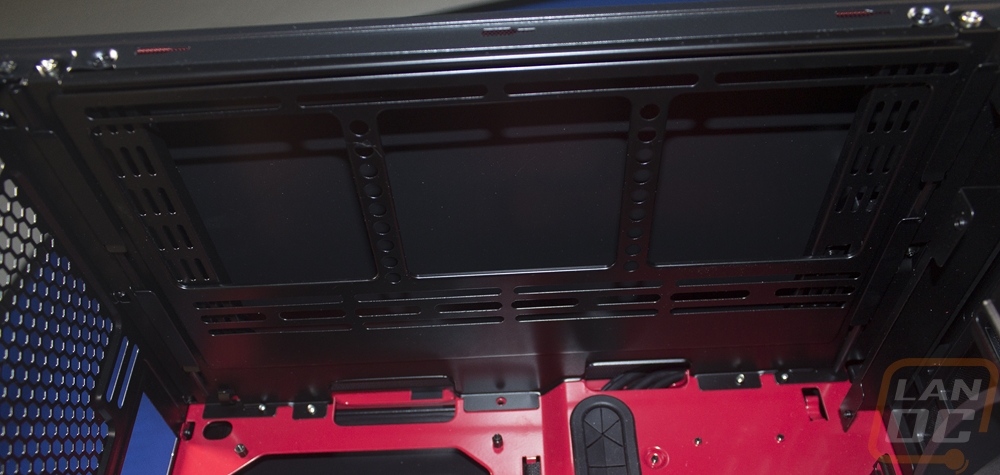
Up top, we are back in black with as you can see there are a few ventilation options here. You can run dual 120 or 140mm fans and dual 120/140mm radiators up here. The only concern with water cooling is clearing the motherboard when it is installed but the offset mounts make room.
The motherboard tray has a huge CPU backplate access hole in it so you don’t have to worry about pulling the motherboard out later if you want to swap coolers or replace your thermal paste. For wire management, there are two grommeted holes on the right and then if you look closely there are a few smaller holes up along the top as well for some of the smaller cables. Then down at the bottom, there are two access holes to run cables directly up from the power supply compartment.
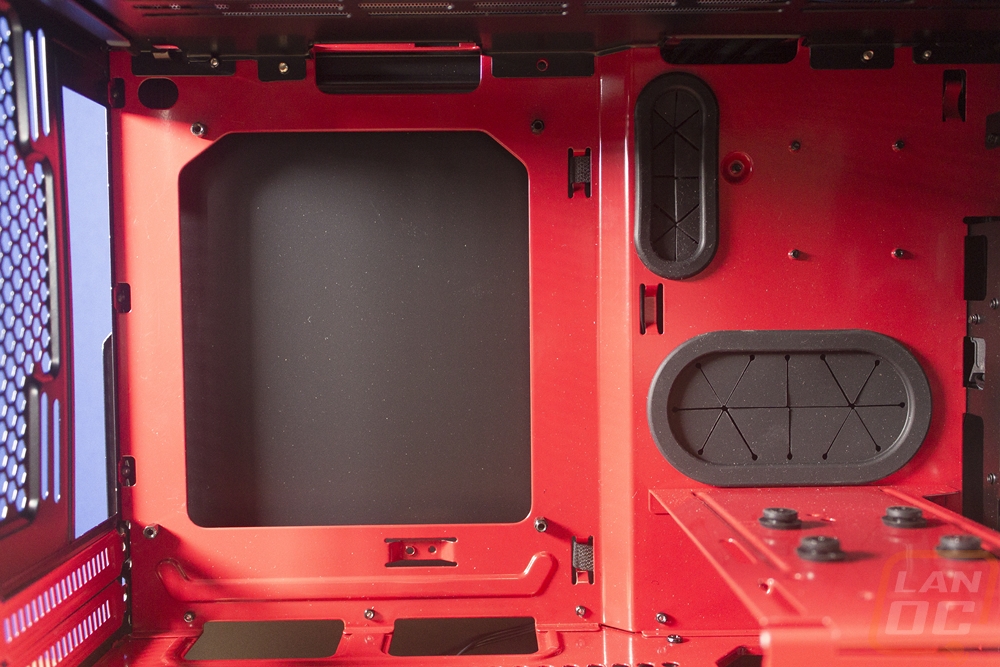
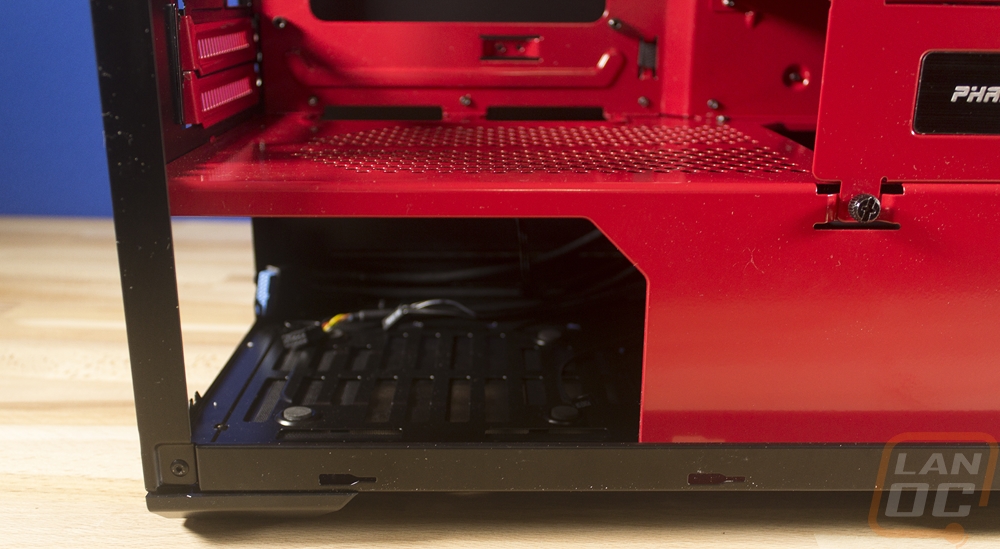
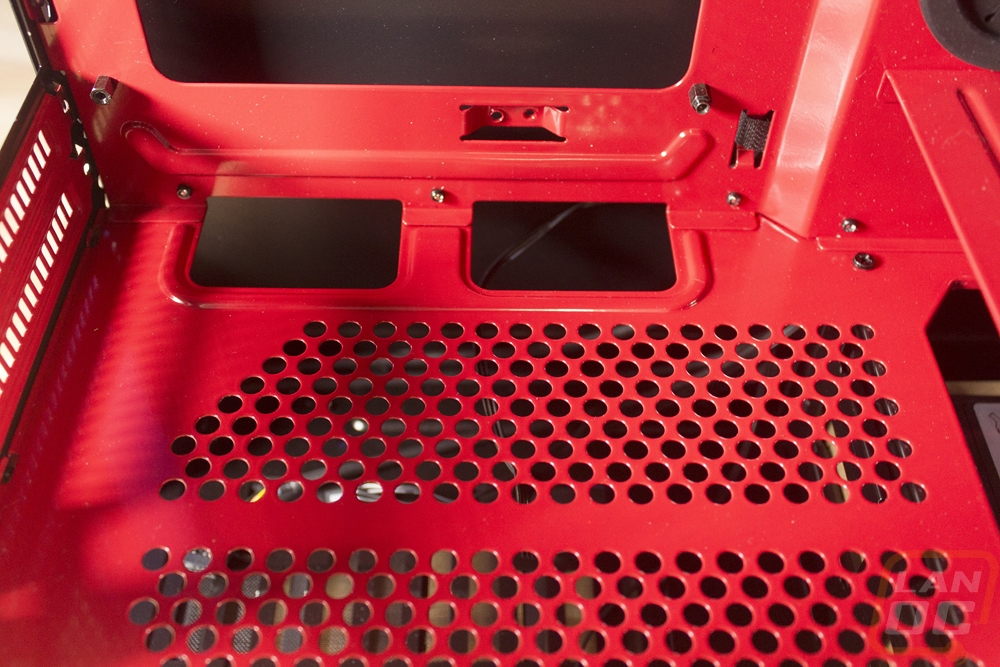
Speaking of the power supply compartment here it is. It's interesting that Phanteks left enough room for you to still see the side of the power supply in the front but not big enough of a hole to install it that direction. This is just to show off the make and model of your power supply I guess. I would be fine without that though. On top of this enclosure, you have a bunch of ventilation and the two holes I mentioned by the bottom of the motherboard. There is also a hole under the cage that goes around the video card as well to get your power cables up to it.
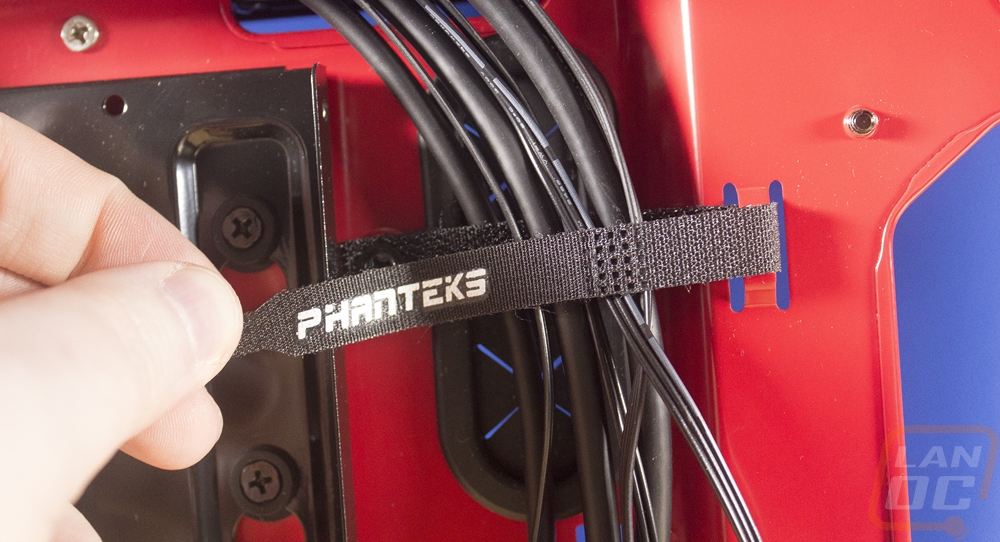
I really like what they did for cable management on the back of the case. So the right side of the back where the motherboard is installed doesn’t have as much room between the side panel and the tray. But just to the left, they opened up room. You can run cables up directly from the PSU enclosure to the grommeted holes and they even have two Velcro straps to help keep everything cleaned up when going up or down.
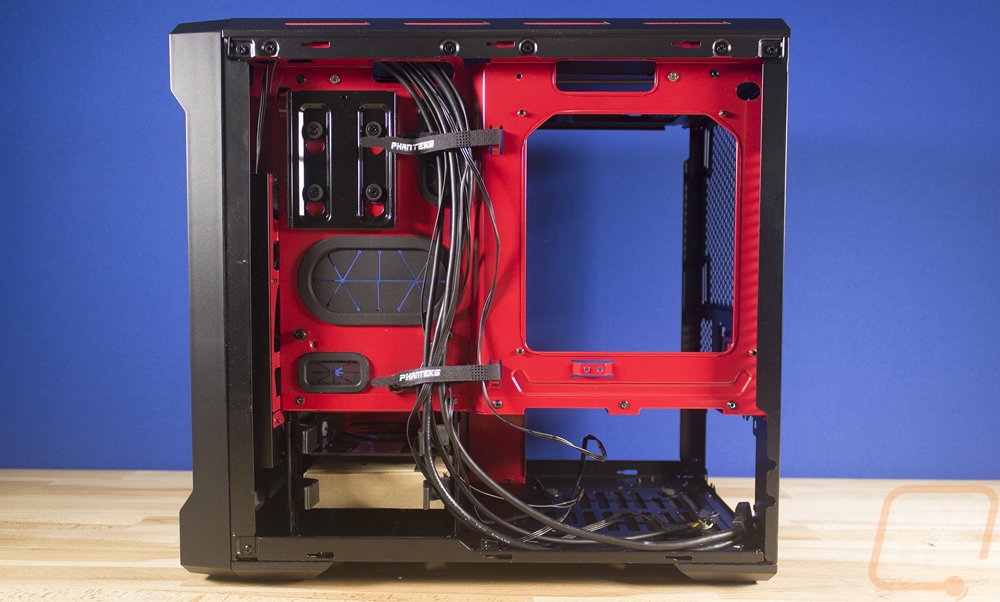
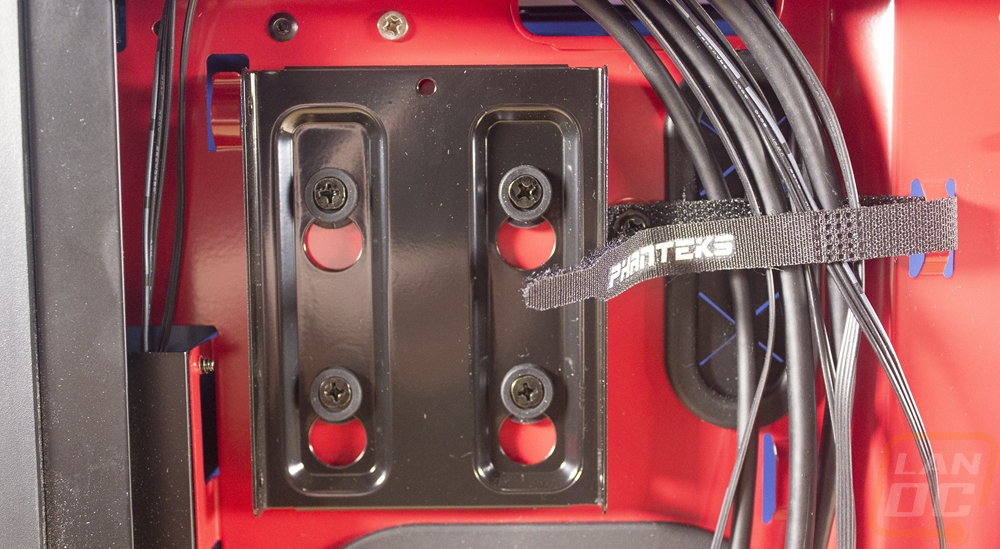
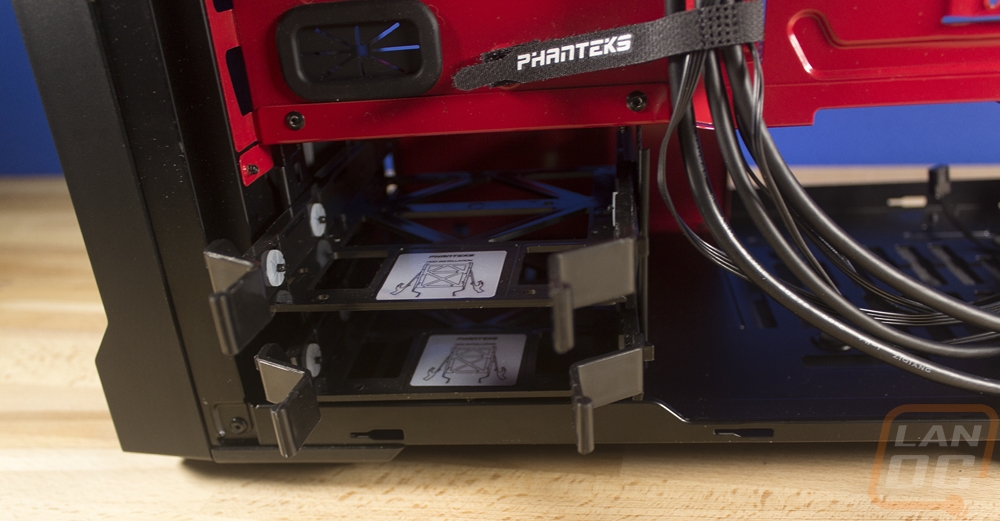
Back here we have the main drive mounts. Up top, there is a metal bracket that comes off for a single 2.5-inch drive. It is mounted on rubber for vibrations should you use a laptop hard drive. Then down at the end of the power supply enclosure, there are two pull out plastic 3.5 inch hard drive trays. They are toolless when used with 3.5-inch drives and they also included holes to screw mount more SSDs if needed.
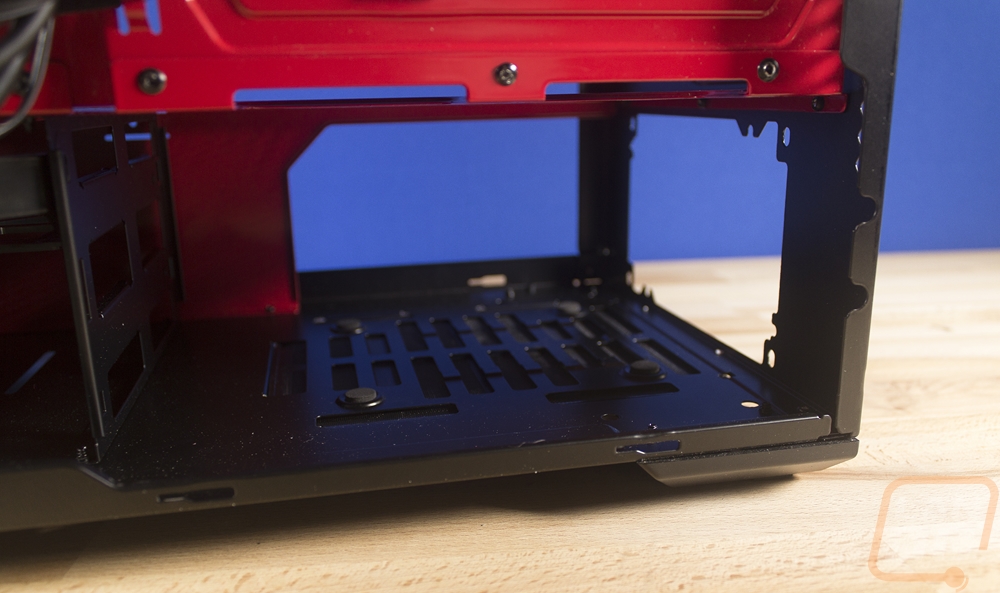
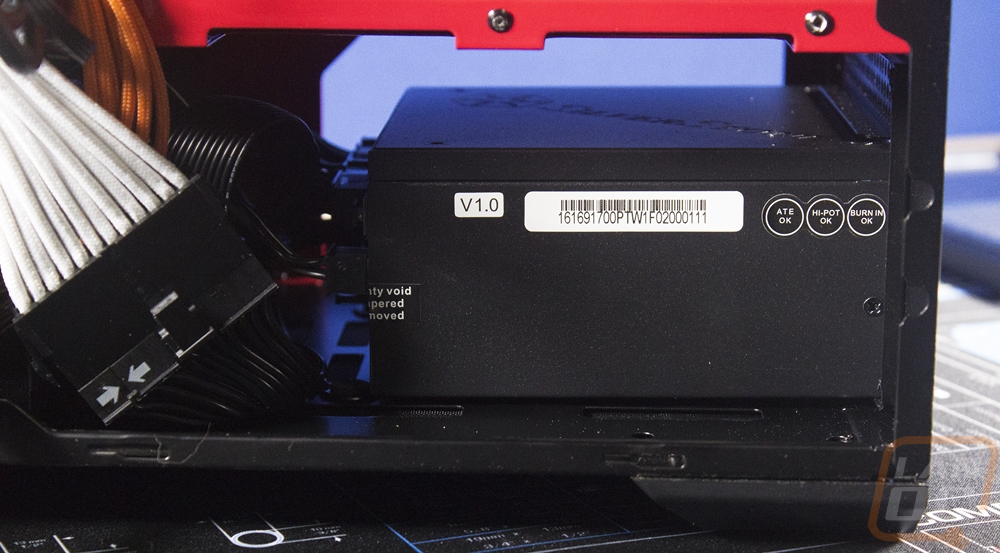
This is the back access to the power supply enclosure. This is the only direction it can be installed. Oddly enough Phanteks didn’t include the max length for a power supply that will fit. There isn’t a ton of room but any normal length ATX power supply will fit. I just wouldn’t try to fit a 1000+ watt model in here, not that you would need it. There is filtered ventilation on the bottom for the PSUs intake fan to keep it running cool and dust free.
Installation and Performance
For testing, I grabbed an ITX setup I had in the office consisting of a Z270 Gigabyte motherboard, i7-7700K, Noctua cooler, and HyperX memory. That was all put together already, it dropped right in. From there I had a hard time finding a power supply that wasn’t in use. I ended up having to use an SFX power supply and a few extension cables because of how short the SFX cables are. The Tiny SFX power supply went in and had a lot of room around it, though like I mentioned before I wouldn’t try to pack a long ATX power supply in that space.
For a video card, I was originally going to use a Gigabyte GTX 1060 9Gbps card but I found out quickly that the 2 and a half slot wide card wouldn’t fit in this case at all. So keep that in mind when card shopping, nothing beyond a dual slot is going to fit at all. The cage that goes around the video card worked well but I have a feeling tall cards may run into issues with clearance for their power cables. As for wiring everything up, it actually went really quickly. The are grommeted holes on the right make quick work of most things and I was able to slip things like the 8 pin in from the holes above the board. The Velcro straps around on the back side helped a lot to get everything cleaned up as well. There wasn’t much too behind the motherboard tray but you can run everything up to the area next to it with the Velcro straps to hold it all in place.
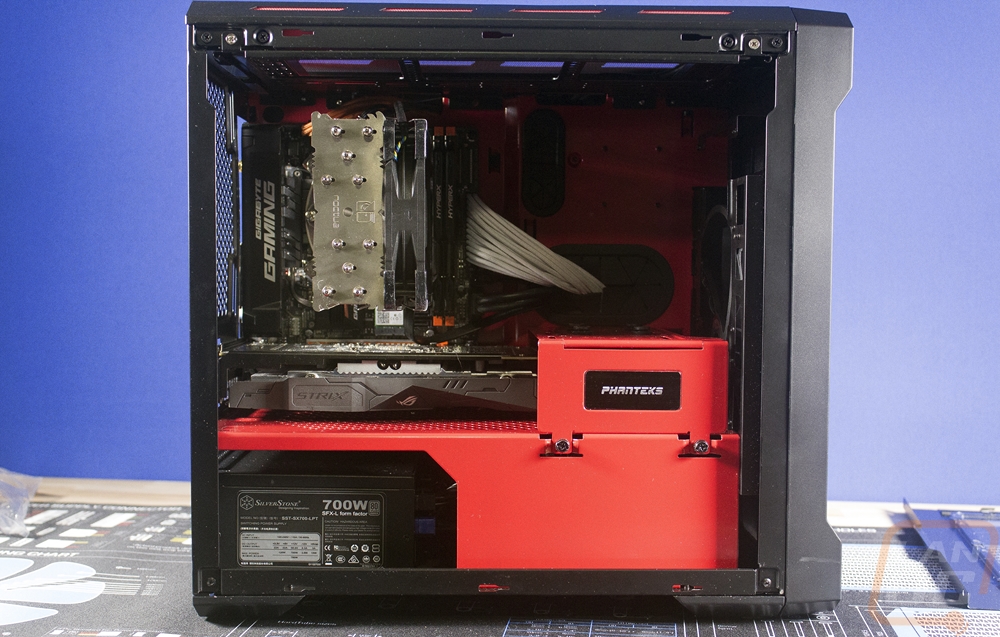
With everything build, I was really loving how it all looks. The side window made it easy to see that good looking red interior and all of the wire management kept it all looking clean. All it is missing is some white or red interior lighting to set it all off.
Here is the front power indicator light, it does light up red to match everything else.
The cooling performance of the Elvolv ITX wasn’t too bad in our air cooled configuration. The 200mm fan up front did create some airflow but for the long term, I would most likely be looking to add a rear fan or even considering water cooling using a dual fan setup up top. Because of the single 200mm fan, the overall noise of the case was quiet though I will mention that because of its price point the metal used in the case is very thin so if you pack in a noisy cooler or video card the Evolve ITX isn’t really going to help keep that noise under control.
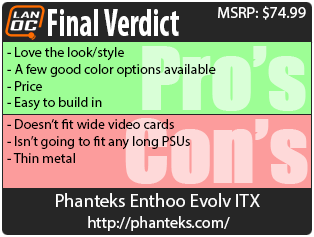
Overall and Final Verdict
Prior to getting the Phanteks Enthoo Elvolv ITX in, most of my experience with their brand has been just seeing people using their cases online and at events. It’s crazy to think that Phanteks cases as a whole are relatively new to the market when you see how popular they are. But now that I have built in one I can completely see why people like them. I really dig the look of the Evolv ITX, the dogbone shape adds a unique style without being weird or over the top and beyond that, they just aim to make a clean case. The interior layout works well with the exception of the lack of support for the recently popular 2 and a half slot video cards and the relatively short PSU space. The red accents in the red and black model they sent over is really eye catching but I think even the all blacked out model or the white with black accents model look good.
Overall the form factor was really easy to work with while still being small. It isn’t one of today's tiny ITX cases but for someone who doesn’t need their case to fit in a backpack, it will do the job. Coming from an ATX or mATX case it is also going to save you some room on your desk as well. But I think it’s the price that really works here. The MSRP is $74.99 but right now you can get this red version for $59.99, that’s a hell of a deal. The case has the features of the higher end cases and looks more expensive than it is. They did save some money by going with a little bit smaller gauge sheet metal for the case but unless pressing on the panels you don’t really feel it. Because of the metal gauge, the case weighs less, so I guess that is a silver lining. I have some more testing in the works with this case and a few Ryzen configurations. Past that I will be looking for an excuse to put the Evolv IT to use.
Live Pricing: HERE


