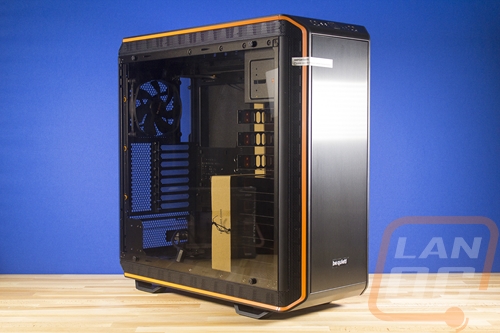
Inside
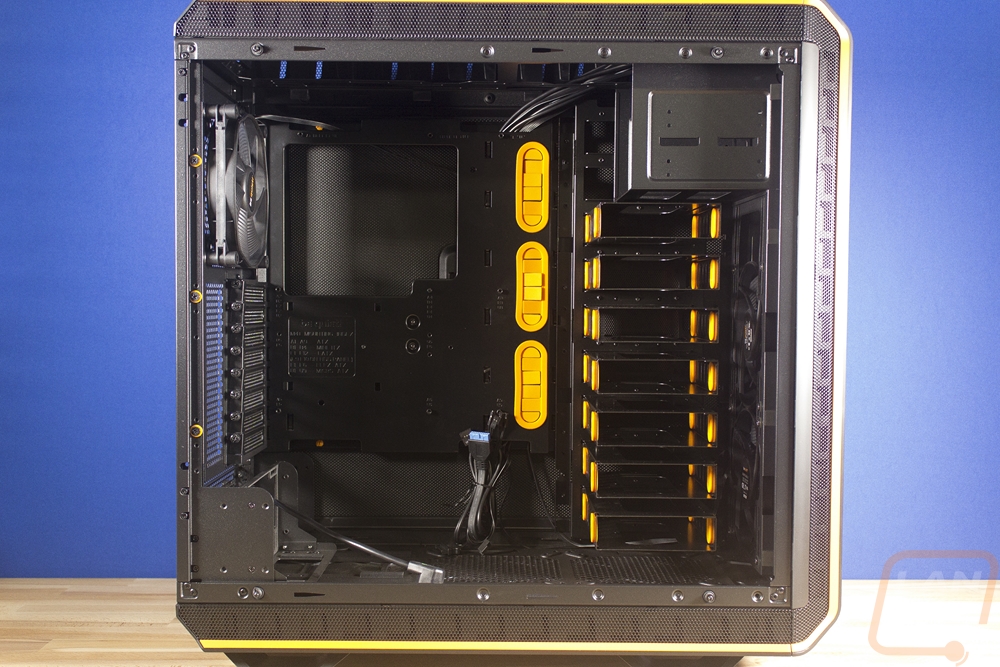
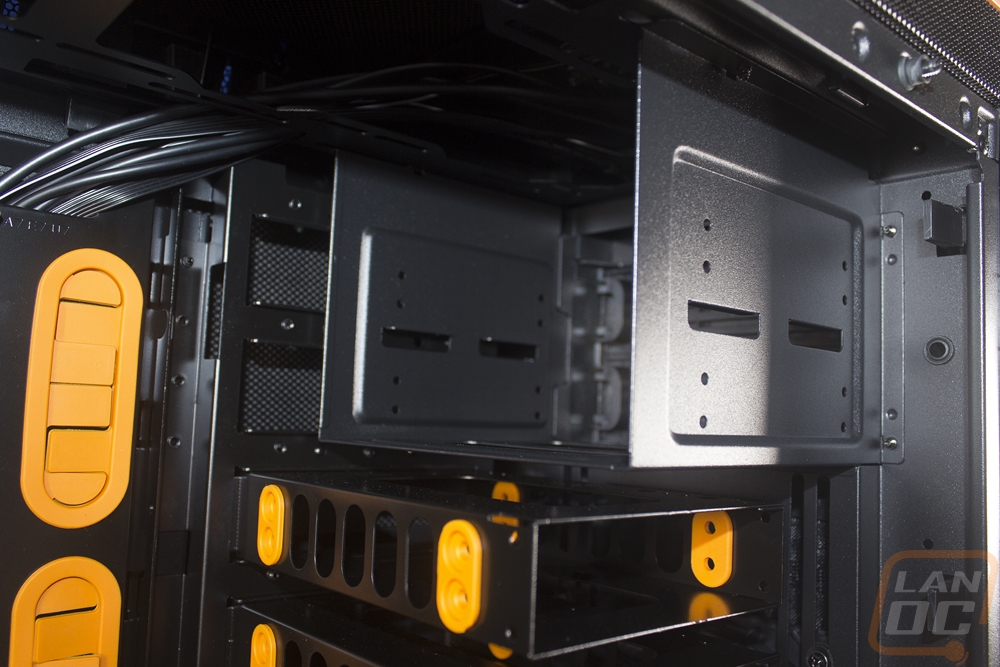
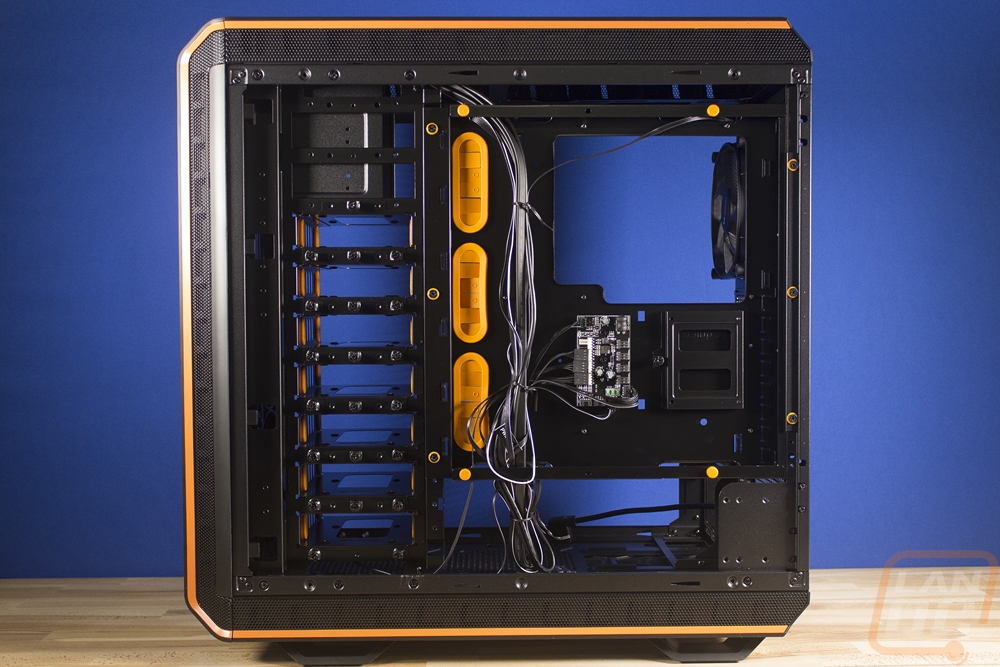
With the glass side panel off we can see just how much space we have to work with in the Dark Base Pro 900. Remember the motherboard tray does have a list of options for modularity including being flipped all the way around to face the other direction if you want. With the stock layout, it leaves enough room for the power supply down at the bottom without the power supply getting in the way of any of the PCI slots on a full-length board. The layout as the case ships is actually very traditional with the 5 ¼ inch bays up in the top right and the rest of the right being filled with hard drive bays. Most cases these days have a lot less for hard drive options, people who are looking for lots of storage are going to love this case.
So up top in the case, there are mounting options for both 120mm and 140mm fans and you can fit as many as three wide of either size if you remove the drive bays to make room. The gap at the top for a radiator is a little tight with the motherboard mounted where it currently is though. The rear fan that comes with the case isn’t your standard cheap fan, Be Quiet! included one of their 140mm SilentWings 3 fans, a high-quality fan. It is mounted as an exhaust fan in this setup.
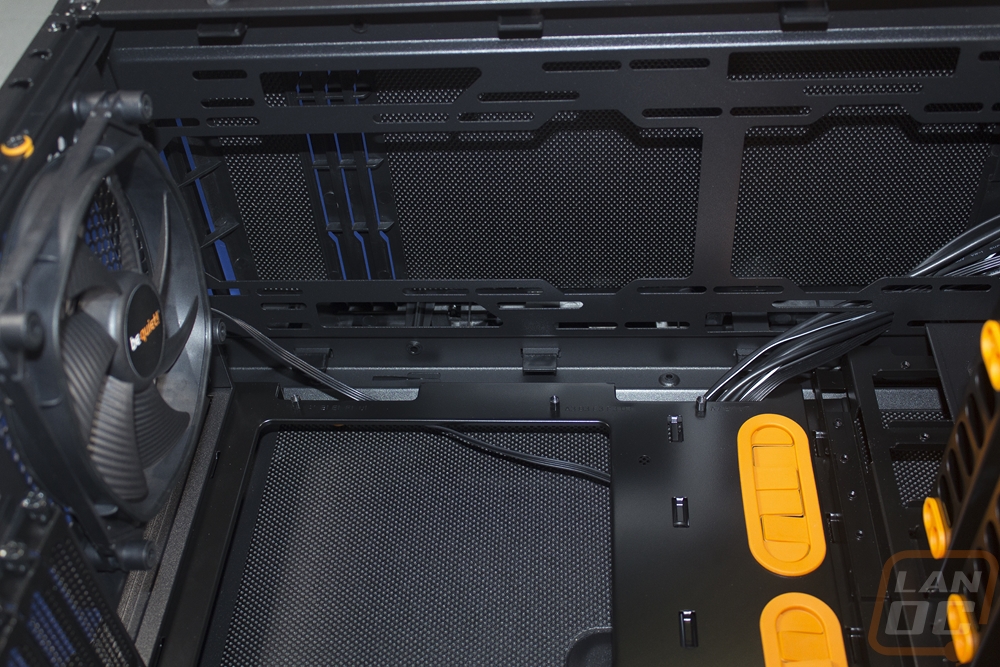
The 8 PCIe slots all have vented covers as well as the vented area just above the PCI slots for more airflow for your video cards.
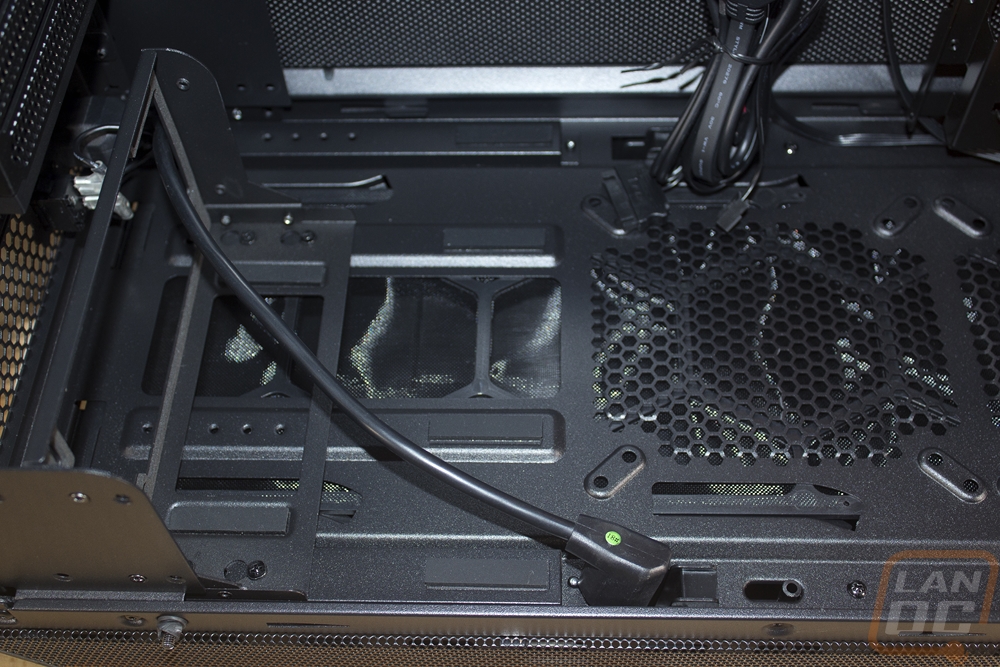
So this is the power supply configuration. This is a modular design as well, it can move between three spots. Then, of course, you have the power cable inside that plugs into the power supply and feeds it to the switch and plug on the outside of the case. You can see that below the PSU there is a filtered air vent and the bottom of the case also has two more 120/140mm fan mounts depending on how long the PSU is as well as the bottom hard drive cage.
While the case does have an old school configuration it does have some wire management holes in the motherboard tray. Frankly, how could you miss them, the Orange model has bright orange grommets in the holes.
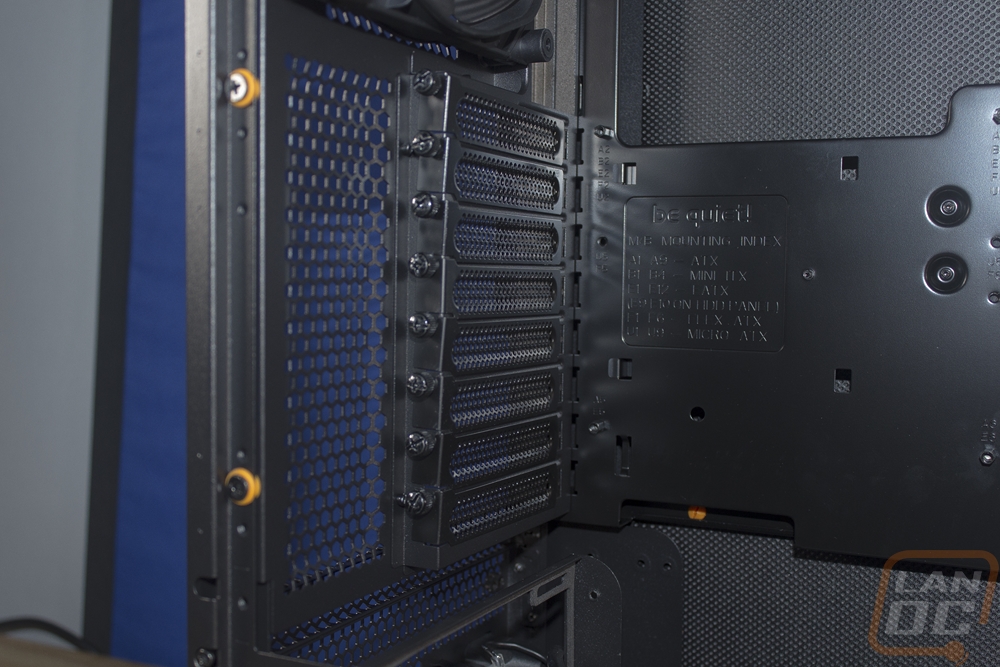
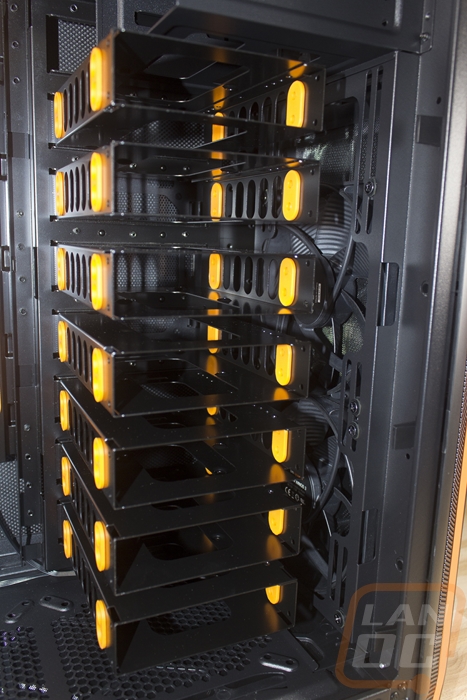
So on the right side of the interior, you have two 5 ¼ inch bays up top and then 7 3 ½ inch hard drive cages. The top two bays don’t have any toolless mounts or anything, sticking with traditional screws. The bays are removable with four screws in the front and two up top and if you look closely the hard drive cages can actually be mounted up in place of the drive bays. Speaking of the hard drive cages, they are a unique design. Unlike old school hard drive cages, each of these cages holds just one drive and they are spaced out in a way to get airflow over each drive even if they are all used. They have four bright orange rubber mounts where you can screw mount the hard drives while cutting down on vibration and noise. They also have vents cut into their sides for airflow as well. This is aided by the two 140mm fans included on the front and the three 120/140mm fan mounts across the front if you don’t use the drive bay up top.
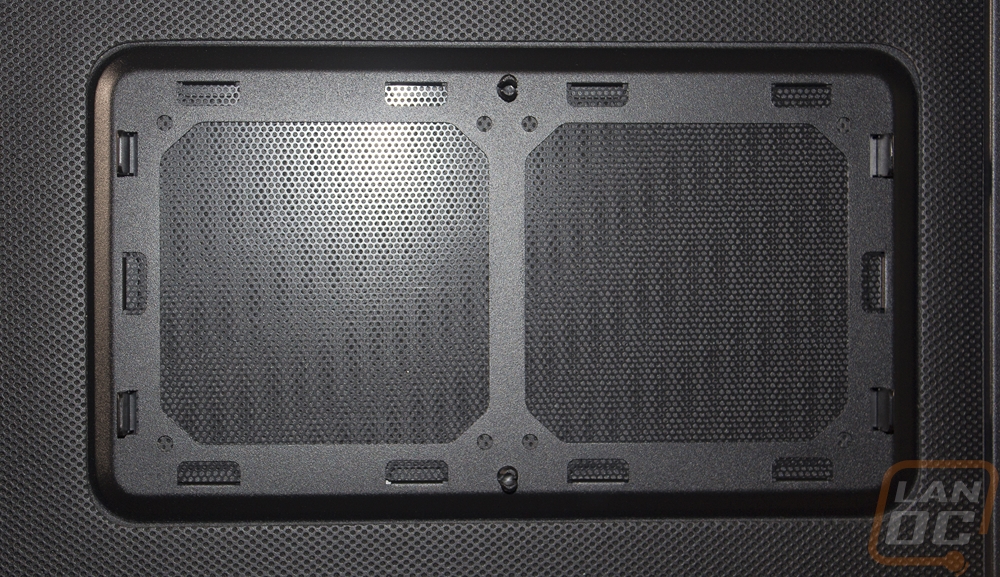
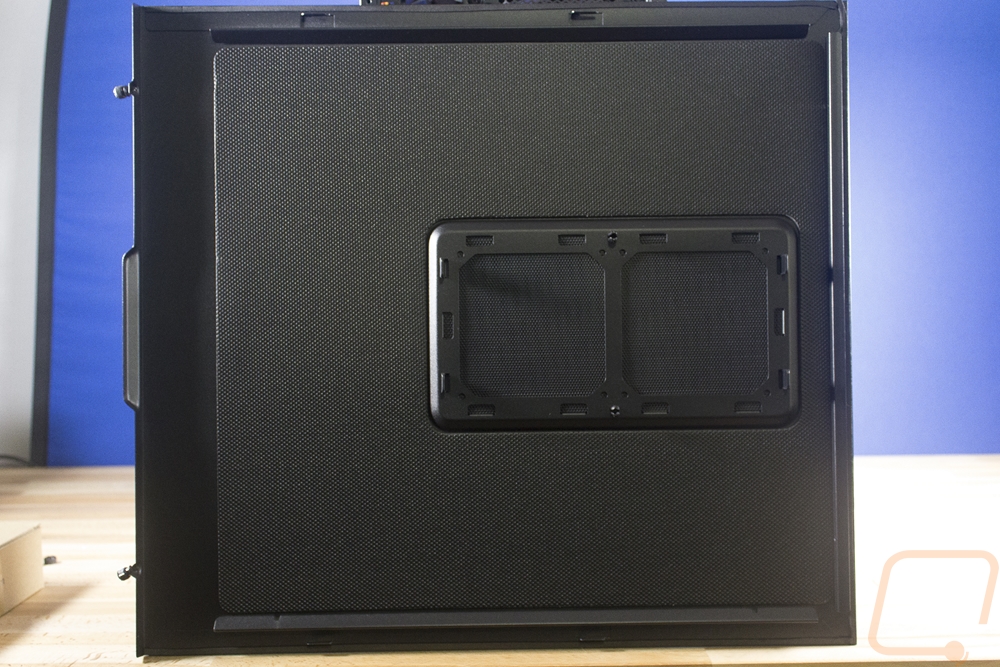
Moving around to the back, when I pulled the side panel off I was blown away by how heavy it was. You would think the glass side panel would be the heaviest but it wasn’t. This panel is a thick gauge steel and then the inside is covered in a thick sound dampening material, just like the inside of the front door. The back side of the door also gives us a better look at that removable panel as well that can be taken off to add airflow. The specifications don’t list these as fan mounting locations but you can see the fan mounting holes. I’m just not sure you could fit fans between it and the frame, nor would I want to have wires running from the side panel back into the case.
With the panel off we get a better look at the back side of the interior. There is between a half inch and ¾ of an inch of clearance between the framing and the side panel, so things are a little tighter than most of the modern cases, but it is still doable. The main thing that stands out though is how open it is to the other side. The power supply area is completely open as are all of the hard drive cages and then, of course, the grommeted holes for the motherboard. There is also a huge hole for access to the back of your CPU for installing cooling.
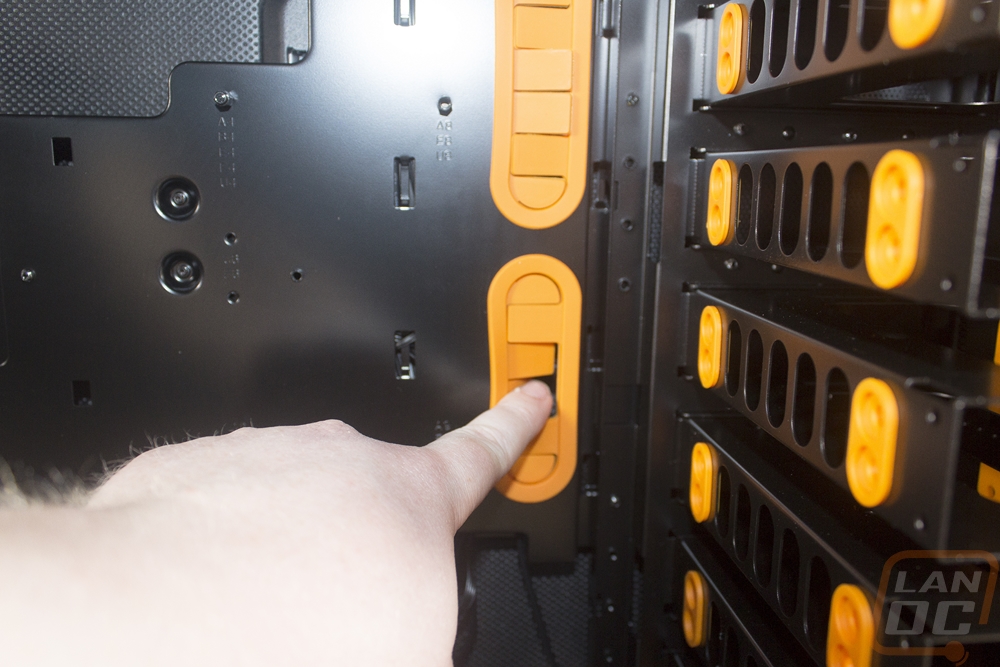
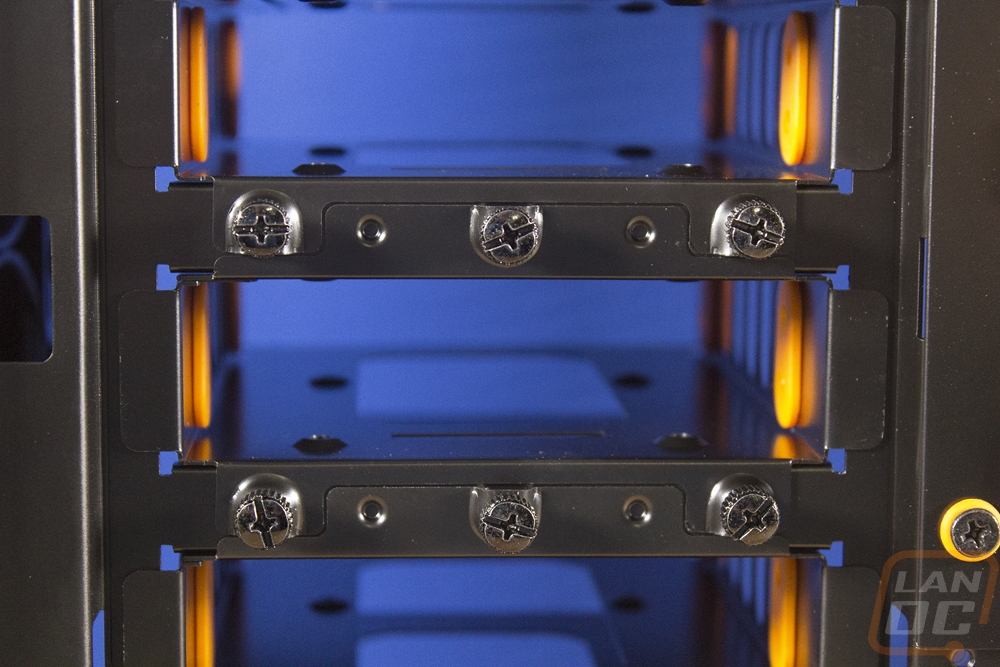
Back here we can better see how the hard drive cages can be modular as well. Each cage has three thumbscrews holding it in place, one up top and two at the bottom. Removing those and you can slide the cage right out. So if you only need one or two you could remove the rest, opening up room for water cooling.
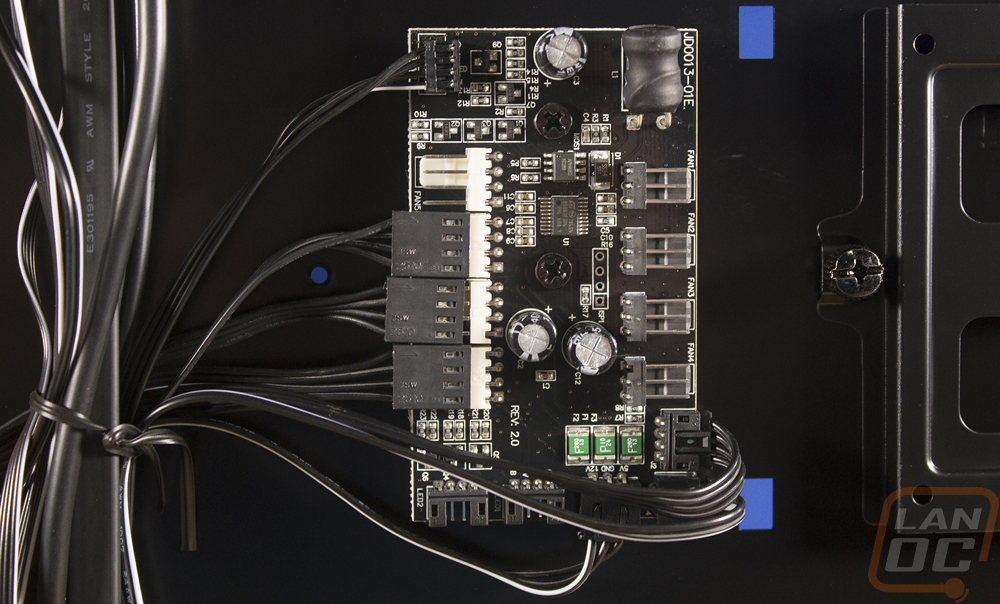
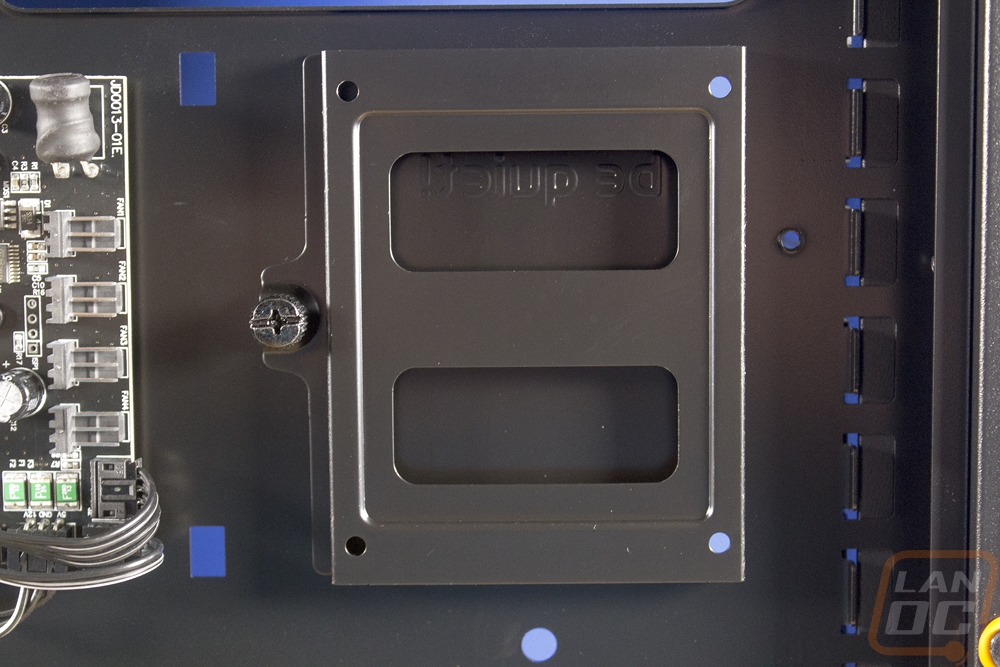
Also on the back of the case, you can find a small PCB control board. This powers the three installed cooling fans as well as one more PWM fan and four 3 pin fans. There are also hookups for lighting including the two PCB based white LED light strips that were included with the case. Next to the PCB Be Quiet! also slipped in one 2.5 inch drive bay for an SSD. With this one, you can use the thumbscrew to pull the tray off then mount the drive to the tray and reinstall.