Packaging and Assembly
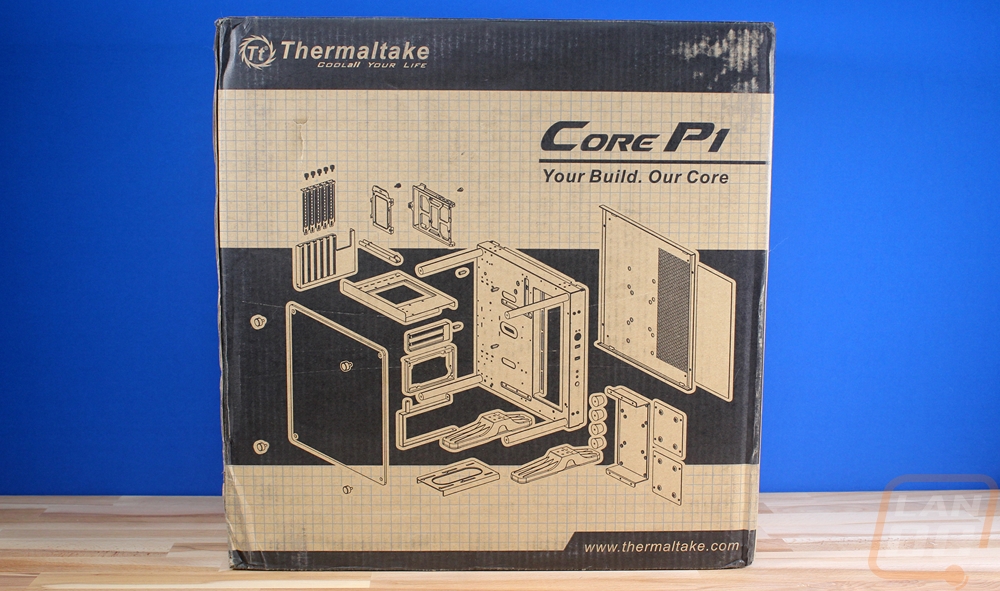
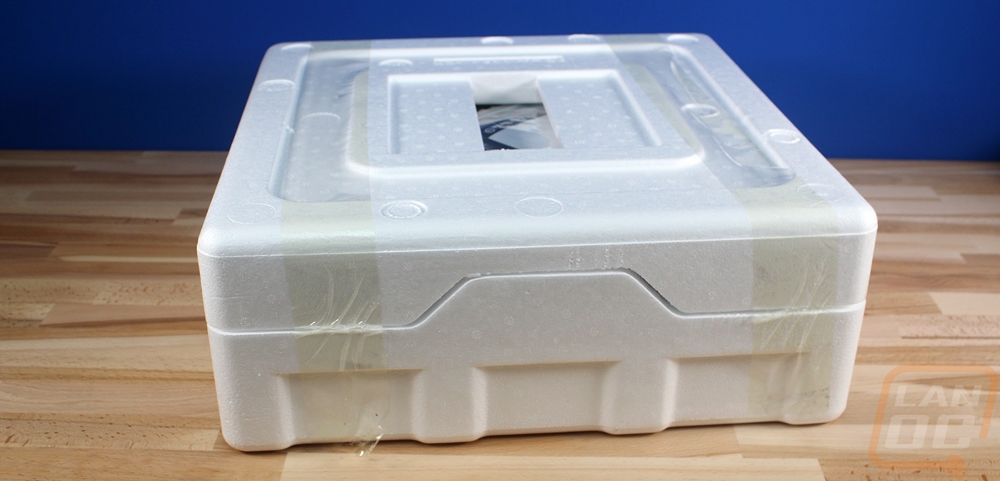
The box for the Core P1 was a little unexpected. I’ve seen the other Core P cases so I knew they shipped flat packed, but I was surprised with the brown cardboard look though it isn’t a big deal or anything. The front of the box has a blown-up drawing of the case that shows all of the components and variations. When the box came in my wife brought it in and we were both really surprised by the total weight of everything, the Core P1 is a Mini-ITX case that comes in at just under 21 pounds and that doesn’t include the extra hardware that is also in the box.
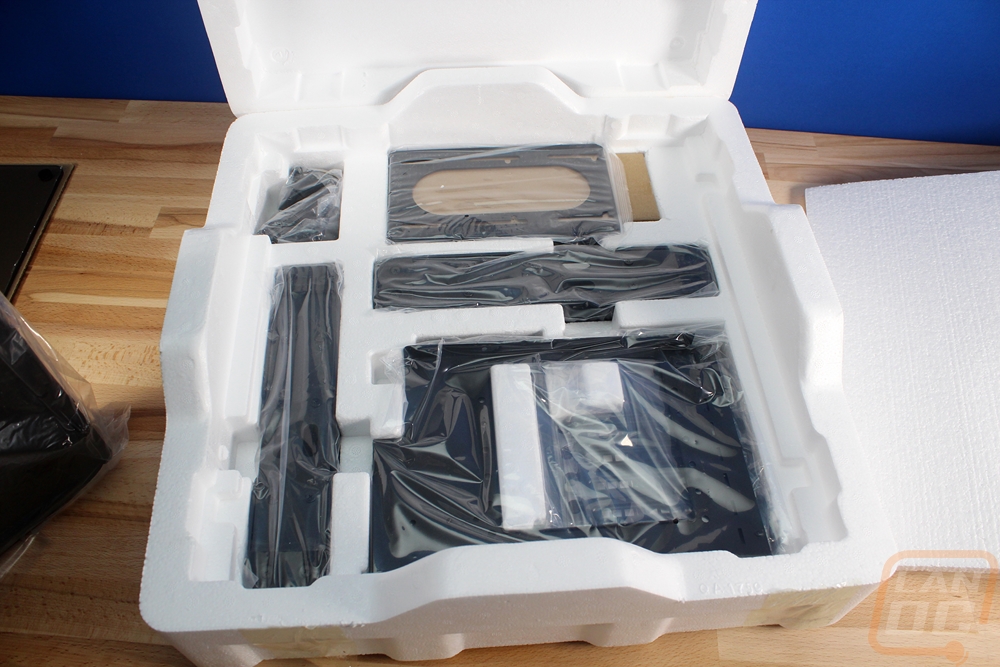
Inside everything is wrapped up in one big foam clamshell with tape holding it all together. When you open it up the main piece of the cases it up on top with foam between it and the tempered glass panel. Up under that, you can see all of the other accessories are all there for things like the power supply mounts, the two different video card mounts, and the feet.
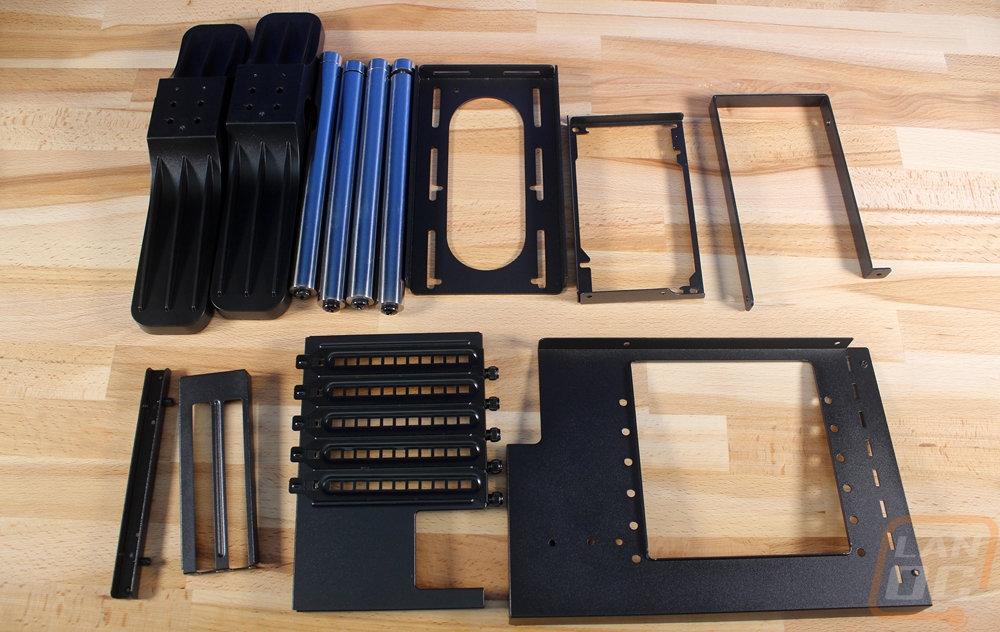
Here are all of the other parts are including the four standoffs that hold the glass that were in their own small box inside of the chassis when I dug into it.
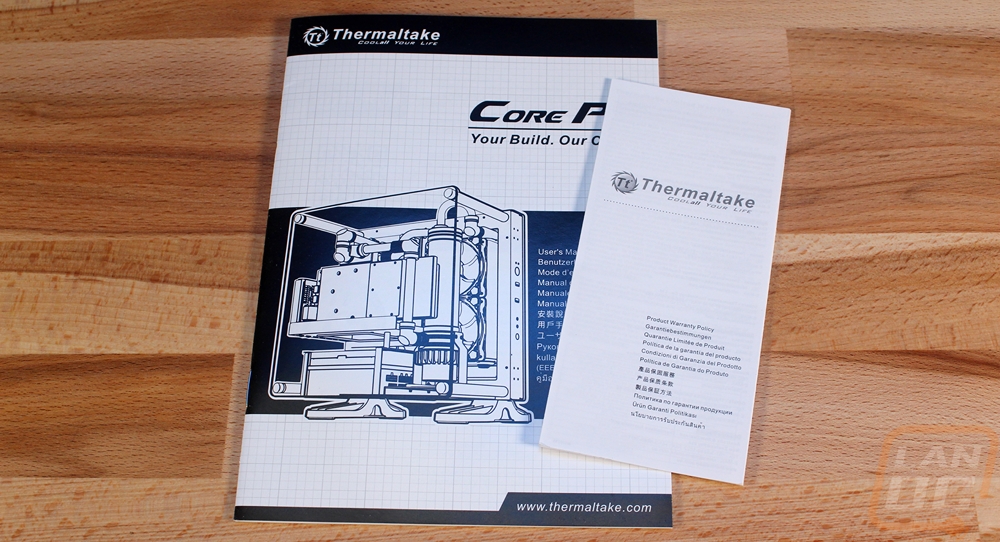
For documentation, you get a small warranty paper and a full user manual.
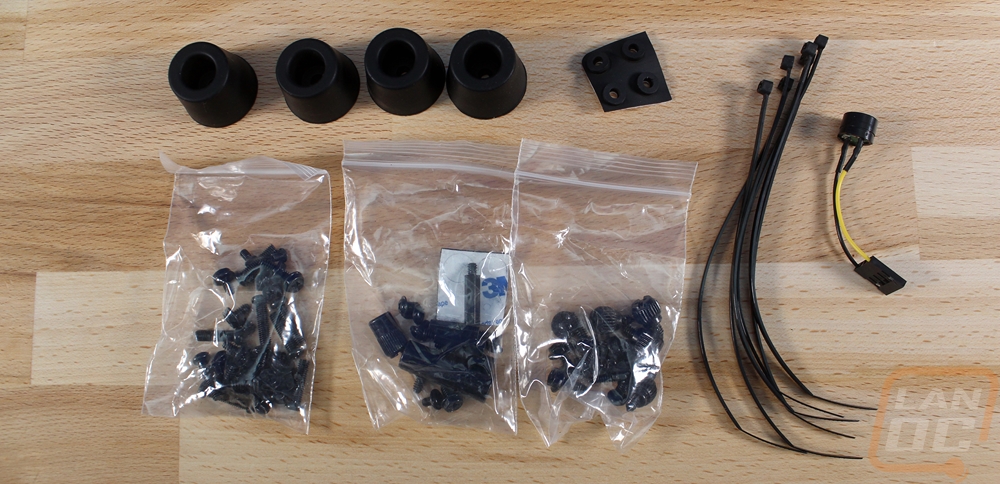
Because you have to build the case before building your PC the Core P1 comes with more screws than the average case. You get three bags of screws, zip ties, and a motherboard speaker. Then there are four large feet and four tiny feet, these are for use when using the Core P1 as a wall mount or if you flip the case on its back the feet hold it up for airflow.
So before I check out the case itself or even considering building anything in it I had to get it put together a little. I saved things like the PSU mounts and the two different PCI bracket options for when I build the computer itself. But I needed to get the feet on the bottom. They bolted on with just four screws each into pre-threaded mounts. Then from there I just had to get the glass on. You mount the four pegs using one large screw from the back each peg. The pegs weigh a ton to help offset the weight of the case. Once you get the pegs on you hold the glass up and screw the end bolts on to the pegs to get it all together.