Typically when it comes to open air cases you have crazy one-off builds that are really only useful for tradeshows and then you have testbenches. The testbenches are normally plain looking and lack much more than the ability to add a fan or the bare minimum components needed for a testbench. A few years ago Primochill introduced their Wetbench line and they have revised it to the current iteration with huge changes in the design. I’ve been following it for a while but its allure finally got me after seeing it all over the internet on tech YouTube channels and websites so I reached out and surprisingly they were happy to send over a nice orange and white Wetbench for us to check out. If you follow us on Facebook or Twitter or my personal Instagram you have most likely seen the Wetbench in action recently. Well, it's about time to sat down and spoke a little about the overall experience.
Product Name: Primochill Praxis Wetbench
Review Sample Provided by: Primochill
Written by: Wes
Pictures by: Wes
Amazon Affiliate Link: HERE
|
Specifications |
|
|
Dimensions |
Length (Foot to Foot) | 461.8mm Width (Front to Back | 483mm Height (w/ GPU Bracket) | 440mm Height (w/out GPU Bracket) | 330mm |
|
Compatibility |
Motherboards: mITX / mATX / ATX / eATX Optical Drive: 2x 5.25" drives (can support dual 5.25 bay reservoirs) Storage Drives: 4x HDD/SSD (up to 3.5" supported) PSU: ATX PSU (up to 300mm supported) Switches: 2x 22mm Radiators:120mm through 360mm / 140mm though 280mm (thicker rads mount outside) |
|
Materials |
Frame: Powder Coated Steel Accent: Acrylic |
|
Parts Included |
Test Bench Accent Kit Assembly Hardware 2x Momentary Vandal Switch - 22mm -Black 4 x 2-Pin Switch Cables Installation Guide |
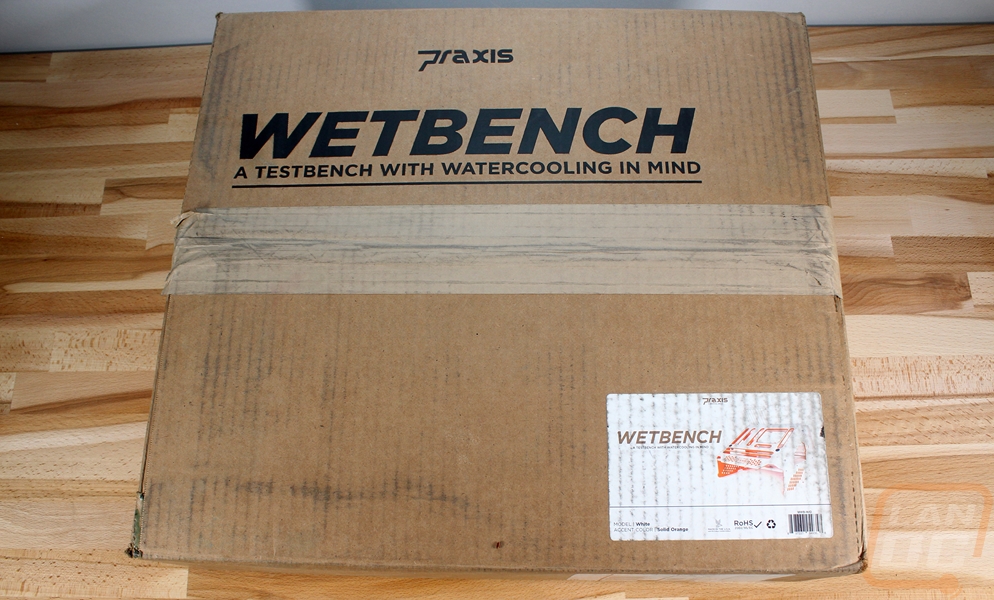
Packaging and Assembly
So the Wetbench comes flat packed in a cardboard box but the box does have Praxis Wetbench on it as well as a sticker down on the corner with a photo of the bench in our specific orange and white configuration.
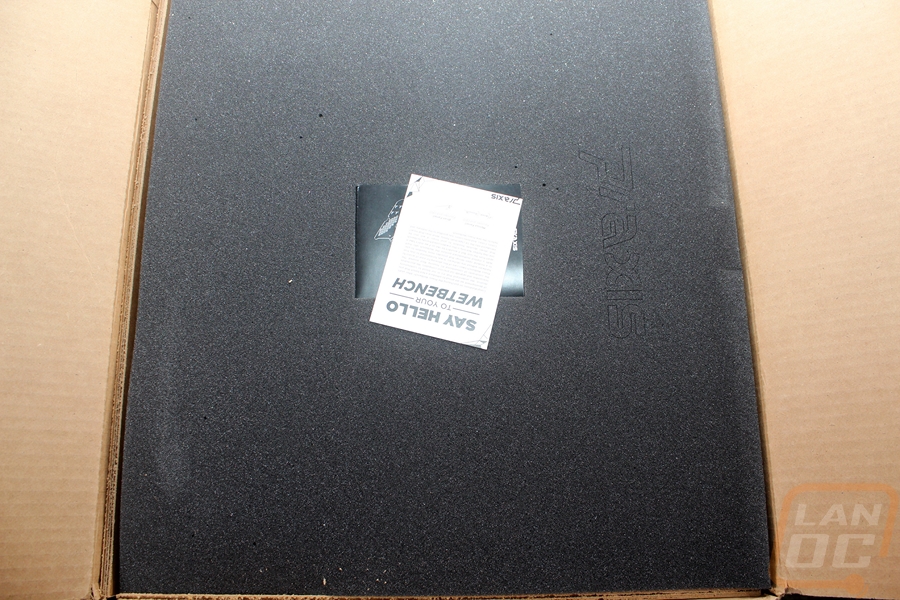
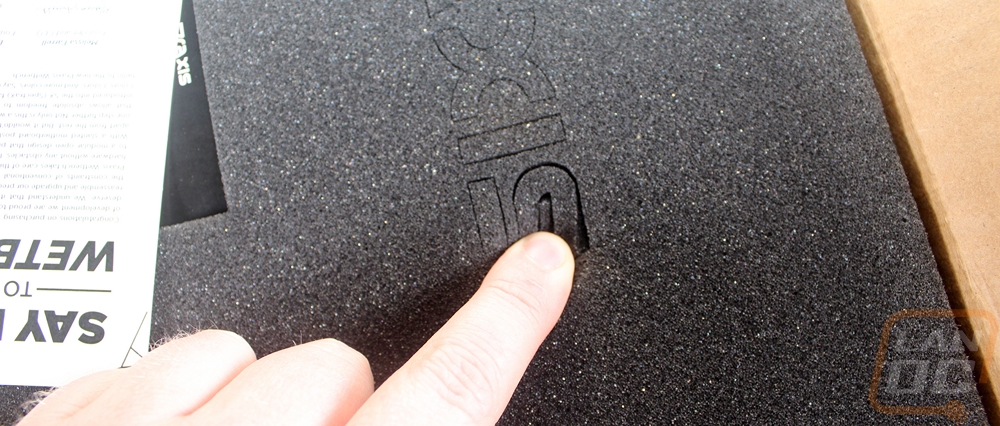
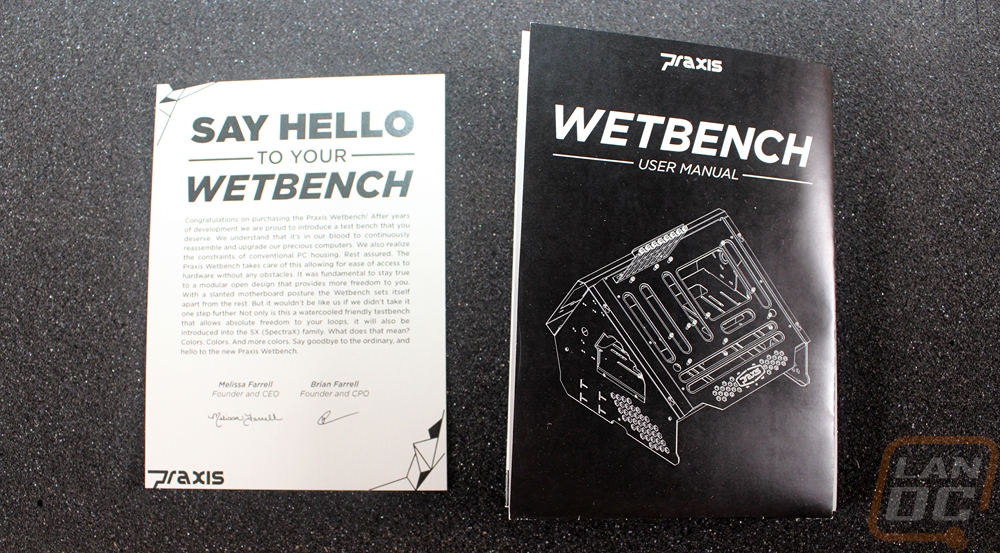
When you get the box opened up you will see mostly foam but in the middle, you have a user manual and a note from Melissa and Brian, the founders of Primochill and Praxis. Even in the foam they have also laser cut the Praxis branding as well, you can barely see it but it is a nice touch!
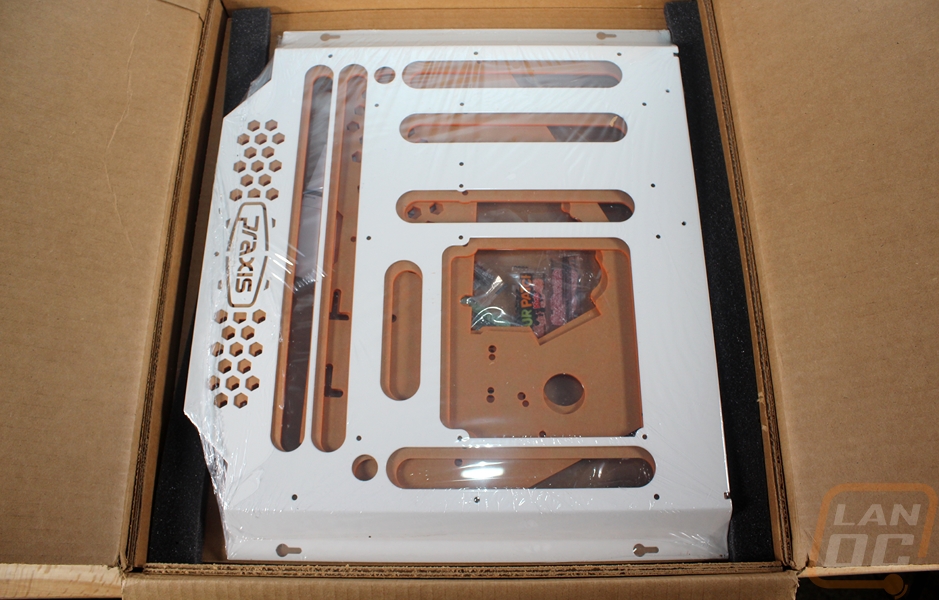
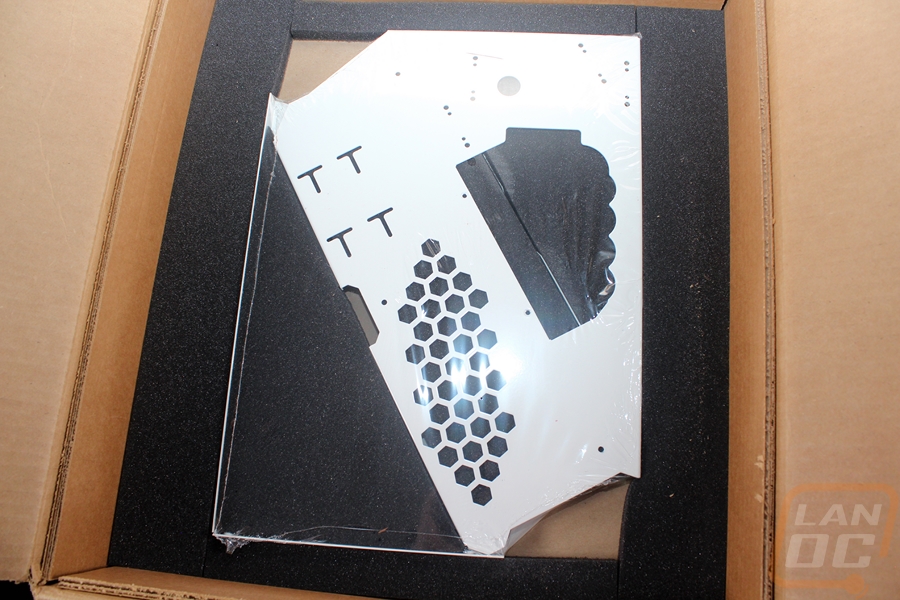
Up under the first layer of foam, you will start to find shrink-wrapped packs of components with the first being the top panel and a few of the acrylic orange panels. There is cardboard and foam between each layer and each component is meticulously packed sealed and in its own foam cutout. It is extremely impressive how well everything fits inside of the box while still being perfectly protected.
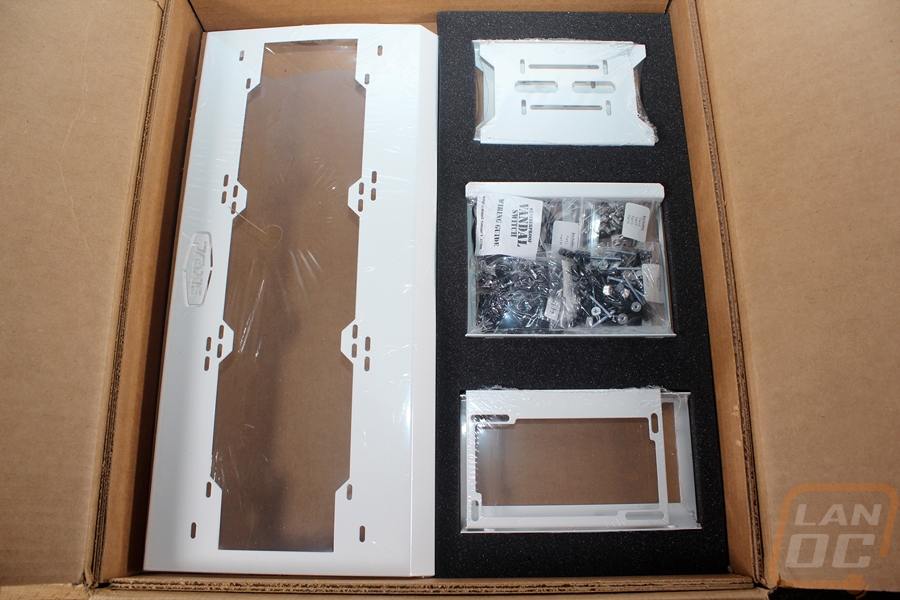
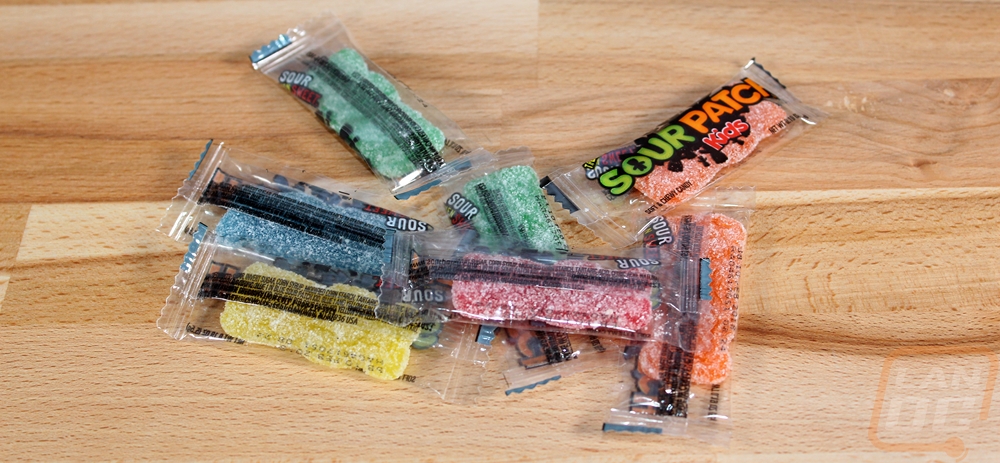
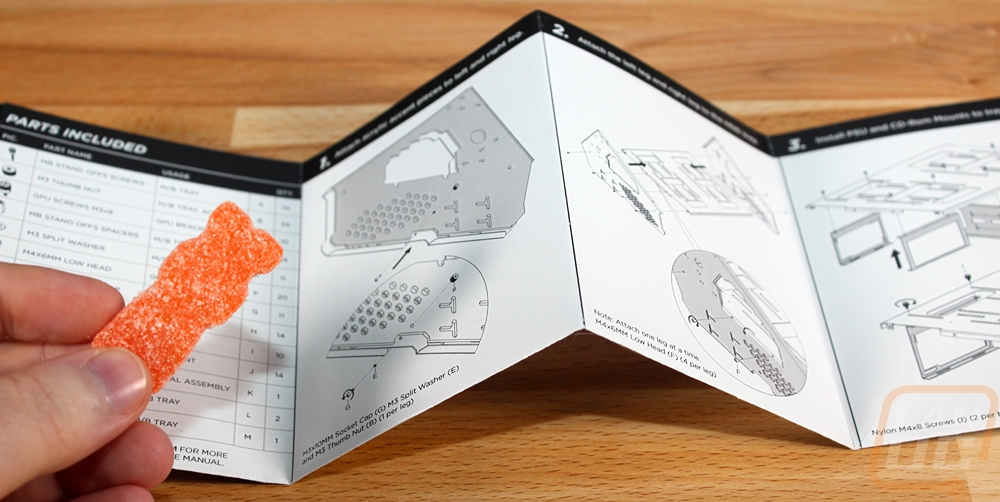
They even include a handful of SourPach kids candies with the case. So as I got ready to put everything together I busted out a piece of candy and the instructions and got started.
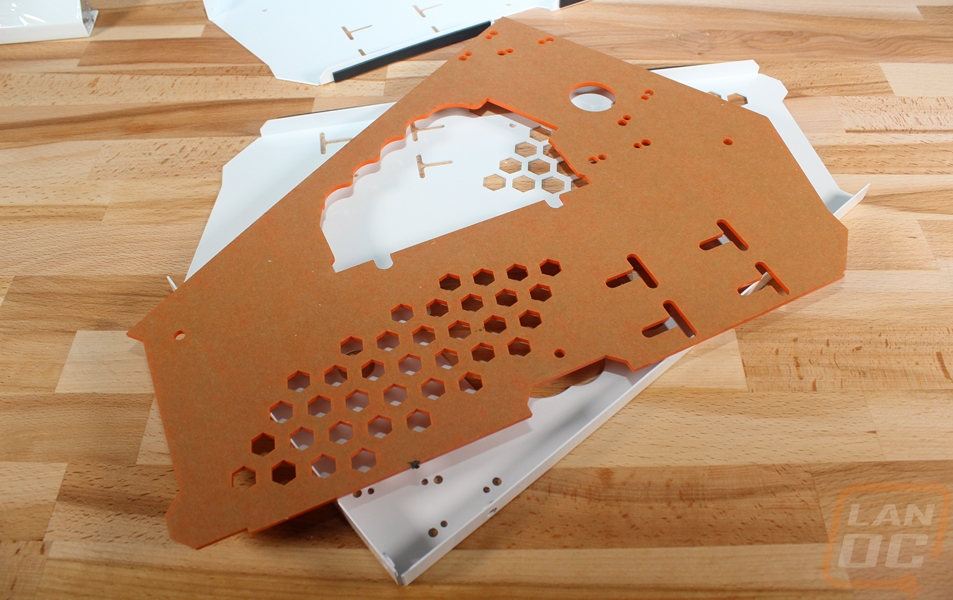
Having worked with acrylic before and even when putting our 3Dprinter together I had to deal with it as well. Each of the color accent panels has its protective paper/plastic film still on it. Be really careful when pulling these off, the edges as you pick at the paper will chew up your fingernails, plus you don’t want to damage or scratch the panels.
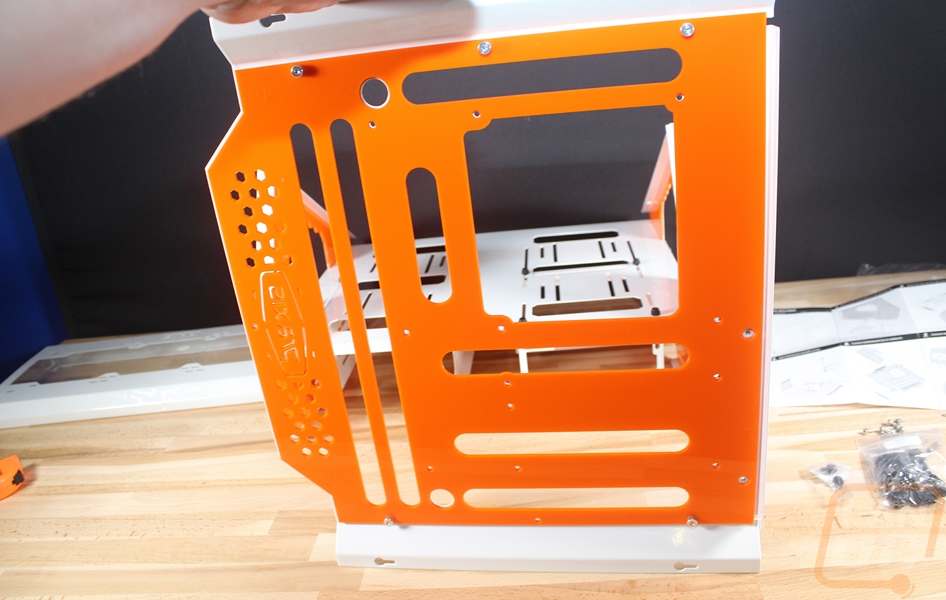
Getting the first few parts together is interesting. You first attach the acrylic highlights to the side panels and then getting the side panels on the bottom frame piece requires a little finesse. You actually have to slide it in with them parallel and then tilt it up as you slide it in to get it in. It is really tight and once you get it together I imagine this helps keep everything stable but I suspect there has to be an easier way. Once together though you use the included and well-labeled screws to get everything tightened up.
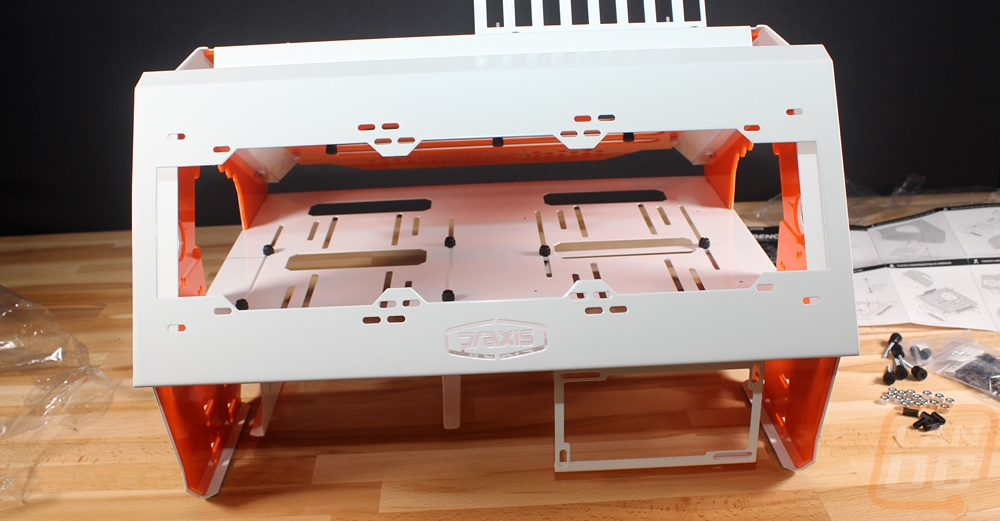
Next, before putting the top panel on you want to get the power supply bracket and hard drive brackets installed. They just use thumbscrews from the top in the multiple cutouts.
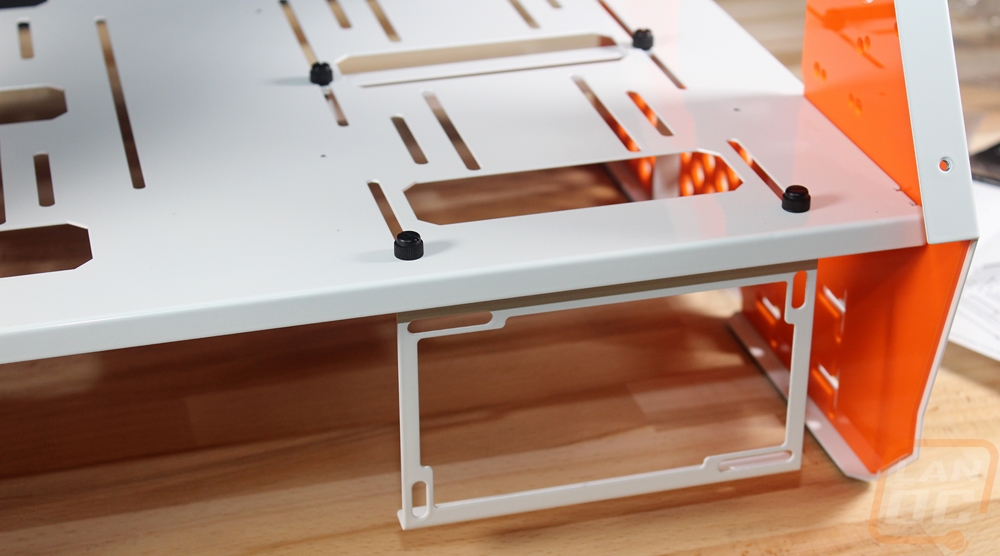
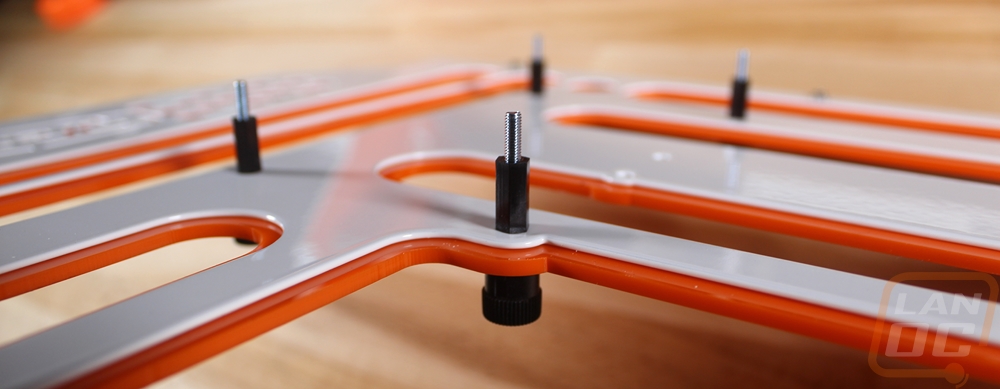
Then we have to prep the top panel by installing the accent panel up under it. Then you also install the motherboard standoffs. These are extremely long screws that run from the bottom up then you have a sleeve that threads down on the top that holds your board up and tightens the screw to the top plate. The last part of the top panel prep is getting the PCI bracket installed, it is held in place with two bolts. I kept them loose though so I could adjust the bracket to be correct with a motherboard and video card installed.
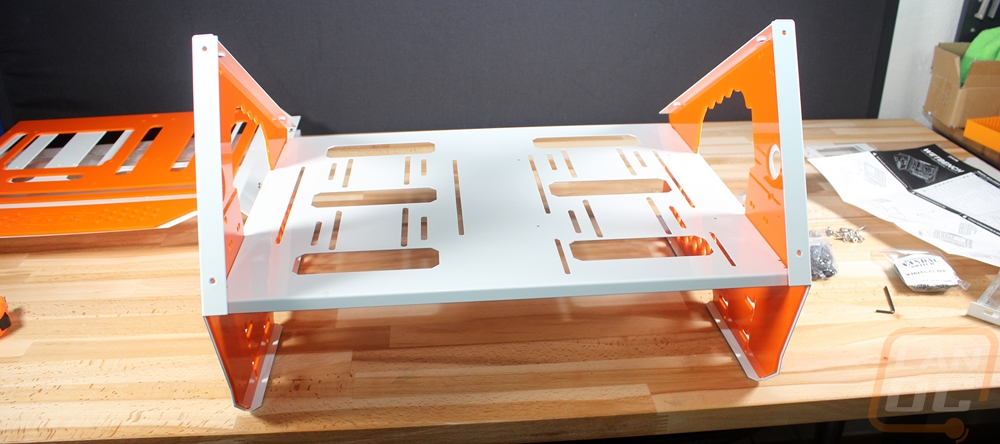
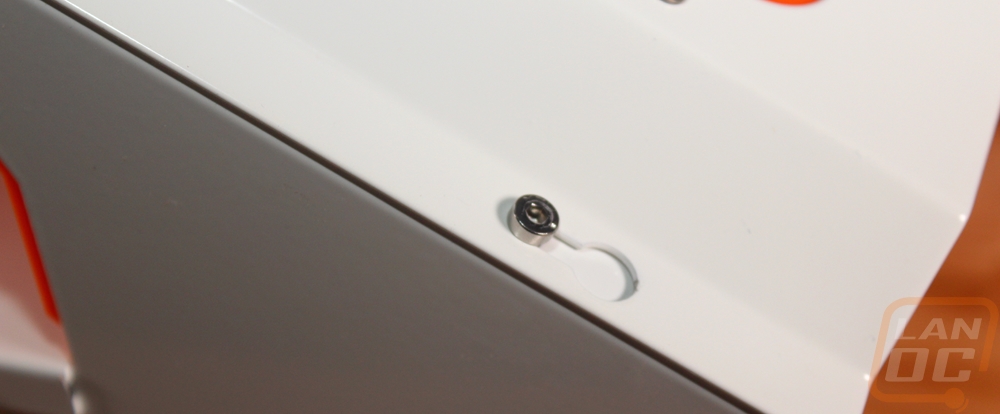
The top panel and the back radiator panel both drop right on to the case after you install these loose fitting bolts. You can tighten them down but they are designed to give you the ability to install and remove both often for easy access to the inside of the case and to swap out the motherboard. You can also buy additional top panels and keep your motherboard installed and just swap them out as well.
Photos and Features
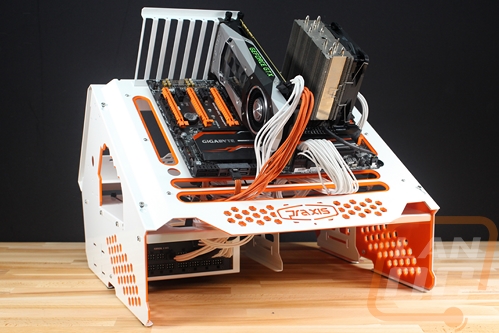
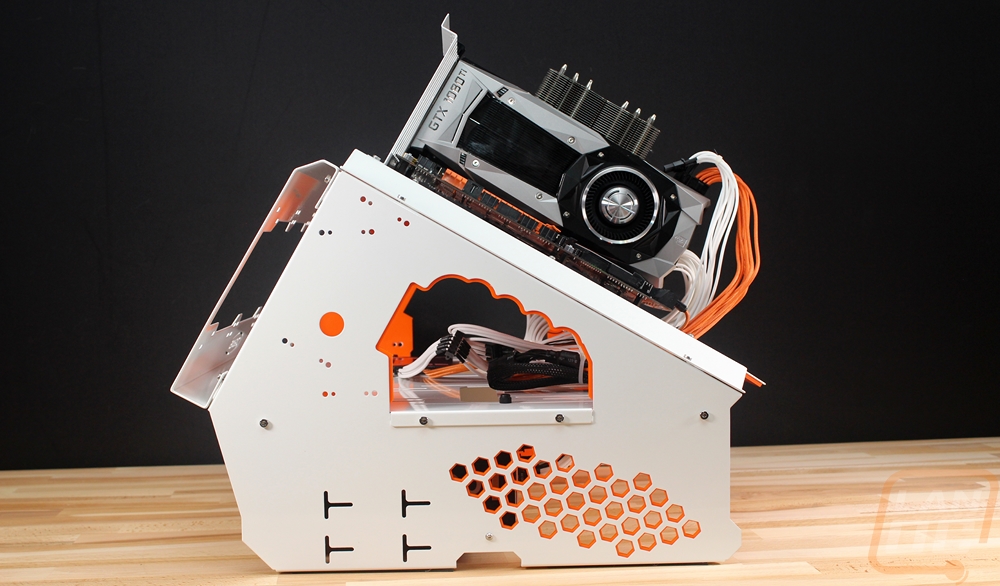
So unlike most of our case reviews, I don’t really have to take a look at the outside and inside of the Wetbench, it is open air and leaves almost everything out in the open to be seen. So it follows a testbench format but with a few big differences. For starters, the top of the case has a very distinctive angle to it. This gives you easier access to the motherboard and video card on top but in my opinion, think it is mostly an aesthetic thing. Having everything tilted gives you view of all of the sexy parts. This is big for vendors at trade shows, for youtube content creators, and even for someone like me who wants to take photos of components on the test bench. Those looking to do extreme overclocking will have to keep in mind the angle also means you can’t fill up your pots as much though.
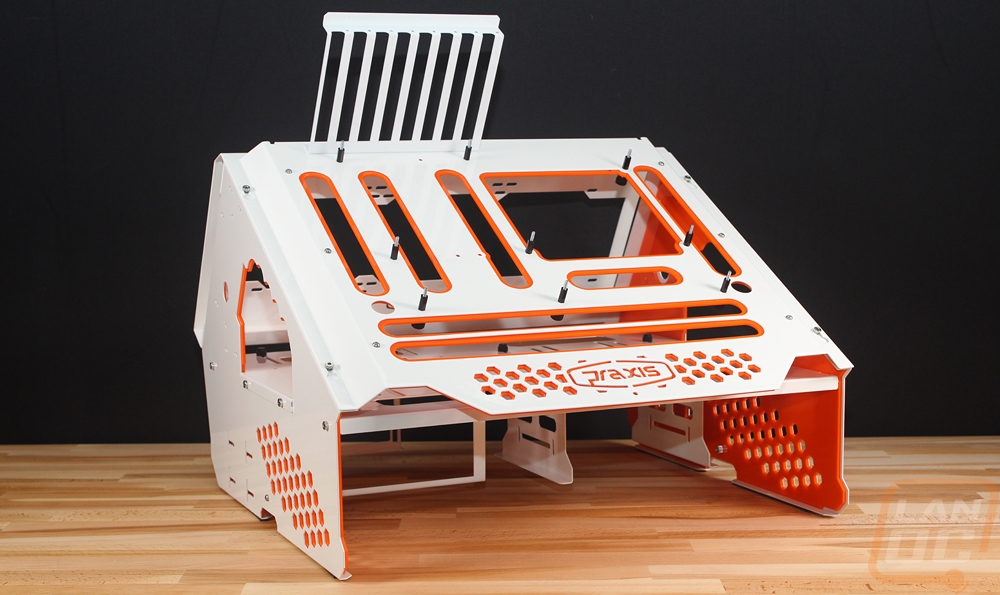
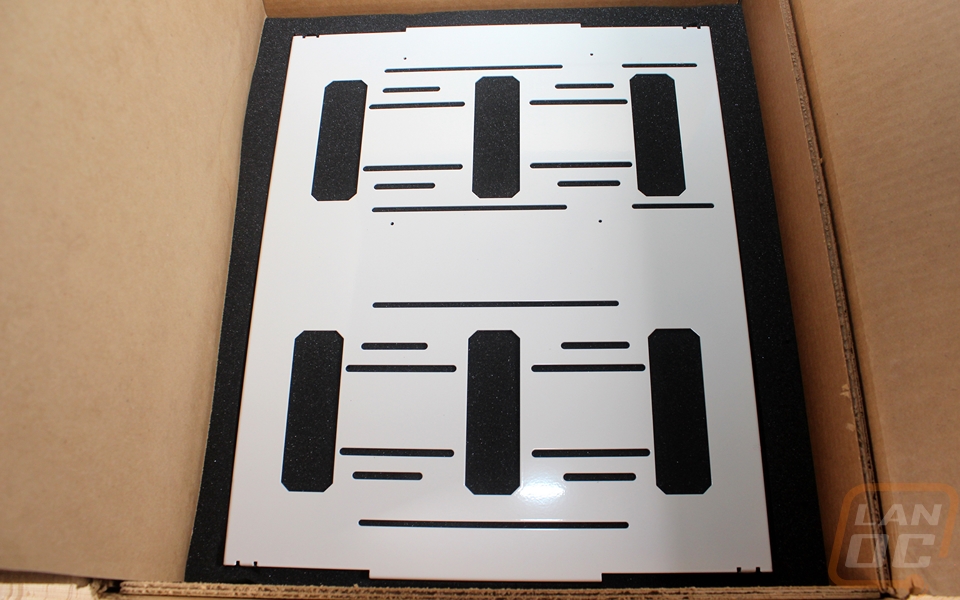
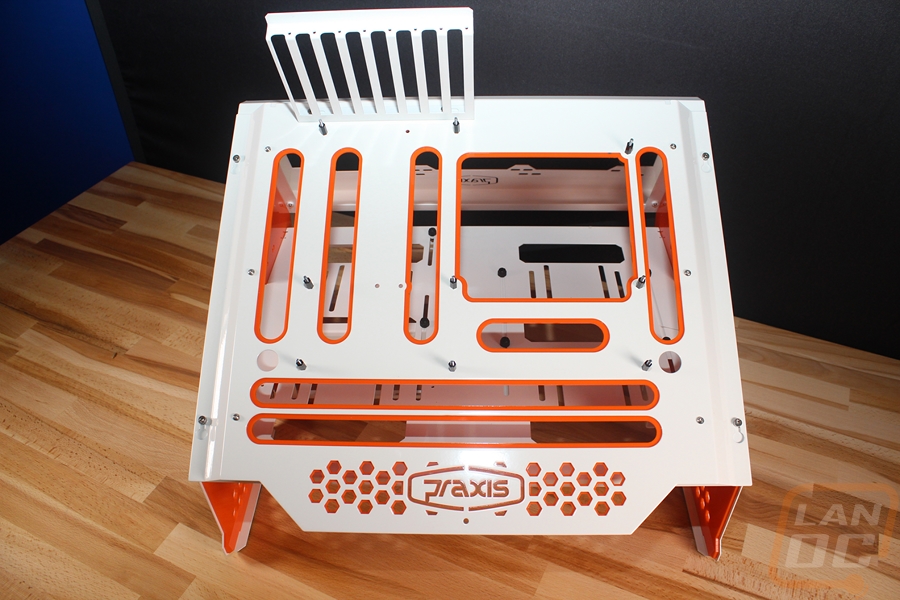
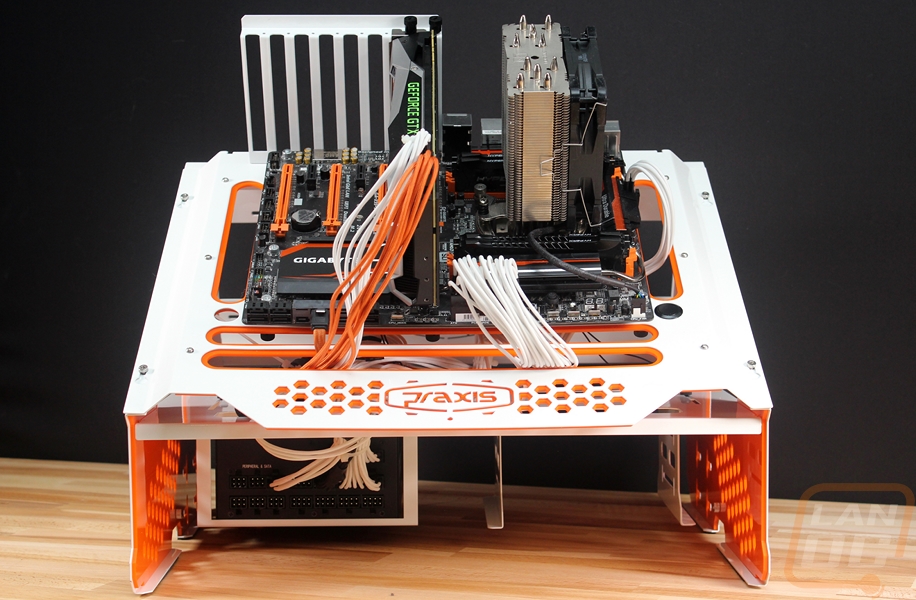
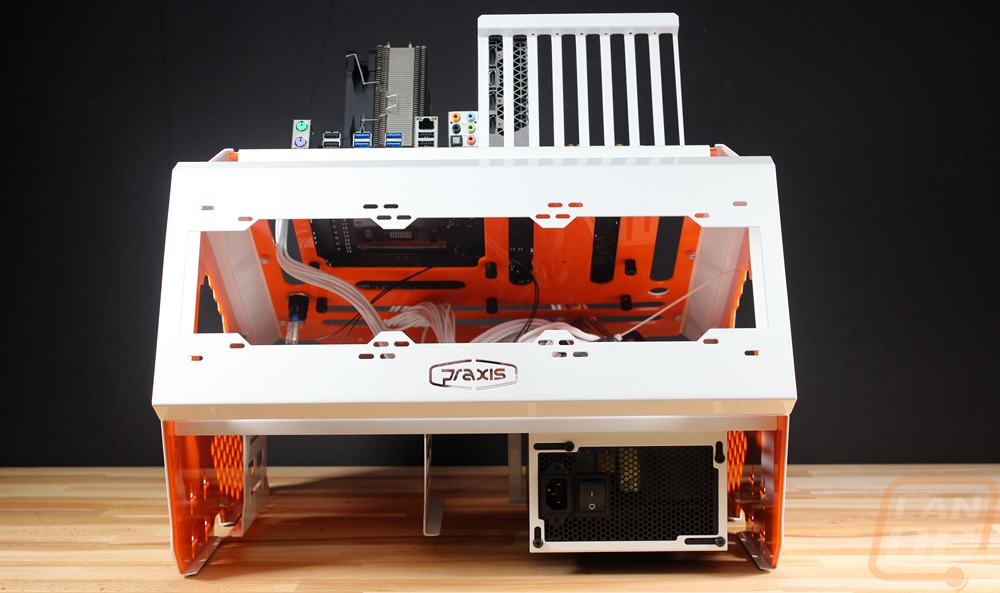
The top panel has support for up to E-ATX sized motherboards all the way down to ITX as well. The four vertical cutouts are for cable management. The one on the right is for all motherboard sizes and the three on the left are for ATX, mATX, and ITX in that order. The small horizontal cutout is for ITX boards then the two long horizontal cutouts are for larger mATX, ATX, and eATX depending on the width. There is a huge cutout under the CPU for access to the back of your board for installing backplates. You can get to it with the top installed on the Wetbench but pulling it off is also an option. All of the cutouts and slots have the accent color visible. You can pick from a whole list of popular colors for accents, I just went with orange. You can also get the entire case in white or black as well. I should also point out that all of the white components are all metal and powder coated. I have to mention that because originally I actually thought they just used white or black acrylic, being all metal with just the acrylic for accents makes a big difference in the strength of the construction and let me tell you, this thing is solid once together.
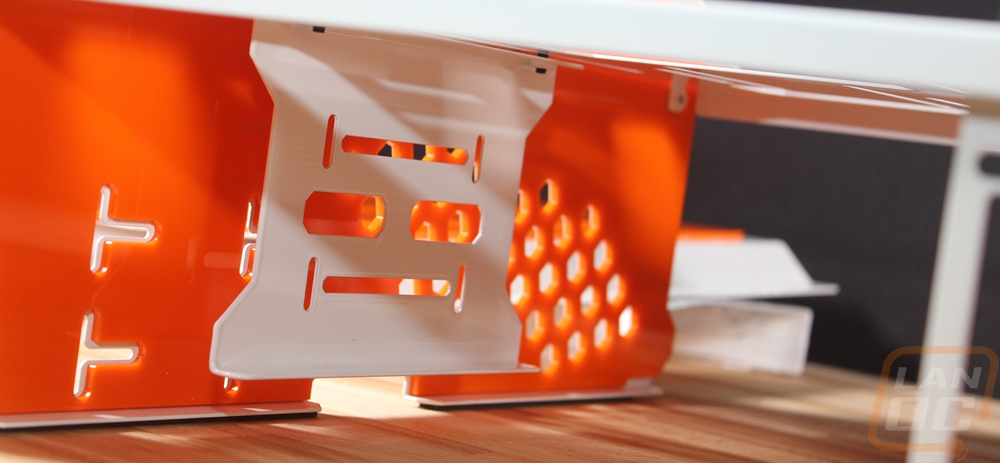
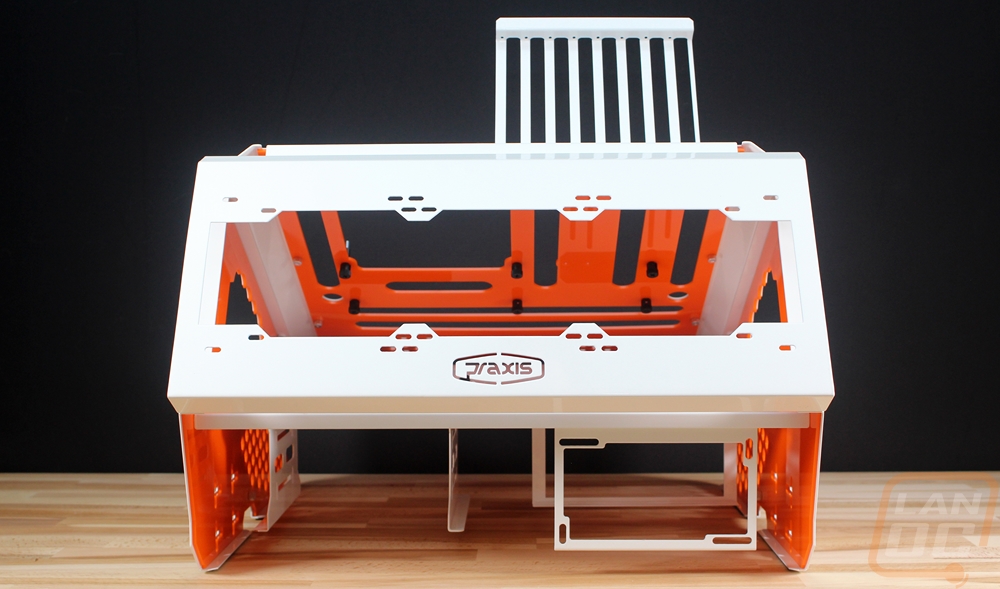
Both sides of the Wetbench have a few things going on. Like the top, they have the honeycomb cutouts for style. There is one main cutout on each side where the middle frame connects, this area is also for picking up the case with finger grip cutouts in it. There are then four T-shaped cuts in the bottom left. The documentation doesn’t really run through what each hole and cut can be used for but the T-shaped holes are for mounting a DDC pump. Then the holes up higher are for Primochill reservoirs and they are drilled for a vertical mount or one that is angled with the back of the case. Both sides of the case have these same mounts so you can do two loops or pick the side you want to use.
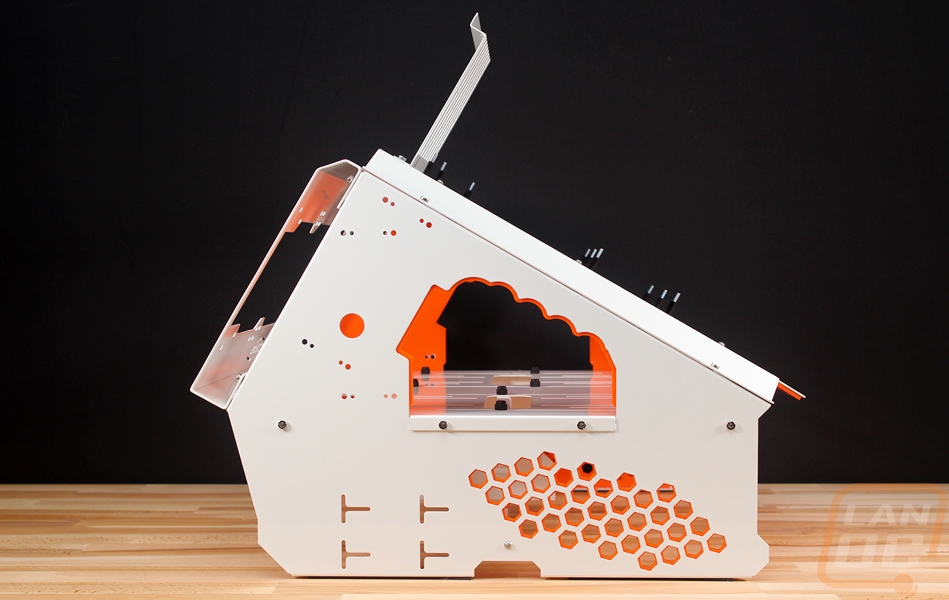
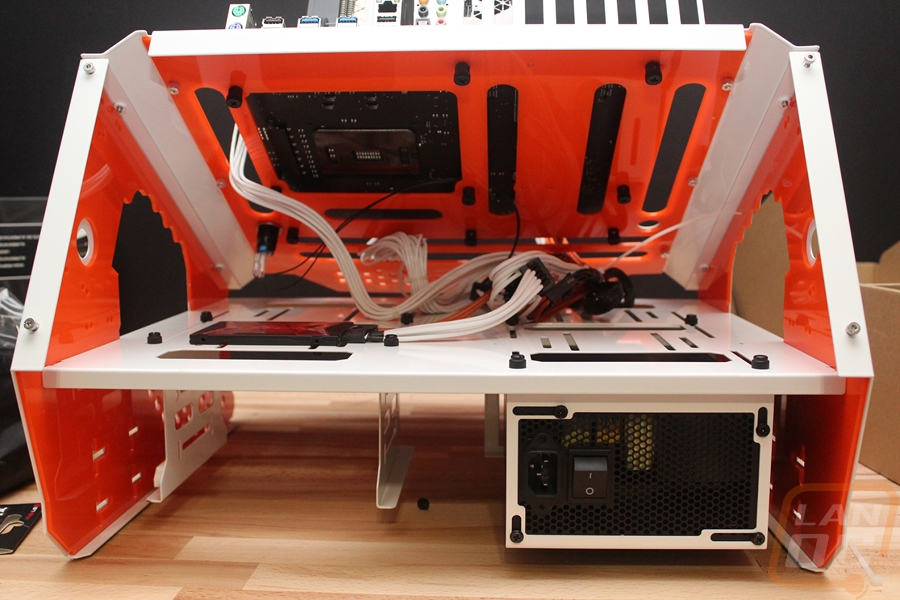
The back of the case is mostly covered by the large removable panel that holds your radiator. It supports 120mm to 360mm radiators when they are mounted on the inside and you can jump up to a 140mm or a dual 140mm (280mm) radiator as well but on the outside. That panel comes off and gives you access to the inside of the case and underside of the motherboard. The power supply mount is mounted from the inside using two brackets. One has the standard screw holes, you can face it towards the front of the case or the back as I have it here. You then adjust the second PSU bracket down to the length of your PSU to hold the front as well for better support. You can slide this forward and back with its long mounting slots and you can pick both sides of the case as well. Then the mounts to the left have some flexibility as well. You can mount them for 5.25, 3.5 or 2.5 mounting options. This gives you the option to run dual bay reservoirs if you want or you can use this to mount your hard drives or SSDs. You should run the mounts flipped backward from my photo below though. All three configurations have a little forward and back room to be moved and then both sides of the bottom have three large holes for wires or tubing to work with any configuration.
Installation and Performance
So it didn’t take long to get the Wetbench all put together, but as soon as I did I couldn’t wait to get some hardware on it. For testing, I went with our video card testbench with its orange motherboard and I pulled out an extra Corsair power supply from our reserves. With everything picked out getting everything on the Wetbench was simple. Our motherboard already had the ram, CPU and Noctua cooler all installed so I started there and dropped it over the standoffs I installed when putting the Wetbench together.
With the motherboard in I then started working on getting our power supply in. The hanging mount design was easy to work with. I removed the back mount and installed it on our power supply then dropped it back in. Then I just slid the second mount up against the front. The front mount doesn’t attach and can work loose though so you do have to keep an eye on it. I actually think a different design would work better, drop the front mount for a ring that slides over the power supply and could go a few inches deep to be out of the way. The front mount is already like this you just have to drop the front wall. Anyhow from there I just had to get out all of the wires needed for our build. I was going to use the stock black cables but after looking around I found the extra cables from our Fridge build, this gave me a few of what I needed but the fridge used up most of the 6+2 PCI cables. I used what I could then just added an orange extension for the other PCI cable needed for a one card test. I will still need to use the black cables for multi-GPU testing, but really the cables don’t matter too much for testing. They just look really good in photos. Routing the cables up under the motherboard tray was easy and I was able to keep things clean, leaving room for things inside later. In fact, I had enough room to keep the extra cable bag inside of the Wetbench for now though I hope to swap that out for a radiator in the future.
Before moving on to everything else I also wanted to get the two included power and reset buttons installed but I figured out right away that both were extremely tight and I only ended up fitting in one. Frankly, with our X99 SOC motherboard, I didn’t need one at all as the board has a power switch but I was surprised that I had trouble getting the switches in. If you REALLY need one or both you should get them in with a lot of work but I just ended up with the one for power.
I was going to use the hanging mounts to install our SSD but I decided to just mount it inside of the case to keep things even cleaner looking. I might even remove the drive cage all together to make room for tools.

Installing the video card was all that I had left to do and it dropped right in. I had to be careful with the PCI slot because there isn’t a big gap between it and the motherboard and I had to slide the PCI mount over to line it up perfectly. Remember I left that loose earlier specifically to do that. Once installed I tightened up the screws and it was mounted perfectly. The included thumb screws were easy to install in our Founders Edition 1080 Ti but I will say that with some of today's tall aftermarket cards it is hard to fit your fingers down in there to get at them. Removing the lip at the top of the PCI bracket would make room for those situations.
So when it comes to performance, this is an open air case, so there isn’t much need for traditional fan noise or cooling performance testing because it is going to run as cool as your room temperature. Of course, you do have to remember that your components are out in the open unprotected as well and they will get more dust or in my case cat hair. I’m used to this with other test benches and the angled top made this a little easier to clean off with a little blown air. I think most people will set this up and leave it in place but for those using it for tradeshows or in my case, I only have room for one testbench to be hooked up at a time I had to swap it out. The side handles are great to have for this but because the acrylic accent comes down into that area you do have to be careful as it is a little sharp. This gets worse the heavier the case is so when you take advantage of the water cooling space it is really going to get heavy and hurt.
Speaking of the water cooling, I was originally a little surprised at the size of the Wetbench, it is bigger than my other testbenches in depth, width, and height but I realized that this is because it makes room to fit a big 360mm radiator back there. You also have room to mount your reservoir and pump inside of the case, up under it in the drive bay mount or on either side. You can even run a dual loop though with just room for the one 360mm radiator you will have to get creative to do that. Sadly I didn’t test water cooling in the Wetbench, at least not yet, and some of you might think that is blasphemy but even with air cooling in the case I was really impressed with the performance and flexibility of the Wetbench.
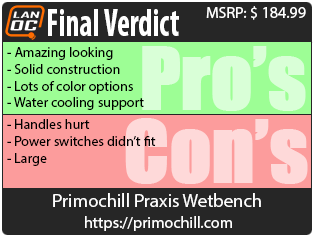
Overall and Final Verdict
So before going over what is good and bad with the Primochill Praxis Wetbench, I figured I should run through the people who it even would apply to. Unlike a standard case, this is more of a specialty case, if you even want to call it a case, it's really more of a testbench. The most obvious would be reviewers and people who swap out hardware often. That could be someone at one of the many OEMs who has to test and verify hardware, benchmarkers, overclockers, and people are different manufacturers who test and validate software and firmware. Beyond that, it is great for companies and people looking to show off hardware in their office, at tradeshows, and at other events. Then you have the home consumer who just loves being able to see all of their hardware or they maybe swap things out more than the average person. Given the popularity of the Thermaltake Core cases that are basically this with a glass panel over it, I think there are more people than most people think who just love a mostly open setup with water cooling capabilities.
So with that in mind, we can safely say that none of those people are new users or even average users so having to put together the Wetbench isn’t a concern. So the inclusion of multiple mounting locations for pumps, reservoirs, and even the 360mm radiator panel all make this a great platform to play around with water cooling. It's in the name of the product even, but I just want to stress it even more. There aren’t normally good ways to watercool an open PC. The construction of the Wetbench was also surprisingly good with the powder coated steel framing, it is up in the same class as Caselabs cases and I think a lot of you know that my last two personal PCs have been in those. But the Wetbenches biggest feature is just how good it looks. I posted up pictures multiple times on social media while testing with lots of love for the case, especially when you go as far to match the motherboard, put in a matching video card, and hopefully in the future add a little orange in the water cooling.
Now orange isn’t for everyone and you might not even like the white. Well, you can get the steel panels in black or white and accent panels in the following colors.
UV Blue
White
Black
Solid Blue
Solid Grey
Solid Light Blue
Solid Light Pink
Solid Orange
Solid Purple
Solid Red
Solid Yellow
UV Green
UV Red/Pink
That’s a long list of options and frankly, I had enough trouble just picking between white or black. If you decide later you want to change up the color you can even order new accent panels so the black or white option is really the only decision you are locked into.
The Wetbench isn’t without fault though, I did run into a few issues in my time with it. The overall size of it was a downside for me, our other test benches are smaller in every dimension so I did have to make additional room for the Wetbench. I thought the angled design would mean it would be taller but a bit smaller on the depth and width. It wasn’t a huge deal but I just want to bring it up. Beyond that, when moving it around the handles were a little sharp and dig into your hands. I’m really happy it has the handles but maybe not having the accent up on that top edge would help. Then I also had the issue with getting the power switches in as well. Frankly, none of these issues would dissuade me from using or getting a Wetbench, but there is still room for improvement.
At basically $185 the Wetbench also isn’t all that cheap. Like I said before, construction wise I put it up with case manufacturers like CaseLabs and you pay more for that type of construction. It is also a lower volume production and done in house in the US so costs are going to be a little higher. There really isn’t anything you can compare it with as well. There aren’t much for options in the open air water cooling bench market and the same goes for cases or displays to use to show off amazing hardware. It isn’t for everyone, but for anyone who is down for the open air design I can imagine some really crazy builds in the Wetbench. In our situation, I’m planning on upgrading to a nice orange water cooling loop and keeping this as our video card testbench. Who wouldn’t want to see pictures of their cards on this sexy thing!

Live Pricing: HERE


