The market for Mini-ITX based LAN rigs has grown a lot over the past few years. This is both because people are realizing that you can get the same performance out of a small rig as a big one and also because companies are finally starting to produce the products we always needed to really go all out with our SFF builds. Corsair is one of those companies, they have introduced a few different Mini-ITX cases but the introduction of their 380T from their Graphite Series really caught my eye. For one they have been toying with the idea of bringing out a whole bunch of eye catching colored versions of the 380T. But additionally they put together a design that is easy to carry with a handle but it also has a large window inside. That means you can get it to LANs and also show off what is inside. That is having your cake and getting to eat it too.
Product Name: Corsair Graphite Series 380T
Review Sample Provided by: Corsair
Written by: Wes
Pictures by: Wes
|
Specifications |
|
|
Warranty |
Two years |
|
Weight |
5.55kg |
|
Color |
Yellow |
|
Form Factor |
Mini-ITX |
|
Dimensions |
393mm x 292mm x 356mm |
|
Motherboard Support |
Mini-ITX |
|
Maximum GPU Length |
290mm |
|
Maximum CPU Cooler Height |
150mm |
|
Maximum PSU Length |
160mm |
|
Expansion Slots |
2 |
|
Drive Bays |
(x2) 2.5in (x2) Combo 3.5in/2.5in |
|
Material |
Steel |
|
Power Supply |
ATX (not included) |
|
External Connections |
(x2) USB 3.0 (x1) Fan Controller (x1) Headphone Port (x1) Microphone Port |
|
Fan Mount Locations |
Front: (x2) 120mm or (x1) 140/200mm Rear: (x1) 120mm Side: (x2) 120mm |
|
Fans Included |
Front: (x1) 140mm Rear: (x1) 120mm |
|
Radiator Mount Locations |
Rear: 120mm Side: 240mm |
|
Compatible Corsair Liquid Coolers |
H55, H60, H75, H80i, H100i |
Packaging
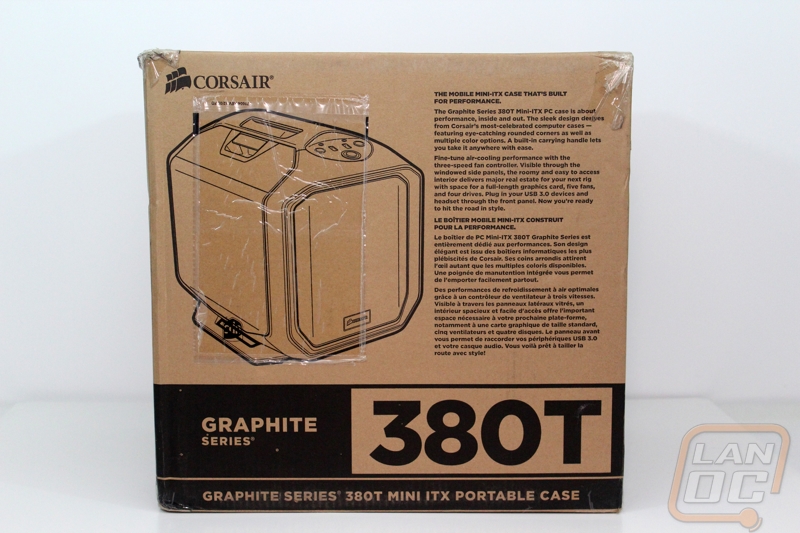
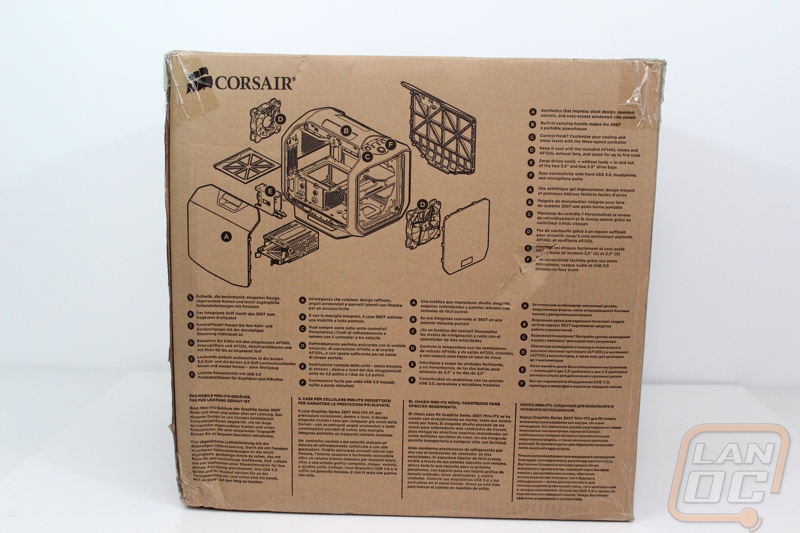
So the packaging for the 380T isn’t anything fancy. Corsair avoided using full color printing, keeping it simple with black on the brown box. The front of the box has a line drawing of the 380T along with a two paragraph write-up about the case in two different languages next to the drawing. For branding along the bottom there is a solid black bar with the Graphite Series and then a large 380T. On the side of the box Corsair did slip in a full specification listing in 6 different languages as well as two small line drawing with dimensions on them to show just how large the case is. Around on the back of the box they have another line drawing, but with the 380T blown up to show all of the parts inside. Each has a letter with it and a short description on the side of the drawing.

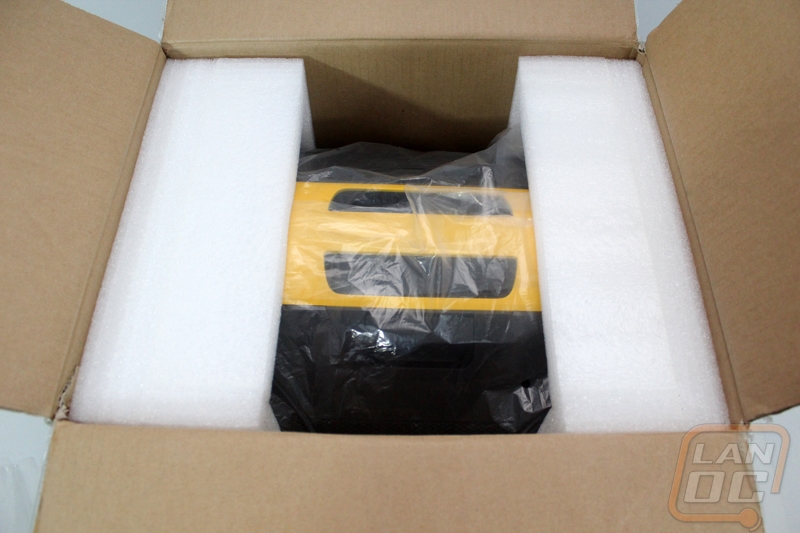
Inside our yellow 380T is wrapped up in a plastic bag with foam on both sides to keep it protected. I love that they made sure to put the cases handle up top though, this way it is easy to pull the case out of the box, it always sucks fighting trying to get a case out of the box.
Outside
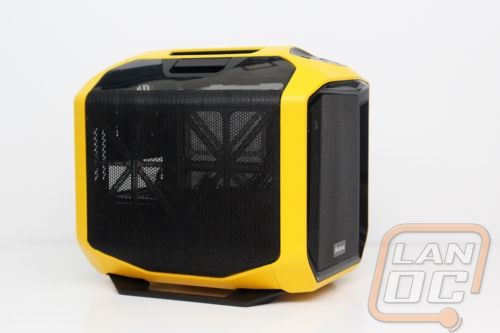
Well the first thing people will notice with our 380T is the bright yellow color that Corsair painted it in. You can currently get the case in Yellow, Black, or White. A while back I saw a photo of a bunch of 380T’s painted in different colors but as of right now there hasn’t been any word on Corsair going with anything else. It’s a bit of a bummer because they did look great. Once your eyes adjust to the eye catching yellow you will notice a few things about the case though. For starters it has a handle up top for easier carrying. The one thing that stood out to me though was the size of the case. It is a small case in comparison to any traditional case but when compared to other Mini-ITX cases it is noticeably wide. I’m really curious what Corsair did with that additional space. I love the black contrast on the yellow but I imagine that the white looks just as good for the same reason.
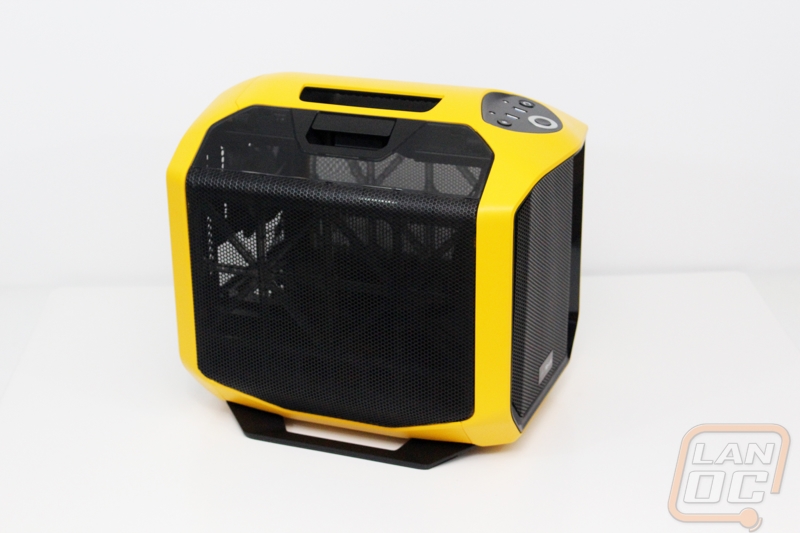
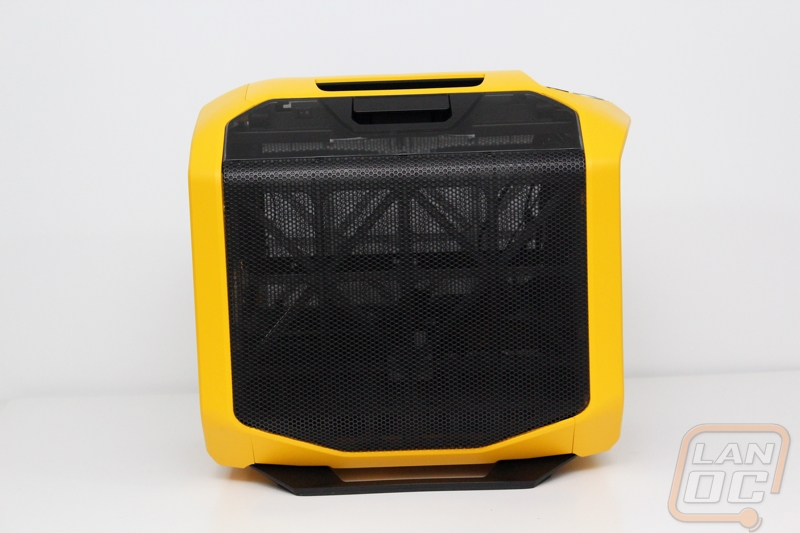
Like previous Corsair Graphite Series cases the front of the 380T has a sunken in look that leads to a metal mesh. When you push on the mesh it has a spring loaded latch, letting you get better access to the front mounted intake fan as well as make for easier cleaning of the front filter.
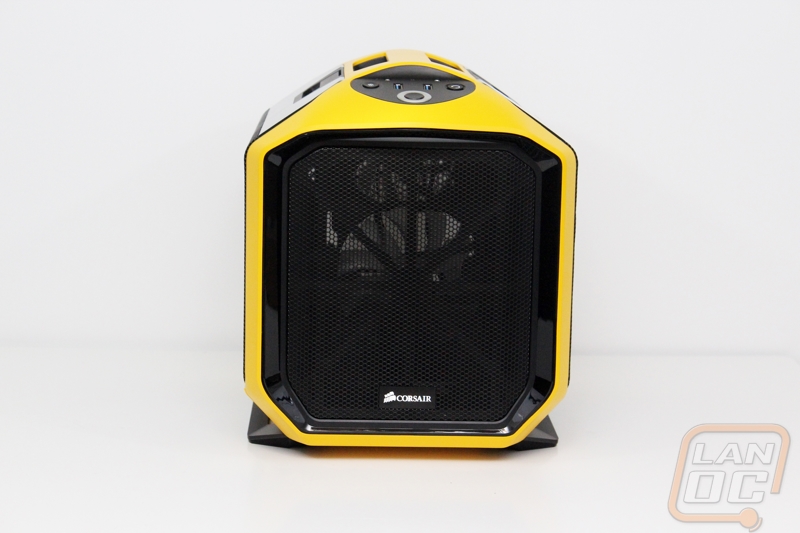
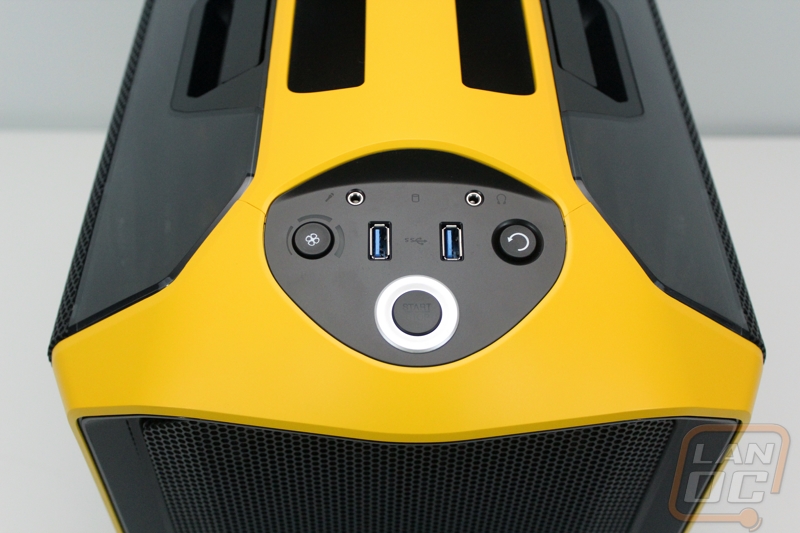
The front I/O panel is right at the top of the front panel, facing up. Here you have headphone and microphone hookups that are suspiciously far apart. This concerned me a little because some headsets don’t split their cord apart with a ton of room for a situation like this. For USB you get two USB 3.0 ports that are also spaced out apart, in this situation I really like it because typically a thick thumb drive will cover up two ports. The button on the left of the USB ports is a three speed fan controller and the three lights around it help show what setting you are on. To the right is the reset button. The last button is the power button that is labeled start down at the bottom. For lighting the front panel has a light all the way around the power button, backlit reset button, and backlit icons for the USB, headphone, and microphone ports.
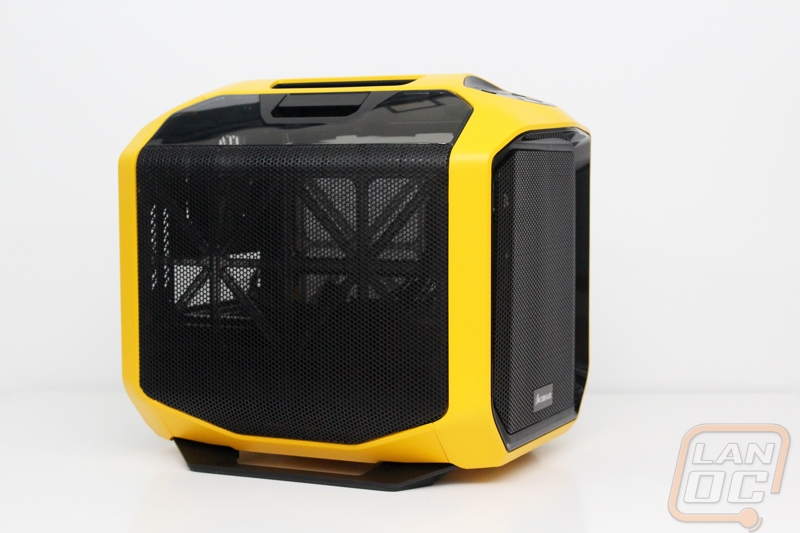
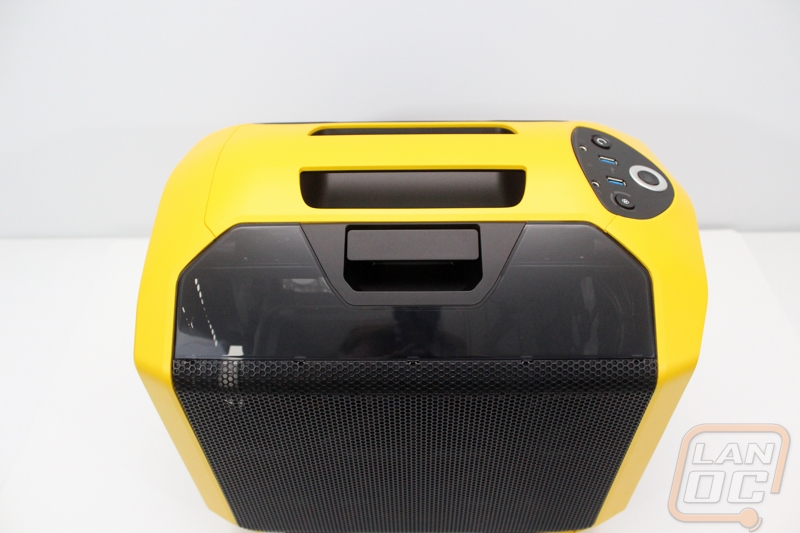
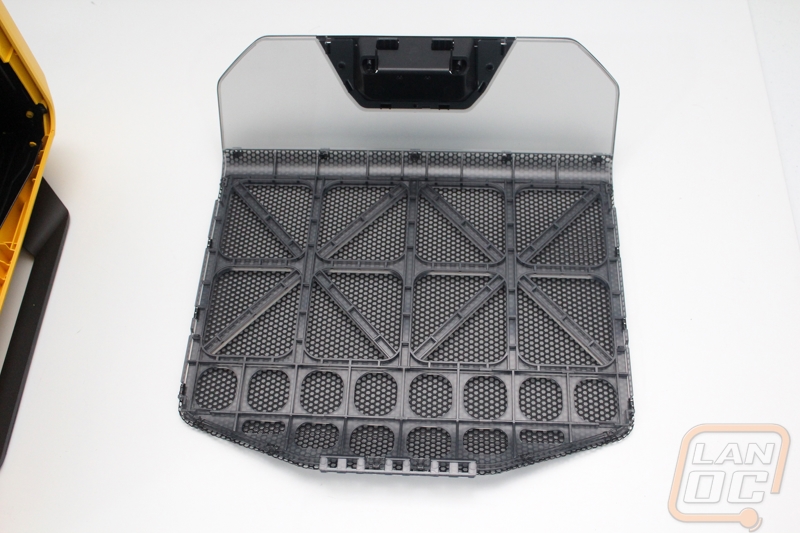
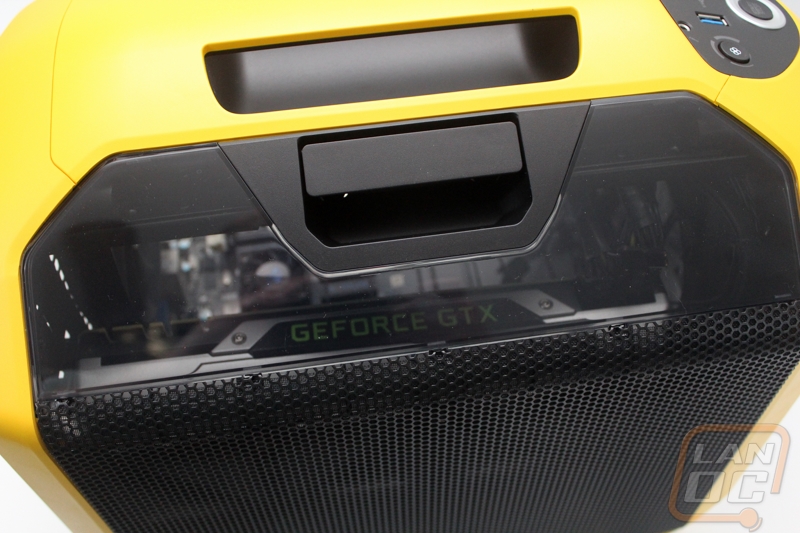
Up on the top at the peak is the built in handle. Be careful though because on both sides of the handle are the handles that take off each side panel. The side panels on both sides of the case match and frankly I’ve never seen anything like them. For starters the side panels go up the sides and then curve up over the top of the case. If that wasn’t unique enough, Corsair made the side portion of each side panel all mesh and then up top they used tinted acrylic to let you get a peek inside. I really like this because the windows don’t feel like an afterthought like they do on most cases.
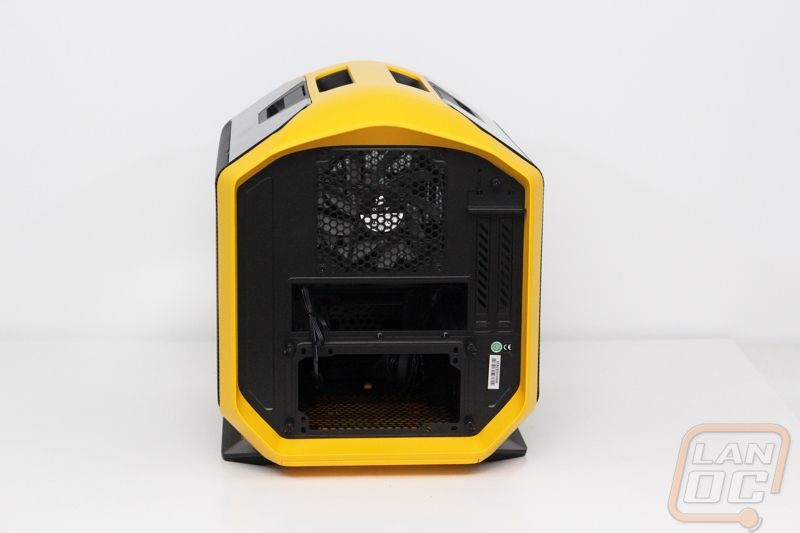
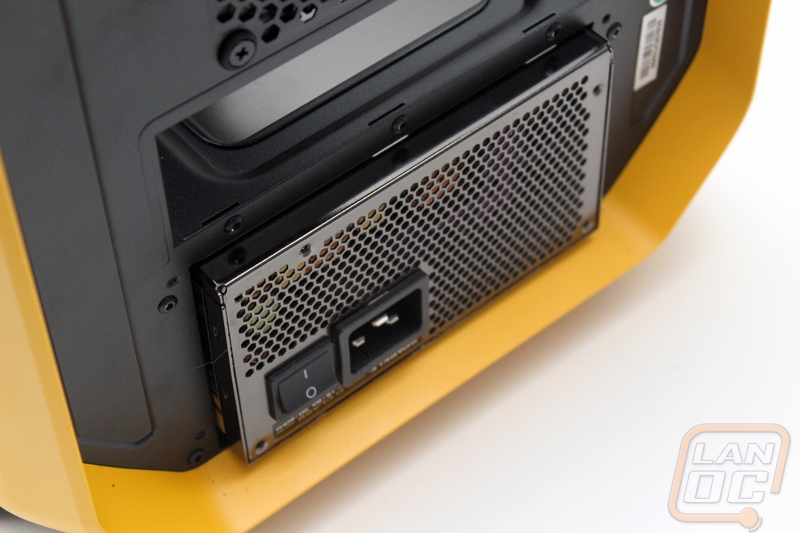
The back of the case is sunken in just like the front but this time we don’t have a mesh panel covering everything up. Up top we have an exhaust fan. Below it is the rear I/O panel and along with that the two PCI slots on the right. Then down at the bottom the PSU mount. Corsair uses a bracket over the power supply mount with thumb screws holding it down. This means you take the plate off, install the bracket to your power supply then slide it all in through the back. We see this on a lot of ITX cases because there just isn’t a lot of room to fight with sliding in a power supply from other angles. Then of course the entire back is all done up in black to go with the black trim all over the 380T.
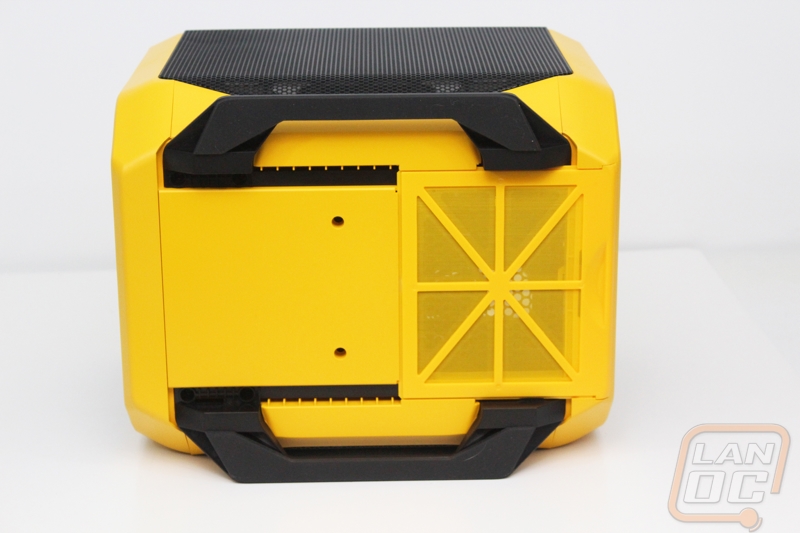
When we flip the 380T over we can get a better look at the bottom. There are just two feet but they run the length of the case on each side. They also stick out a little giving the case lots of stability. Also on the bottom is a yellow pull out fan grill for the power supply. I really like that Corsair went out of the way to make the bottom fan filter completely yellow to match the case rather than just use the same all black part across all of the models, even though most people will never notice.
Inside
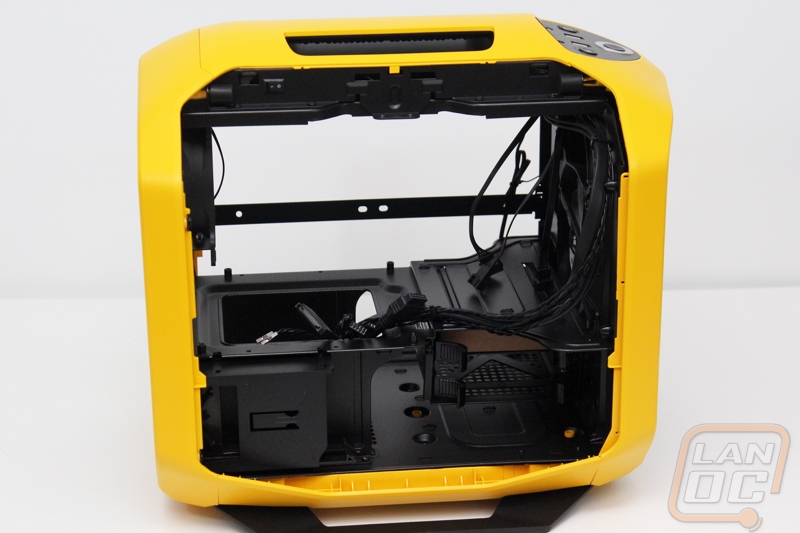
So with the side panels off I can finally see why the 380T looked a little wider than normal. Corsair breaks the mold a little and rather than go with a vertically mounted motherboard like most cases, the 380T has a horizontal mounted motherboard. This splits up the 380T into two compartments with the power supply and hard drives down in the bottom half and with the motherboard and video card up top. This helps give better airflow to your CPU and video card as well as put the top mounted windows to good use as well.
Here is a peek at the back of the side panels. We can see the plastic framing behind the mesh and the handle assembly up top.
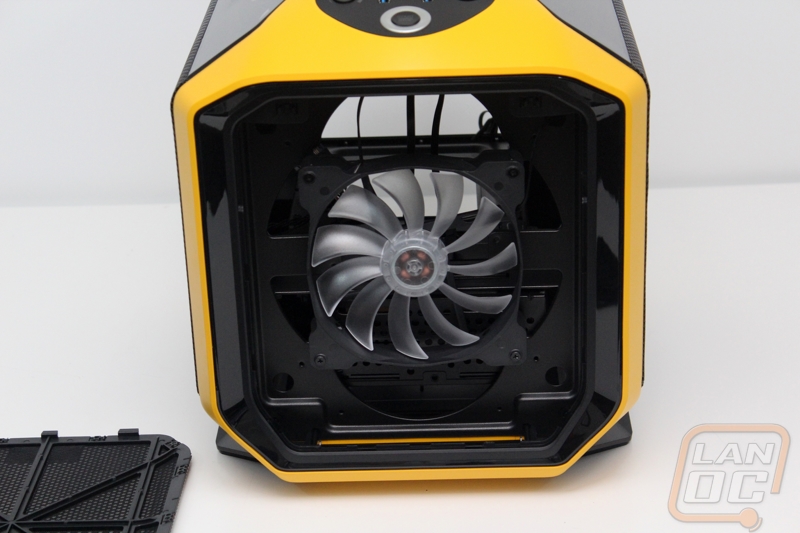
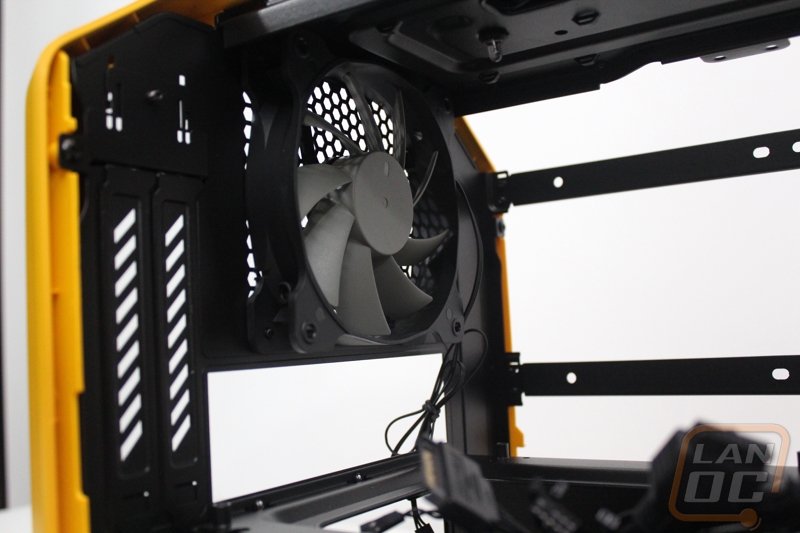
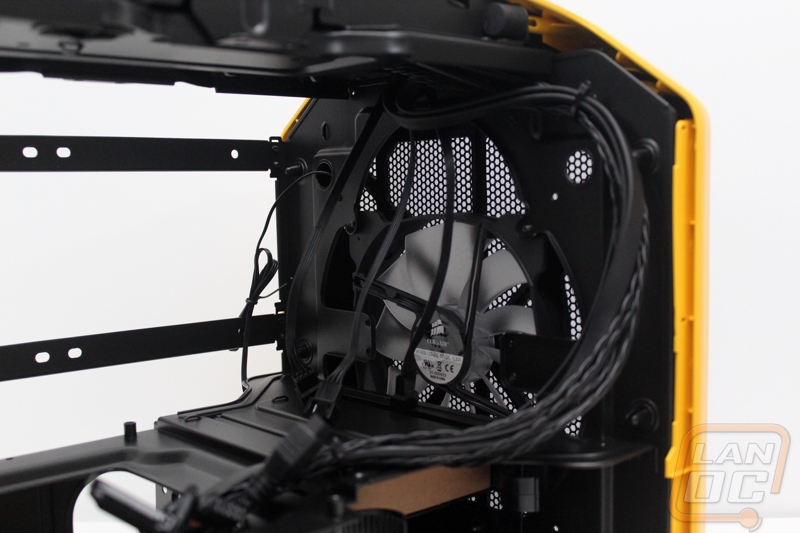
So above the motherboard tray on the backside of the 380T we have a 120mm exhaust fan. The two PCI slots covers have ventilation in them but I expect those to be pulled out in most situations. On the front half of the top section we can see the front mounted intake fan. Corsair was careful to mount this a little lower to make sure some fresh air is blown over the hard drives in the bottom section as well. The 380T comes with a 120mm fan but there are mounts for a 140mm and even a 200mm if you wanted to upgrade the cooling a little. All of the front panel connection cabling comes down in this area as well. The downside to having a horizontal mounted motherboard is there isn’t really a motherboard backplate to hide wiring like this so you will have to be extra careful when doing your wiring. Corsair was careful to make sure every single cable is blacked out though. This is especially interesting for the power, reset, and LED cables because traditionally they are always bright colors.
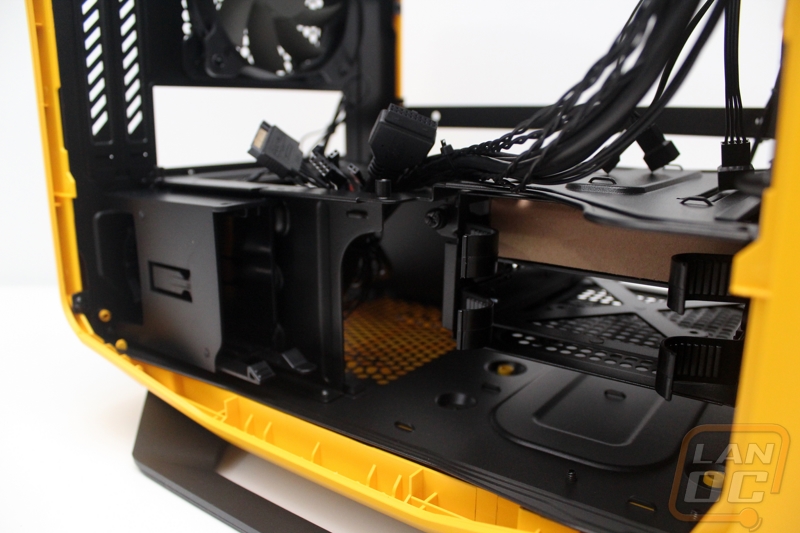
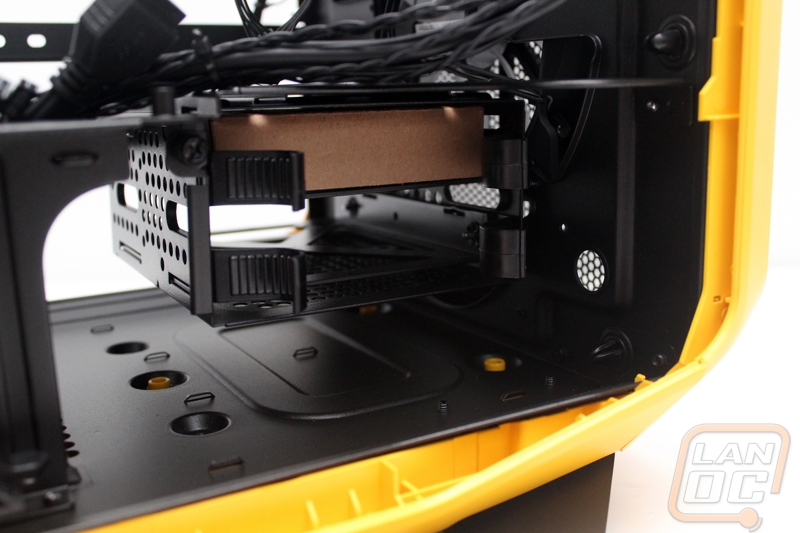
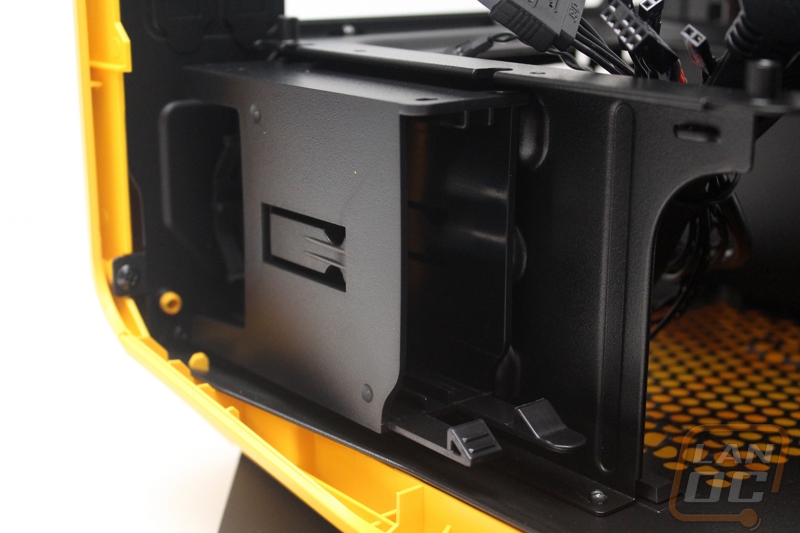
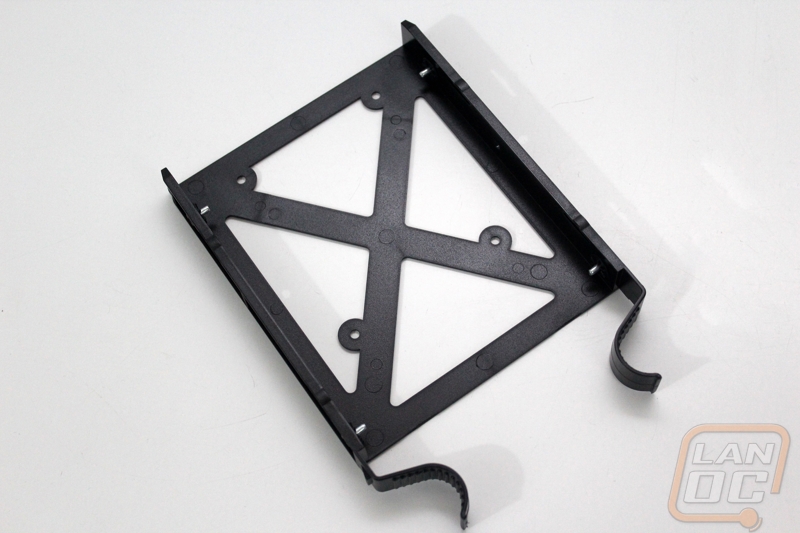
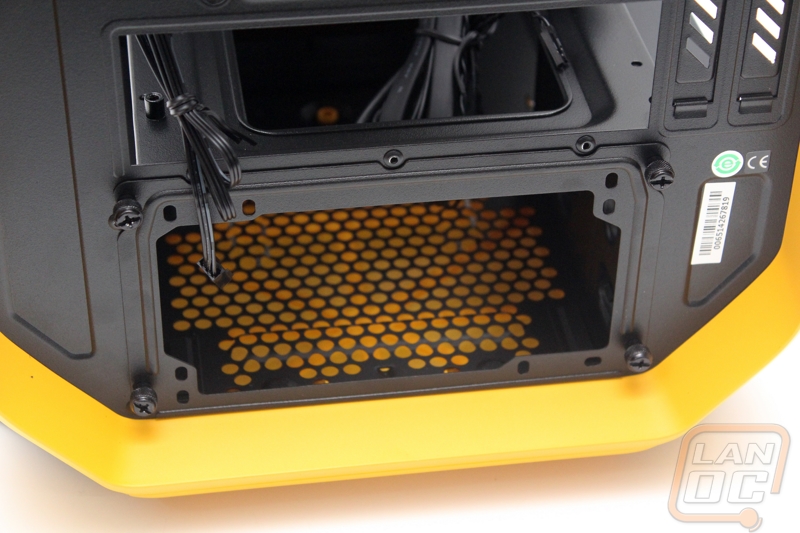
The bottom half of the 380T is kind of the hidden business end of things. Here is where your power supply goes as well as your hard drives and SSDs. You get two 3.5 inch drive bays with plastic toolless trays for your hard drives. Tucked in beside the power supply are the two toolless SSD trays. The 3.5 inch drive trays pull out and snap around your hard drive or if you need the space for additional 2.5 inch drives you can screw mount them to the bottom of the trays. The SSD mounts beside the power supply are a little different, they just slide in with a latch down at the bottom.
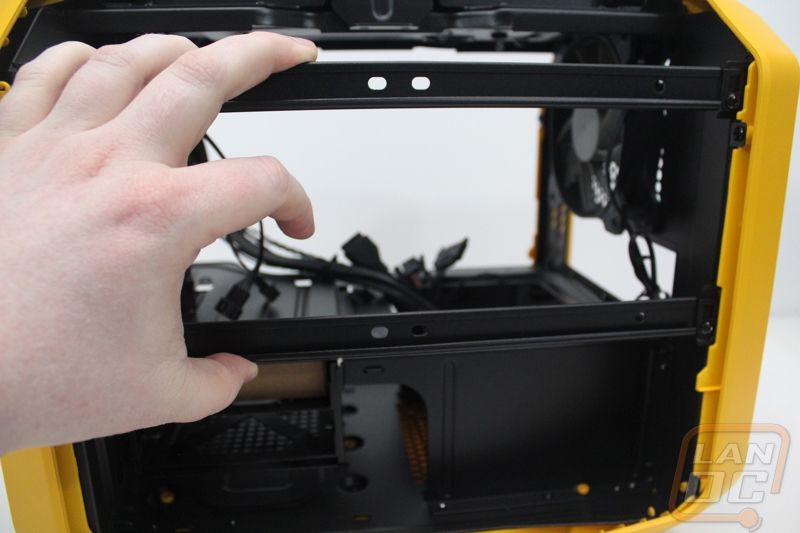
The right side of the 380T does have two support beams that go across that the left side doesn’t have. You can remove them if you need better access when building your PC, but the rest of the time this gives your PC better strength and support. More importantly, those two beams can be used to mount two additional fans to pull air in from the mesh side panel. This is also where you would mount up to a 240mm radiator as well should you prefer to go with water cooling.
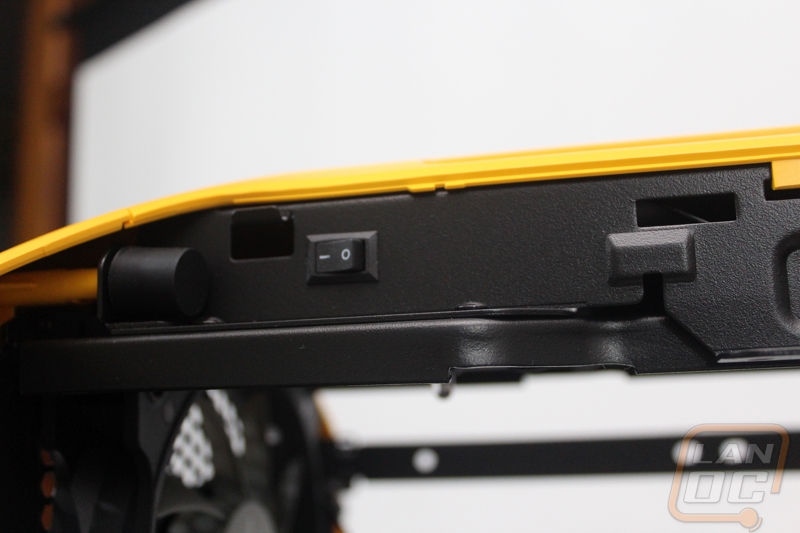
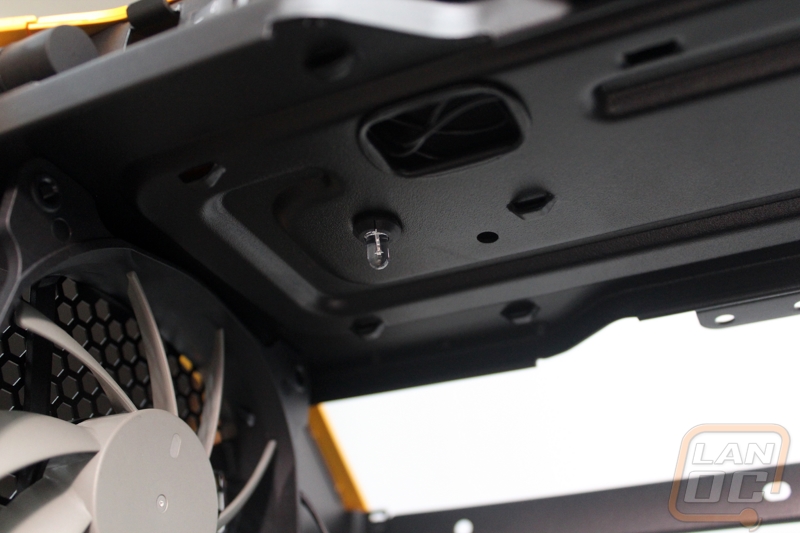
The coolest feature on the 380T I nearly missed originally. Right in the door jam up top we have a switch. This switch turns on the interior lighting. That’s right the 380T has lighting inside built in. It isn’t anything crazy, you get one high power white LED in the top panel, this helps light up the inside and show off what is inside of your build.
Installation and Performance
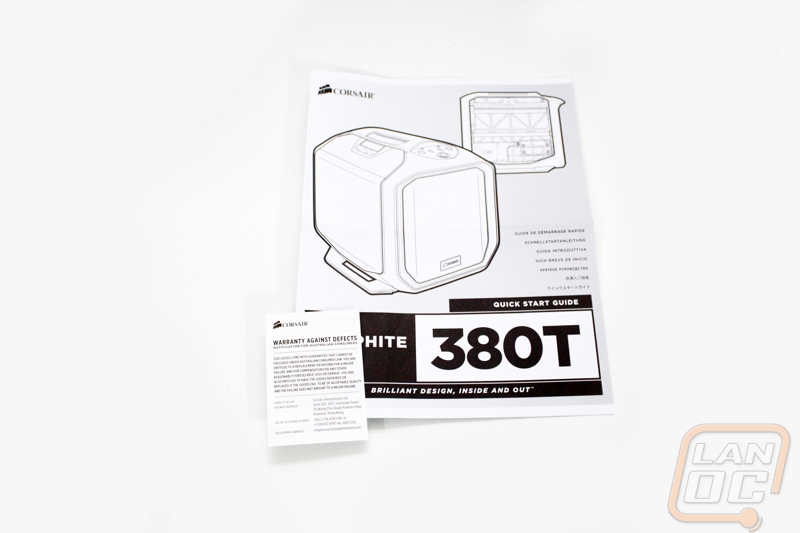
Before I could see how the 380T performed I did have to get our test setup inside of the case. To do that I busted out the included accessories. Corsair includes a quick start guide as well as a small paper with information on the cases warranty. For screws you get three different baggies that split up the screws depending on the use, all of the screws are black though to go with the completely black interior. They also include four medium sized zip ties as well. I would prefer a few more zip ties personally, because I tend to use a lot but I am happy that they included a few.

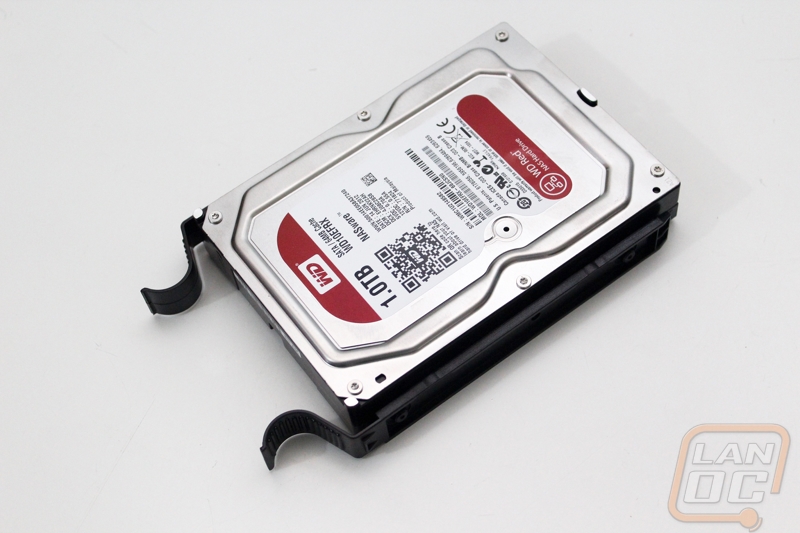
To get started I pulled out our hard drive and popped it into the plastic hard drive tray. You wont need any screws or tools to get this done, there are four pins on the sides of the tray. You just stretch the tray out and slide the drive in. Once installed you just slide the tray back into the cases as well. SSD installs are even easier with the 2.5 inch drive bay next to the power supply, but for our test setup we were just using a hard drive.
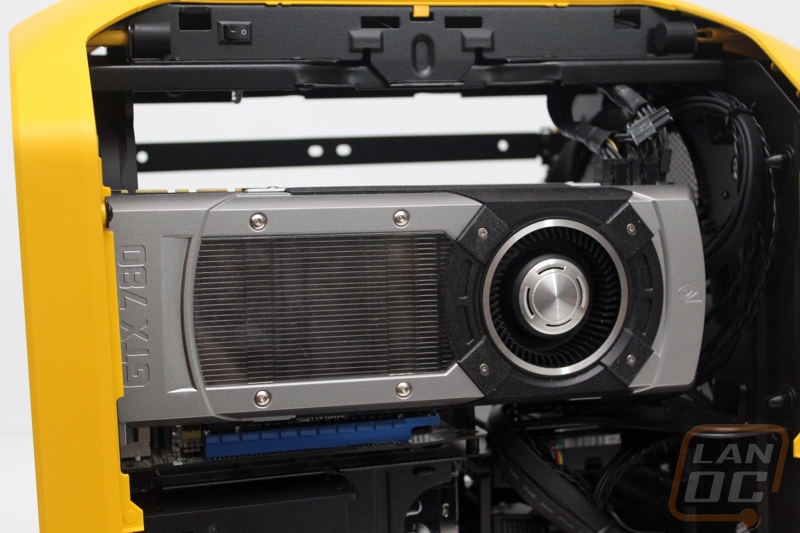
Next popped in the rear I/O panel and then installed our motherboard/CPU/RAM combination. It’s a little different working in the 380T because I am used to having room to look right down on the motherboard, but that is where the cases handle is. With both side panels off you do still get enough room though. ITX boards are only held down with four screws so getting everything in went quickly. From there I could start hooking up our front panel connections and then drop in our GTX 780. Being an ITX case it’s actually impressive that the GTX 780 fits at all but Corsair was careful to leave just enough room for any full length video card. Our reference card has the power cables facing up but there looks to be just enough room to plug in power cables facing out the end if your card is configured like that.

With all of the main components put it, next I had to get the power supply in and finish up the wiring. The 380T is designed to work with a standard ATX power supply but our obnoxiously large 1200 watt power supply was a little longer than the case could handle. This really wasn’t a big surprise at all, but we always try to test with that specific power supply to see exactly how much room you do have. Suprisingly the 380T was extremely close. If I really wanted to make it fit I could by getting creative with how I ran the wiring even. There isn’t any reason to be running anything close to a 1200 watt in an ITX case though, even a dual GPU card wouldn’t come close to needing that much power. So how did the rest of the wiring go? Well one thing I mentioned earlier, the 380T isn’t really designed to hide your wiring very well so you are going to have to work hard to keep things looking clean. The space behind the motherboard tray that you would normally hide extra wiring is filled with your hard drives and power supply, so it is a little tight. That said I really liked working in the 380T other than the wiring. Corsair did a good job of giving you good access and once I had everything wired up it was nice to be able to turn on the interior light and check for any last second issues before booting.
So how did it perform? Well our test configuration doesn’t really put out much for heat on the CPU side of things but the GPU gets plenty warm. The two fan configuration did a good job of keeping fresh air flowing in. I also really like the idea that your video card is right next to the large vent on the side panel. For water cooling support you can install a 120mm kit on the rear fan or a 240mm kit right next to the right side door panel. The 240mm configuration is great because you can blow the hot air right out the side. Our single hard drive stayed cool but if in the future a multiple hard drive setup gets warm you do have the option to go up to a 200mm fan that will run quiet but push even more air into the bottom section.
The other half of performance testing for me was figuring out just how well this case would work out as a LAN case. Sadly I didn’t have an event to take it too but it is clear that with the built in handle up top it will be easy to take to and from events. The interior light gives people a peek at your setup and the bright yellow will get their attention as well. As for table space it does take up more than cases like the Lian Li TU-200, but you do have a lot more room to work with inside of the case so it does make up for it.
Overall and Final Verdict
At this point I think everyone knows I have a thing for small Mini ITX cases, especially designs that can handle high powered PCs and are easy to carry, AKA LANrigs. Well the 3800T without a doubt falls into that category with its built in carrying handle and its support for full length video cards. Corsair really went all out with the 380T. For starters the design is really eye catching with is unique side panels with tinted windows up on the top of the case. The bright yellow of our sample helped draw even more attention as well. I did see a few photos of potential colors in the future a while back but as of right now it’s just white, black, and yellow. I really hope Corsair brings out a few other colors in the future, the 380T would really look great in a blue, orange, green, red, ect. The 380T wasn’t just about aesthetics though, Corsair managed to slip in support for a 240mm water cooling kit into their ITX case. In addition I really liked the built in lighting in the 380T as well as the three speed fan controller.
As much as I loved the case, it wasn’t perfect. The horizontal motherboard mounting does mean that you don’t have any place to hide the wiring so when you wire everything up you are going to have to work hard to keep things clean. I don’t consider it to be a big issue, but when picking your power supply try to get the shortest model possible to give you additional room for wiring. Our obnoxiously long 1200 watt didn’t fit in the 380T, no surprise there though.
So is this the case for you? Well when it comes to LANrig cases the 380T is up at the top of the list for me right now. The only reason I’m not building a new rig in it right now is because I already have far too many small LANrigs currently. The other thing you will have to keep in mind is the price of the 380T. With an MSRP that is just under $140 this is on the high end for a Mini-ITX case. I don’t consider it to be a downside because you are getting plenty for your money, but this is not a case for a budget LAN rig. The 380T really sets itself apart with a high end video card and a 240mm water cooling kit, both things you aren’t going to get on a budget as well.