Earlier this year we went hands-on with the R4 from Fractal, a mid tower solution to the Define product line. We were quite pleased with the humble case, the simple Fractal facade silently housing a myriad of features. Our one complaint was the weight of the chassis, to which Fractal responded by sending us the R4’s big brother full tower, the XL R2. I'll be installing a full ATX building and, against better judgement, showing it off at our upcoming LAN party.Take a look with us, we could use an extra hand lifting.
Product Name: Fractal Define XL R2
Review Sample provided by: Fractal Design
Review by: Adam
Pictures by: Adam
|
Specifications |
|
|
Form Factor |
Full Sized Tower |
|
Dimension |
232 x 559 x 560mm |
|
Weight |
40 lbs |
|
MB Support |
ATX, Micro ATX, mini-ITX, E-ATX and XL-ATX |
|
Side Panel Window |
No |
|
Expansion Slots |
9 |
|
Material |
Aluminum / Steel |
|
Color |
Black Pearl, Titanium Grey |
|
Drive Bays |
8 - 2.5 or 3.5 inch hard drives 4- 5.25” Bays |
|
Cooling |
Fan positions (3 140mm fans included) |
|
VGA Length |
Graphics cards up to 330mm in length with the top HDD cage installed - With the top cage removed, graphics cards up to 480mm in length may be installed |
|
CPU Heatsink Support |
Up to 170mm in height |
|
Front I/O |
Dual USB 3.0 ports and two USB 2.0 ports |
|
Power Supply |
ATX (up to 190 mm deep when using the bottom fan location; when not using this fan location longer PSUs (up to 345 mm deep) can be used) |
|
Warranty |
One Year |
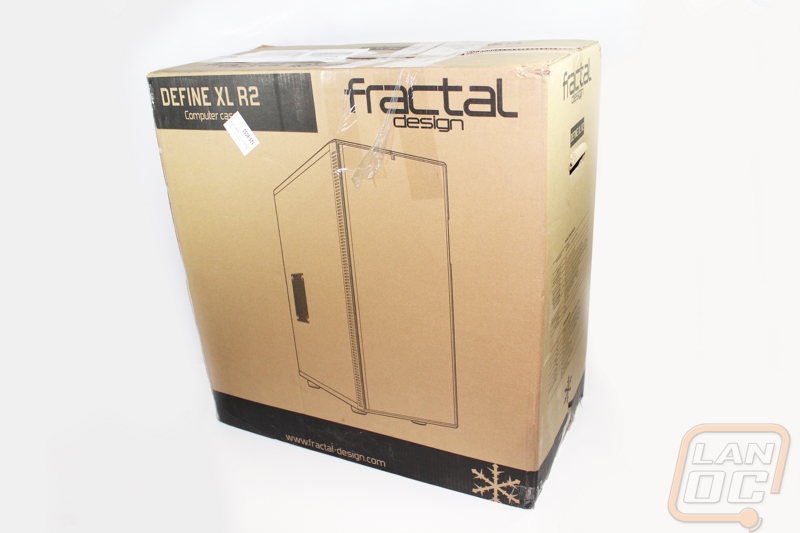
Packaging
Perhaps a foreshadow the XL R2 within, the retail packaging is simple and to the point. There are a few logs to be found here and there, but the majority of the box is untailored information and an outline of the case. Inside, the full tower is nestled between two impressive sized pieces of Styrofoam and a bag for debris.
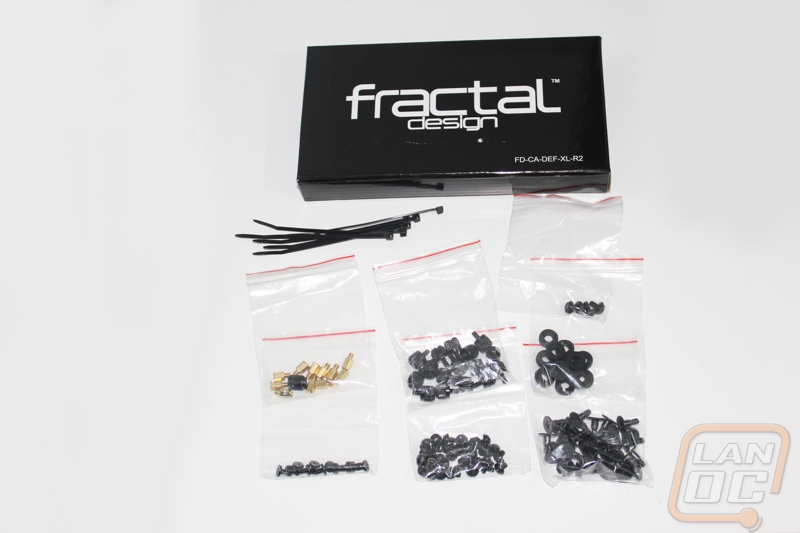
You’ll have to open the case up to find the accessories box, tucked away in the hard drive trays. Insight, Fractal has supplied us with just about everything we’ll need to put our test system together.
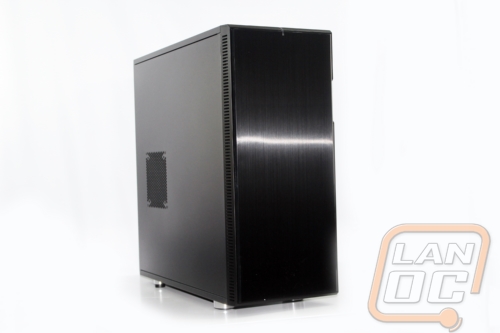
Exterior
Fractal markets their products as having a “Scandinavian design”, an ideal they best summarize as “minimalistic yet striking”. The Define line of cases have been their poster child of the concept, and the XL R2 brings it to you in the largest way. Usually, this section is covers the accents and unique design of a tower, lighting, or other facial highlights. While I took a breather from wrestling the case out of the packaging, I gained an appreciation for all the subtle, almost hidden indications of the features within.
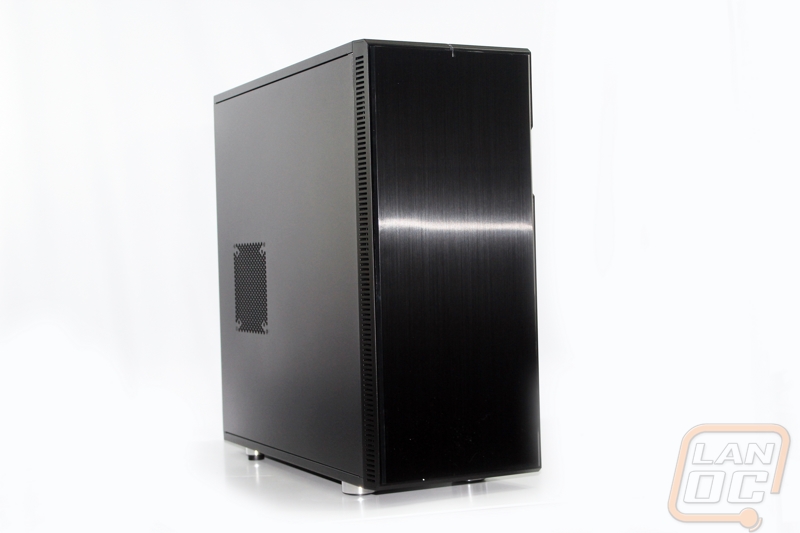
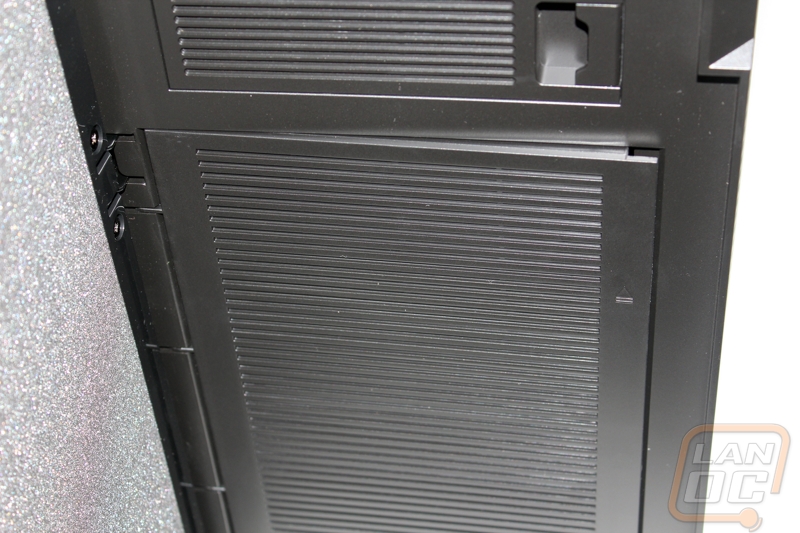
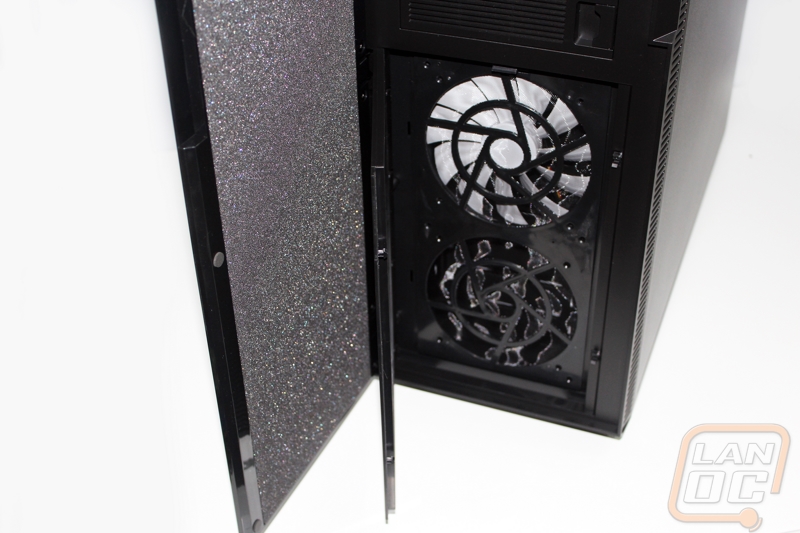
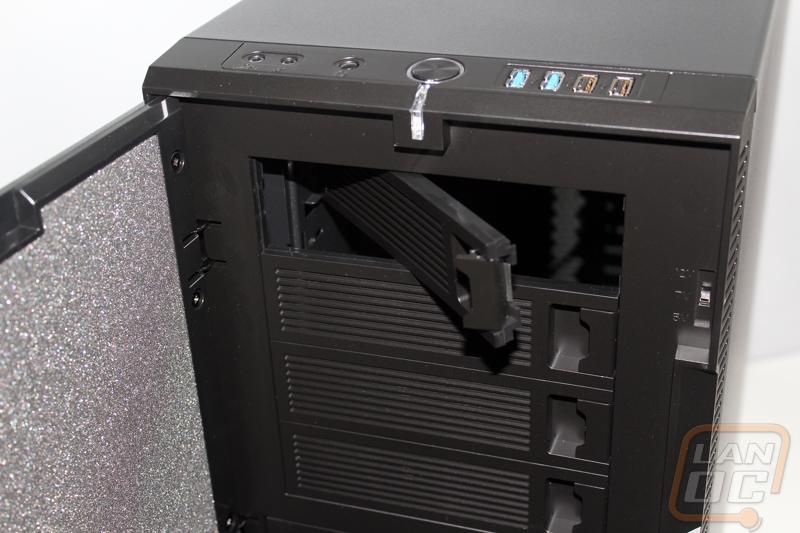
Let’s start at the front. Fractal has opted to include a full length door, though the actual front panel would still be acceptable without it, in my opinion. In addition to a cleaner look, the door serves a dual purpose of noise reduction. A high density foam material lines the inside of the door, helping to deafen the two front intake fan options. These function on a pretty cool system. Unlike the mesh plates we are used to seeing for ventilation, the XL R2 resembles more of a traditional HVAC system with thin slits (part of the reason the inner front panel still looks attractive). This piece can be depressed on the right side to swing it out revealing the fan skeleton which can, in turn, be unclipped from the top for removal.
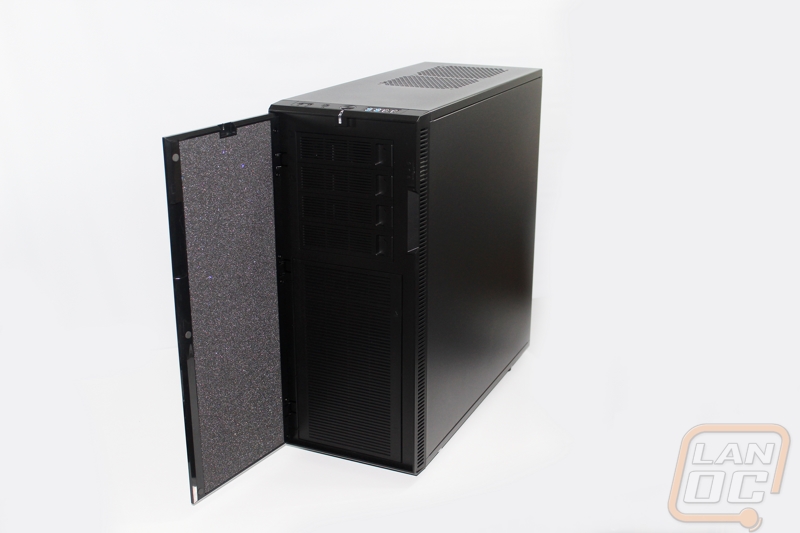
The four external 5.25” drive bay placeholders are replaceable, and function on a latch system that prevents them from being pushed in or falling out of the case on accident. I really appreciate this in general because that’s often one of the vantage points for carrying a tower and it is extremely irritating when you push one of those in with a thumb. Again, it is a moot point since there is a door that would prevent this sort of thing, but it is another example of quality regardless. On that note, the door itself works off of magnetics and I can attest after carrying this behemoth in and out of our latest LAN party, it stayed shut. Also worth mentioning is the finish Fractal used on both the steel and the front plastic doesn’t show fingerprints, moisture from skin, etc. From pictures I was afraid the door especially was a coarse metal we’ve seen used before, and the texture holds skin residue so easily. The XL R2 is in fact smooth.
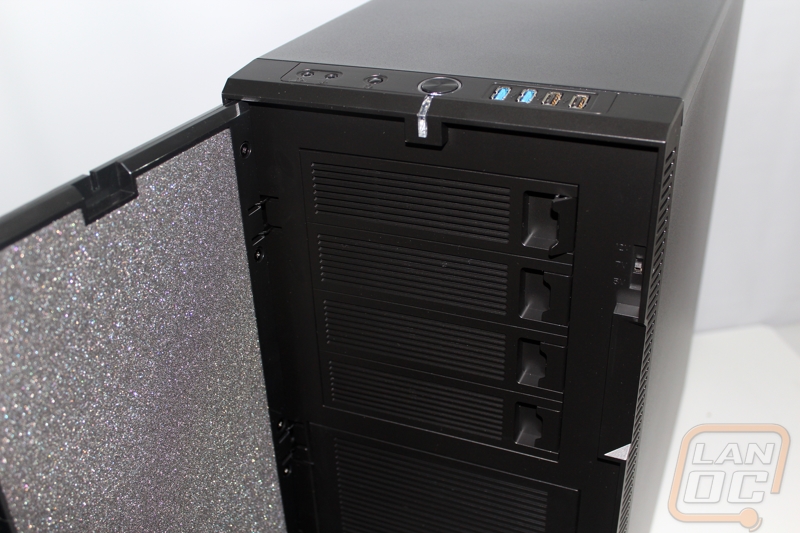
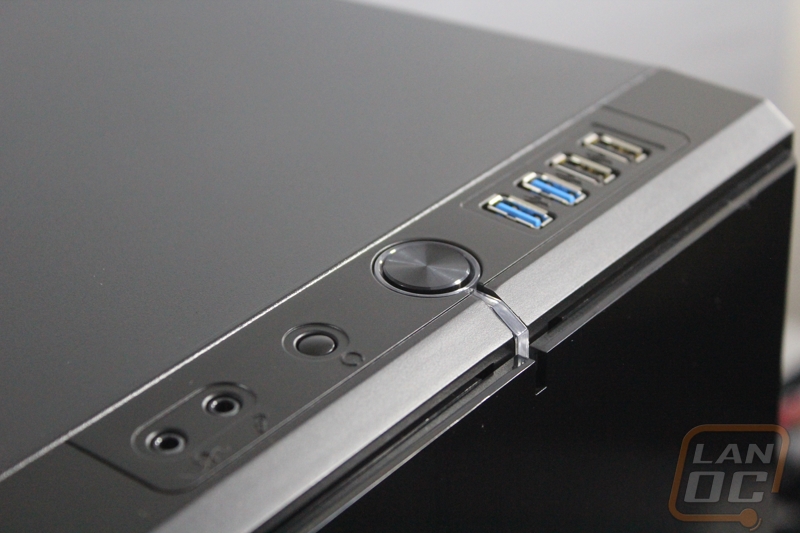
The plastic portion of the chassis overlaps to the top a couple of inches to house the front I/O panel. A large power button is center with a smaller, depressed reset button to the left. To USB 3.0 ports neighbor two USB 2.0 ports on the right-most of the panel, and the audio/mic in on the opposite. A subtle LED power indicator runs perpendicular of the power button and encompasses it.
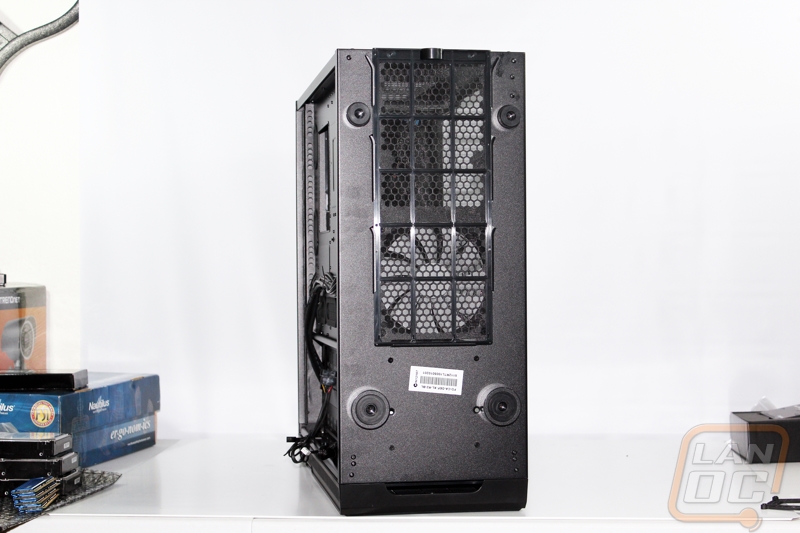
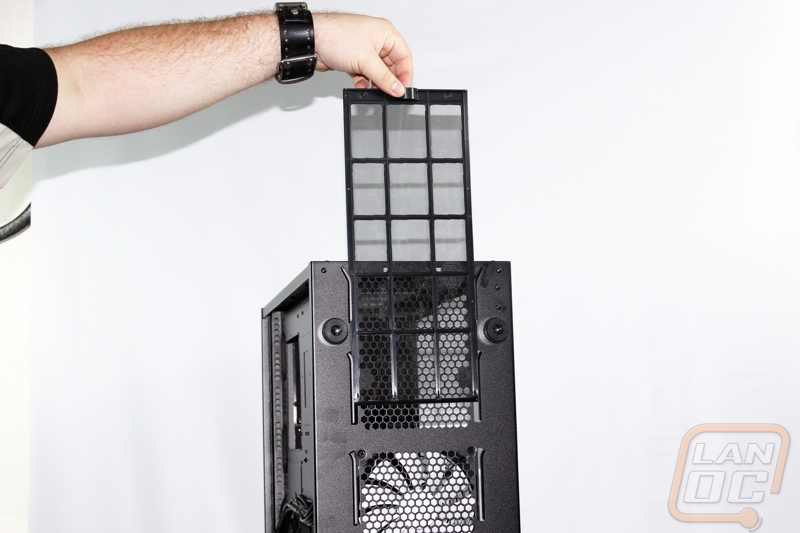
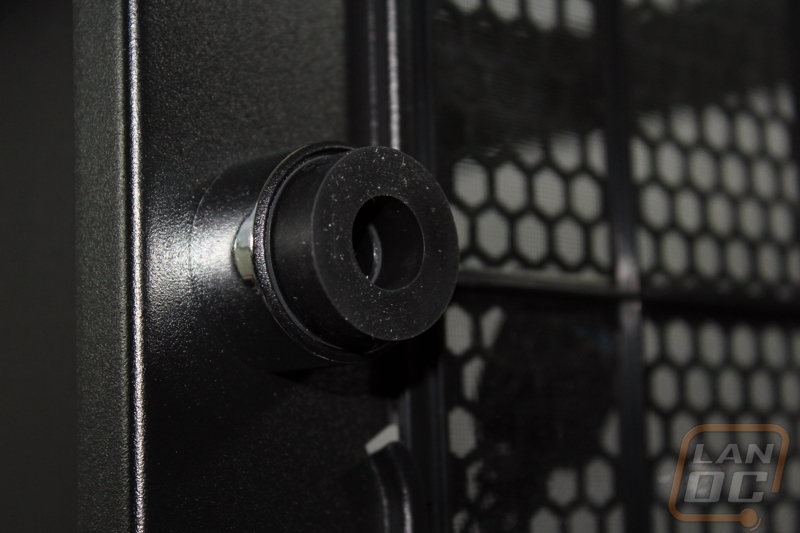
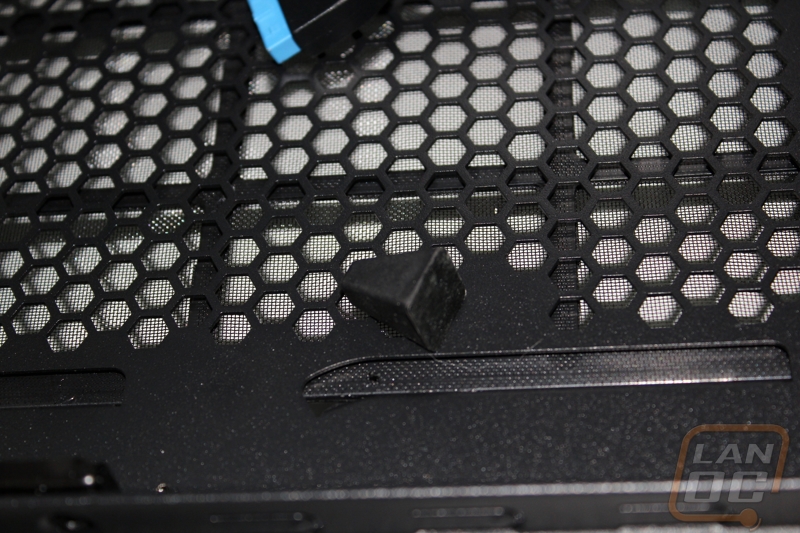
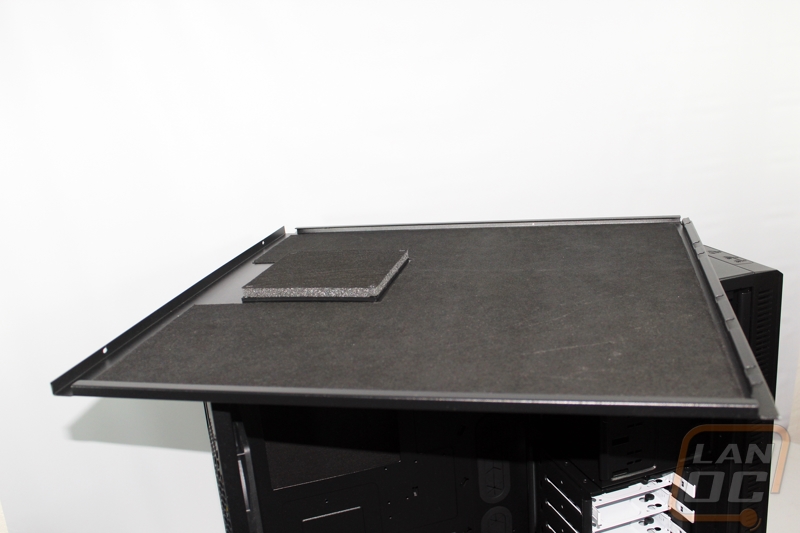
The remainder of the top is flush save two fan placeholders. Again, Fractal has used to same noise reducing material under these vented squares. The left and right side panels are similar. The main side panel has a fan option situated in front of the PCI area of the motherboard tray as an option exhaust, while the rear side panel is a flush piece. The underside of the XL R2 has a large ventilation area for the power supply intake fan coupled with an additional factory installed fan. The entire area is masked with a removable dust filter accessible via pull tab. The tower sits on some pretty beefy feet, chrome bases with rubber grips that really give quite a bit of breathing room underneath. Though the rubber portion certainly does it job from preventing any unwanted shifting, make sure you pick the XL R2 up instead of sliding it when you do want to move it; they will leave scuffs on most surfaces.

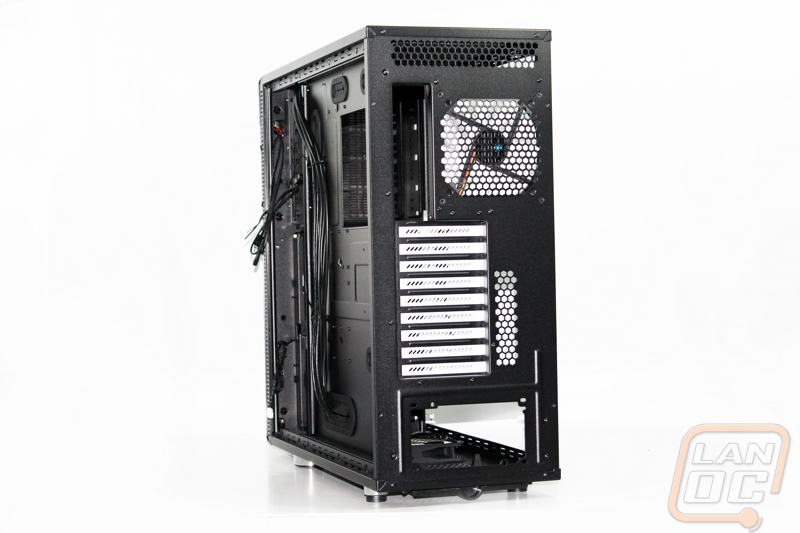
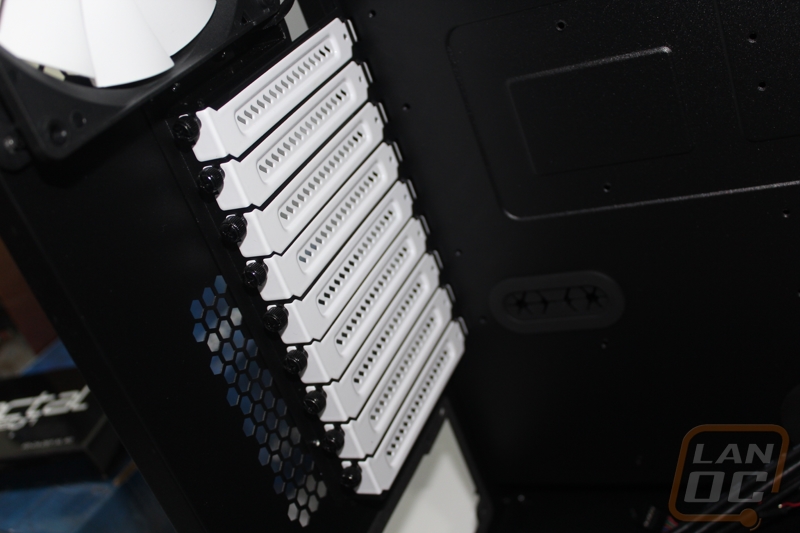
The back of the is the most inconsistent, in a few different ways. First, of course it’s the least solid, consisting mostly of mobo/PCI access and vent areas, including the final factory installed fan. It is also the first time you’re likely to actually notice Fractal’s departure from the straight black theme before breaking into the chassis. The PCI slot placeholders are snow white, personally I’m a fan of the contrast but I can see where some may want a straight black theme.
Interior
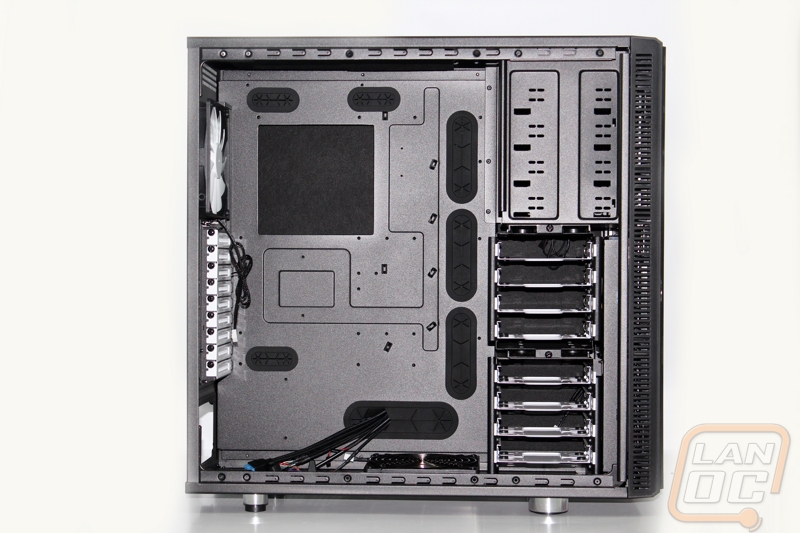
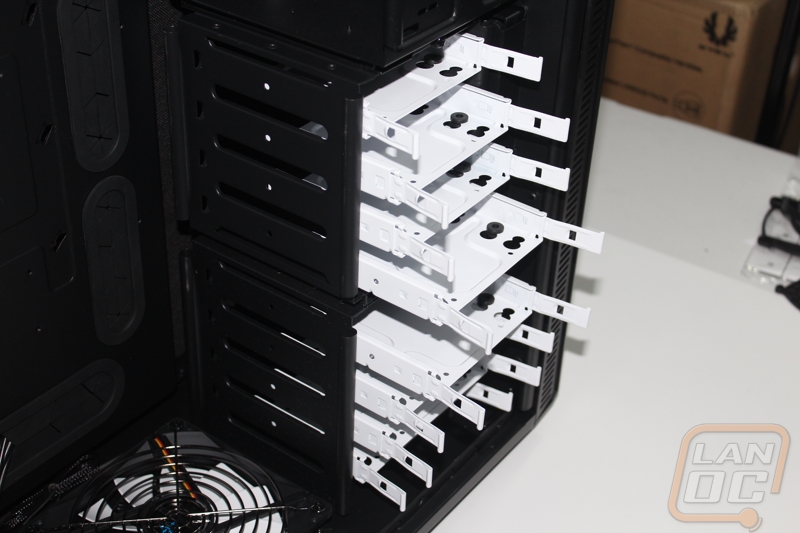
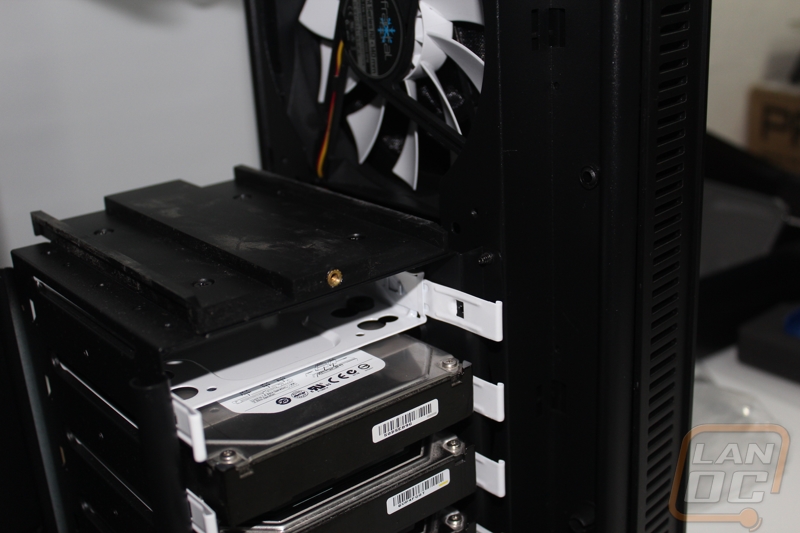
The motherboard cabinet of the XL R2 has plenty to work with. Capable of up to XL-ATX, the tray is surrounded by grommet holes for cable management on just about every possible vital area. When empty, you can see the noise reducing material from the inner side of the opposing side panel through the CPU cutout. The ceiling of the XL R2 supports slim radiator mounting or straight 120/140 mm fans. 120 mm fan radiators can be mounted on the bottom or rear exhaust area, as well will be testing with, and 240mm can be mounted at the front with a little hard drive cave feng shui. The XL R2 has two essentially identical cages functioning on thumbscrews for either or both to be removed. The hard drive bays function on a semi-toolless design, in that the tray slide in and out with by depressing tabs, but the drives themselves are mounted by traditional screws. By factory default, only the top bay has a front intake fan corresponding to it, so unless you upgrade you’ll want to use it for any mechanical drives. Above, the 5.25” external bays also function by traditional mounting tactics.
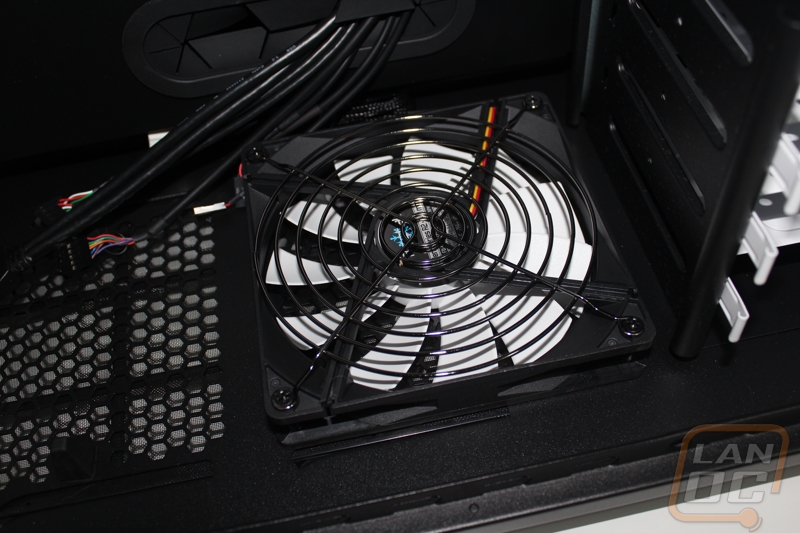
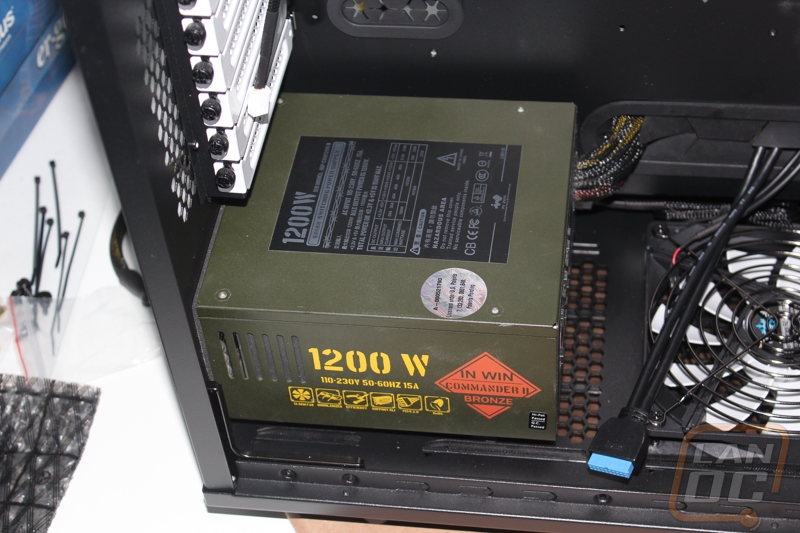
We already covered some of the bottom of the chassis in the preceding section. We can see the installed bottom fan as well as the PSU mount area featuring risers of its own so the unit isn’t sitting directly on the base. I pulled one of these rubber risers off for the sake of science and a better photo. They’re fairly sturdy and the adhesive was good enough to rebond when I put it back. As discussed, the XL R2 will support extended power supplies, up to a documented 345mm if you remove the installed bottom fan. Otherwise, 190mm is going to be your ceiling.
The rear interior is simply the reverse side of that discussed in the exterior section, though we do see that the PCI slot covers function with thumb screws. The XL R2 will support up to 9 PCI devices, and up to 330 mm in length. If the hard drive cages are manipulated, this can be extended to 480 mm.
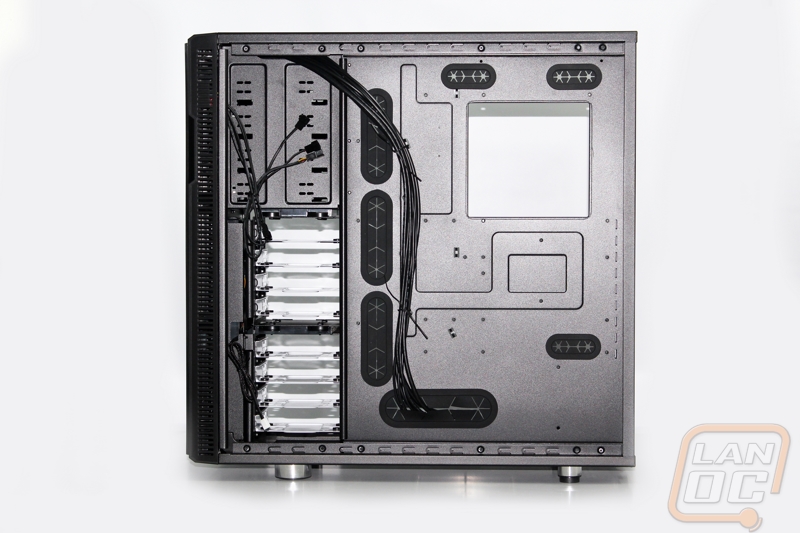
Taking a quick peek around back, we can see the front I/O cabling already nicely routed for us, as well as a few fan connectors in the hard drive area. There is also a Molex header here, an additional feature of the XL R2 is a three-speed fan controller built in to the front panel. Fractal also boasts 26 mm of space between the motherboard tray for cable management, which is nice but may still be a bit tight, especially in what could be high traffic areas for certain grommets.
Installation and Performance
The Define XL R2 is one of the few cases I’ve tested with side panels that are easy remove and put back on. Fractal again achieves this through simplicity; no special rails or sliding mechanisms, just a plate that sits in position and secures with thumb screws. With it off you can see one of the best examples of the noise reducing material used, and how thick it really is. This isn’t just porous foam. Of course it is removable if you’d like to equipped a side panel fan. It really does a good job keeping builds quiet, even those not necessarily designed that way. Since Fractal has covered most of the fan vent areas with this material when empty, it really helps to cut down on the dust and debris that gets into the case as well.
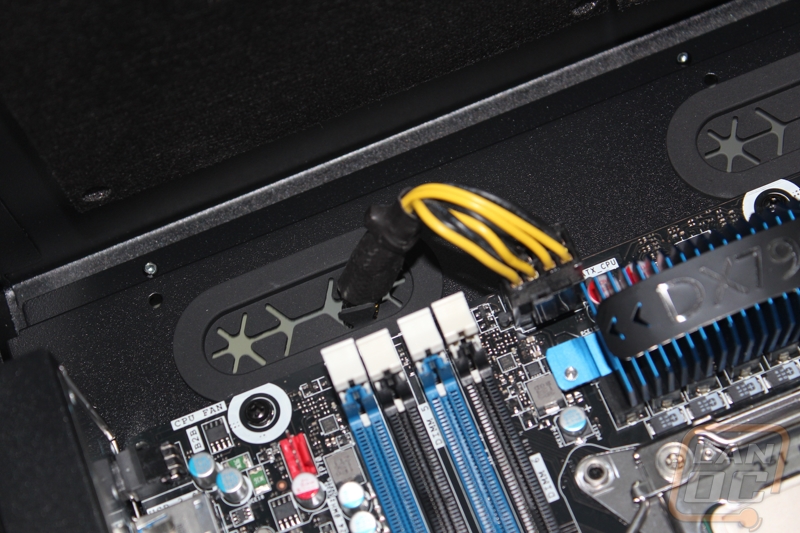
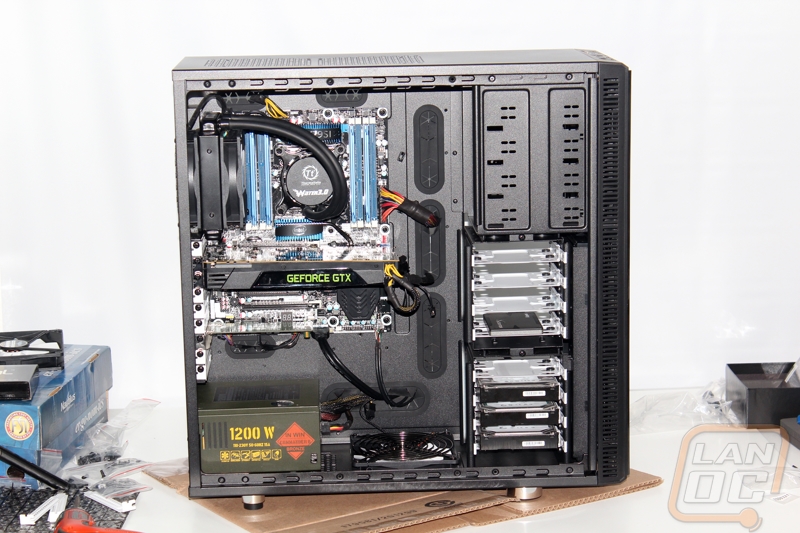
Installing the motherboard went extremely smooth, no problems encountered with the threading of the holes or risers provided. Fractal has also included a cap to help tighten/loosen the hex risers. The grommets at the top were perfect for the CPU power, since there is a pair it also accommodates boards that support two 8-pins on either corner. The grommets that run the right side of the board help guarantee that no matter where your 20/4-pin power is located, you’ll be able to route and hide slack appropriately. For our build we are using Thermaltake’s Water 3.0, mounting the rear exhaust radiator was more unique to it than the XL R2. Be aware of the 170 mm height for CPU coolers if you’re using active air.
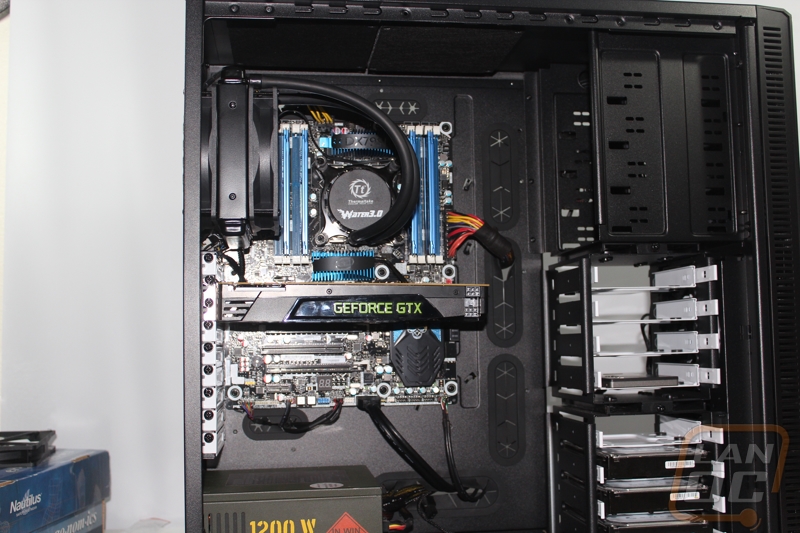
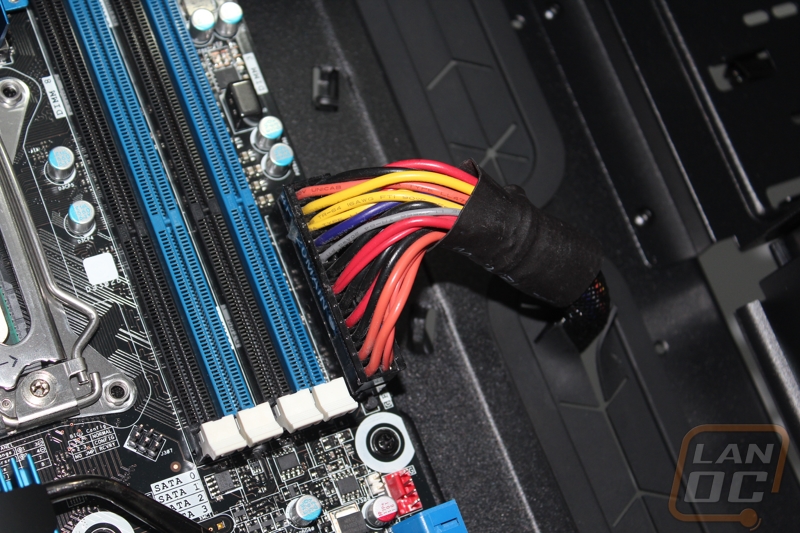
The power supply lined up well with the mount points on the cutout on the back of the case, and sits well and steady on the risers, providing some additional airflow. A modular PSU really helps, but rails can be routed directly through the grommet in front. I was a little surprised that Fractal did not include a second grommet location for the lower right quadrant of the board; many, including the mobo we used to build, have the front I/O panel connectors in this corner. These cables can be routed from either the PSU grommet or the corresponding side grommet and still look okay, but it would be nice to hide them like we were able to do with the remaining headers on the lower left side.
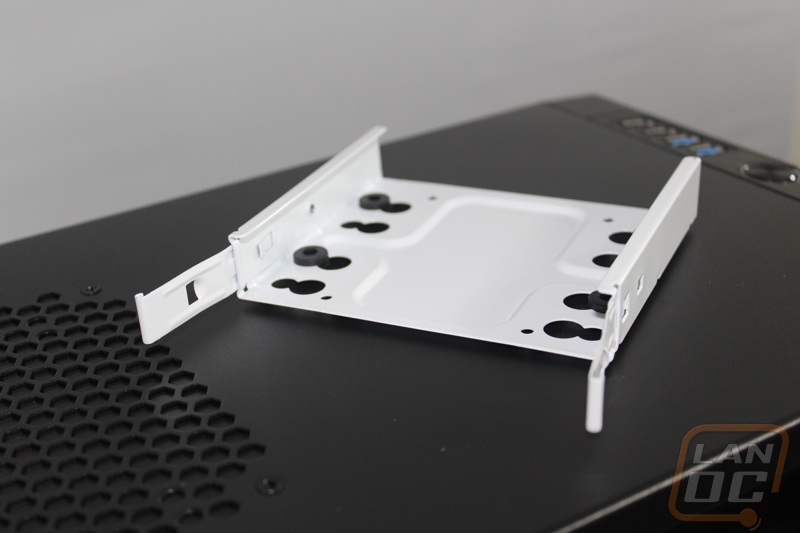
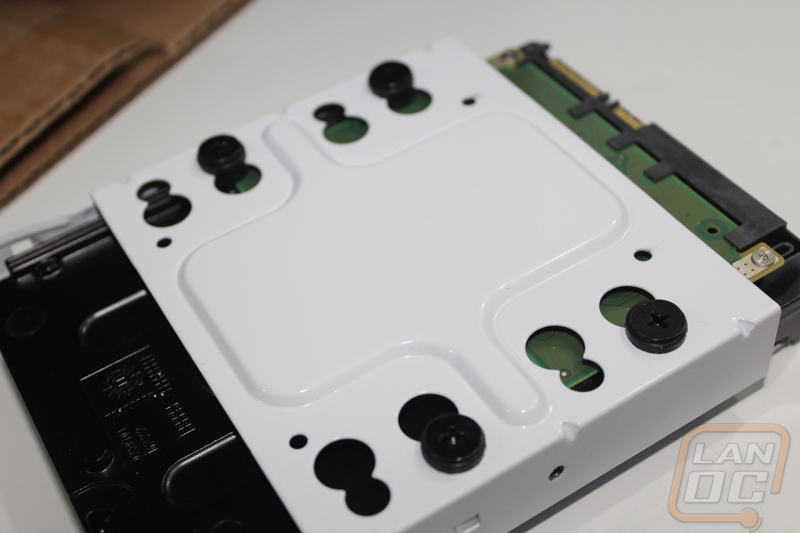
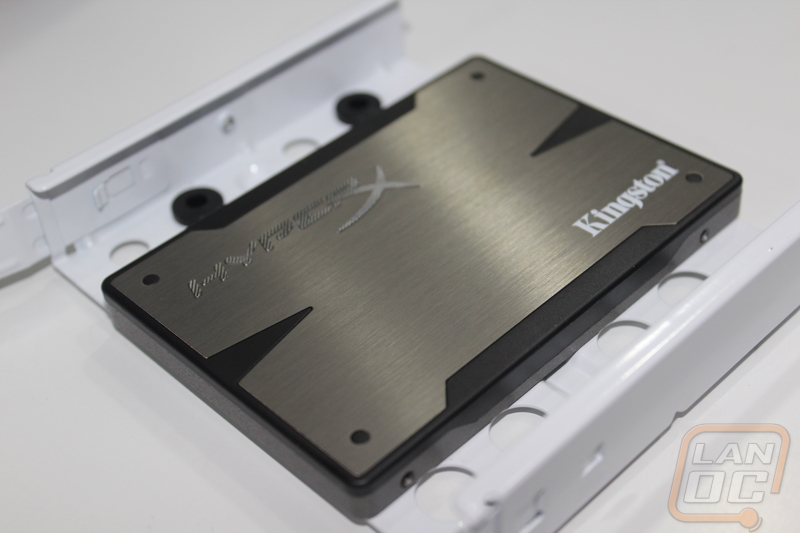
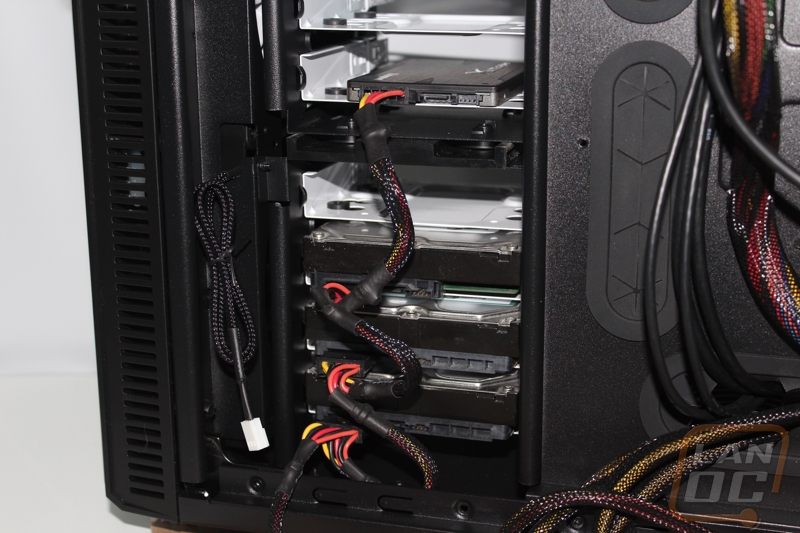
As mentioned before, I’m a fan of the black and white contrast theme, and the hard drive trays help to accent this as well. These are made from a steel material as well, not plastic. Drives mount on a anti-vibration ring with screws provided and simply slide into place. There is enough room on the opposite side of the cage between the back panel for straight cables; we’ve seen many towers that forget this and apply pressure on connectors unless you use right-angles.
The factory default airflow is pretty effective, and the fans Fractal include contribute to the quality. These are their SIlent Series R2 fans, rated at 15 dBA and 1200 RPM. These retail for about ten dollars depending on outlet, so it’s about a thirty dollar value. Speaking of cooling, the tool-less design on the front is really pretty handy, especially when working with a case as large a this one.
That’s a good segway into one of the downsides to Define XL R2: it is very heavy. Note that I say downside and not fault, I believe its intended. This case appealed to me because it was simply, sturdy and reliable. To compromise material to make it a little lighter doesn’t really make sense for this one. Although I did take it to our latest LAN party to show off, it isn’t designed for that, and I wouldn’t recommend it.
Overall and Final Verdict
Because of its simplicity, reliability, and functionality, the Define XL R2 is a great choice for enthusiasts. The chassis is also a good option for case modding for the same reasons. LanOC community member SpeedBump used the first iteration (by the way, the R2 or revision 2 provides a few updates such as USB 3.0) for his “Snow White and the i7 Cores” mod that he debuted at one of our LANs (you can check out the build log here). Fractal has done a great job building a chassis that looks great and support a range of components. It is definitely heavy, but you may find it worth the effort to bring to a LAN party to show off.