Inside
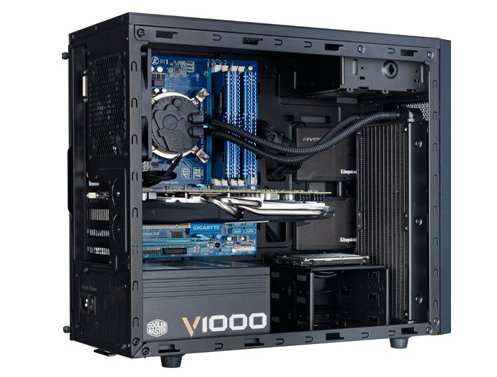
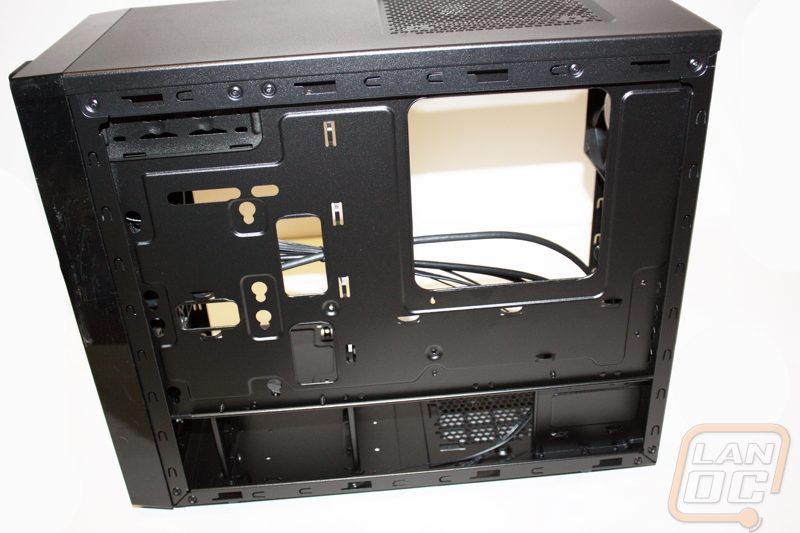
On the inside at first glance it is both difficult to see how everything is going to fit, but somewhat astounding how they managed to move things around to make additional room in unorthodox spaces. Right away in the front of the case we can see where the water cooling reservoir would be located. Currently in its place is a 120mm fan with a room for a second, or we can have zero fans and one big box of awesome! This is probably the most unique feature of this case, up until this point if someone has built a micro or mini ATX computer they have had to find other cooling solutions to try to keep all of their temps manageable. With this design it allows users to not have to sacrifice cooling in exchange for a smaller form factor computer.
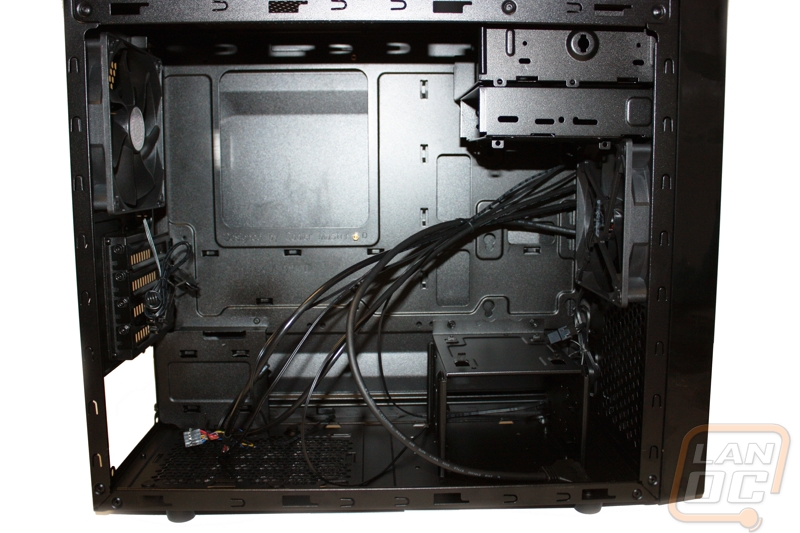
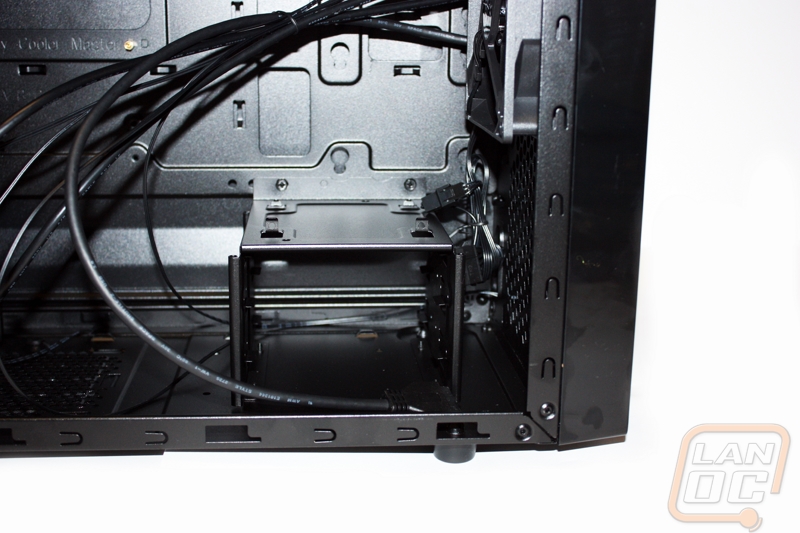
Another thing that we notice right away is that the hard drive bay is in an odd location. This is for the added space for the water cooling reservoir. By relocating the hard drive bay just a few inches, Cooler Master managed to make room for an entire water cooling system. This bay is also removable via a few screws located on the bottom of the case, which will allow for an easier installation of the water cooling system when it comes time.
The next couple of things that we notice are the bays at the top of the case. The first is an ODD bay for your blue ray or dvd drive, and the second is a standard 3.5 inch bay. This 3.5 inch bay could be used for fan controllers, hard drives, card readers, or even a floppy drive if you really want a blast from the past. The cool part about the 3.5 inch bay is that it can be used as a hard drive solution. If you really want to remove the bay at the bottom of the case for additional room, you can locate your hard drive up in the top bay and completely remove the bottom bay all together.
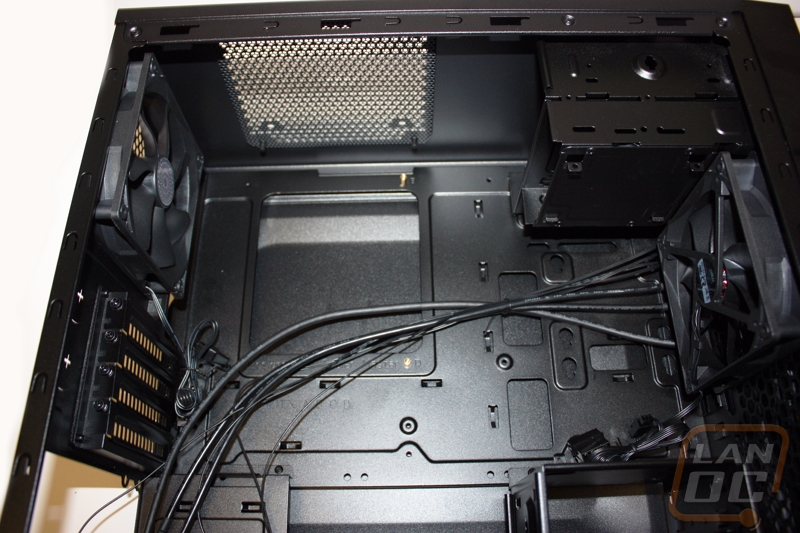
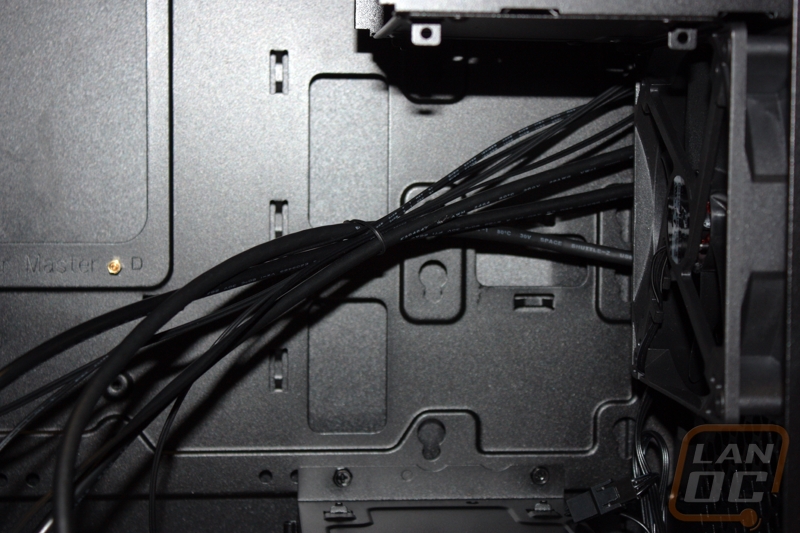
One thing that I am beginning to see is that Cooler Master put a big amount of thought into wire management. There are holes both to the right of and below where the motherboard would go to make it easier to run power behind the motherboard for a cleaner look. There is even a special opening near the top of the motherboard made specifically for the motherboard power pins. I do still worry that we don’t have enough room for cable management behind the motherboard, even with all the extra holes to run cables, but we will see if that comes to be when we actually get to testing.
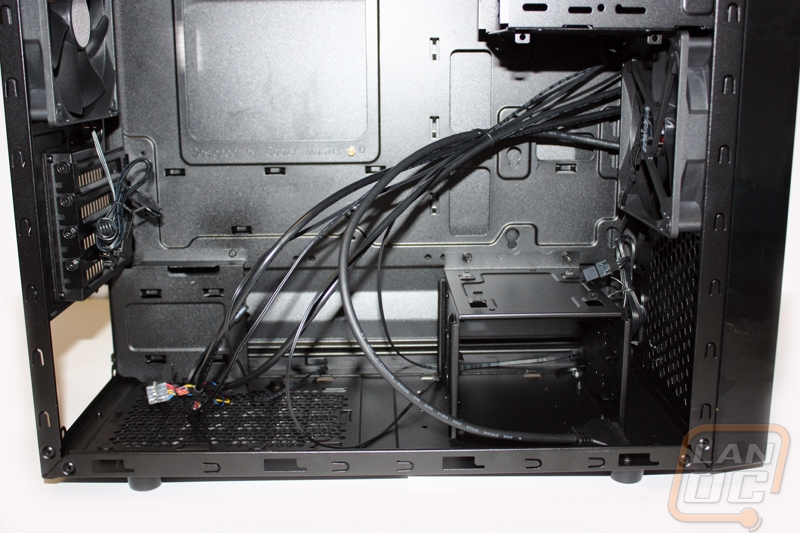
As far as the inside as a whole it is interesting to see how they made the amount of room as I said before, but it is still somewhat bothersome how little room it looks like we have. Another thing I want to note is that everything inside of the case does require screws, which doesn’t really surprise me. The fact that this was built and marketed as a budget case makes it apparent that we aren’t going to get features that are for more expensive cases. This isn’t a bad thing at all, I don’t mind screwing things in, I just felt it deserved to be noted in case anyone was curious as to how hard drives and such were held in.
