Installation/Performance
Being unfamiliar with Cougar cases I was unsure of how the installation would go. Pleasantly, there are a number of nice features that make installation in the case a really easy experience. To start off, this being a mid-tower case, I still felt that I had plenty of room for working inside of the case and getting everything adjust to my liking. The case is lightweight which makes it easy to work with and transport. However when I am dealing with lighter materials I always have to wonder if that might mean less durability in the long run.
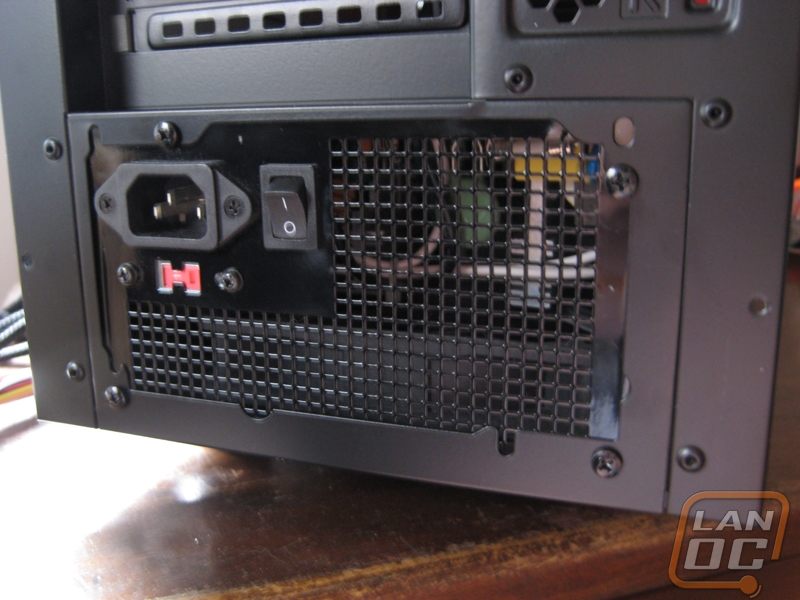
I started with installing the power supply. Everything went as expected when installing my trusty power supply unit.
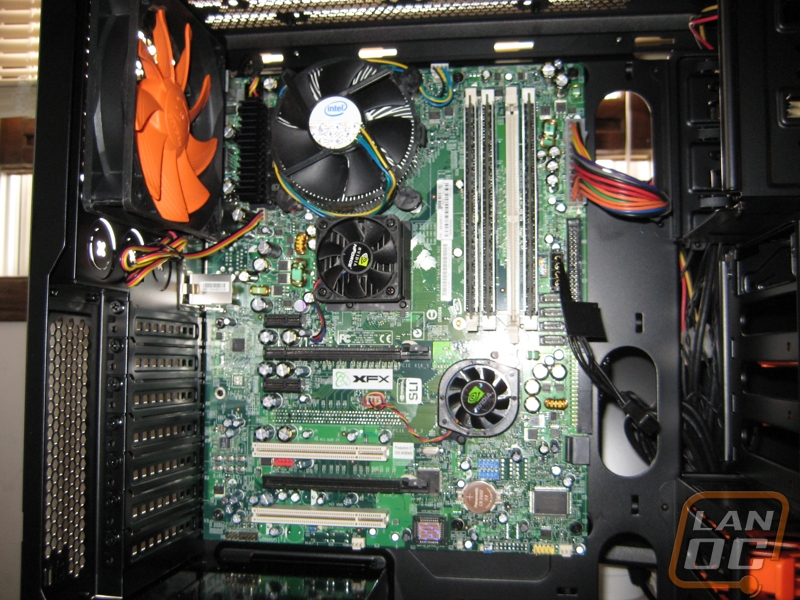
Next I began installing the motherboard which already had my CPU and ram installed. One very nice feature that they included are the raised motherboard mounting points. With these you do not need to install brass standoffs into this case. There is an inverted standoff like piece in the middle of the motherboard tray that you use to be your middle point and keep things in line when installing the main board.
The case has some large cut outs for running your cable management wires through. There is also a large cutout on the motherboard tray for upgrading or access to your CPU. They also left a small area in the upper left hand corner of the case for you to run your ATX 8 pin (or 4 pin) cable up there. I had no problem running any of my cables through the case to connect with the motherboard and components.
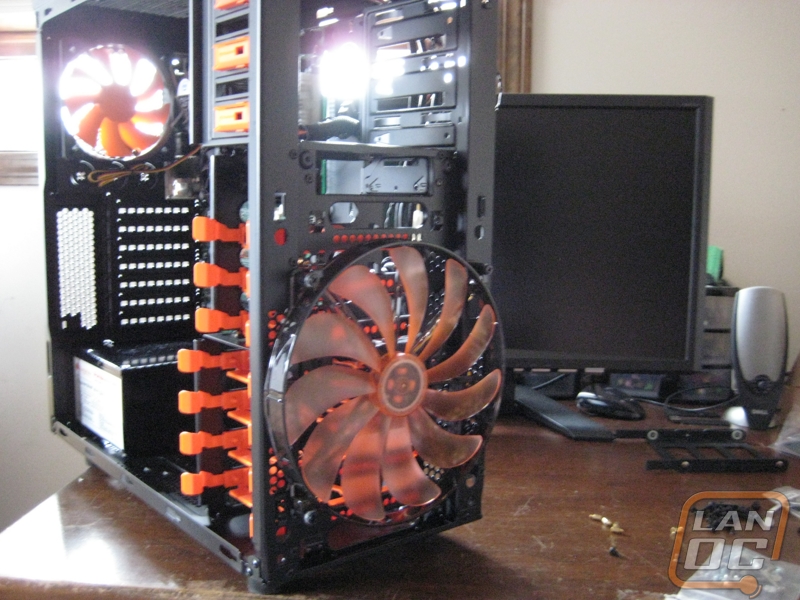
Next up are the drives. All of the hard drive caddy's are tool-less in design. So you just line up the bracket to the holes on the side of your drives and clip it on, then it slides easily into the case. This can't be any easier and is one has been one of my favorite solutions for installing drives into the case. The 5.25 bays are also tool-less as well. There is a small lever on the right hand side that you can pull for removing the drive once installed and it pops the drive forward for removal. To install the drive just slide the drive in and it locks in place. You can put a screw or two on the other side to make sure the drive is fully secure. I chose to put a thumb screw on that side for quick installation in the future.
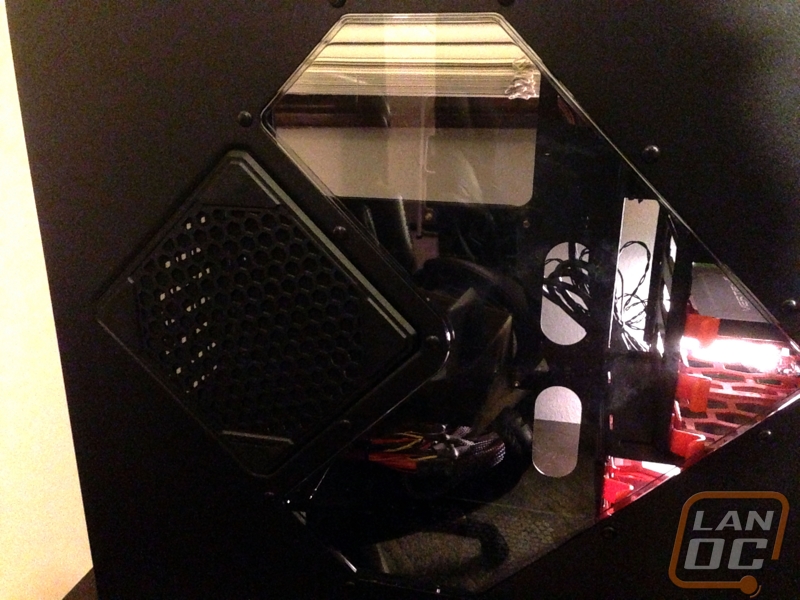
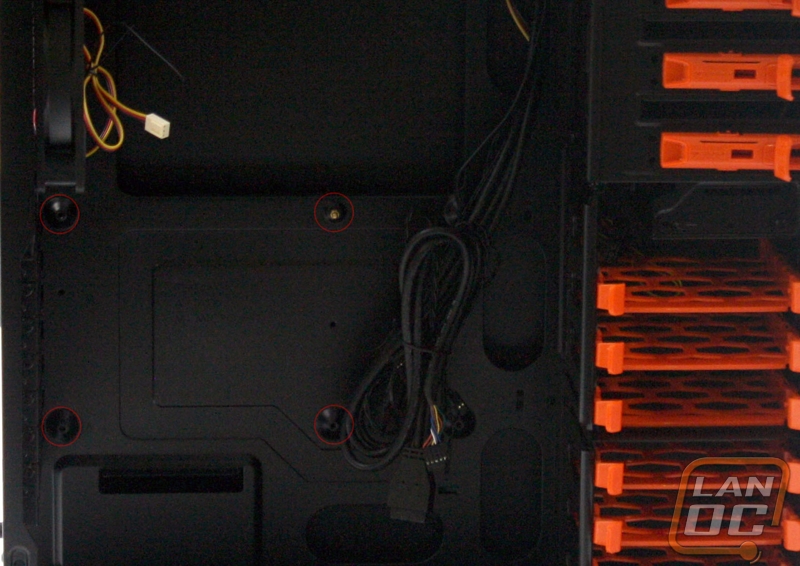
On the back of the case you have about 1.5 inches to fit your cables in. The right panel is just a standard flat side panel. I wish they would have chosen to do the exploded view type side panel like we are seeing on some other cases now days. The only issue I had with installing the cables is there are only a couple loops provided for tying things down to case, so you have to get a little thrifty to make the cables lay nice and flat but it wasn't hard to accomplish the task.
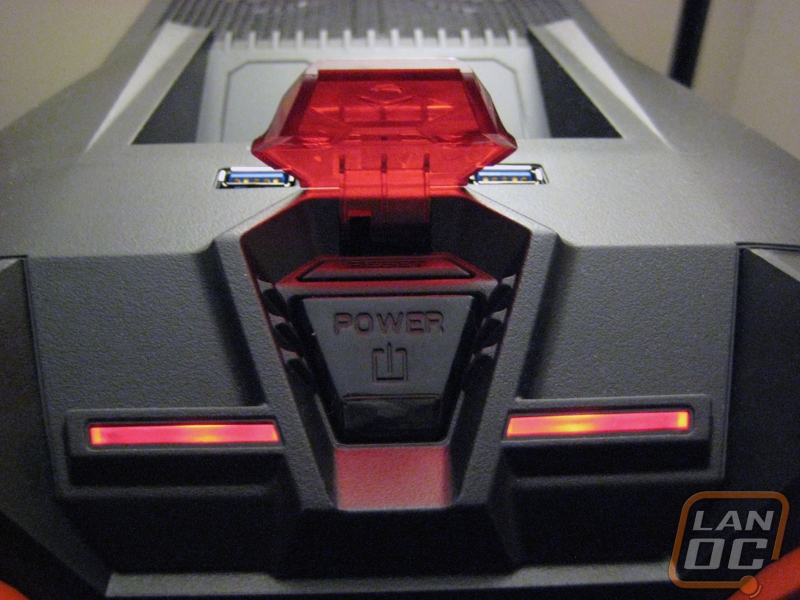
After I got all the components installed and everything connected, it was time to go for a test run. I flipped up the pilot switch and hit the switch contained beneath to unleash the fury! The system fired right up and I could now see red lights showing that I had power to the system. There is also a light above the power switch that will flash red whenever this is hard drive activity. All of the fans installed on the system are whisper quiet and the front 200m fan even shows a red LED glowing inside of the case. It's not a super bright LED but more of a subtle red tone illuminating the front.
