Installation/Performance
The Raven 3 is a very unique setup, before we could even start installing our test bench we had to open everything up. Unlike most cases this required pulling the top panel off before I could get to the thumbscrews holding the side panels in place. We did notice that the thumbscrews were a little hard to take out at first, it looks like our case came in a little tweaked. You can see this especially when looking at the “back” side panel, it was slighting bulging. Once we did get into the case, we were greeted by the unusual layout and an amazing amount of room both on the front and behind the motherboard tray as well.
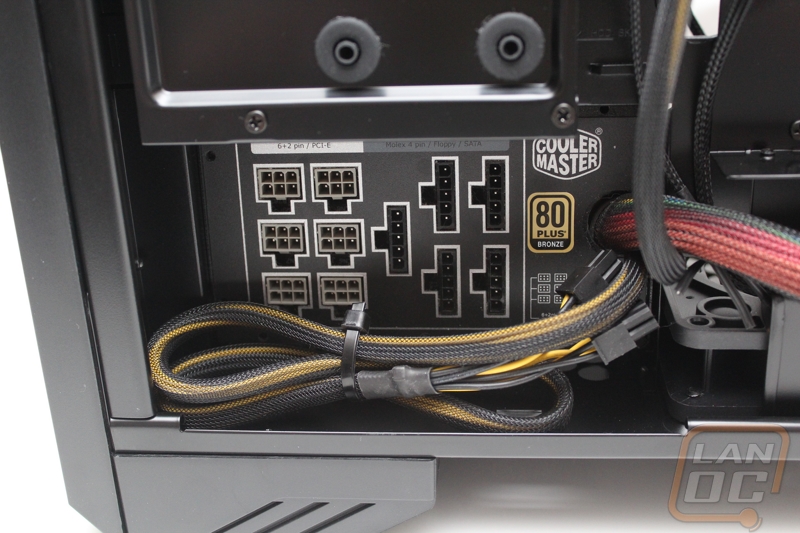
We started off by dropping in our power supply. Silverstone put the power supply location in the bottom right, right behind the vents on each of the side panels. The downside to this configuration is there is a limited amount of space for the power supply. Our 850 watt had no issues, but I suspect our large power supplies would have been a little tighter. Its not really the power supply by itself, its the space you need at the end for modular cable connections. The official size limit is 180mm’s though, please keep that in mind when building your monster rig. The other issue we ran into here was actually hooking up the power cable. As you can see in our photo the cable was a little tight and the way the right angle connection pointed it covered up the power switch.
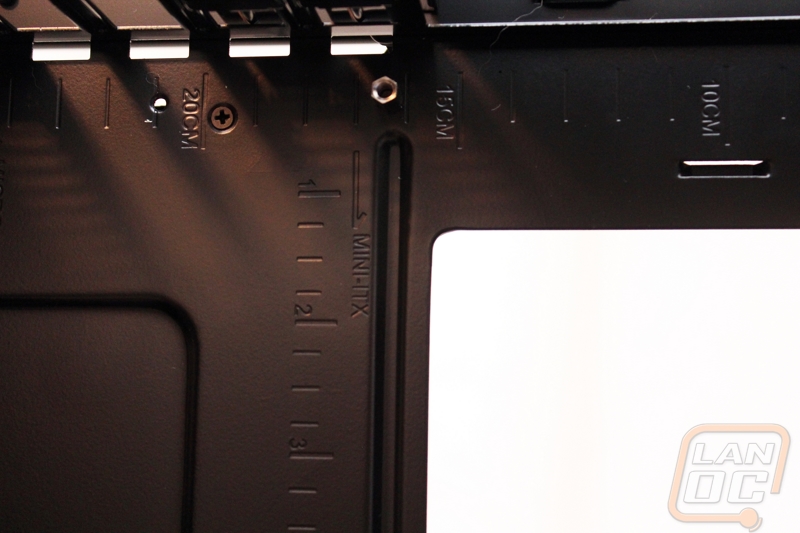
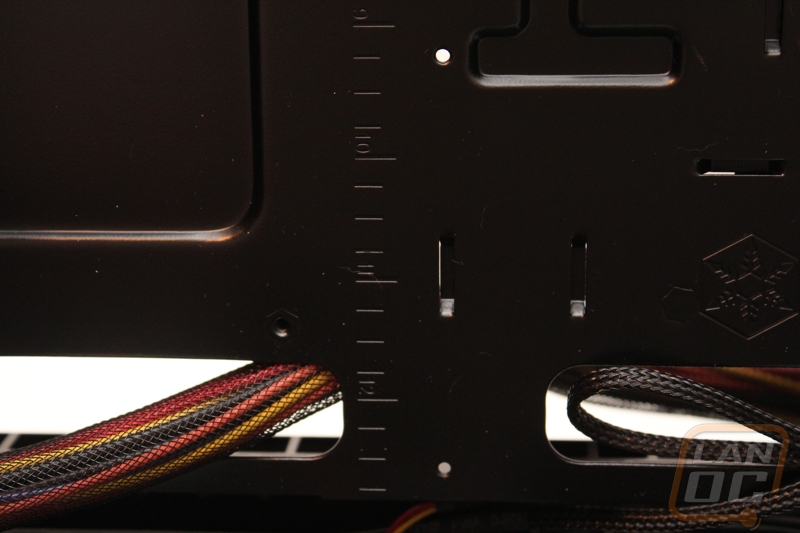
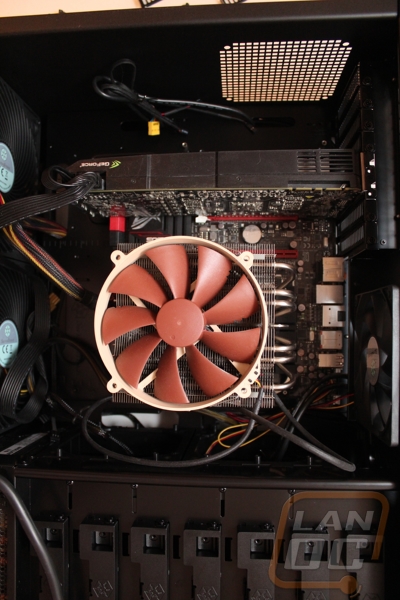
Moving on to our motherboard, the Raven 3's motherboard tray is rotated 90 degrees with the rear I/O pointing up. It felt a little odd installing everything facing up, but once I got over that it went smoothly.While installing our motherboard I noticed a small detail that Silverstone included that I loved. They actually put measurements for height and width across the motherboard tray along with markings pointing out different motherboard sizes. This is unique and a nice way to quickly see what size board you have.
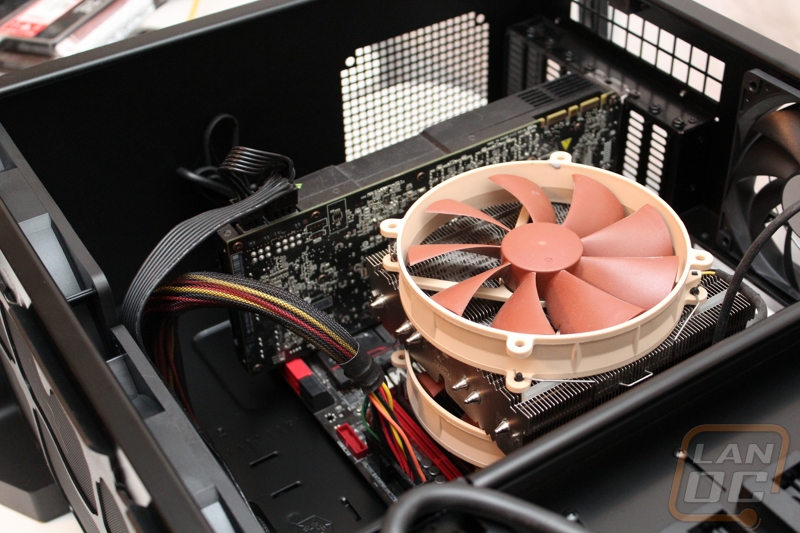
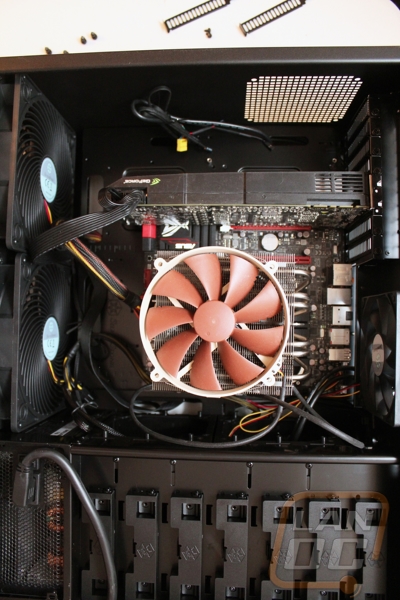
When it came to dropping in our GTX 580, we still had a full three inches of clearance left before getting down into the bottom fans. You shouldn’t have trouble fitting any of the video cards currently on the market in the Raven 3. On top of that with 8 PCI slots you can run quad SLI/crossfire as long as you have a motherboard that also supports it.The width of the case made for lots of clearance when it comes to the CPU cooler as well. Our Noctua heatsink may be blowing down but as far as height goes it is still a very tall heatsink and there was plenty of room above it with everything installed.
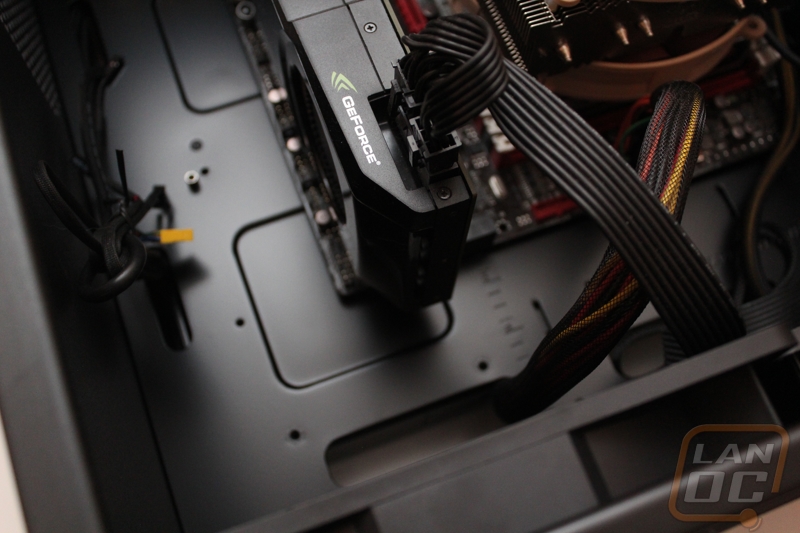
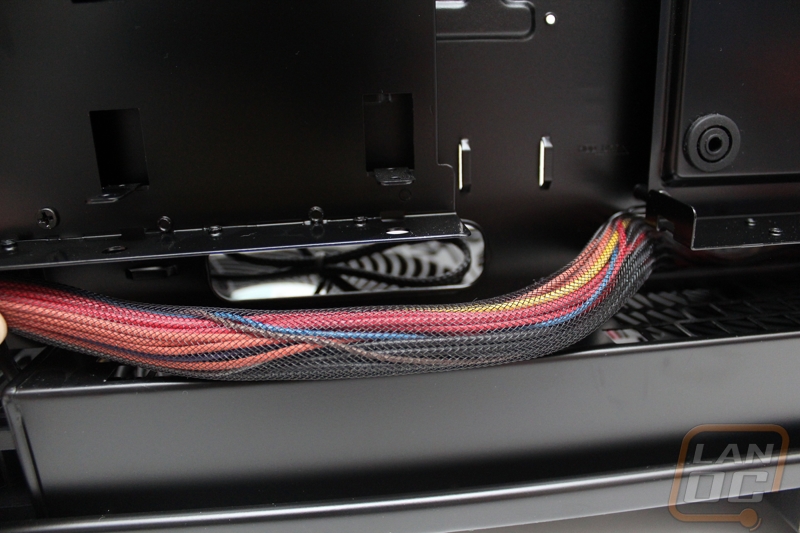
Wiring the Raven 3 internally really couldn’t get easier. For one, the rotated motherboard design puts all of the video card power cords right down at the bottom where they come right out of the wire management holes. I should also point out that unlike other cases in this price range there aren’t grommeted holes, it still looks good because even the back panel is painted black, but for the cleanest look we would need grommets. All of the wires for the Raven 3 are all blacked out making for a clean look. They even included a USB 3.0 to USB 2.0 adapter for those who still don’t have a USB 3.0 header on their motherboard. Where the wiring gets really easy is around back. The space between the motherboard tray and the side panel is two inches thick, this is over twice what we normally see. This made routing the thick 24 pin cable simple. With the SSD mount behind the motherboard we actually were able to keep our wiring extra clean and for those of you who want to pack more drives in you have the ability to put in up to 6 in the front of the case using adapters.
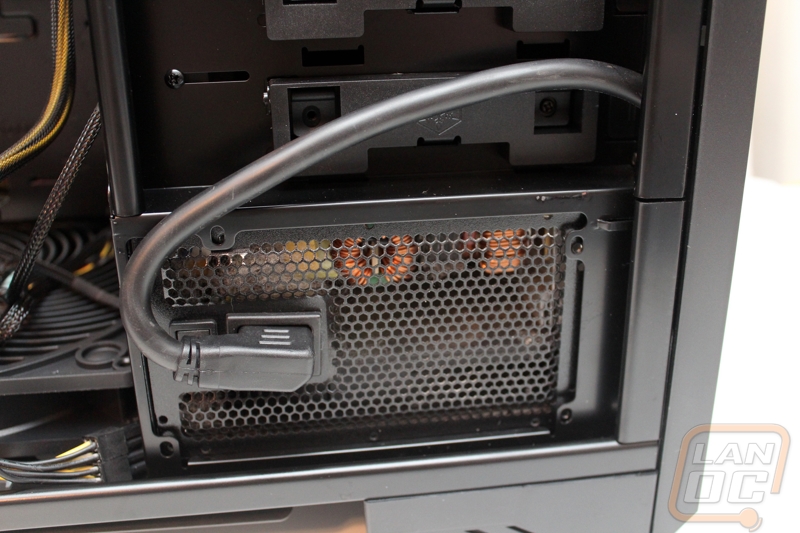
Although internal wiring was easy, hooking up the PC itself with all of the connections up top, did create its own issues. For one, people who have their case sitting under a table or desk may have trouble getting at the top of the case. Those who keep their case next to their desk might love this though. Another issue that can come up is the use of DVI to HDMI cables or even just low quality cables. Coming out of the top and then with the top panel in place there isn’t a lot of room, an adapter won’t fit and in my case HDMI cables may break being bent this much. On top of this I’m not really sure what Silverstone was thinking when it comes to the location of the power plug. Due to the internal power supply design they have the cable that hooks up to the power supply inside to move the power plug to a usable location. They put the power plug basically next to the power supply, but completely under the case and it is 2-3 inches up into the case. Your only option is to put the case on its side and plug in then turn it back up. Considering the fact they could have put the power plug anywhere at all I don’t know why they didn’t run it over to the completely empty back panel for example.
With everything installed and powered up we finally had a chance to see how the unique design works. First, the two 180mm fans on the bottom of the case did a great job cooling our test rig. Of course the 90 degree rotated design helps with that by working with heat rising as well as our video card pushing air out of the top. If that wasn’t enough we also have the fan just above the CPU on the motherboard as well. Overall the cooling on the Raven 3 was amazing and should be more than enough for just about any build. You do have a few options for installing more fans if you feel you need it, including one that blows on the bottom of the motherboard, but I don’t think you will need it.
Noise was also impressive considering the amount of fans in the Raven 3. In the end it comes down to the lower RPM 180mm fans that do most of the work. They push a lot of air without making hardly any noise, on top of that you can actually adjust the fan speed using a flip switch on the top of the case hidden under the top panel.
