Inside
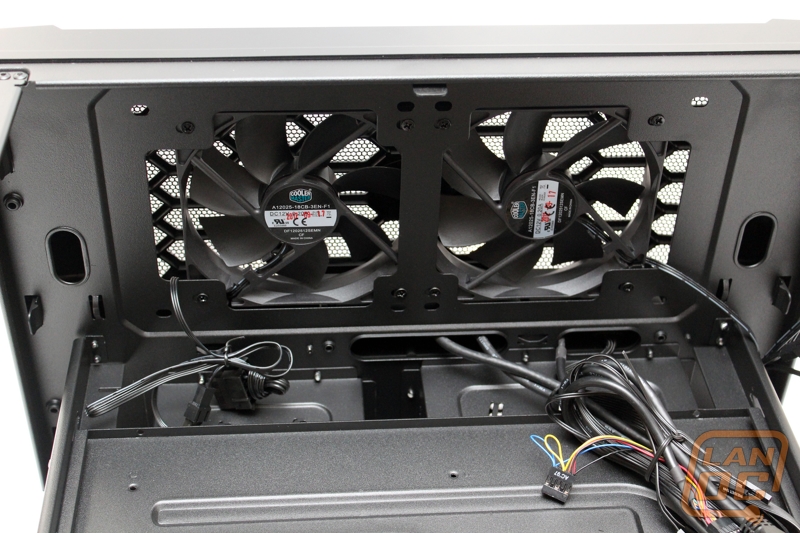
The HAF XB, as I mentioned earlier, is a case/test bench. This is much clearer after we started taking the side panels off. First unlike most cases you have three side panels rather than two. This leaves the case more open and accessible like a test bench. Starting from the front, on the top half of the case you have two 120mm fans that do all of the cooling and low air over the motherboard. If you look close there are mounts for 140mm fans if you would like and there is just enough room to run a 240mm radiator here if you would like as well.
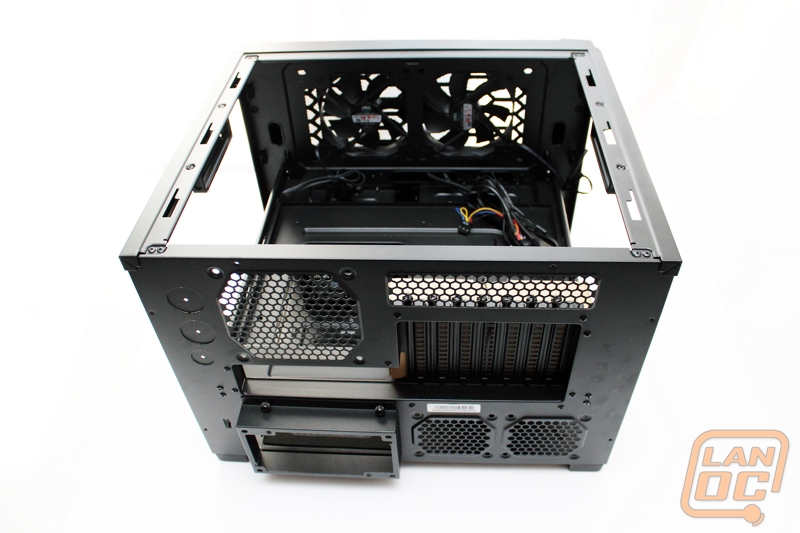
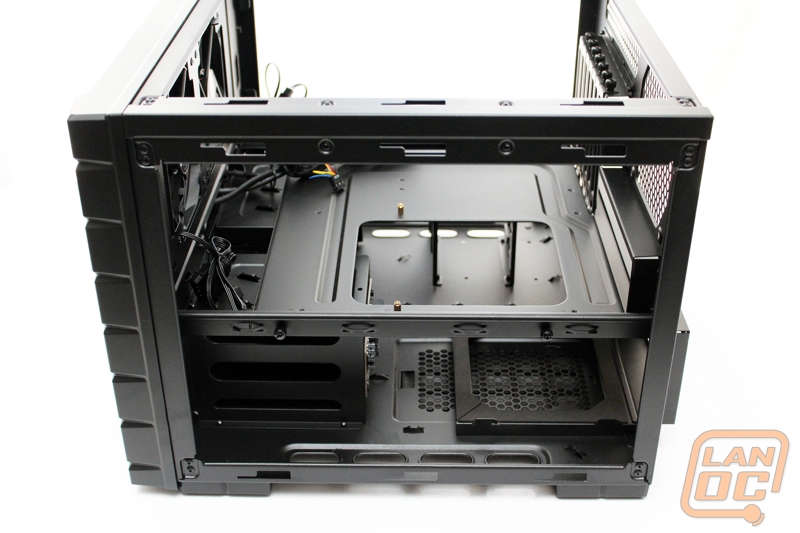
This angle shows the two different levels very well. As you can see here half way up the case there is a second level where the motherboard tray is located. The motherboard tray also has a very large motherboard cutout, so large incase that is actually bigger than a mini ITX motherboard. This means you shouldn’t have any trouble getting to the back of any CPU to install a heatsink backplate.
Under the motherboard tray they have tucked away all of the other goodies like the PSU and drive and disk mounts. The first thing that will catch your eye is the built in hot swap. You can see that this is a little tight up against the PSU in our photo here, we will find out in testing if this is really an issue.
The PSU mounting location includes a padded base that both prevent vibration and helps pull air from under the case rather than inside of the case.

Over on the other side of the case you can see the two 5.25 inch drive bay mounts. Cooler Master did include their typical tool-less mounts to make swapping these in and out easy. I also love that there are a couple well placed zip tie tabs just behind the drive bays to help you keep your wiring very clean as well.
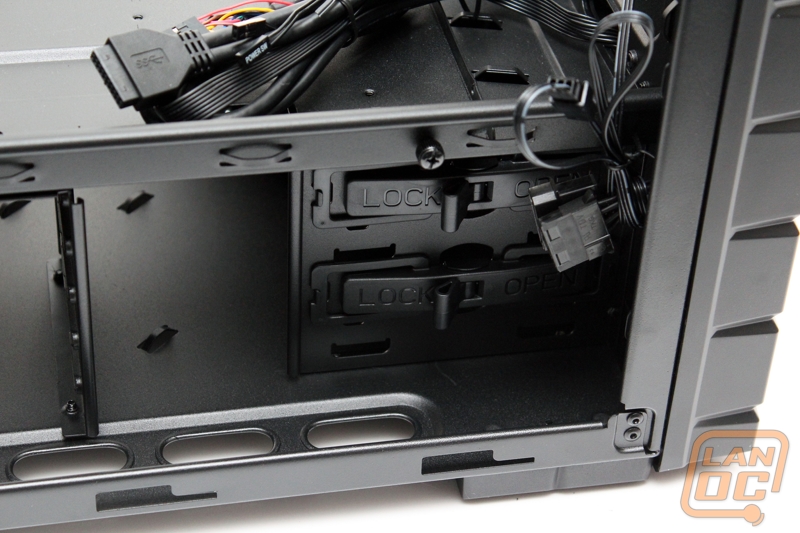
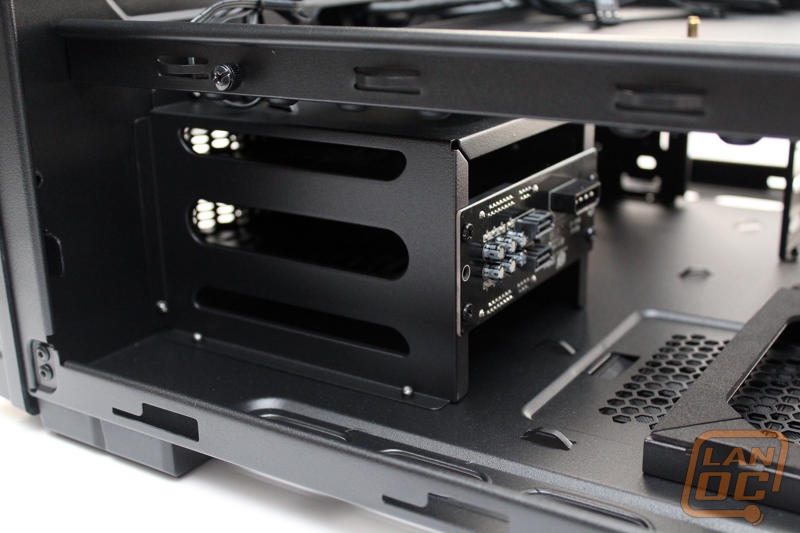
Behind the 5.25 inch base there is a second hard drive rack, this time specifically for 2.5 inch drives. This puts our total drive capacity’s at two 5.25, two 3.5, and 4 2.5. Cooler Master lists the 2.5 inch drive capacity at 6, but this is counting if you use the two 3.5 bays. This rack isn’t a hot swap but is still easy to use. It uses sliders placed on each side of the drive, it then just slides right in and snaps into place. Getting to the back to plug the drives in could be an issue though, we will see during our installation.

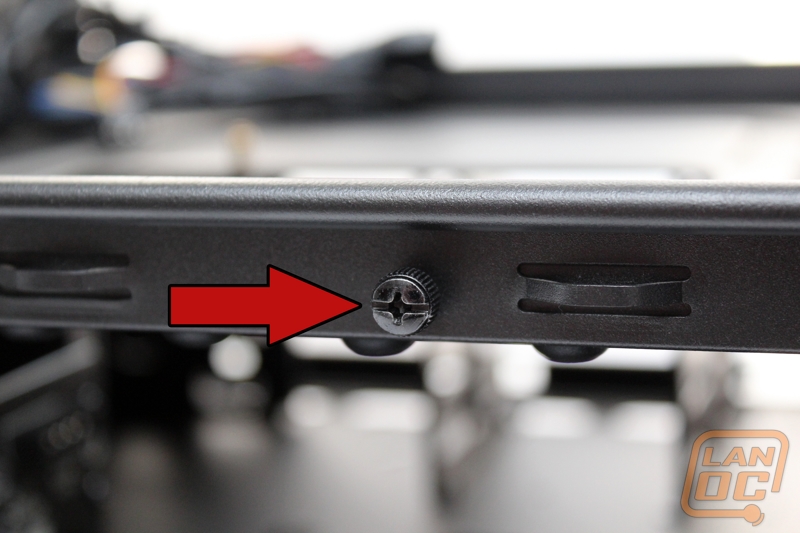
I mentioned before the motherboard tray. Something I didn’t point out is that it is actually removable. Cooler Master used four thumbscrews around the tray to keep it secure but once removed the tray picks right up and makes motherboard installation much easier. They also put the small zip tie tabs along the motherboard tray mount for better wire management as well.
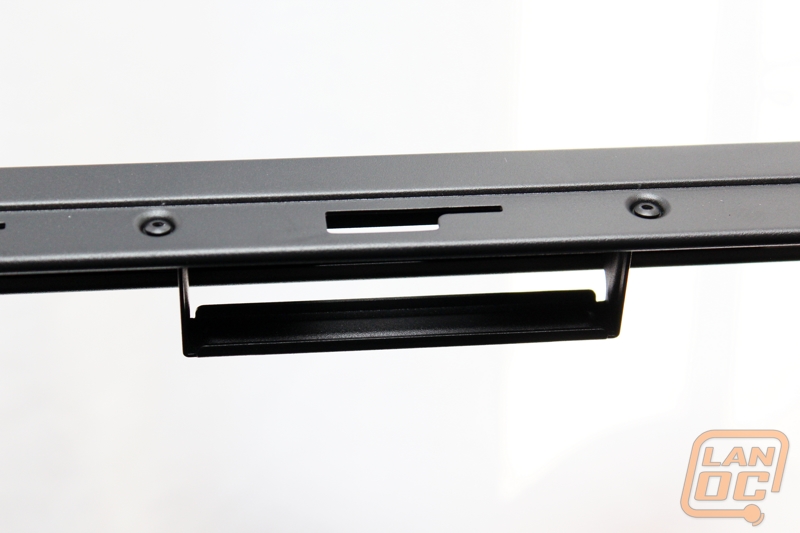
I mentioned before that there are the carrying handles on the outside. At first I was a little concerned with picking the case up by its side panels. But after seeing inside, I found this on each side. They have given those handles full support with a small bracket to push the weight onto the frame itself. Nice job Cooler Master!
")
