Interior Design
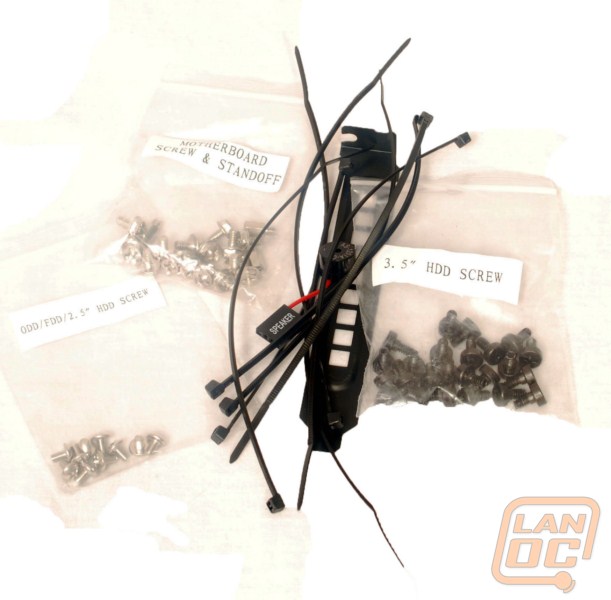
On opening we found the usual bag of hardware. There is a replacement plate for the expansion slots, cable ties, drive screws and screws for the case.
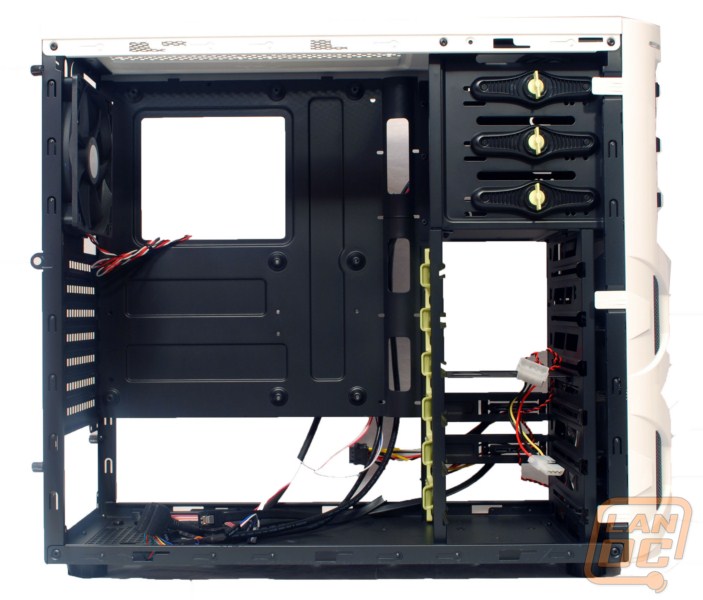

Taking a look at the drives, we see the 5.25” drive bays feature a tool-less retention system. The 3.5” drives feature a clip and a rail that holds drives that had the screws added to them. We will have more on that during the installation section. Two of the 3.5” slots feature a sort of hot-swap feature with a SATA and power backplate.
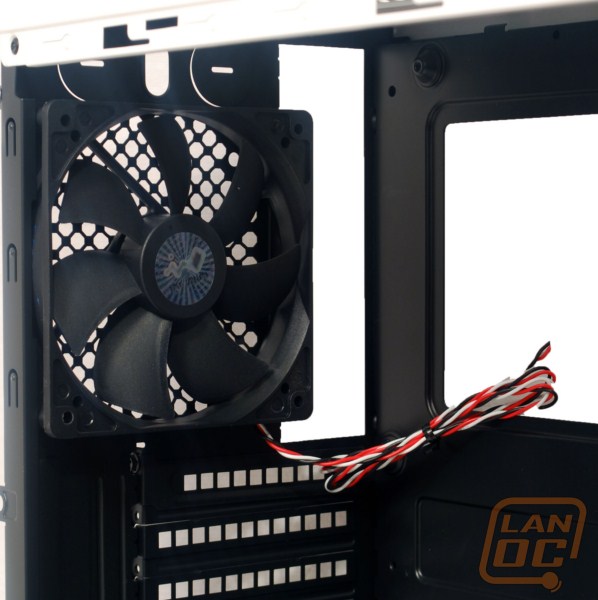
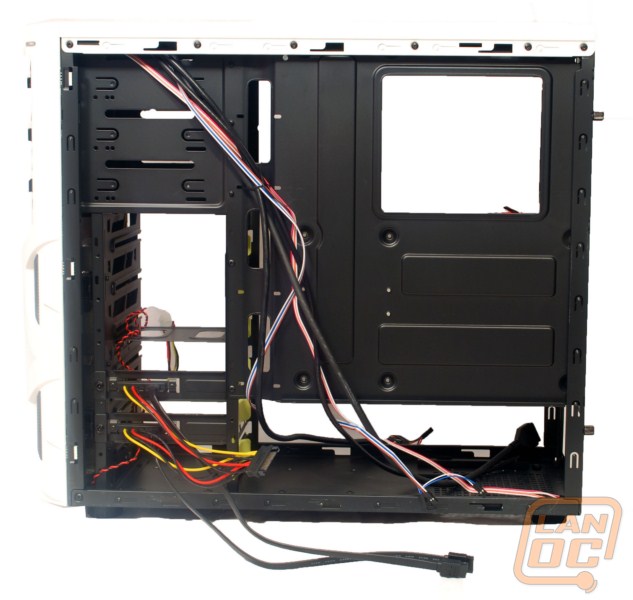
We see the internal 120mm rear exhaust fan and a large CPU tray cutout. I didn’t mention it when we looked at the inside of the case because it is easier to see from the rear, but In Win has included raised bumps for the mainboard instead of the traditional standoffs. We will cover this more in depth later. On the back we can see the two pre-wired slots that I mentioned earlier. This should make wiring a bit easier and cleaner. There looks to be sufficient openings for cable routing, but remember this is a mid-tower case. Longer wires may get hard to stash. Although there isn't a side panel window, its disappointing to see In Win go through the effort of doing the black interior and then to skip out entirely on sleeving or coloring the wiring to match. The hard drive hot swap cables stand out like a sore thumb, as you can see.
I left this to the end as it was the first feature I found that I really didn’t like. There have been very view cases that I have been 100% satisfied with the expansion card retention system, but one that requires unscrewing something in order to unscrew/screw something else annoys me. True it tends to be more secure then the “tool-less” retention systems we have seen, but seems to be an annoying extra step.
Next we will install some hardware in the Mana 136.
