Inside
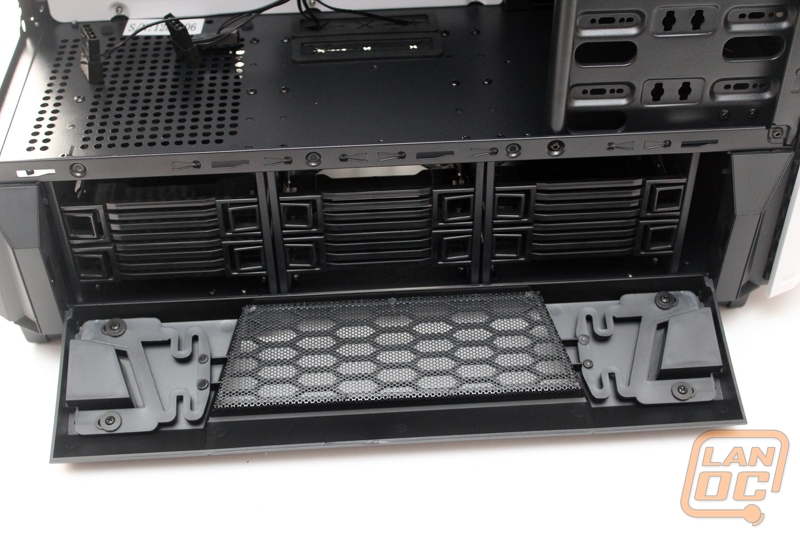
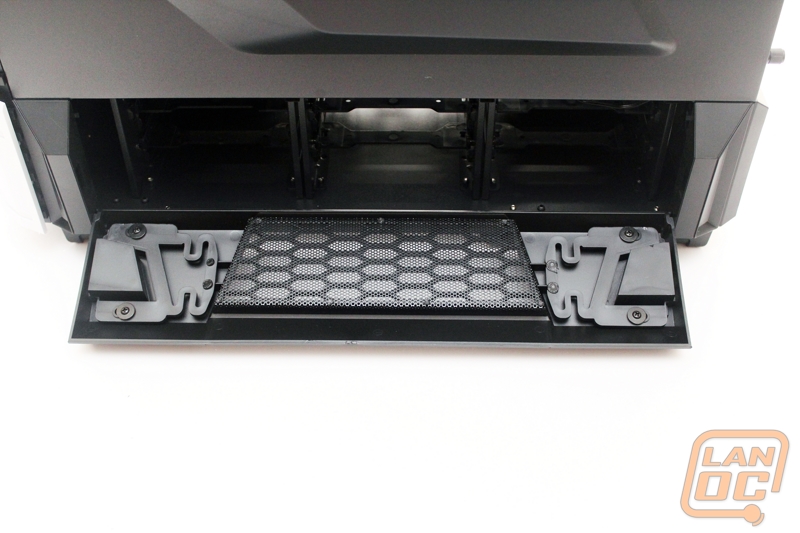
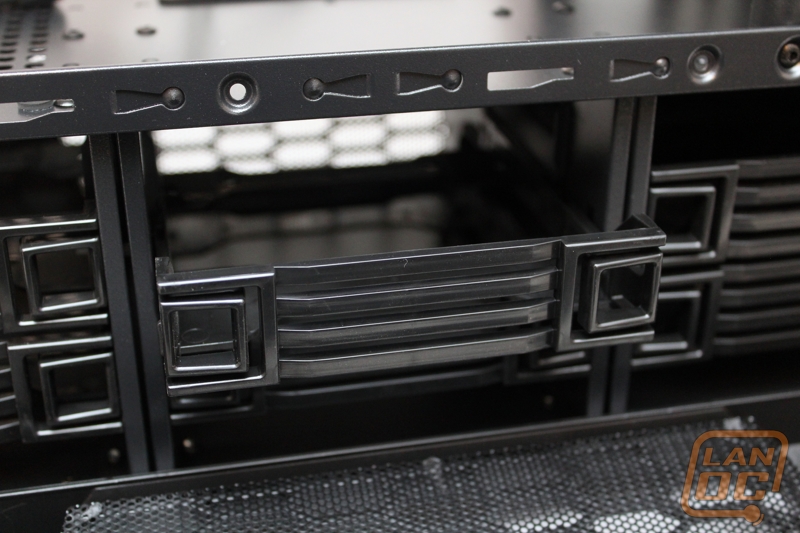
We will start with the bottom section of the Agusta because I’m sure some of you are very curious why they would add something like this to the bottom of the case. As you can see they have packed in six plastic hard drive trays. Although the picture is dark, I also snapped a picture of the two fans at the back of the hard drive rack to keep things cool as well as one on the front. They are all three 80mm fans. You also can take advantage of the door on the other side of the case to get to wiring as needed.

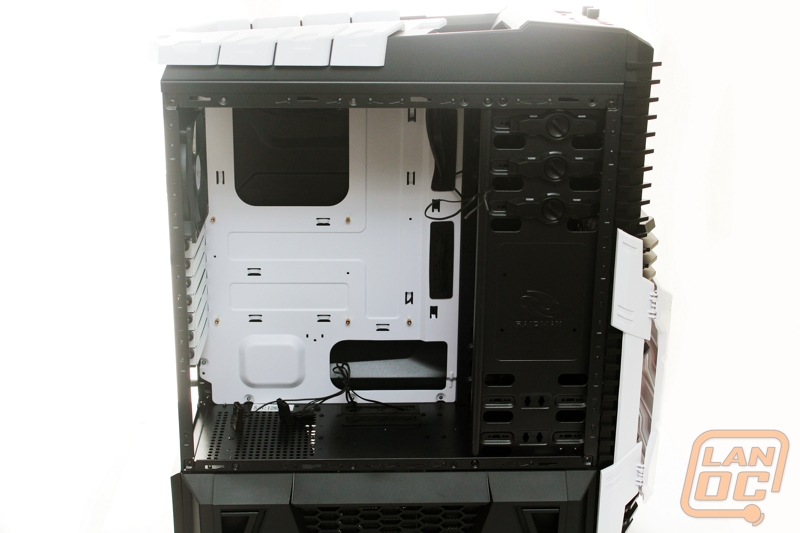
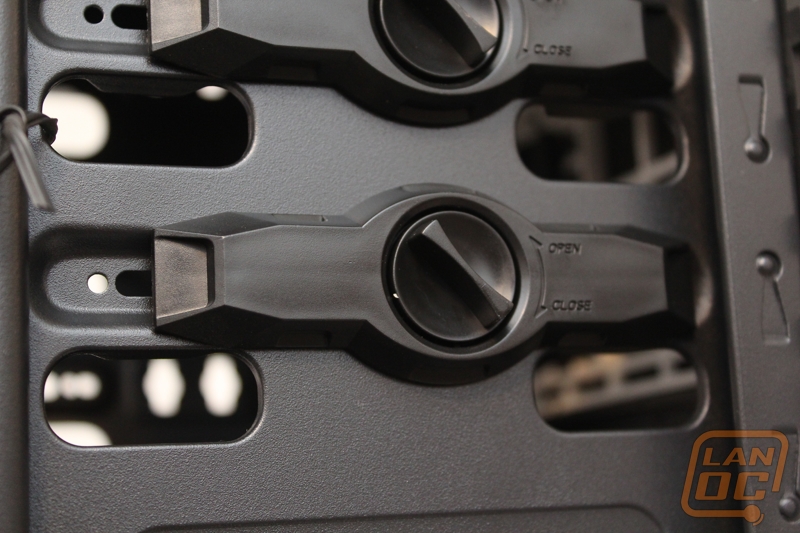
Moving up slightly with the side panel off we can see the sharp looking white motherboard tray on the Agusta. Built into that tray you have a large access panel for the back of the CPU and three wire management holes for wiring. Two of those holes have nice rubber grommets, but the largest doesn’t have anything of the sort. The edges are rounded and won’t cause damage to your wiring, but it would be nice to be able to hide wiring a little more. There is also a grommeted wiring hole on the bottom for wires going to the hard drives. Because of all of the hard drive bays being in the bottom section of the Agusta I was expecting the top section to be a little more open but the two hidden 5.25 bays make that impossible. Speaking of those bays, the bottom two bays don’t have tool-less features, but the top three do. This isn’t a shocker because anything mounted down below would normally need to be screwed in (fan controllers, water cooling).

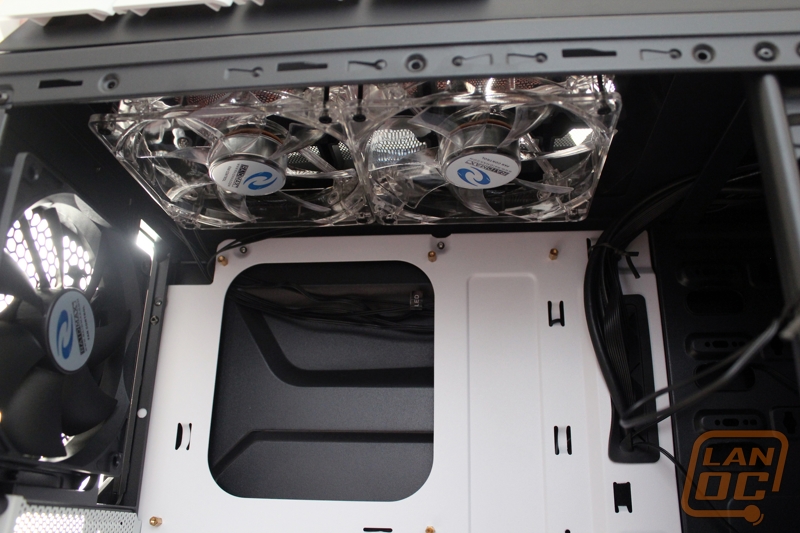
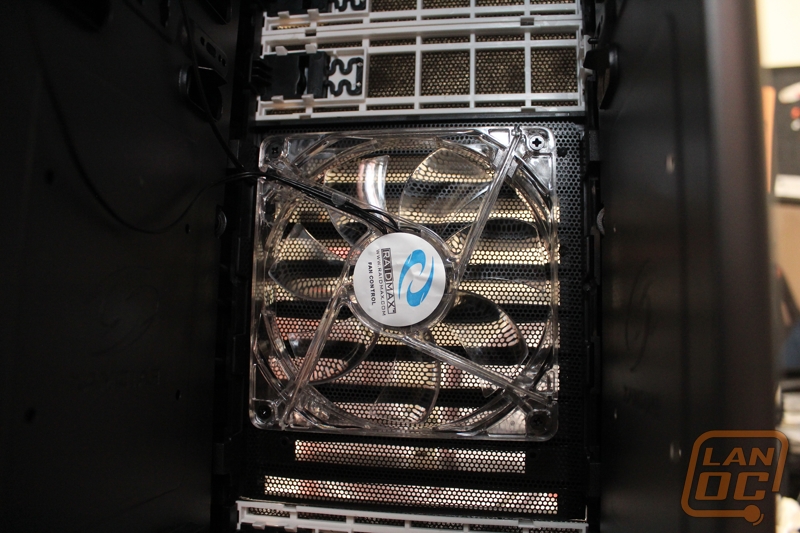
Now that we are inside we can take a better look at cooling. You will notice up top there are two 120mm LED fans to push hot air out. On the back there is another 120mm fan. And In between the top and bottom 5.25 bays there is another 120mm LED fan. Combined with the three 80mm fans the Agusta has a lot of cooling power. This is especially impressive considering its lack of large 200mm+ fans. Raidmax made point to not just include the area’s to mount fans, but to actually include fans. This costs more but is going to give you the best cooling.

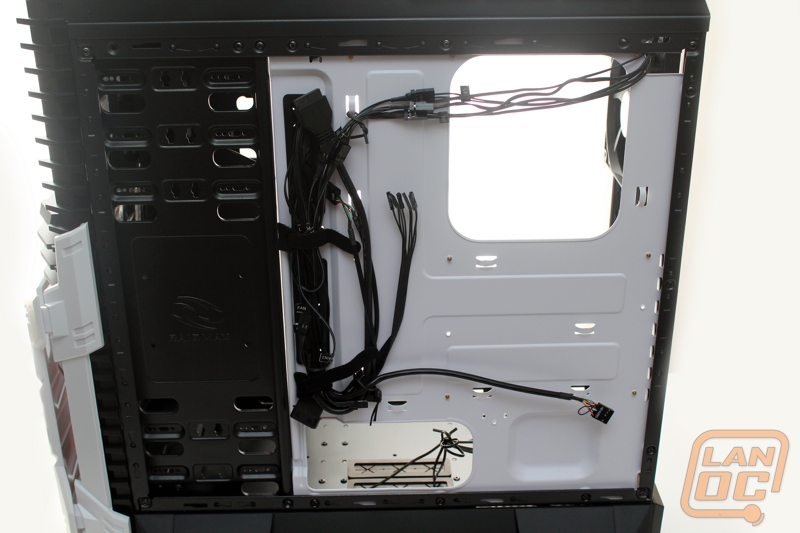
The last section of the interior that needs covered is behind the motherboard tray. As first glance there looks to be little room, but we have to remember the oddly shaped side panels. When taking the side panels into account you end up with more than enough room for wire management. They have also included multiple zip tie mounting points for tie downs when cleaning up your wiring. Here we can get a better look at all of the wiring for the case itself as well. I was happy to see that all of the wiring comes in all black for consistency. There isn’t an oddly colored audio cable that will mess up your cases them.