Installation
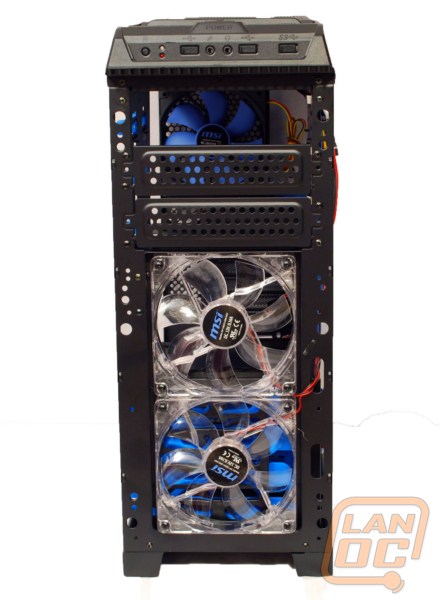
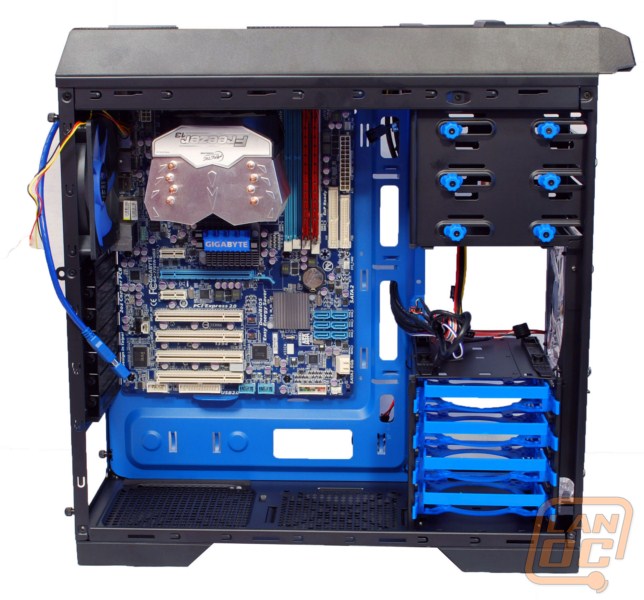
Popping the front off to install our DVD drive gave us a chance to see the dual 120mm LED fans. The DVD drive simply slides in and is held into place by thumbscrews. The mainboard is mounted into place via the traditional standoffs and the case has sufficient depth to allow for us to have room to work around most of the sides. Working on the top of the mainboard might get a little snug until you remember that the top pops off and allows you to work from that side. If you do chose to add fans on the top, do them last and it will be easier to work with.
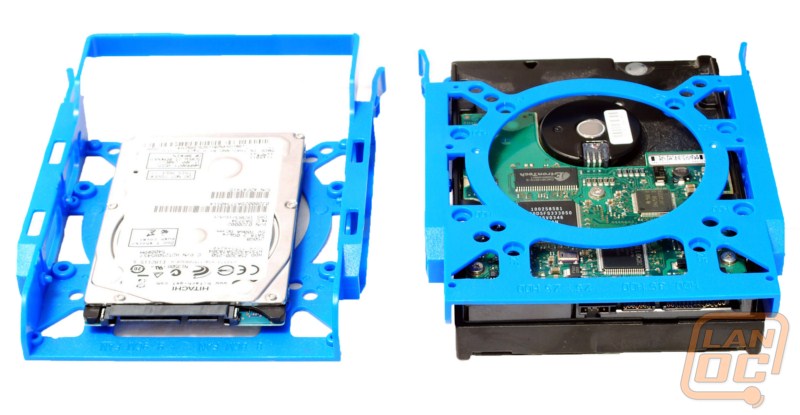
I do want to mention the 3.5” drive trays in particular. There are screw holes if you want to better secure the 3.5” drives, though the single pin on either side seems sufficient to hold them in place. For 2.5” drives though, I don’t like how the screw holes are positioned. Having it centered means the ports are inside of the tray. This makes it a pain to get some plugs in. The screw holes should really be moved so that 2.5” drive ports are lined up with the edge.
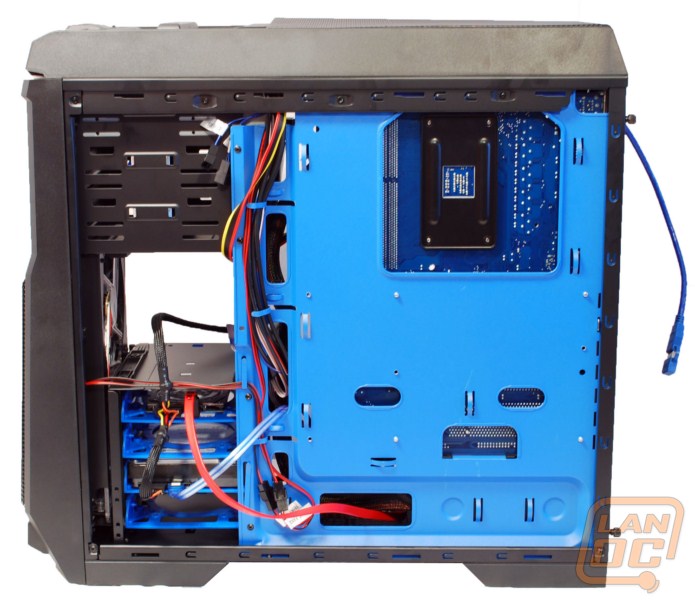
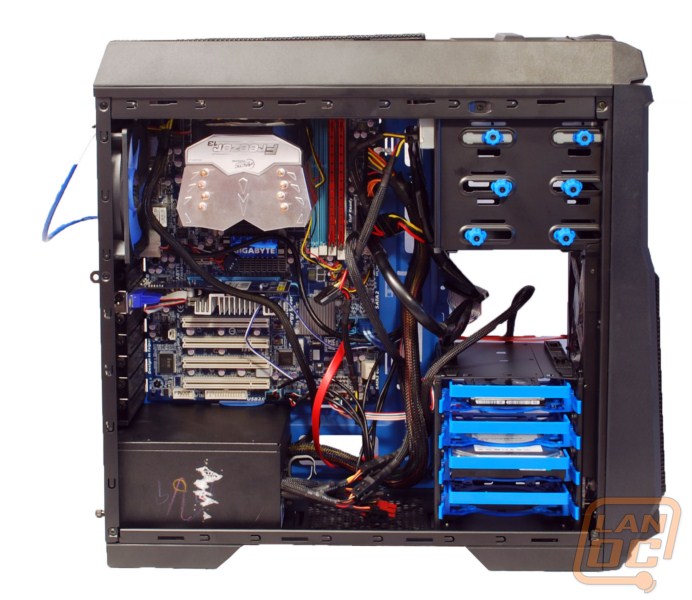
The cable holes for routing would allow for this install to be a bit cleaner, but there is plenty of room to allow for it. The tool-free nature allows for a quick and easy install of the hardware.

